Daily Archives: September 1, 2017

The Biscuit Workshop

I love home-made cookies or biscuits. Mine are always with whole wheat flour, as in my cakes. The positive thing being the healthy version and the negative being the countless cookies that one consumes assuming they are harmless. Result – end up in more calories and a stuffed tummy.

With loads of information that state the difference between the both, are these biscuits or cookies??


These are biscuits because they are crisp goodies –
‘crisp cookies are called biscuits. Chewier biscuits are sometimes called cookies’  https://en.wikipedia.org/wiki/Cookie

No.No… These are cookies because – they have nuts –

‘A cookie is a baked or cooked good that is small, flat and sweet. It usually contains flour, sugar and some type of oil or fat. It may include other ingredients such as raisins, oats, chocolate chips, nuts, etc.’
https://en.wikipedia.org/wiki/Cookie

The terminology seems to be far more complicated than making of the cookie itself..sorry. biscuit..sorry.. cookie..or is it biscuit…
Now, let us decide..

Aubergine in the UK is eggplant in the US;
Ladies finger in the UK is okra in the US;
‘How do you do’ in the UK is ‘Howdy’ in the US;

Likewise-

– the word ‘cookie’ is derived from the dutch word ‘koekje’ as used in the US. In the UK- a crisp cookie is called ‘biscuit’.

I choose to comprehend that biscuits are crisp cookies. Hence, this can be termed as a Biscuit workshop. Period.

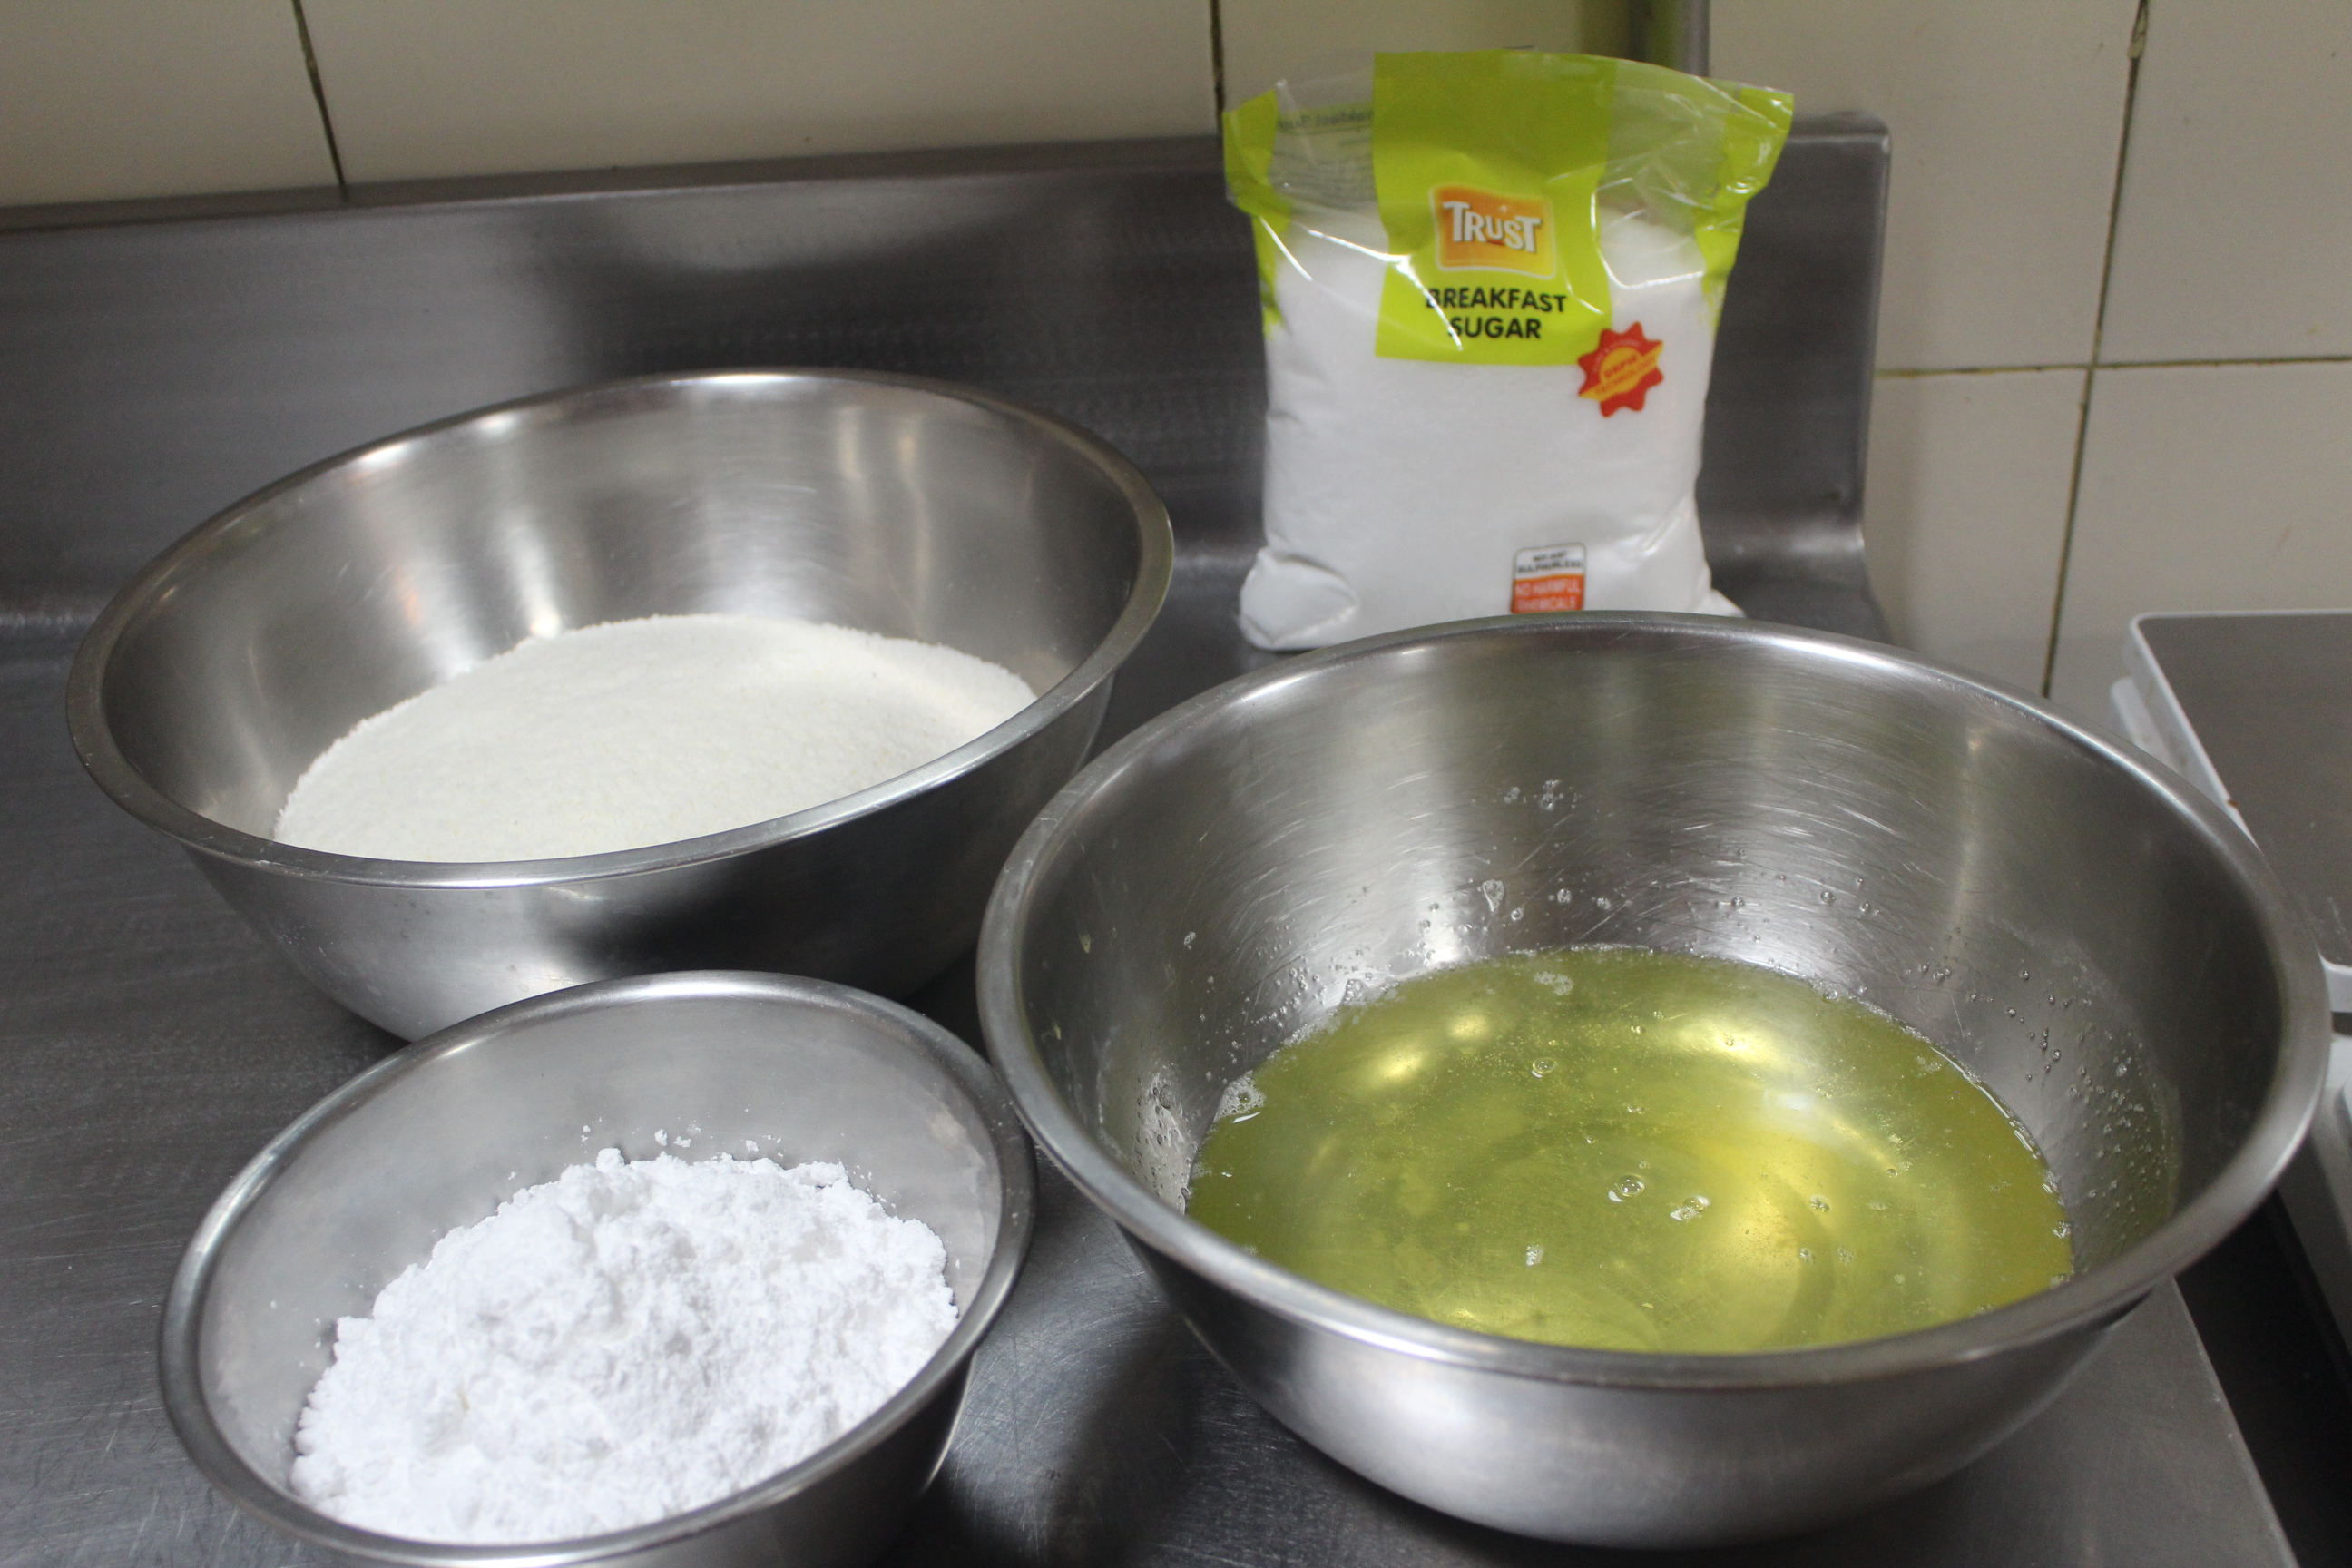
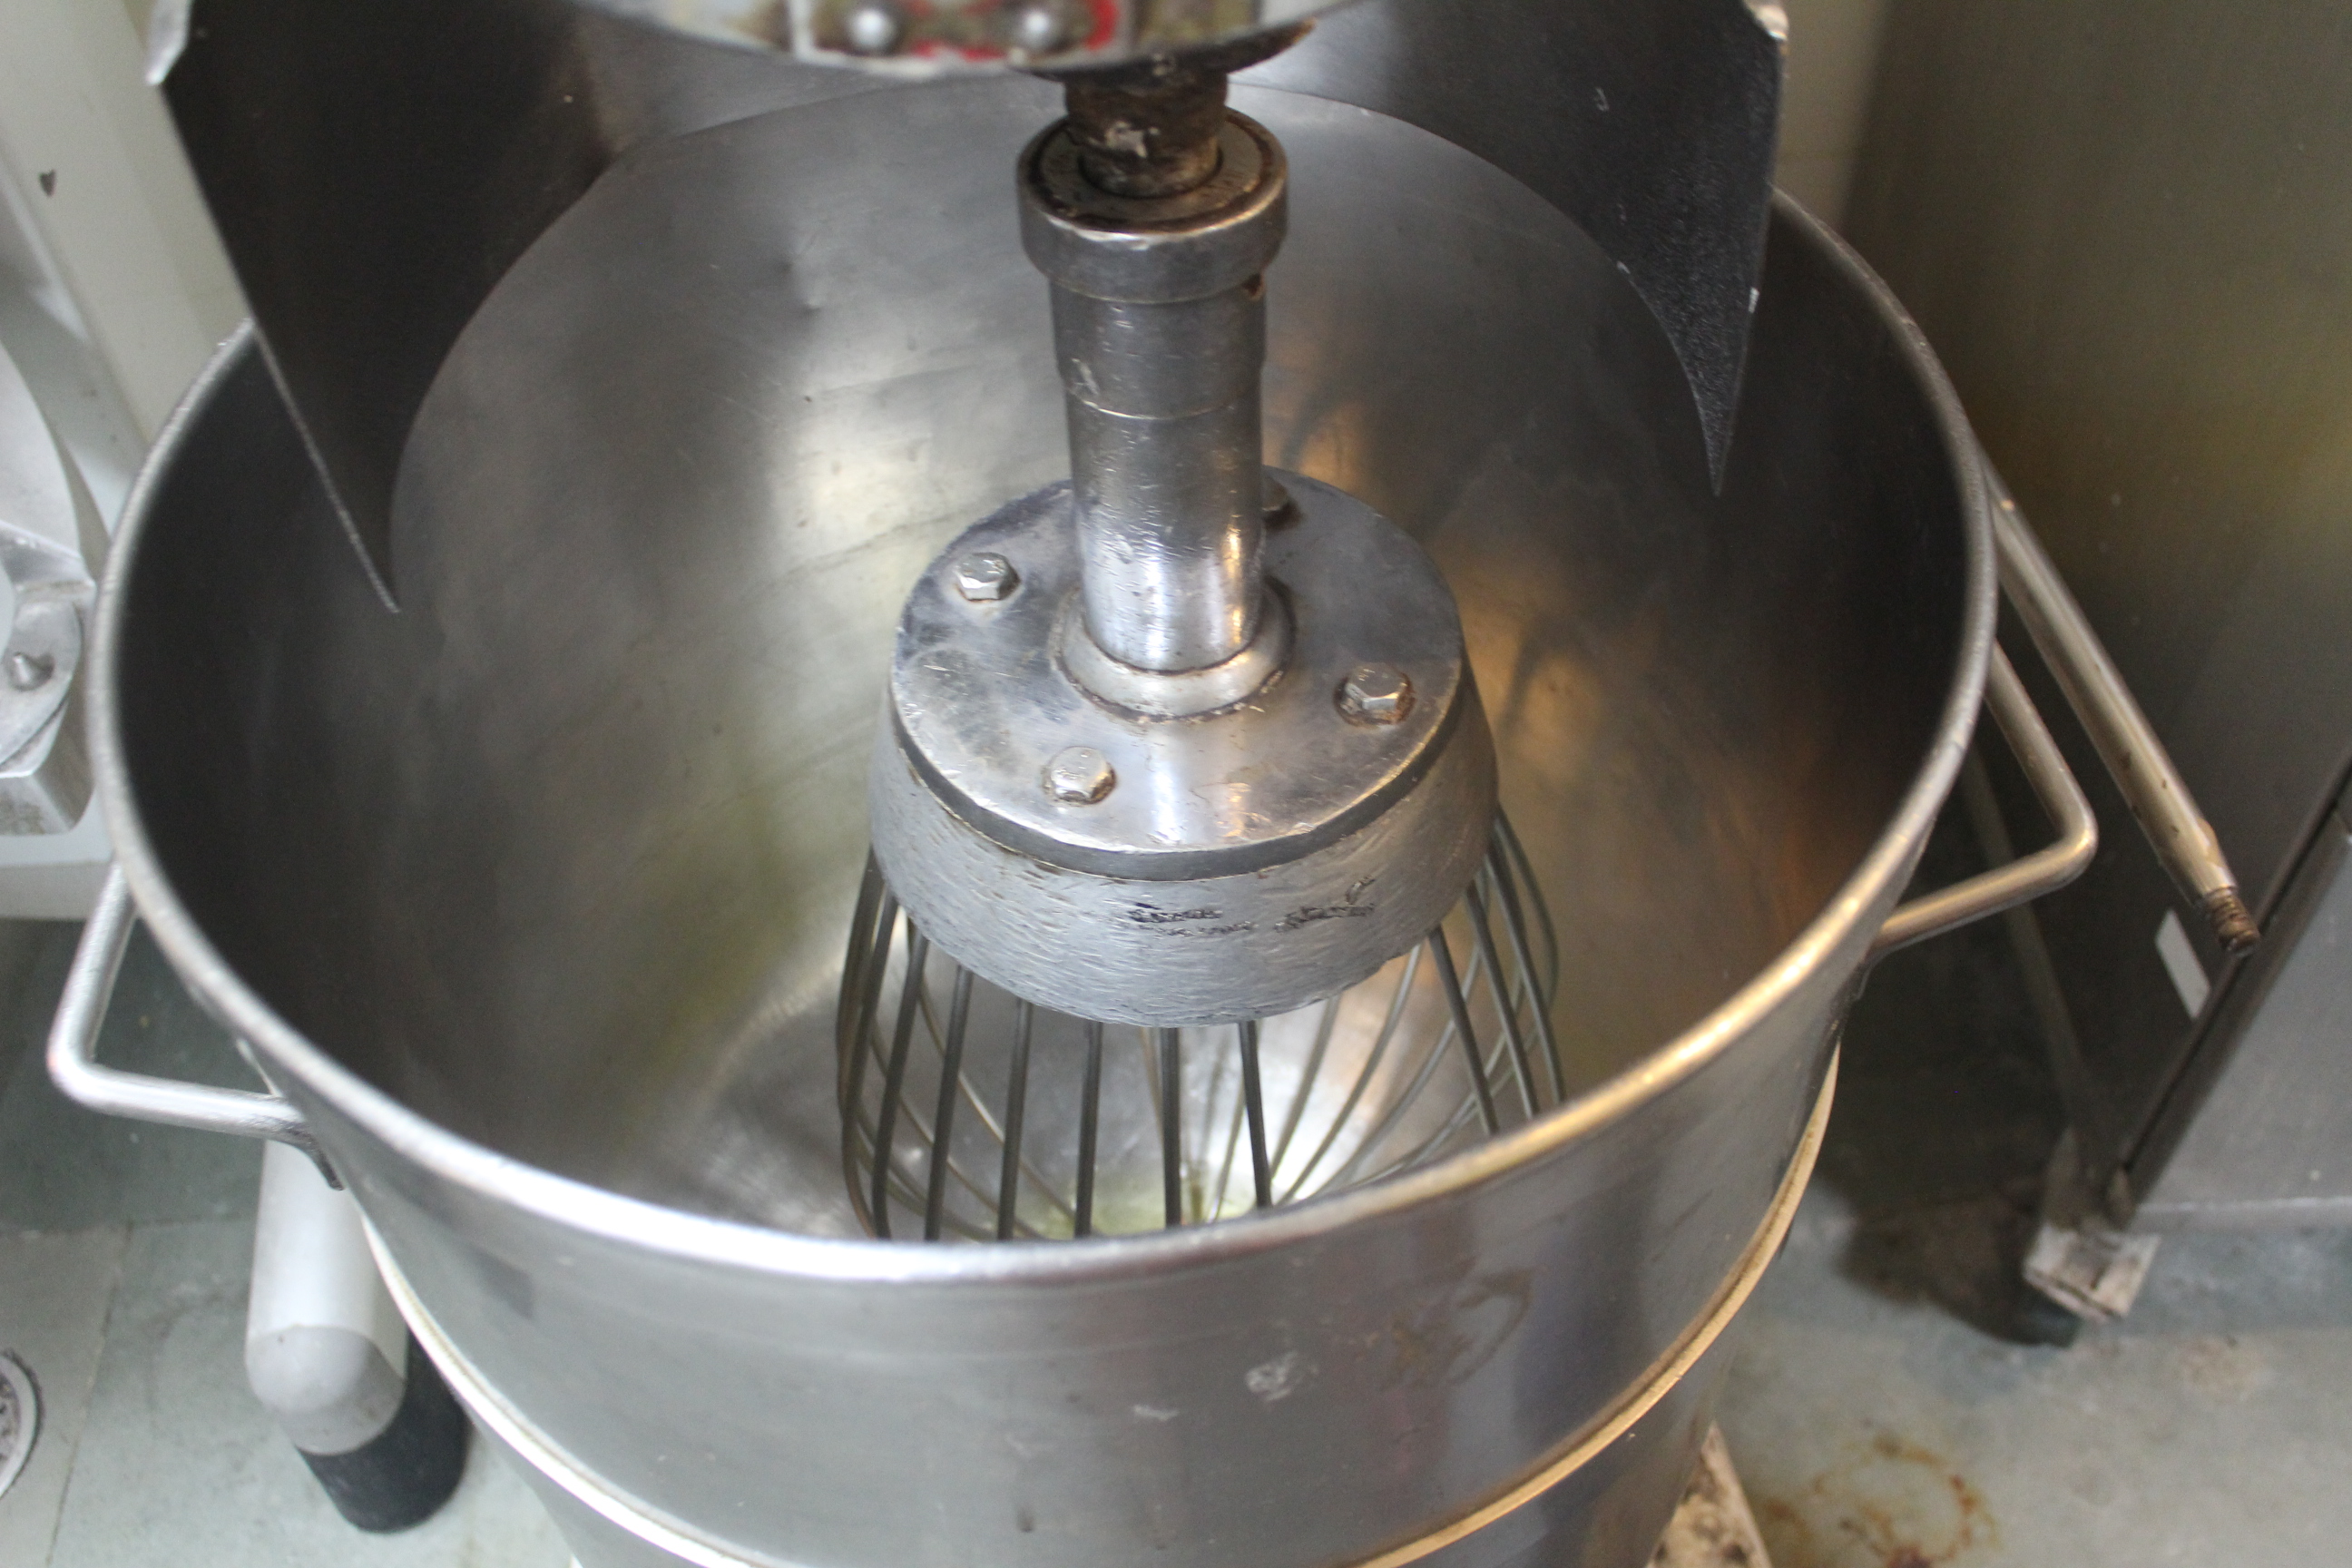
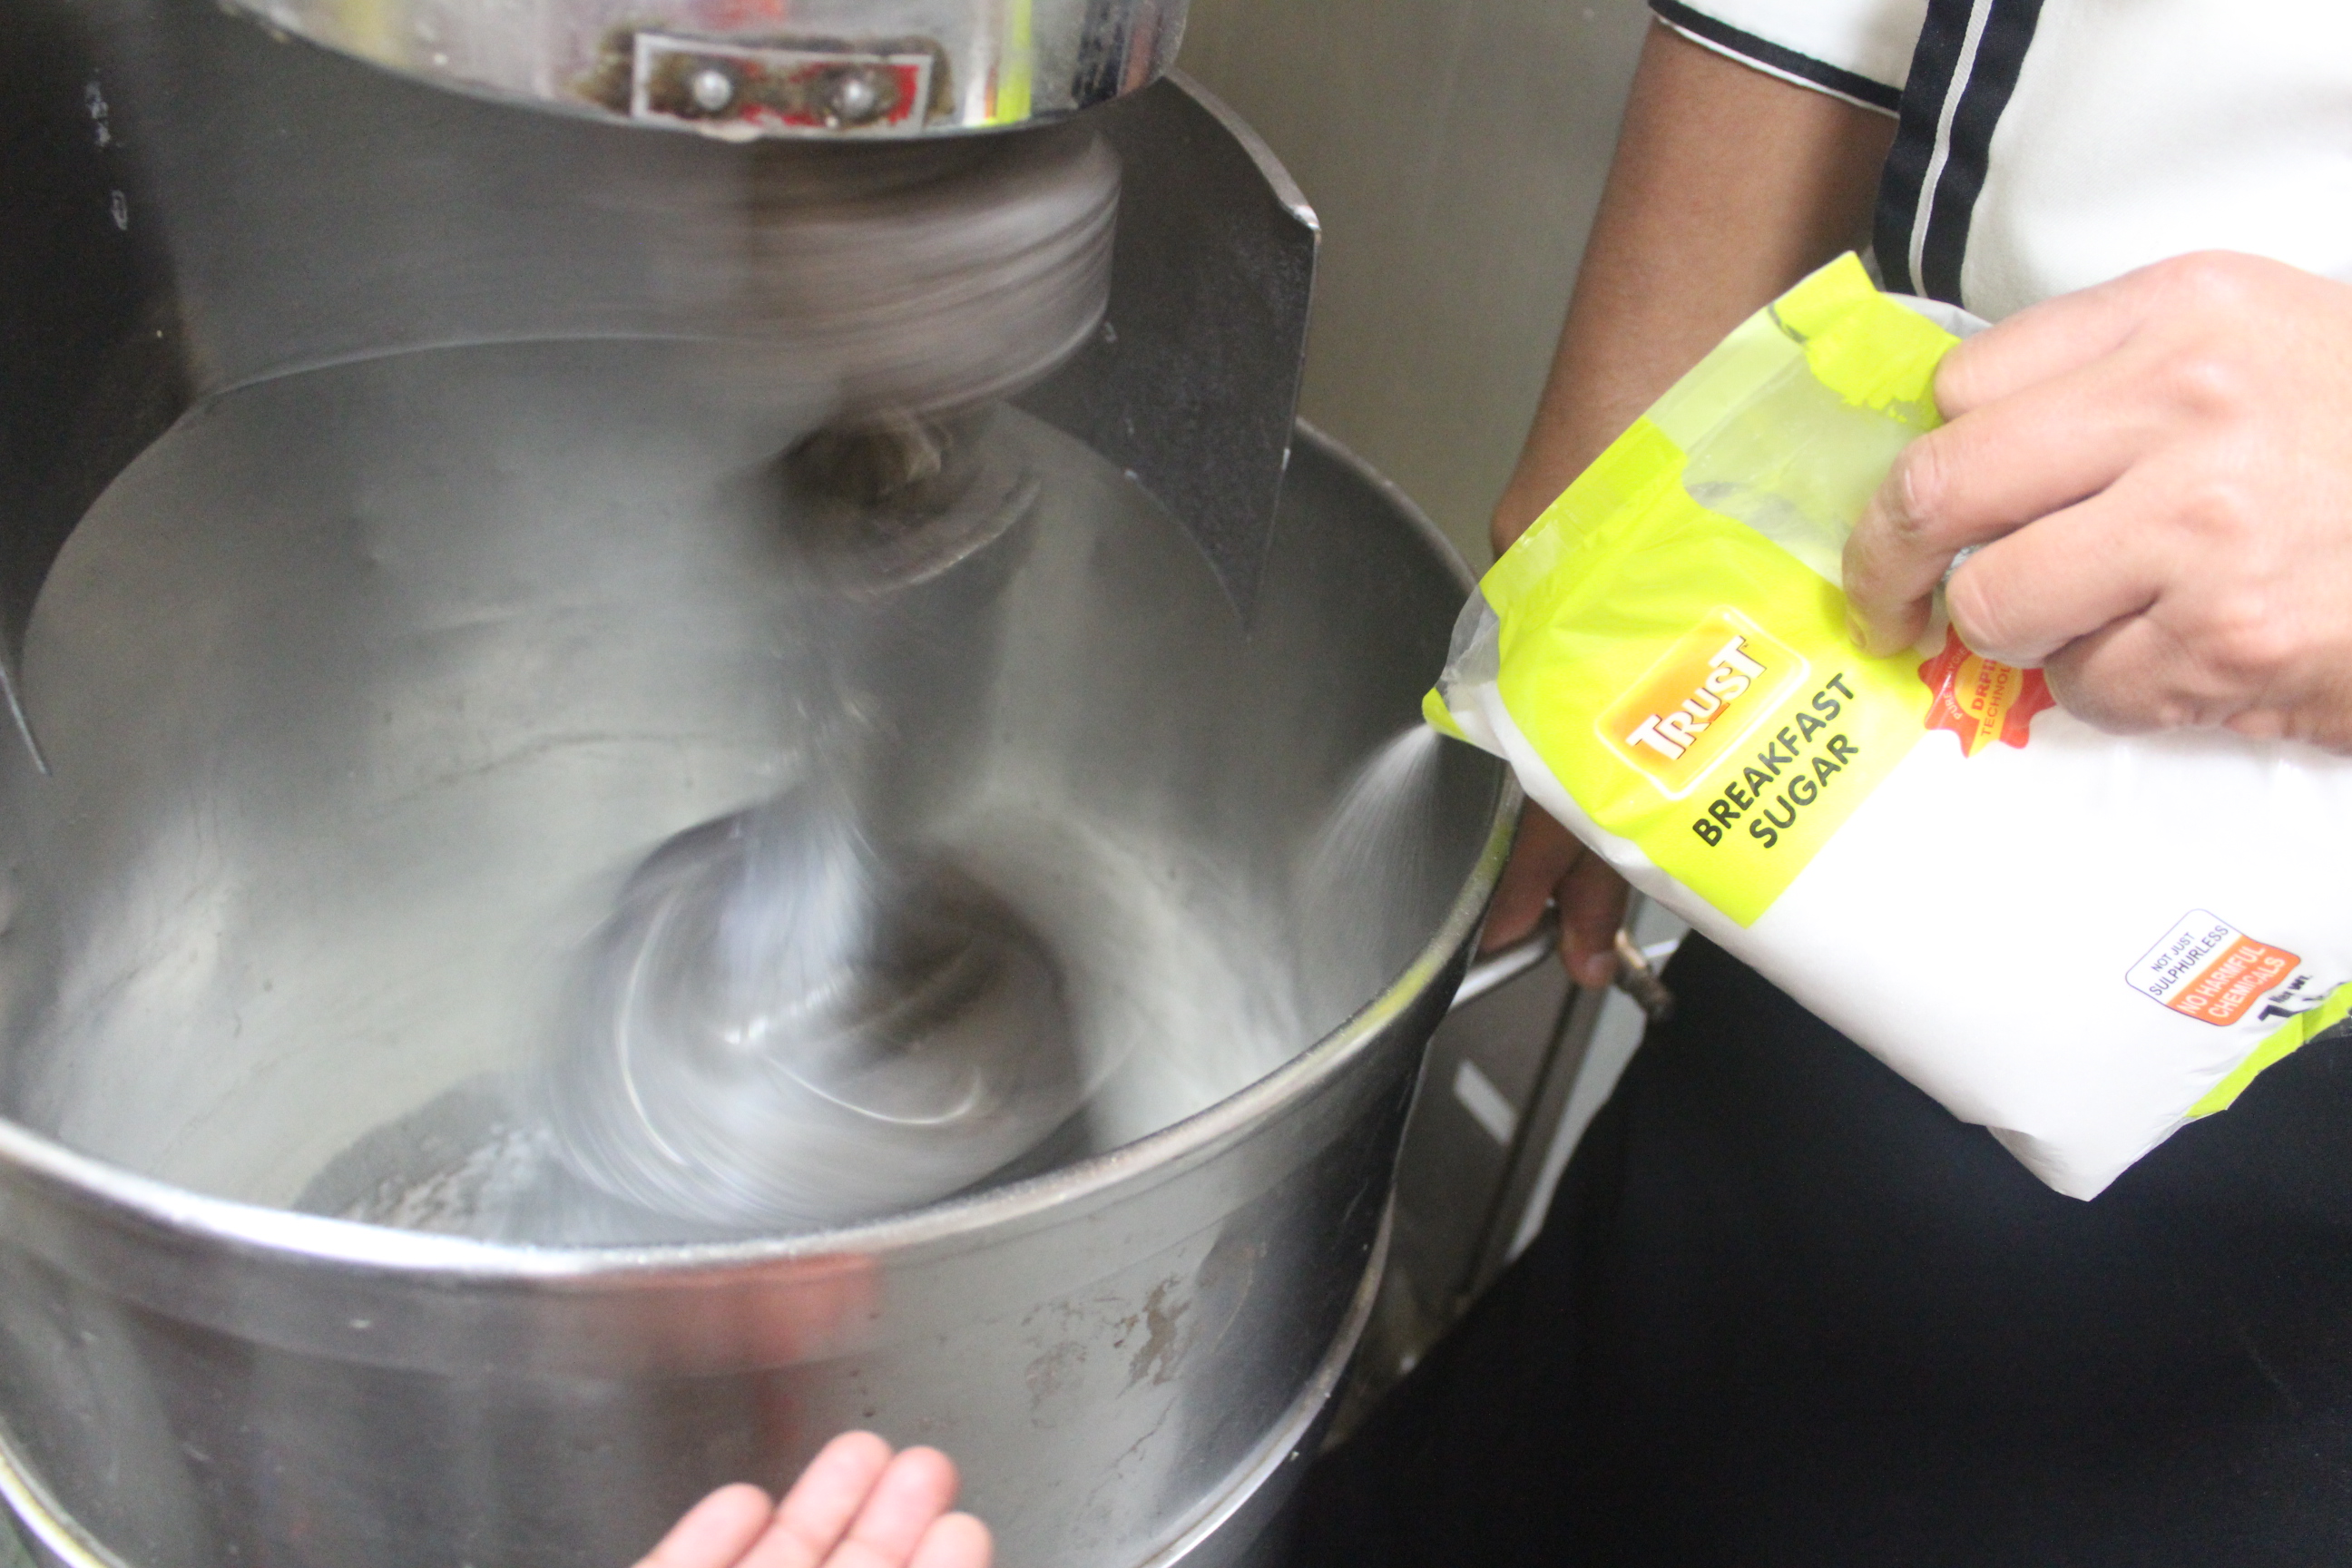
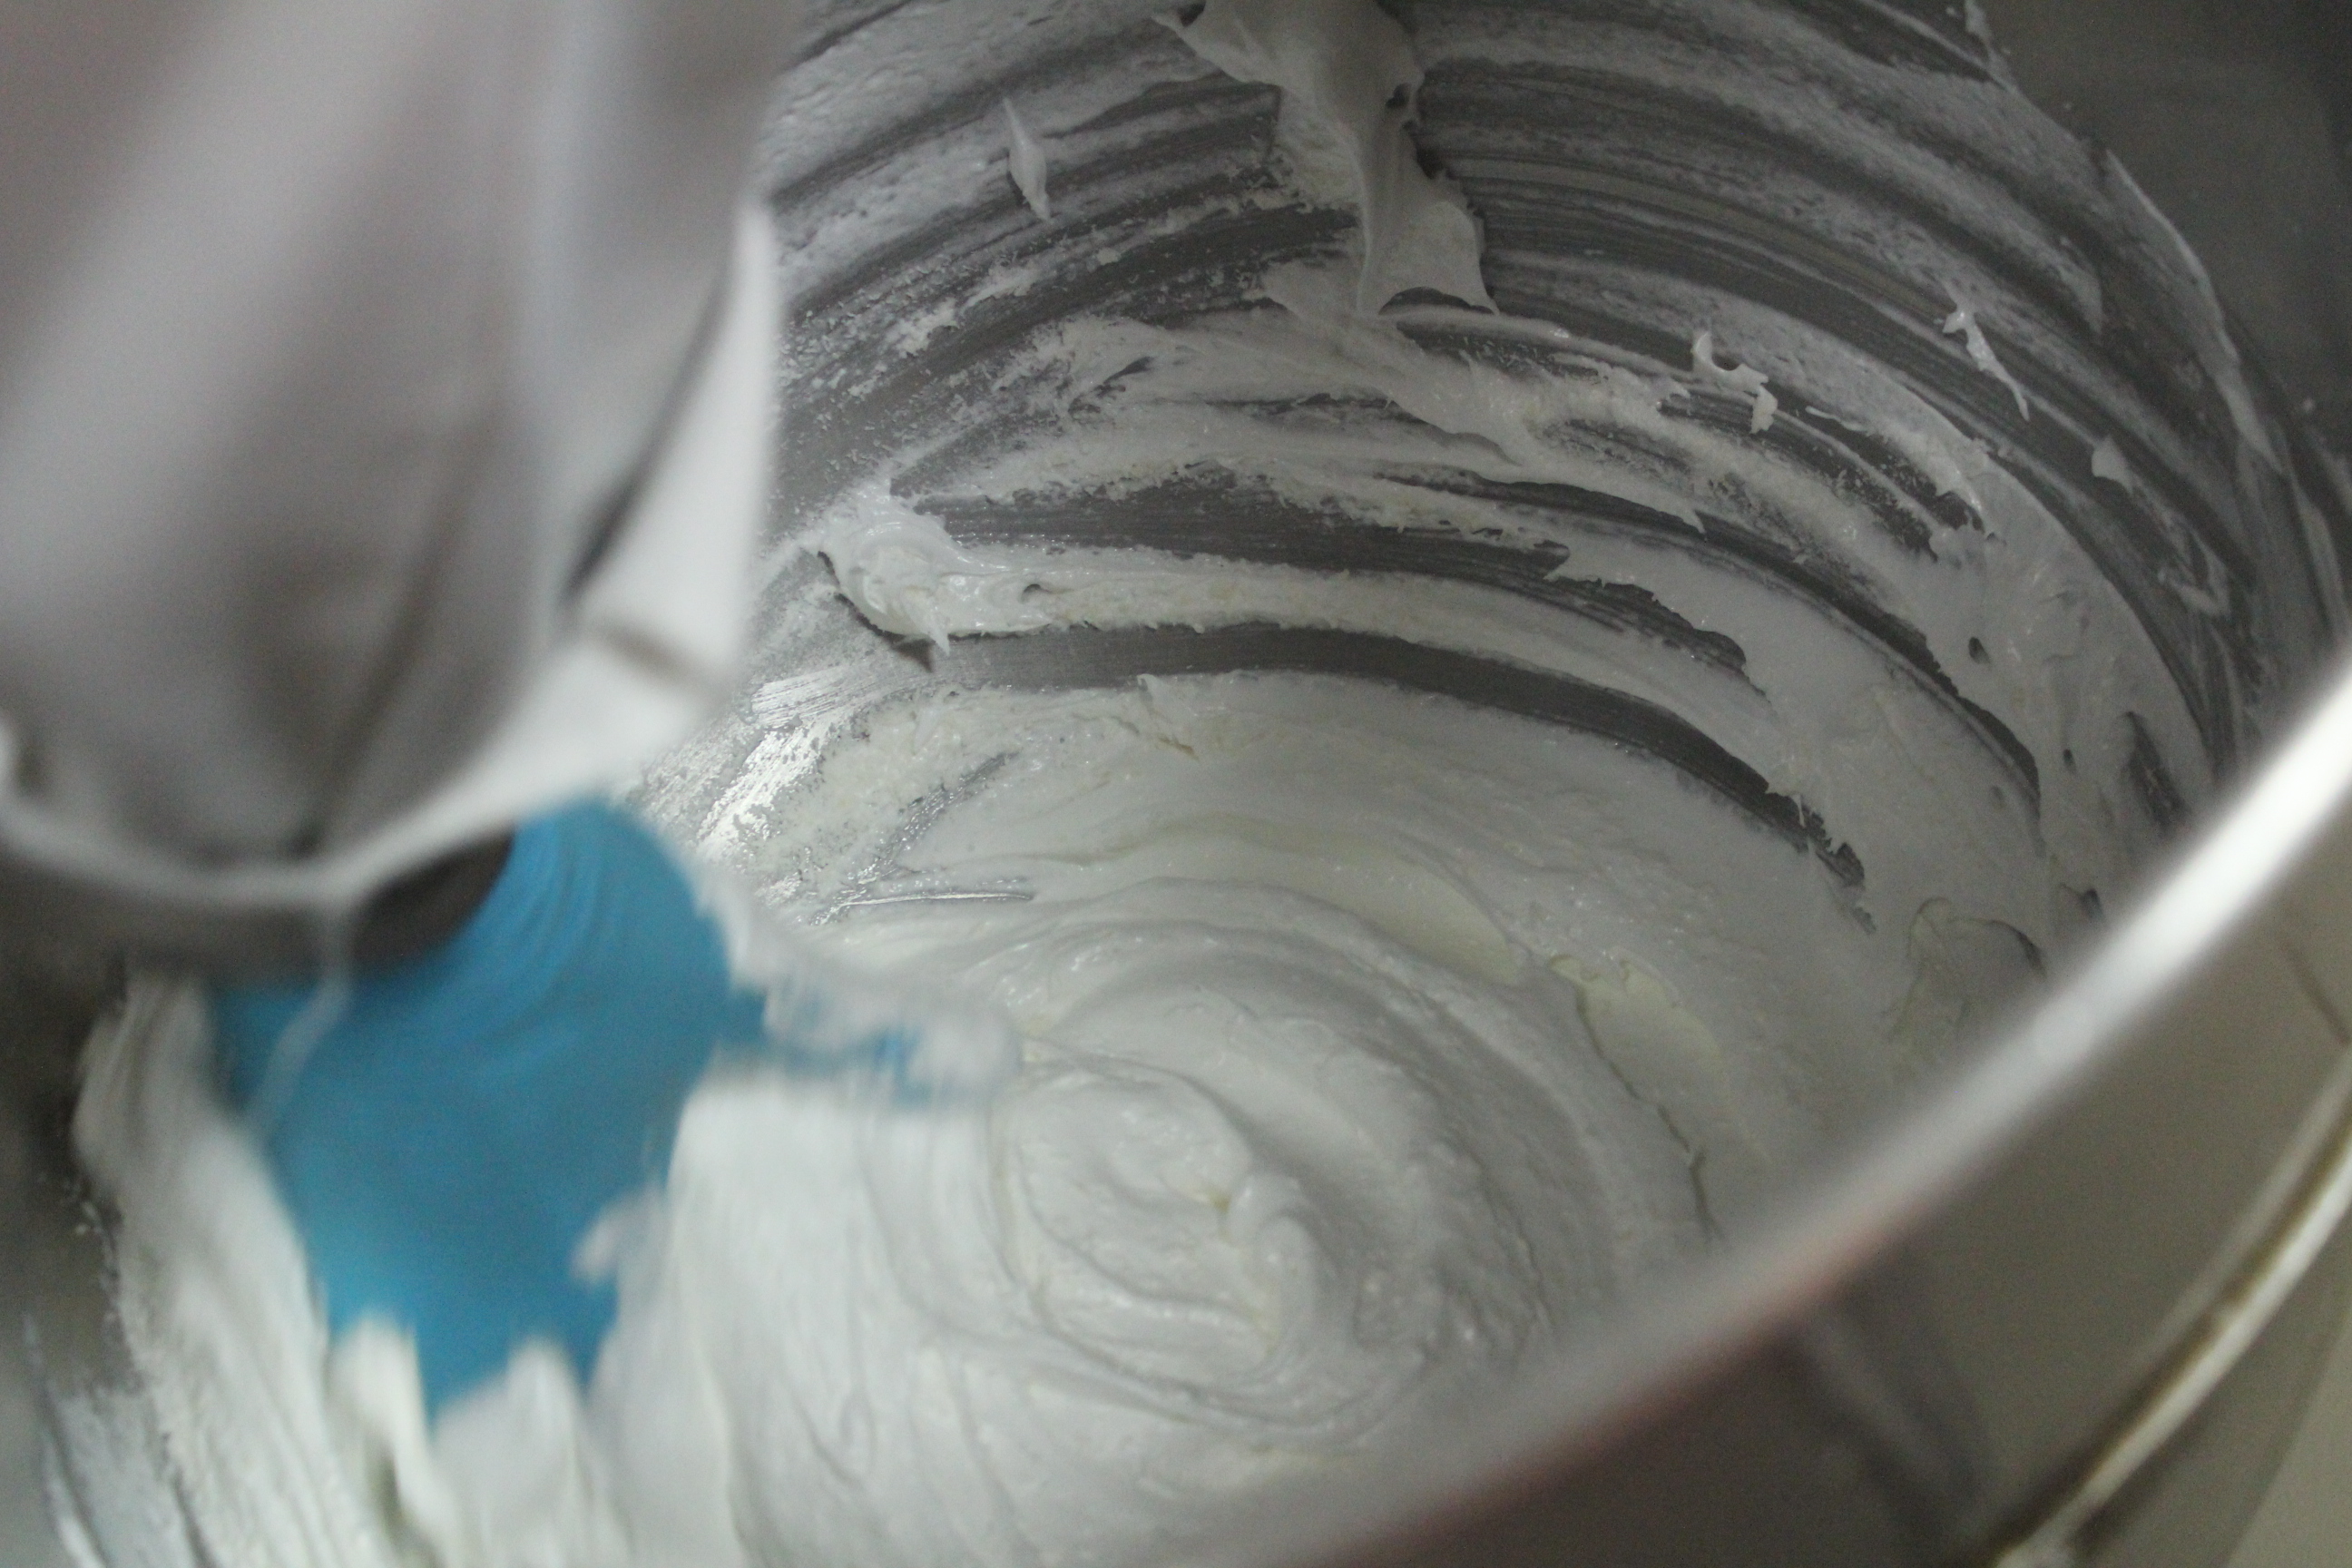
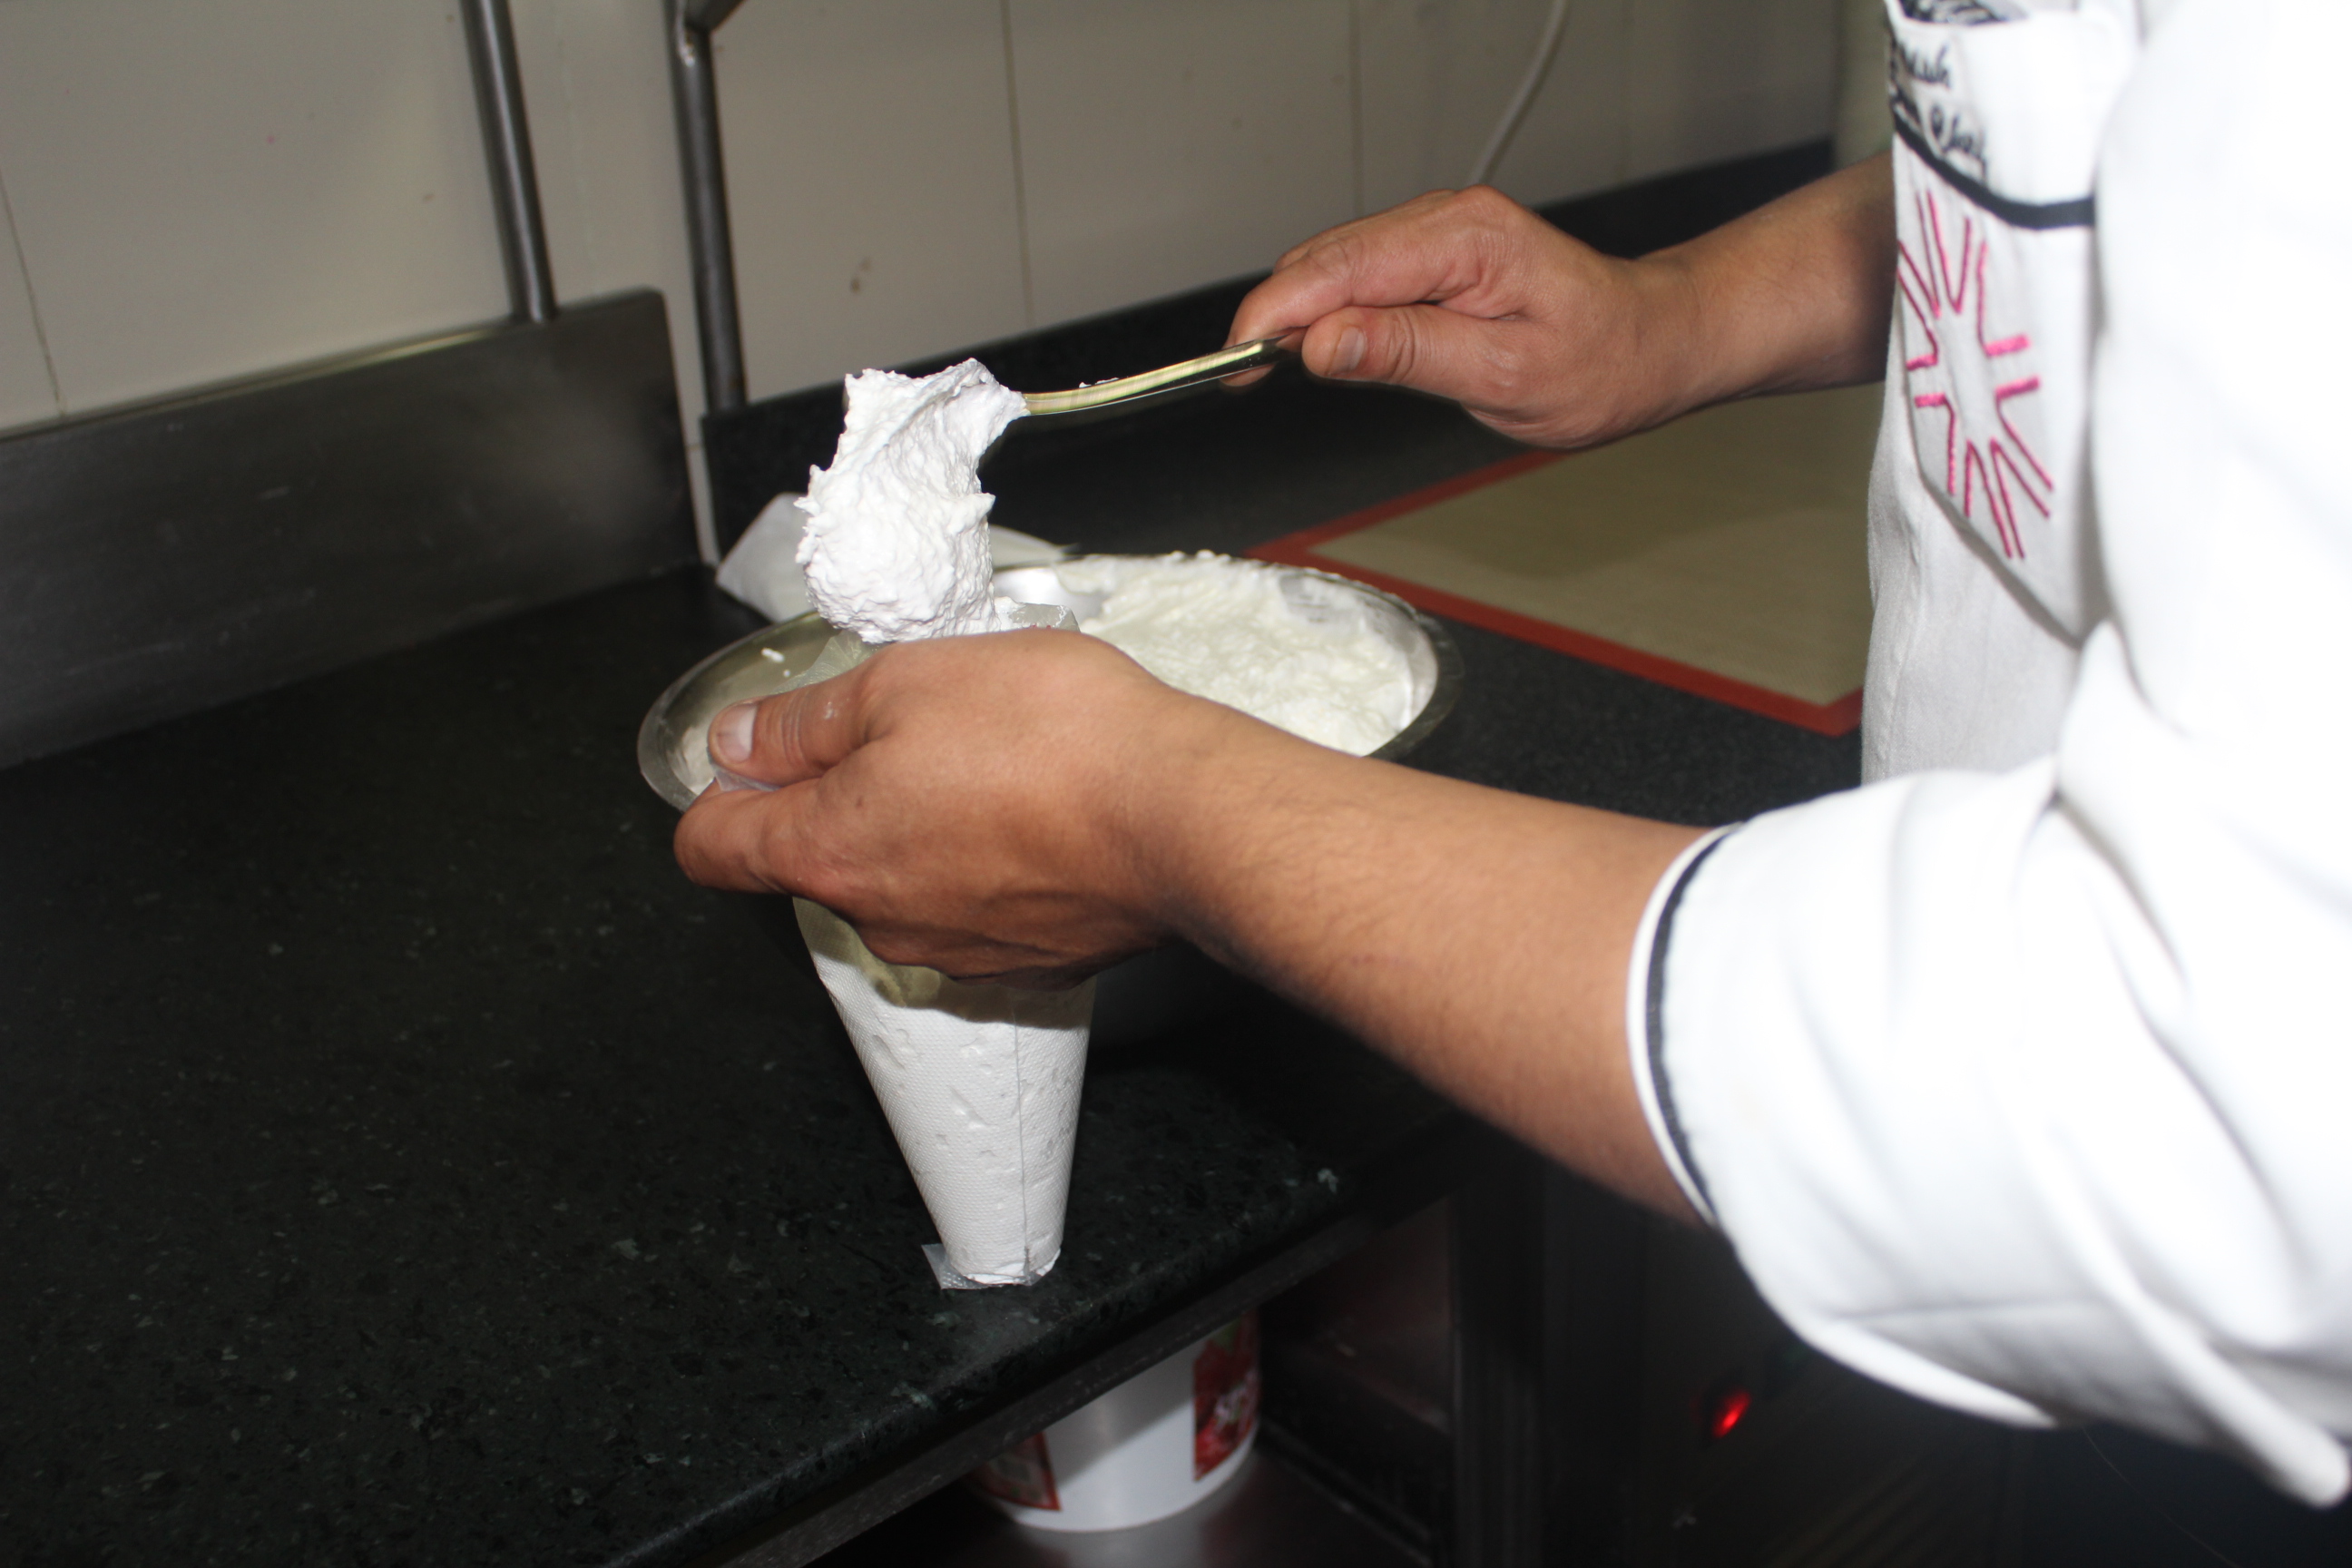
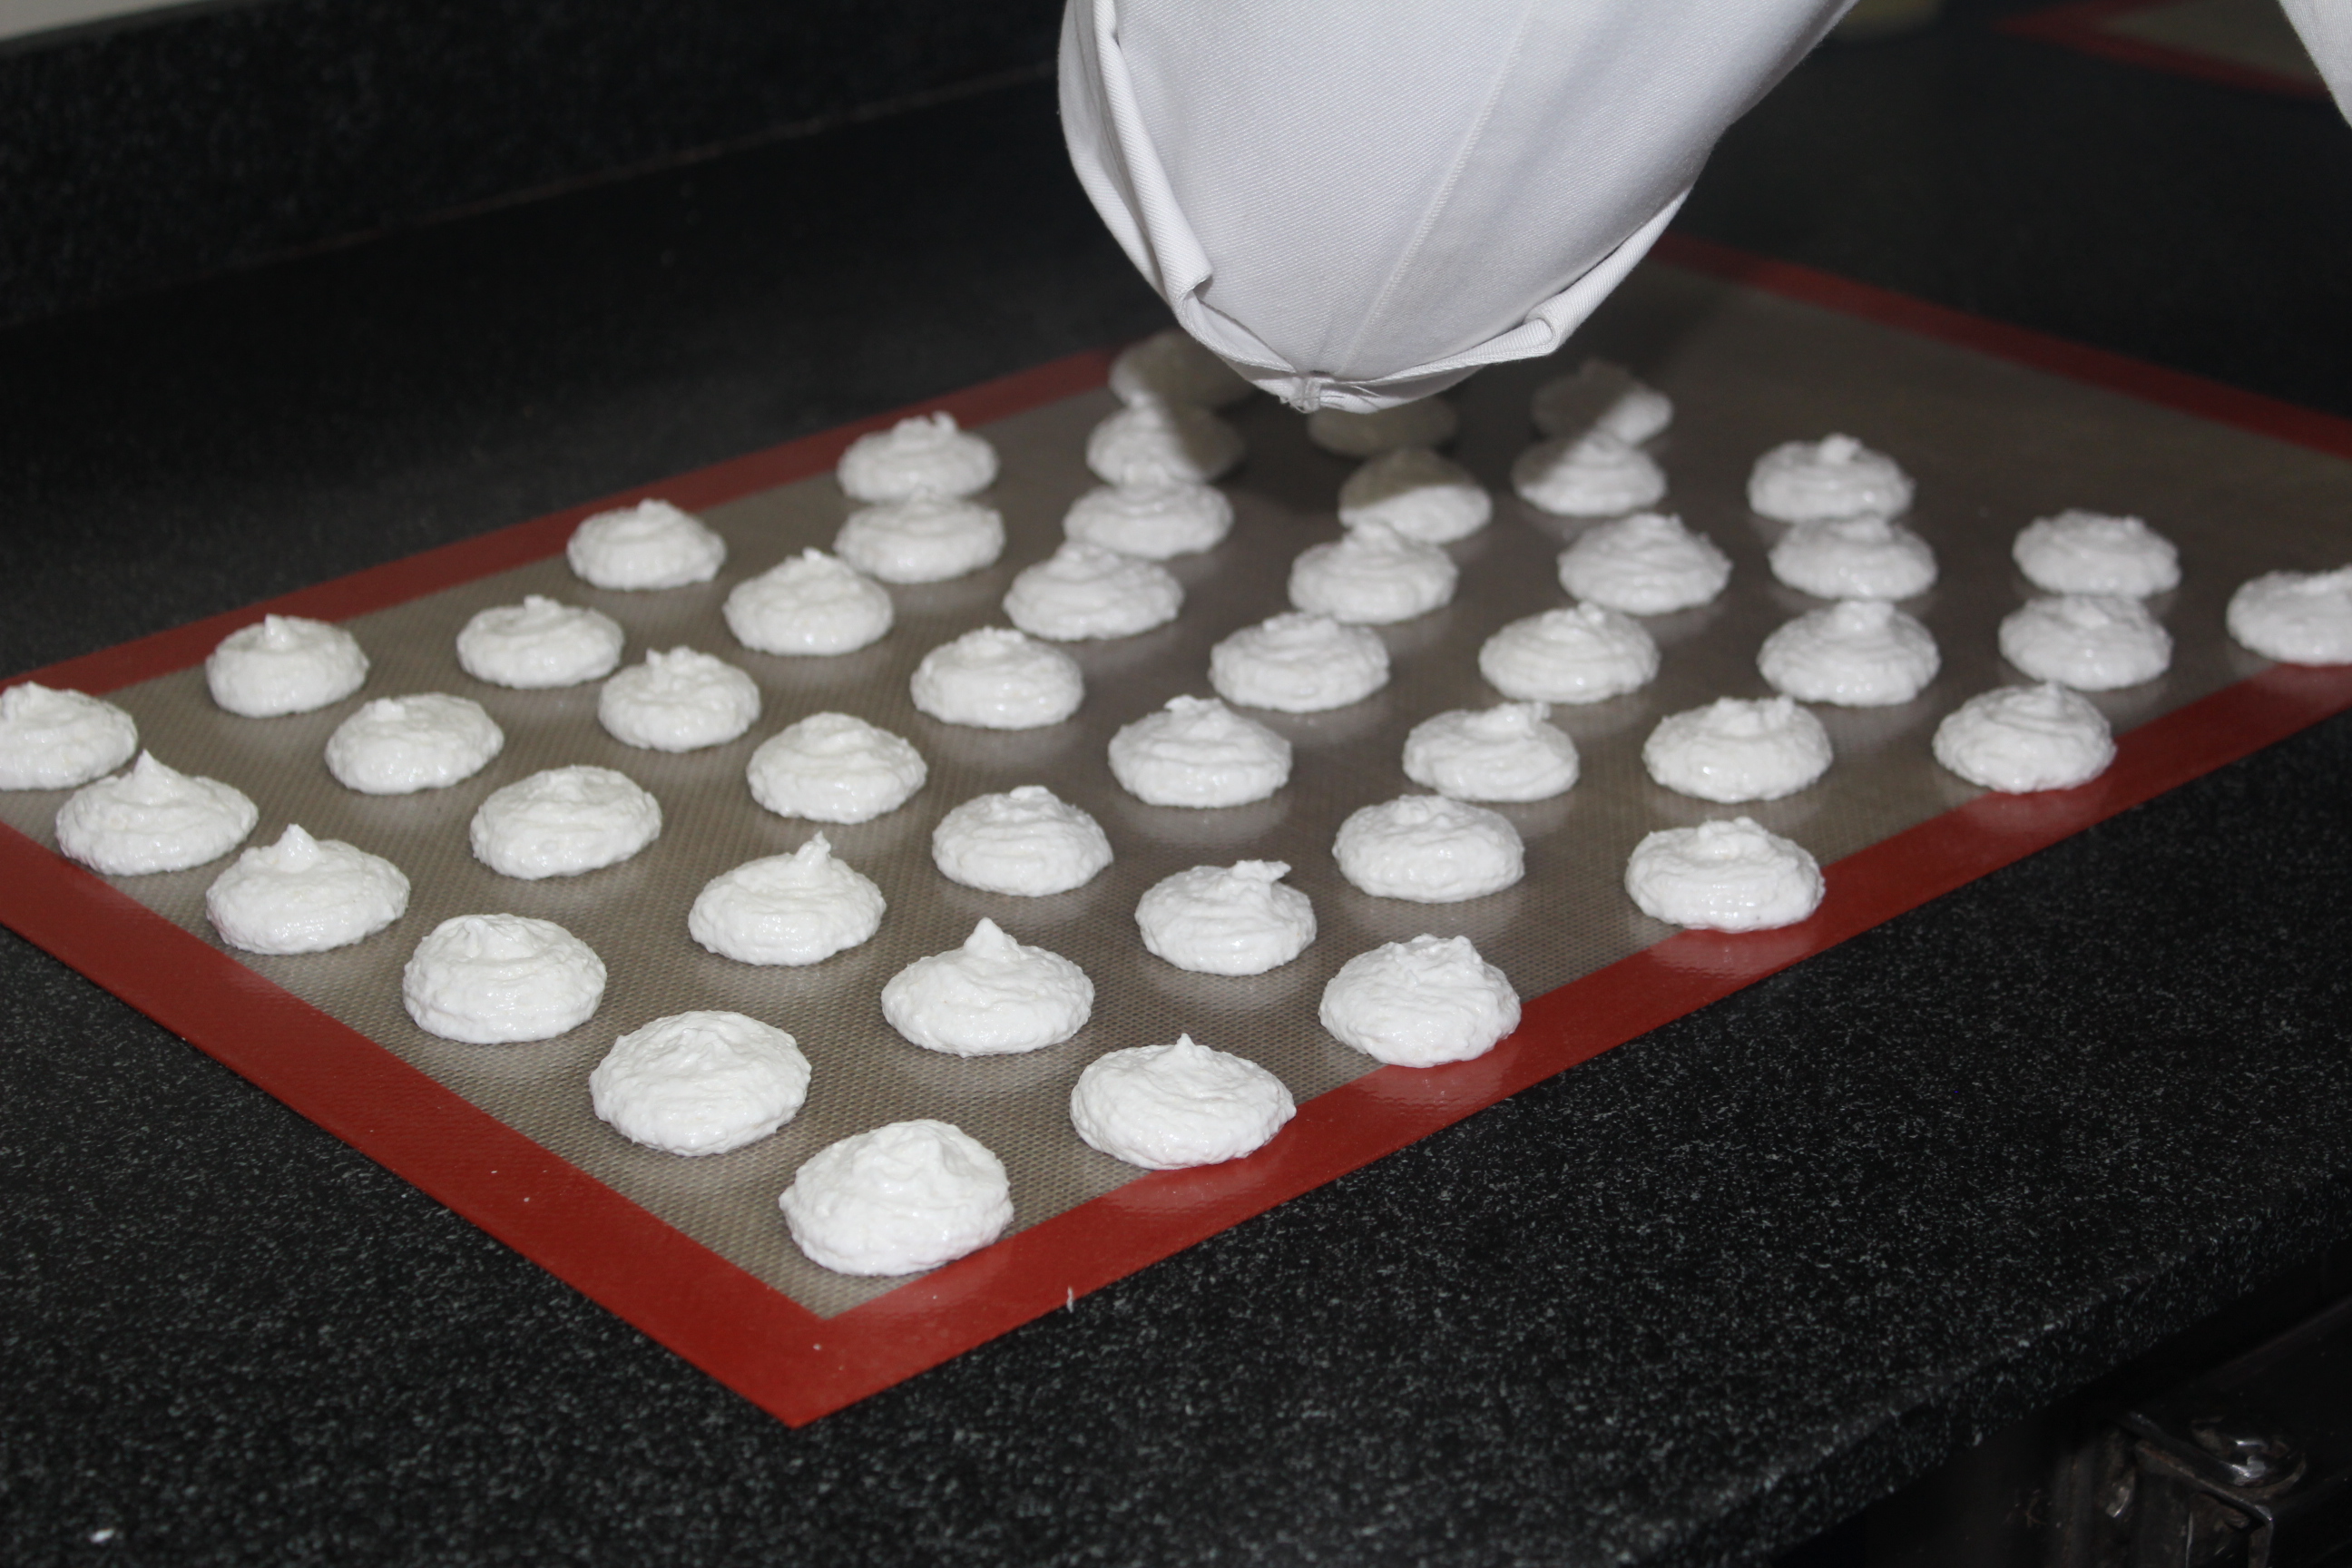
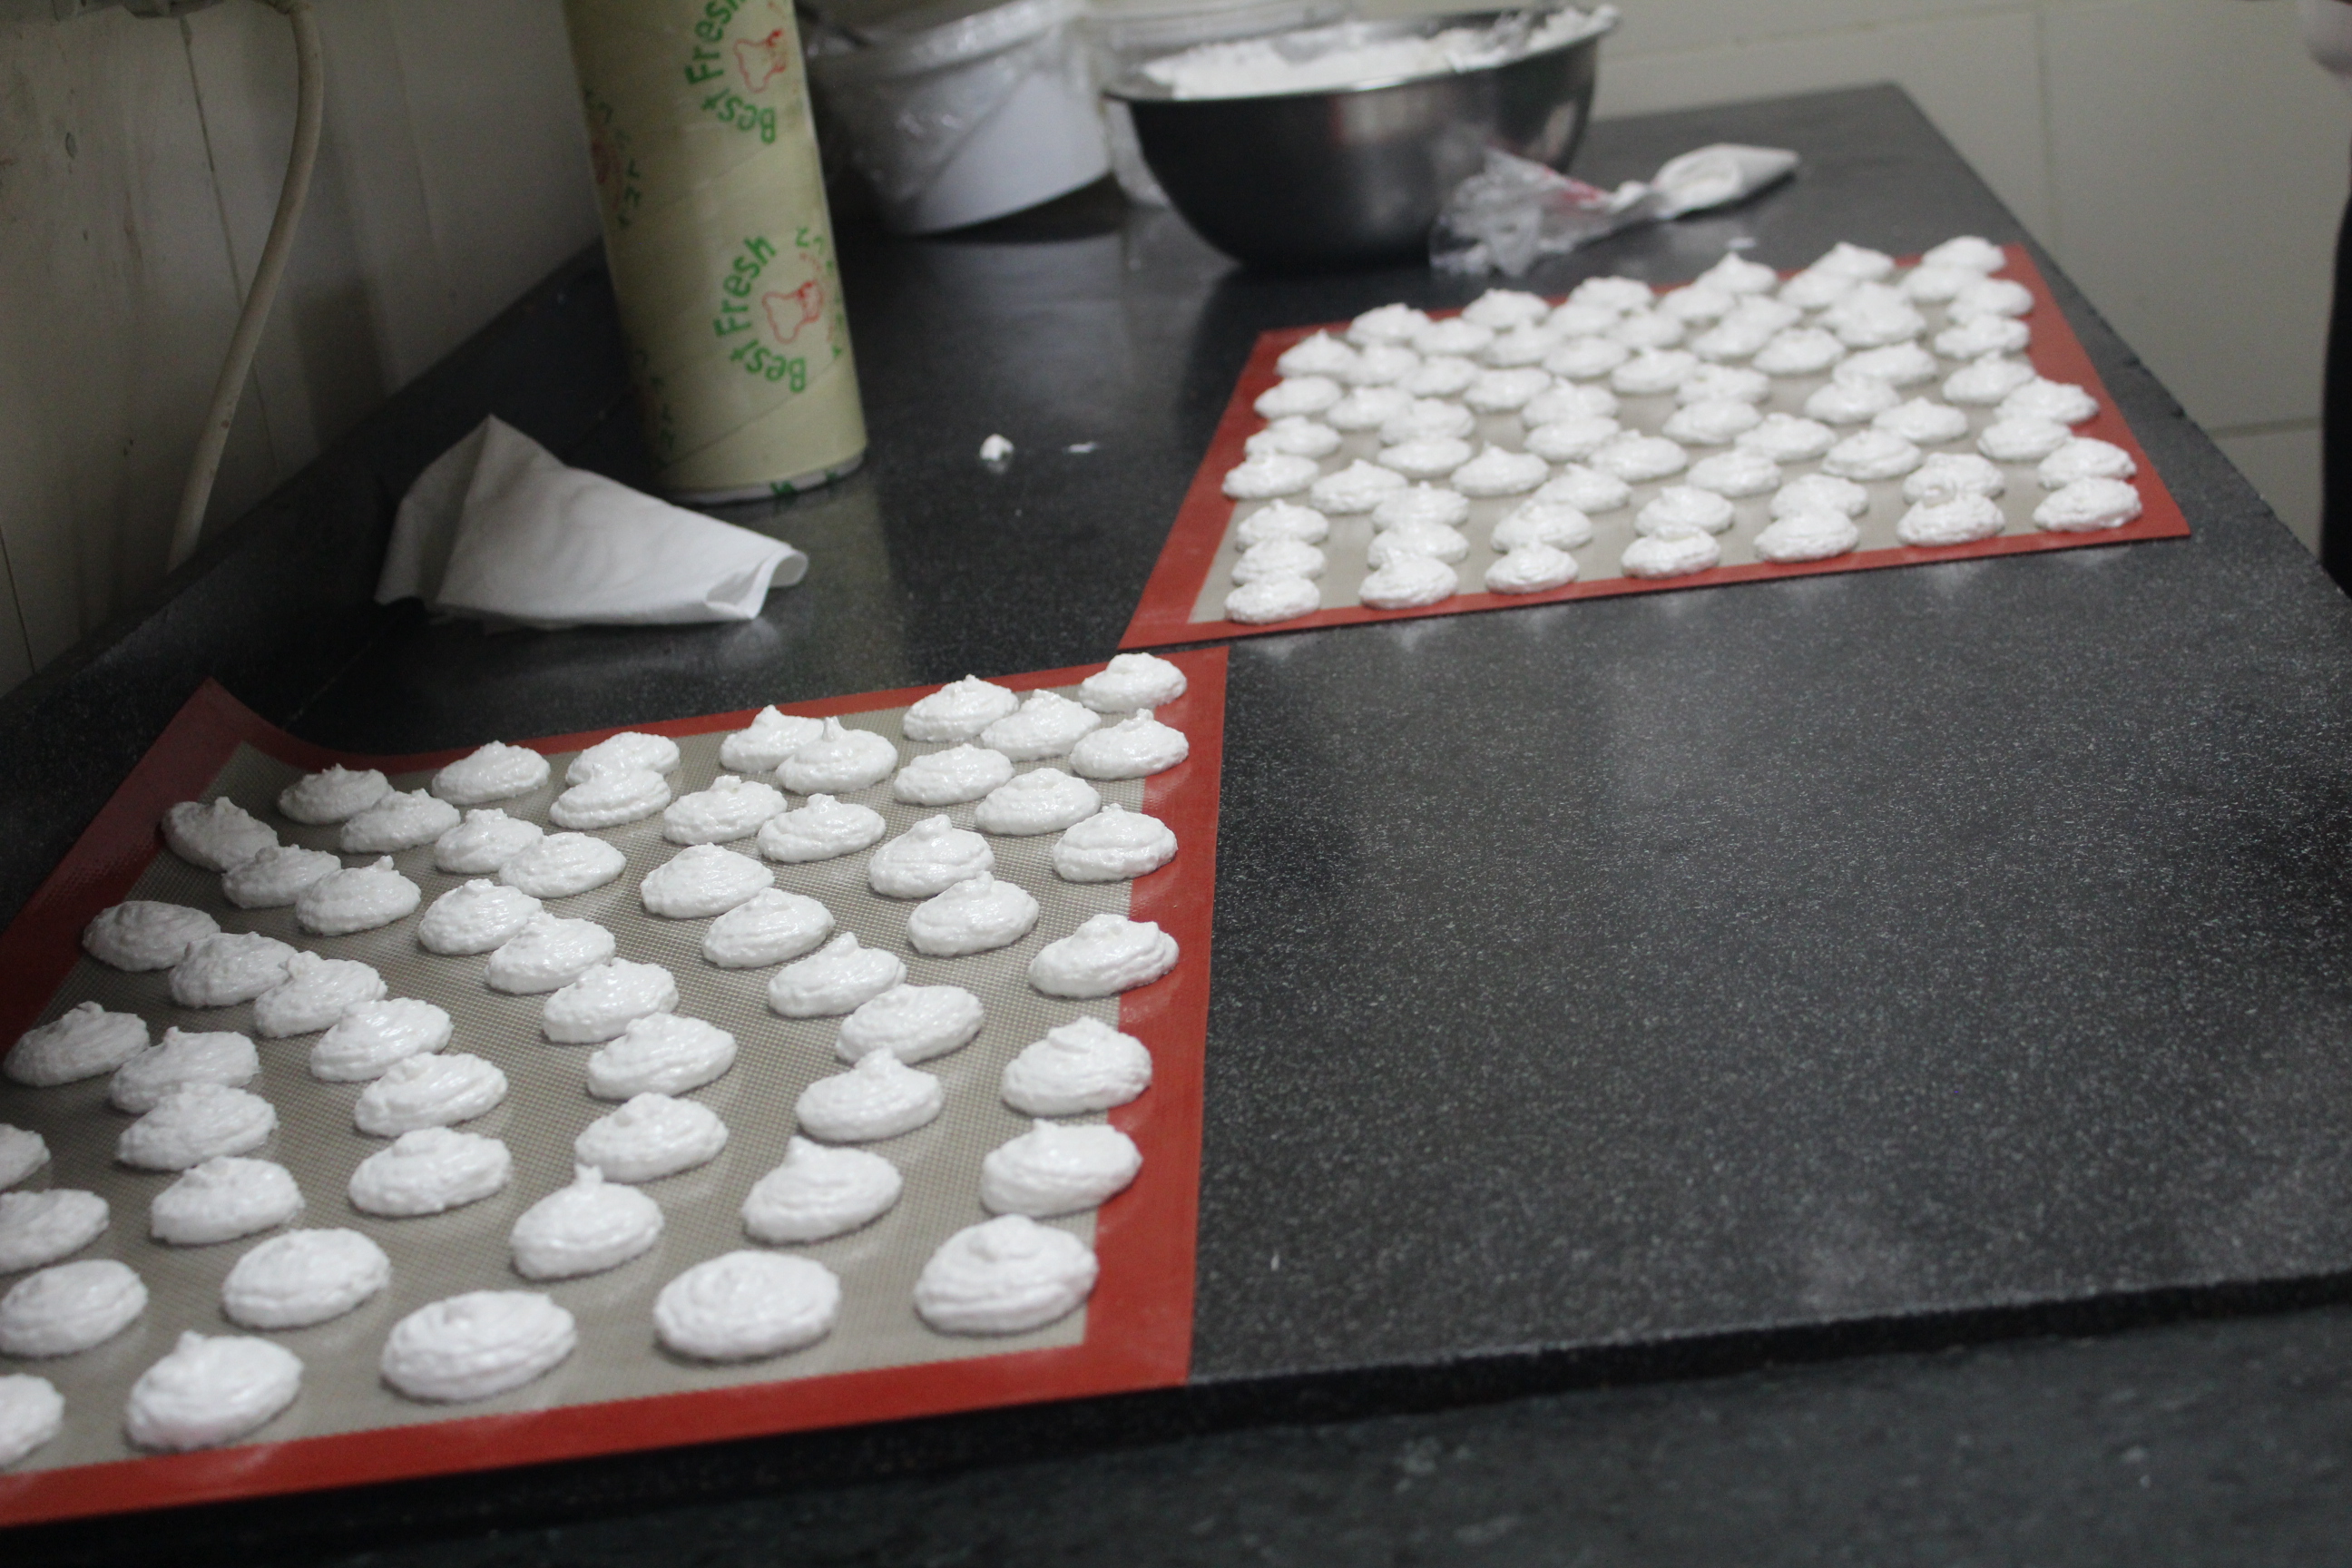
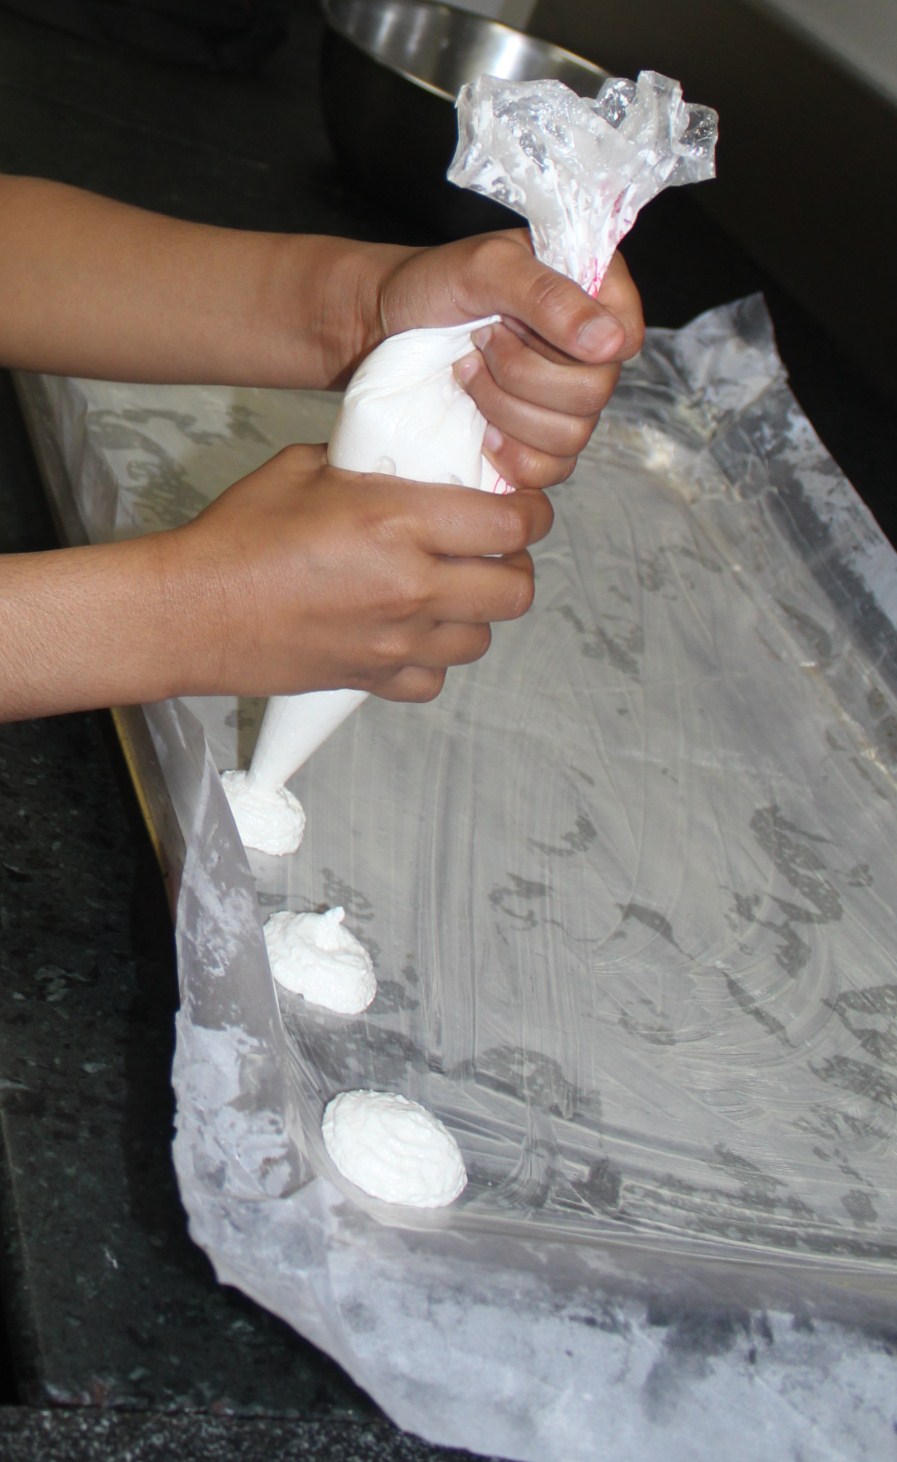
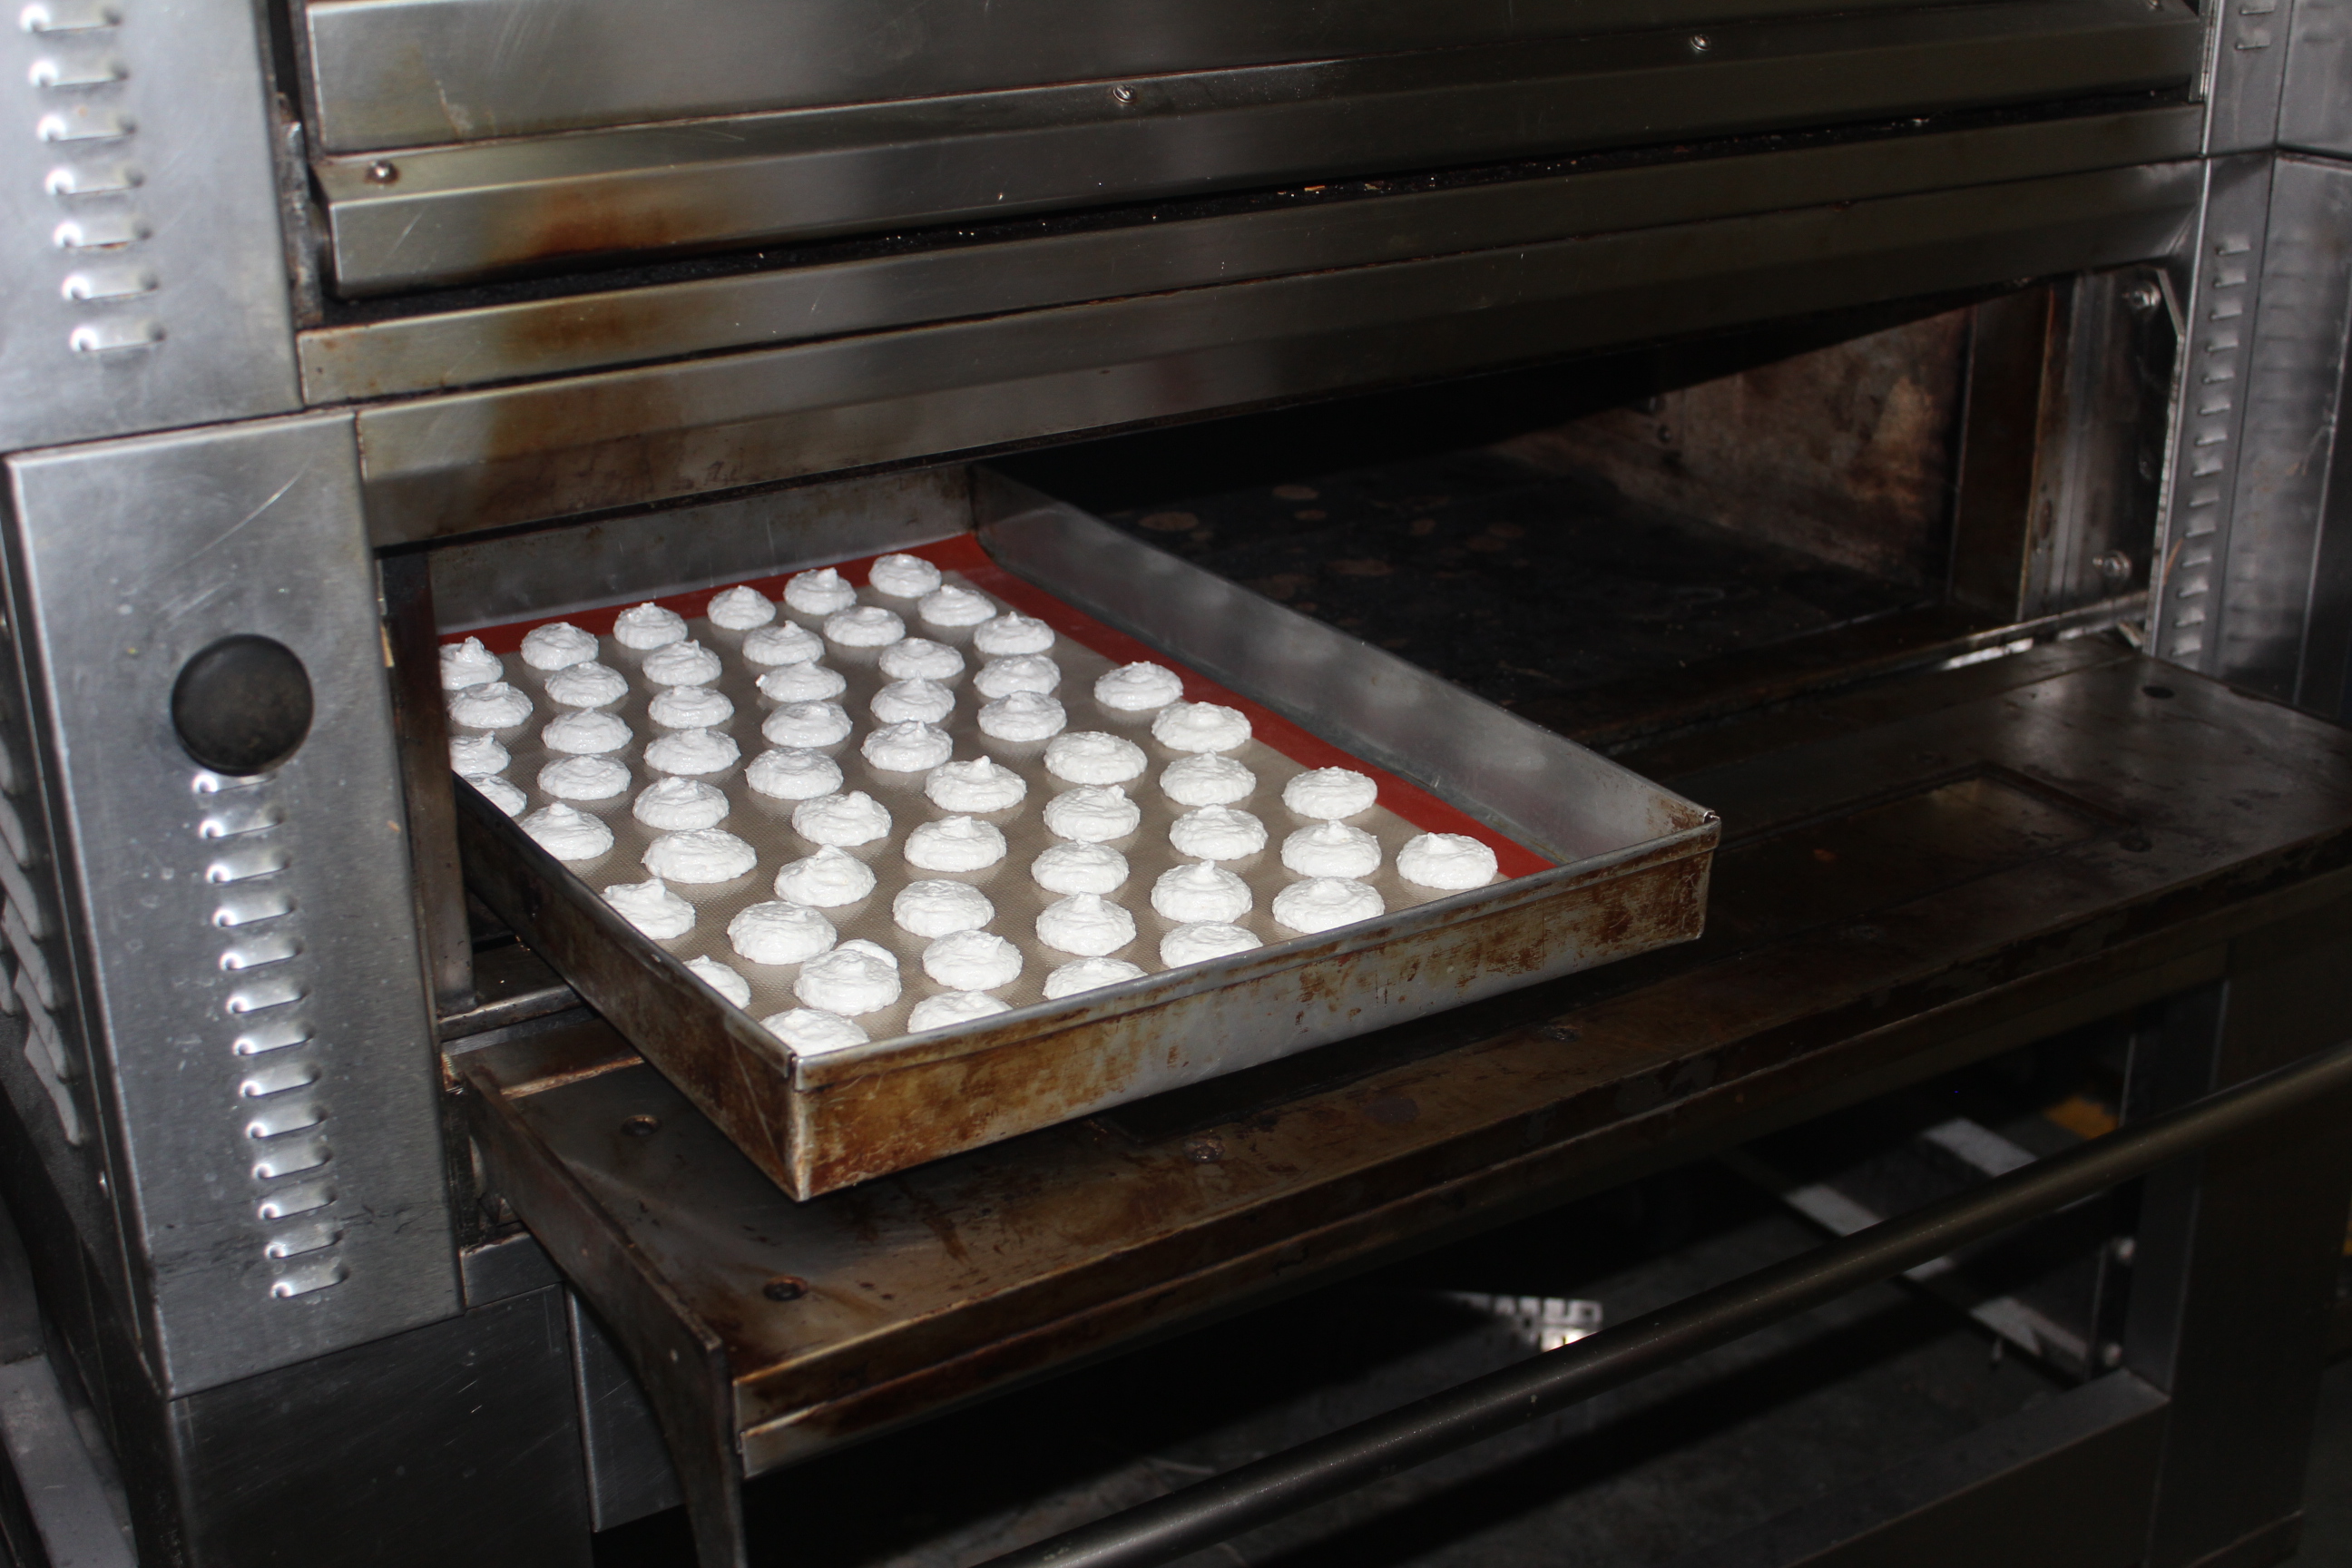
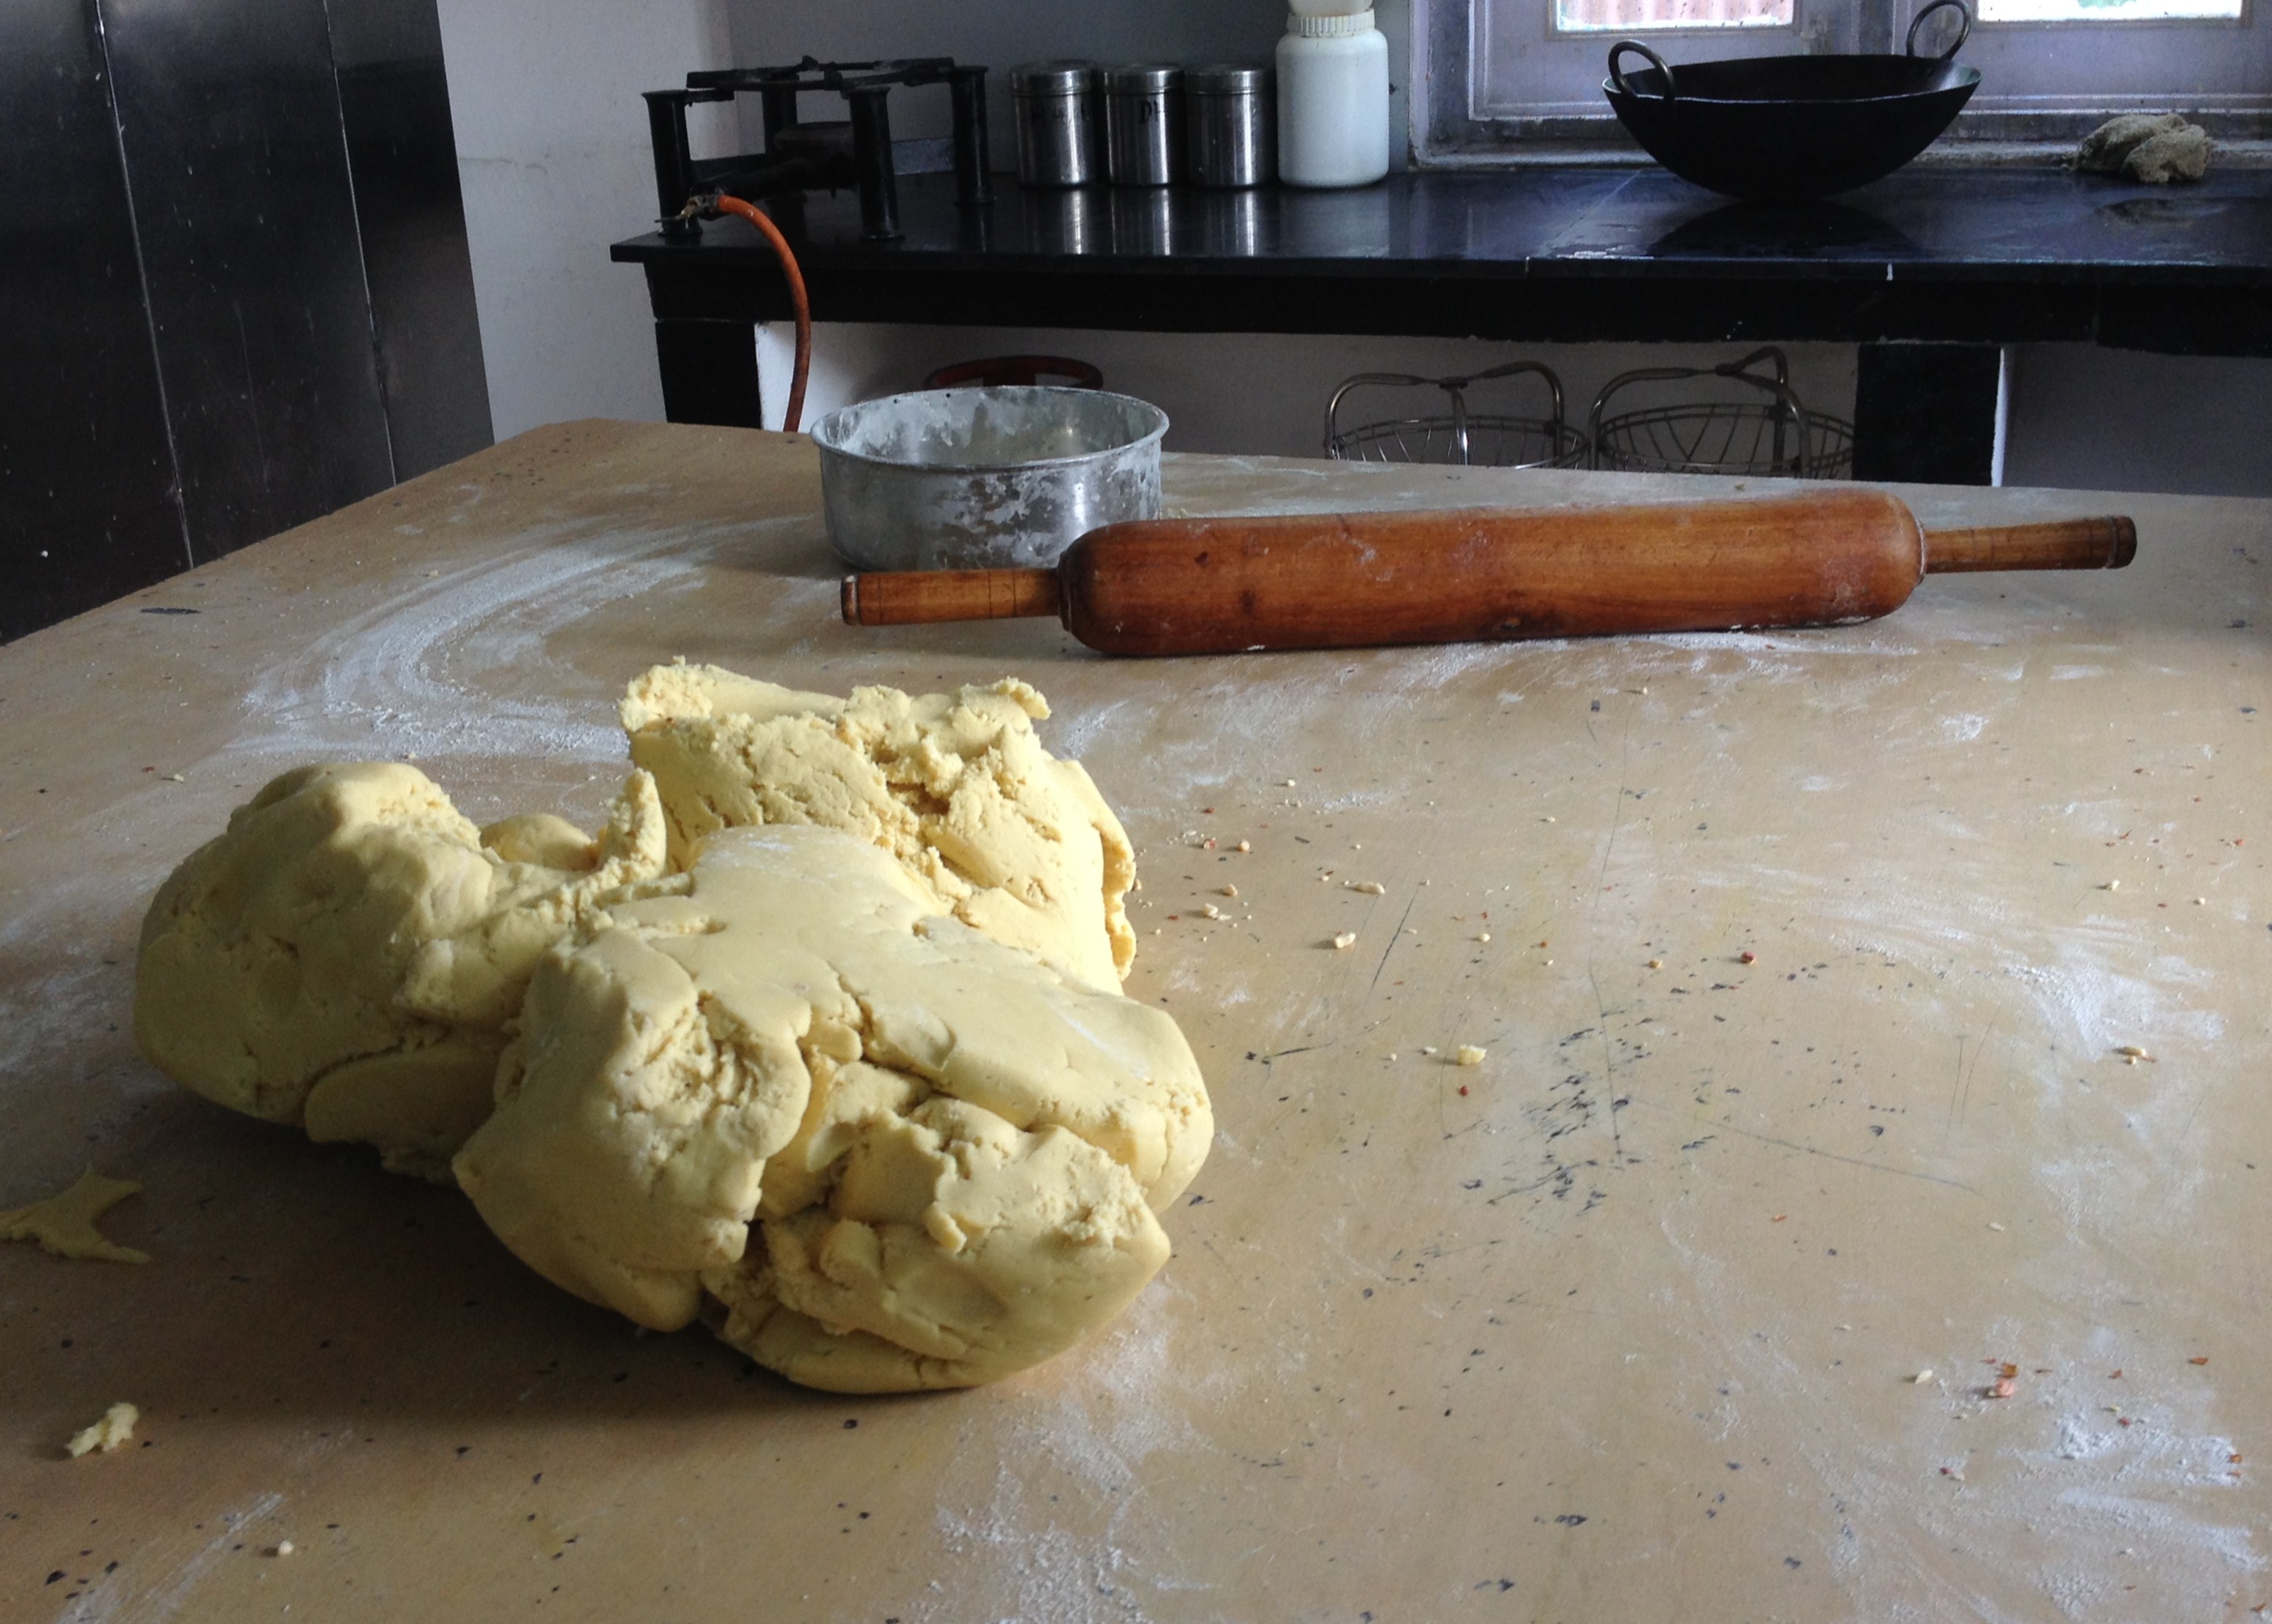
These biscuits are made with all purpose flour, margarine, sugar, salt, baking powder and a few more preservatives added to the sugar and flour for packaging purposes.. The ingredients used here are for bulk packaging, and henced provide us a basic understanding of baking  biscuits on a larger scale.  But, it is the process of making that made the workshop interesting – the swiftness of those hands in kneading the dough, rolling out evenly on the table,  sprinkling nuts, cutting them into perfect pieces, arranging in huge trays and placing in several racks and the most important of all – baking to perfection.

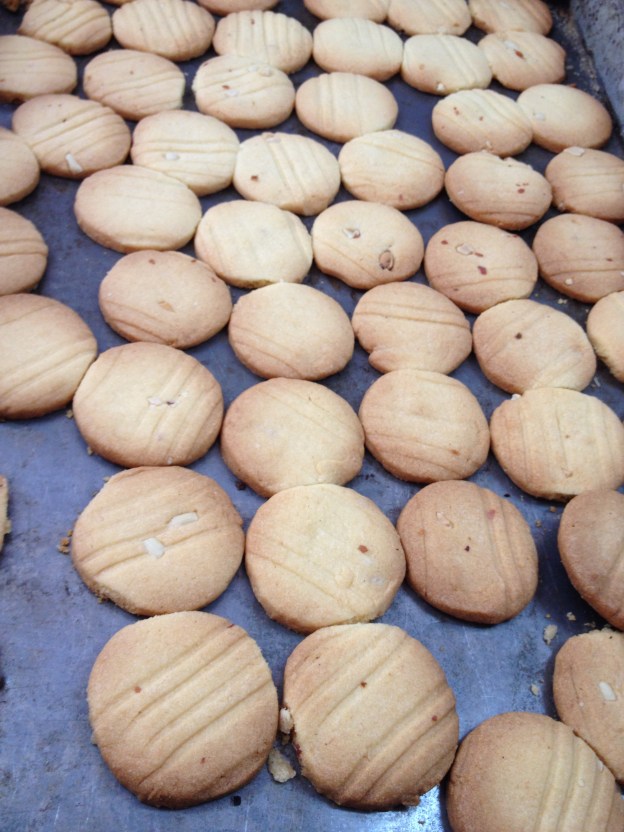
Whatever be its name- cookie or biscuit – it is hardwork at its best – the outcome being crisp, sweet and golden.
  

Making of the Biscuit
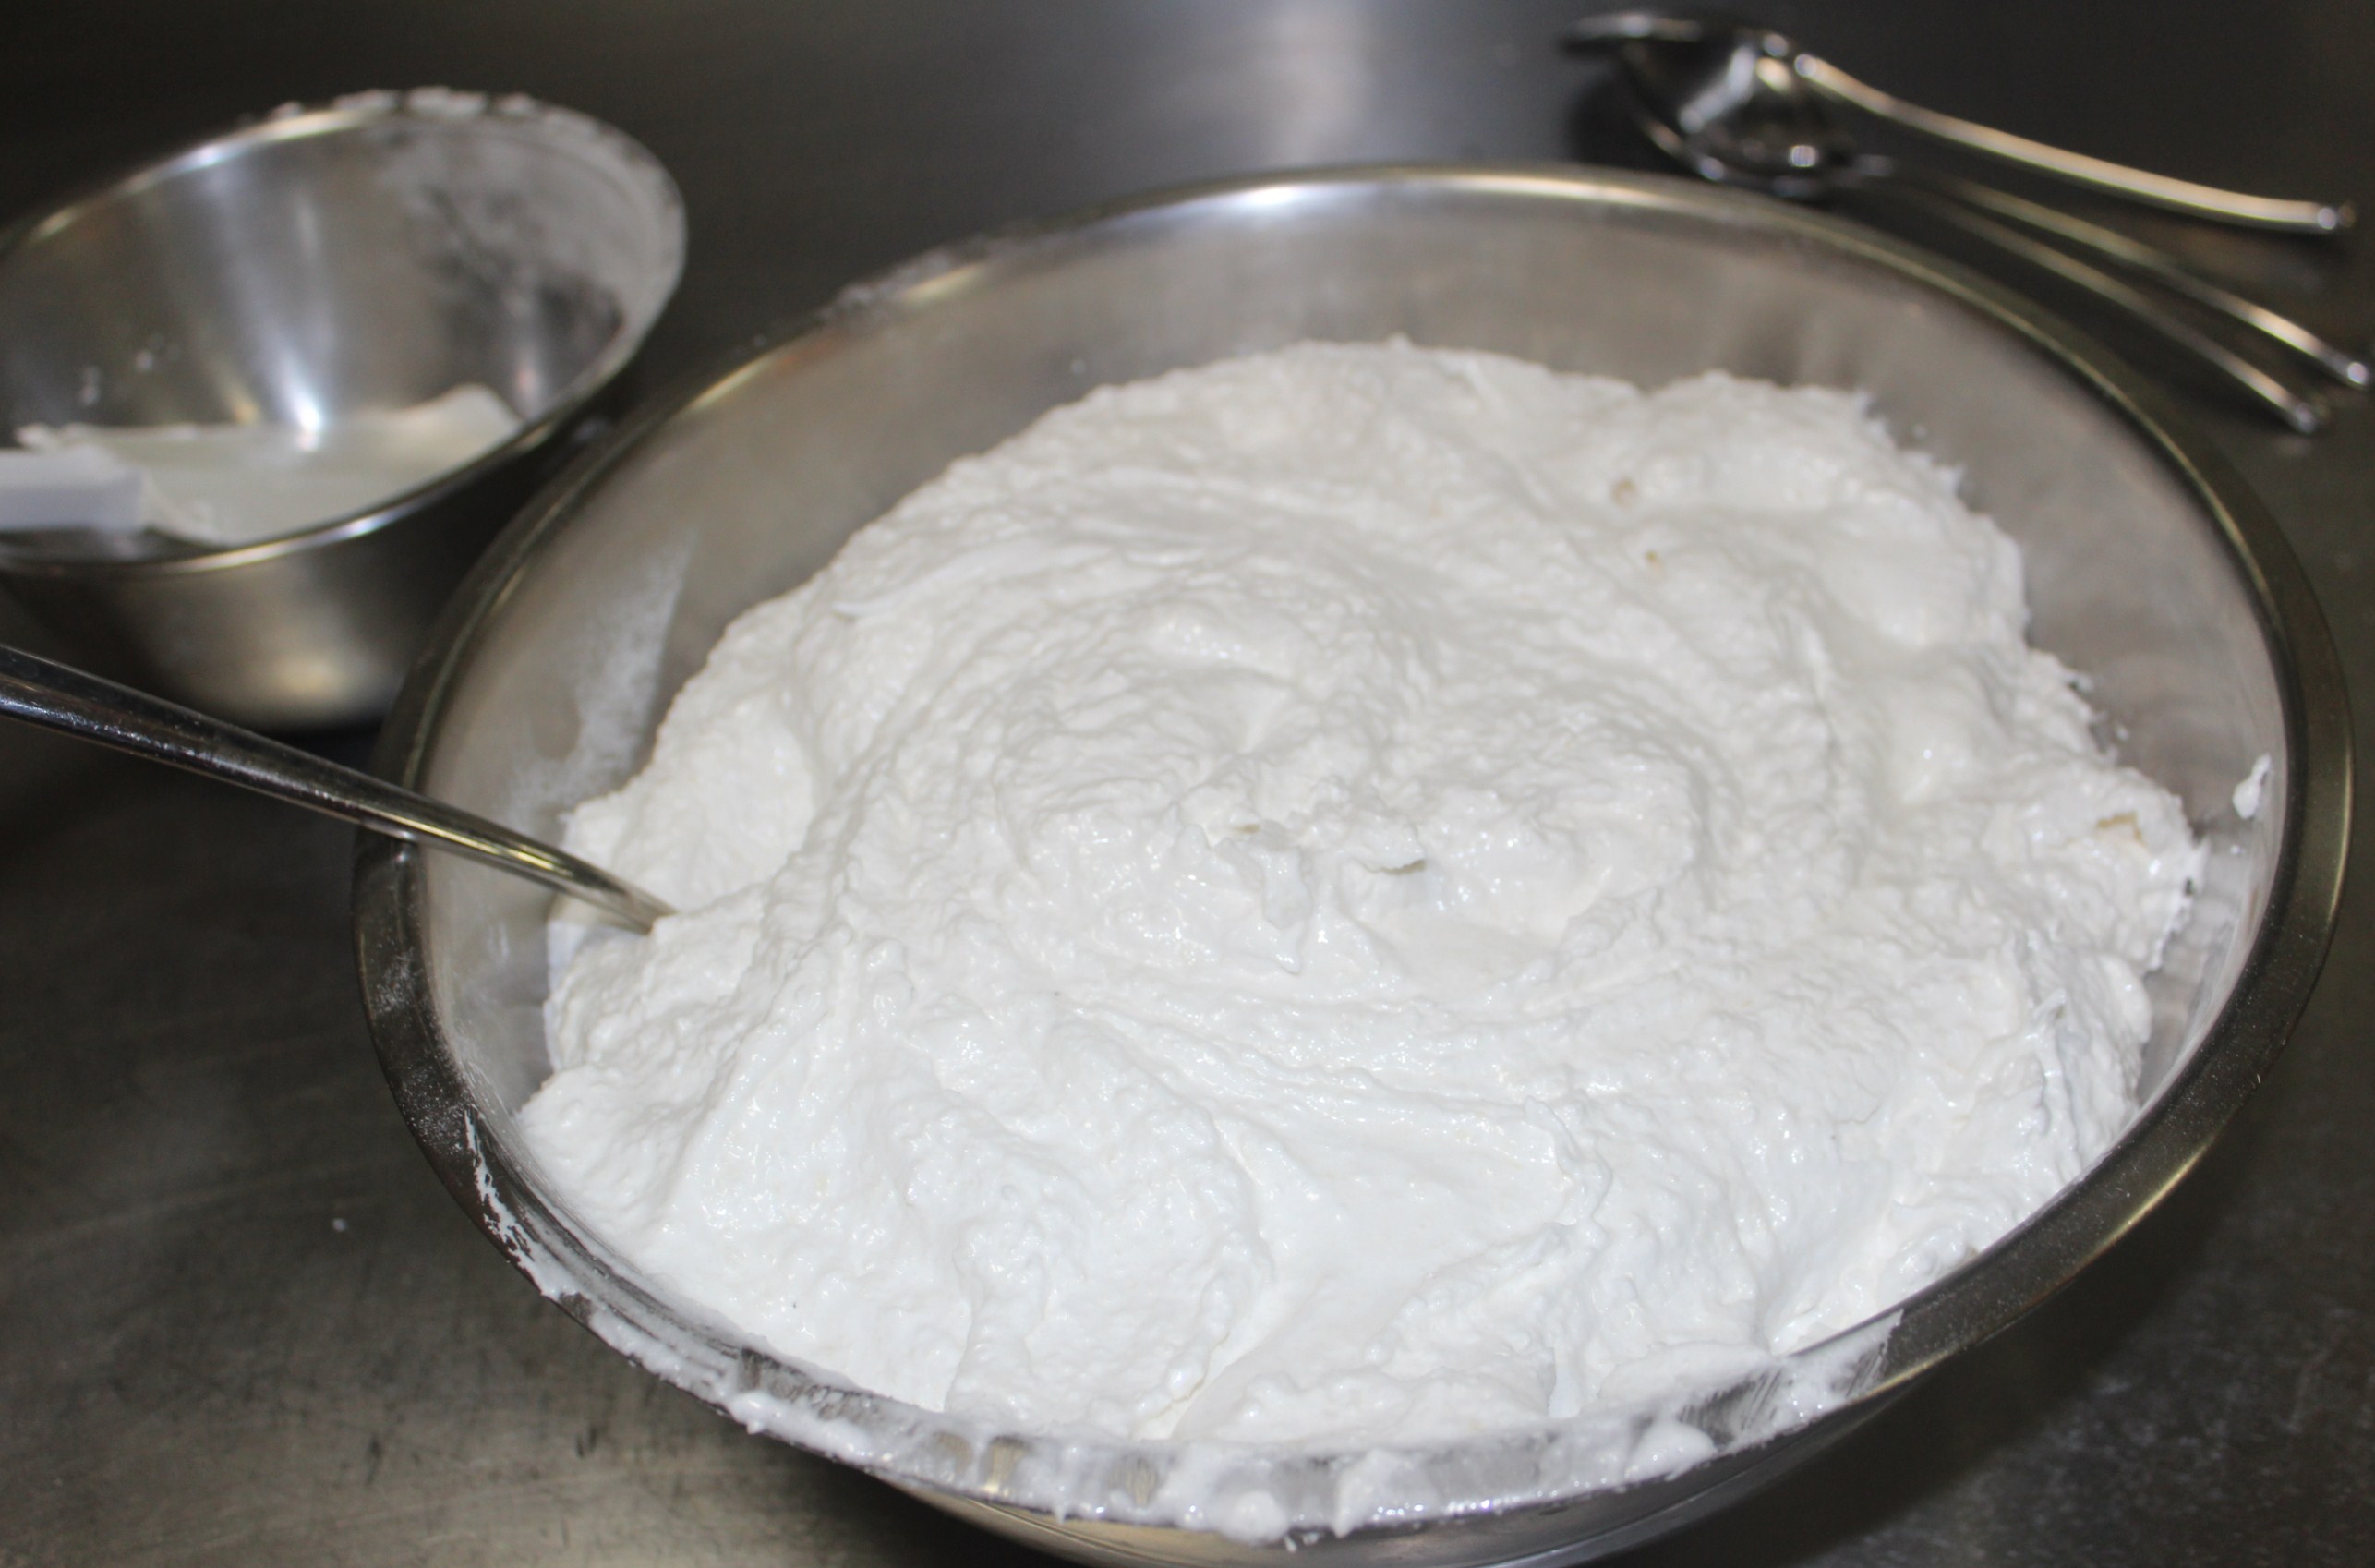
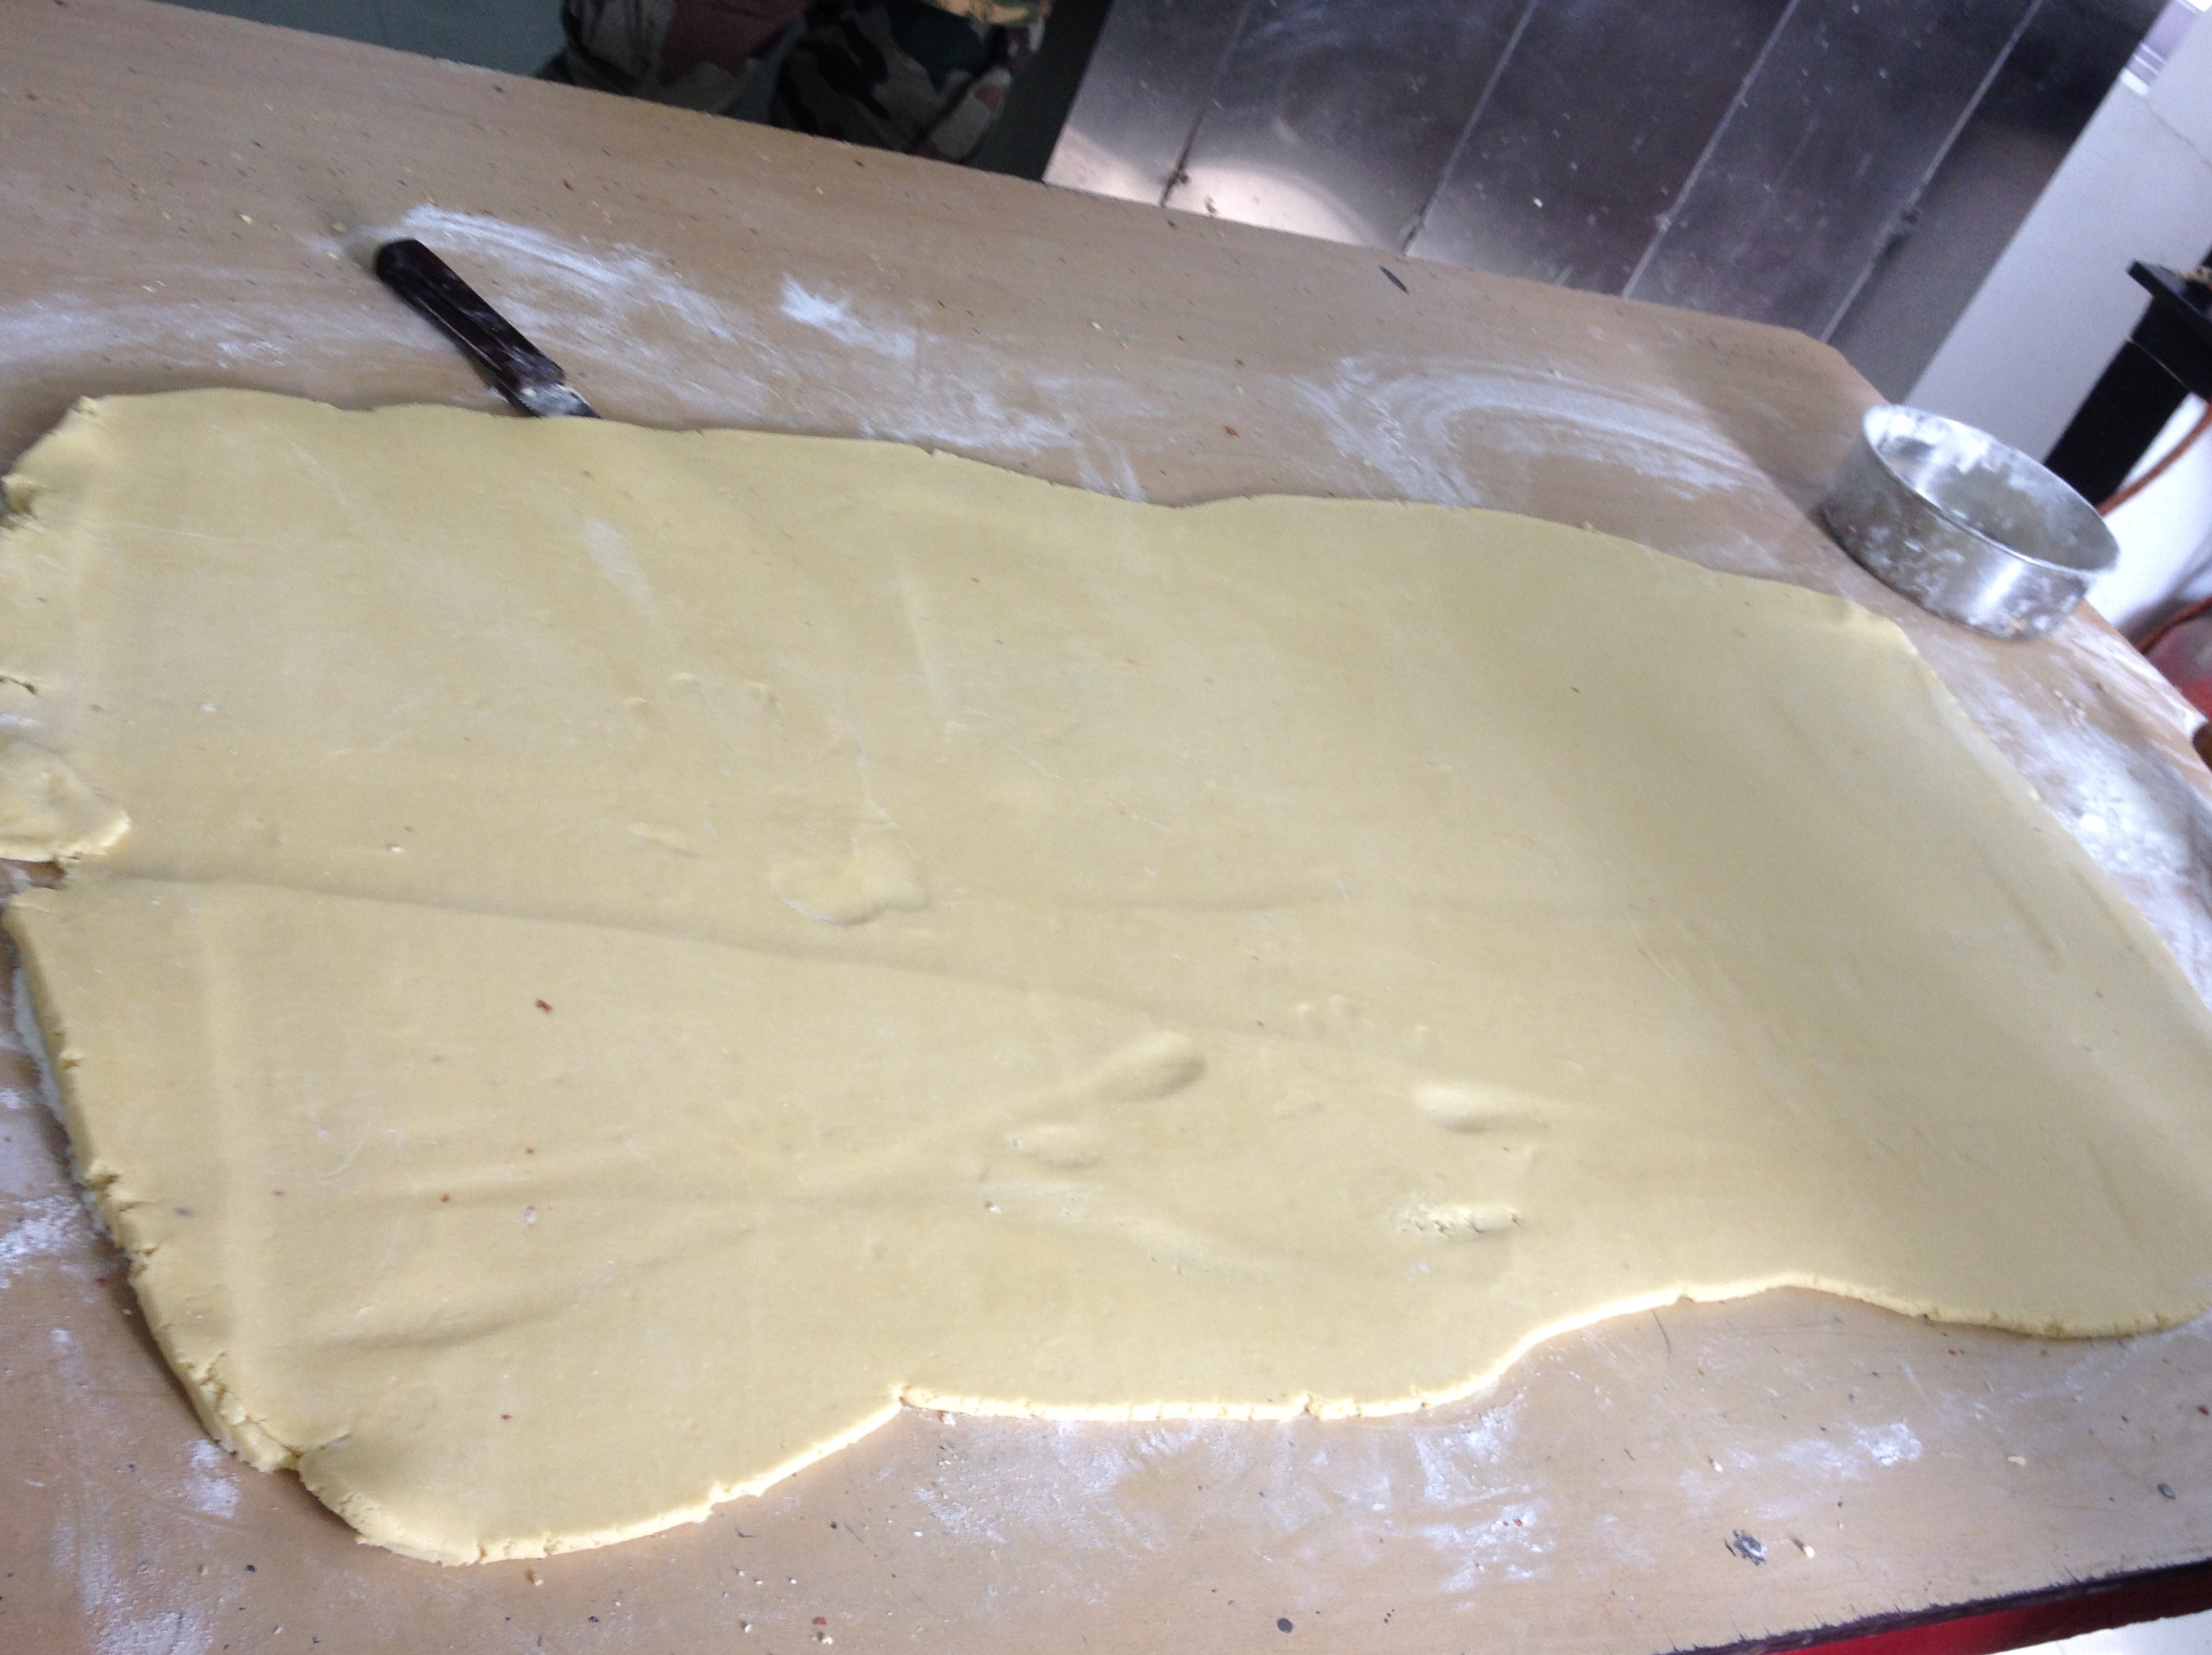
the kneaded dough –


Rolling the dough thin and even –


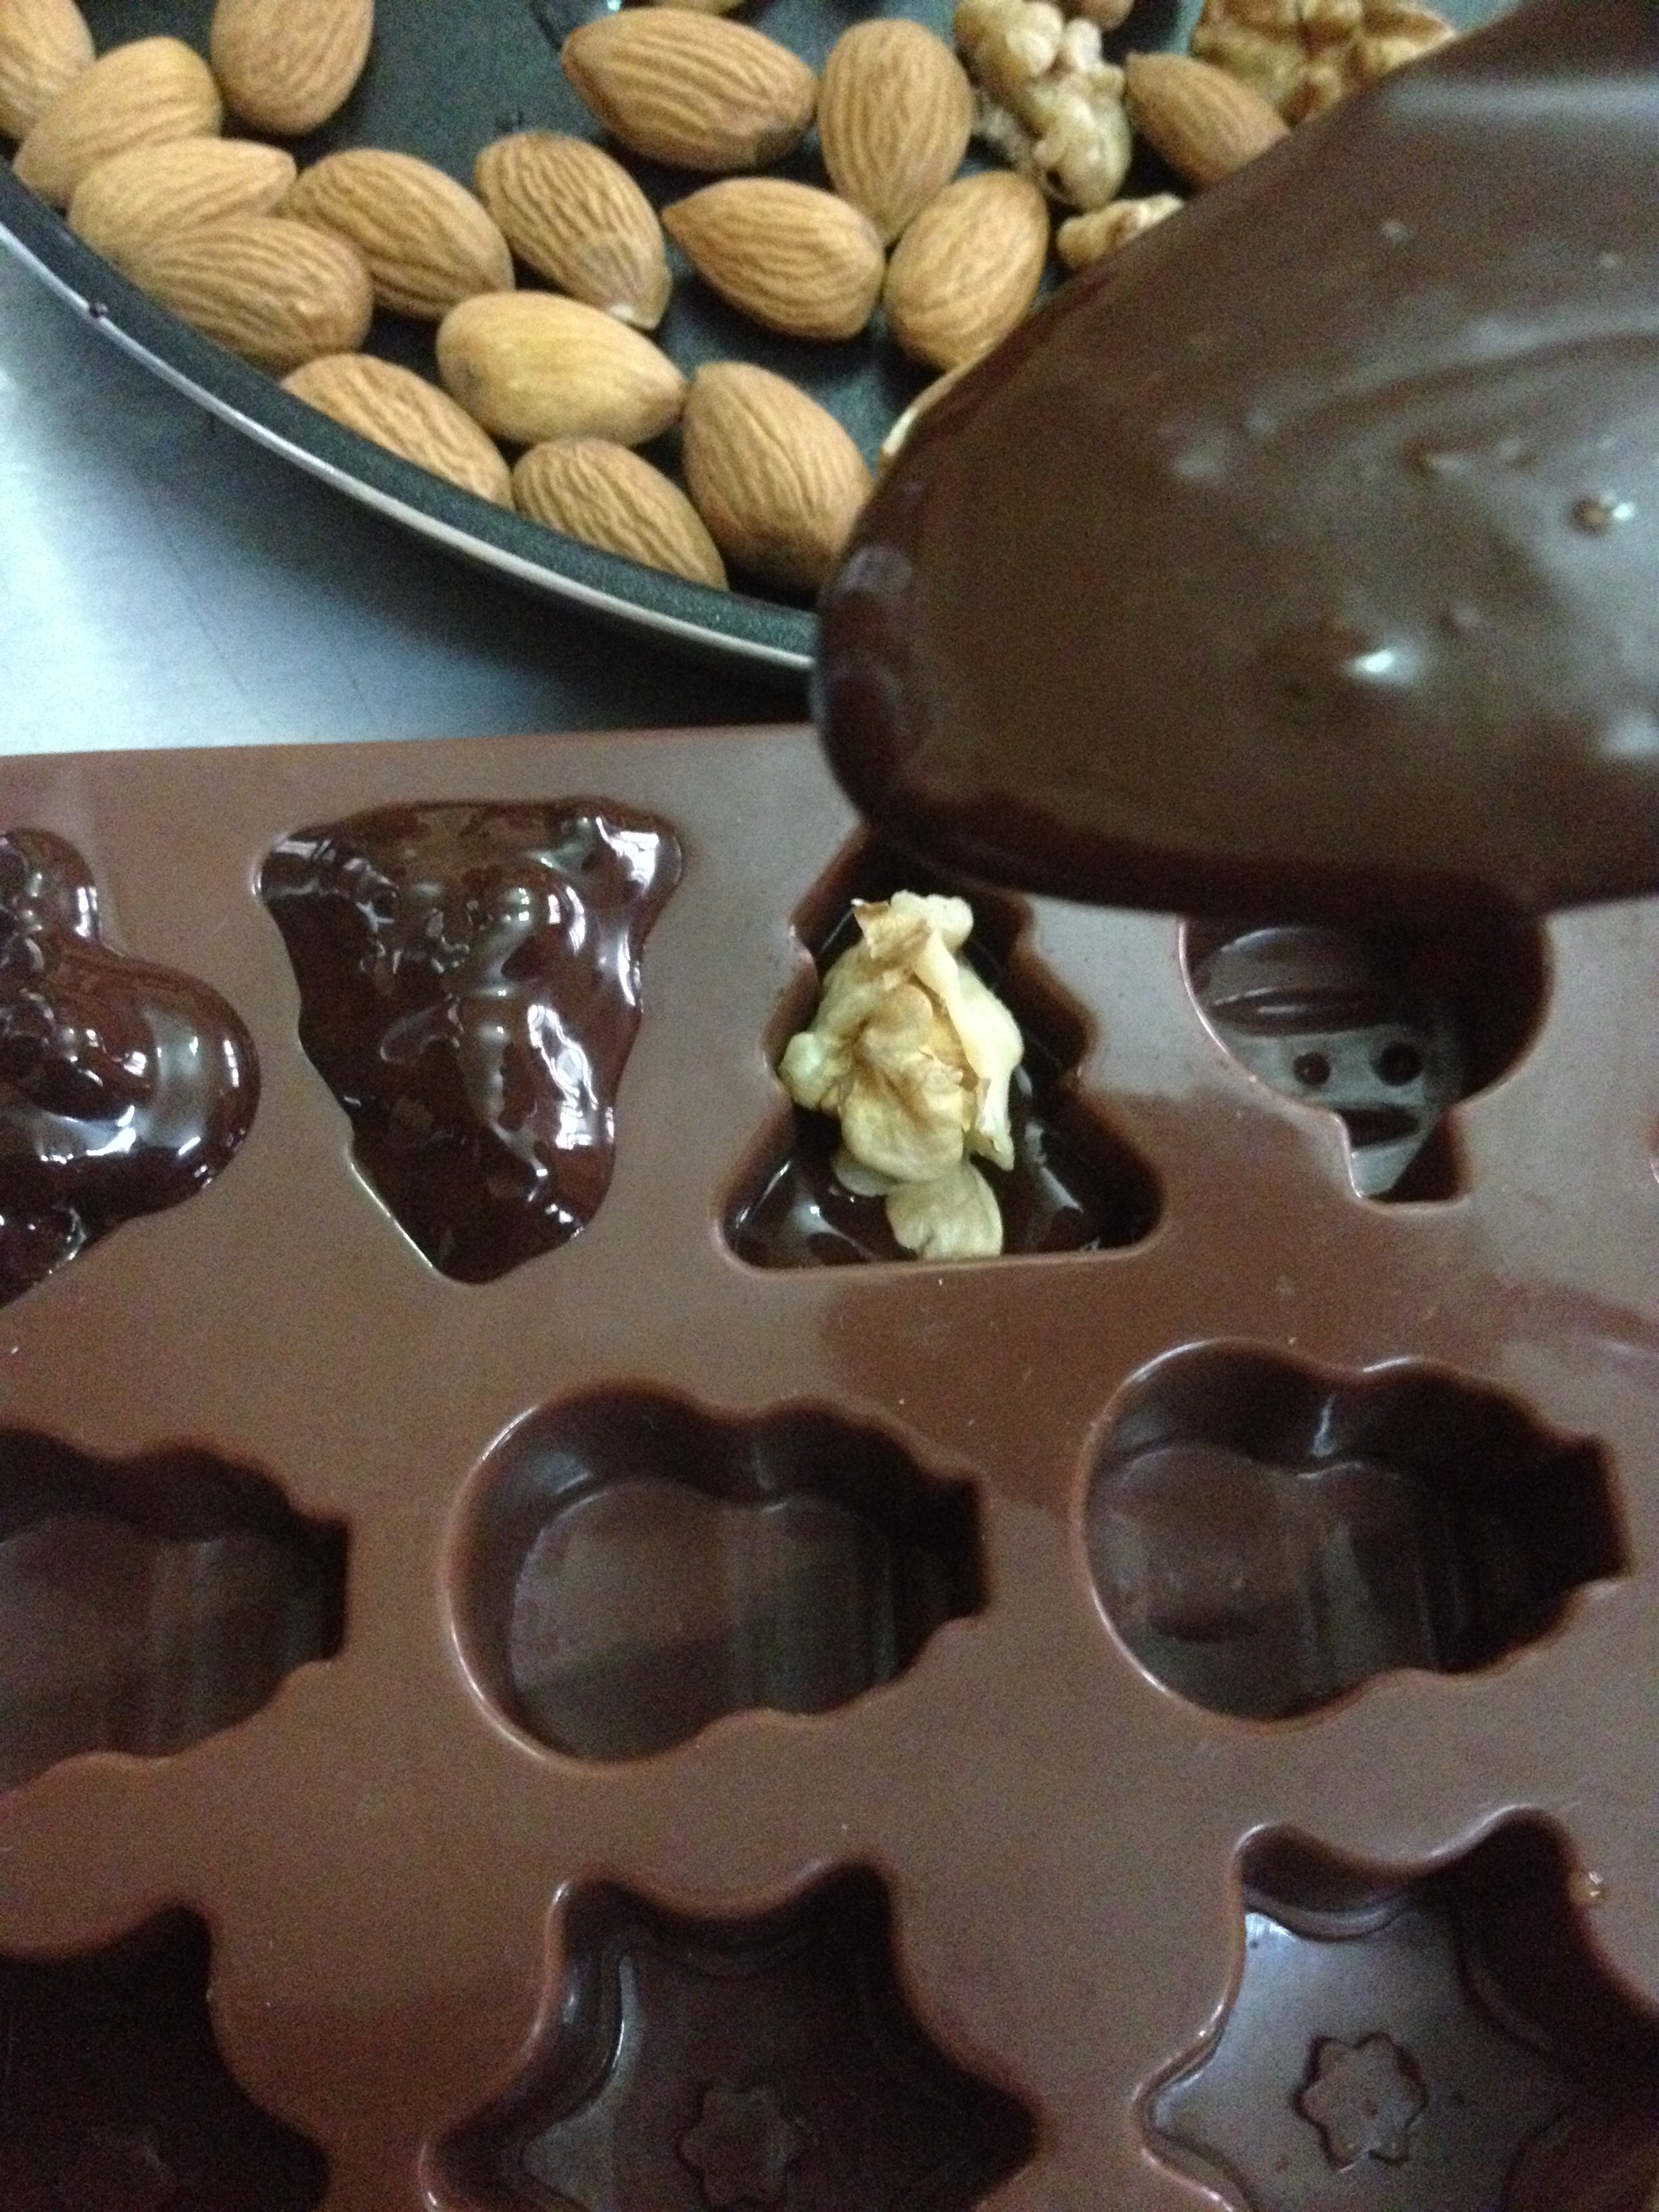
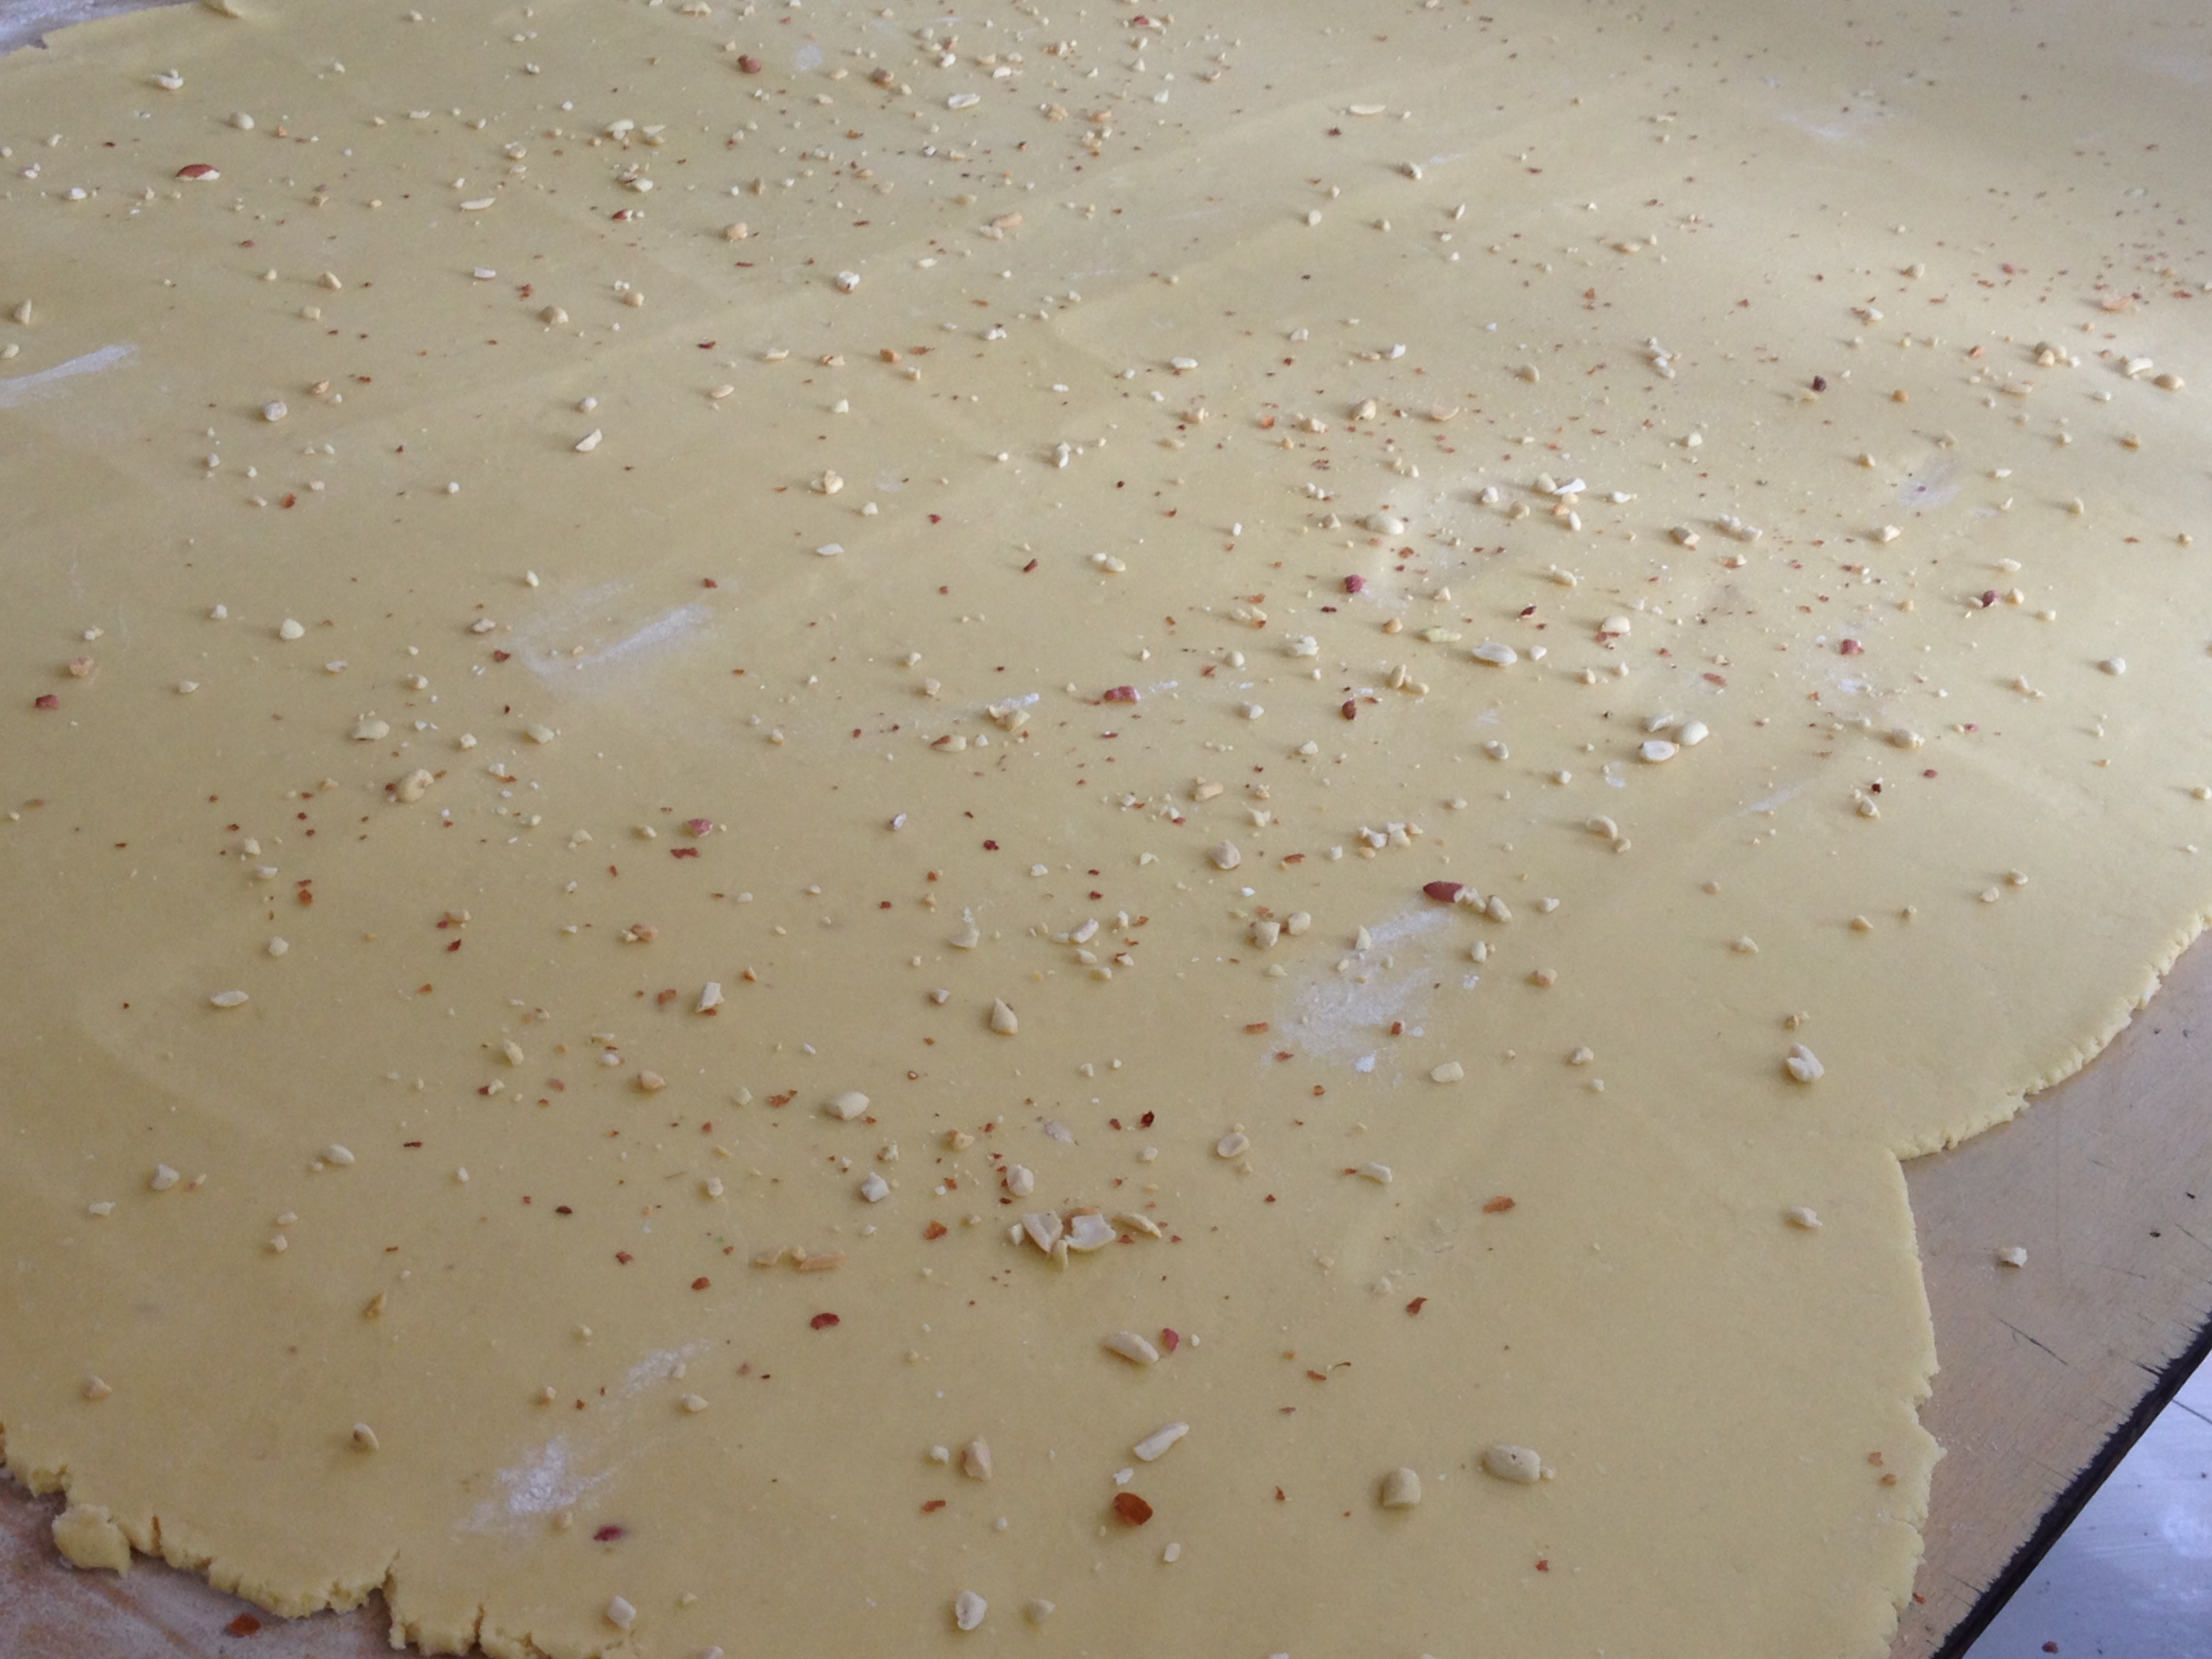
sprinkling the nuts –
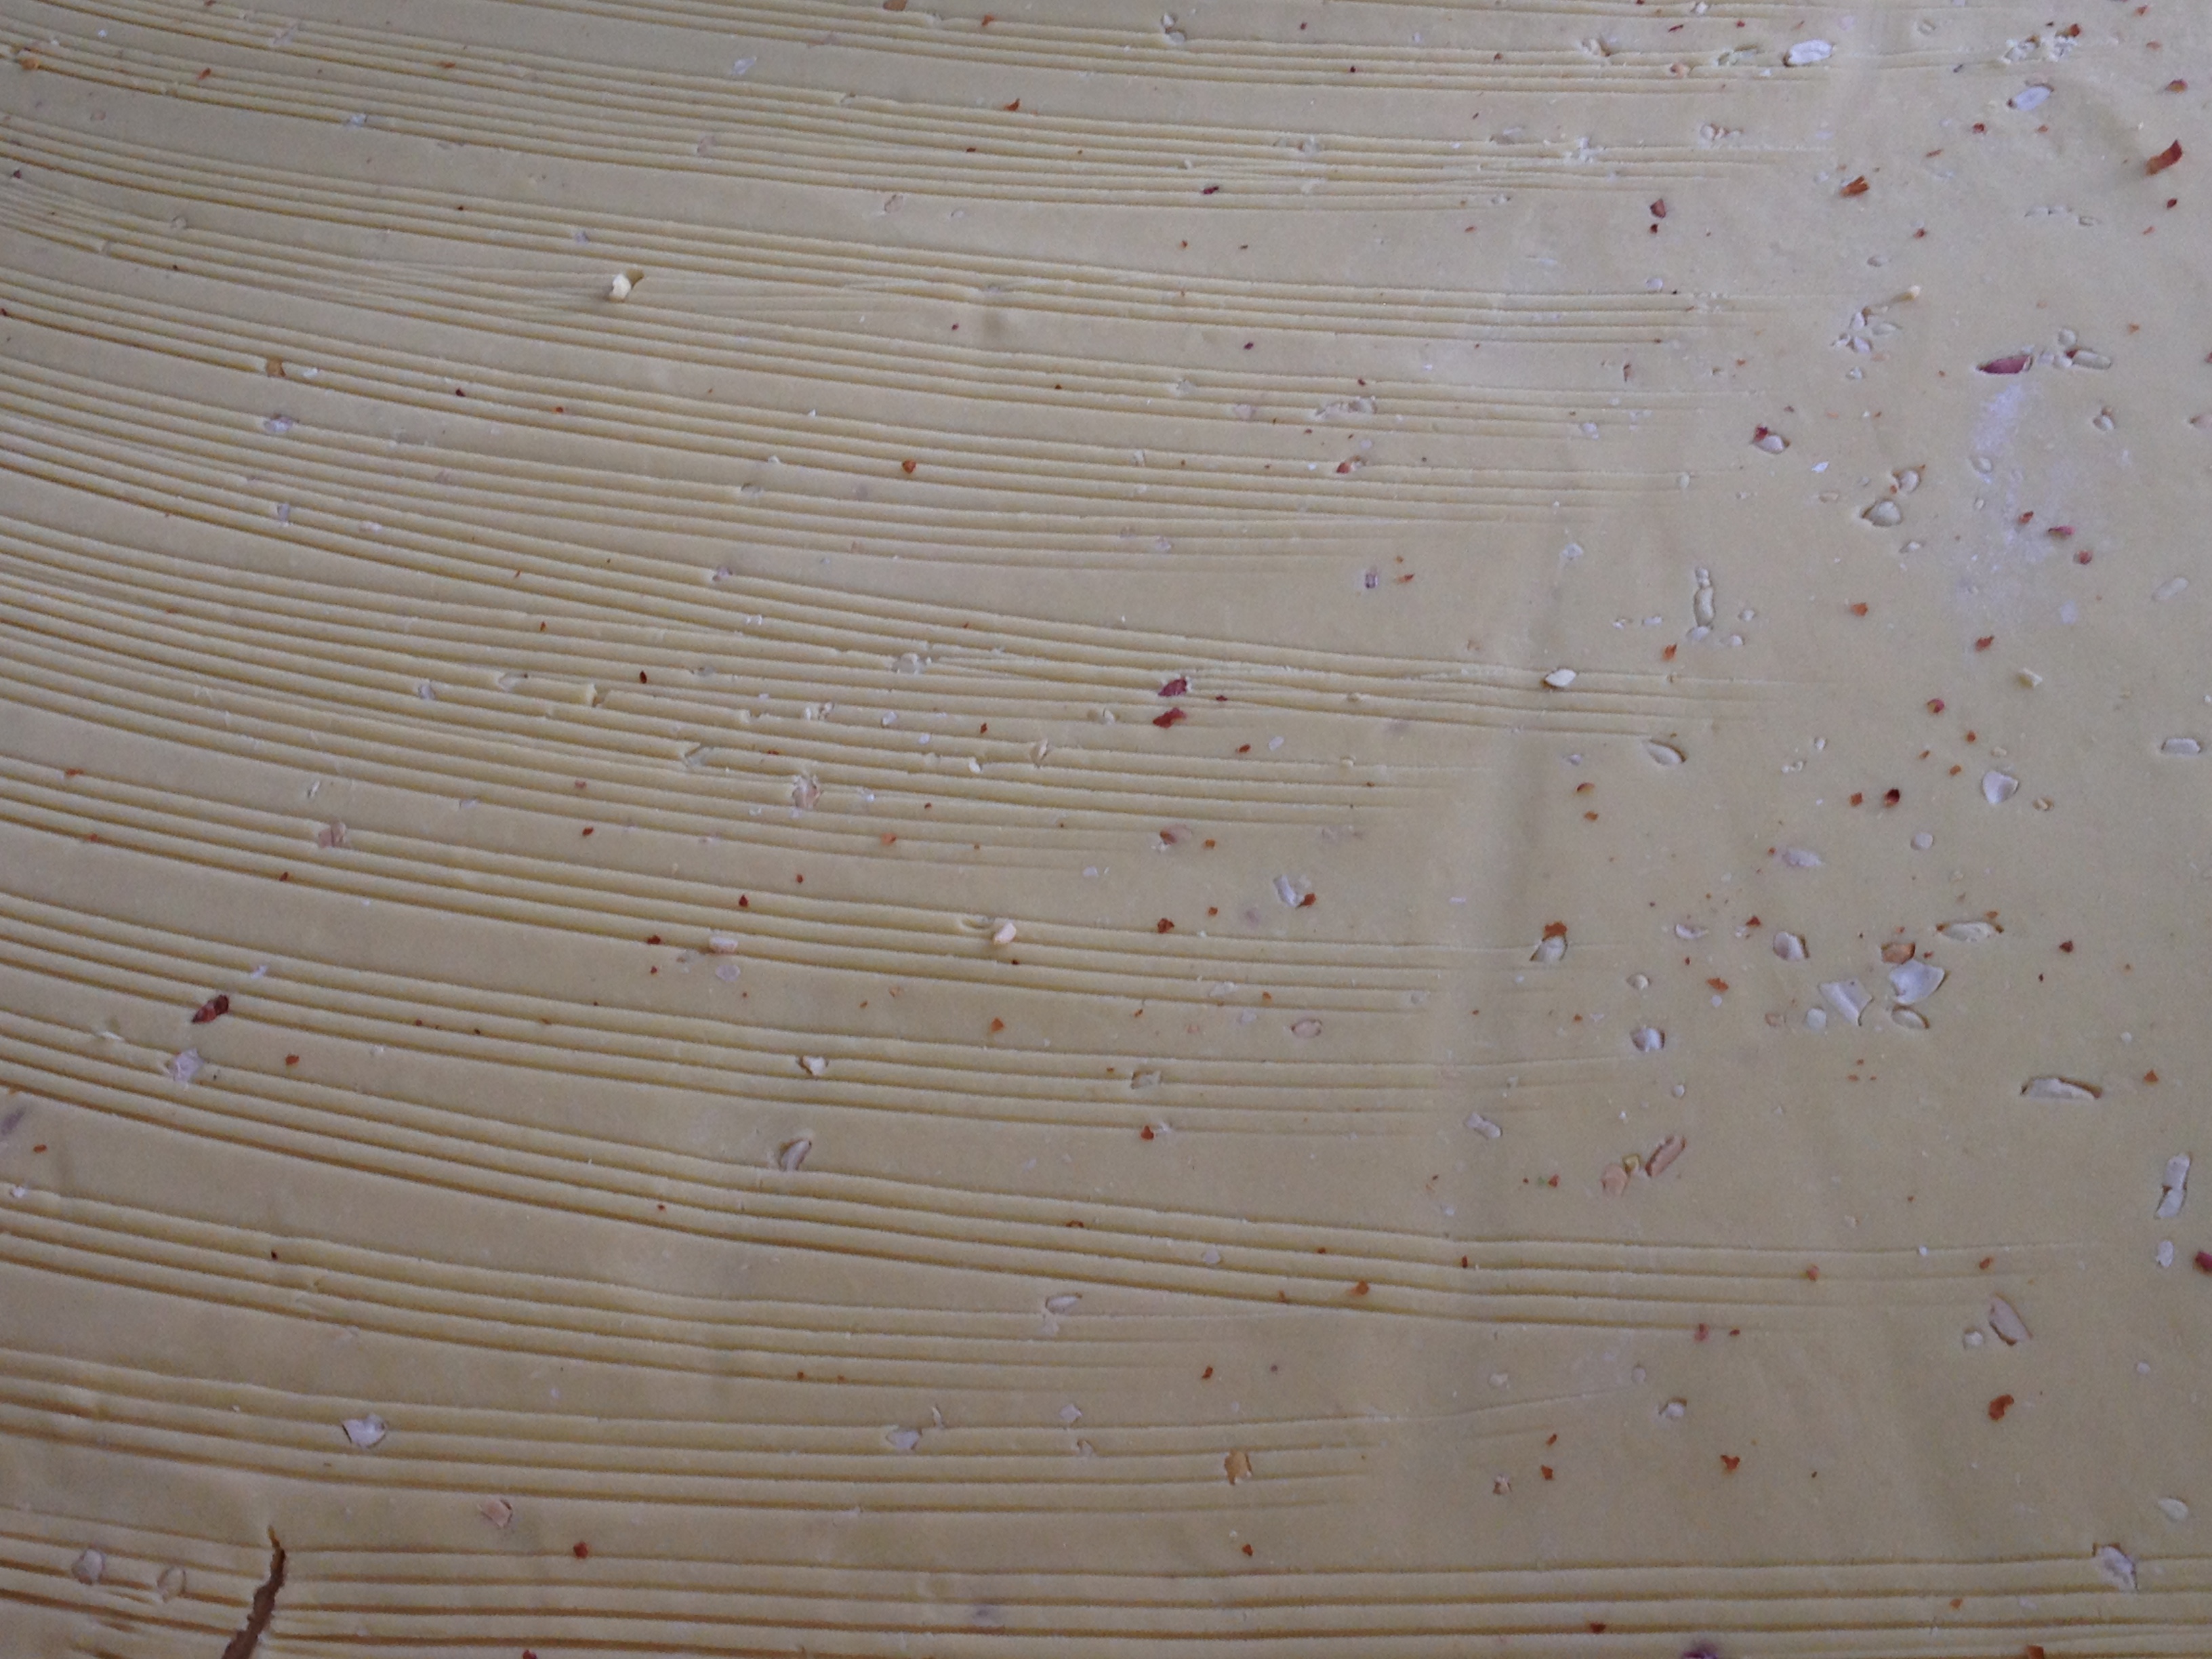


making a pattern –


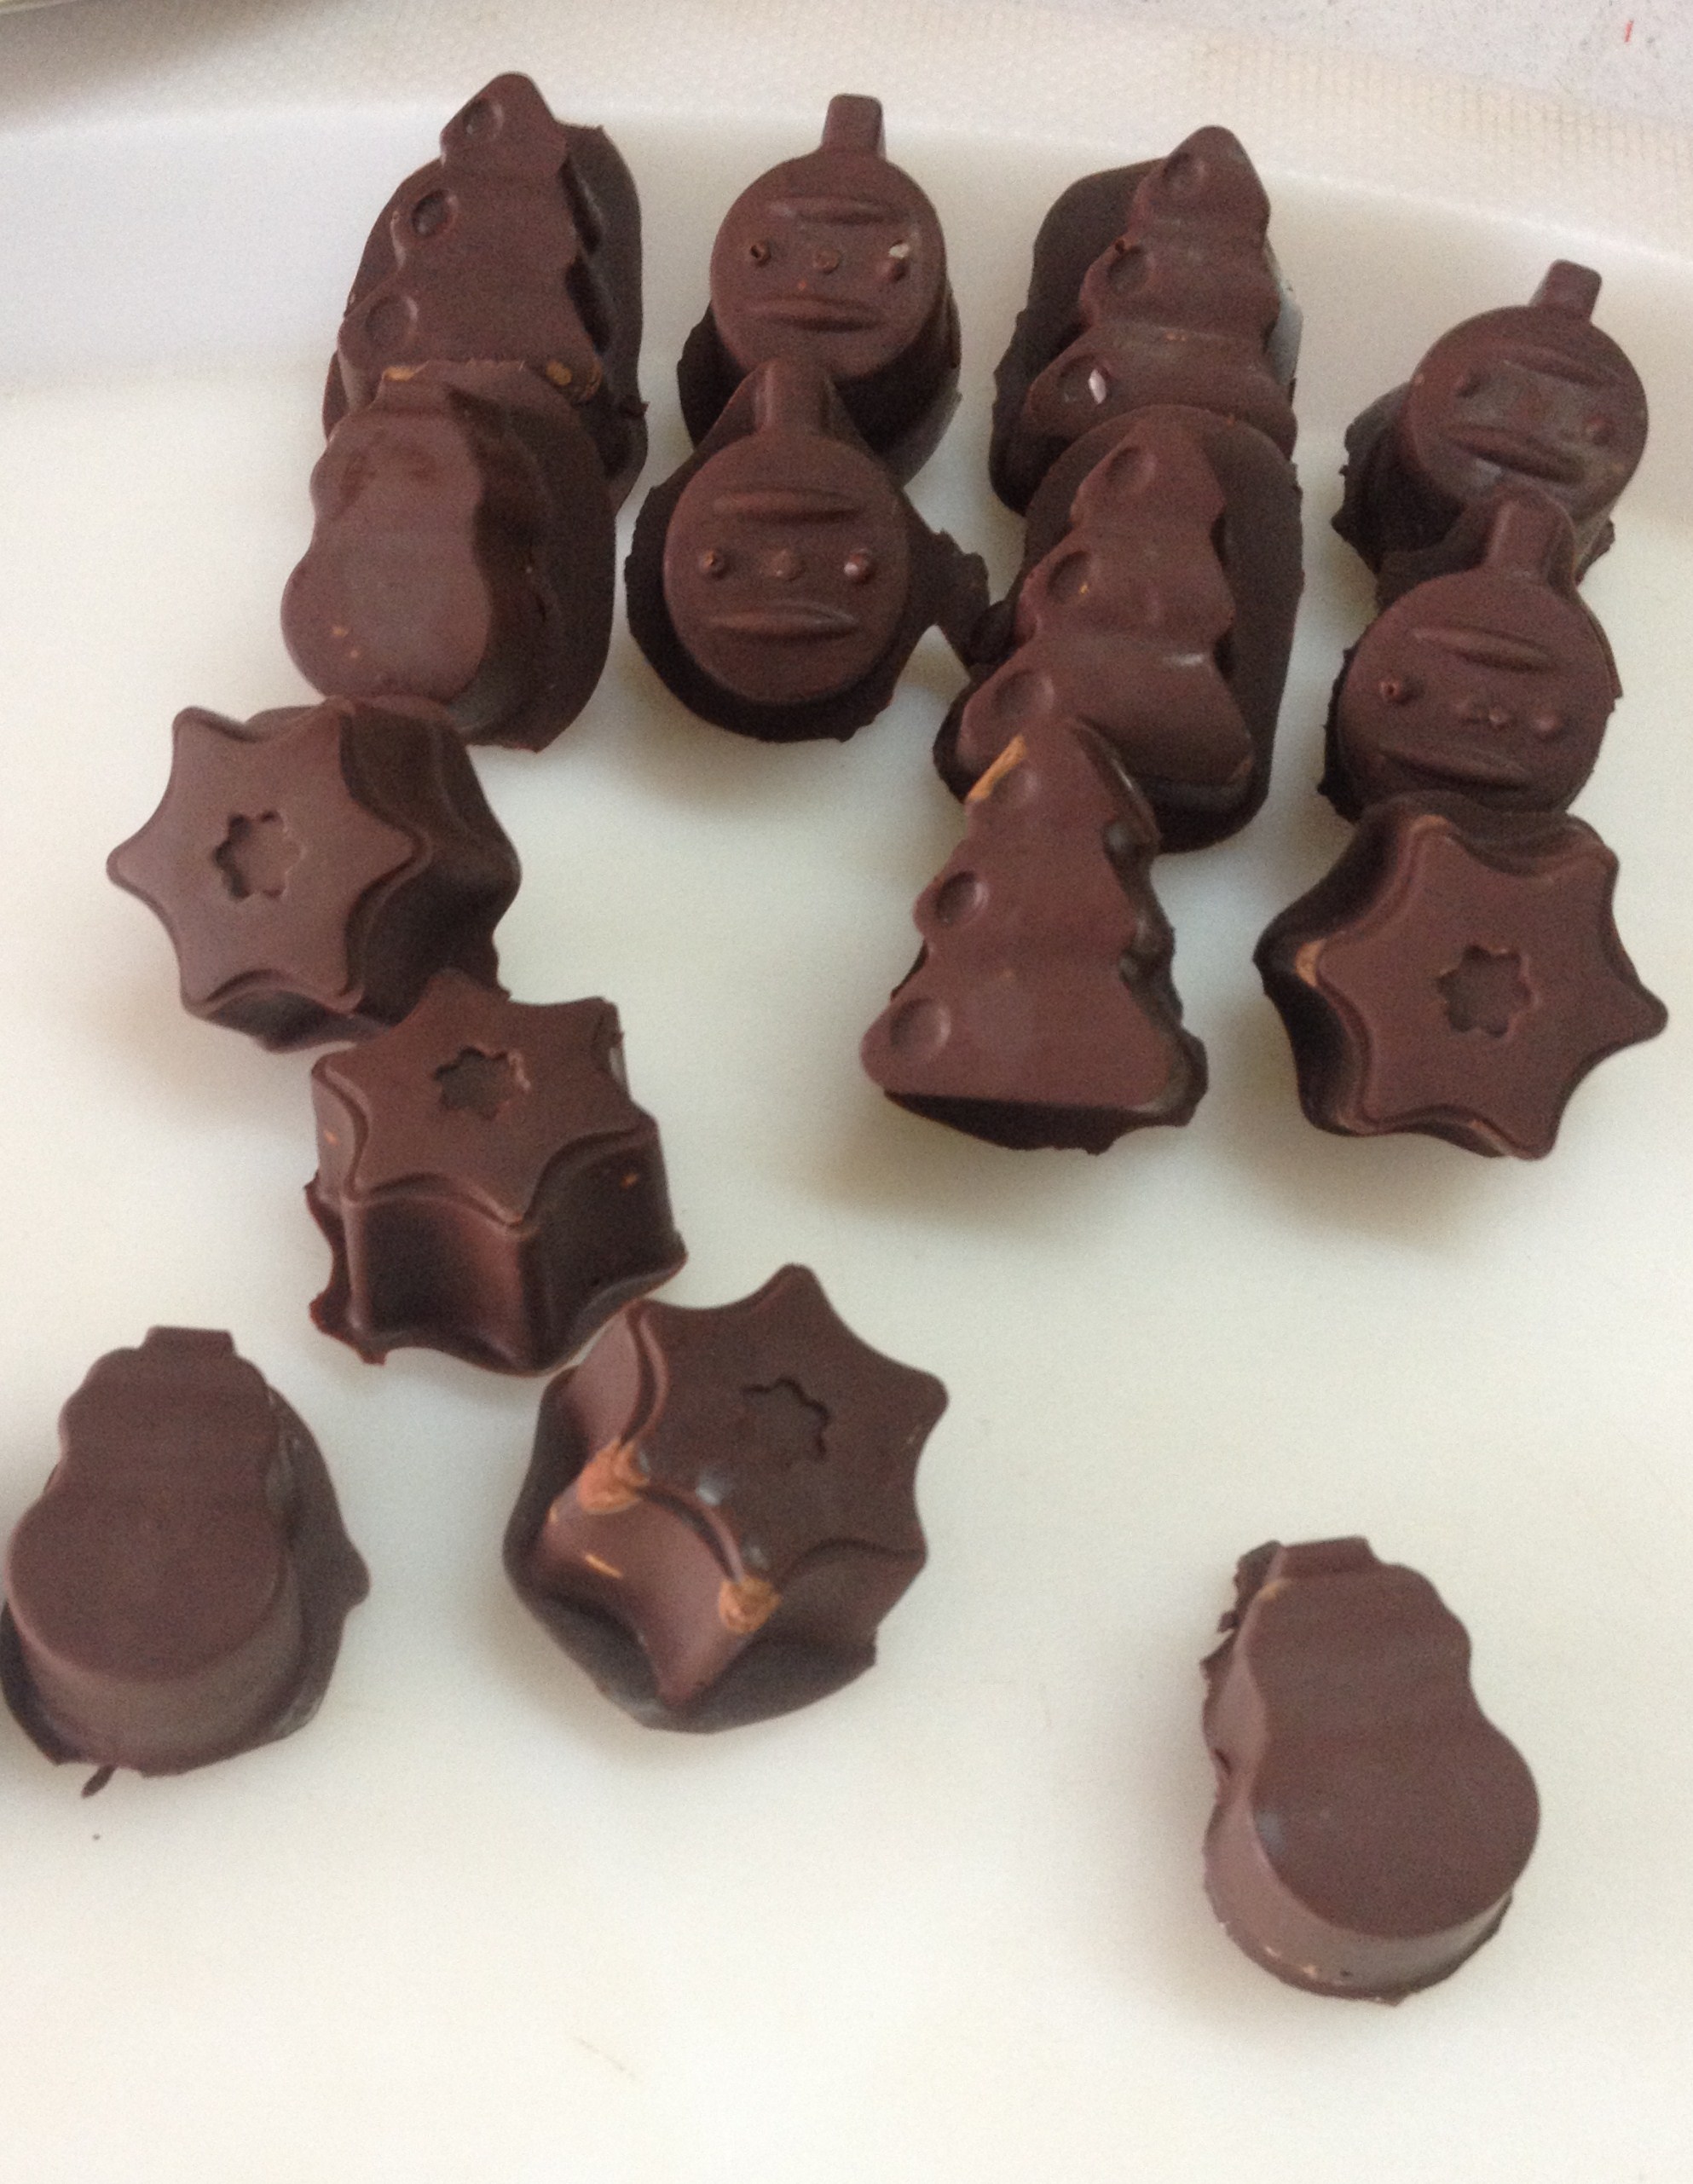
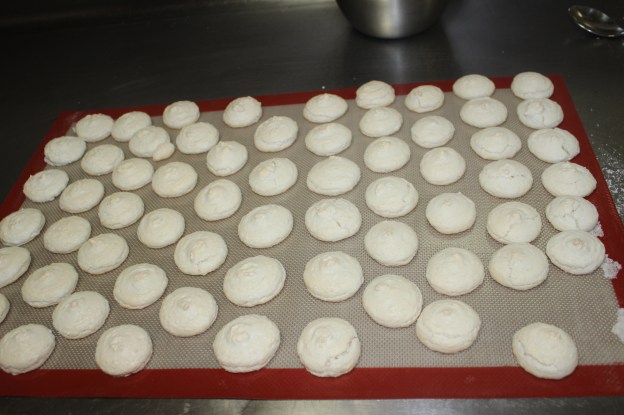
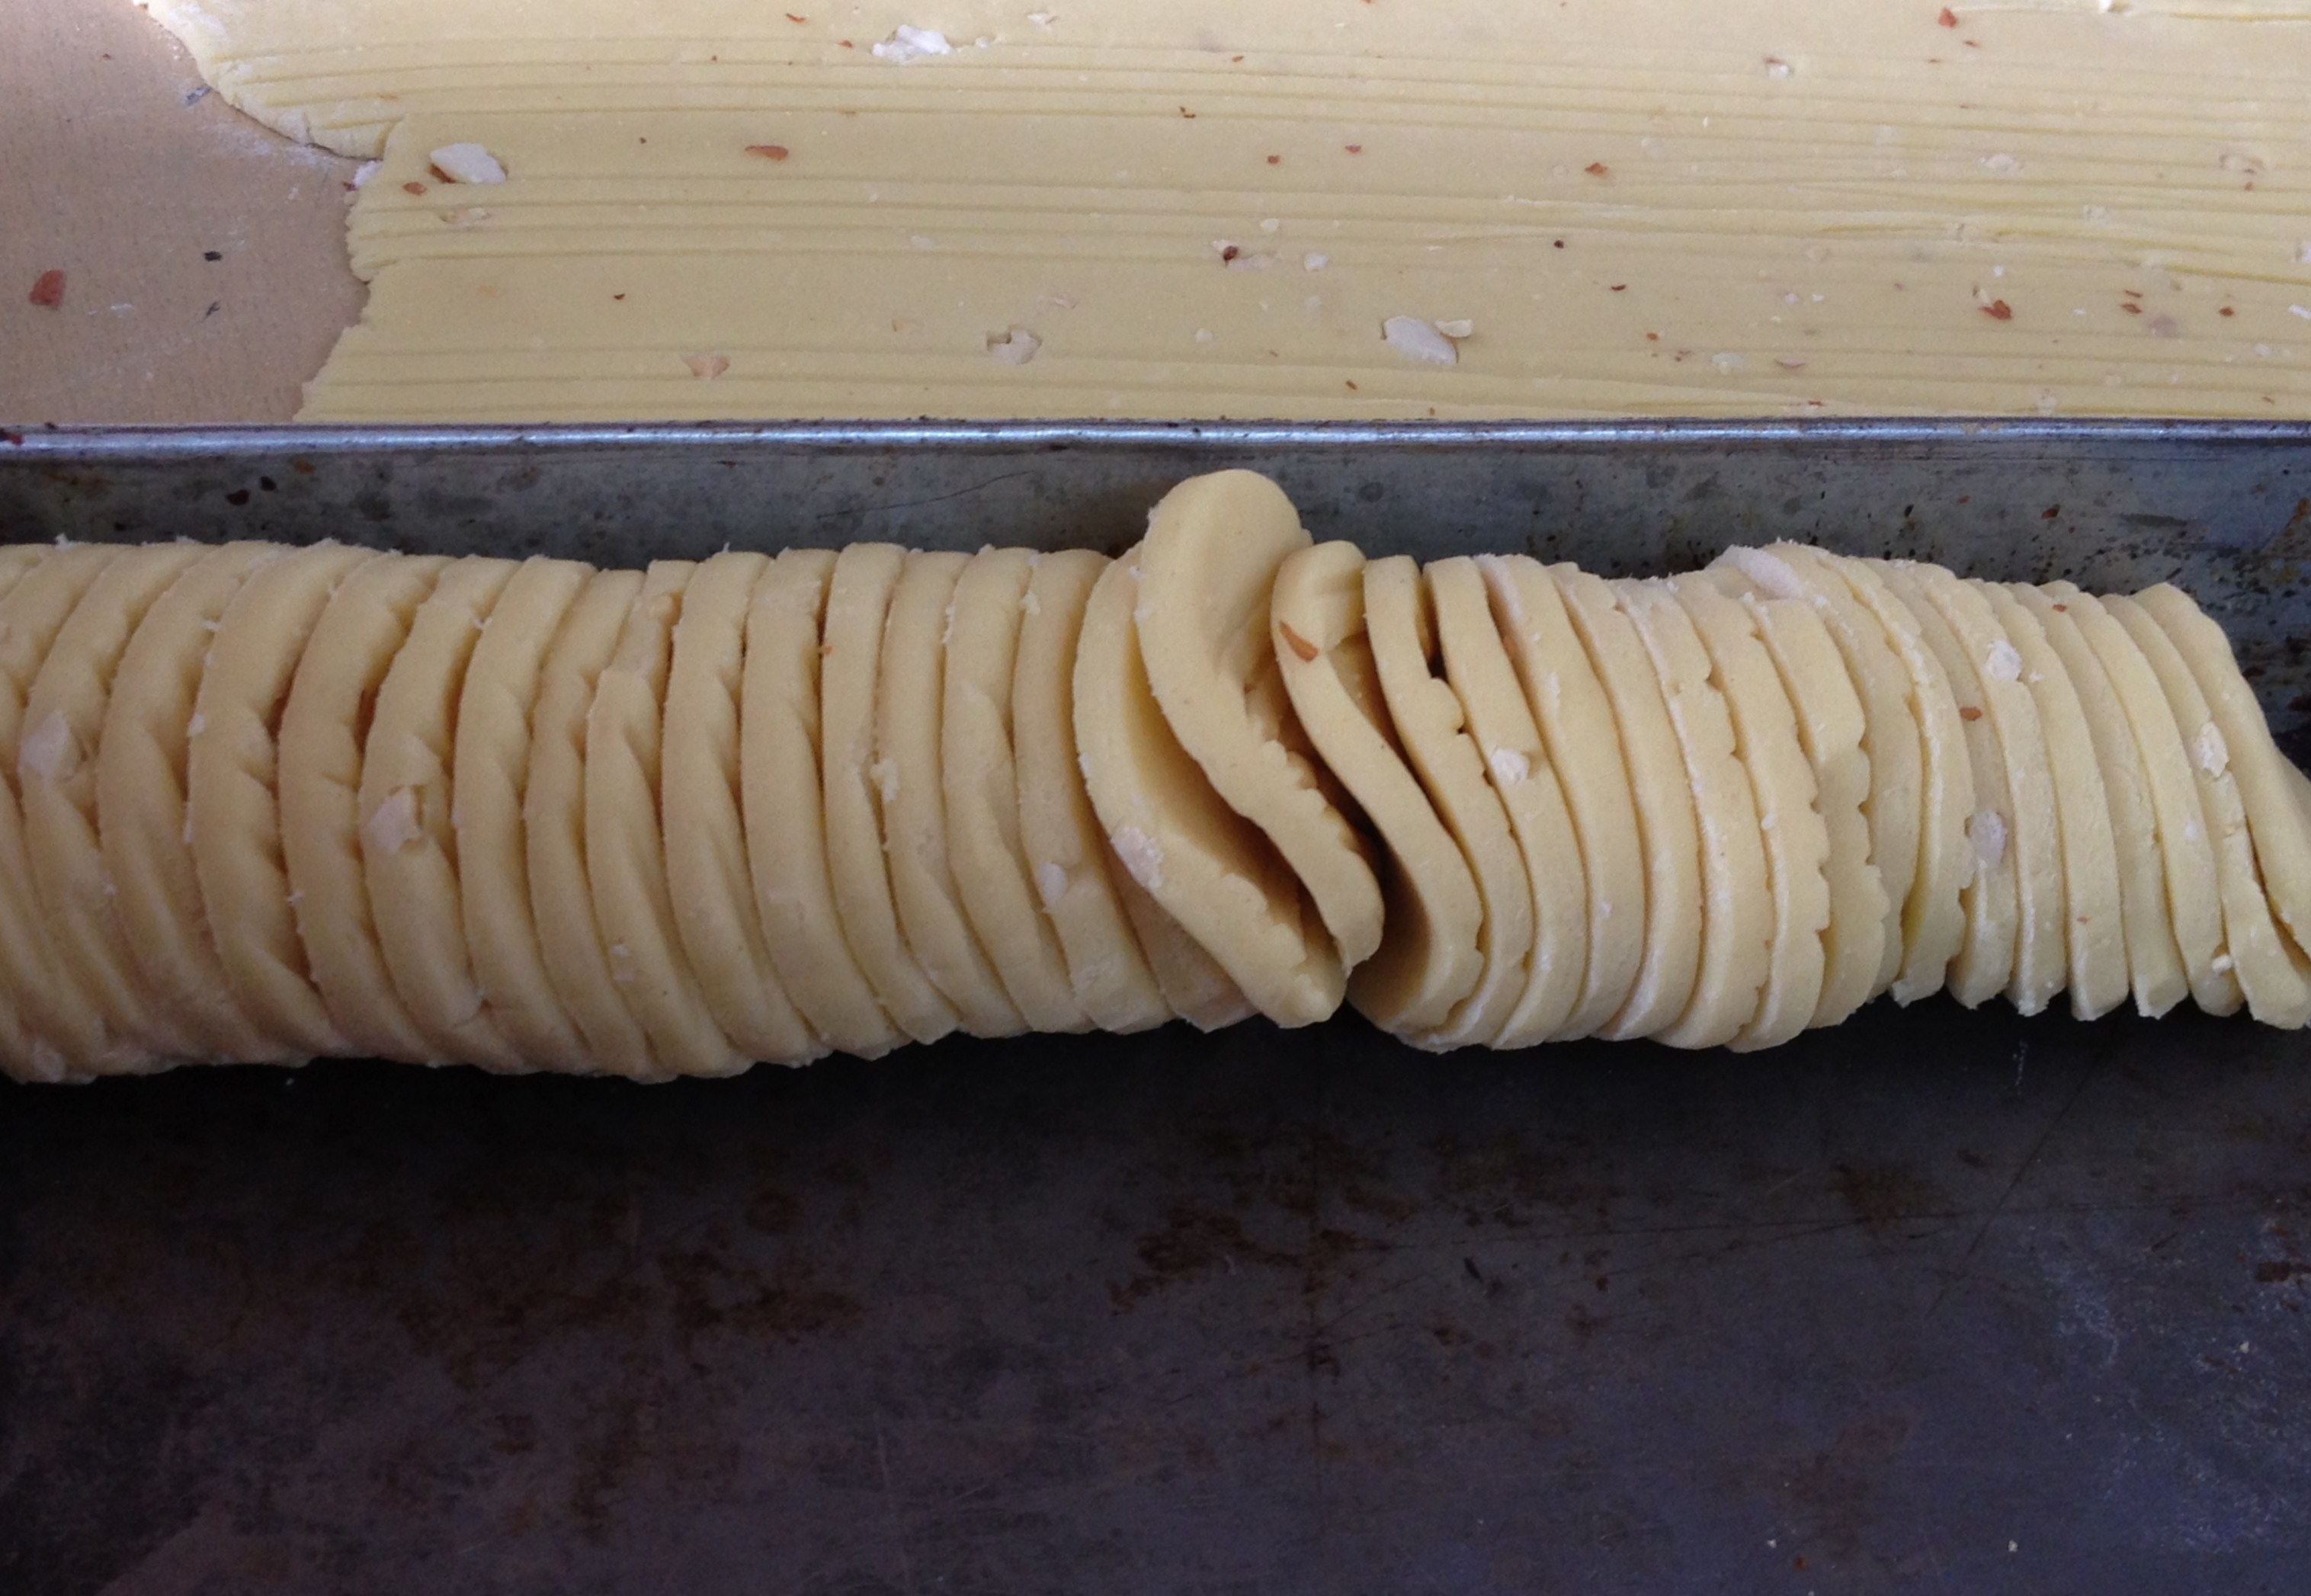
cut into equal rounds and  arranged beautifully –
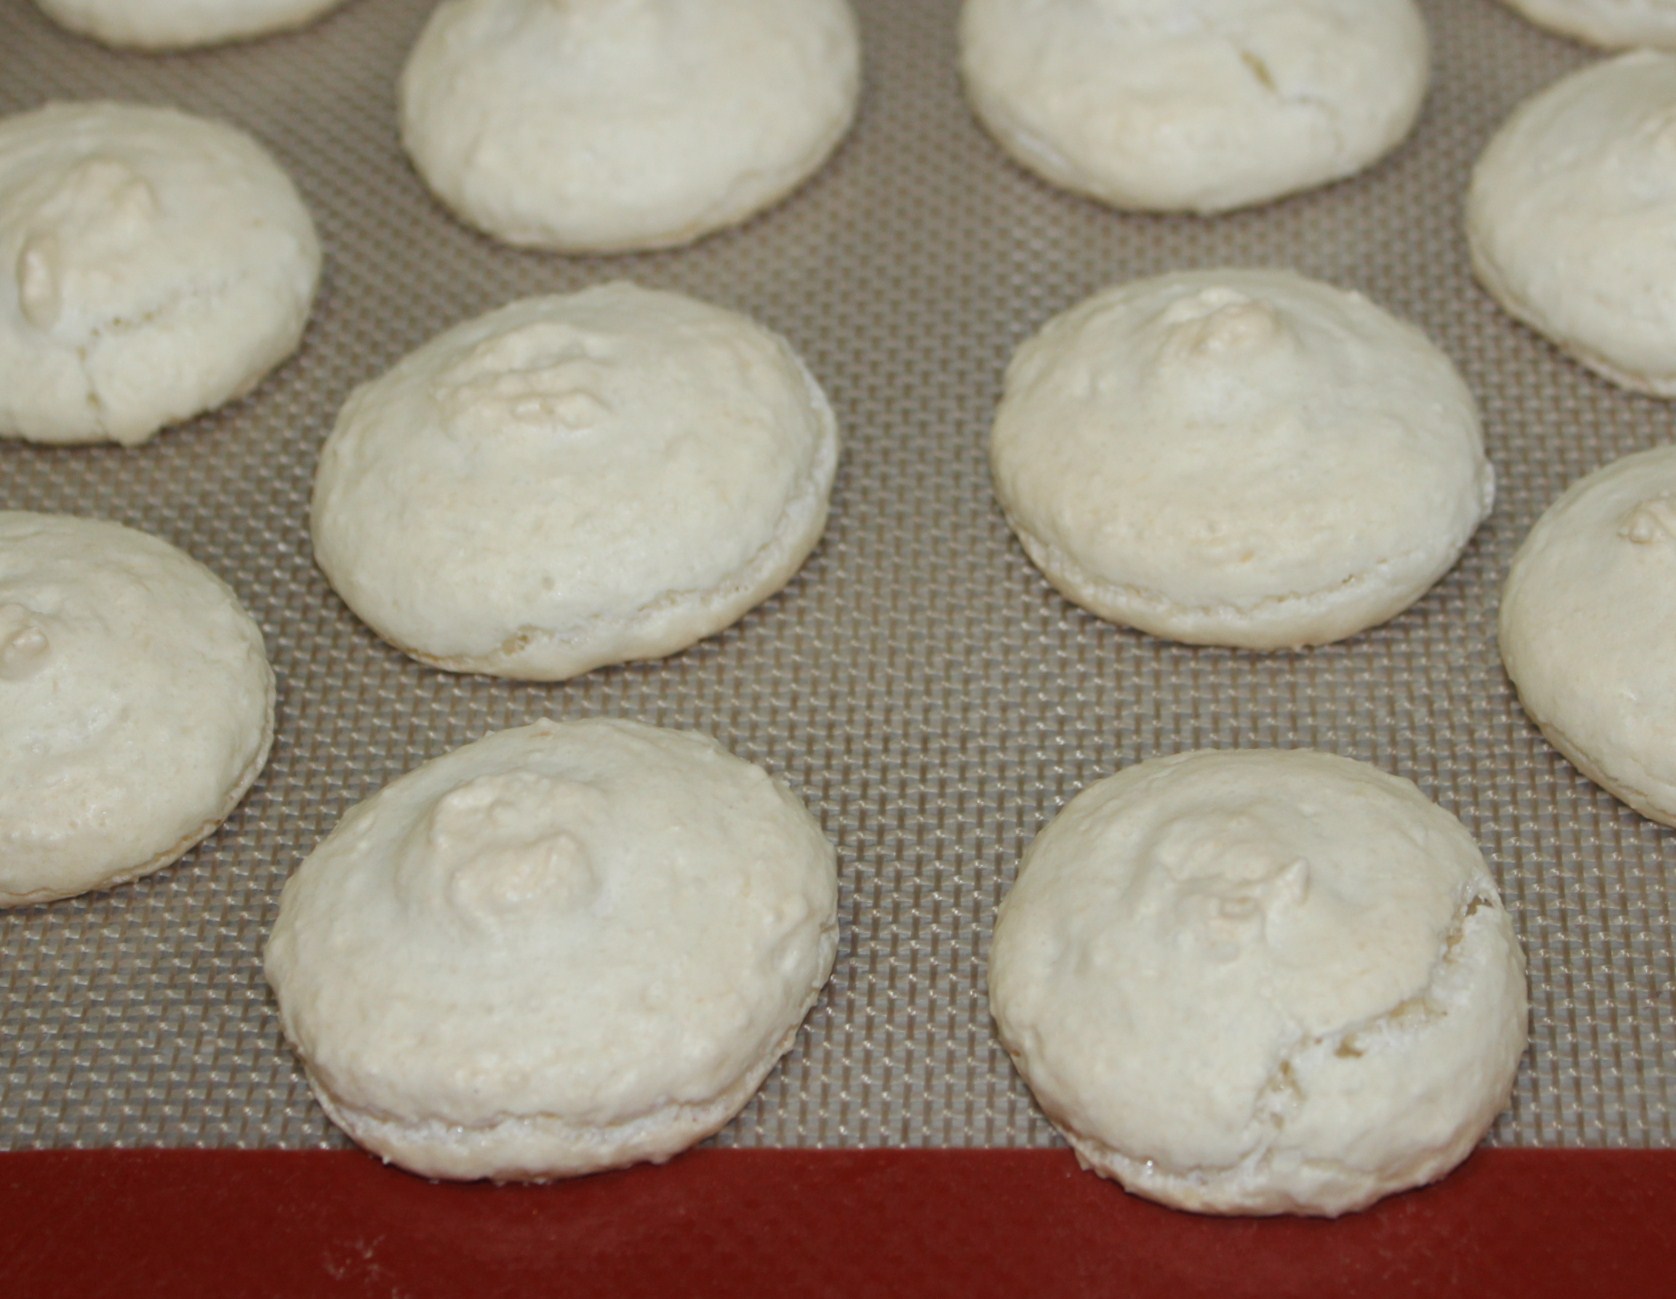


ready to be baked –


baked golden and crisp –

Nut Filled Chocolates – Home made


When I bought this beautiful silicon chocolate mould, my urge to make chocolates soared up..justified isn’t it? Though there is a plan to make chocolate from scratch at home, I chose to make the easier version – nut filled chocolates with available dark chocolate. If you are like me – who doesn’t want the chocolate manufacturers to decide the amount of sugar that you would like to have in your chocolate, then choose chocolates with 90% or 80% cocoa content and add your own bit of sugar to sweeten. Else, just choose your favourite chocolate bar.


So,first step – feel free to choose your favorite – milk chocolate, white chocolate, dark chocolate with 50-70% cocoa or the bitter lot – 80%-90% cocoa. I chose to combine 80% and 90% cocoa bars, as my family loves bitter chocolate. Any chocolate you use – follow these simple steps to get your own nutty chocolate. Also, choose your own filling – I filled them with almonds and walnuts. Raisins, dates, dried prunes, dried berries, hazelnuts, pecans, peanuts and many more can be suitable variants. For a beginner like me, I thought nuts or dried fruits might be the better fillings than making cream or caramel centres.
  

Nut filled Chocolates – Home made


Essentials

  1. chocolate mould
  2. two bowls for double-boiling chocolate bar – to melt chocolate on stove
  3. one microwavable bowl – to melt chocolate in microwave


Ingredients

  • Chocolate of your choice – milk, white or dark – approximately 200 gms
  • almonds (toasted) – 15 no.s
  • walnuts (toasted) – 15 no.s


Method of Preparation

a.  Toast the nuts in oven –

  1. Preheat oven at 175 degrees centigrade and place the tray with nuts and toast initially for 5 minutes.
  2. After 5 minutes, take out and give it a shuffle. This will enable even toasting of nuts on both sides.
  3. Toast again for another 5 minutes.. checking after every 2 minutes. If they are crisp enough before 5 minutes, remove them.

  
b.  Melt the chocolate


  1. If using stove, take a pan with half filled water and place another bowl over it. While boiling, water shouldn’t touch the upper bowl.
  2. Place broken pieces of chocolate on the upper bowl and let it melt in the steam of the water in the lower bowl.
  3. If using microwave, place chocolate pieces in a microwavable bowl, and microwave in medium high for 1 minute initially. Take the bowl out, stir and microwave again for 20 seconds.. Repeat the process until chocolate is completely melted.
  4. Be cautious, overdoing might harden the chocolate.


c. Filling the chocolate

1. Pour melted chocolate until half of the silicon mould.


2. Place nuts inside. Either place almonds alone or combine both.. choice is yours.


3. Pour more chocolate to close the mould.


4. Place in refrigerator for 10 minutes or until firm. If you let to cool by itself, it might take at least half an hour to solidify completely, or even more.


5. Remove from moulds once cooled and store in air tight containers in normal temperature or in refrigerator.

The French Macaroon Workshop – Coconut Macaroons

My interest in Macaroons is not only because of my sweet tooth; but my maternal connection to the Pearl City of India – Thoothukudi, which is famous for its cashew-nut macaroon biscuits. The macaroons of Thoothukudi and its relation to macaron and maringue have been discussed in dosaikal previously.  That post was based on a Bakery Visit and learning the process of making macaroons in bulk. Recently, I had this wonderful opportunity to learn the process of making French Macaroons, from a Sous Chef. The Hotel that offers wonderful coconut macaroons to its guests in their Dinner Buffet or Breakfasts/Brunches allowed us to peep into their baking counter. That turned out to be a great workshop on my favourite Macaroons.

What else do I know best, than sharing the episode with my friends through this channel… I chose to do it as a pictoral tour.. come along!
  

The ingredients – as written on the white board for easy reference

  • egg whites – 400 gms
  • breakfast sugar – 1 kg
  • coconut powder – 600 gms
  • icing sugar – 300 gms


in display


the machine


Making Macaroons

1. Beat egg whites


2. Add breakfast sugar – which is supposed to render a sticky texture to the mixture unlike normal granulated sugar. The chef mentioned, the stores sell ‘breakfast sugar‘ which is not the same as normal sugar.


3. When the mixture reaches soft peak consistency,


mix coconut powder and icing sugar


4. Gently fold the coconut powder-icing sugar into the beaten egg whites with hands


5. Remove the mixture into a bowl


6. Drop slowly into piping bags


7. Pipe into beautiful macaroons on a silicon baking sheet


8. Macaroons made by my little chef


9. Bake at 180 degrees centigrade for 15 to 20 minutes


10. Coconut Macaroons are ready. You could serve these as cream filled double macaroons too.


Those macaroons by my little one made my day…truly awesome.