Tag Archives: chutney

Nellikkai Thengai Milagaivatral Thuvayal/ Gooseberry Coconut Red Chilli Chutney (Gooseberry Chutney Series)

Next in the nellikkai/gooseberry thuvayal series, is a blend of coconut, red chillies, shallots, ginger and the star ingredient gooseberry.

There is an extra addition here – black gram, to give some texture to the chutney. We fry deskinned blackgram, shallots, ginger and redchillies. The fried ingredients are then added to fresh coconut and gooseberry to be blended.

Nellikkai Thengai Milagaivatral Thuvayal/ Gooseberry Coconut Red Chilli Chutney

Ingredients (serves 4)

  • periya nellikkai/gooseberry (bigger variety) – 5no.s chopped
  • thengai/coconut – 1/2 finely chopped/grated
  • milagai vatral/redchillies- 6/7 as preferred
  • chinna vengayam/shallots- 8 no.s
  • ginger– 1/2 inch piece
  • ulundham paruppu/skinned black gram – 2 tbsp
  • uppu/salt – to taste
  • yennai/oil – 1 tsp

Method of Preparation

  1. Peel shallots, grate coconut, chop gooseberries
  2. In a pan, take a tsp of oil and fry skinned black gram till golden. Then add red chillies, ginger and shallots, and fry till shallots become opaque. This would take a minute or two
  3. Switch off the stove. Let the fried stuff cool a bit
  4. In the blender jar, add grated coconut and chopped gooseberries
  5. Add the fried ingredients
  6. Add salt and water and blend to a smooth paste
  7. I prefer adding just enough water to all the gooseberry chutneys, to give a feel of thuvayal made in ‘Ammikkal’- stone grinder or the traditional roller stone.
  8. This thuvayal tastes best with seasoning.

thaalippu – seasoning

  • yennai/oil  – 2 tsp
  • kadugu/mustard seeds – 1/2 tsp
  • ulundham paruppu/skinned black gram – 1 tsp
  • kariveppilai/curry leaves- 5/6
  1. Heat oil in a small pan
  2. Add mustard seeds
  3. When they splutter add black gram
  4. When it becomes golden brown, add curry leaves
  5. Pour this into the thuvayal.

Serve with Idli, Dosai, Uthappam or any main course of your choice.

Nellikkai Thuvayal – Gooseberry Chutney Series

Gooseberry is one of those nutritious fruits that often brings back nostalgic memories. When we used to travel during school vacations to my paternal grandmother’s native place in down south Tamilnadu, the houses that had ‘nelli maram’ or the gooseberry tree was a special place for me. ‘Arunelli’ – the yellow and extremely sour, smaller variety of gooseberry was my favorite. With the beautiful Kutralam Falls nearby and the monsoon setting in, the village would have intermittent pleasant showers and chill air. The fields, farm lands, and the tall trees imparting different shades of green, would present such a soothing atmosphere, that the developed cities should beg for.

Visiting elders and relatives of the close knit family was a routine, common to most households. Also, introducing the third generation to other relatives of the extended family was part of those village visits. That is one of the major tasks of grandfathers and grandmothers, providing essential links through generations.

Coming back to gooseberry, most houses would welcome you with the arunelli maram in the frontyard, with bunches of the delicious fruit. I think the hosts should have been amused seeing my eyes rest on the gooseberries than in their conversation, I would always come back with packs of berries, the fruit and the taste I’ve treasured in my memory till today.

By Abhishek Jacob at English Wikipedia, CC BY-SA 3.0, https://commons.wikimedia.org/w/index.php?curid=44823119

Post vacations, back at home in the city, thankfully those days, there were no branded food outlets in the corner for junk intake. On the way back from school, arunelli/gooseberries sprinkled with salt and chilli powder was a favorite walking partner. This memory glittered back during my Cambodia days, where I could buy arunelli from the street vendor with salt and chilli powder.

photo taken from dosaikal.com/the cambodia connections-I, my post back in April 2013.

The other gooseberry is the bigger variety. While arunelli is a snack in hand, periya nellikkai is versatile. Eat it raw, make thuvayal/chutney or pickles, make nellikkai saadham/rice, thayir pachchadi/yoghurt raita – the options are endless.

First, enjoy the sourness of nellikkai; then, have a tumbler of water; get amazed by the sweetness that spreads in your mouth.

Setting new nutrition goals during the Covid crisis, I had been trying out different kinds of thuvayal/chutneys with periya nellikkai/big gooseberries. The fruit is at its nutritious best, when consumed raw. Hence, I try to add gooseberries without roasting or stir frying in the dips i make. Also, I have tried to add chinna vengayam/shallots in the fried chutneys, as a replacement for normal onions.

As a thuvayal series, I would like to share a few of those chutneys in the coming posts.

See you all soon.

Kollu Idli/ Horse Gram Steamed Cakes

Kollu or Horse Gram can be used to make soft and fluffy steamed cakes. Other millets used previously to make Idlis were grains and Horsegram is a lentil. Hence, the lentil here is combined with rice to make Idli, the staple breakfast/dinner food of Tamilnadu.

Kollu Idli/Steamed Rice Cakes with Horsegram

Ingredients (makes approximately 25-30 idlis)

  • kollu/horsegram– 1 cup
  • puzhungal arisi/parboiled rice or idli rice – 2 cups
  • uppu/salt – as needed approx. 1 tsp

Method of Preparation

  1. Wash and soak horse gram and rice separately in enough water for 6-8 hours

2. It is important to soak both rice and gram separately for idli. To make dosai, soaking and grinding together doesn’t alter the crispness or softness of pancakes

3. First, drain excess water and grind the horse gram into a smooth batter. It would be super foamy

4. Important point to note in Kollu Idli batter is, horse gram should be ground with minimum water needed. If excessive water is used, the final batter cannot be used to make Idli or steamed cake. Only Dosai/Pancake can be made

5. Remove horse gram batter from the blender and grind soaked rice separately to a smooth batter

6. When both batters are ready, add salt and blend well with a ladle or by hand. Do not use blender to mix both as batter will become watery

7. Leave the batter to ferment for 8 hrs or overnight

8. Millet or Gram batters do not need as much time as Rice Idli batter. They turn sour sooner

9. 8 hrs in a warm place is enough; If the climate is too hot, check after 6 hours; In an air conditioned environment, I place it in the oven overnight with the oven light on

10. Once fermented, mix the combined Idli batter well

11. Always keep the batter refrigerated for further use

12. Steam Idlis in the mould and serve them hot with chutney of choice.

Samai Idli/ Little Millet Steamed Cakes

The health benefits of Millets in general, have been written about extensively in almost all posts in the Power Packed Pancakes Series. Hence, I haven’t rewritten those facts. Additionally, useful details of information are available in the internet in abundance. A blogger’s job, especially that of a food blogger is simplified to crisp menu cards and videos. That gives much more space and time for conveying several other like minded ideas isn’t it??

Millets, like rice, are versatile cereals. Cook them like Rice and have with curries; flavour them with lemon, tamarind, coconut or yoghurt; make desserts with jaggery; or enjoy as spicy Pongal on a rainy day. With pound millet flours available in stores, make Puttu (steamed cylinders) or Kozhukkattai (sweet and savoury dumplings) or Idiyappam (string hoppers) – all staples of Tamilnadu.

Since, this series comes after many years of posting Millet Dosais, there might be repetition of facts. I have tried to take care in avoiding that. Bear with me for any unknown recurrence of thoughts.

Among the variety of millets, Samai Idli can be an exact replica of White Rice Idlis due to its color. It is sometimes softer than Rice Idli and puffs up better.

Samai Idli/ Idli with Little Millet

Ingredients (makes approximately 25-30 idlis)

  • samai /little millet – 3 cups
  • ulundham paruppu/deskinned black gram – 1 cup
  • uppu/salt – as needed approx. 1 tsp

Method of Preparation

  1. Wash and soak millet and black gram together in enough water for 6-8 hours
  2. Drain excess water and grind them into a smooth batter
  3. Once the batter is done in the blender, add salt and blend well
  4. Leave the batter to ferment for 8 hrs or overnight
  5. Millet batters do not need as much time as Rice Idli batter. They turn sour sooner
  6. 8 hrs in a warm place is enough; If the climate is too hot, check after 6 hours; In an air conditioned environment, I place it in the oven overnight with the oven light on
  7. Once fermented, mix the batter well
  8. Always keep the batter refrigerated for further use
  9. If left to ferment more than needed, the batter might turn too pungent to make idli or dosai
  10. Steam Idlis in the mould and serve them hot with chutney of choice.

Chinna Vengaya Thuvayal – Shallot Dip/Chutney


IMG_2902

Unlike most of those plans/promises I have not been able to keep up, this time I could make it. As written in the previous post – here is the chinna vengaya thuvayal, ideal for lentil dosais. Also good for basic Idli and Dosai, but I believe the garlic content in this vengaya thuvayal helps to tackle the gastric problems which might arise for some, due to the protein rich whole lentils in the pancakes. In a whole, this thuvayal aids in digestion.

With simple ingredients and simpler preparation, this has the ability to change the earthy pancakes into a special treat or a quick and easy breakfast or dinner food.


Chinna Vengaya Thuvayal – Shallot Dip/Chutney

IMG_2858
Ingredients (serves 4)

  • chinna vengayam/shallots- 12 no.s
  • poondu/garlic – 12 cloves
  • milagai vatral/dried red chillies – 6 no.s (less or more)
  • puli/tamarind – gooseberry size
  • uppu/salt – to taste

thaalippu/seasoning:

  • nallennai/gingelly oil – 6 tsp
  • kadugu/mustard seeds – 1 tsp
  • ulundham paruppu/dehusked black gram – 1 tsp
  • kariveppilai/curry leaves – a few


IMG_2436


Method of Preparation

  1. Clean, wash and cut onions and garlic
  2. Wash tamarind well
  3. Grind to a smooth paste with red chillies, tamarind and salt
  4. Heat 4 tsp oil, add mustard seeds and black gram; when the black gram is golden brown add curry leaves; fry for about 15 seconds in low flame and pour the blended paste
  5. Stir the blended paste well in the seasoned oil
  6. Fry/cook for about 10 minutes in slow flame
  7. The texture and taste of the end thuvayal/dip depends on the family.  If one prefers a slight raw taste of onions, frying for 5 minutes is sufficient
  8. Frying the thuvayal for 10 minutes would give it a darker shade colorwise and the raw smell of onions and garlic would be gone
  9. Do not forget to stir at frequent intervals from the bottom of the pan as the thuvayal might stick to the bottom and be burnt very quickly
  10. When the thuvayal is done, remove from the pan and transfer into a serving bowl
  11. Heat 2 tsp oil in a pan; Pour on top of thuvayal that has a glow on top due to hot gingelly oil
  12. Thuvayal is ready! While served with dosais, pour one or two teaspoons of gingelly oil for one of the best flavours you would have tasted till date!


IMG_2366

Note:

  1. The quantity of red chillies can be altered according to taste preferences.
  2. Onions and garlic also contribute to the spice of the thuvayal – so try with lesser chillies and upgrade it the next time if needed.
  3. More gingelly oil, tastier the thuvayal. The taste of gingelly oil helps in tackling the spice level and pungent smell of garlic and onion – hence do not be conscious of oil here.
  4. Instead of seasoning first, one can also start with just heating the oil and pouring the blended paste and cooking together.This doesn’t make any difference to the taste.
  5. Season the thuvayal in the end. Pouring the seasoned oil or just hot oil –  on top of the done thuvayal is very important to make the thuvayal a delight with any kind of lentil dosais.


IMG_2883


Pudhina Kadalai Thuvayal- Kozhi Kuzhambu – Sivapparisi Sappadu (Mint Peanut Chutney/Chicken Curry/Brown Rice Platter)

It was a lazy sunday morning. But one cannot feel too lazy with a four-year old waiting for food. After a hot cup of ragi kanji/finger millet porridge made with milk (recipe in future), it was time for brunch or a proper lunch. I had made nothing. No special meen kuzhambu/fish curry; no biriyani; no sambhar, no rasam – the usual traditional lunch sequence. (C’mon we need our Sundays too.) Why not something simple yet different; not too time-consuming, but would come under a whole meal category, especially nothing less than expected!

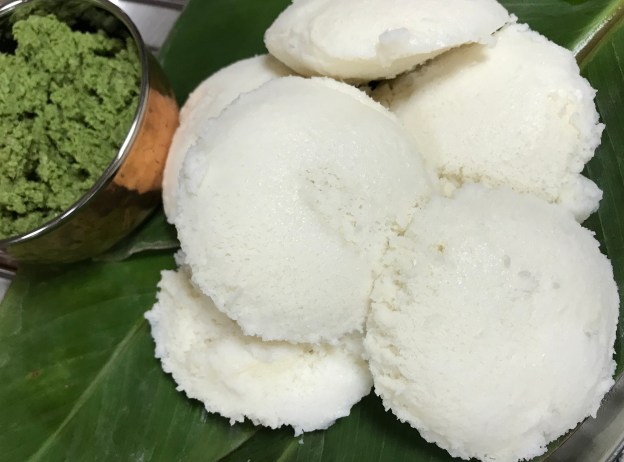
Then came a picture of thuvayal, chicken kuzhambu (chutney/chicken curry)  and sivapparisi/brown rice platter!


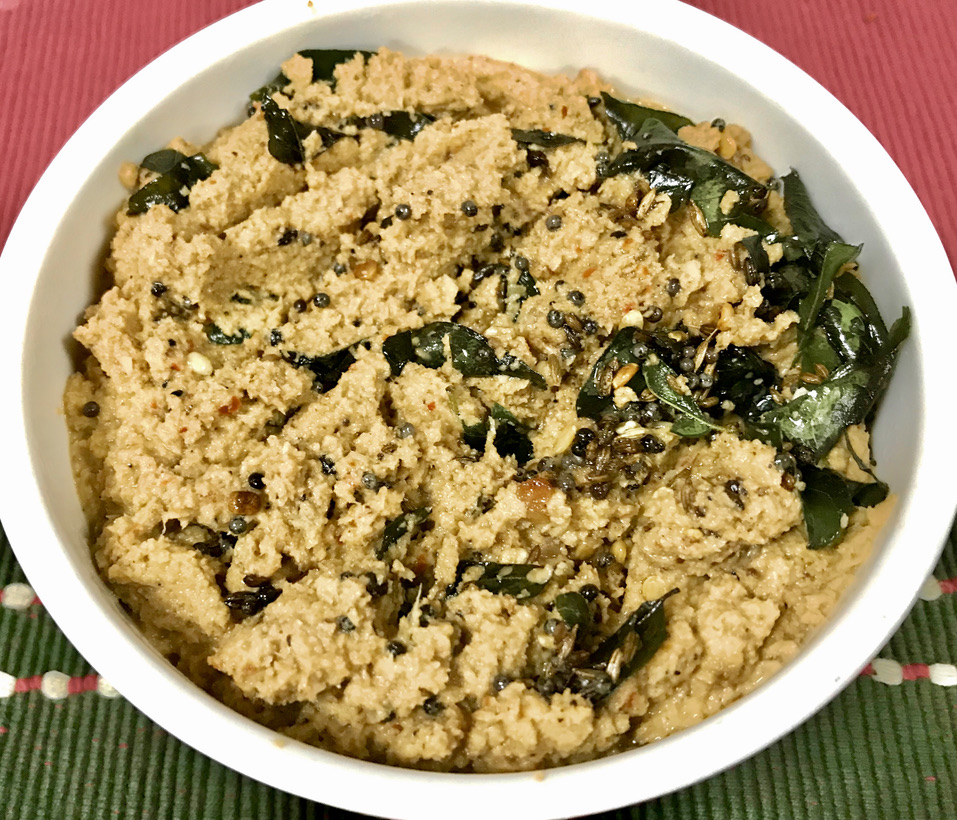
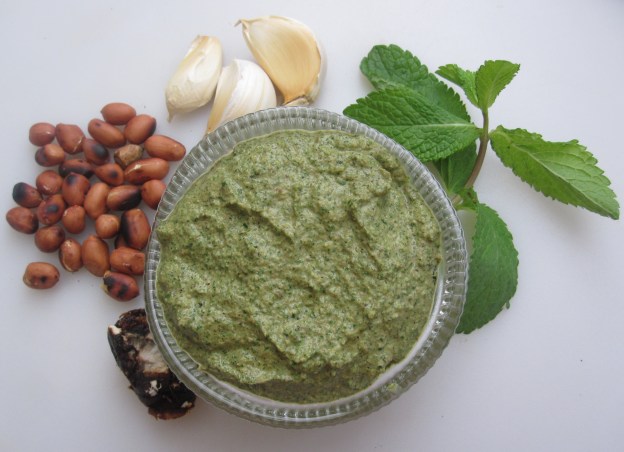
Mildly spiced Pudhina Kadalai Thuvayal – Mint Peanut Thuvayal doesn’t need seasoning or tempering with mustard seeds and black gram when the thuvayal is served with rice.

What is the difference between thuvayal and chutney? I do not know a definite answer to this. But I have always thought thuvayal is the tamil name for chutney. The thuvayal served as accompaniment for idlies, dosais, uppumas and pongal can be of a little watery consistency. Thuvayal served with rice is a thick paste and a bit coarse too.


The word “chutney” stems from the Sanskrit word chatan, which literally means “to lick.” Chutneys occupy a minuscule spot of real estate on an Indian thali, but an Indian meal would be incomplete without these zingy sides. Not only do chutneys add zing to just about every cuisine in India, but the variations are as abundant as the number of hands that make them! http://poetryoffood.com/stories/bombay-spice/rushina-m-ghildiyal/delicious-chutneys-and-chaats


‘Chutney’ has become a universal term for thick pastes, pickles and sauces, ‘Thuvayal’ has become a term in Tamilnadu, associated more with those chutneys had with rice.

Now, back to our pudhina kadalai thuvayal..

This is a thick thuvayal to be had with steaming hot rice. Generally, thick thuvayal and rice would be had with a combination of a gravy/ kuzhambu or kootu (vegetable and lentil stew). This is for a perfect blend of a thick chutney with a gravy stew for easy consumption and digestion too!

For the gravy dish or kuzhambu to go with rice and thuvayal, I made a quick and easy chicken fillet kuzhambu!


First the thuvayal!

Pudhina Kadalai Thuvayal/Mint-Peanut Thuvayal

Ingredients (serves 4)

  • cleaned and washed pudhina/mint leaves –  2 cups
  • varutha kadalai/roasted peanuts (with or without skin) – 1/2 cup
  • poondu/garlic – 3 cloves
  • chinna vengayam/shallots – 6 no.s
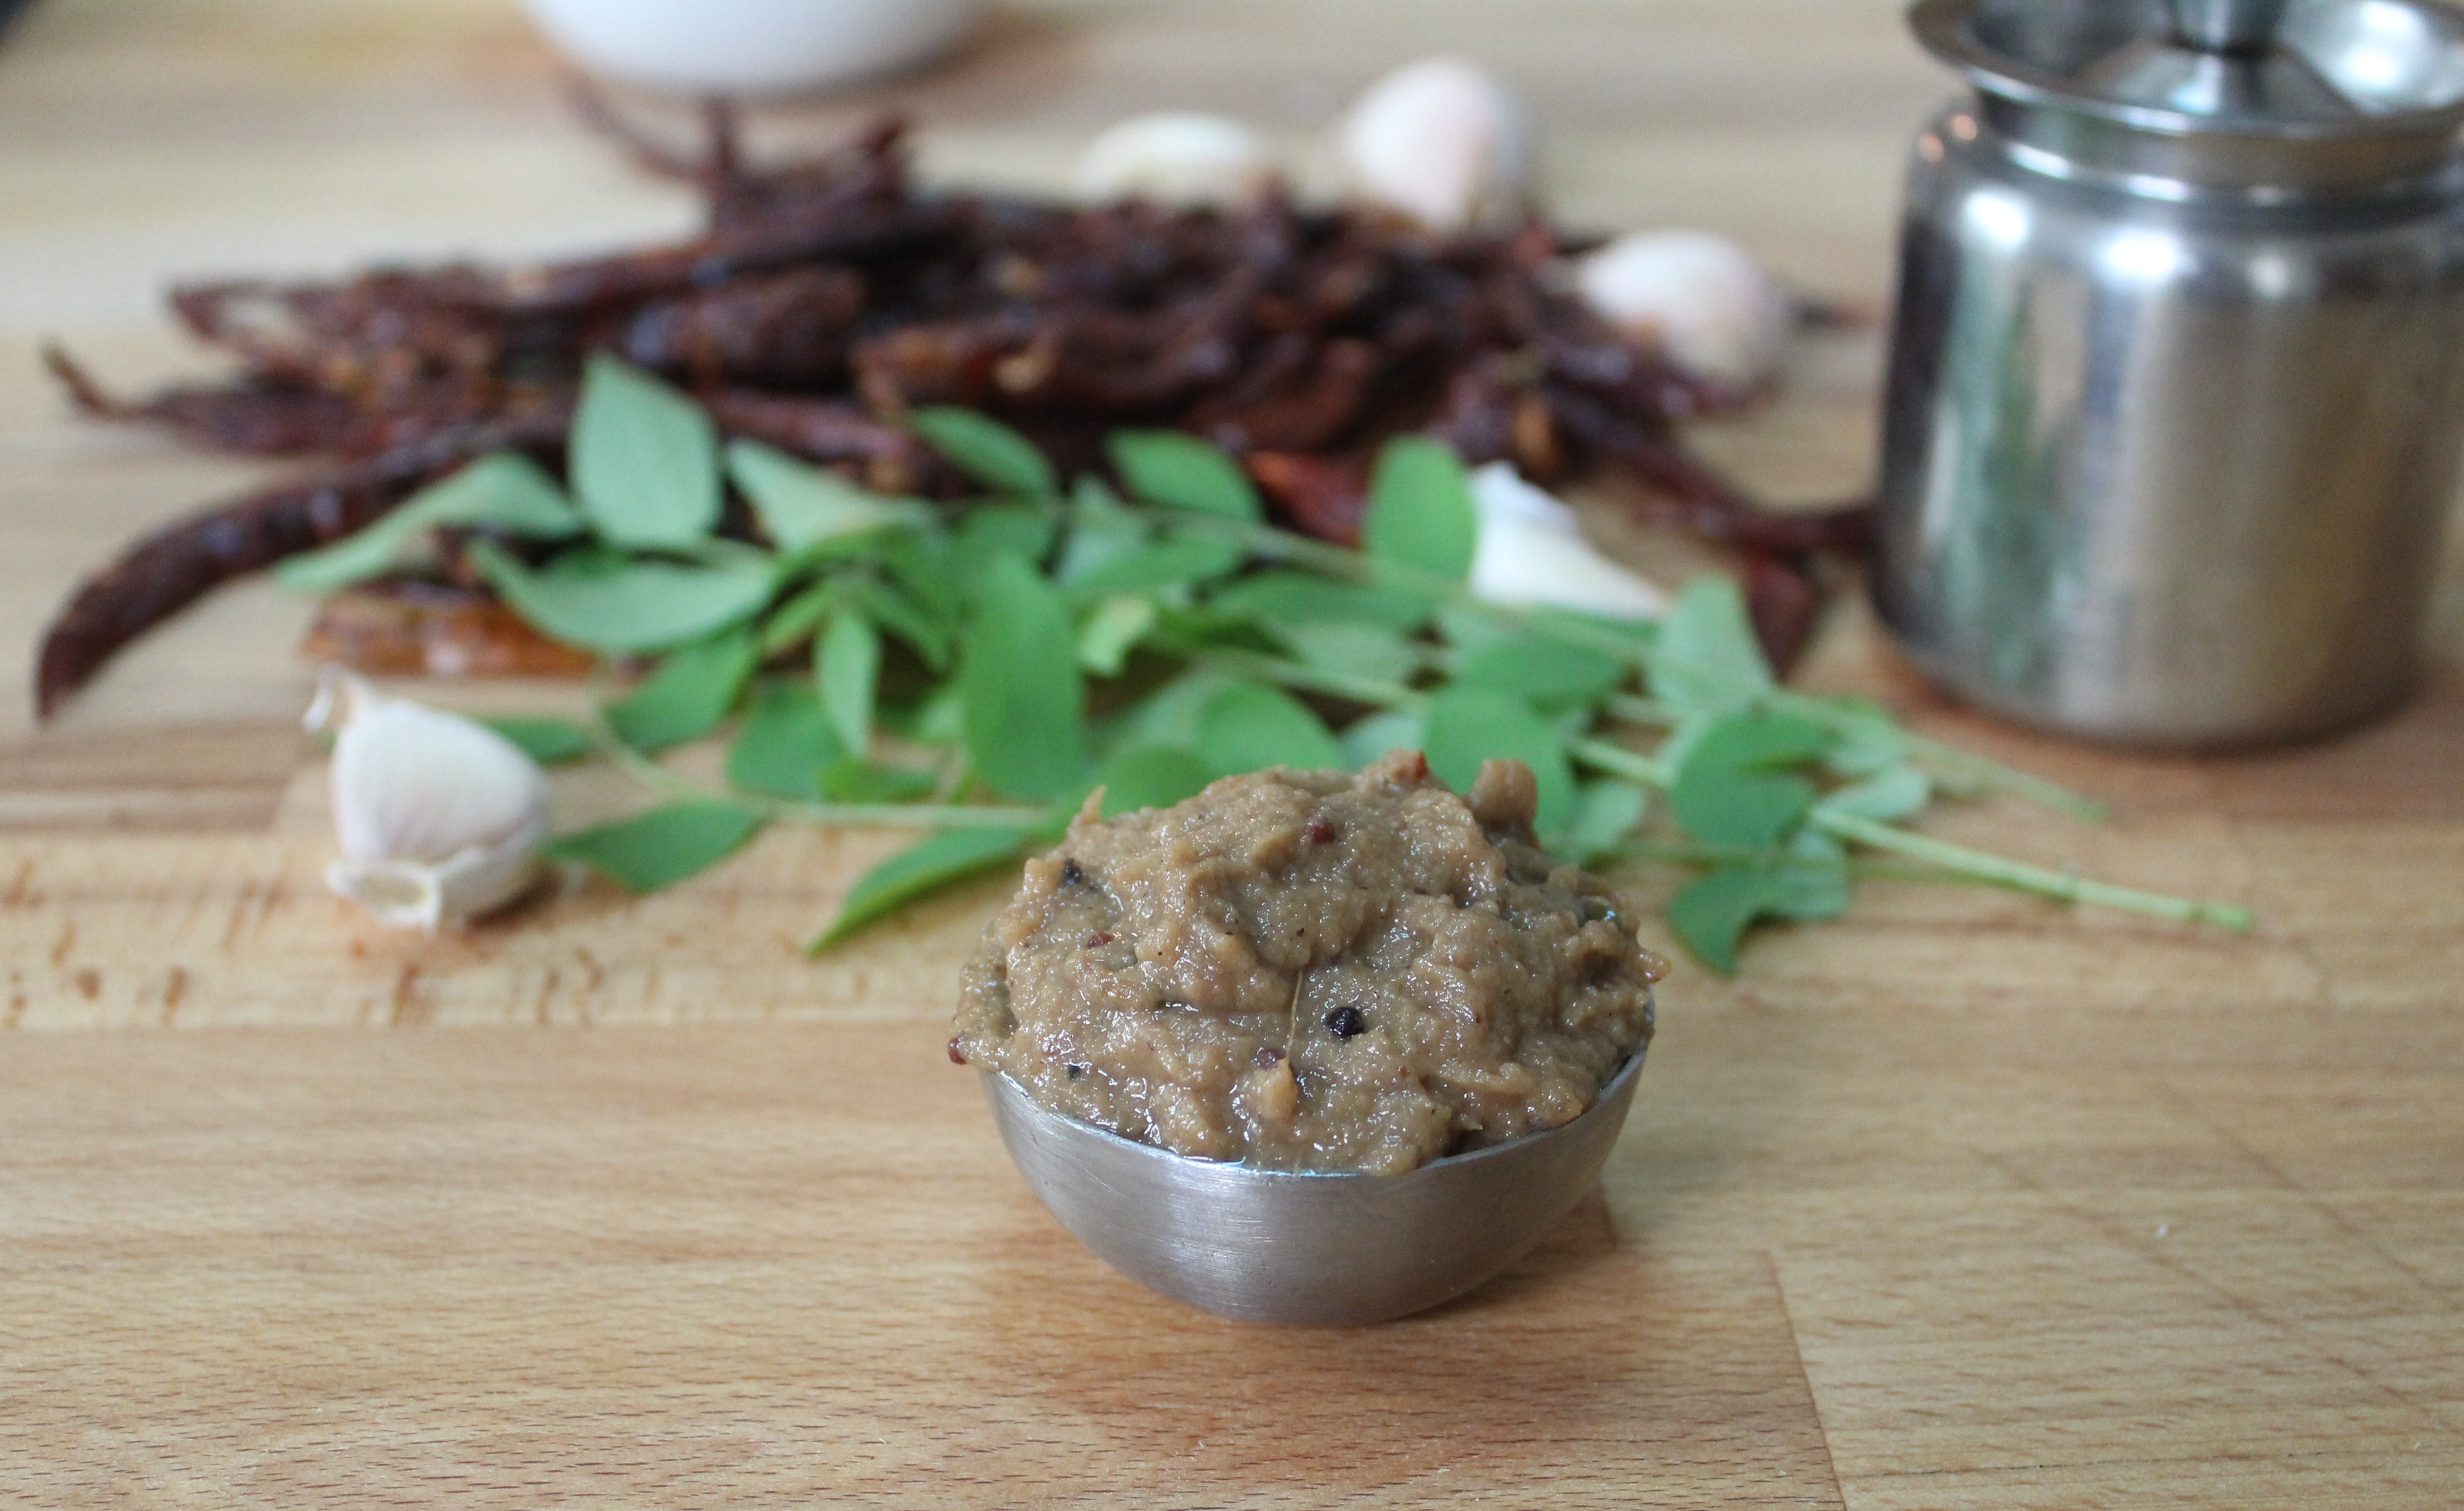
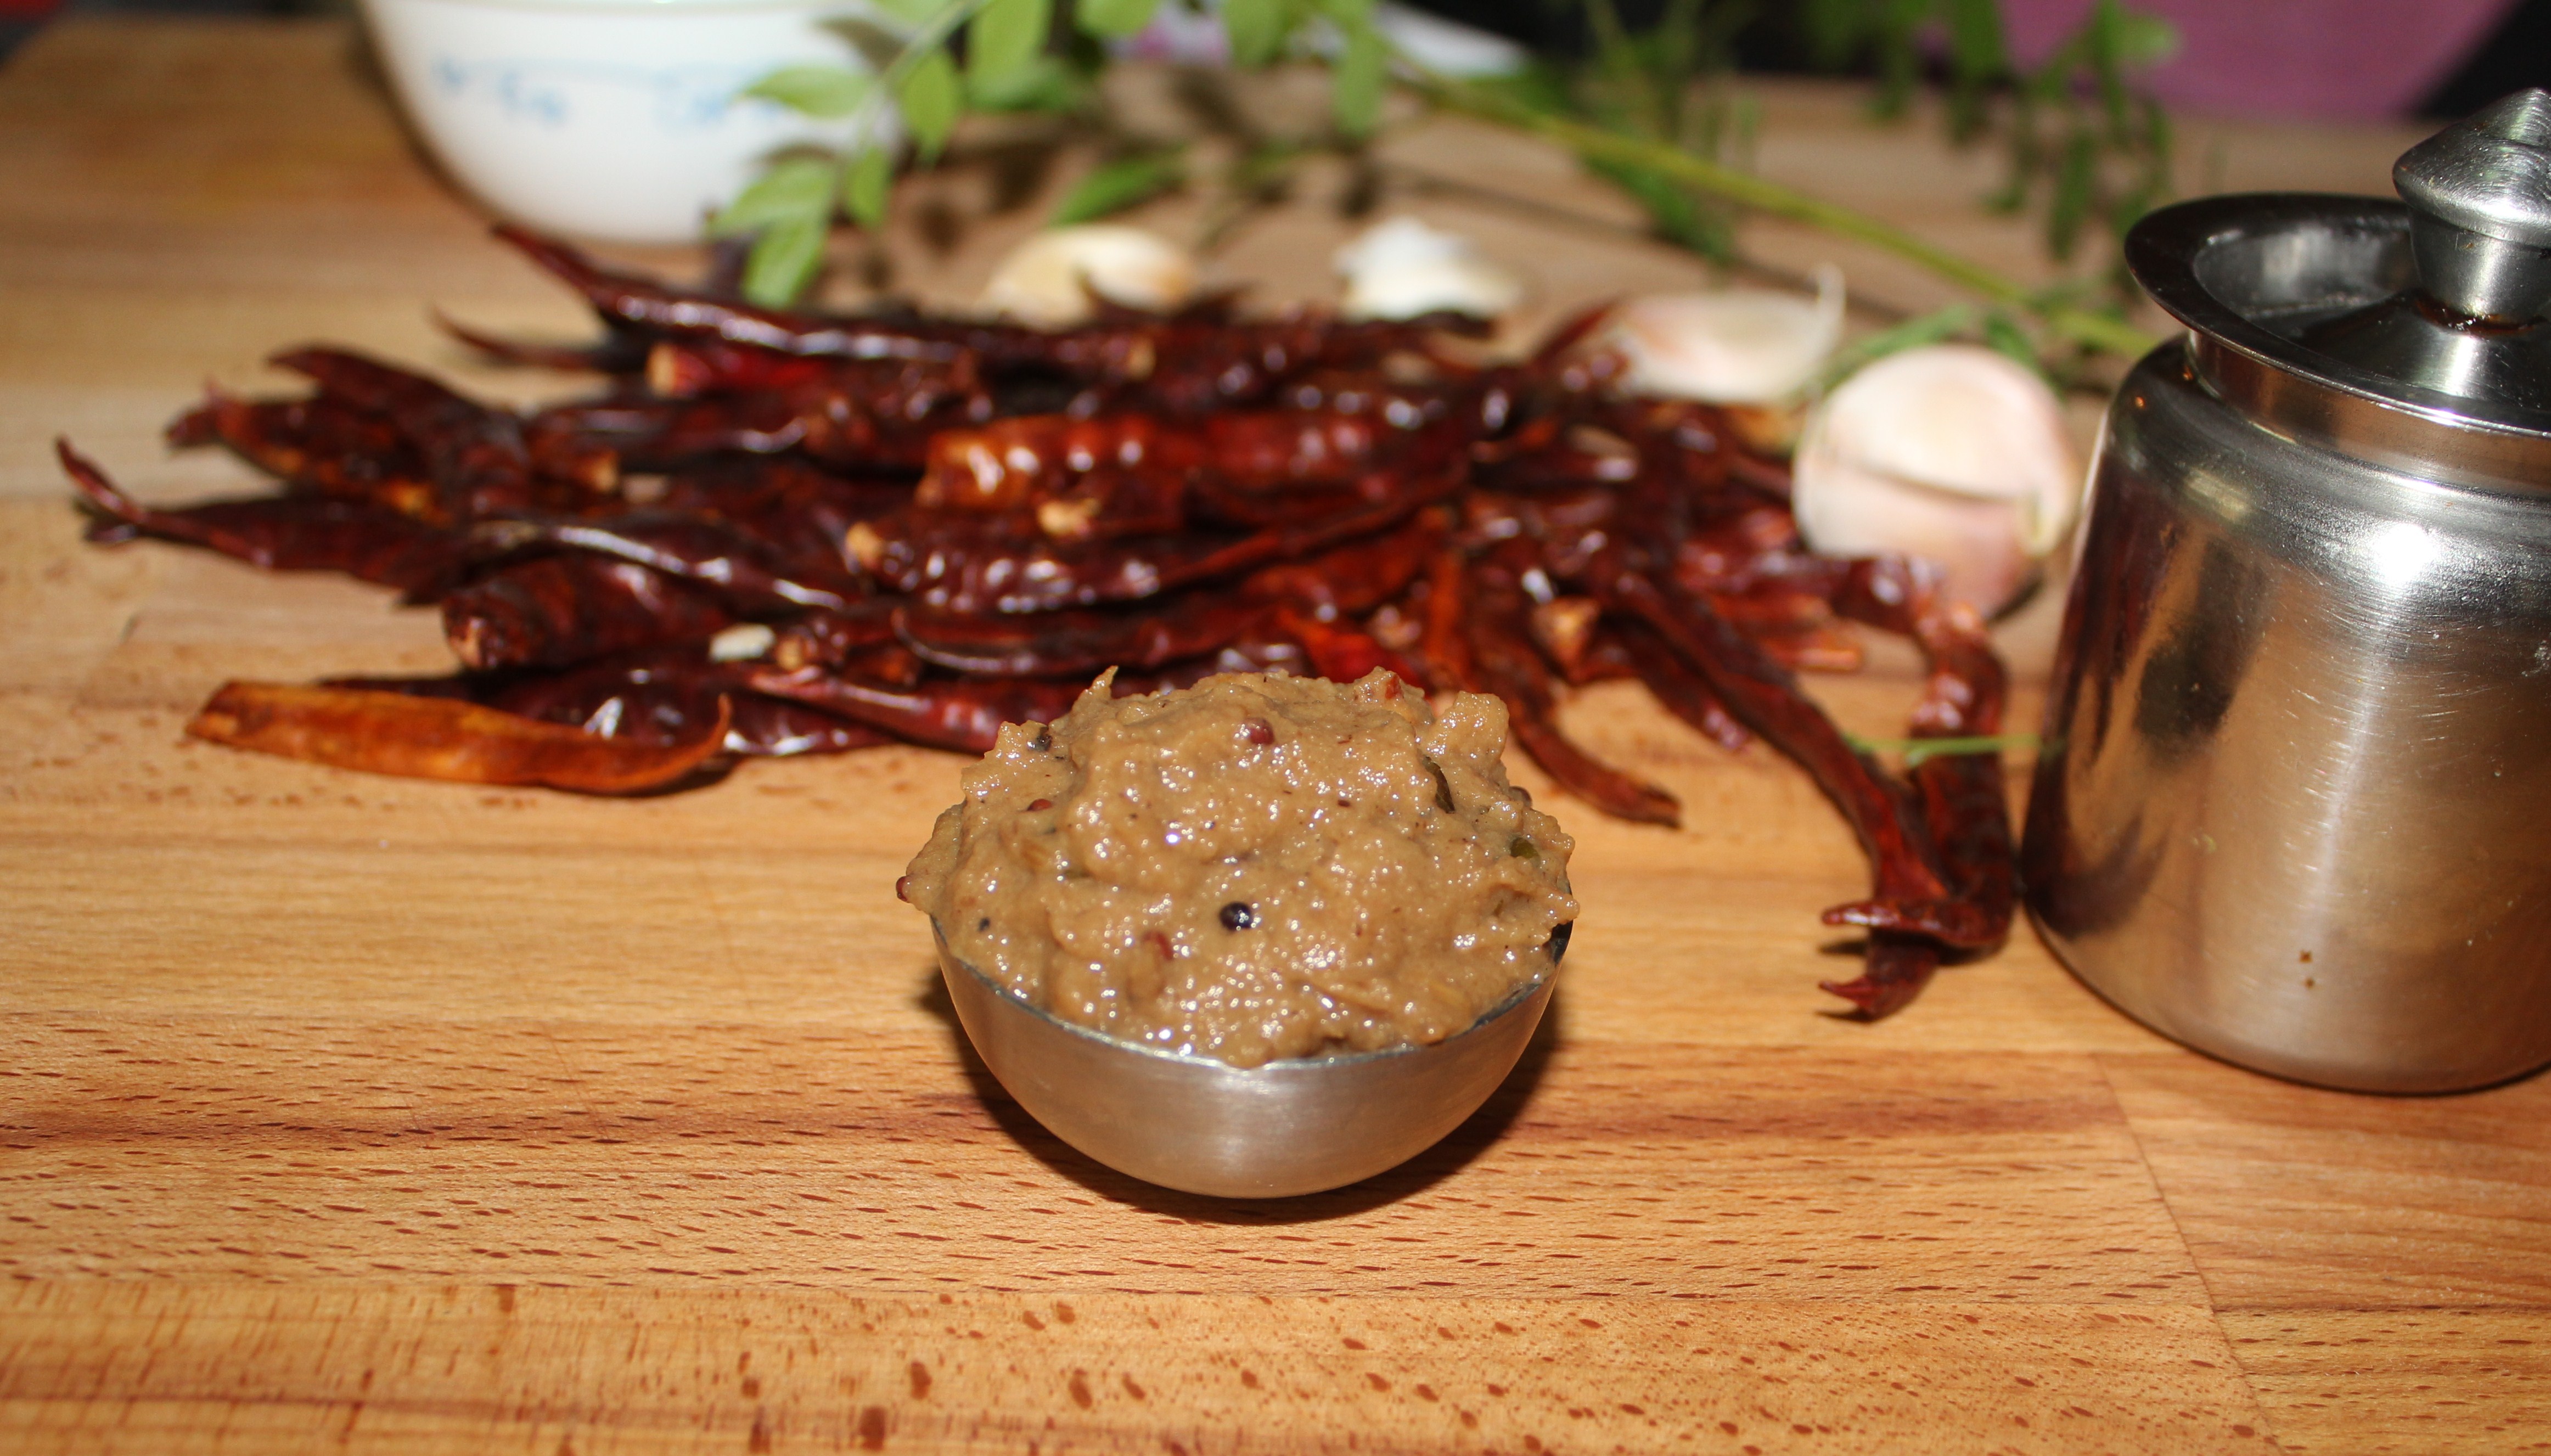
  • kaayndha milagai/dry red chillies – 3 no.s
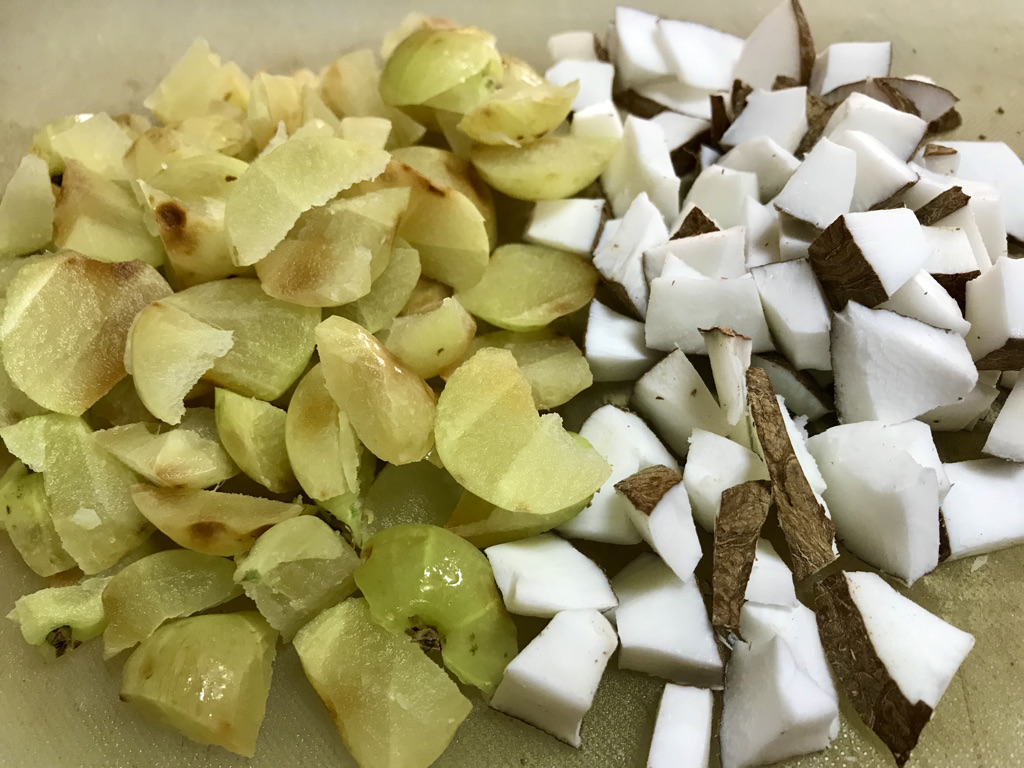
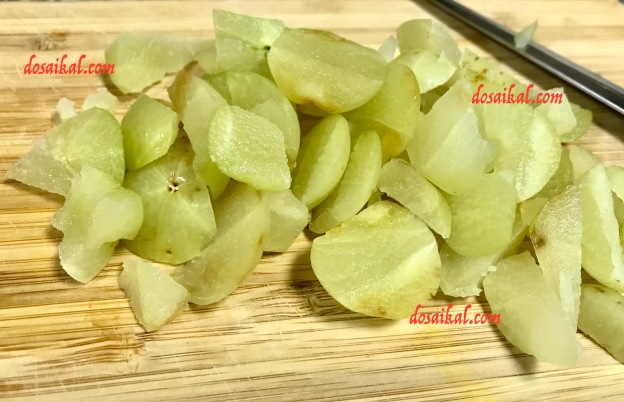
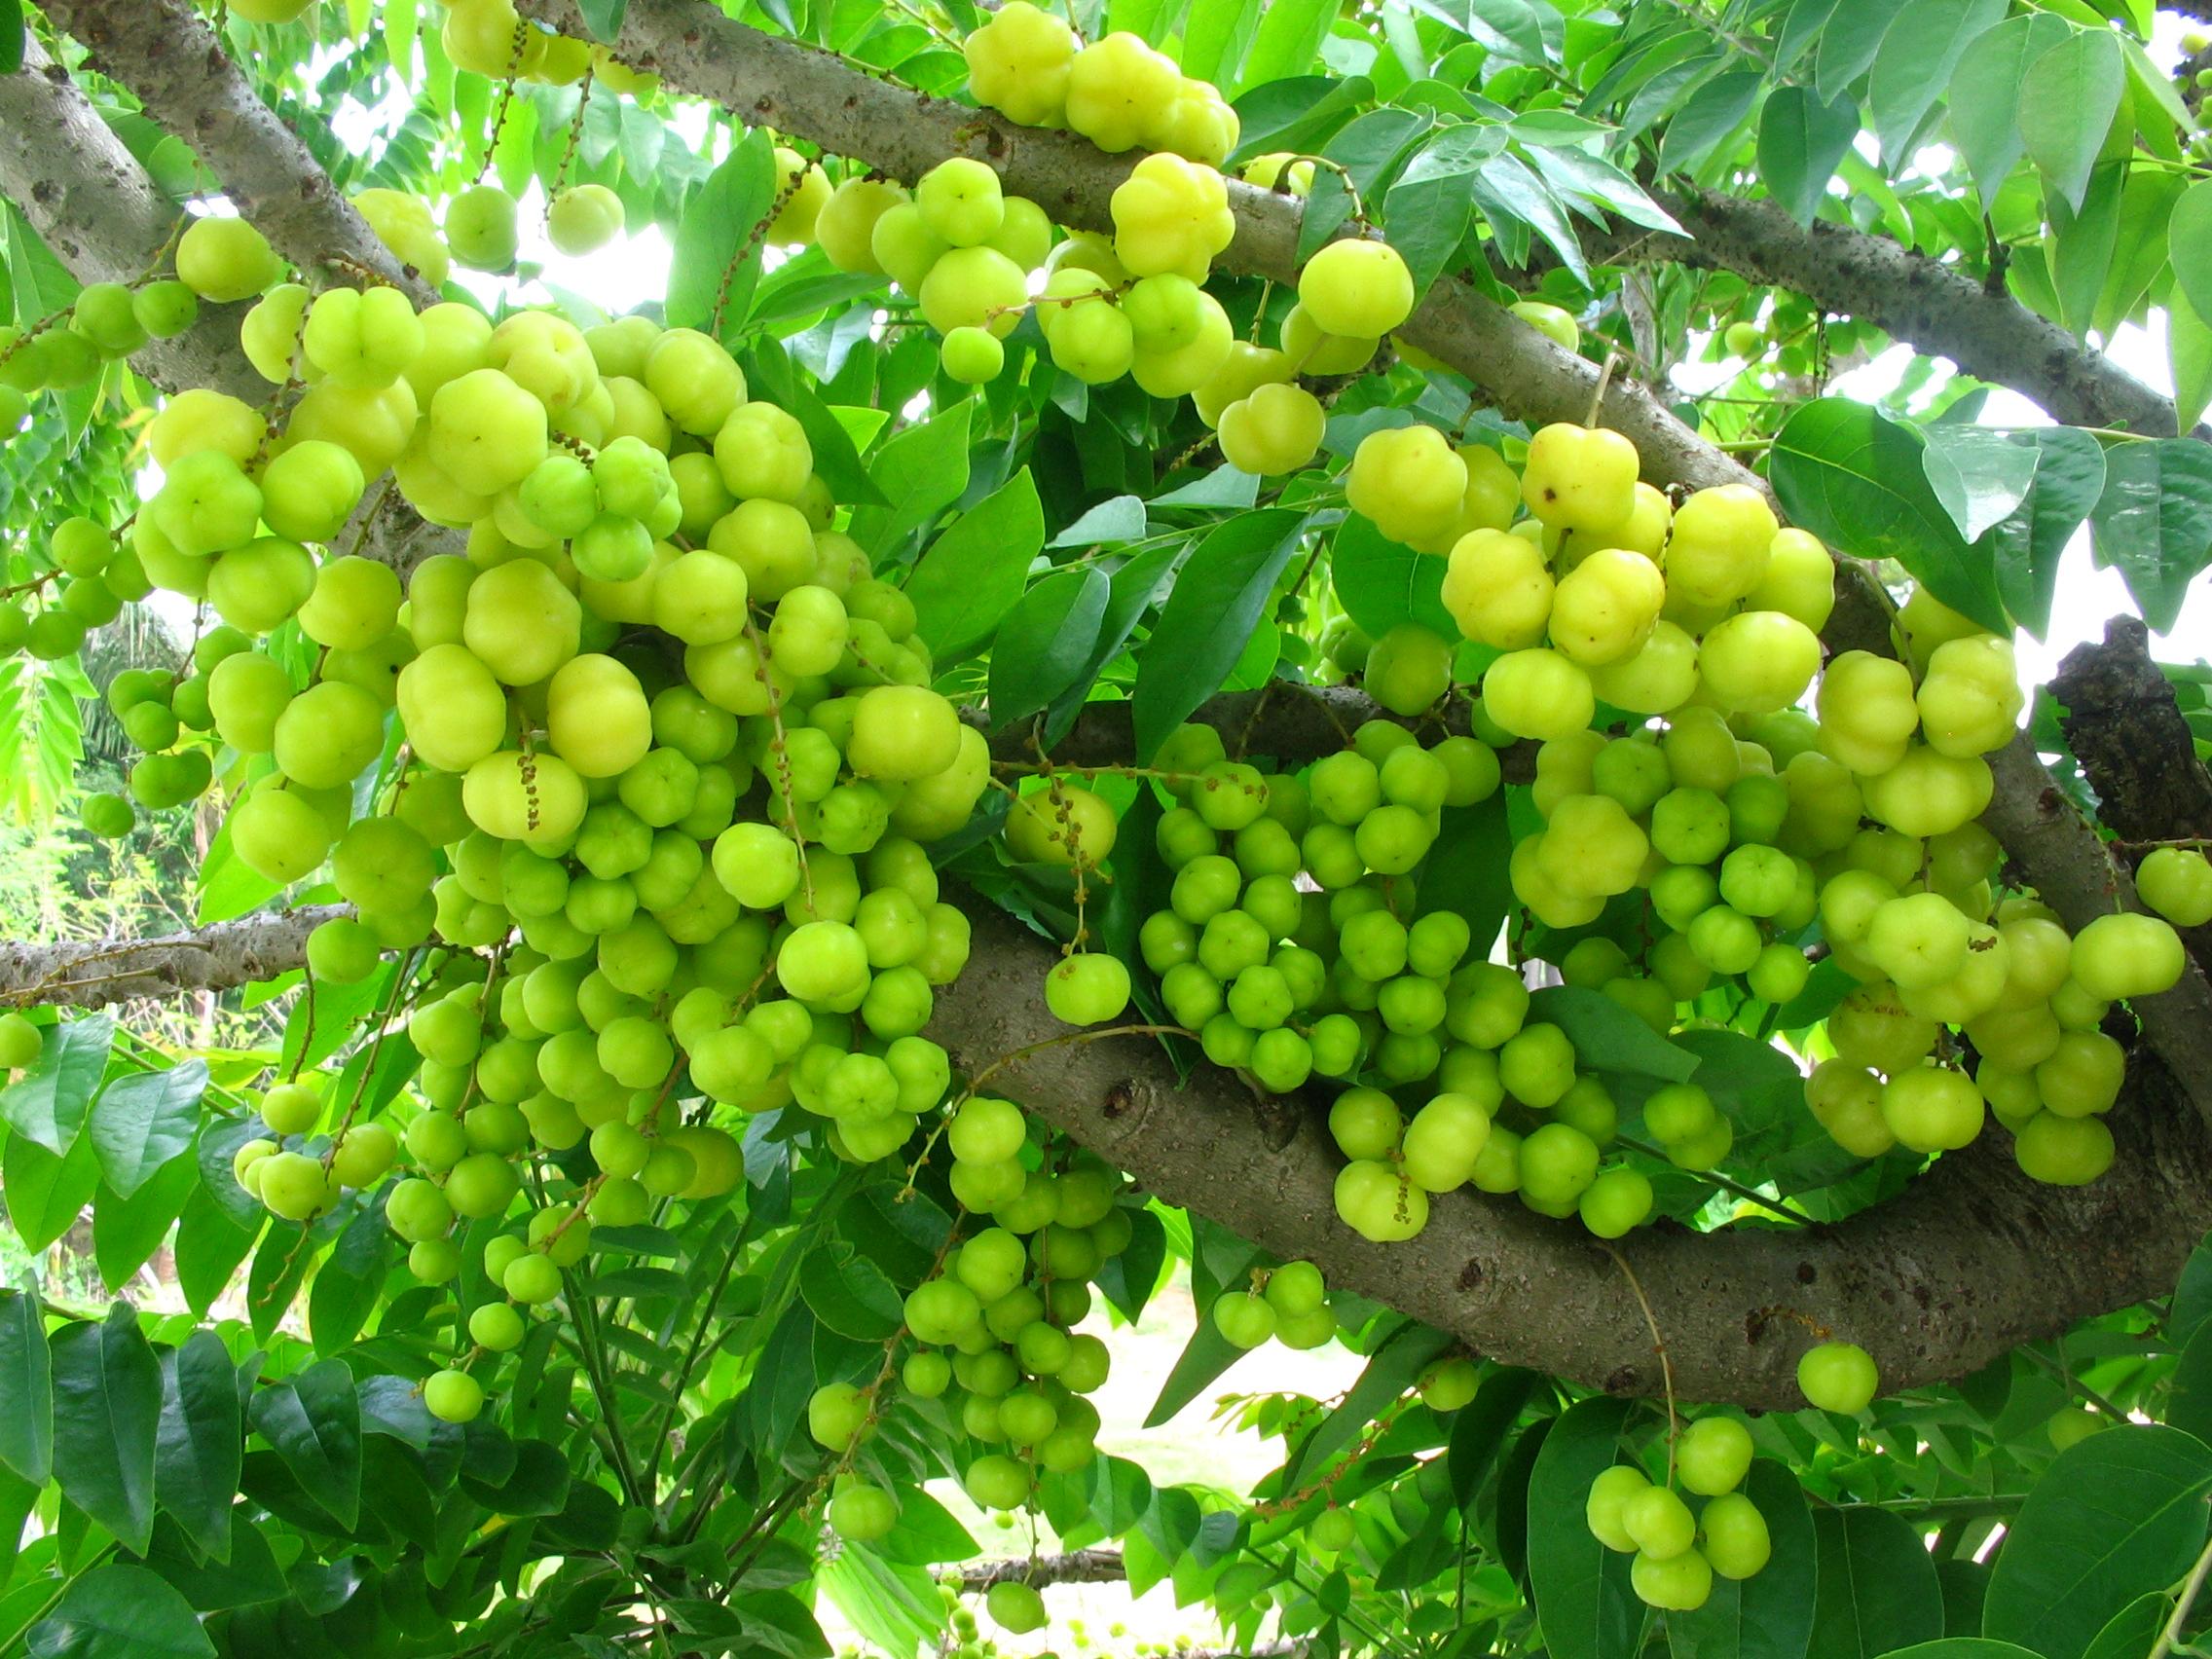
  • puli/tamarind – gooseberry shaped ball
  • oil – 2 tsp
  • salt – as needed
  • water – a little


Method of Preparation

  1. Heat oil in an iruppu chatti/pan
  2. Fry garlic cloves and shallots till garlic cloves become slightly brown and shallots slightly opaque
  3. Add red chillies and washed tamarind
  4. Add the mint leaves – mix for a while  
  5. Turn off the stove and let it cool
  6. Once in room temperature, make a coarse paste with roasted peanuts, salt and water.


Note:

  1. Usually mint leaves are fried till they shrink. I prefer just before they shrink. This gives a fresh mint smell to the chutney and also the green colour of mint leaves is lost if fried longer.
  2. Red chillies can be altered according to taste.
  3. Peanuts can be made to 3/4 cup instead of 1/2 cup if more peanutty taste is preferred.
  4. Deskinned peanuts are preferred for easy grinding – those who don’t mind the taste of peanut skin can go on with the skin as I do. Saves time and energy in de-skinning.
  5. Those with peanut allergy – please avoid this recipe.


Peanut skins are also a good source of dietary fiber. Fiber is the part of the plant that is indigestible. It is broken down into soluble and insoluble fiber. Soluble fiber is fermented in the digestive tract and can help lower total cholesterol. Insoluble fiber adds bulk to food and aids in digestion. Peanut skins are a good source of both types of fiber.http://www.livestrong.com/article/98722-nutrients-peanut-skins/


After thuvayal, came kozhi kuzhambu – quick and easy chicken curry. Not a time consuming dish at all.. just keep adding one ingredient after the other to the hot oil in the kadai, close the lid and cook chicken. Simple isn’t it? 


Eliya Kozhi Kuzhambu/Quick and Easy Chicken Curry

Ingredients (serves 2)

  • chicken fillets – 250 gms
  • ginger – small piece
  • garlic – 5 cloves
  • onions – 2 nos. medium
  • tomato – 2 no.s medium
  • turmeric powder – 1/2 tsp
  • red chilli powder – 1 tsp
  • coriander powder – 1 tsp
  • garam masala powder – 1 tsp
  • salt – to taste
  • oil – 4 tsp
  • curry leaves – a few


Method of Preparation

  1. Clean and cut chicken fillets to bite size pieces
  2. Heat 2 tsp oil in a kadai
  3. Fry chopped garlic, ginger and onions till slightly brown
  4. Add chopped tomatoes and fry till soft
  5. Add all dry powders and salt and fry for a couple of minutes
  6. Now add chicken pieces and mix well
  7. Sprinkle very little water and close and cook in medium flame till chicken is done
  8. With closed lid, chicken would let out water..hence sprinkling little water is enough
  9. When the chicken is done check salt
  10. If one finds the gravy too thick, little water can be added
  11. If one needs a thicker consistency, cook till gravy thickens
  12. Heat the other 2 tsp oil – preferably gingelly oil (nallennai in tamil) – fry curry leaves and pour into the curry
  13. Simple Chicken Curry is ready to be served. 

Serve thuvayal and kozhi kuzhambu with brown rice. First course of brown rice and thuvayal tastes best with a spoon of hot ghee/clarified butter. To finish the meal, there is always thayir saadham – curd rice.

Thayir saadham – Serve a small ladle of the same cooked brown rice. Mix well with generous amount of curds. This can be had with the thuvayal or chicken curry or as just plain curd rice. Generally it is had with any south indian pickle and/or mor milagai (deep-fried – dried chillies).  A south indian meal always ends with thayir saadham – which is rice mixed with curds/yoghurt. This aids in digestion after the intake of varied spices in a lunch and dinner platter.

In my next post, I shall elaborate on the ever-special seasoned thayir saadham!


Thengai Chutney – Coconut Chutney

Chutneys are the best accompaniments for most of the south indian food items. Idlis, Dosais, Uppumas, Paniyarams, Vadais and many more breakfast and dinner dishes are always had with various kinds of chutneys. Even rice varieties are had with special chutneys. The breakfast platter would definitely have the white coconut chutney. The general coconut chutney popular in all restaurants is prepared with grated coconut and pottukadalai/roasted channa dal/roasted split chick peas. We from the coastal districts of tamilnadu – Thoothukudi and Tirunelveli would not use this pottukadalai more in the chutneys. Might be due to the abundance of coconut, plain coconut chutney with tamarind and green chillies is the daily routine. Pottukadalai is also called porikadalai. The pottukadalai chutney used to be a rarity and so we used to call it hotel chutney – the chutney which is available in restaurants.

I learnt making this hotel chutney or the regular coconut chutney of  chennaiites from my mother-in-law. She also taught me many more healthy vegetable chutneys (to be posted in future).

pottukadalai – roasted chick peas

Coconut Chutney using Pottukadalai (roasted split chick peas) (serves 2)

Ingredients

  • freshly grated coconut – 1 cup (desiccated coconut gives a different taste)
  • pottukadalai – 1/2 cup
  • green chillies – 4 no.s
  • ginger – 1/2 inch piece
  • water
  • salt – as needed

Thaalippu – Thadka

  • oil for thadka
  • mustard seeds – 1/2 tsp
  • urad dal – 1/2 tsp
  • curry leaves

thengai chutney/coconut chutney

Method of Preparation

  1. In a blender, add freshly grated coconut, pottukadalai, green chillies, ginger, salt and adequate water
  2. Grind this well into a smooth paste
  3. Transfer into a serving bowl
  4. For tadka, heat oil in a small pan
  5. Add mustard seeds
  6. Let mustard seeds splutter, add urad dal
  7. When urad dal becomes light reddish, add curry leaves
  8. Pour this into the chutney
  9. Green chillies can be adjusted according to required spice of the family
  10. Serve with idlis, dosais or any dish of choice. (https://dosaikal.com/2011/09/16/idli-steamed-rice-cakes/) (https://dosaikal.com/2011/08/14/basic-dosaidosa/)

Note: When I prepared this chutney recently, I found the mustard seeds container empty.. so I substituted with seeragam/jeera/cumin seeds.