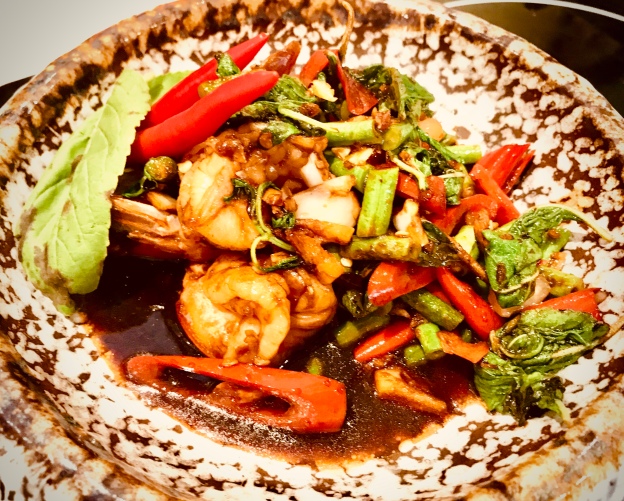
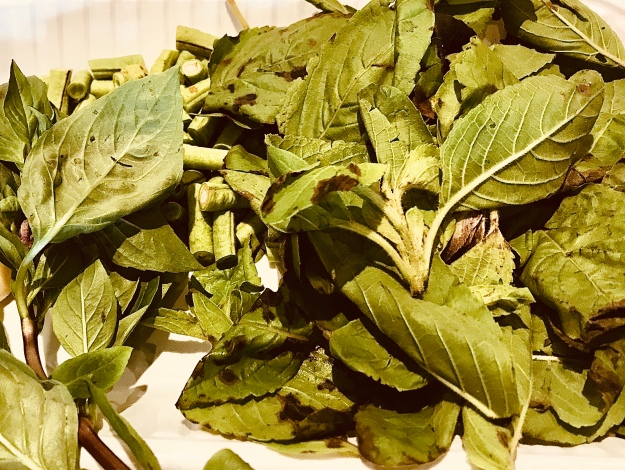
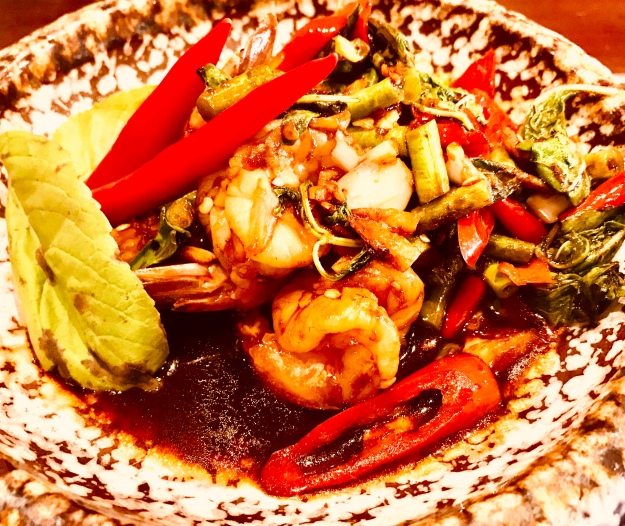
Phat Kaphrao or Pad Kaprao is also known as Phat Krapow or Pad Kra Pao. Holy Basil is called Kaphrao or Krapow in Thai Language. It is different from the normal Basil.
The differences lie in several areas with the key area being flavor. Thai basil is known primarily for being sweet. It has a strong licorice and anise note that allows it to stand out in Thai curries and soups. The anise note is so strong and so sweet that you can eat Thai basil raw.
Holy basil brings another flavor profile to the table in that it is intensely spicy, so much so that it is sometimes referred to as hot basil. When consumed raw, holy basil has a slight numbing effect on the tongue that is similar to the effect of Szechuan pepper. The flavor is more like a combination of black pepper and clove than like the sweeter notes of Thai basil. It tends to get even spicier as it is cooked.
As a stir fried dish, Phat Kaphrao can be made primarily with chicken, prawns or meat of choice. It can be a vegetarian stir fry with vegetables, with the omission of both fish and oyster sauce. Just make it with light soya and dark soya sauce. The fresh combination of ingredients would make the vegetarian dish deliver its flavour.
Let’s plunge straight into making Phat Kaphrao.
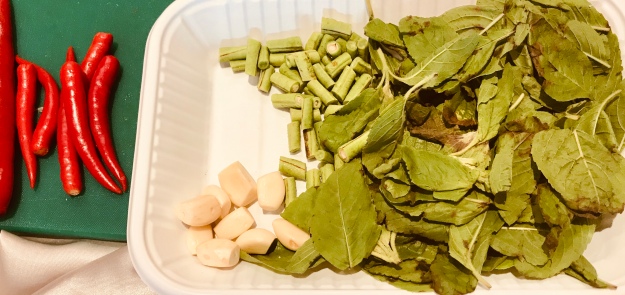
Ingredients
cooking oil
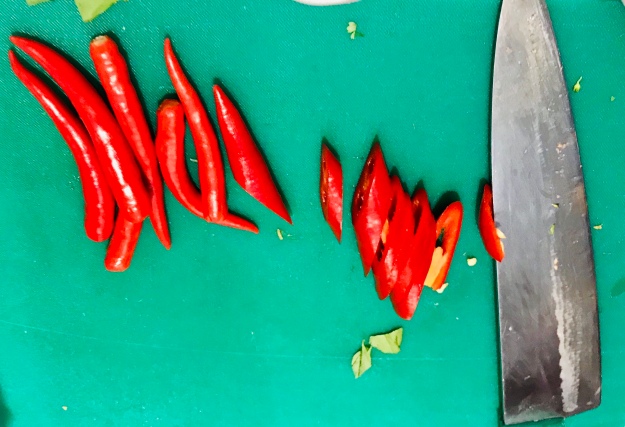
spicy red chillies
garlic
long beans
holy basil leaves
vegetable stock
fish sauce
oyster sauce
light soya sauce
dark soya sauce
chicken powder (optional)
salt
Note: the spice level demonstrated here is on the higher side. Please adjust chillies as preferred.
Making of Stir-fried Holy Basil
Chef Vitug demonstrated the stir fry with prawns .
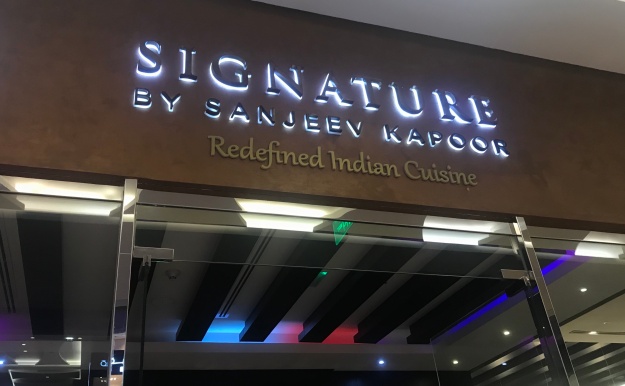
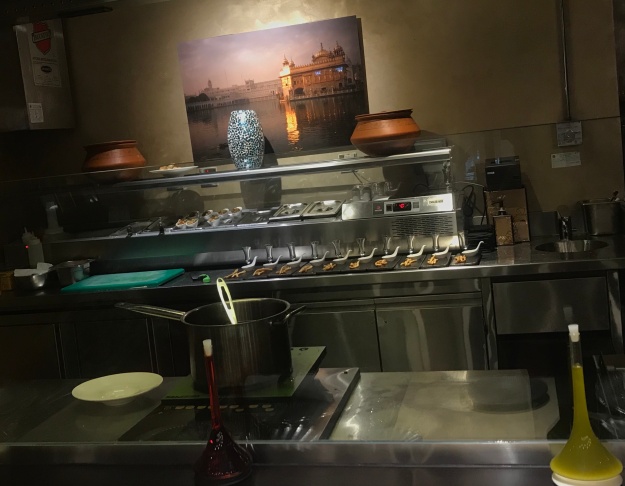
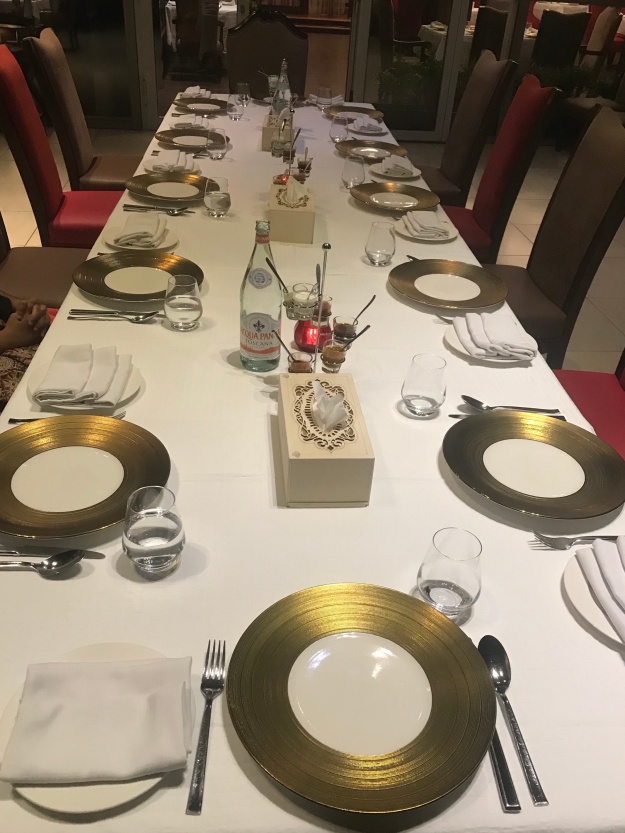
Recently, I had this wonderful opportunity, to visit the Kitchen of the fine dining restaurant – ‘Signature by Sanjeev Kapoor’ in Abu Dhabi. A very big Thanks to friends, who made this happen.
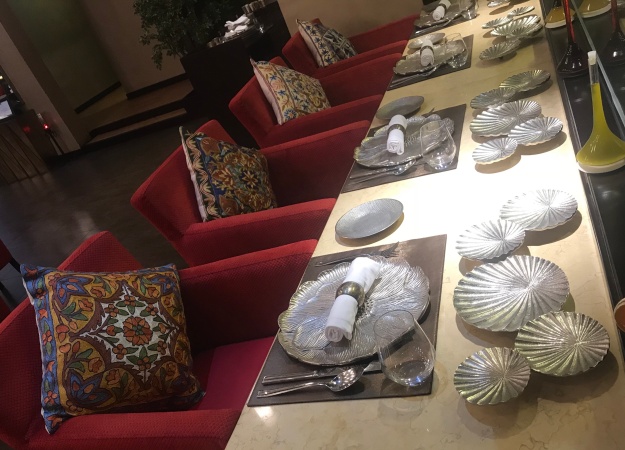
The restaurant stands in a prime location, in Nation Towers, overlooking the Corniche. The restaurant prominently showcases modern and contemporary interiors. Yet, the elegance of Indian cultural elements are not to be missed. The menu here, boasts of traditional dishes served with a twist.
Disclaimer: This post is not a review on the restaurant. I was not invited to write about the cuisine or the restaurant.
It is my own personal interest, to learn new things, from speciality chefs that has led to this post. It is hard to find restauranteurs, who are open-minded to share their recipes and kitchen. Especially, allowing a blogger like me, who doesn’t even have an account in any social networking arena, certainly isn’t a normal trend in either today’s restaurant business or blogging field . That is why, I need to extend my warmest gratitude to the owners of the restaurant, to have given me the opportunity to learn the dishes and also share them with my readers.
Signature By Sanjeev Kapoor, is a well known chain of restaurants in Abu Dhabi, Dubai and Doha. The restaurant serves signature dishes of Mr. Sanjeev Kapoor, well acclaimed Celebrity Chef of the Indian Subcontinent. He can easily be hailed as, one of the first very few Chefs in India, to have popularised the Job of a Culinary Artist, if I can say so, to the most respectful status it enjoys today. Due to such devoted as well as media friendly/articulate Chefs like Mr. Kapoor, the profession has acquired a Cult Status today. This in turn, has motivated a big chunk of the younger generation, to join the crew of Chefs, in a dream to become Sanjeev Kapoors of their Restaurants. And millions of home cooks like me, also feel the aura of a Chef’s Cap, when a dish is cooked to perfection.
All said and done, the struggle of a chef to reach the desired heights is enormous. Especially, to reach the Pinnacle of one’s career, is not a mean feat. And Mr. Sanjeev Kapoor, continues to be the Super Speciality Chef, even after years of attaining the Apex status of the most popular Chef of Modern India.
One of the few first cookery books, I bought to keep on the coffee table at home, were three books of Mr. Sanjeev Kapoor. While we live away from our homeland, I feel authentic culinary experts like Mr. Kapoor are the Best Brand Ambassadors, who represent Indian Cuisine abroad.
I thoroughly made use of the opportunity, to learn two of everyone’s favourite dishes, Biriyani and Kabab. The recipe of these two, among many more, makes me feel truly inquisitive about the several processes of preparation.
Among the Biriyanis, the Chef demonstrated –
Chicken Biriyani
Easy Mutton Biriyani, with left over Mutton curry
The Executive Chef at ‘Signature By Sanjeev Kapoor’, was very patient, to explain the step by step processes of the making of Biriyani . After his demonstration, the recipe now looks very simple. A very big Thanks to him.
First to grab on, is the Chicken Biriyani.
Now, to the recipe-
Chicken Biriyani (serves 3-4)
Since it was a demonstration, the right quantities of chicken and rice are only given. Other quantities are approximate values. As told by Chef, It is a usual norm to use 1/2 kg chicken for 1/2 kg of rice.
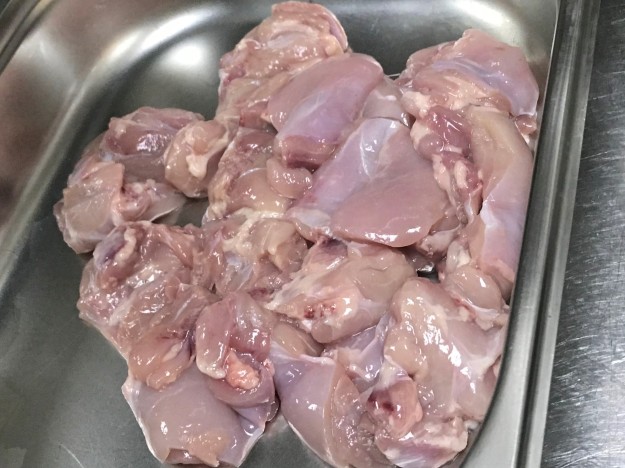
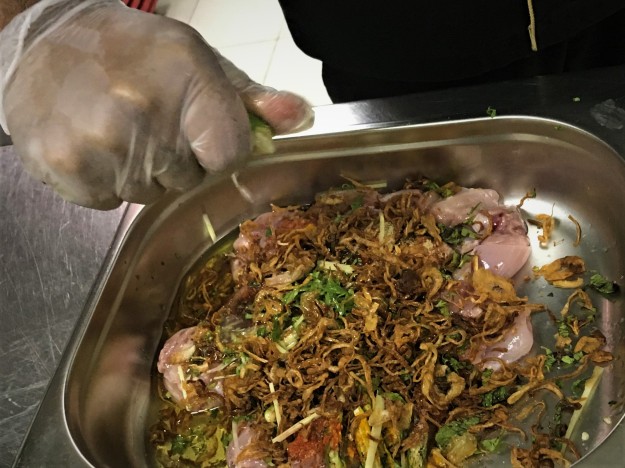
Marinating the Chicken
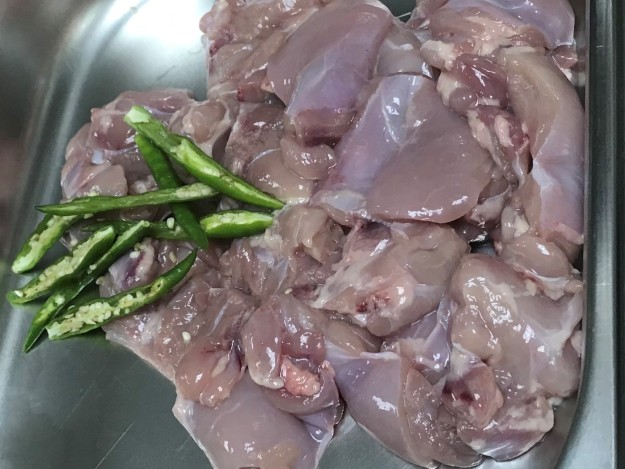
Half a kilo of cleaned chicken pieces
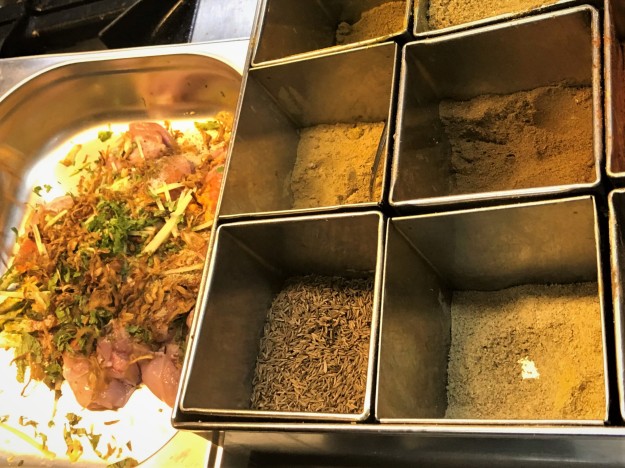
2. Add 4 slit green chillies and 3 tsp ginger garlic paste
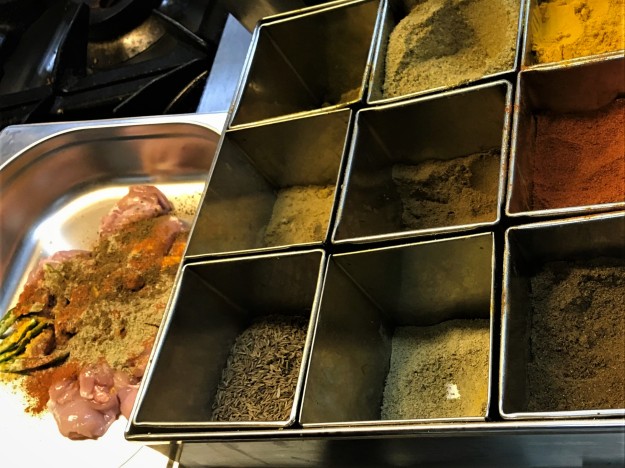
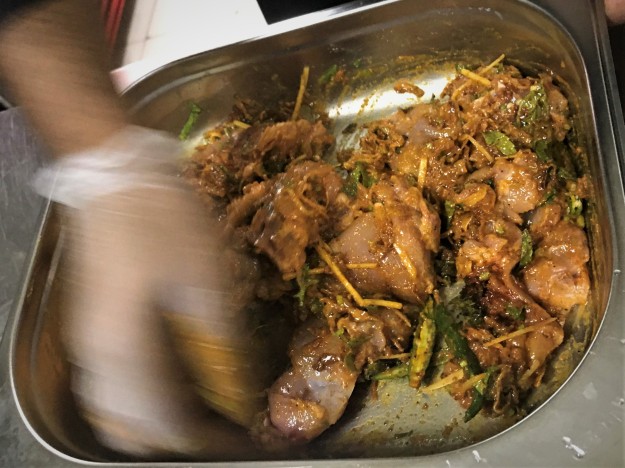
3. Add turmeric, chilli, cardamom, pepper powders and salt to the chicken
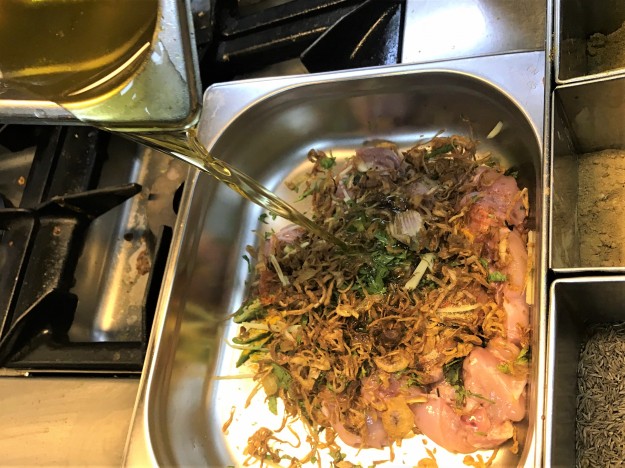
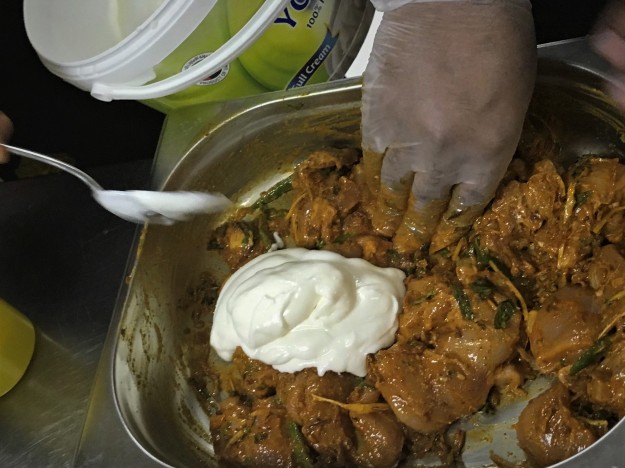
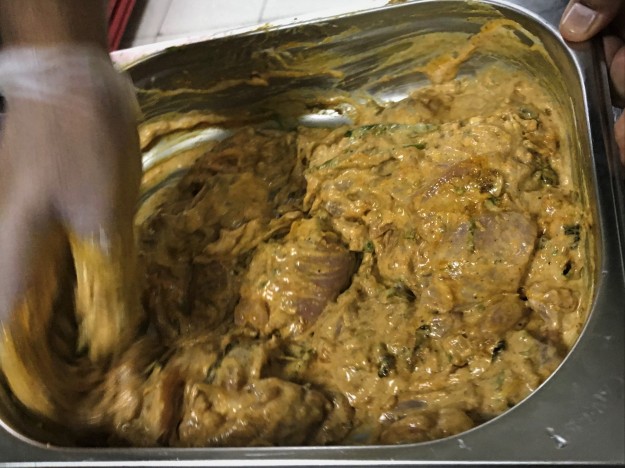
6. Let this chicken and added ingredients marinate overnight in the refrigerator.
Making Biriyani
Wash and soak rice in water, atleast half an hour prior to boiling water.
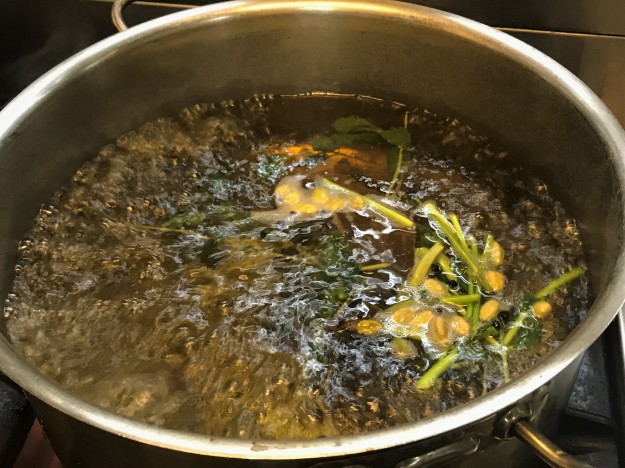
2. Boil water in a wide pot or pan, that is big enough to cook rice and throw away excess water. Add dry spices and other ingredients listed below. Let the water boil with the spices for about 8-10 minutes.
cardamom
cinnamon
bay leaves
cloves
black pepper
fennel seeds
ginger julienne
mint leaves
coriander leaves
green chillies
oil
salt
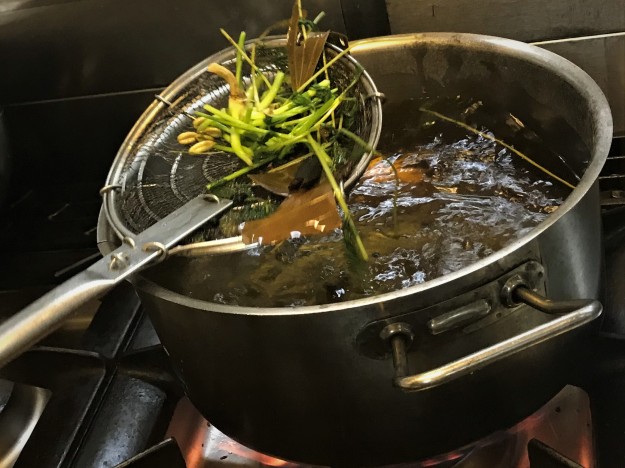
3. Remove the spices from water.
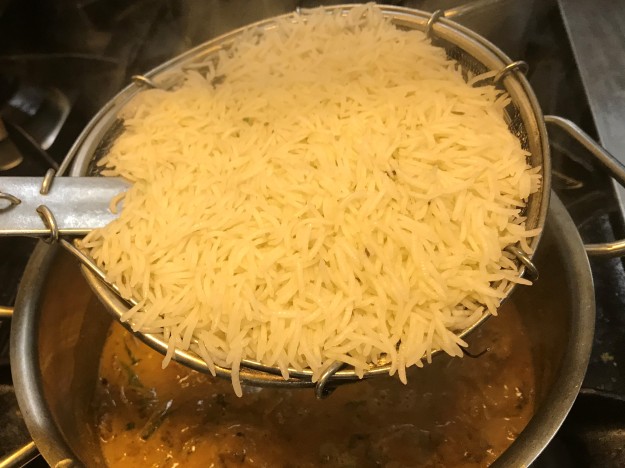
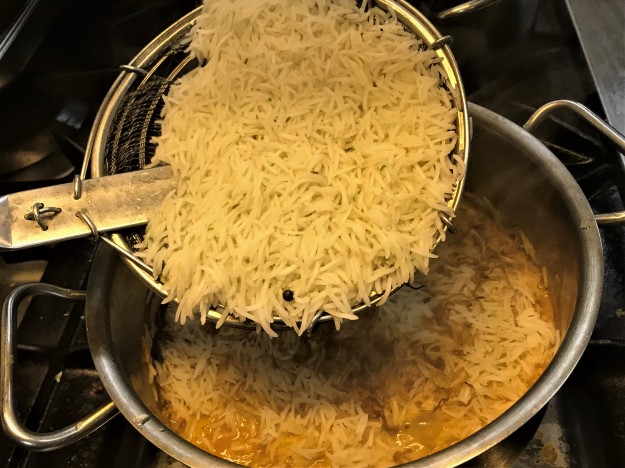
4. Drop the soaked rice in the boiling water and let it cook.
5. Choose a good hard bottomed pan. The quality of the pan would facilitate in making a successful final product, which doesn’t stick to the bottom of the vessel.
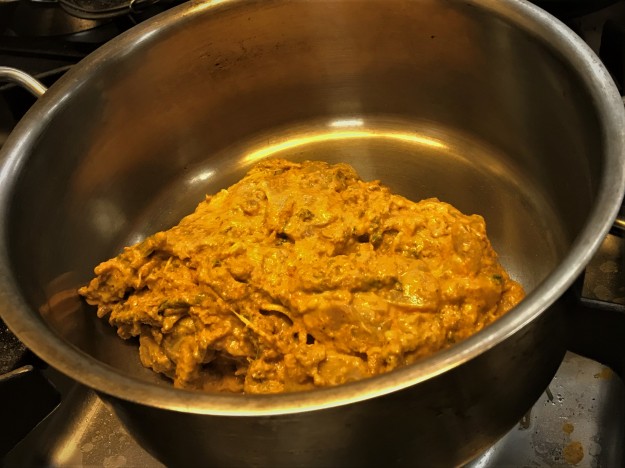
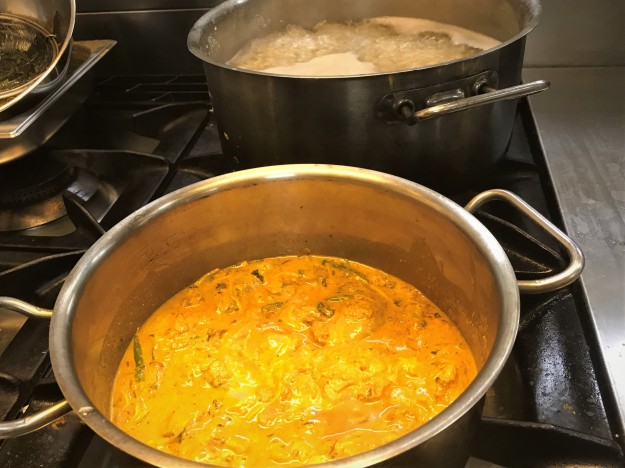
6. Add the marinated chicken to the pan.
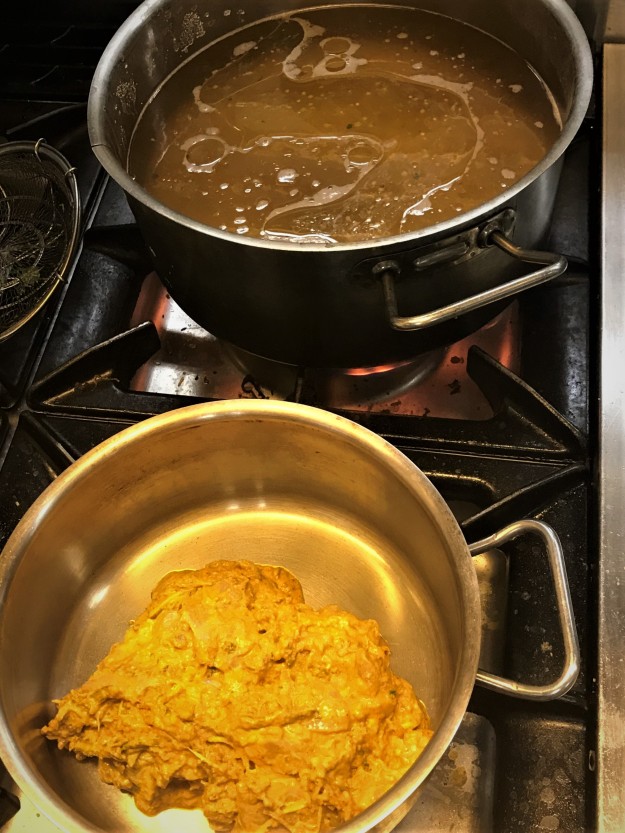
7. Two pans, one with rice and the other with marinated chicken, are kept alongside each other, both getting cooked simultaneously .
8. After a while, they look like this…
9. The chicken now, is half cooked. And the rice is also half cooked. It is time to give the first layer to the chicken curry. The stove is always kept in medium to sim position. Once we start keeping the layers, the flame should be in sim position only.
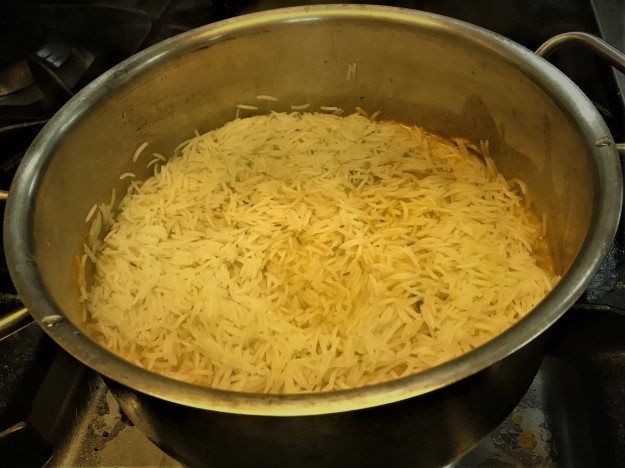
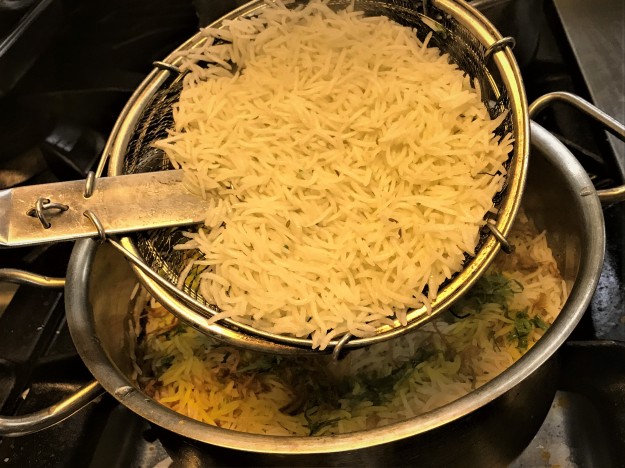
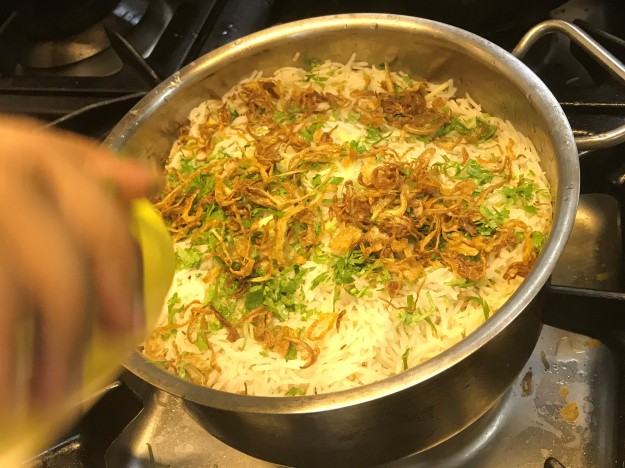
10. With half cooked chicken at the bottom, first layer of rice on top- add crispy fried golden brown onions.
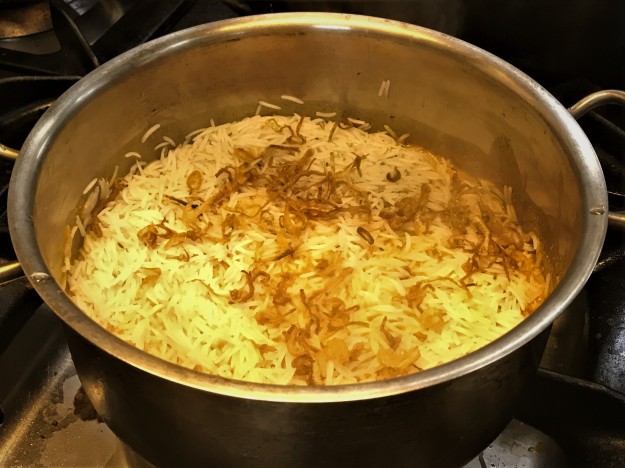
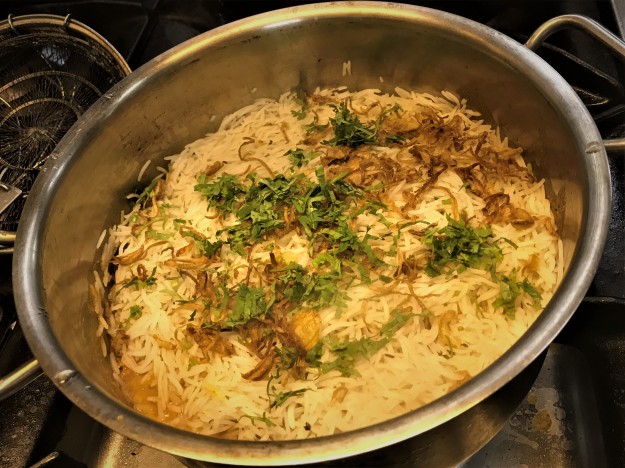
11. Now, the second layer of rice; then golden brown onions and coriander leaves.
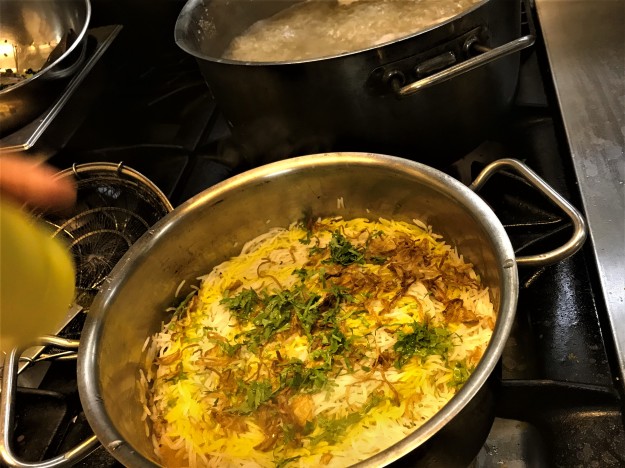
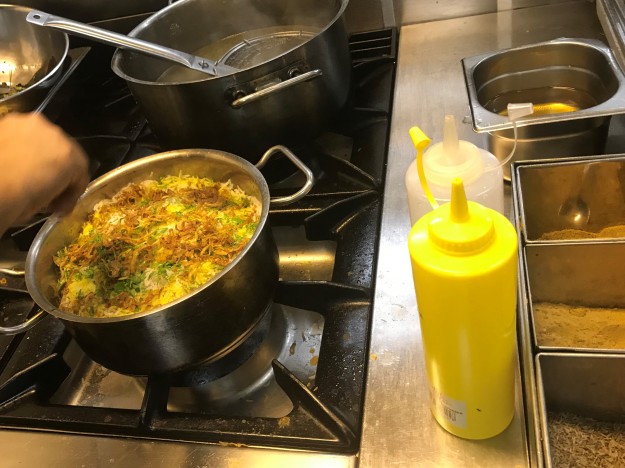
12. Add saffron water and khewra water (extract from distilled pandanus flowers)
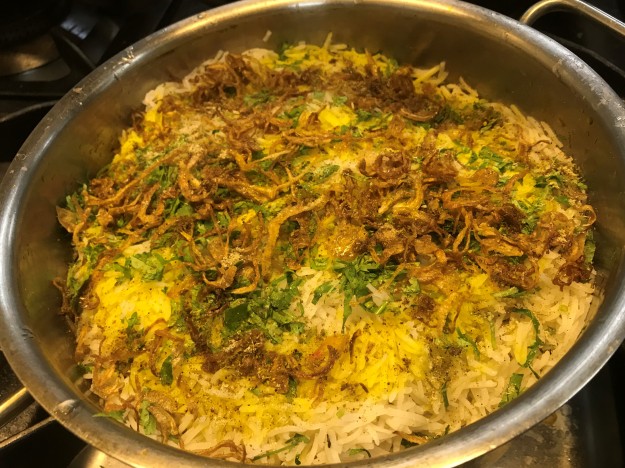
13. Moving on to the third and the last layer…rice, golden brown onions, coriander leaves, saffron water and khewra water. This time, add ginger juliennes and garam masala on top
14. Remember, all this while, the stove is kept in sim position.
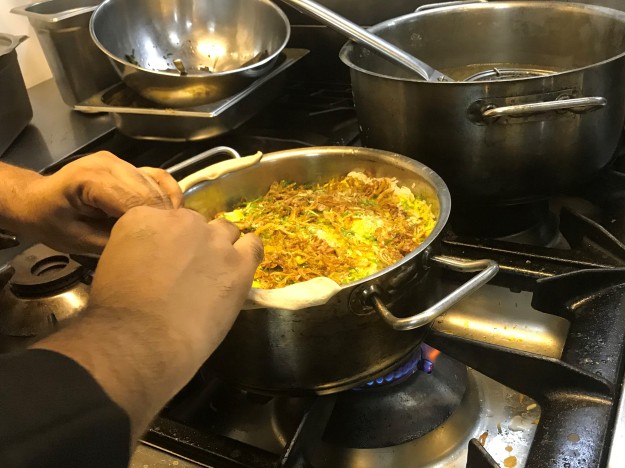
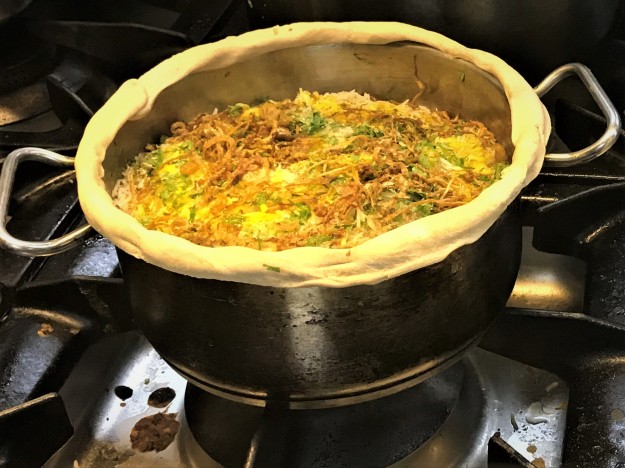
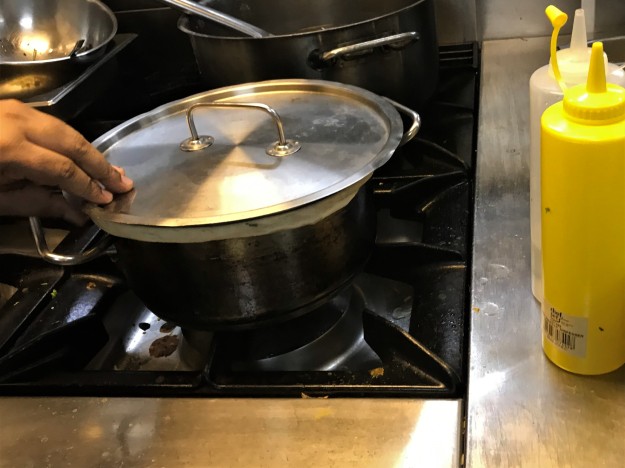
15. The next step, is to seal the vessel and allow the chicken and rice to blend well with the spices added. Take kneaded wheat flour and press it on the edges of the pan.
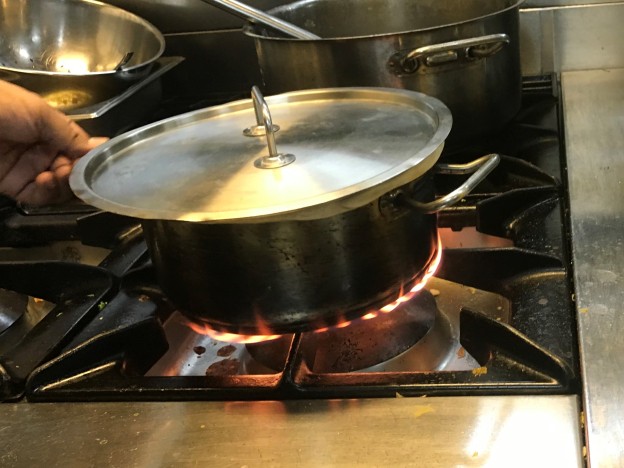
16. Close tightly with a lid, and let the combination of multiple ingredients bring out the best of each other. This might take approximately 20 minutes. Keep the flame in full for the first 2-3 minutes and then simmer and cook for another 18 minutes.
in full flame for the first 2-3 minutes
17. A better way to cook 100% unburnt Dum Biriyani, is to place the pan on a hot cast iron pan, which is kept on medium flame. This way, direct heat doesn’t affect the bottom layer of the biriyani, that is the chicken.
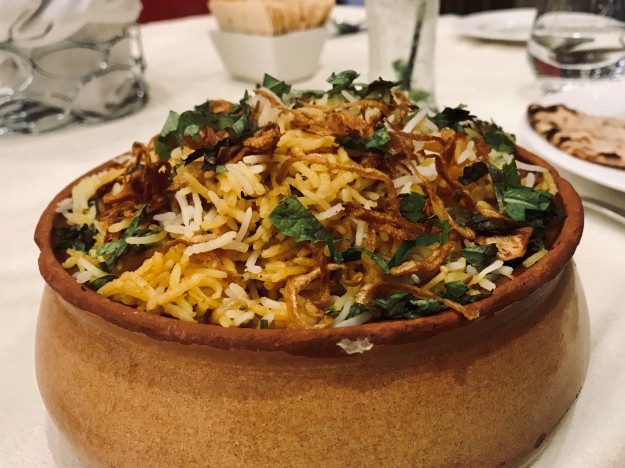
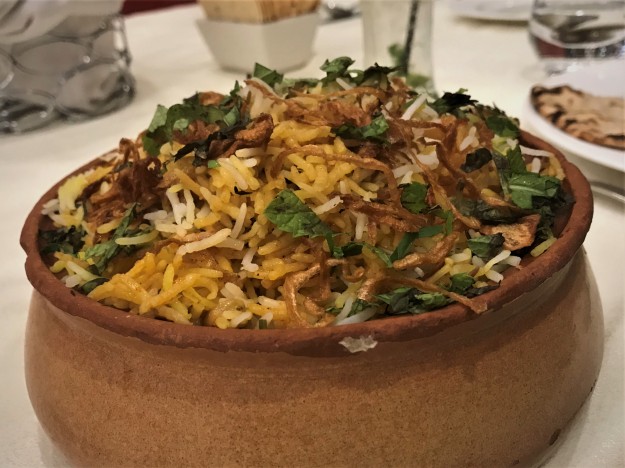
18. We are almost done. Hold your breath tight and open the pan to see the beautifully cooked delicacy. Enjoy the wonderful aroma of the slow cooked Dum Biriyani.
A truly inspiring and delightful experience over all.
I love home-made cookies or biscuits. Mine are always with whole wheat flour, as in my cakes. The positive thing being the healthy version and the negative being the countless cookies that one consumes assuming they are harmless. Result – end up in more calories and a stuffed tummy.
With loads of information that state the difference between the both, are these biscuits or cookies??
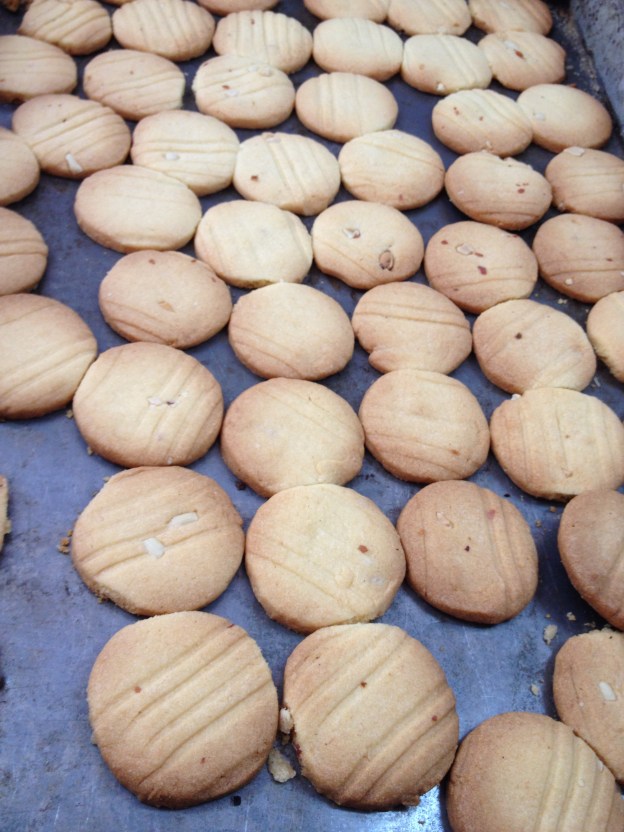
These are biscuits because they are crisp goodies –
‘crisp cookies are called biscuits. Chewier biscuits are sometimes called cookies’ https://en.wikipedia.org/wiki/Cookie
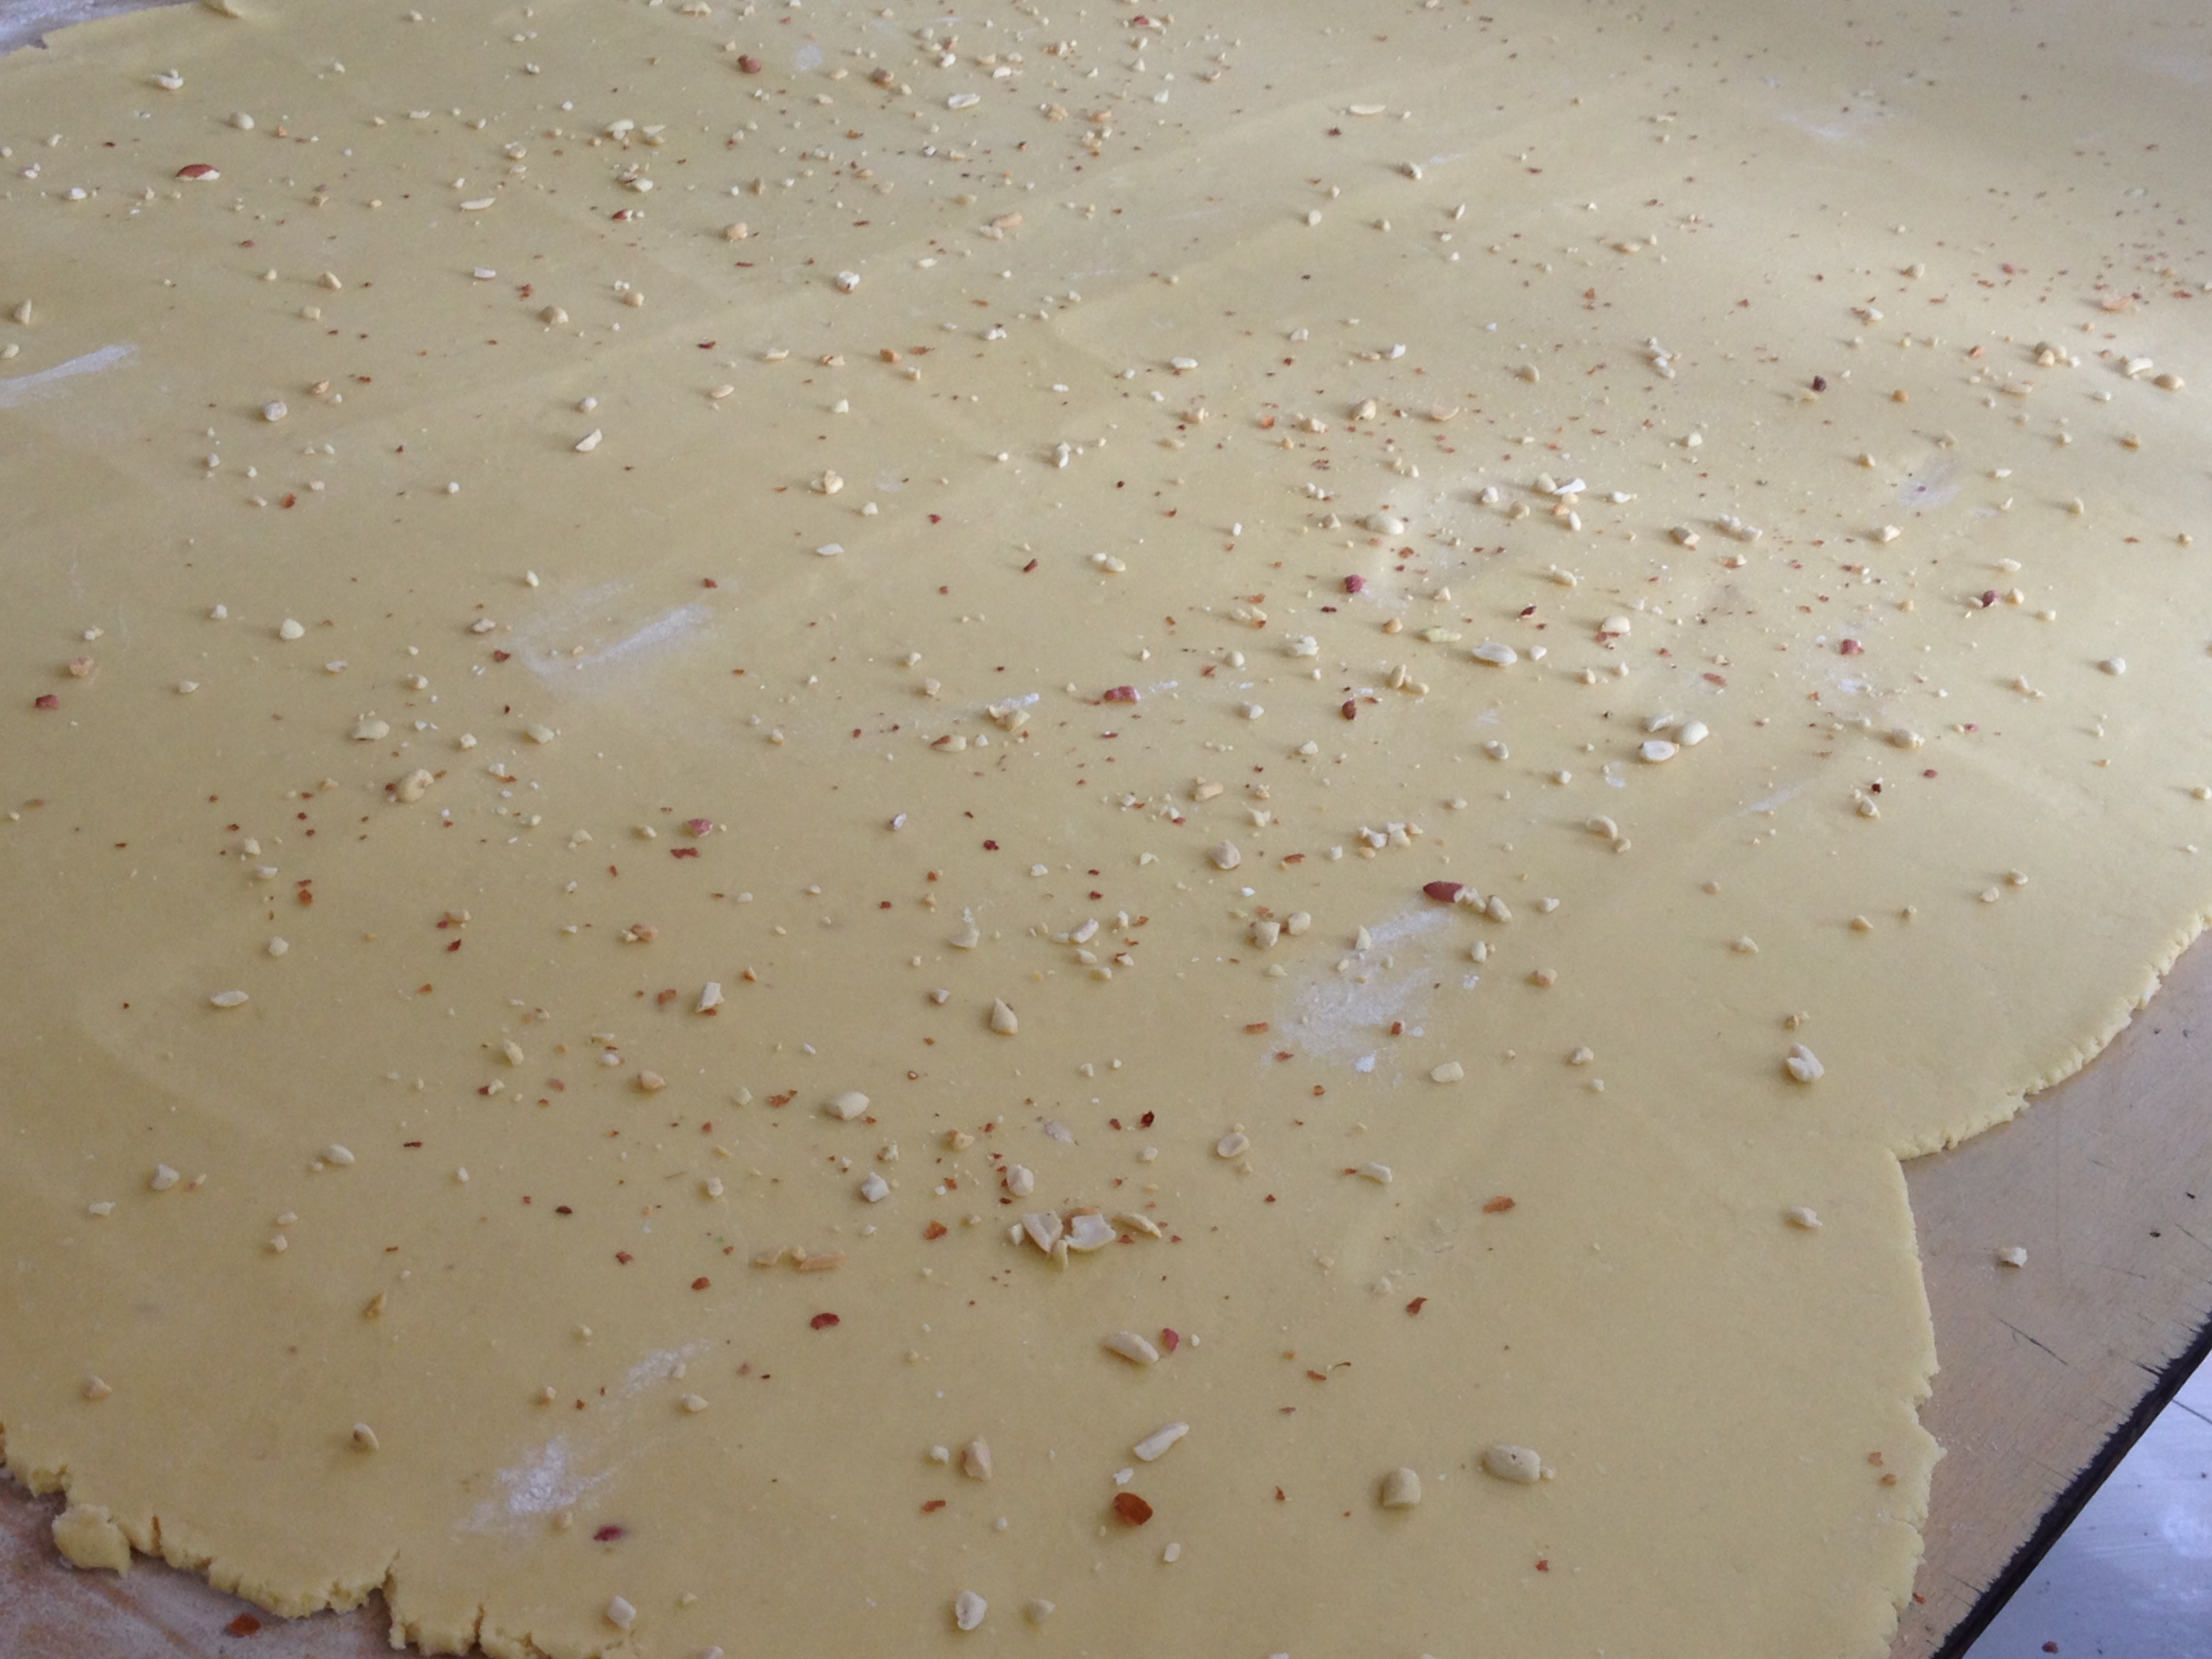
No.No… These are cookies because – they have nuts –
‘A cookie is a baked or cooked good that is small, flat and sweet. It usually contains flour, sugar and some type of oil or fat. It may include other ingredients such as raisins, oats, chocolate chips, nuts, etc.’ https://en.wikipedia.org/wiki/Cookie
The terminology seems to be far more complicated than making of the cookie itself..sorry. biscuit..sorry.. cookie..or is it biscuit…
Now, let us decide..
Aubergine in the UK is eggplant in the US;
Ladies finger in the UK is okra in the US;
‘How do you do’ in the UK is ‘Howdy’ in the US;
Likewise-
– the word ‘cookie’ is derived from the dutch word ‘koekje’ as used in the US. In the UK- a crisp cookie is called ‘biscuit’.
I choose to comprehend that biscuits are crisp cookies. Hence, this can be termed as a Biscuit workshop. Period.
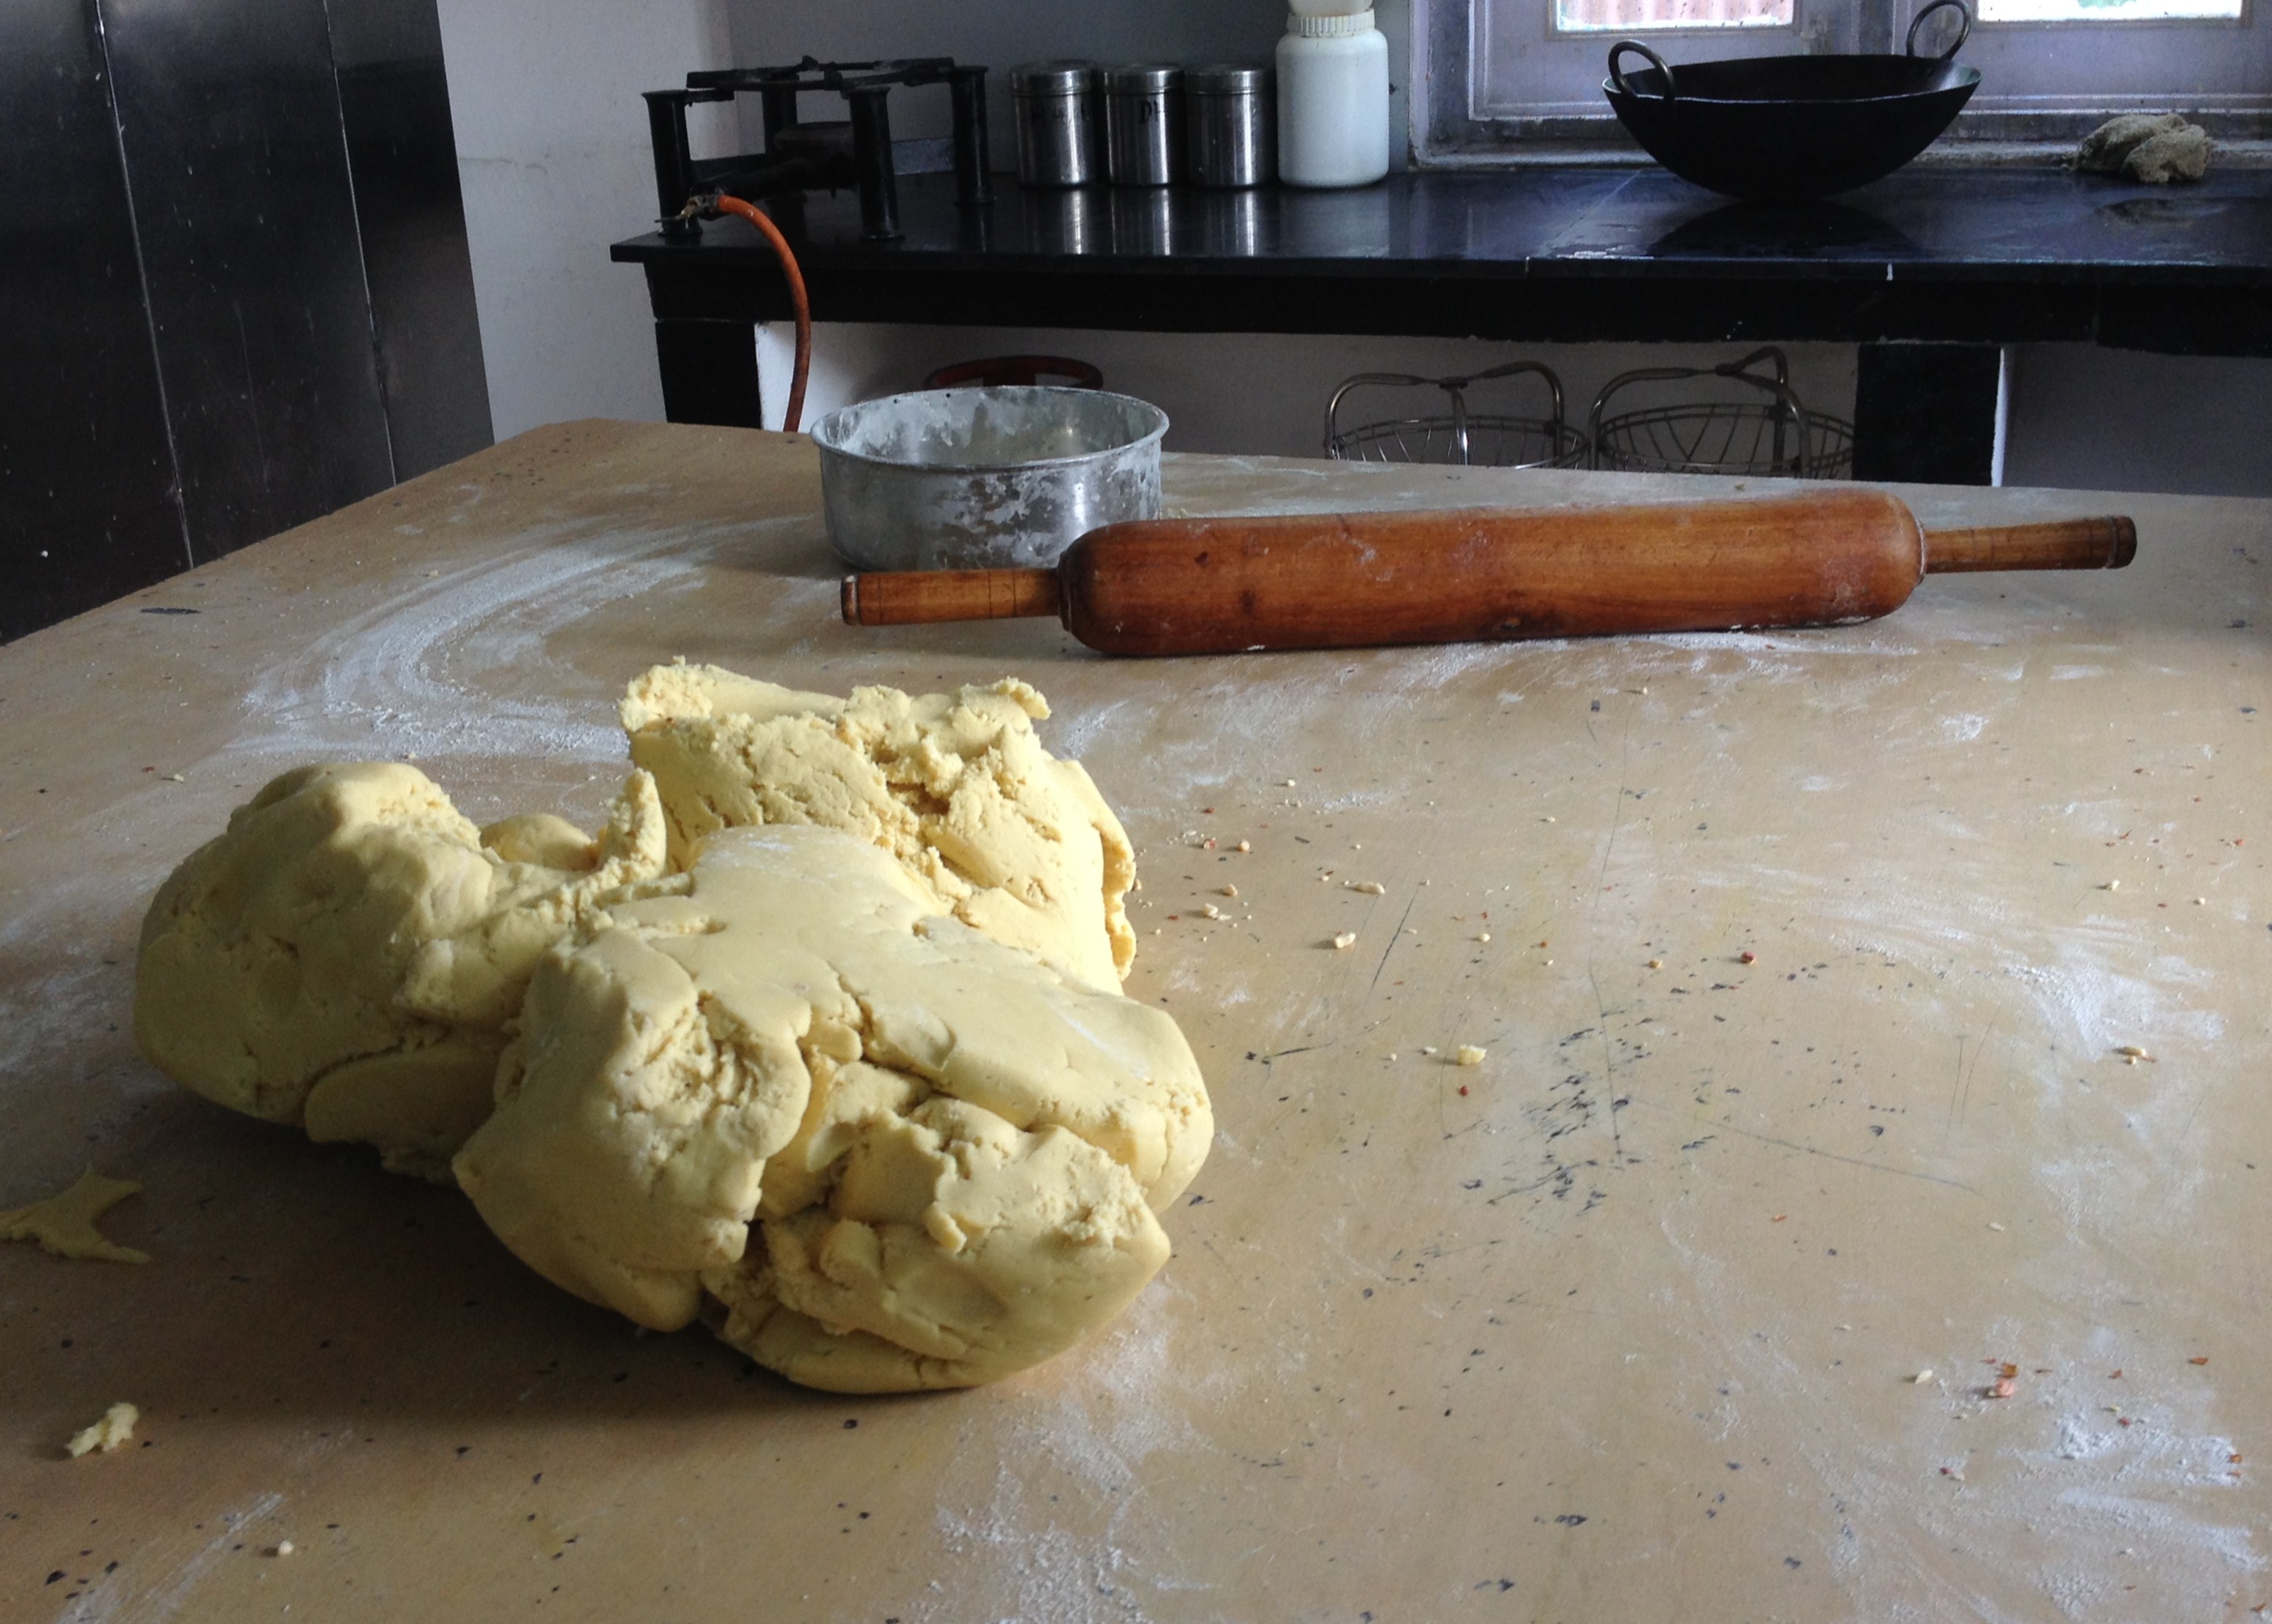
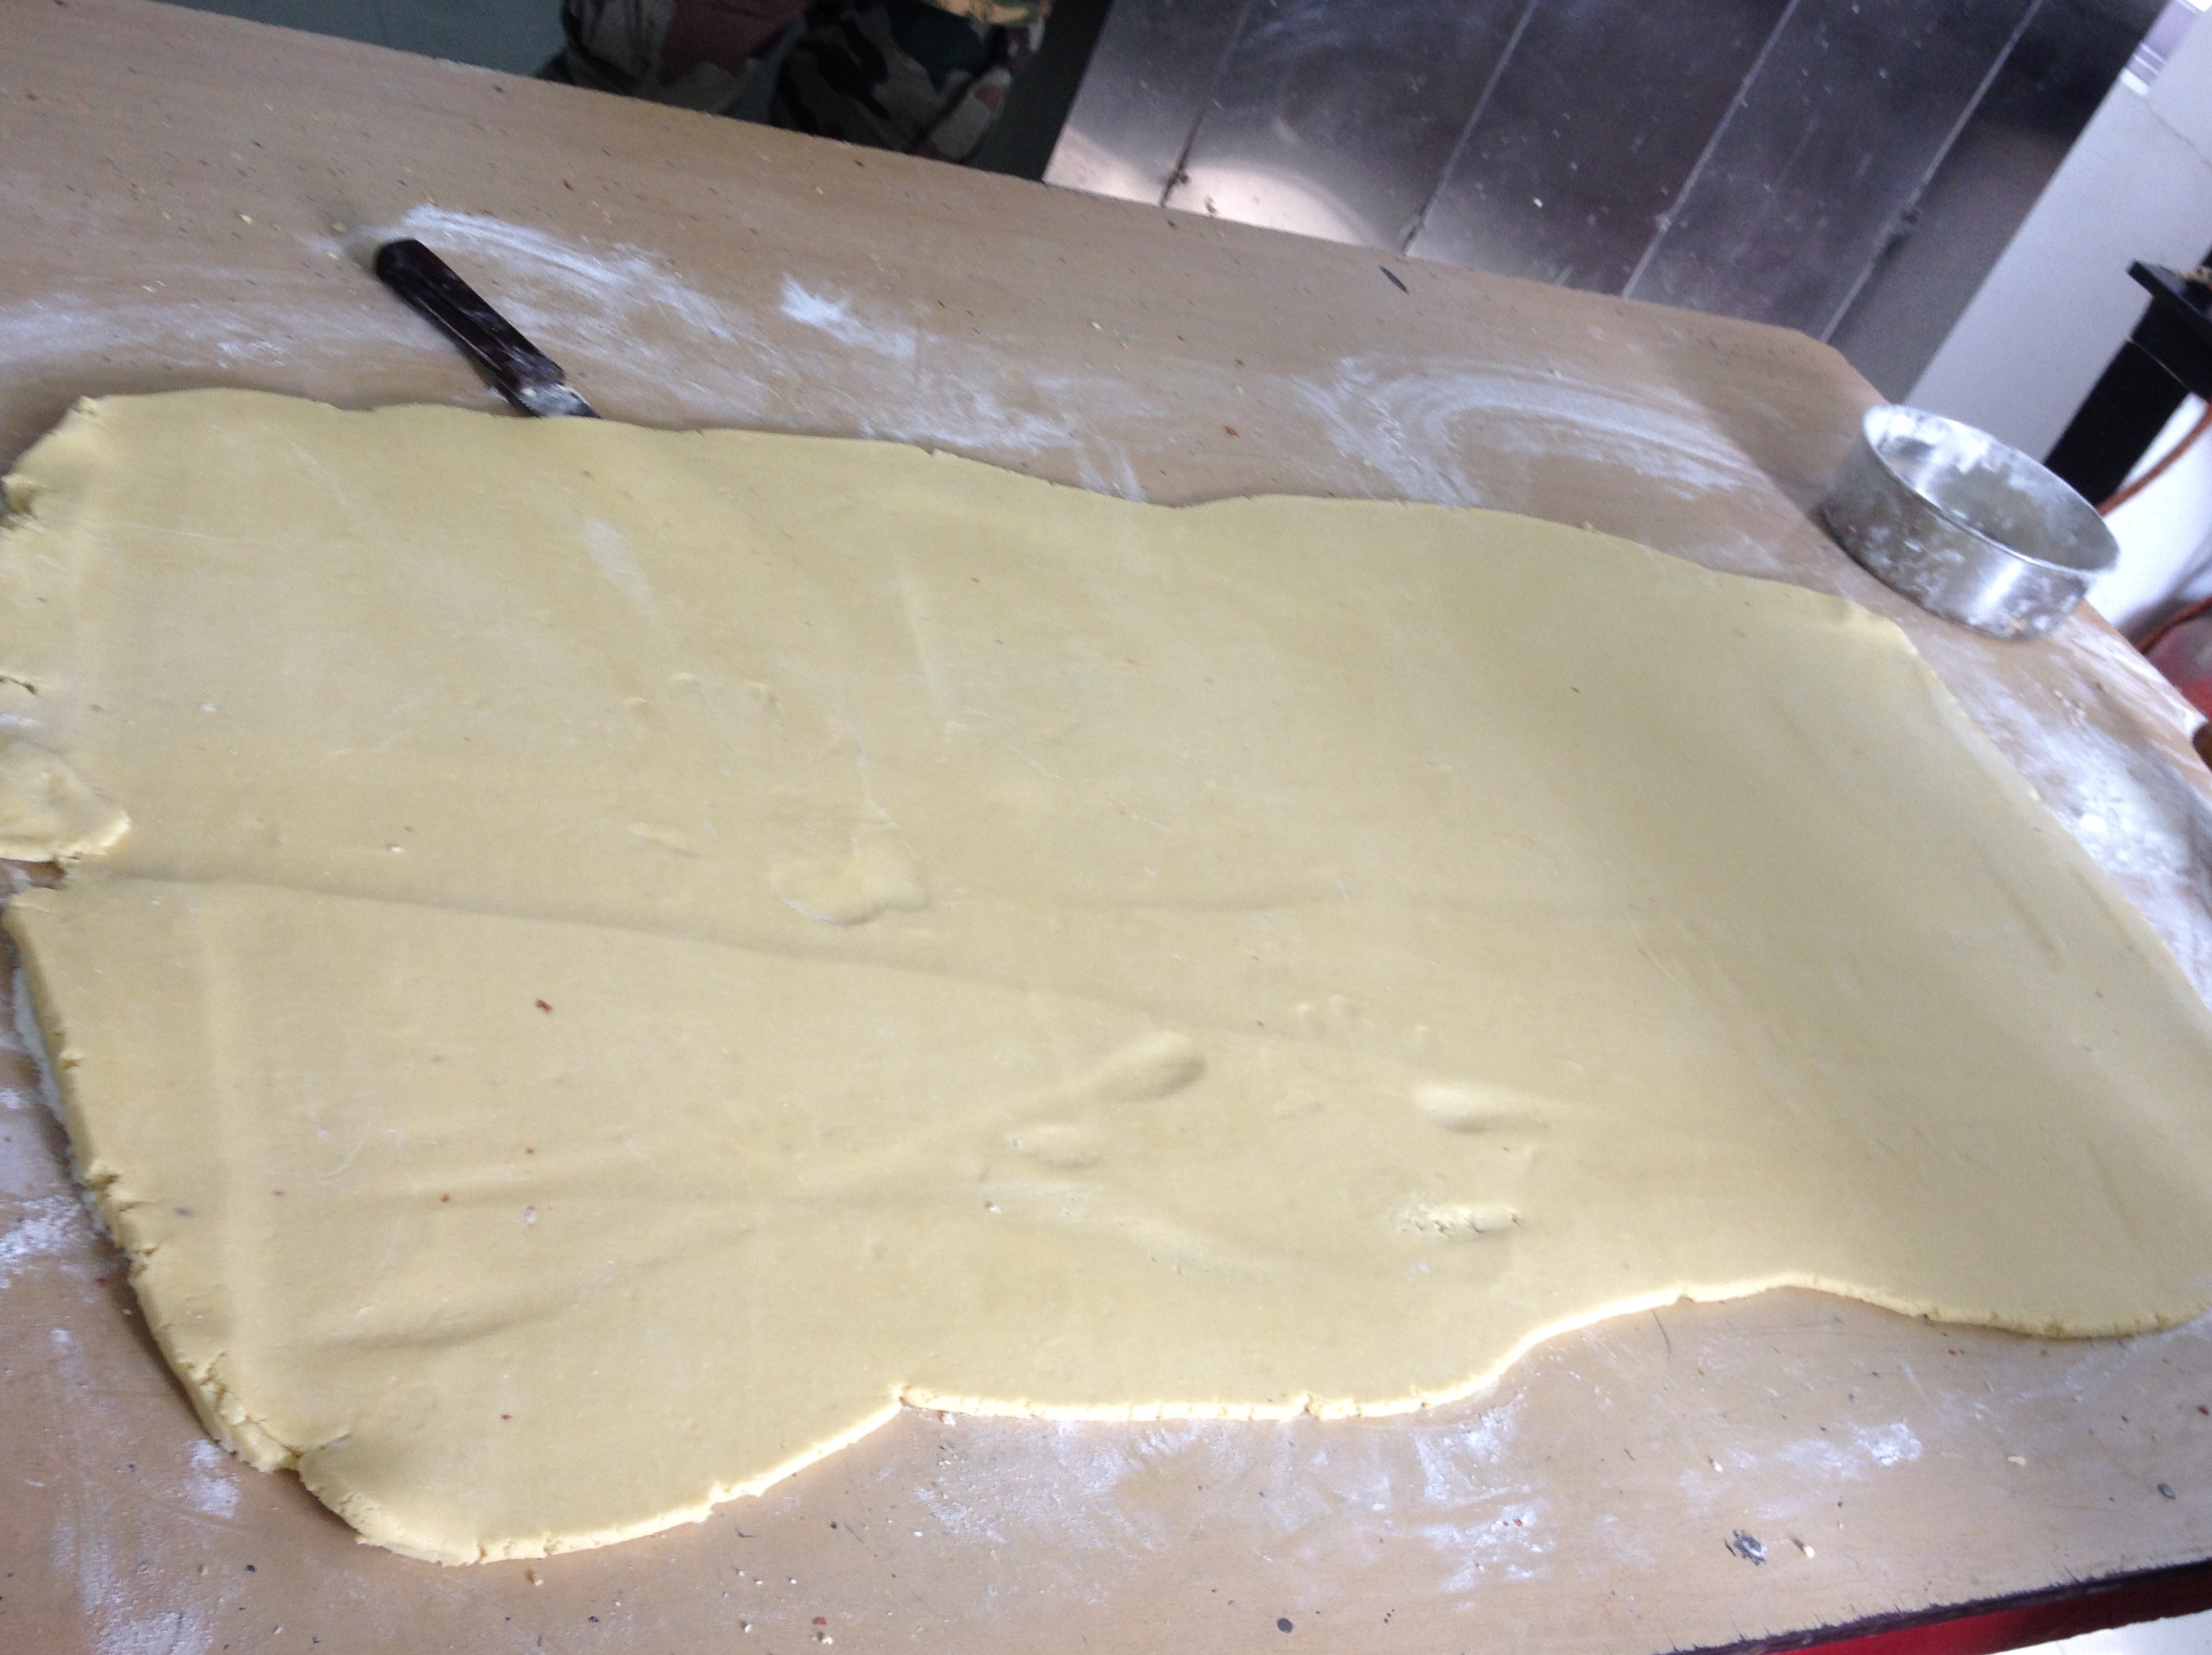
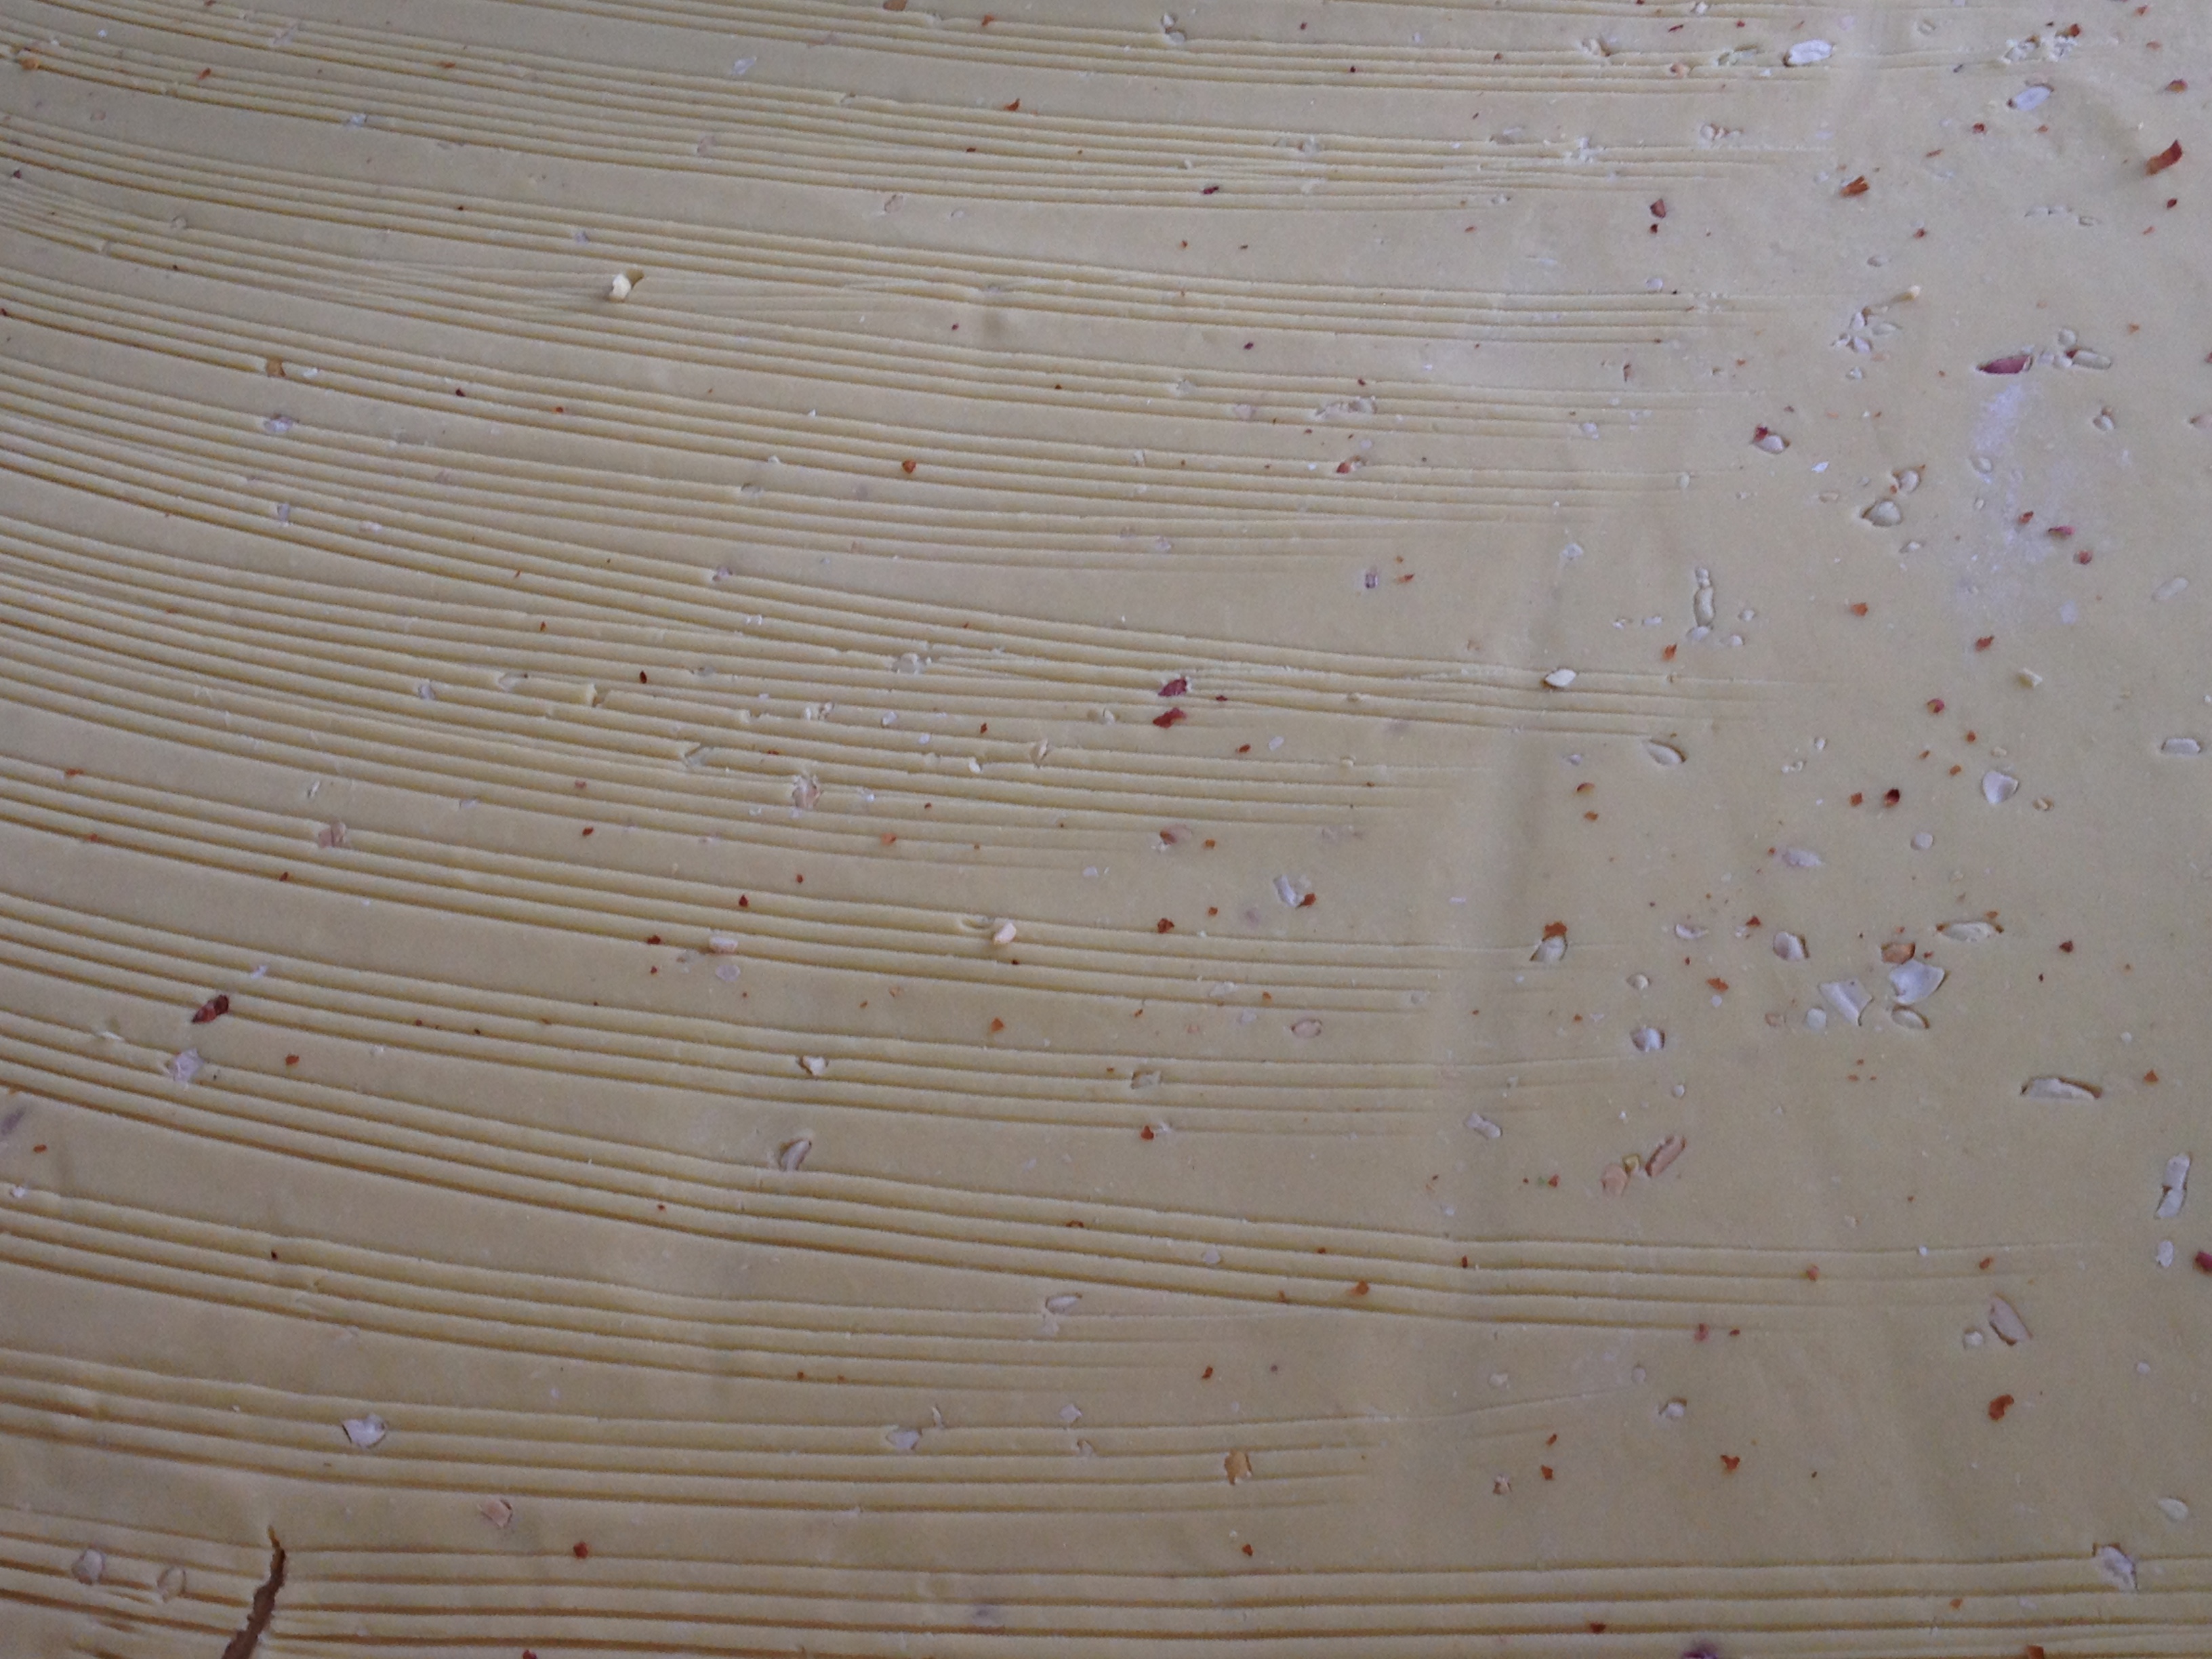
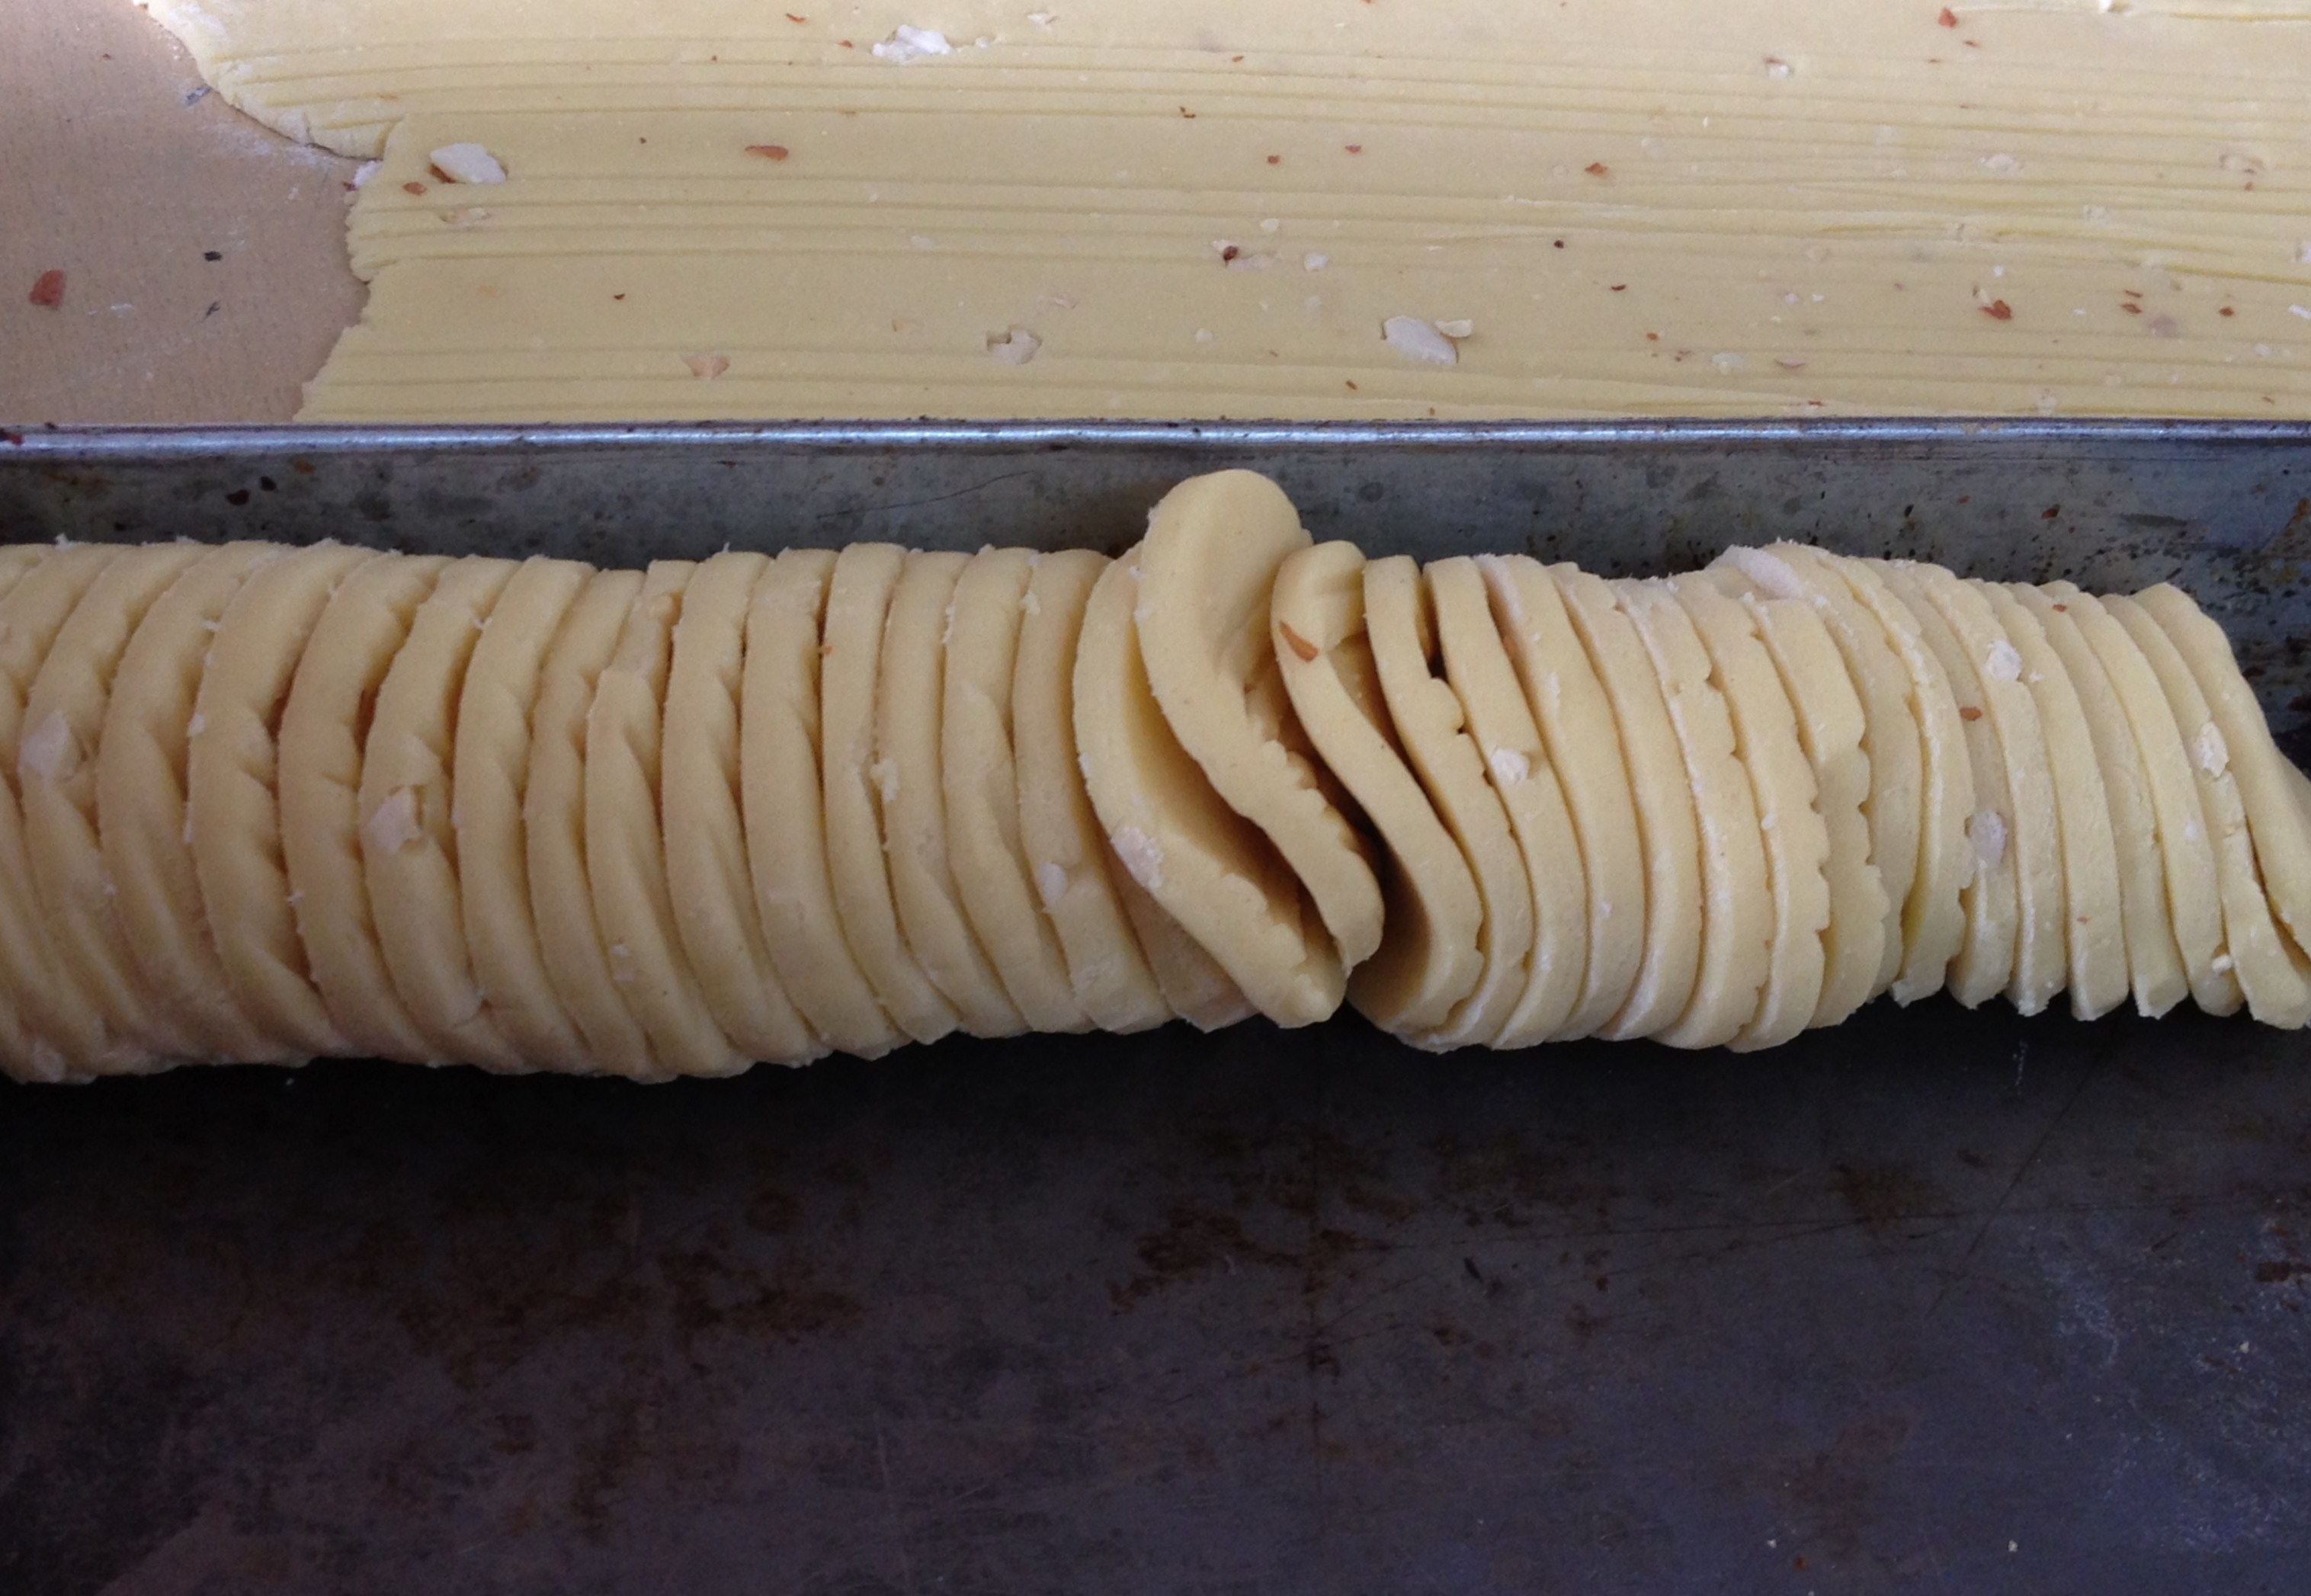
These biscuits are made with all purpose flour, margarine, sugar, salt, baking powder and a few more preservatives added to the sugar and flour for packaging purposes.. The ingredients used here are for bulk packaging, and henced provide us a basic understanding of baking biscuits on a larger scale. But, it is the process of making that made the workshop interesting – the swiftness of those hands in kneading the dough, rolling out evenly on the table, sprinkling nuts, cutting them into perfect pieces, arranging in huge trays and placing in several racks and the most important of all – baking to perfection.
Whatever be its name- cookie or biscuit – it is hardwork at its best – the outcome being crisp, sweet and golden.
My interest in Macaroons is not only because of my sweet tooth; but my maternal connection to the Pearl City of India – Thoothukudi, which is famous for its cashew-nut macaroon biscuits. The macaroons of Thoothukudi and its relation to macaron and maringue have been discussed in dosaikal previously. That post was based on a Bakery Visit and learning the process of making macaroons in bulk. Recently, I had this wonderful opportunity to learn the process of making French Macaroons, from a Sous Chef. The Hotel that offers wonderful coconut macaroons to its guests in their Dinner Buffet or Breakfasts/Brunches allowed us to peep into their baking counter. That turned out to be a great workshop on my favourite Macaroons.
What else do I know best, than sharing the episode with my friends through this channel… I chose to do it as a pictoral tour.. come along!
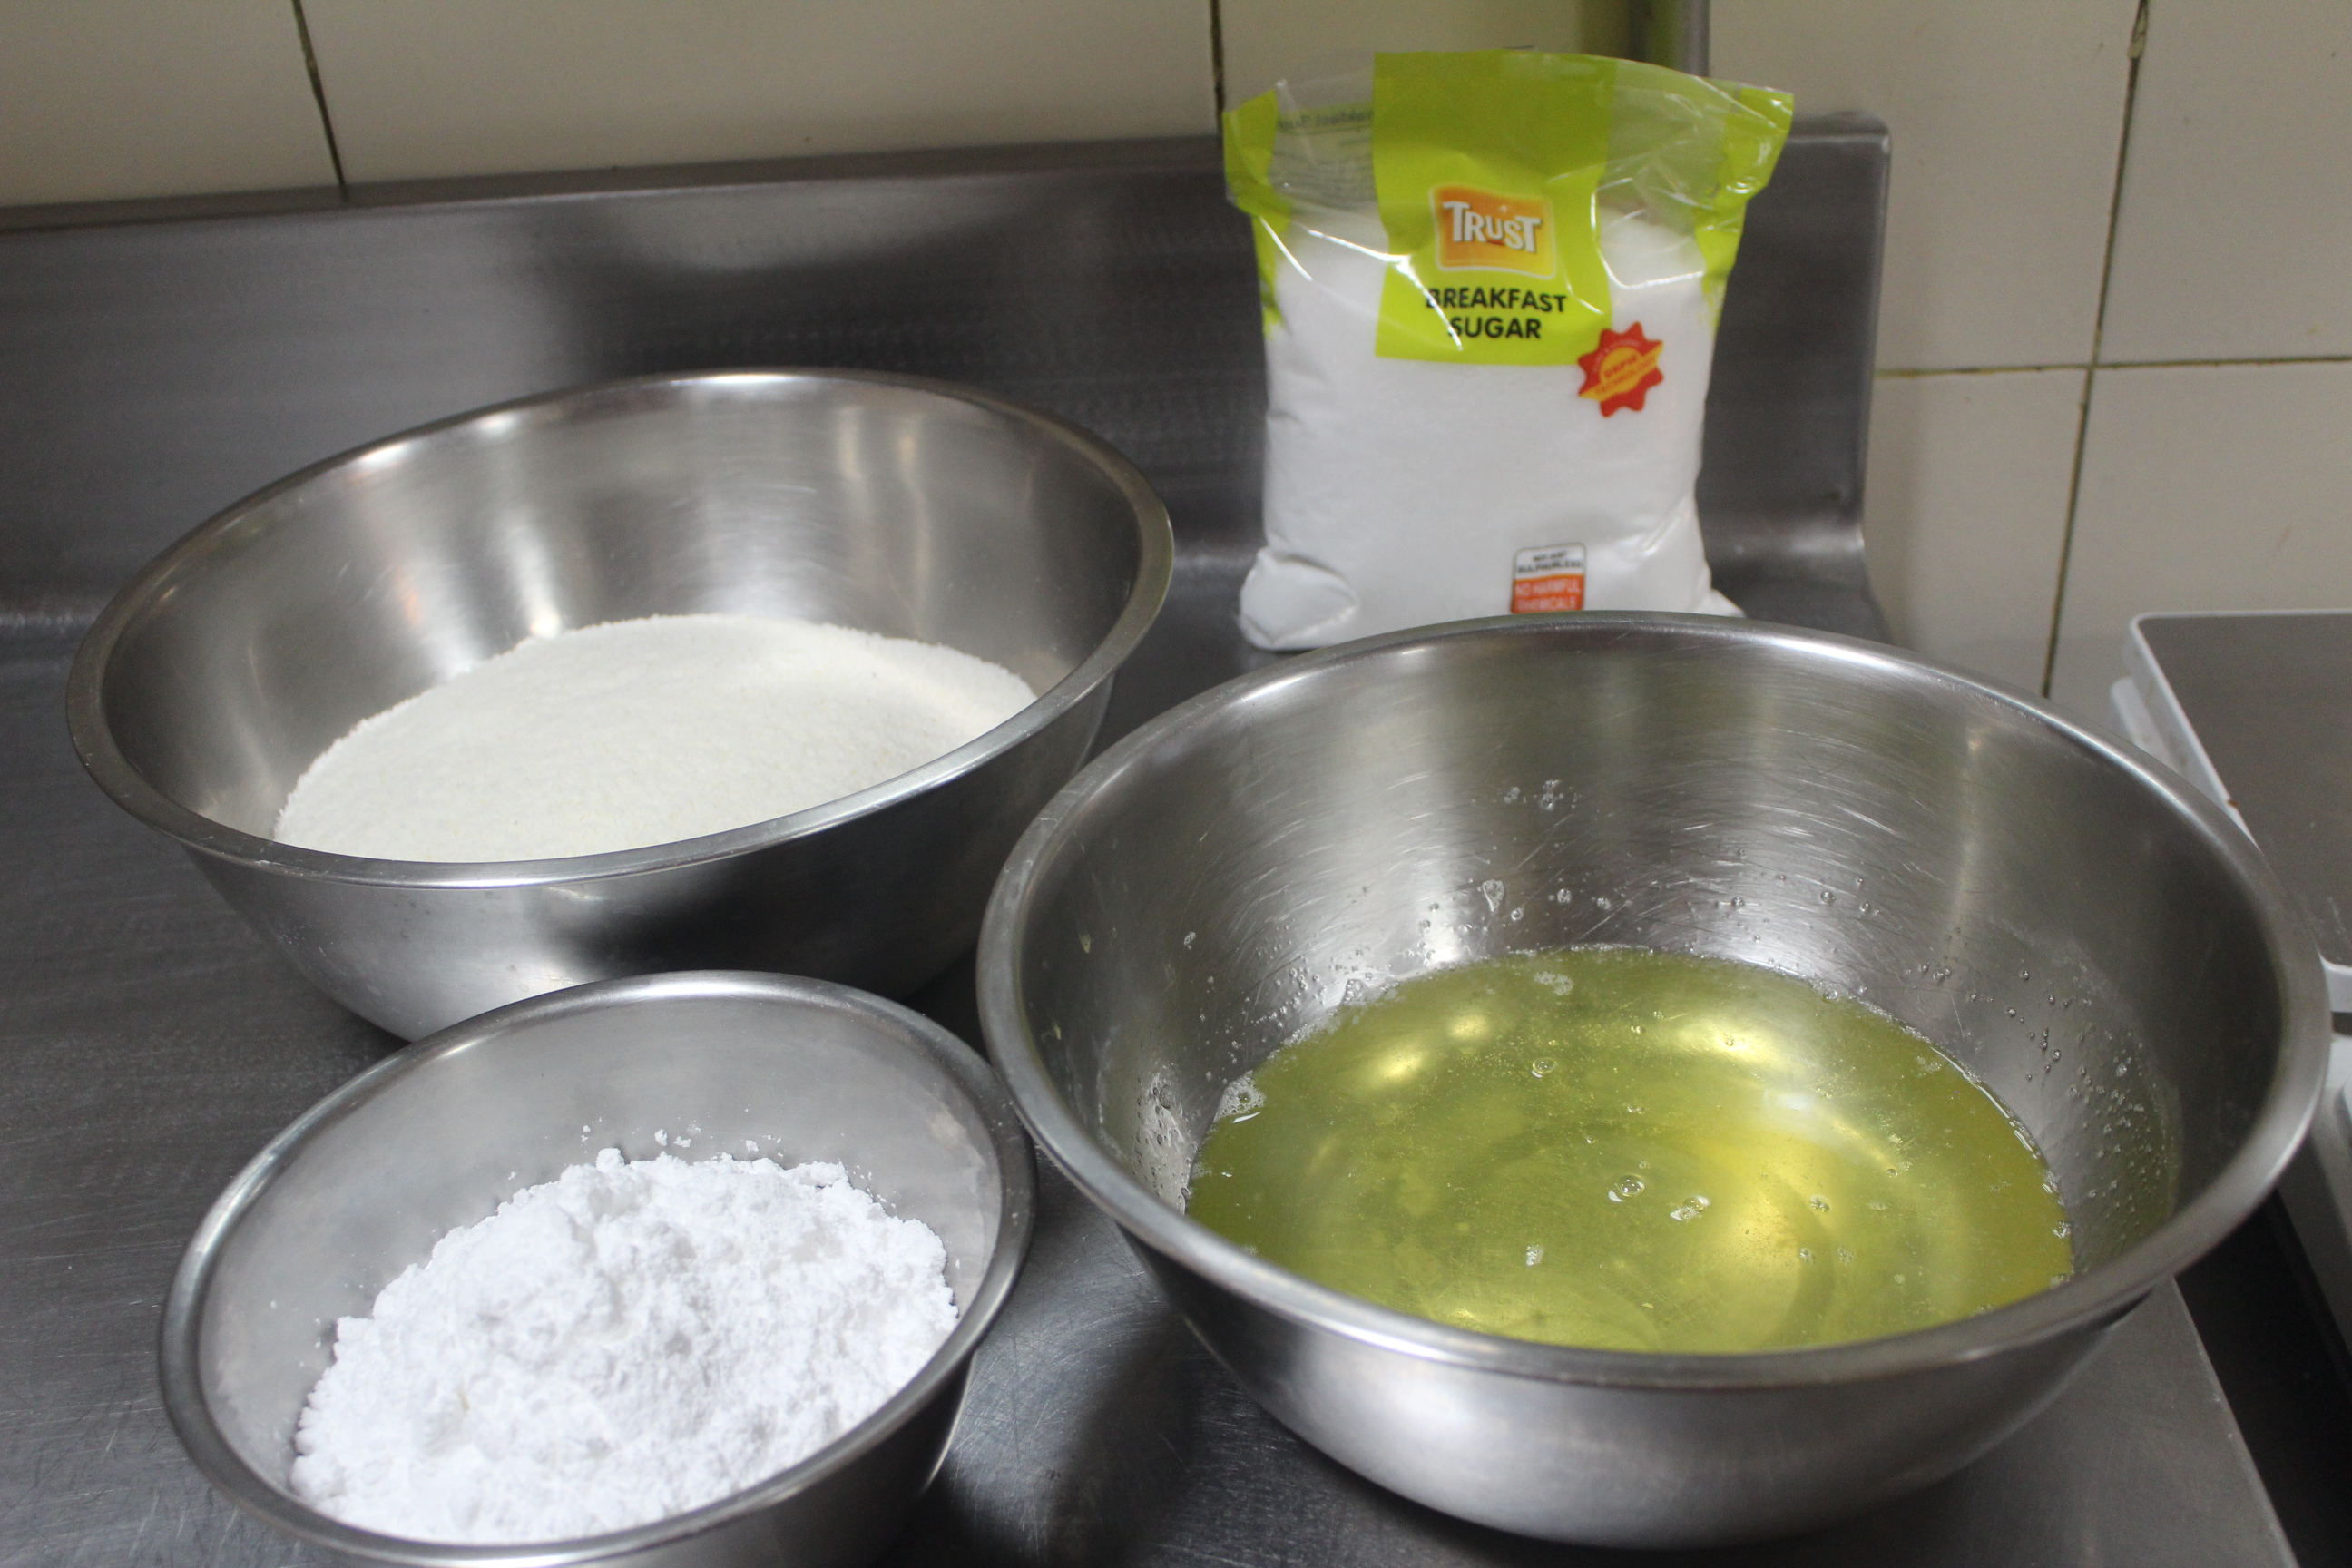
The ingredients – as written on the white board for easy reference
egg whites – 400 gms
breakfast sugar – 1 kg
coconut powder – 600 gms
icing sugar – 300 gms
in display
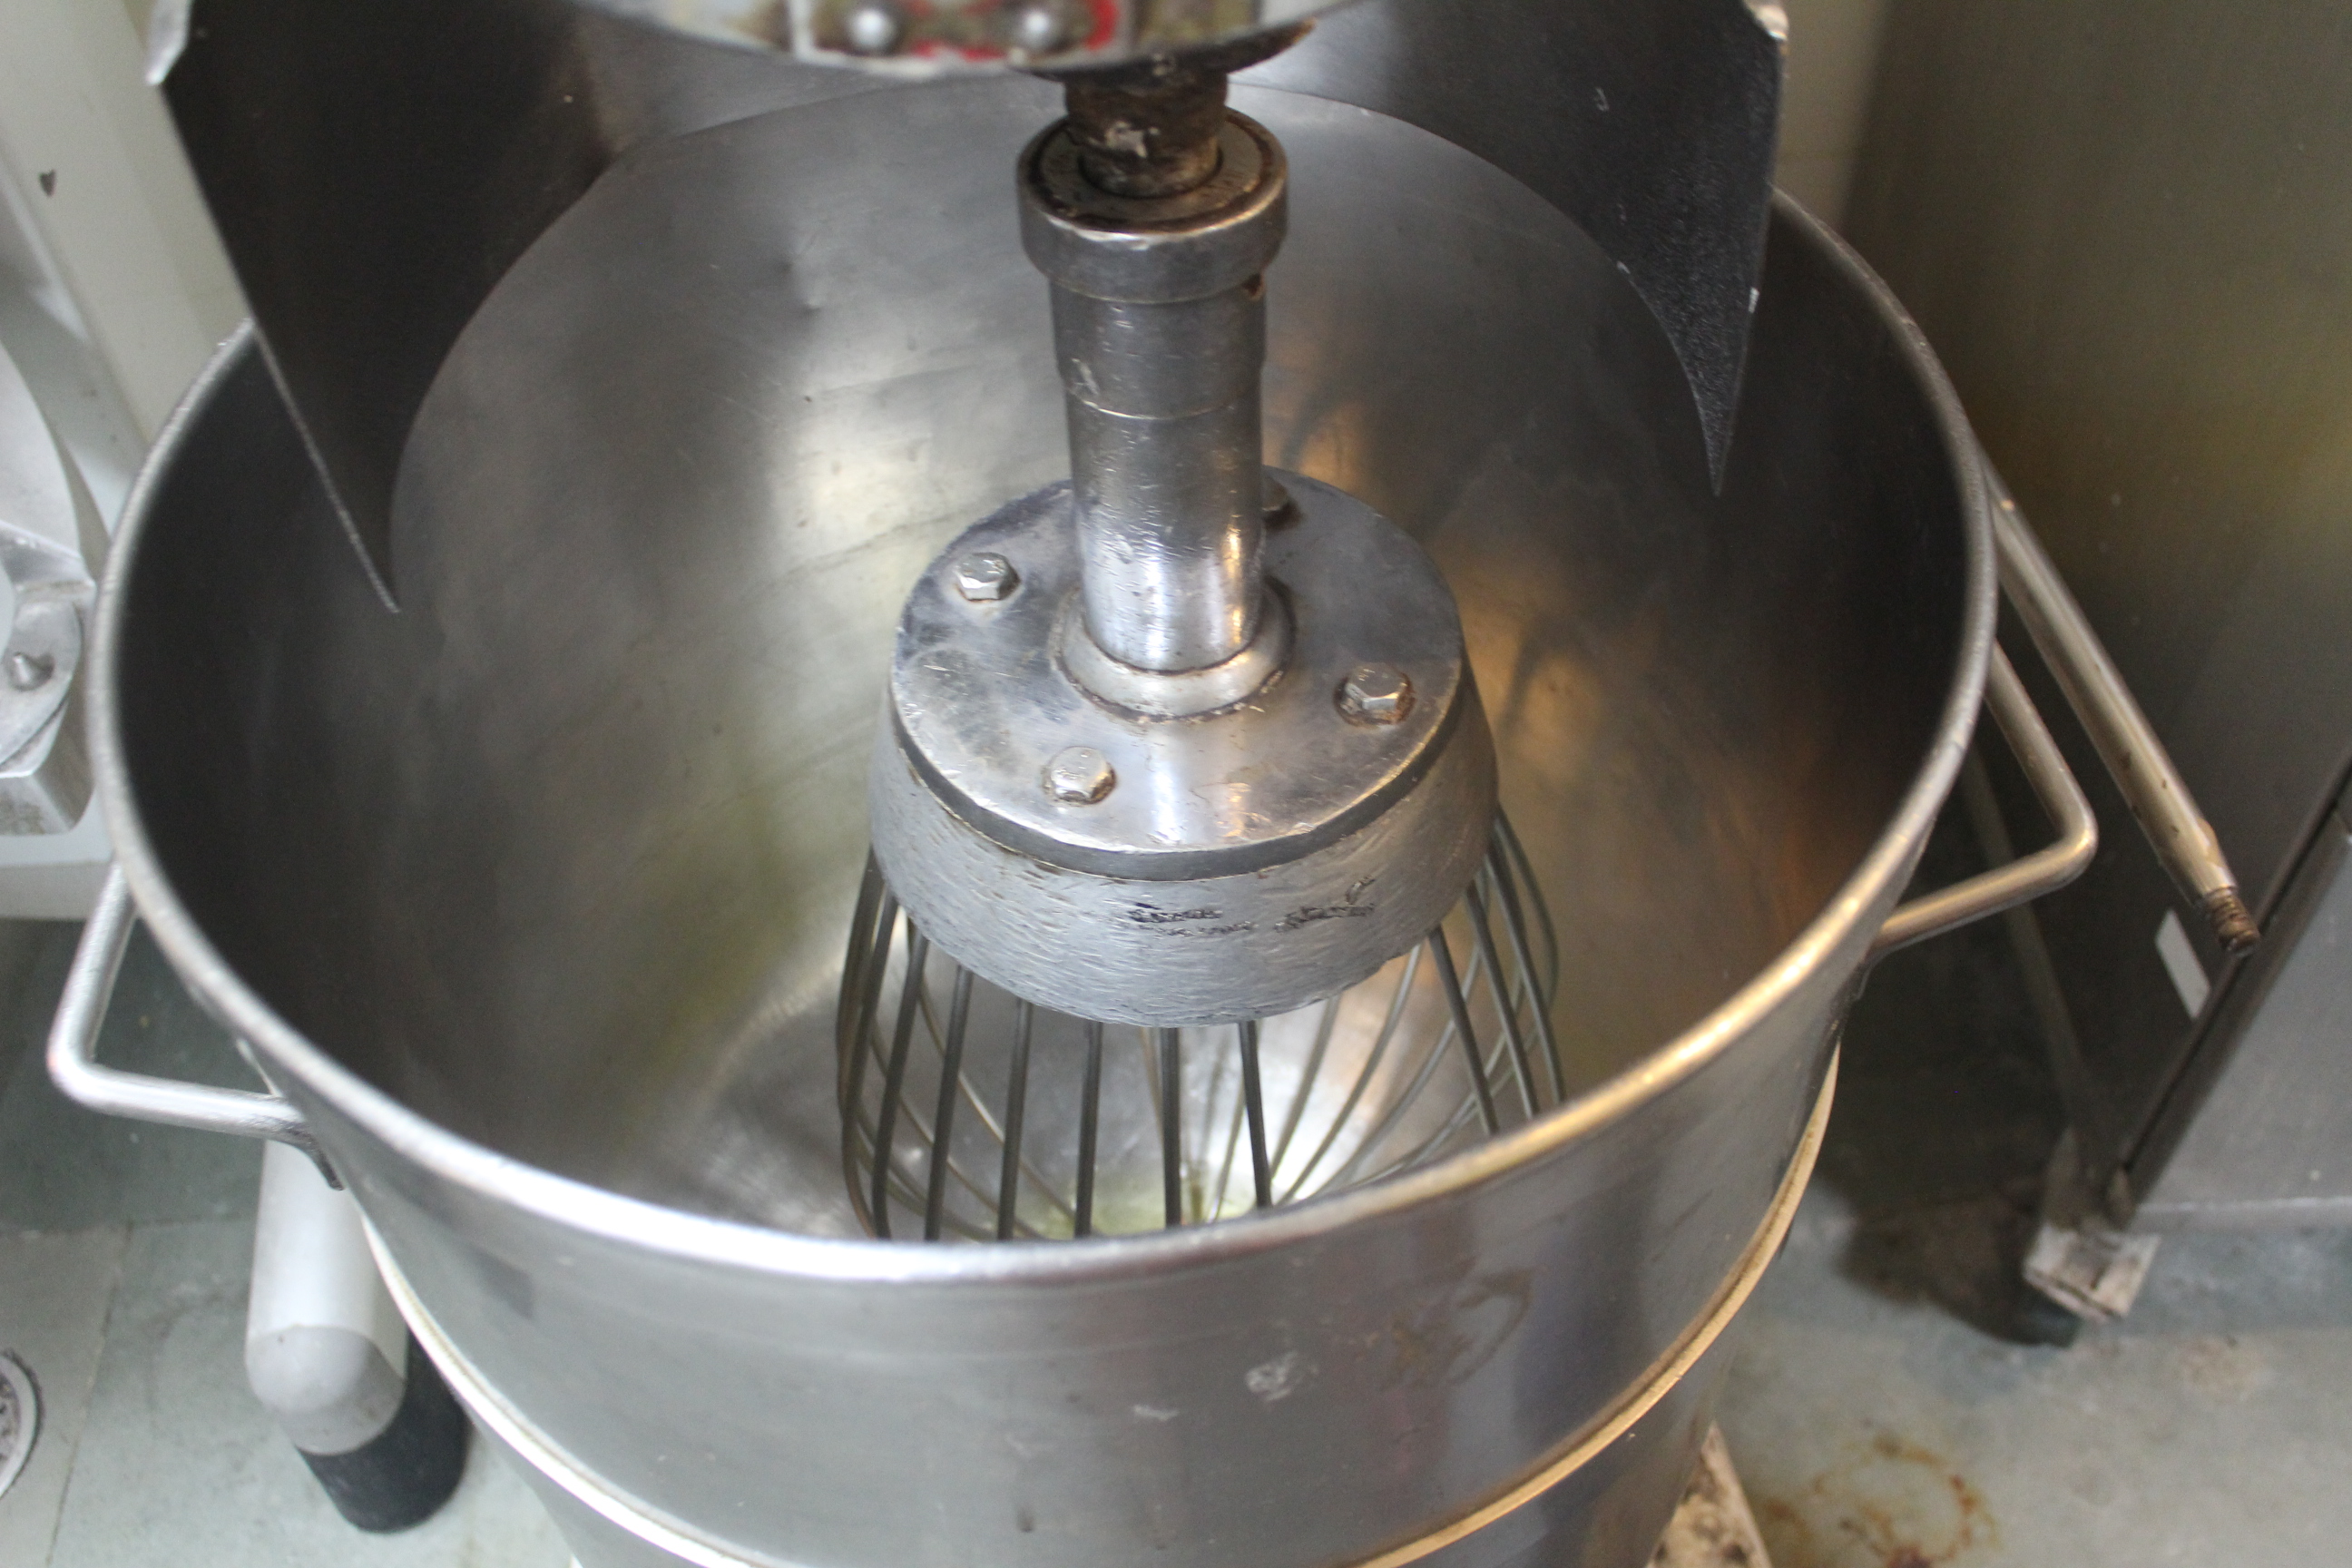
the machine
Making Macaroons
1. Beat egg whites
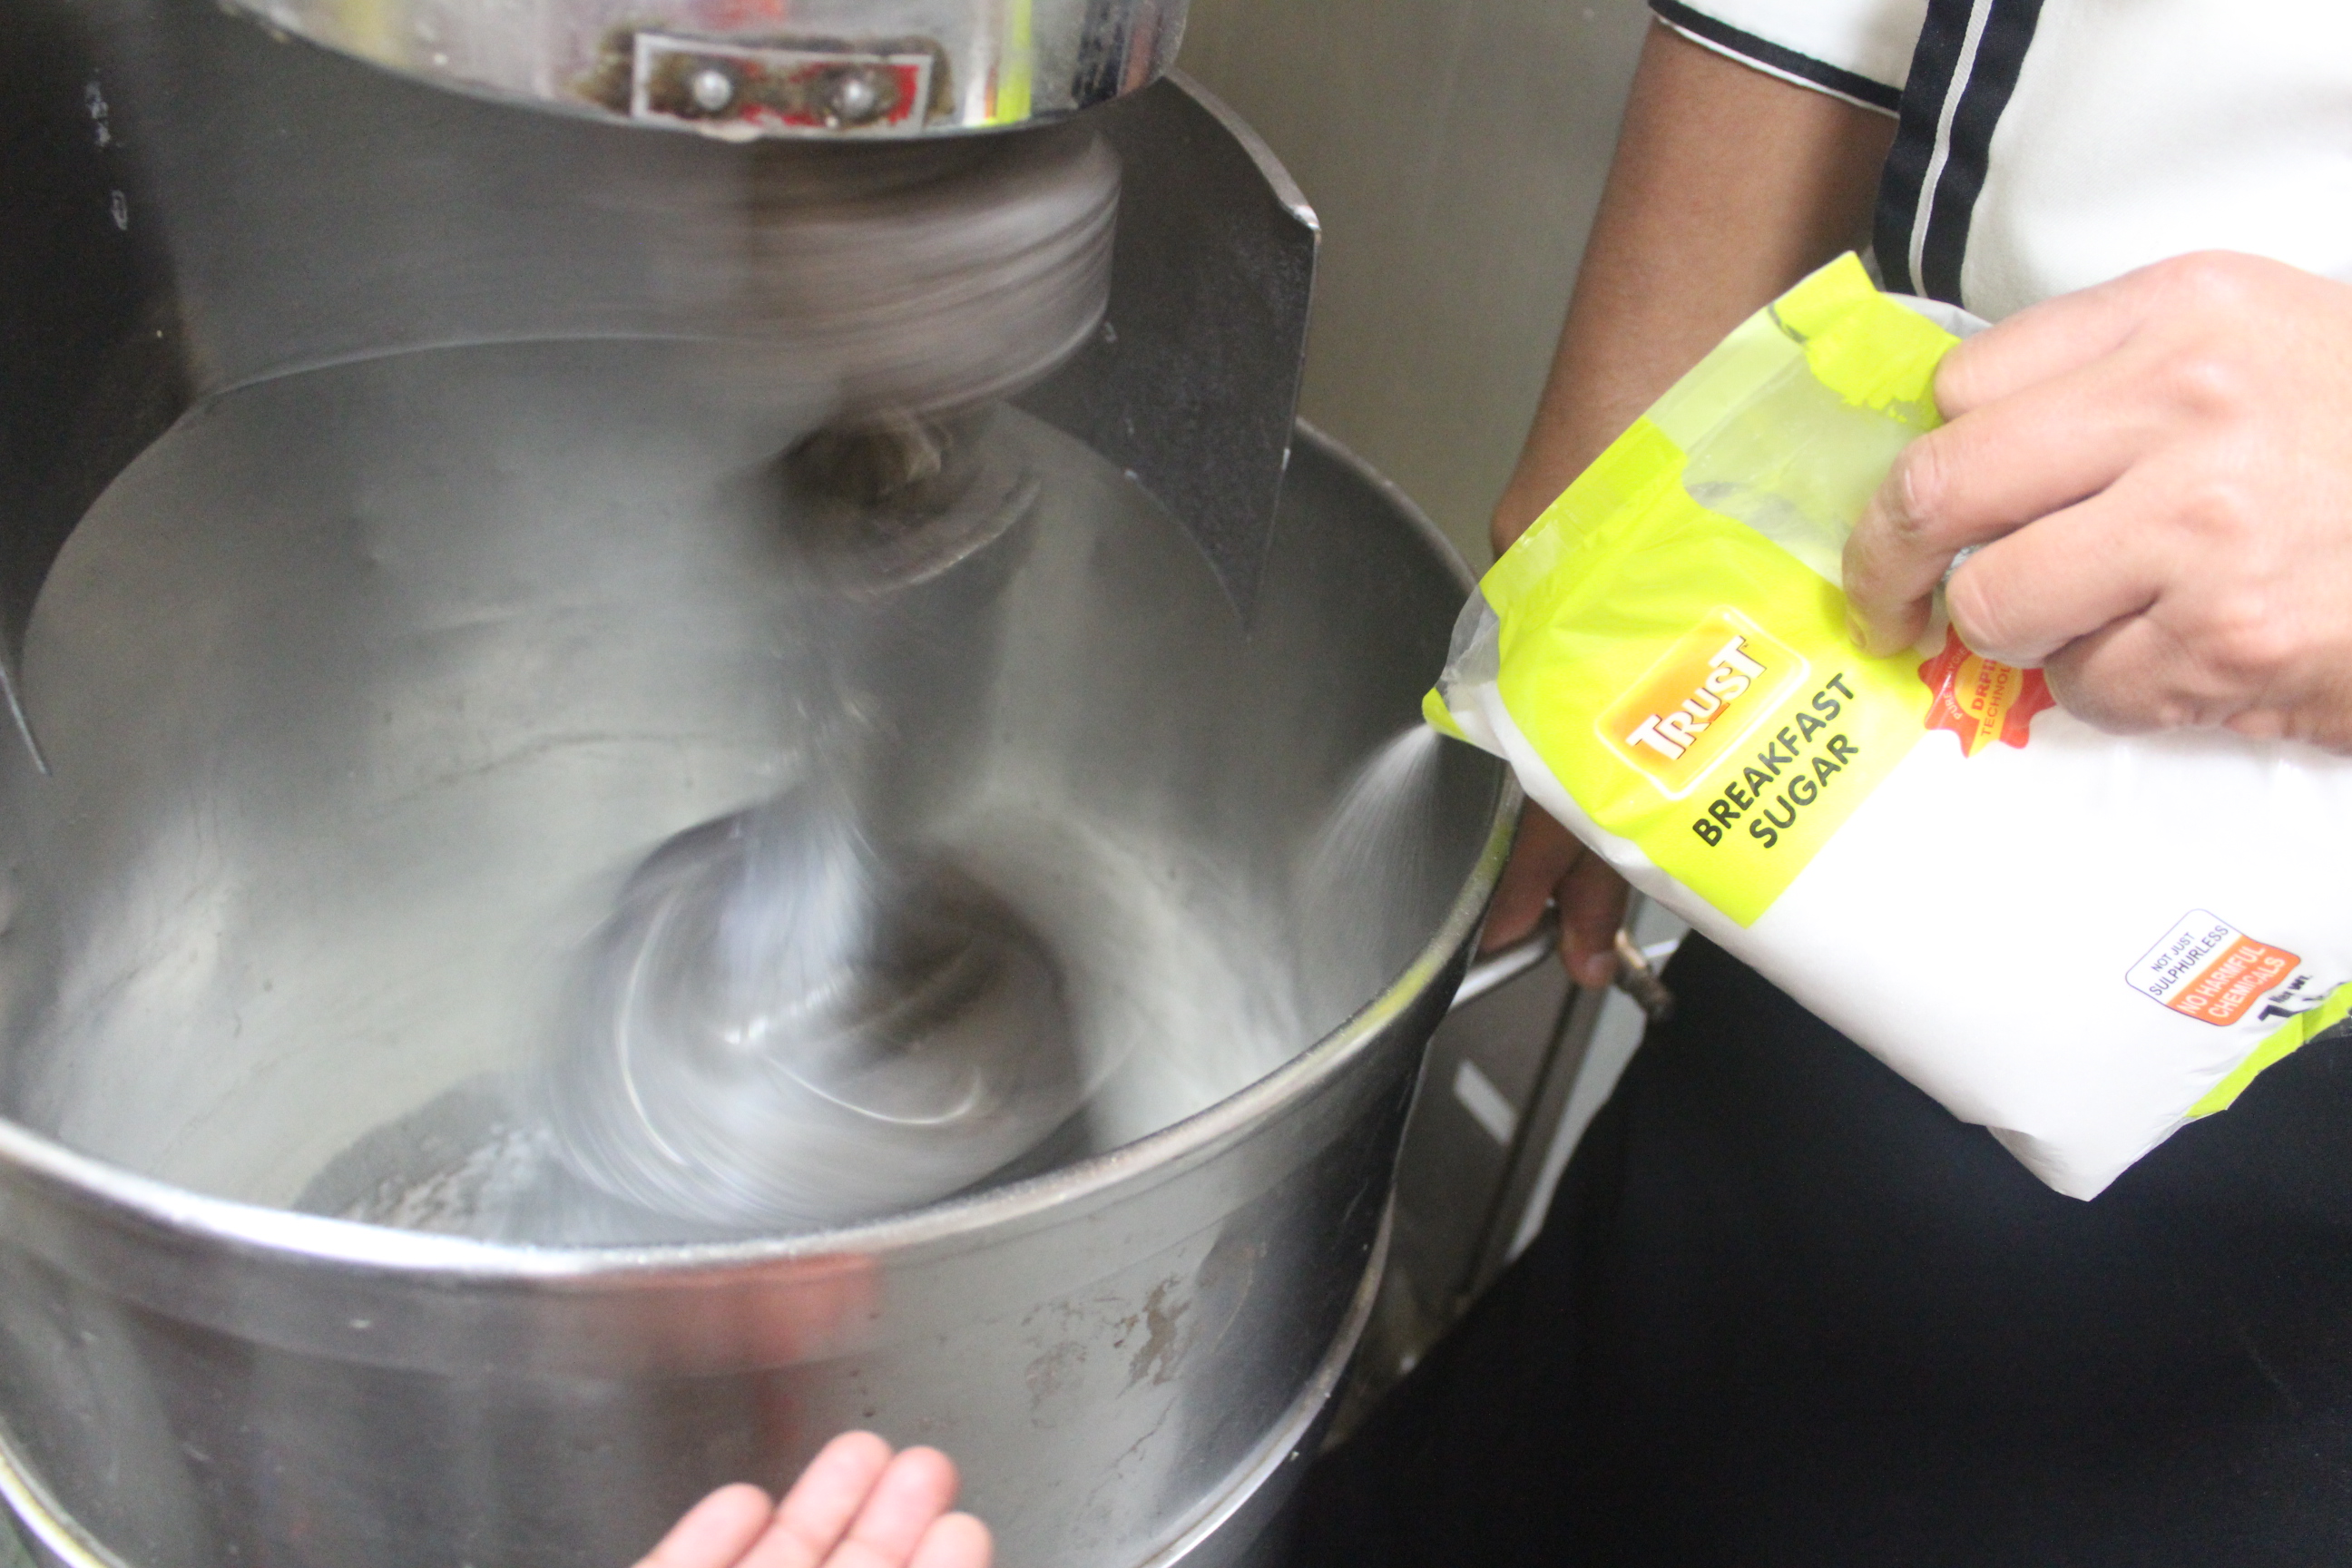
2. Add breakfast sugar – which is supposed to render a sticky texture to the mixture unlike normal granulated sugar. The chef mentioned, the stores sell ‘breakfast sugar‘ which is not the same as normal sugar.
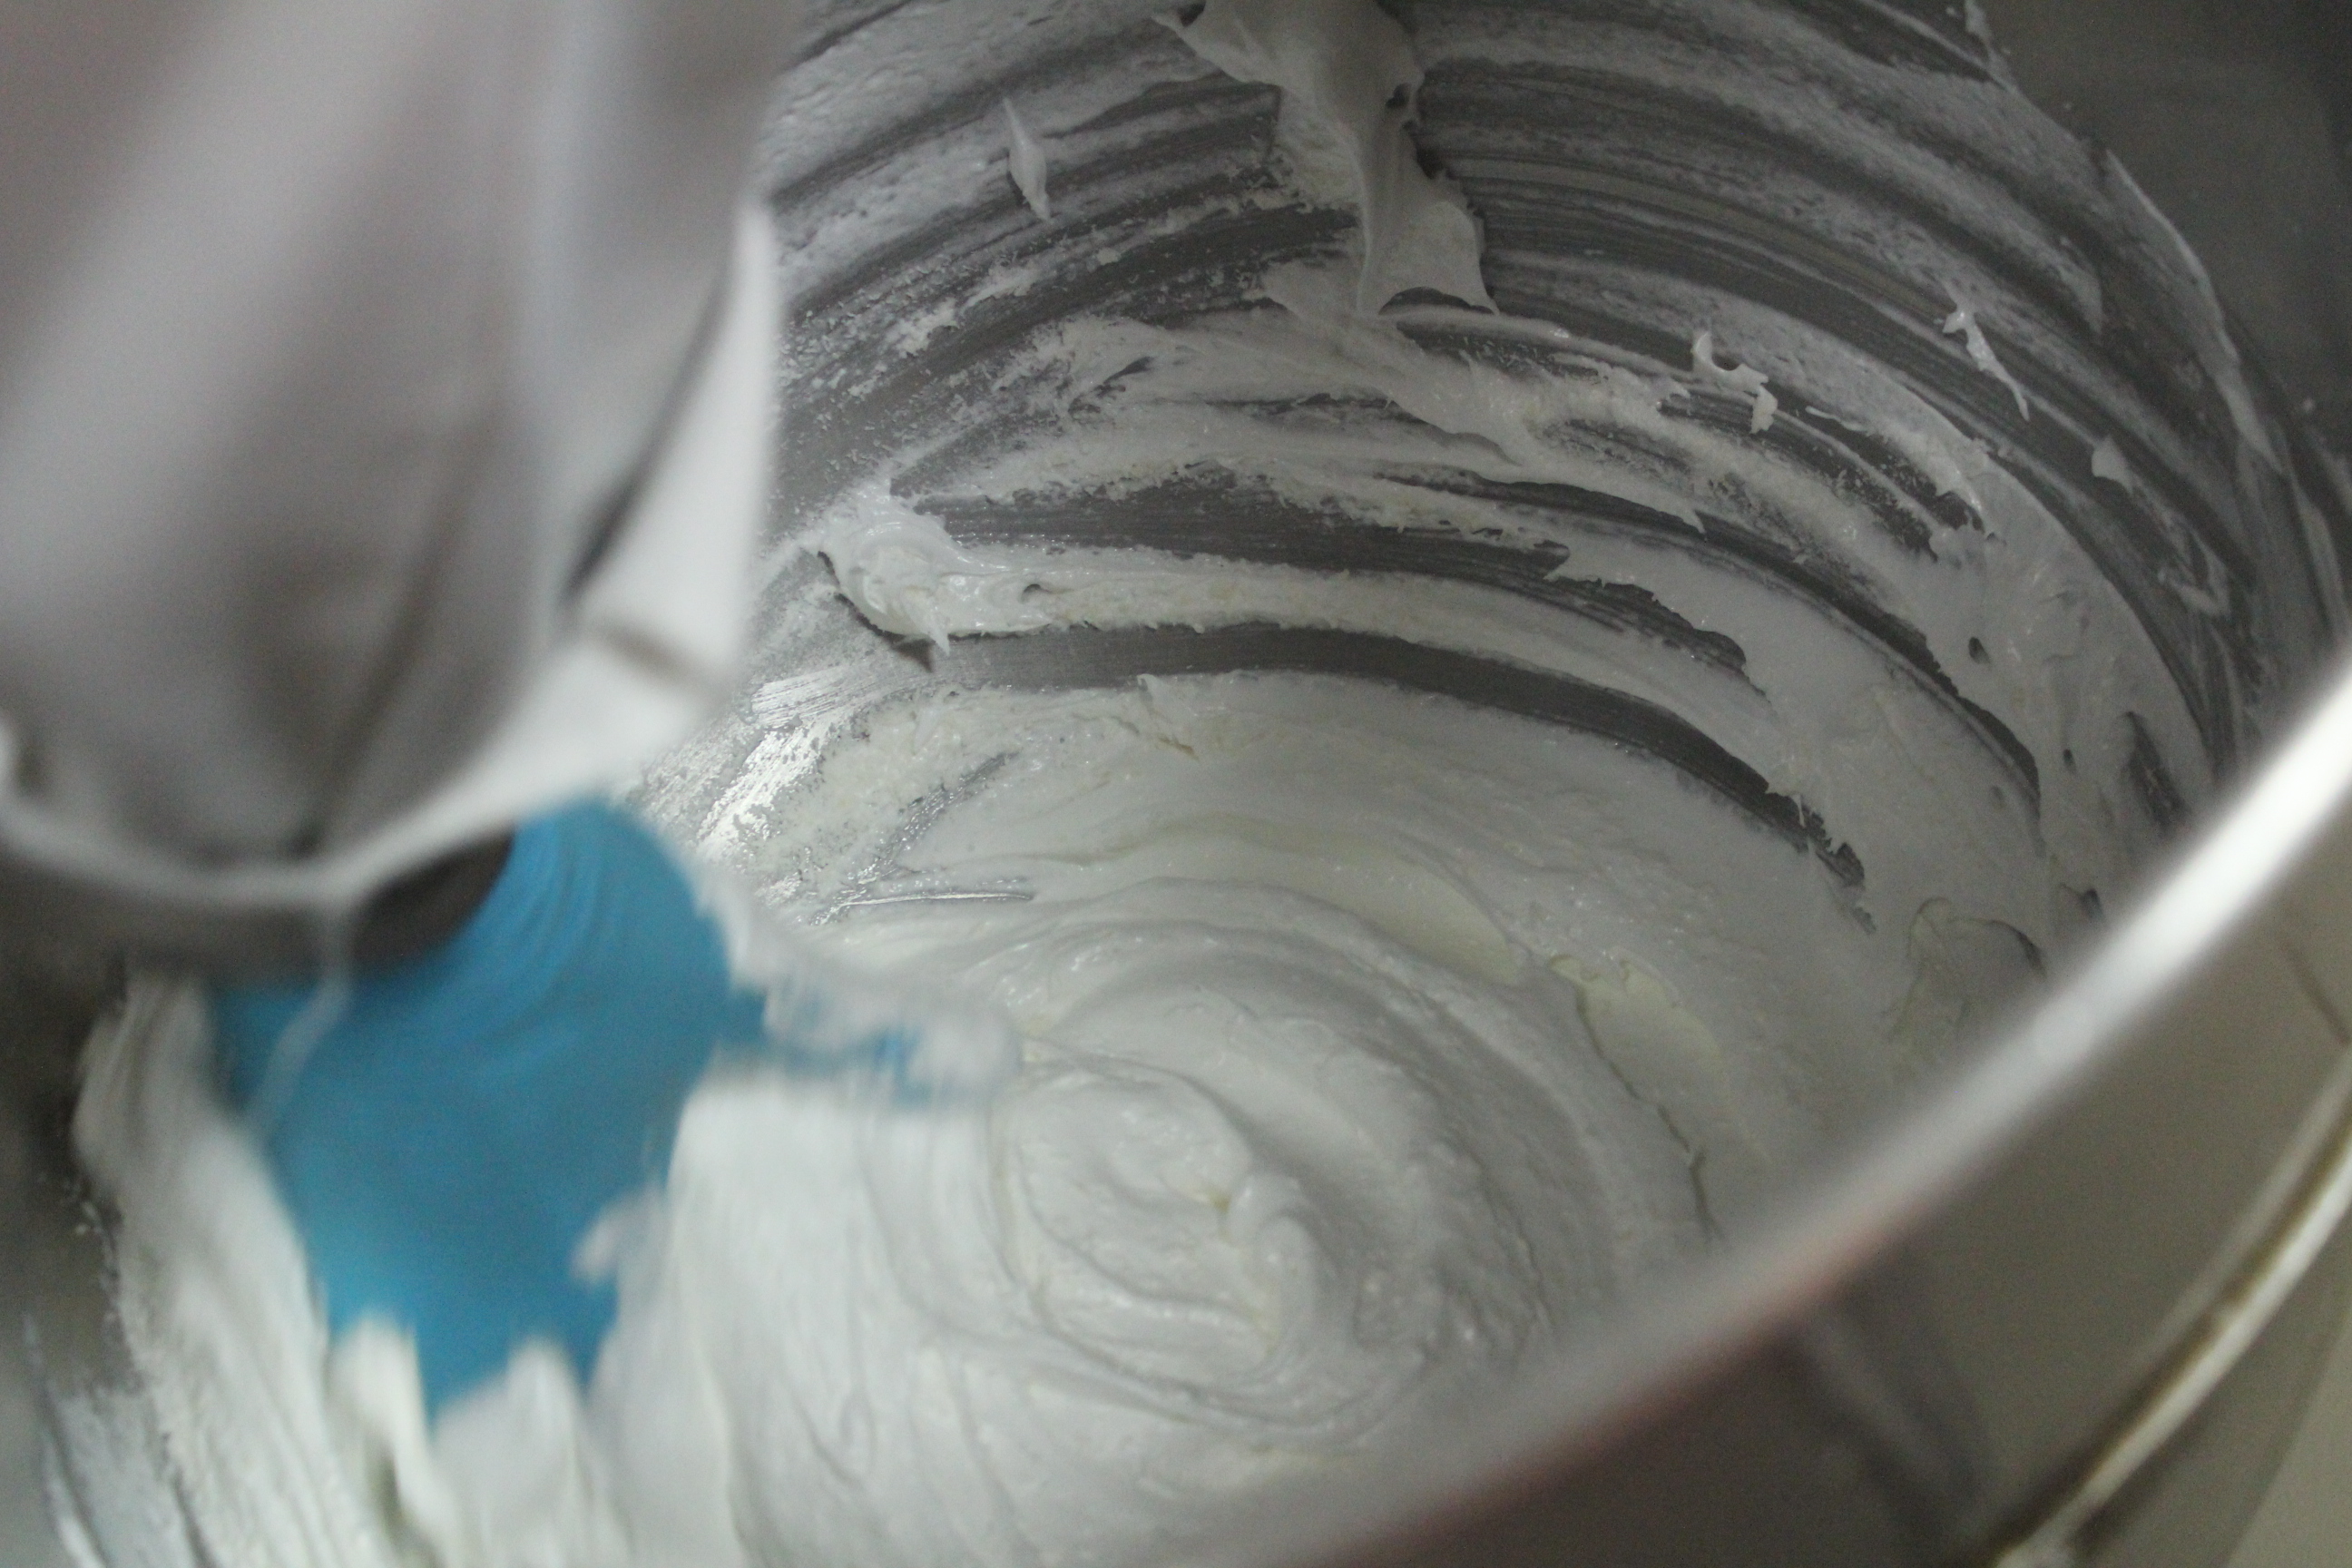
3. When the mixture reaches soft peak consistency,
mix coconut powder and icing sugar
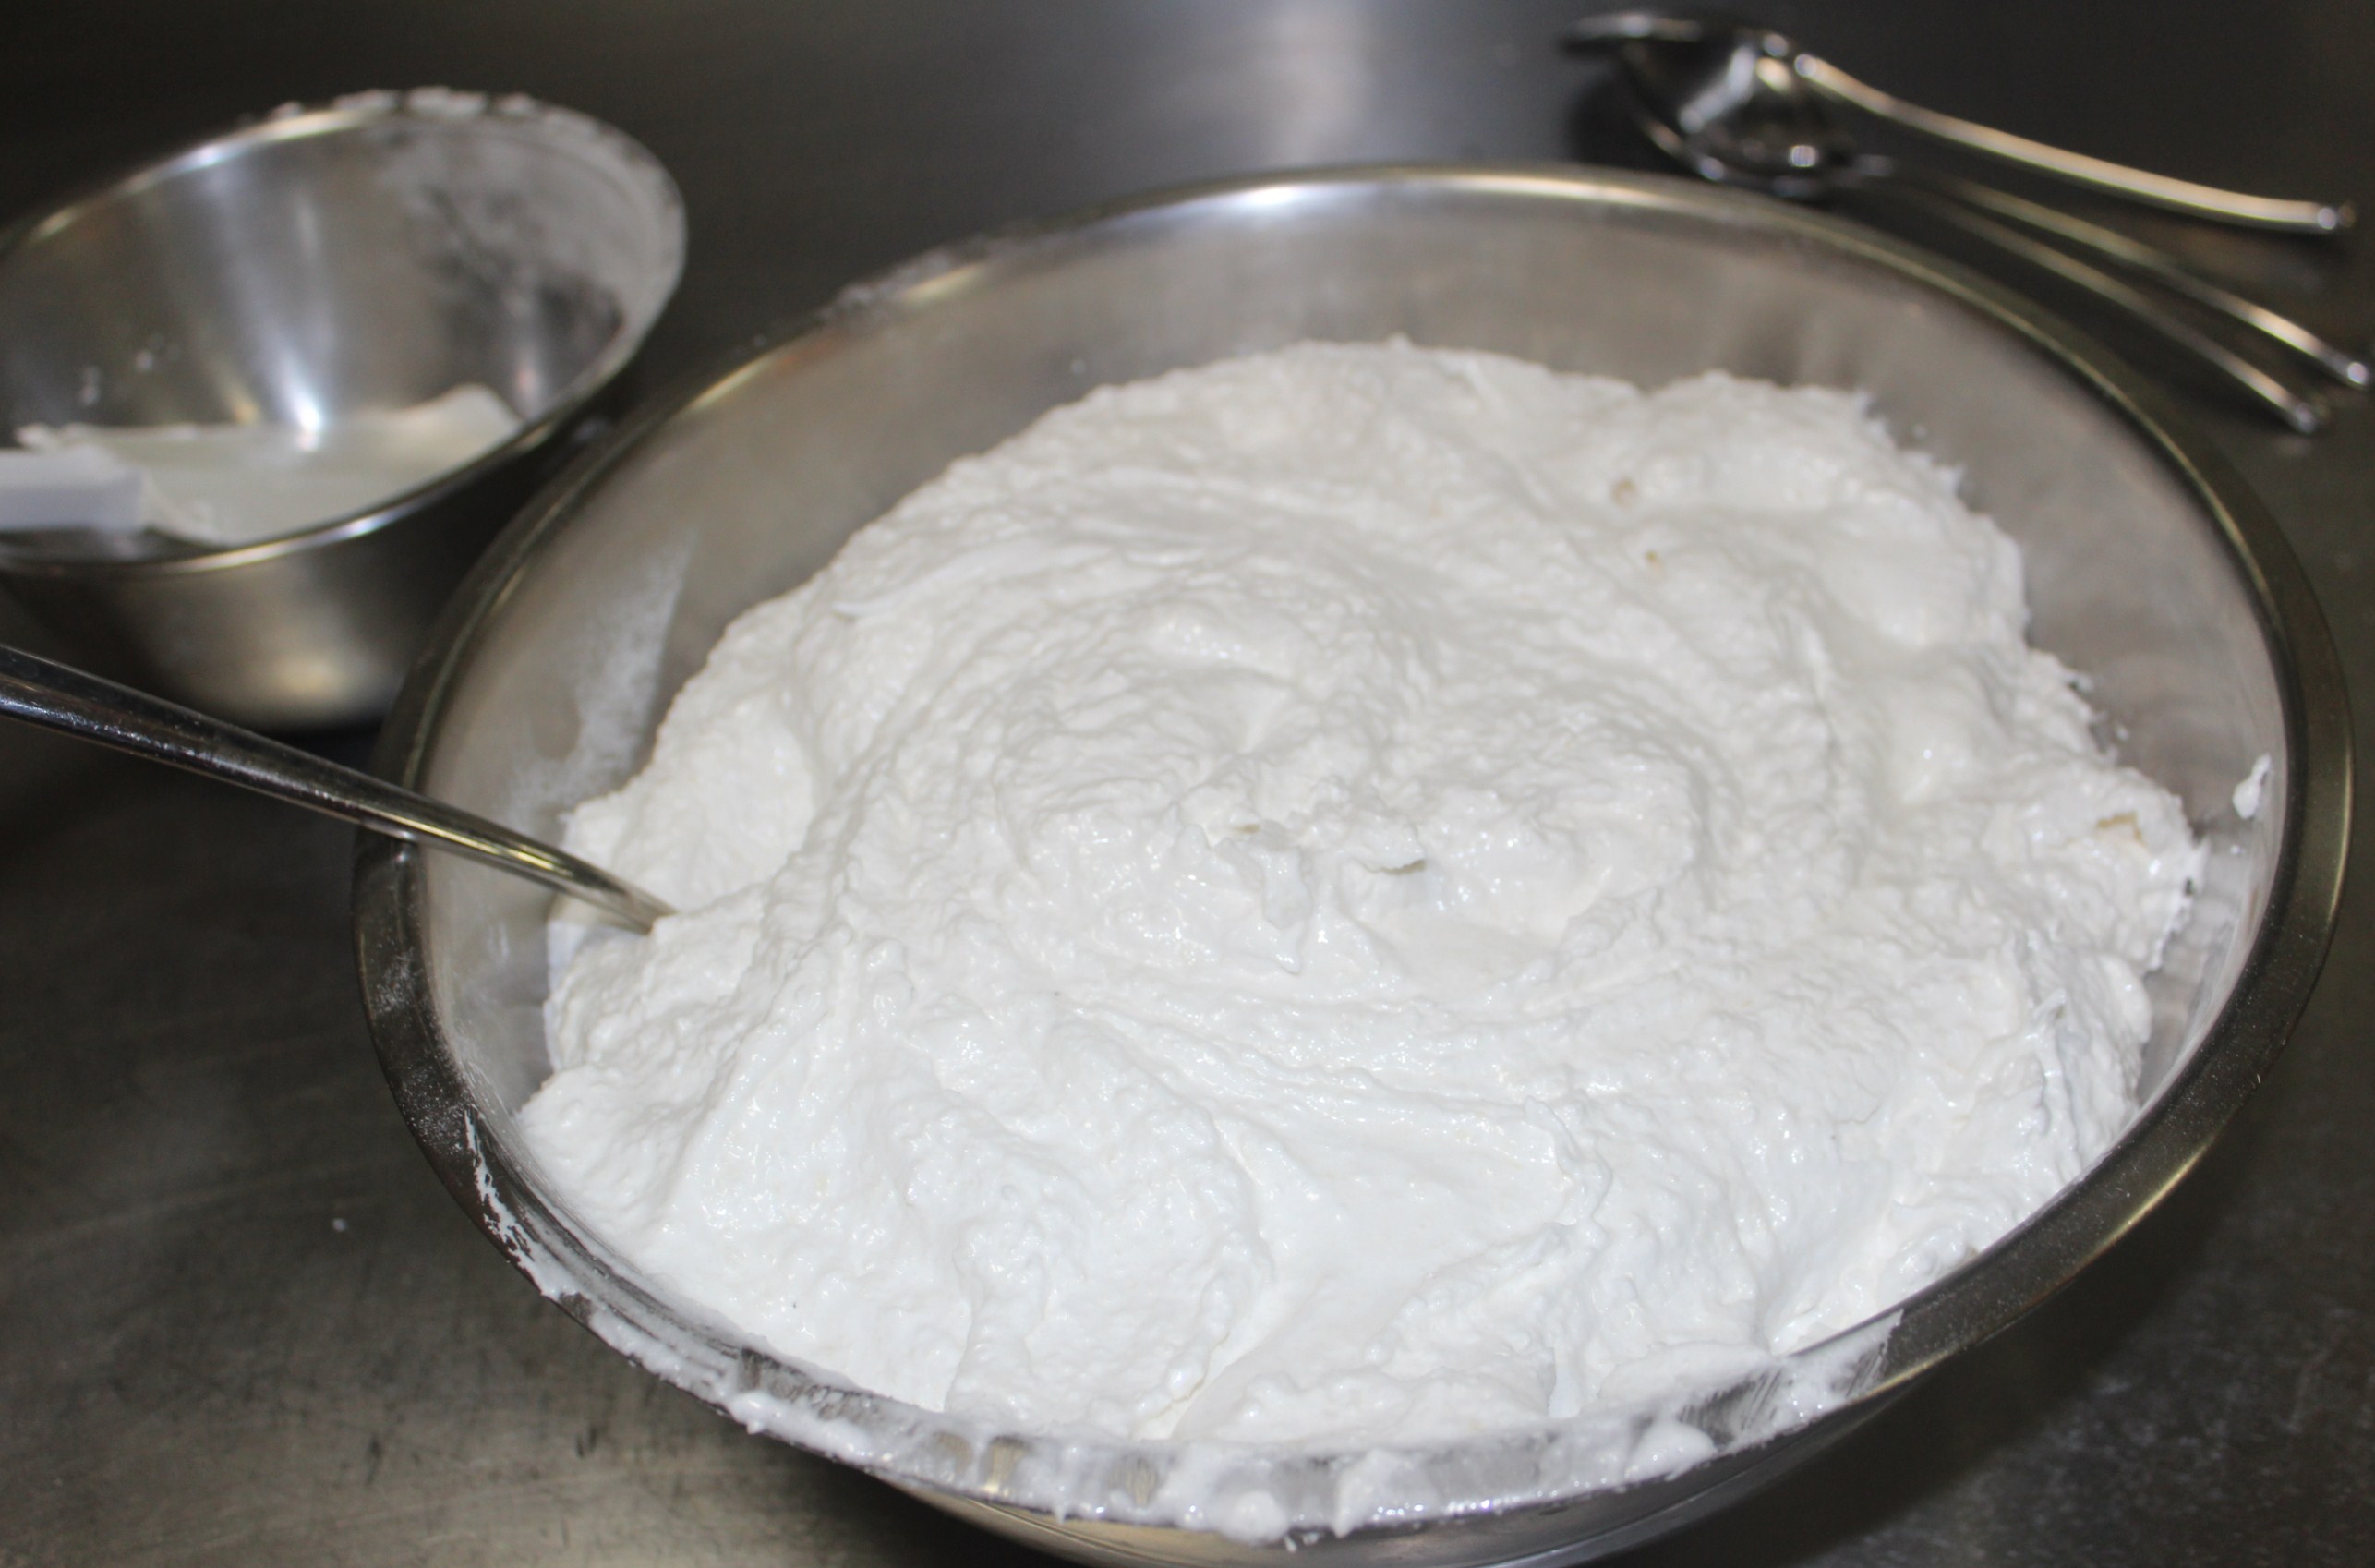
4. Gently fold the coconut powder-icing sugar into the beaten egg whites with hands
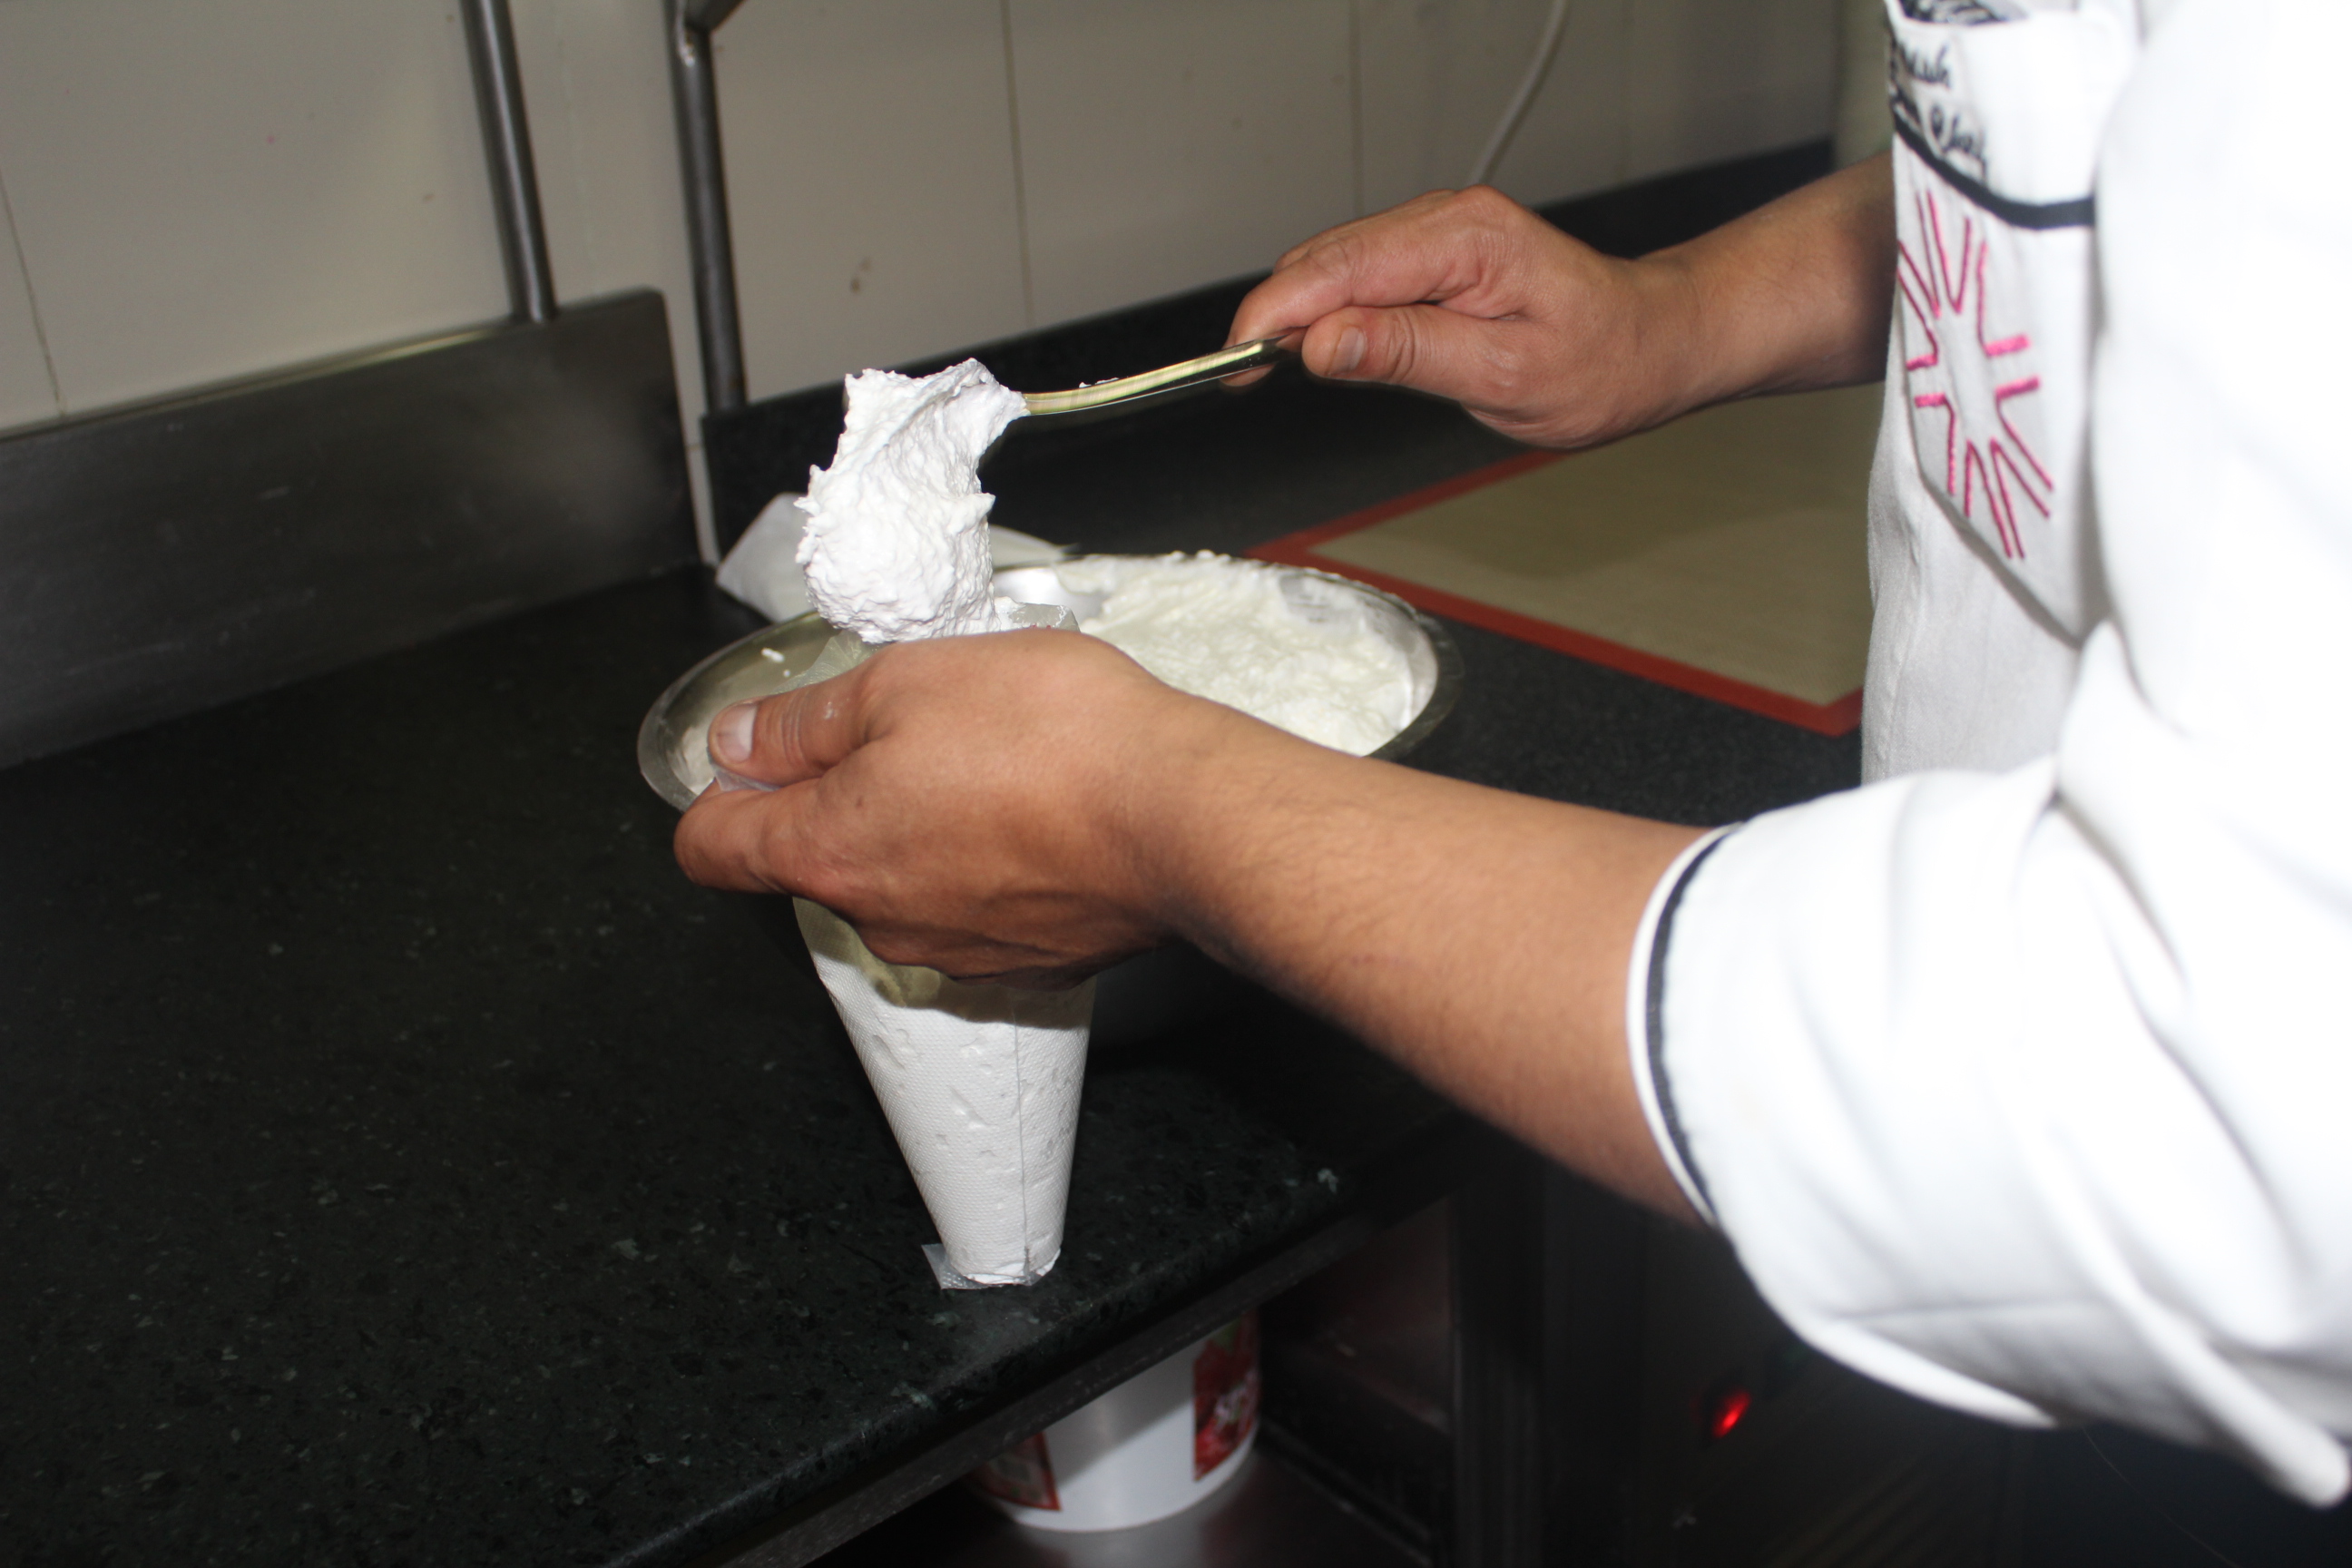
5. Remove the mixture into a bowl
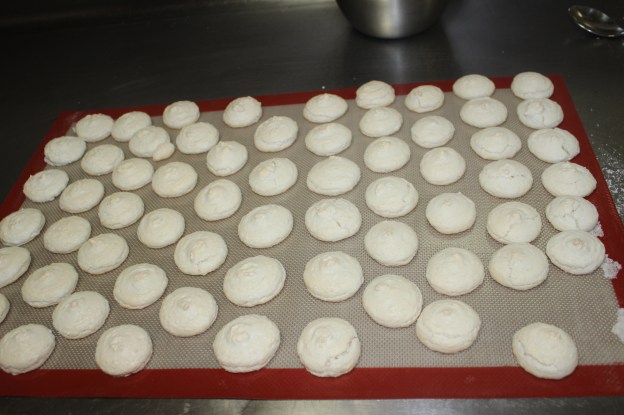
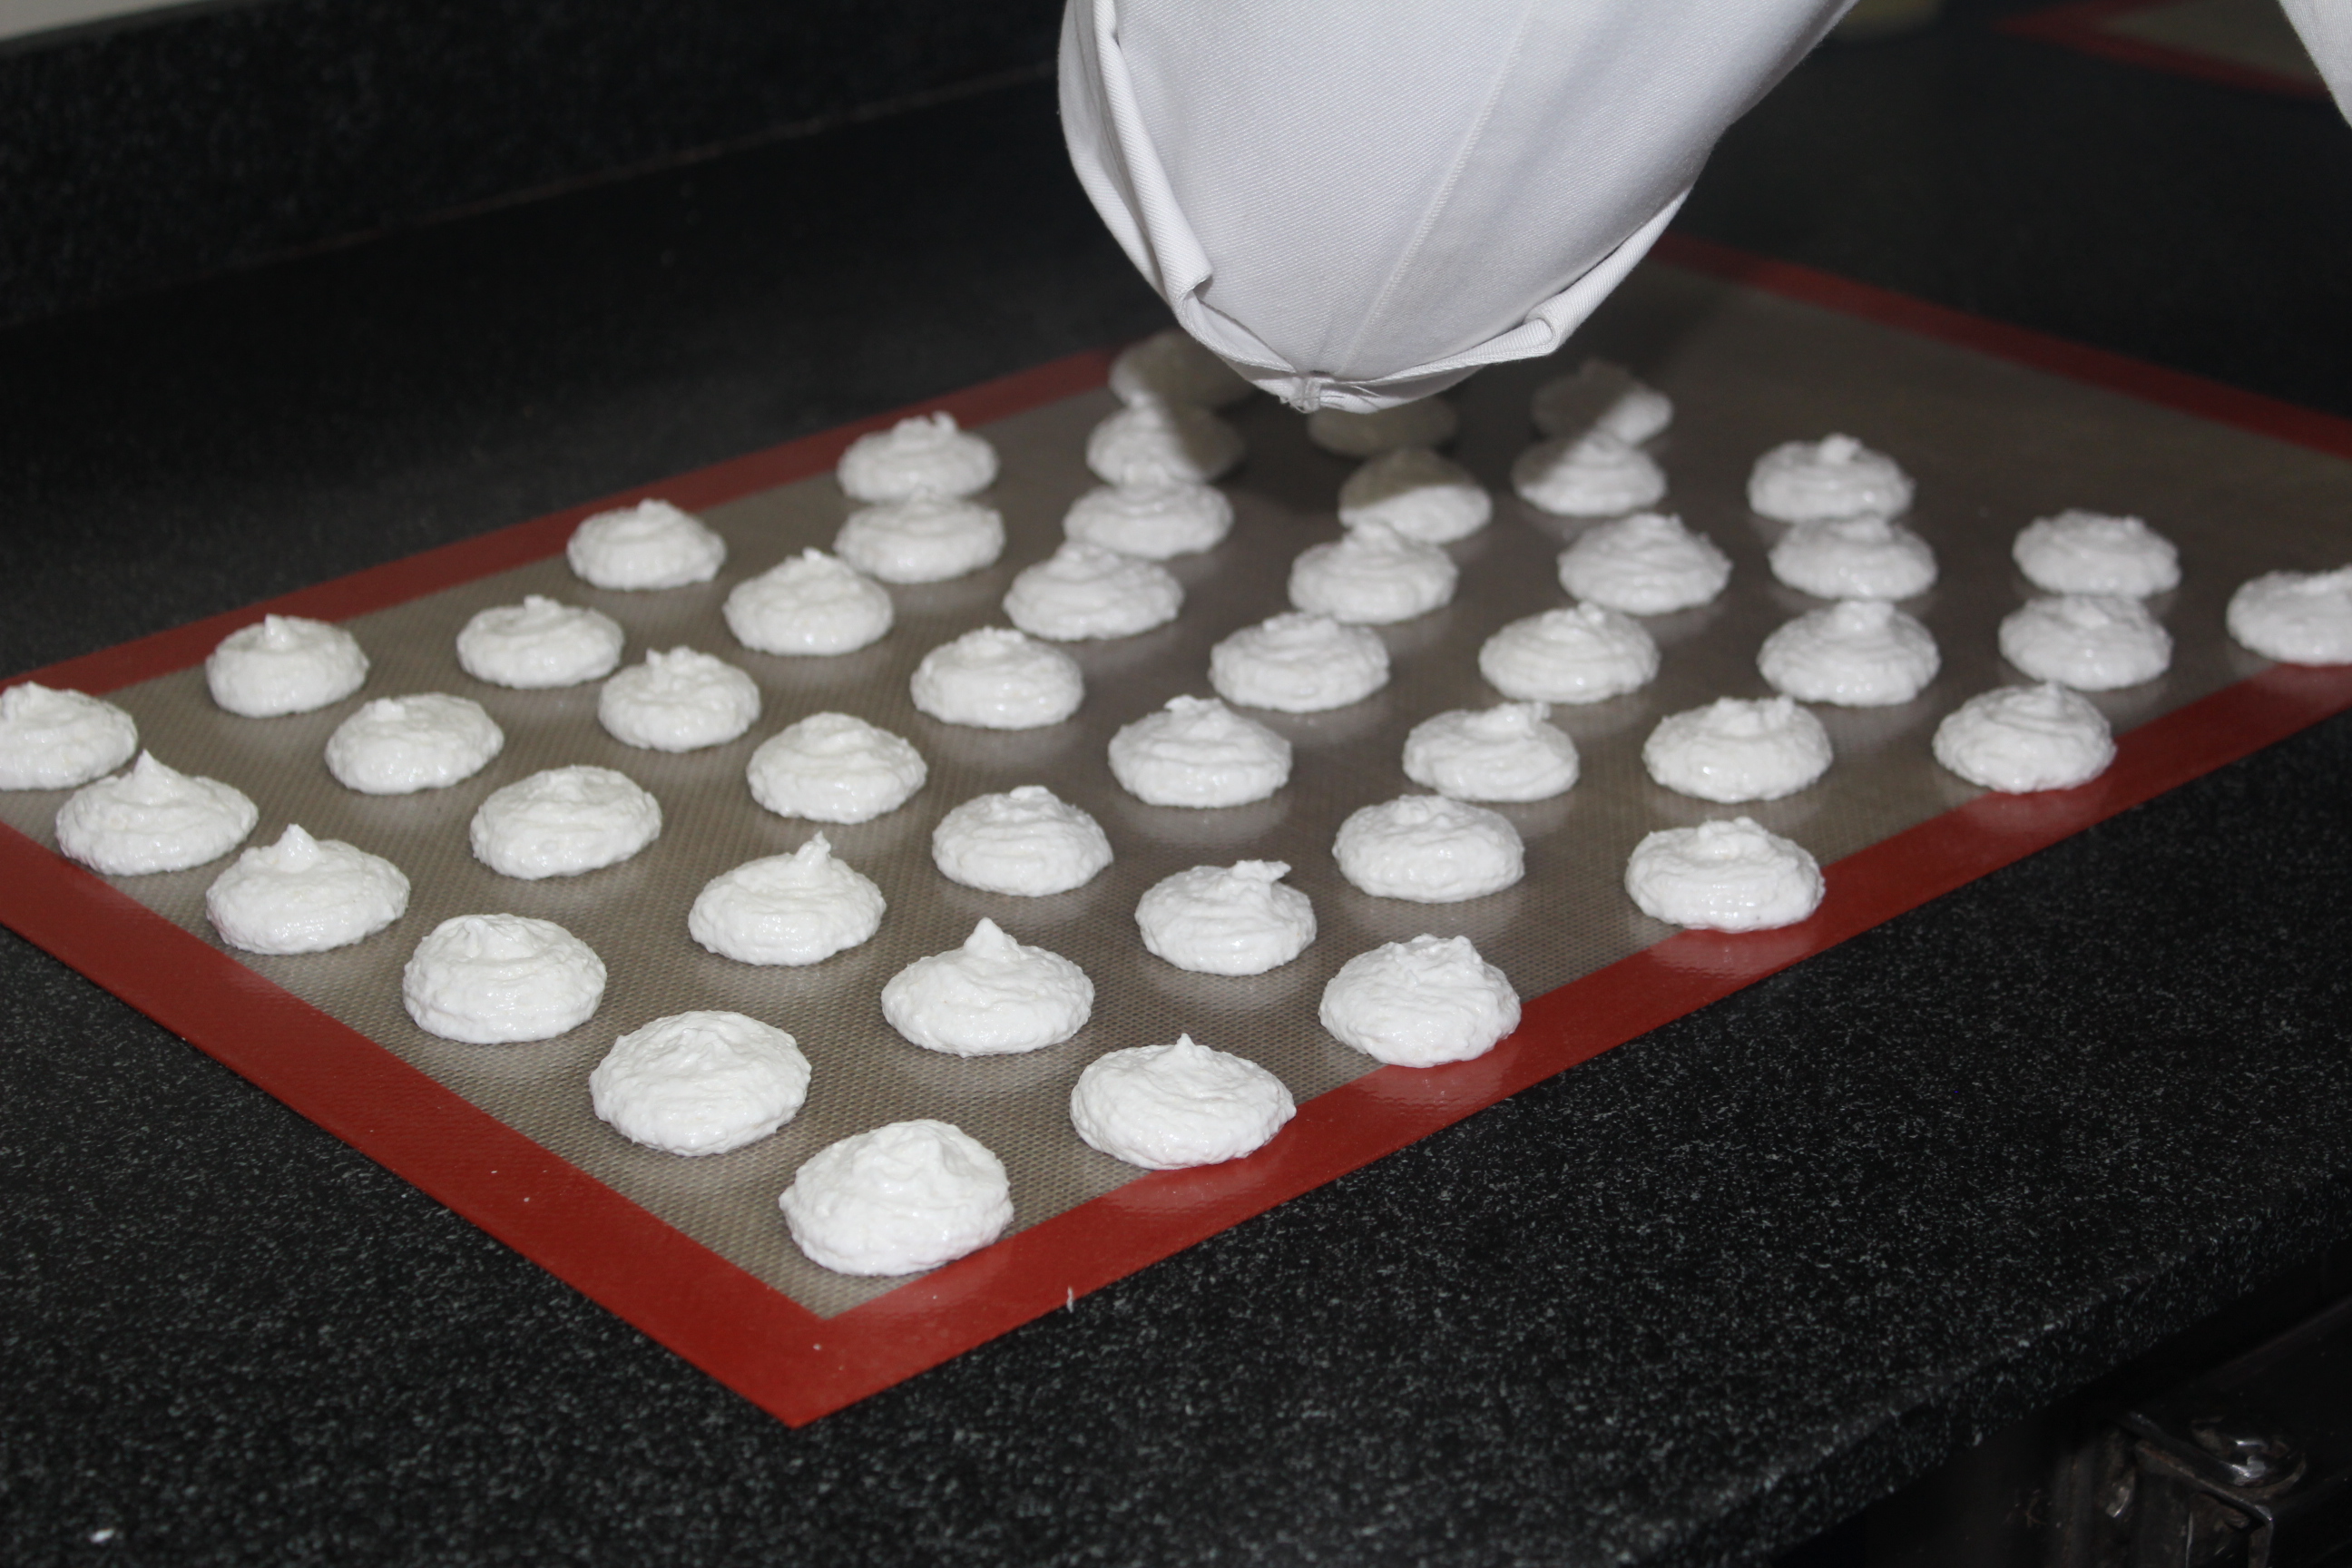
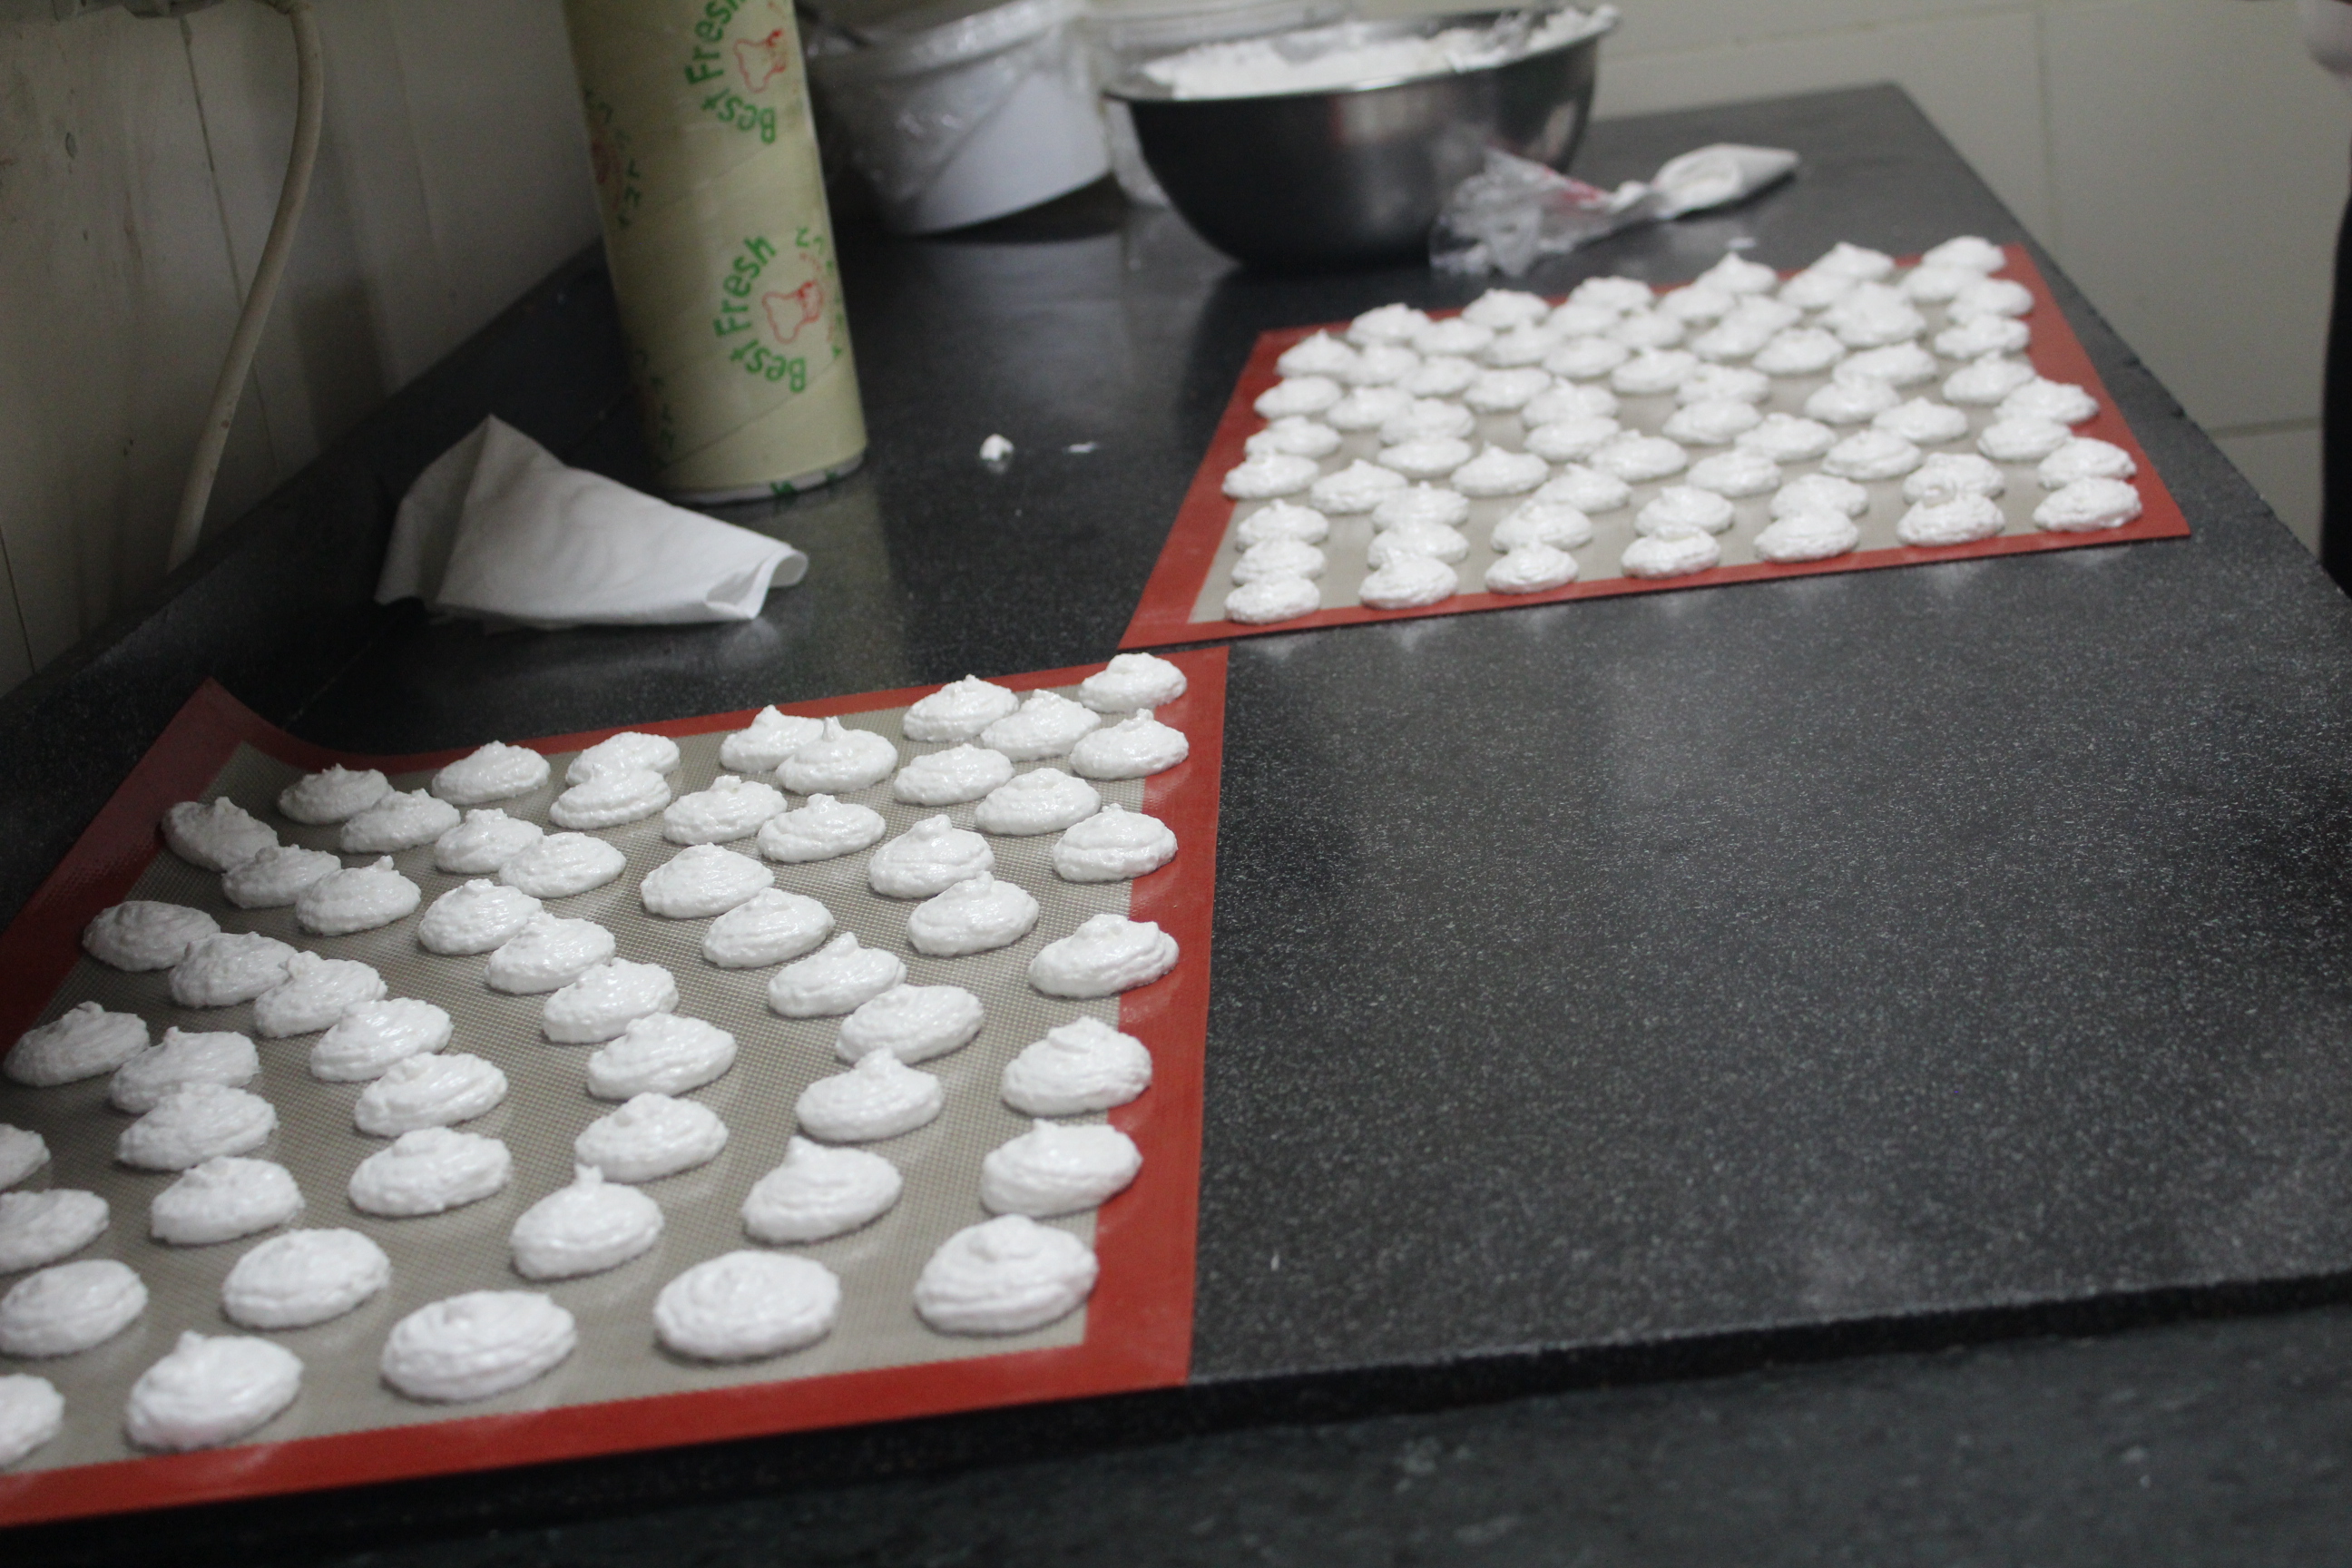
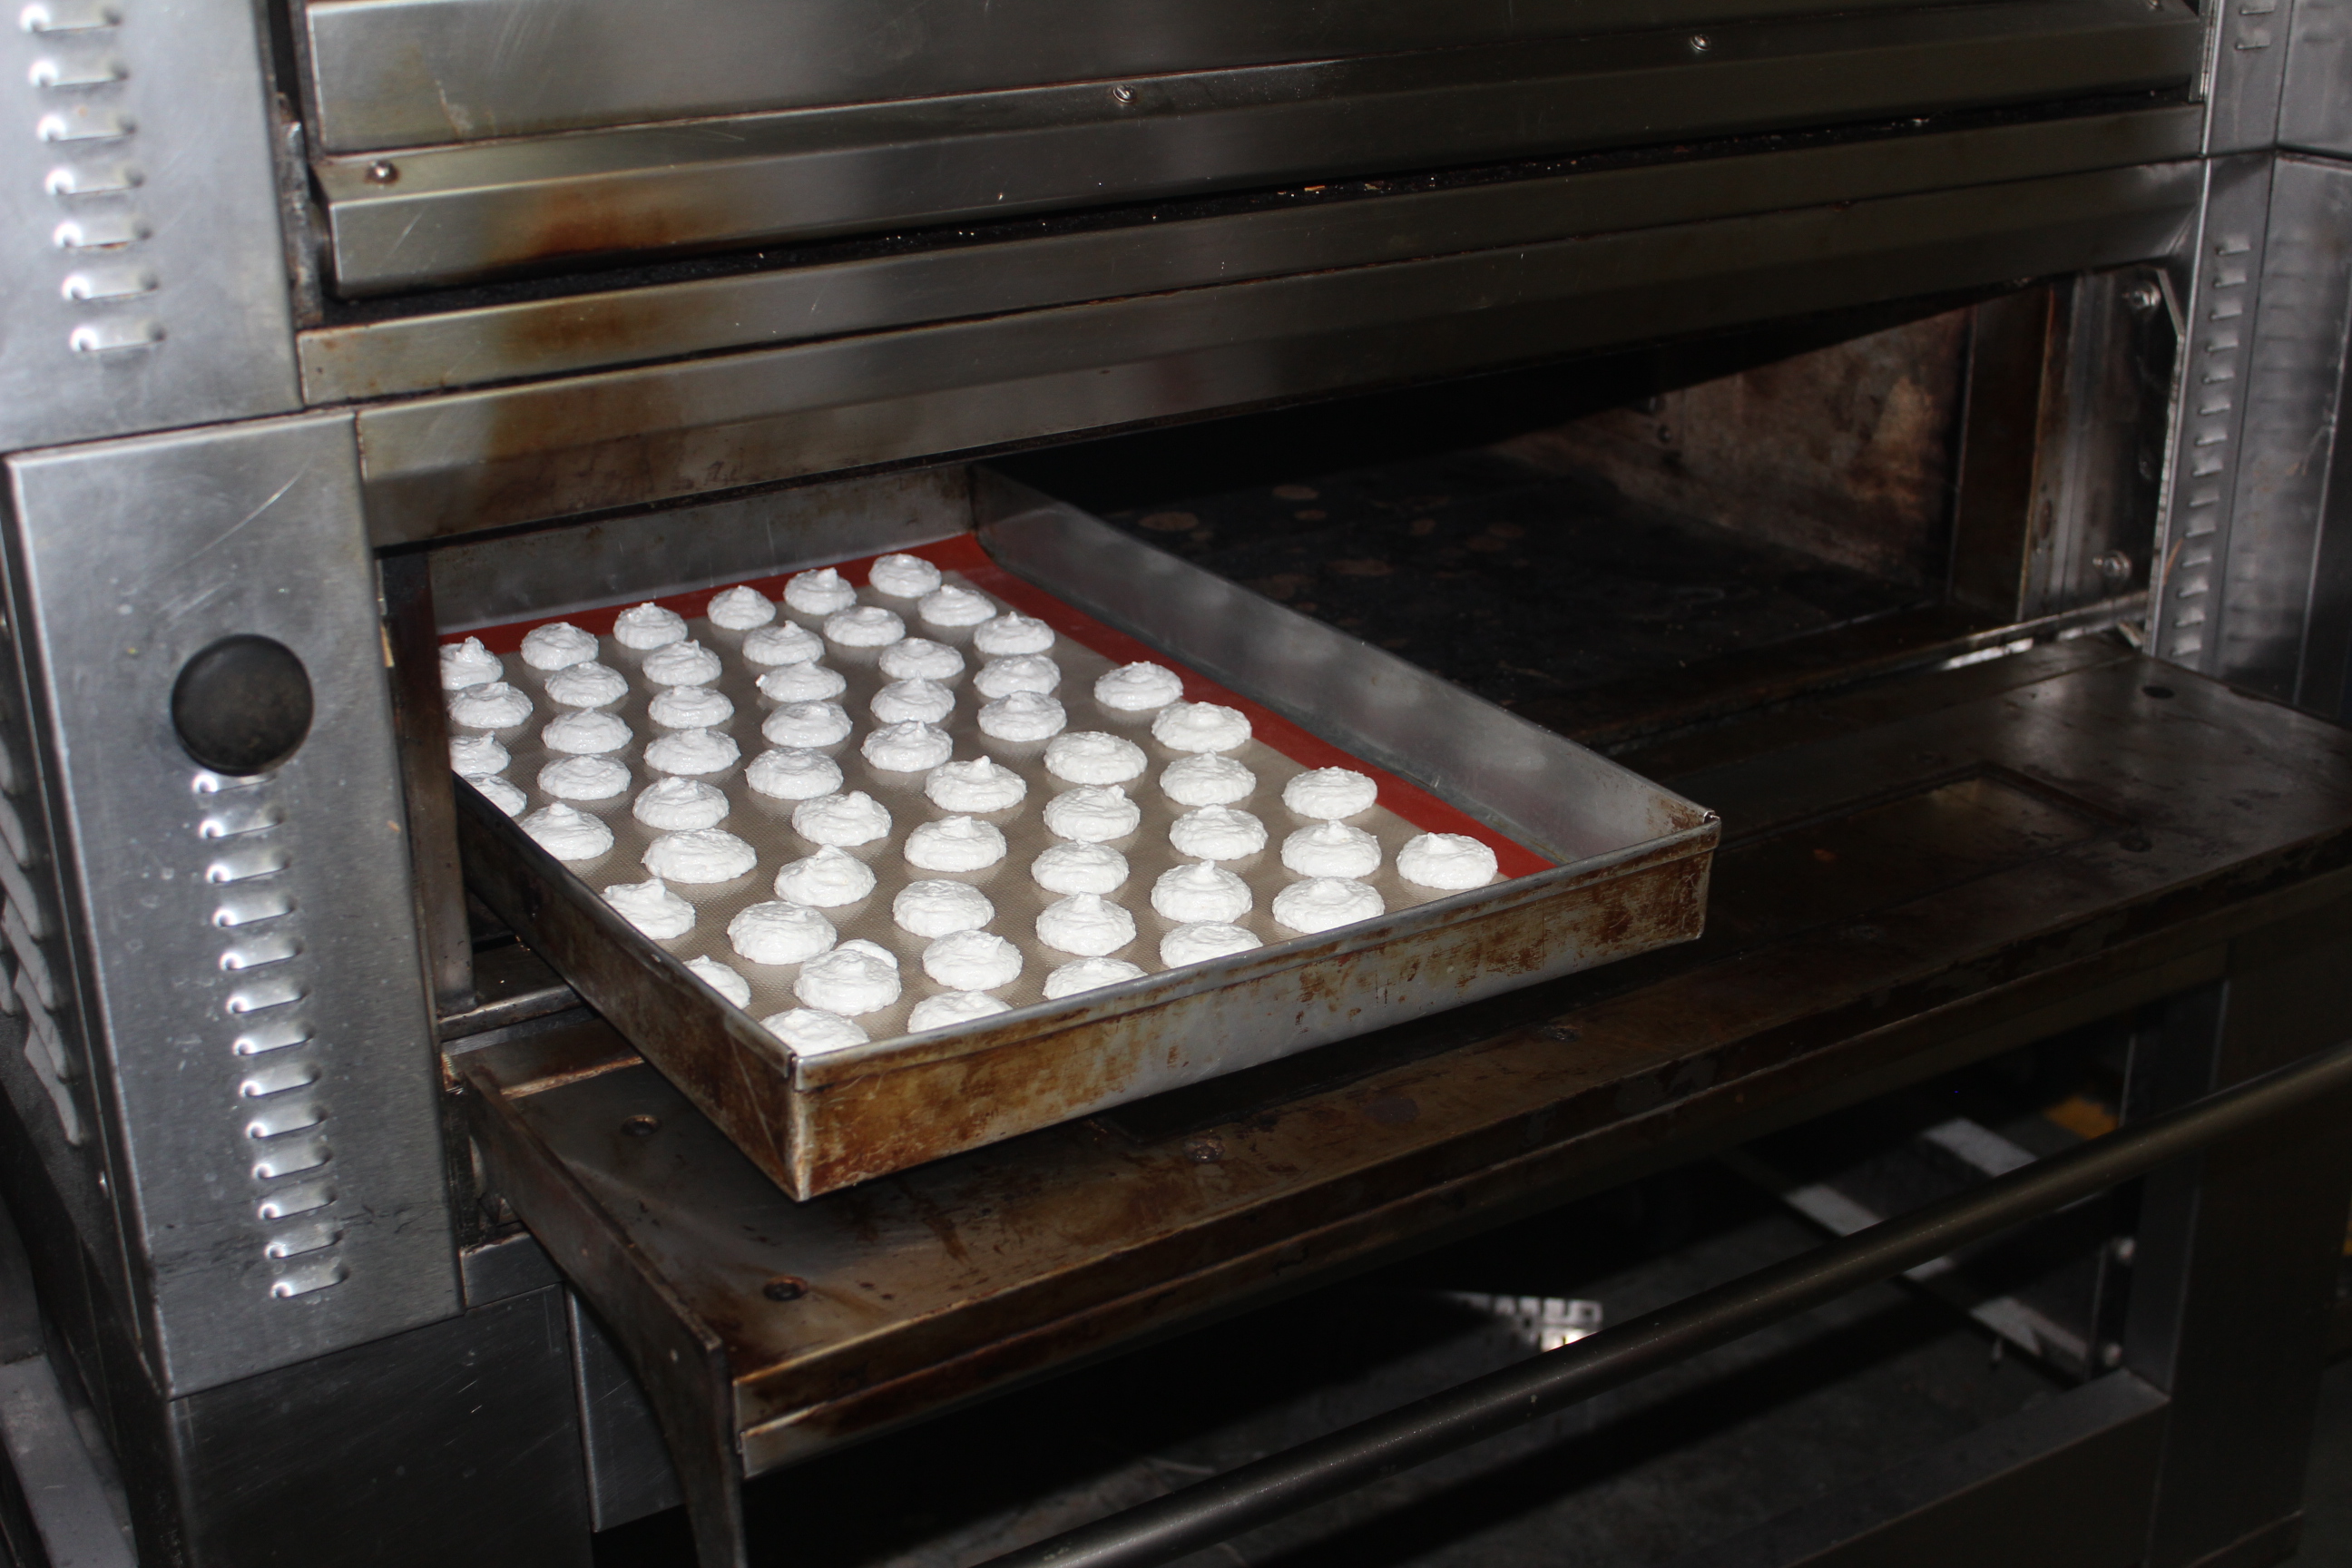
6. Drop slowly into piping bags
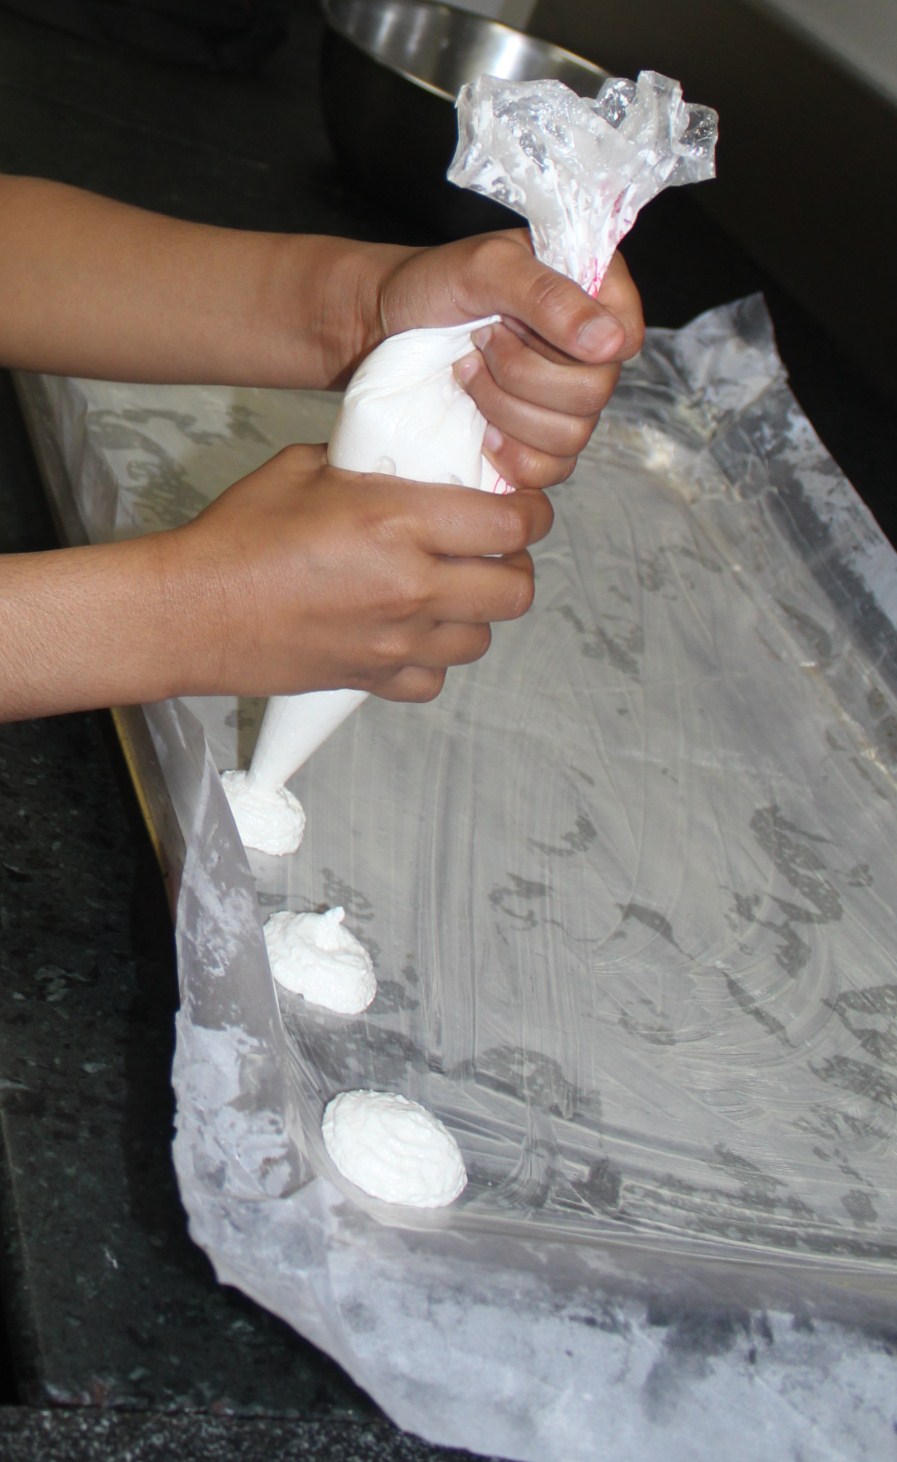
7. Pipe into beautiful macaroons on a silicon baking sheet
8. Macaroons made by my little chef
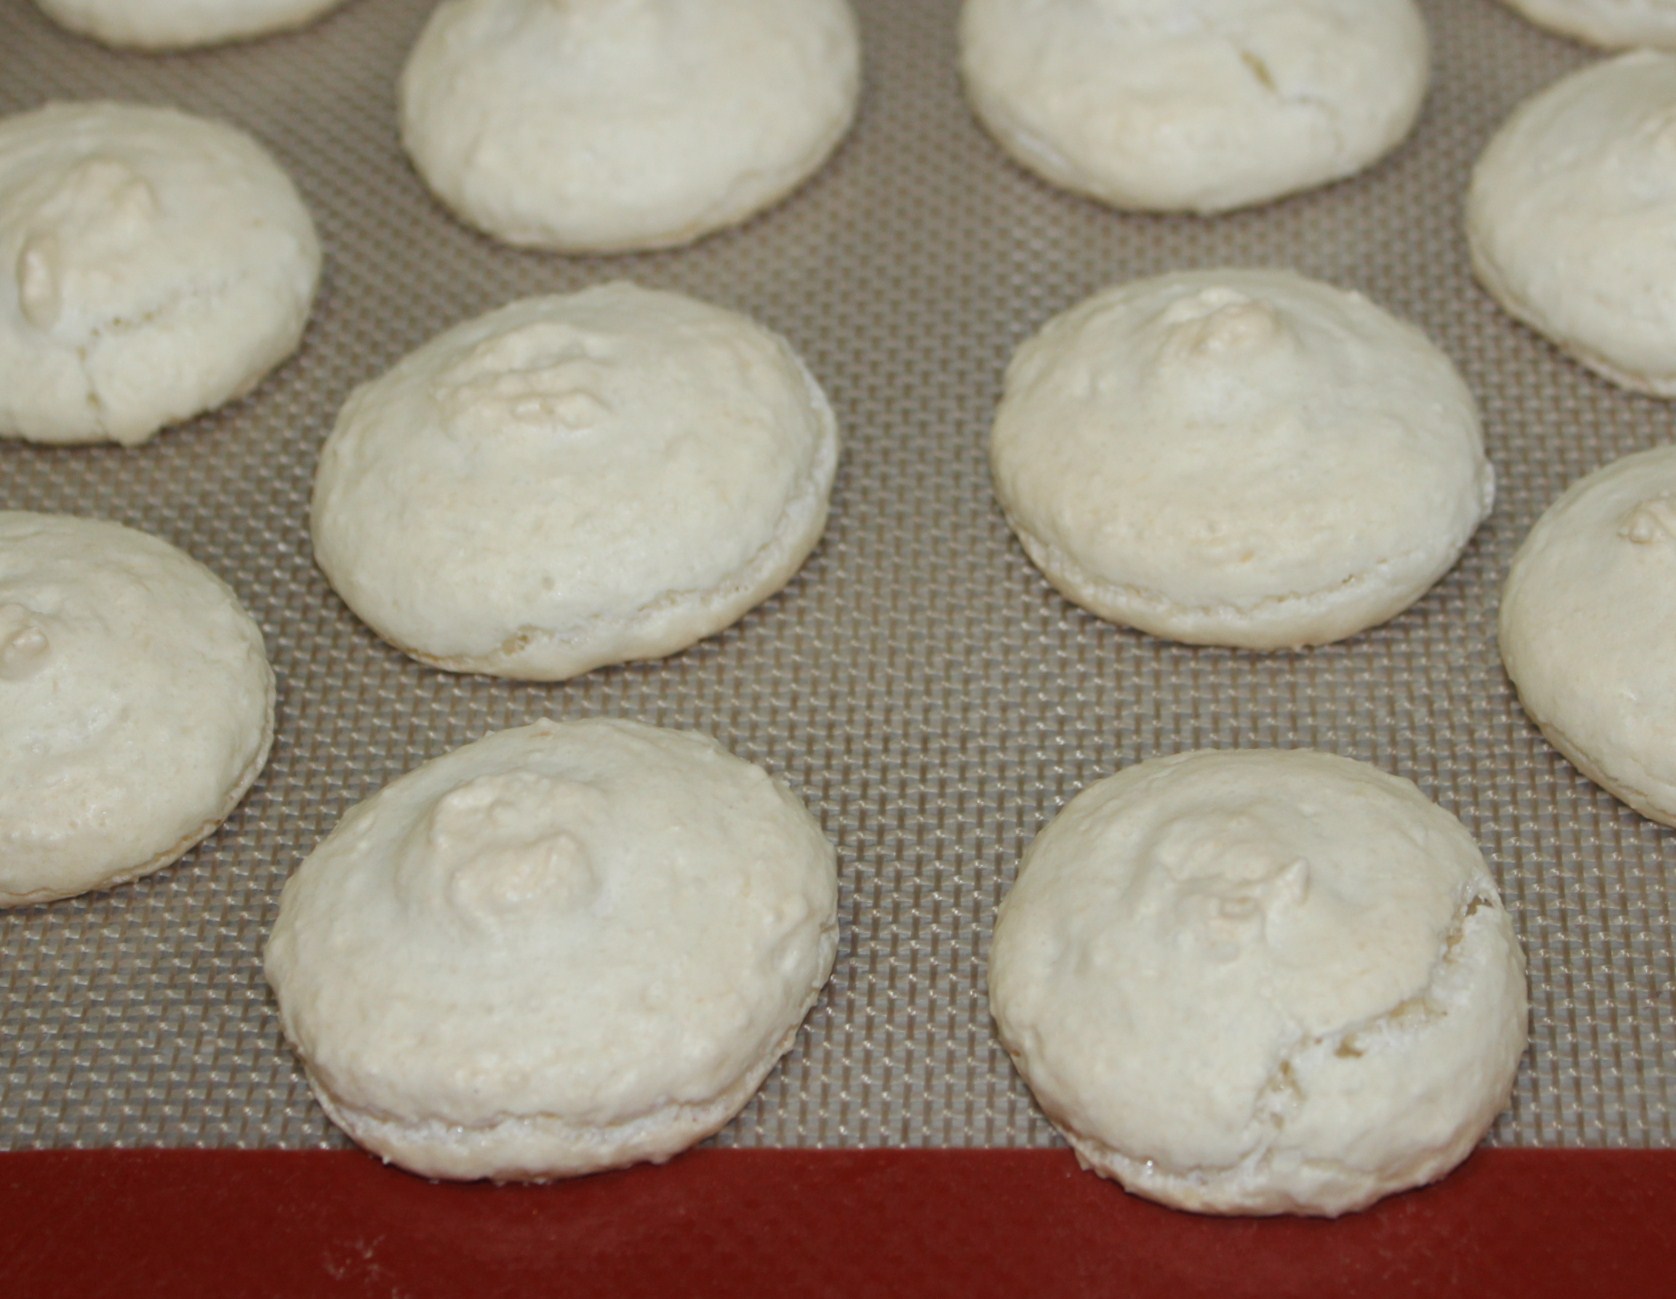
9. Bake at 180 degrees centigrade for 15 to 20 minutes
10. Coconut Macaroons are ready. You could serve these as cream filled double macaroons too.
Those macaroons by my little one made my day…truly awesome.