Tag Archives: deepavali sweet

‘Manoharam’ – Gram Flour Fritters (Churros) dipped in jaggery syrup

426


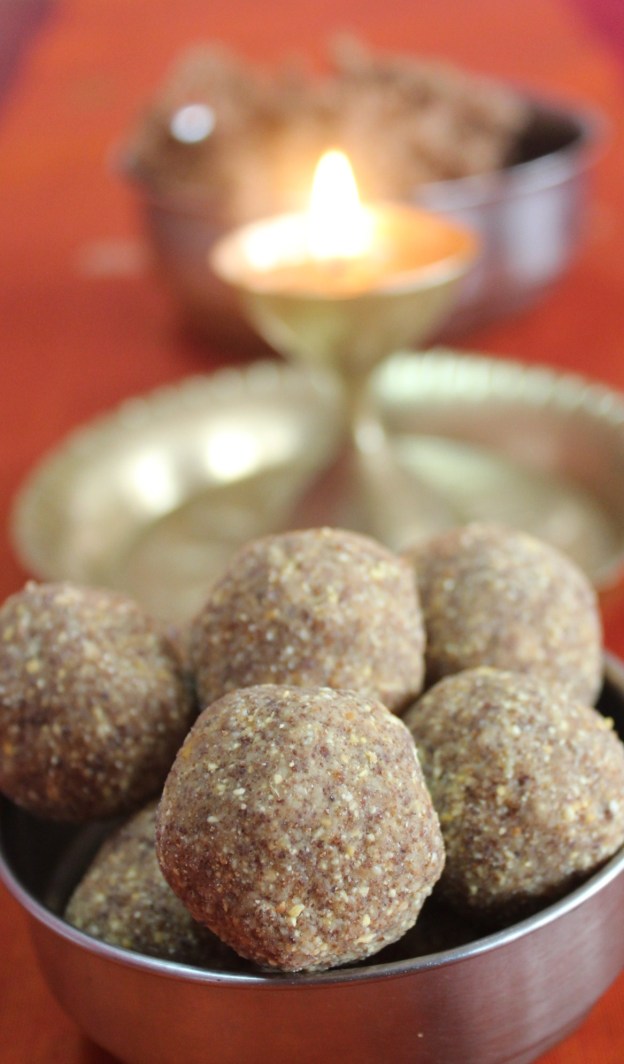
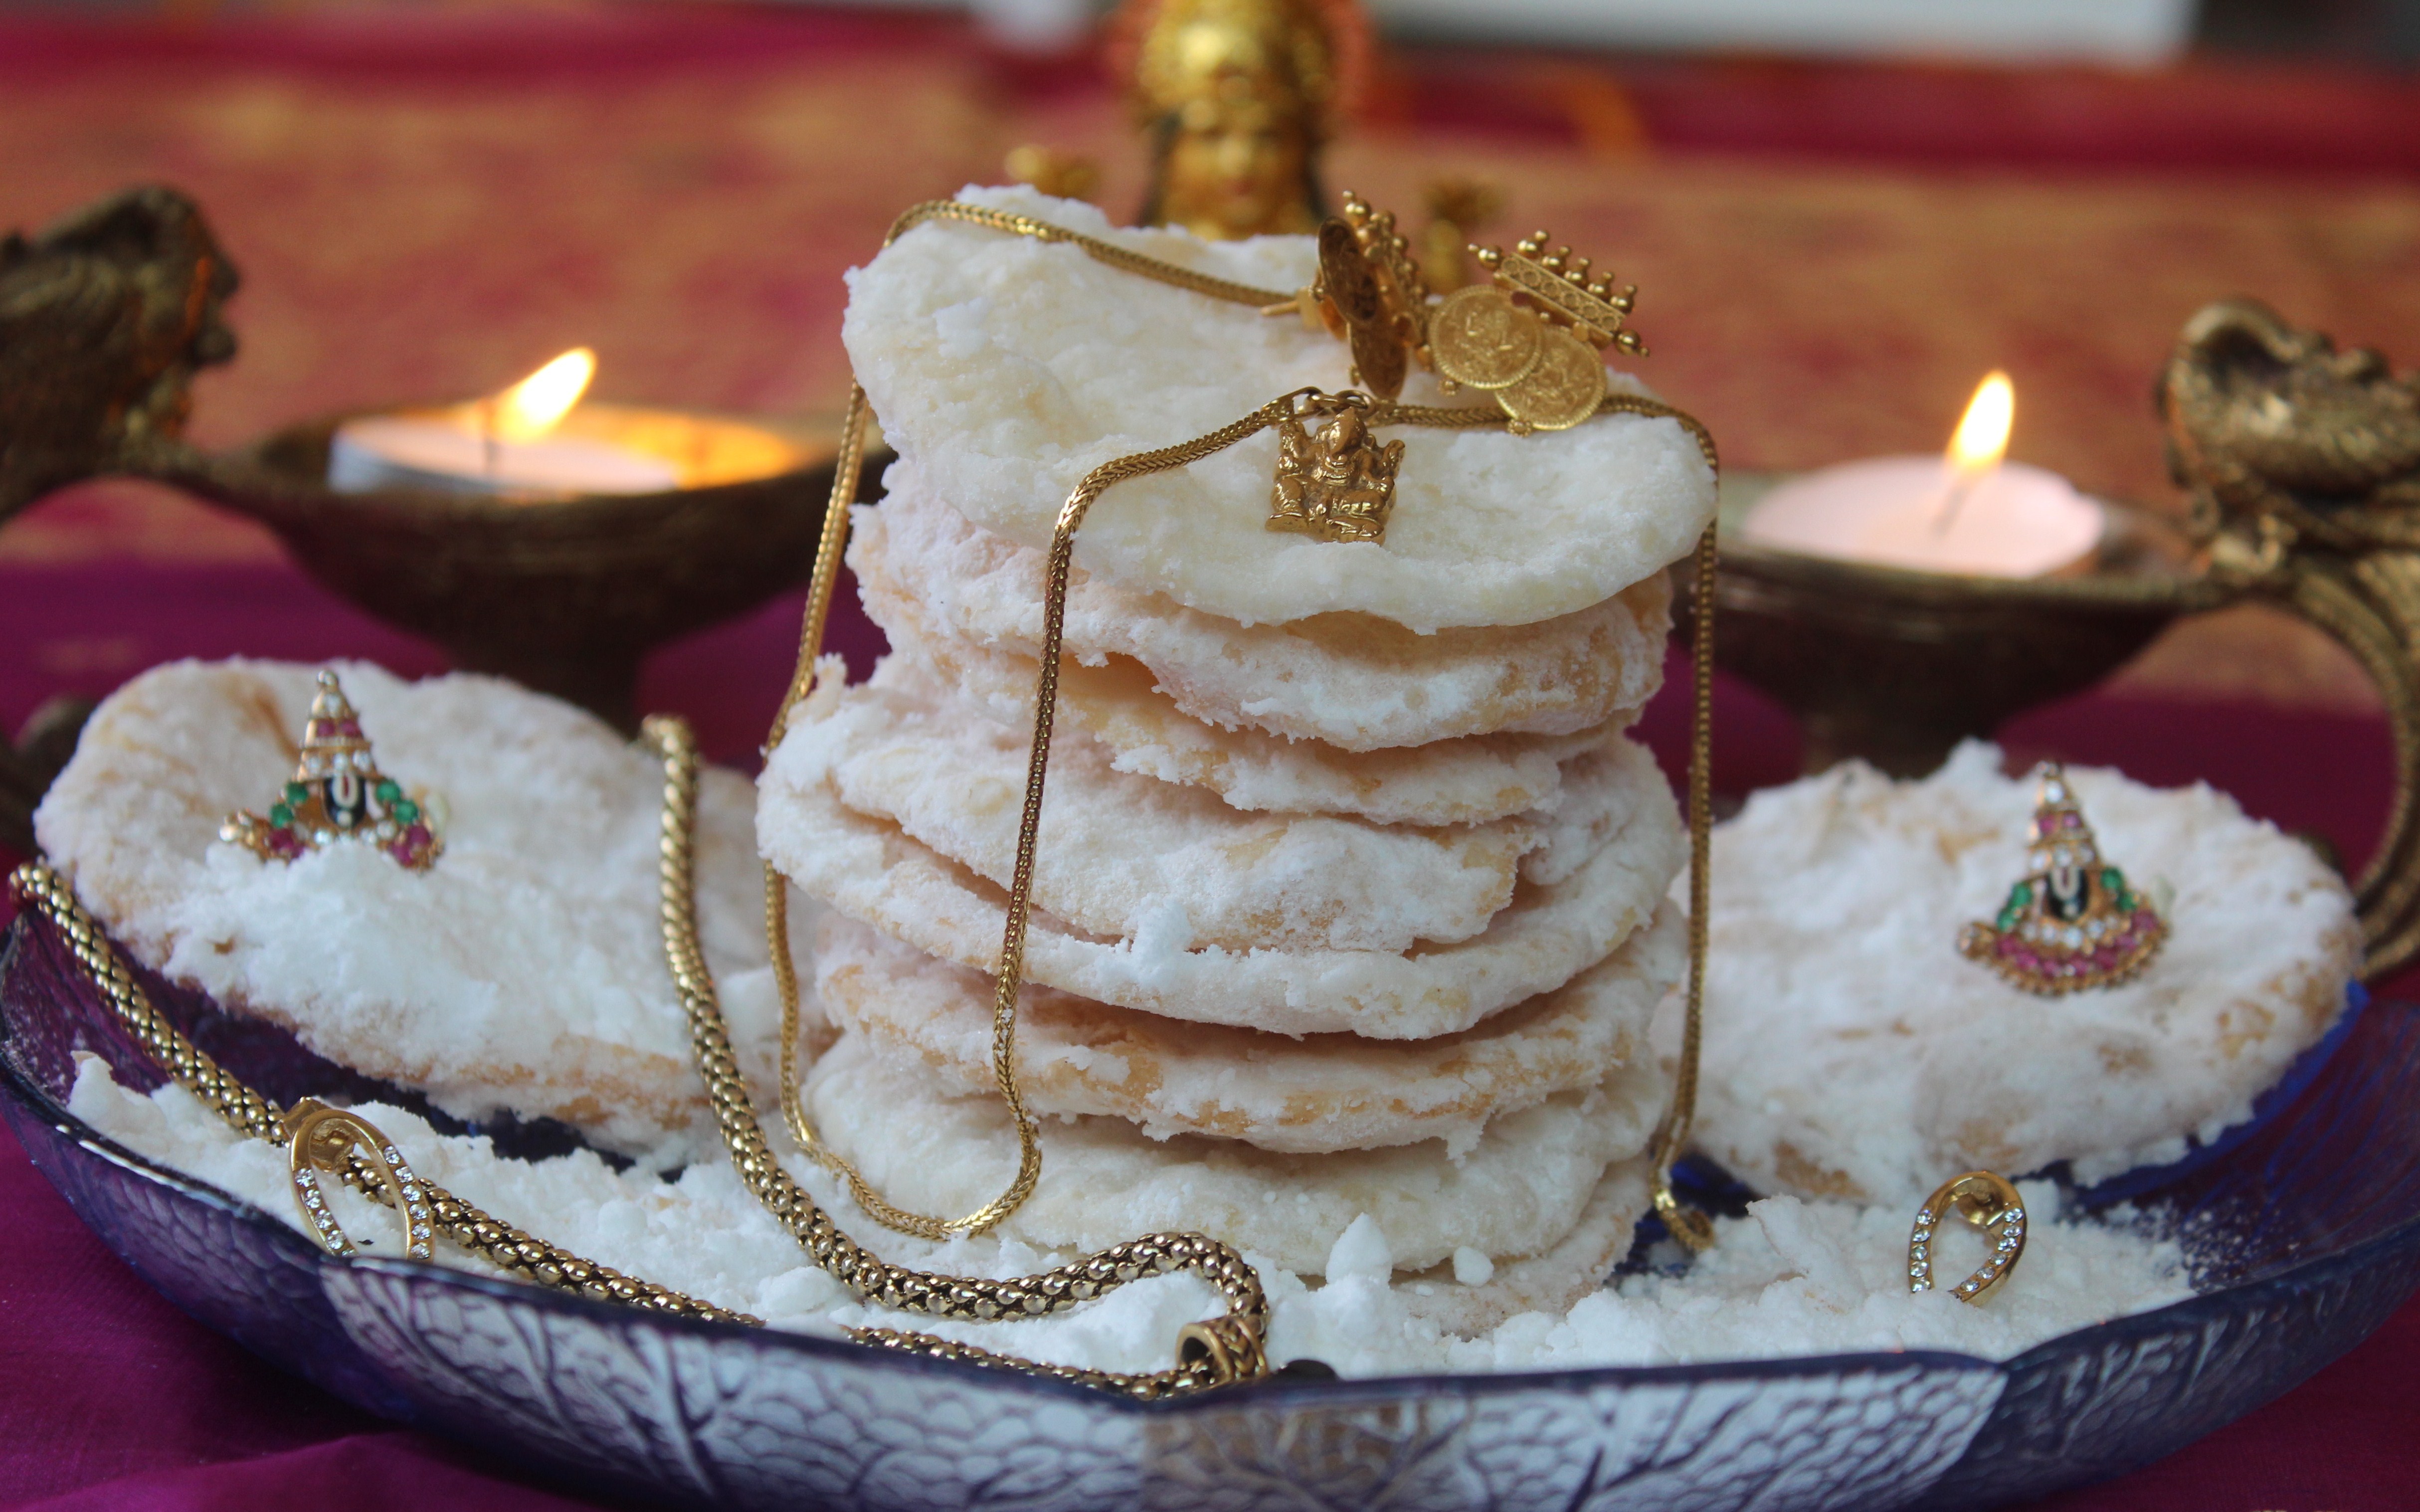
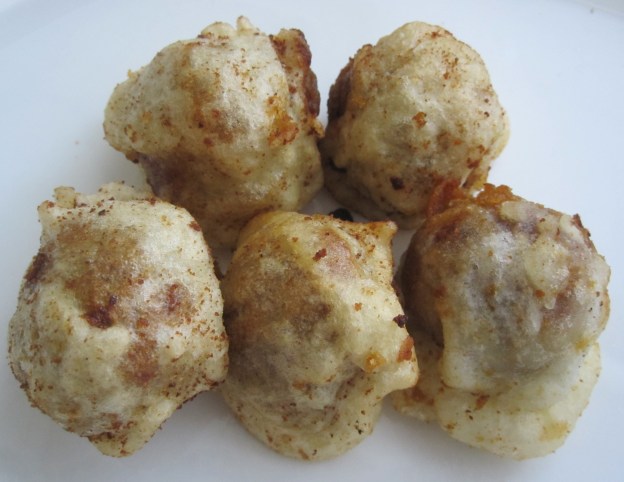
Manoharam is a traditional Tirunelveli sweet. The gram flour fritters soaked in gorgoeus golden-caramelly cane/palm jaggery syrup is a delight in every crispy bite.  With healthy Bengal gram flour and no white flour as the base and Unrefined Jaggery and no white sugar caramel for the coating, this is a no nonsense fritter as well as a childhood comfort snack.

When asked about the recipe, Amma fondly remembered both me and my little brother, having plates filled with these crispy fritters as an after school snack, giving more emphasis to the filled plates. Those were the days of no botheration of putting on weight, leave alone childhood obesity. We could burn the nutritious extra calories earned from healthy millet flours and cane and palm sugars, with the crazy amounts of time we spent playing in the streets. No store bought chips or cakes, buns or pastries loaded with white flour, white sugar and salt.

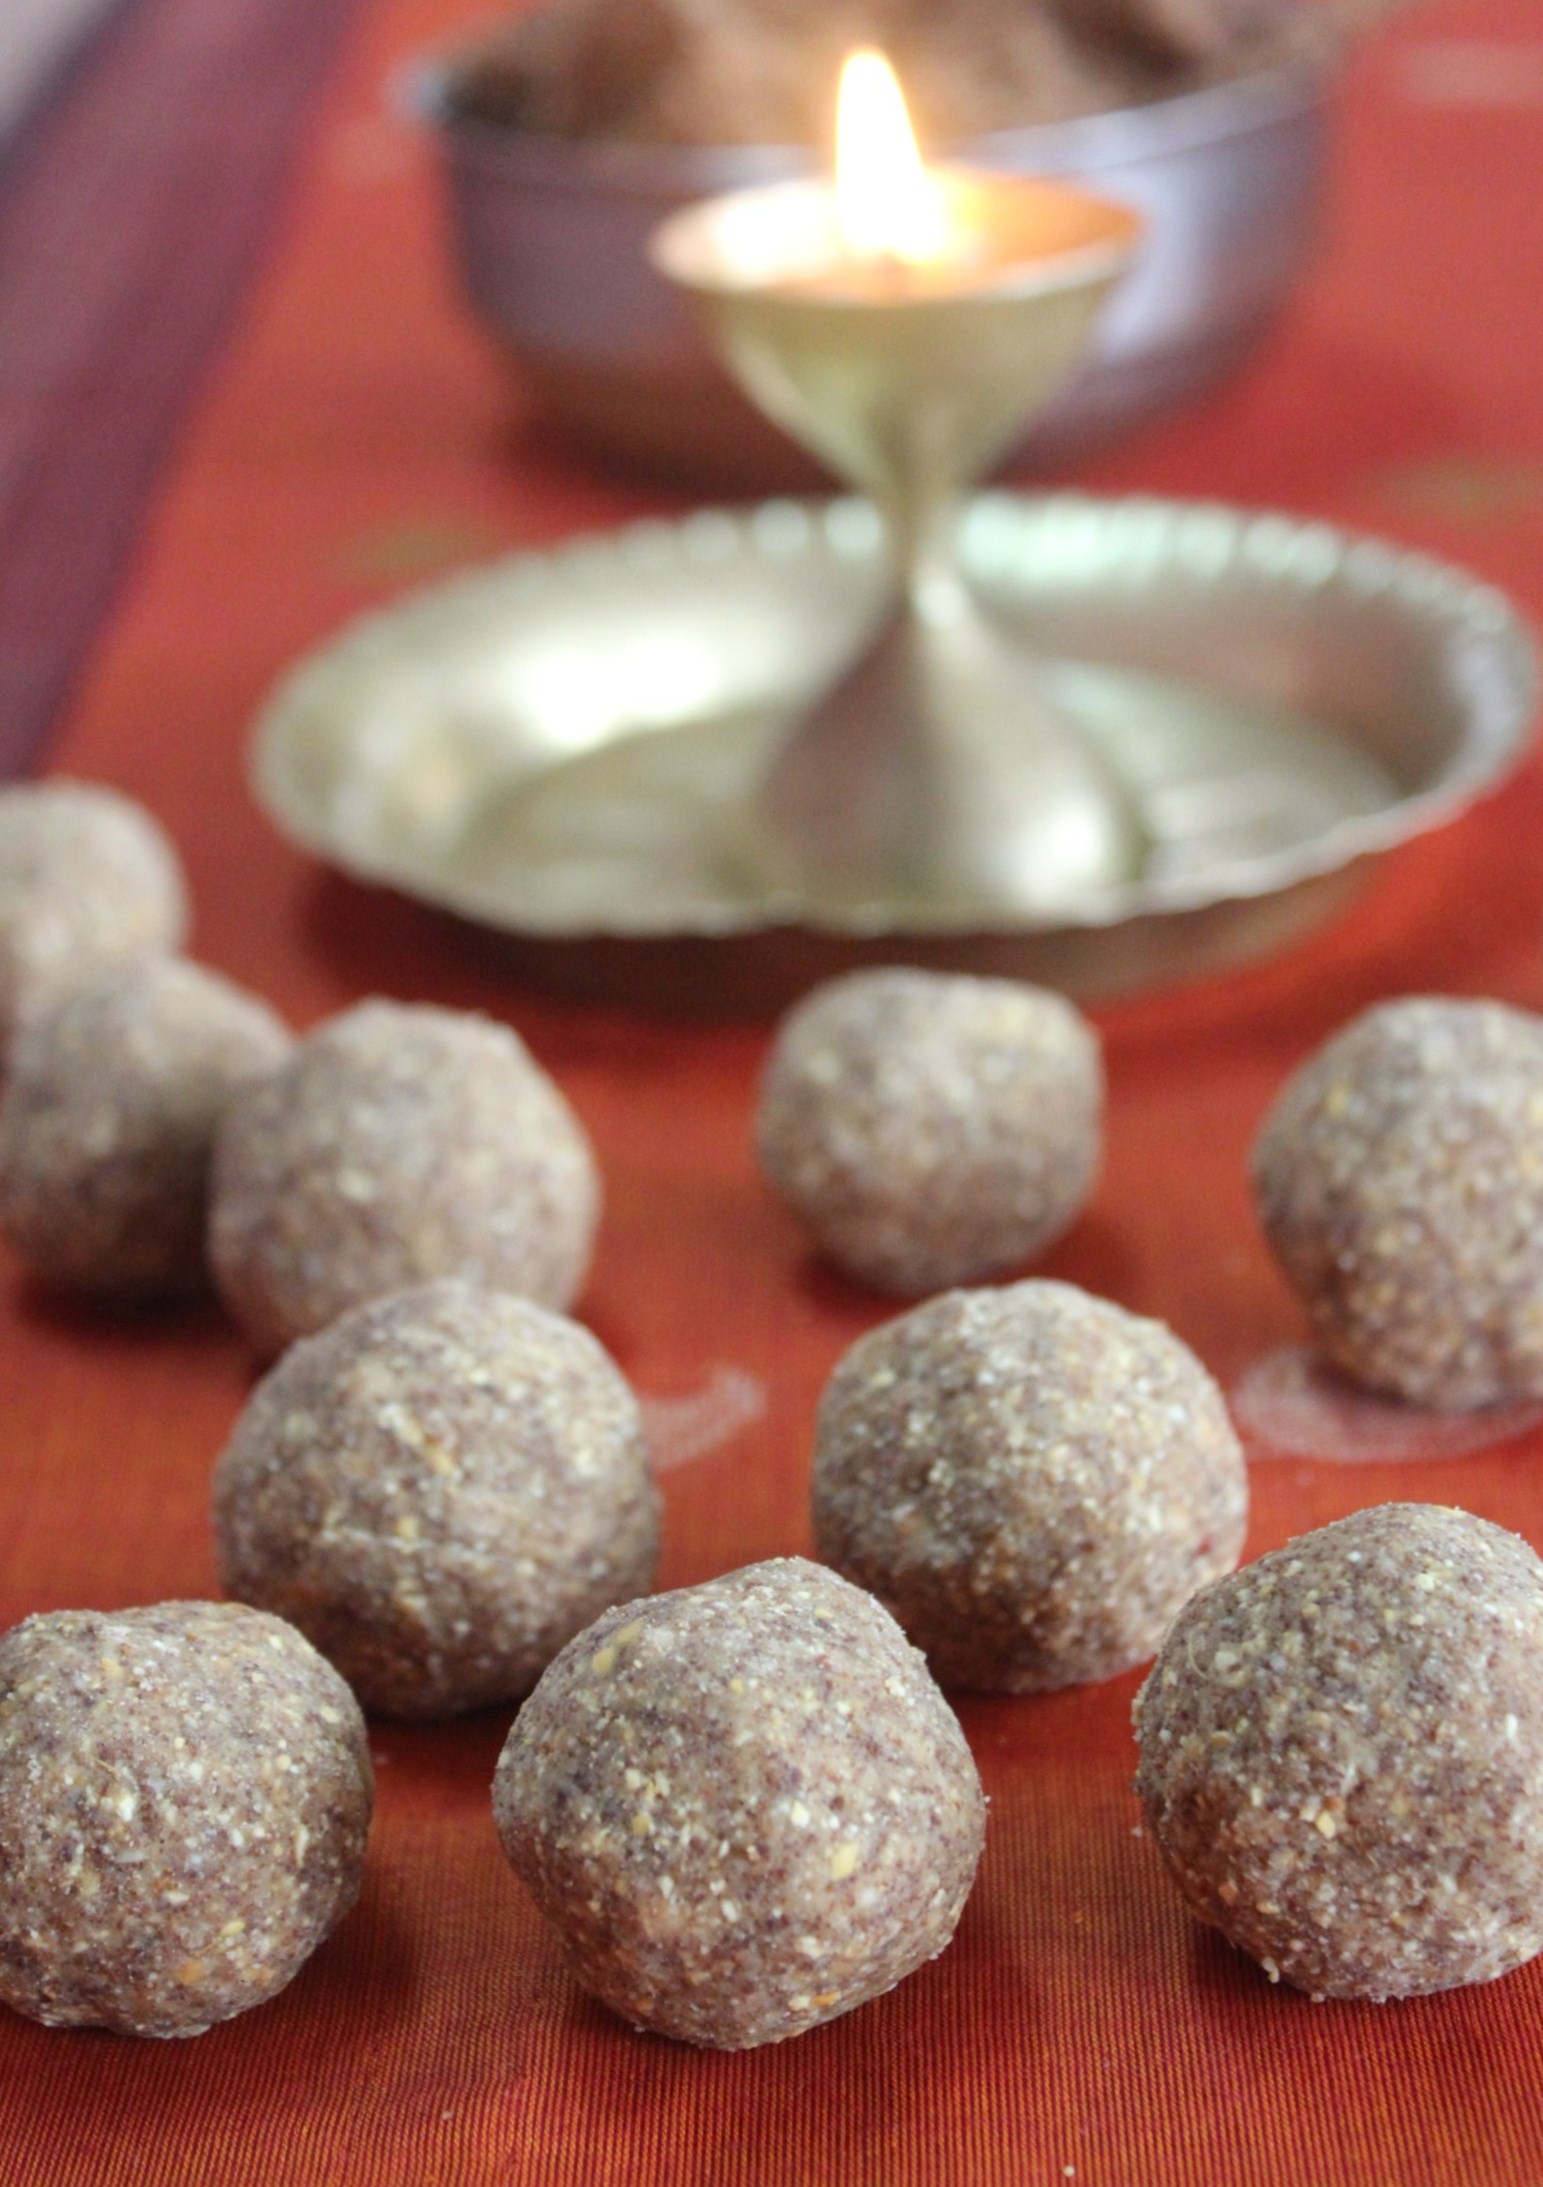
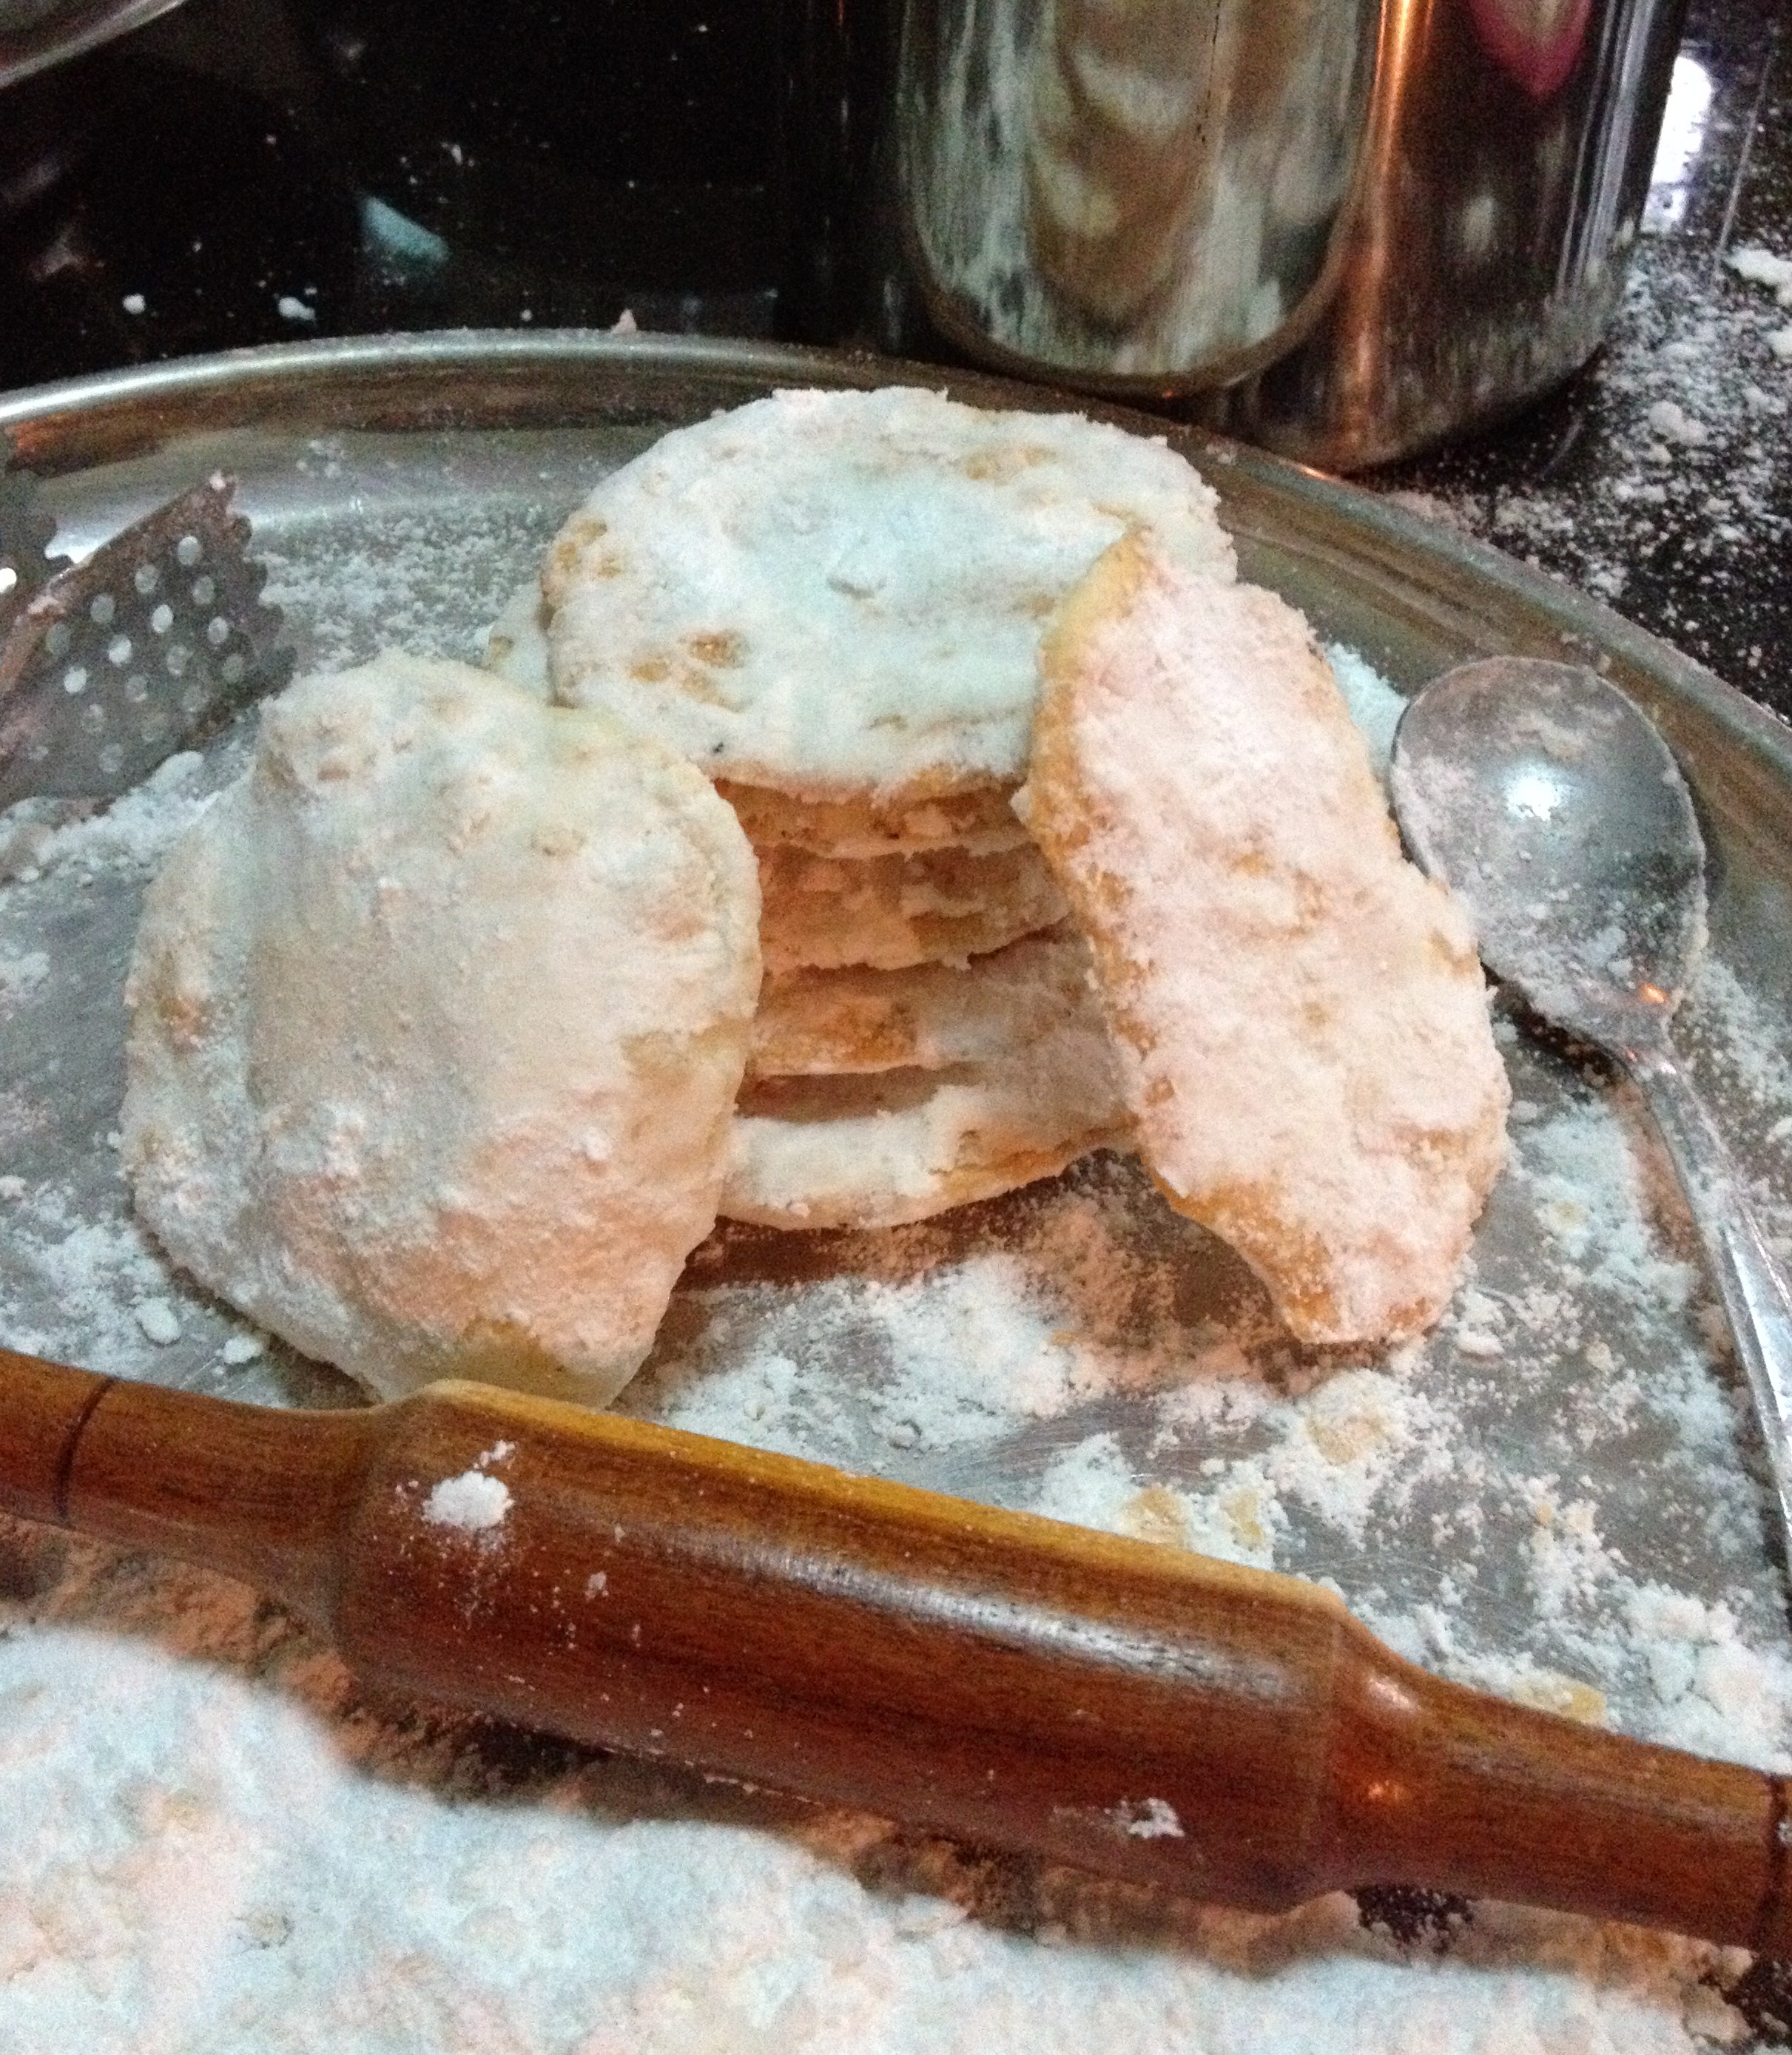
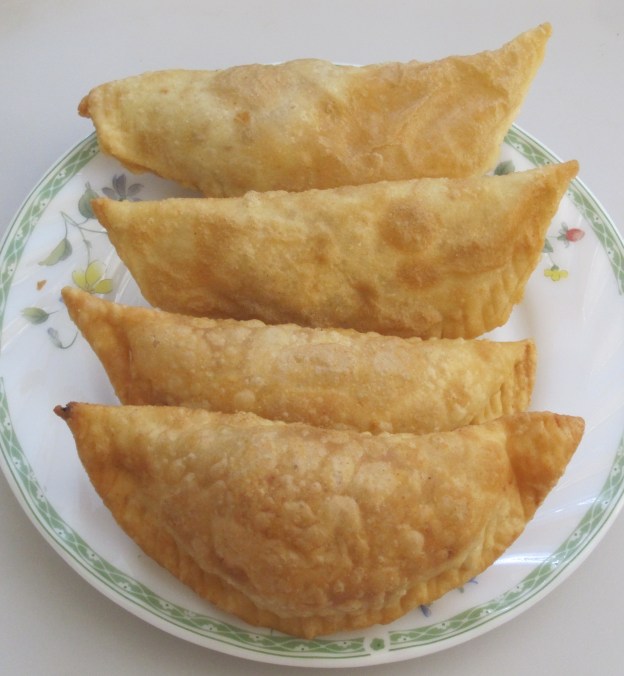
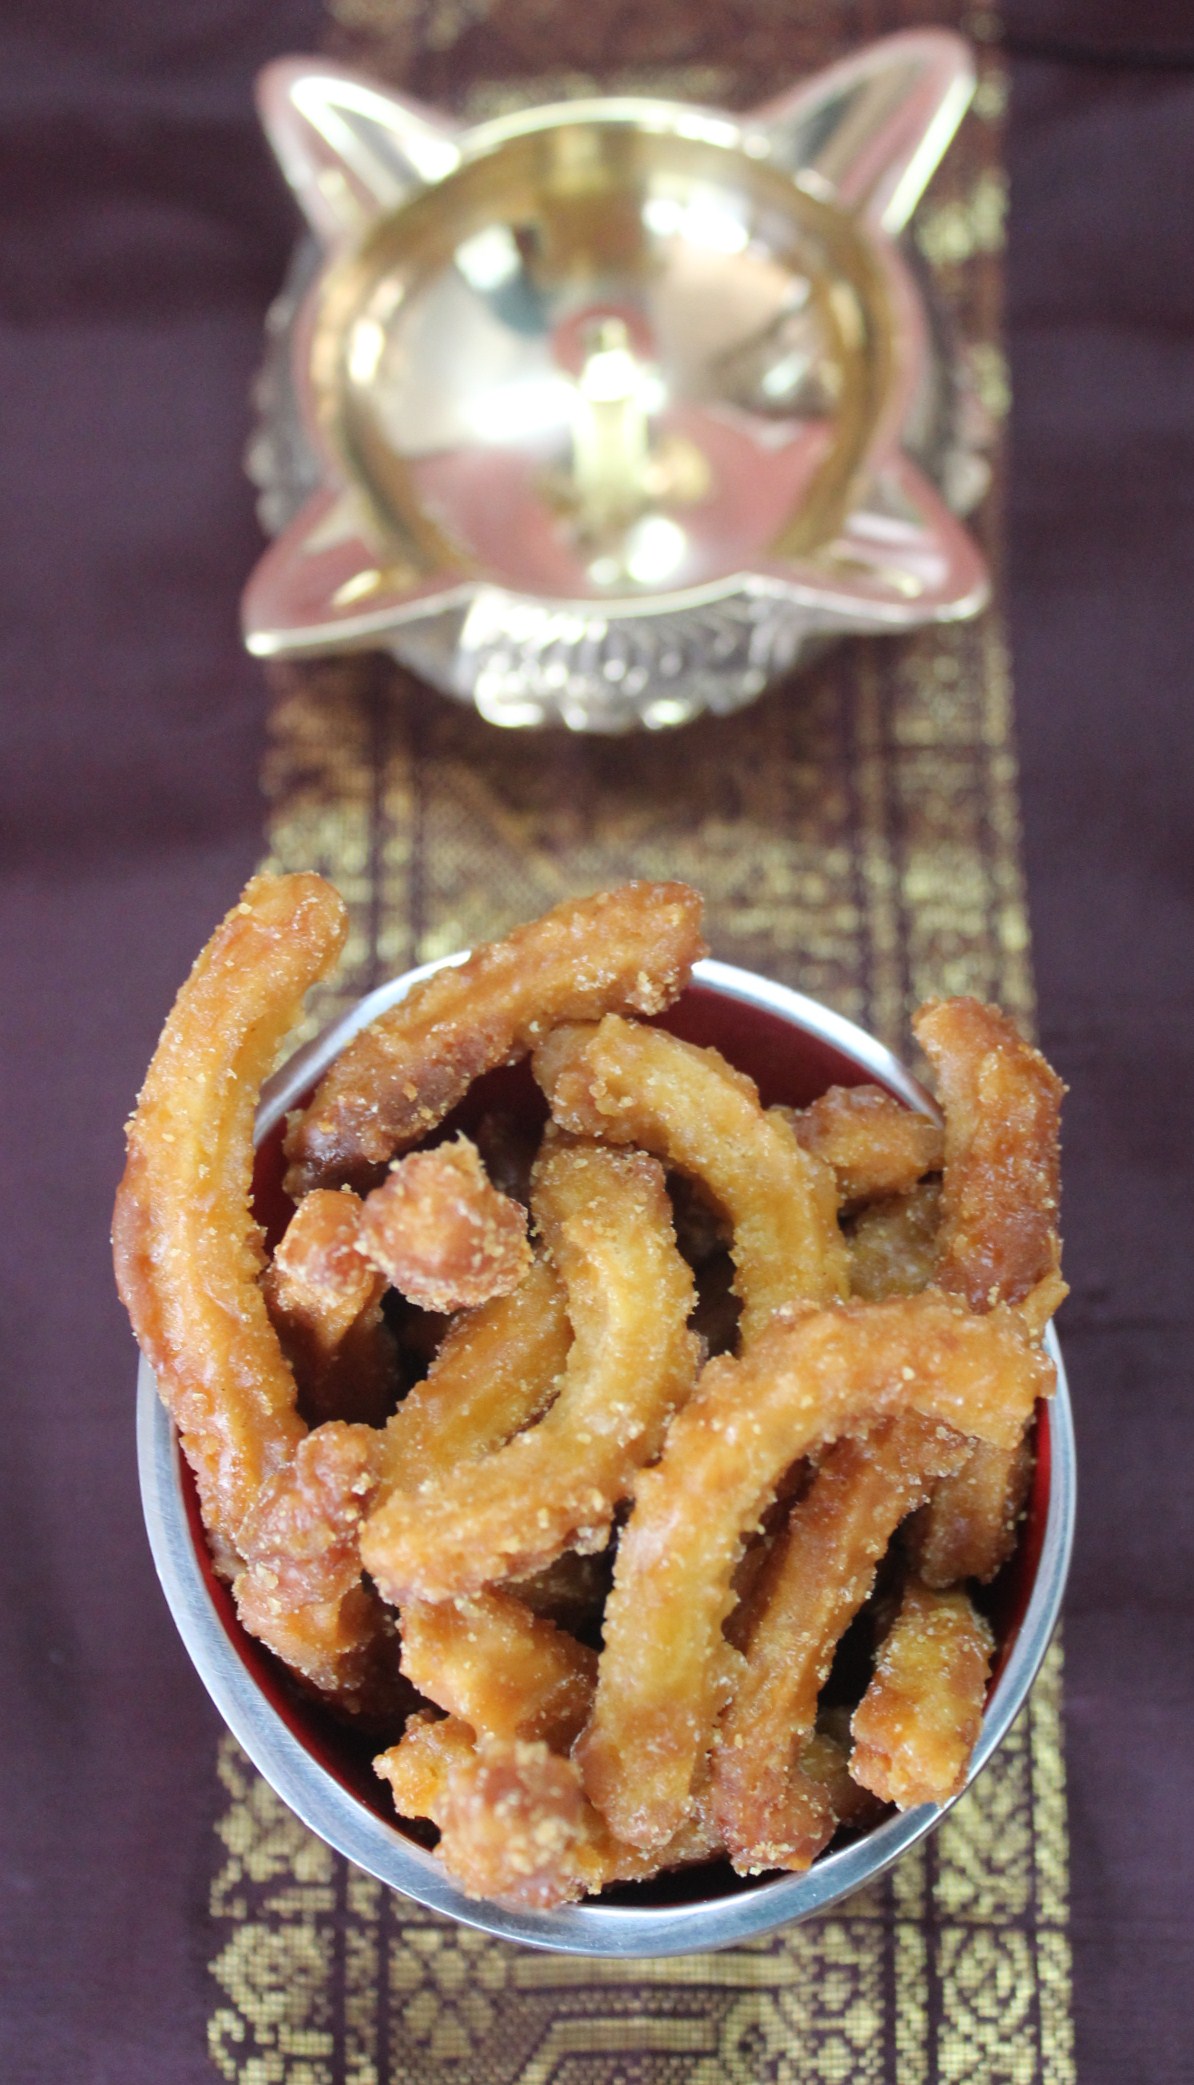
Manoharam and Spanish Churros – great observation by my Little Chef

Since I didn’t have the thenkuzhal/plain murukku – fritter disc, I used the magizhampoo disc – which is a sharp edged or star shaped fritter disc. Once the fritters were done, the little chef at home exclaimed that they resembled Spanish Churros, thanks to so many cookery shows in countless channels. That observation was quite a surprise to me indeed. When I put my eyes through her thought, the traditional Manoharam did look like Churros. While Churros are made with all purpose flour and coated with cinnamon sugar, Manoharam is made with gram flour, rice flour and a pinch of salt. And instead of the chocolate sauce to dip, we coat them in jaggery syrup. Both the tastes are completely different, created with local ingredients available – yet, there seems to be a slight similarity in the concept of making and looks.

If you don’t feel so, that’s ok.. let’s move on to recipe.

For a detail look at churros, I referred http://www.justataste.com/easy-homemade-churros-chocolate-sauce-recipe/

Manoharam

for fritters

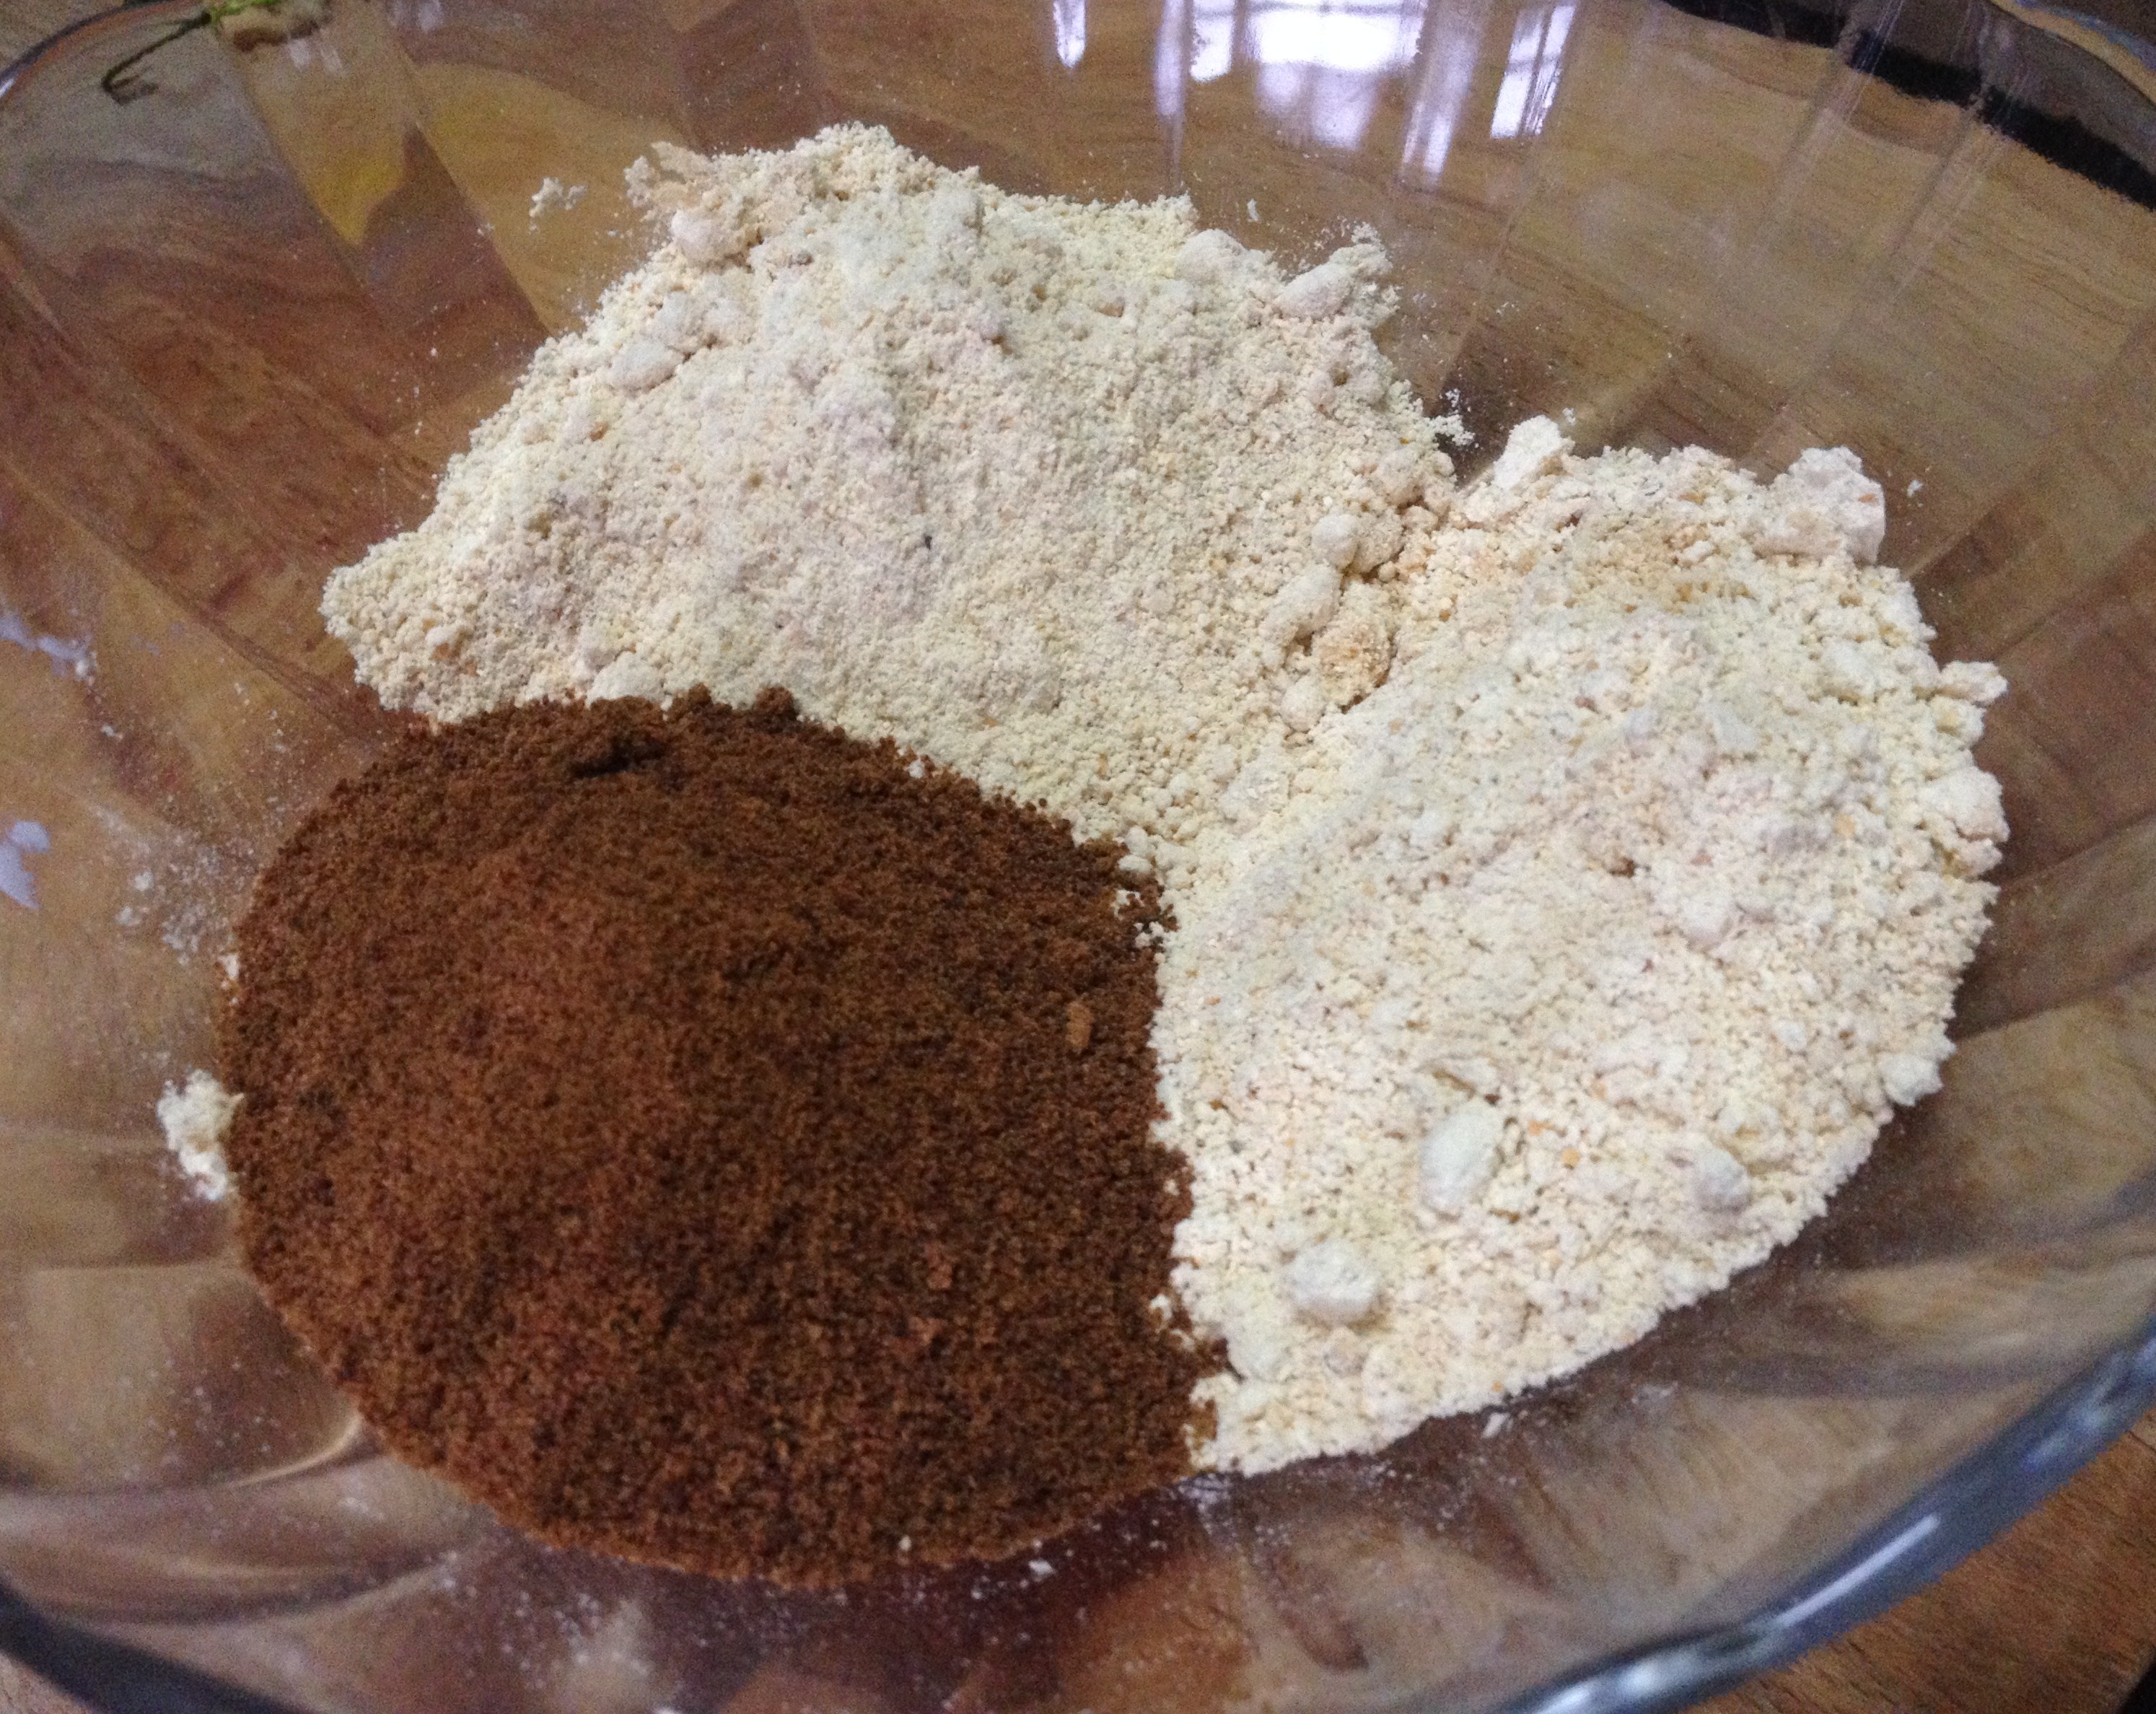
  • kadalai maavu/bengal gram flour/besan – 1 cup
  • arisi maavu/rice flour – 1/2 cup
  • ulundha maavu/dehusked black gram flour/urad – 2 tsp
  • nei/clarified butter – 1 tbsp
  • uppu/salt – a pinch
  • thanneer/water – as needed


for syrup

  • vellam/cane jaggery – 1 cup
  • thanneer/water = 1/2 cup
  • yelakkai podi/cardamom powder – 1/2 tsp
  • chukku podi/dry ginger powder – 1/2 tsp

Method of Preparation
Bengal gram flour and rice flour may be easily available in stores. Black gram flour should be made at home.

I. Making Black gram/Urad flour

  1. Heat a hard bottomed vessel or kadai
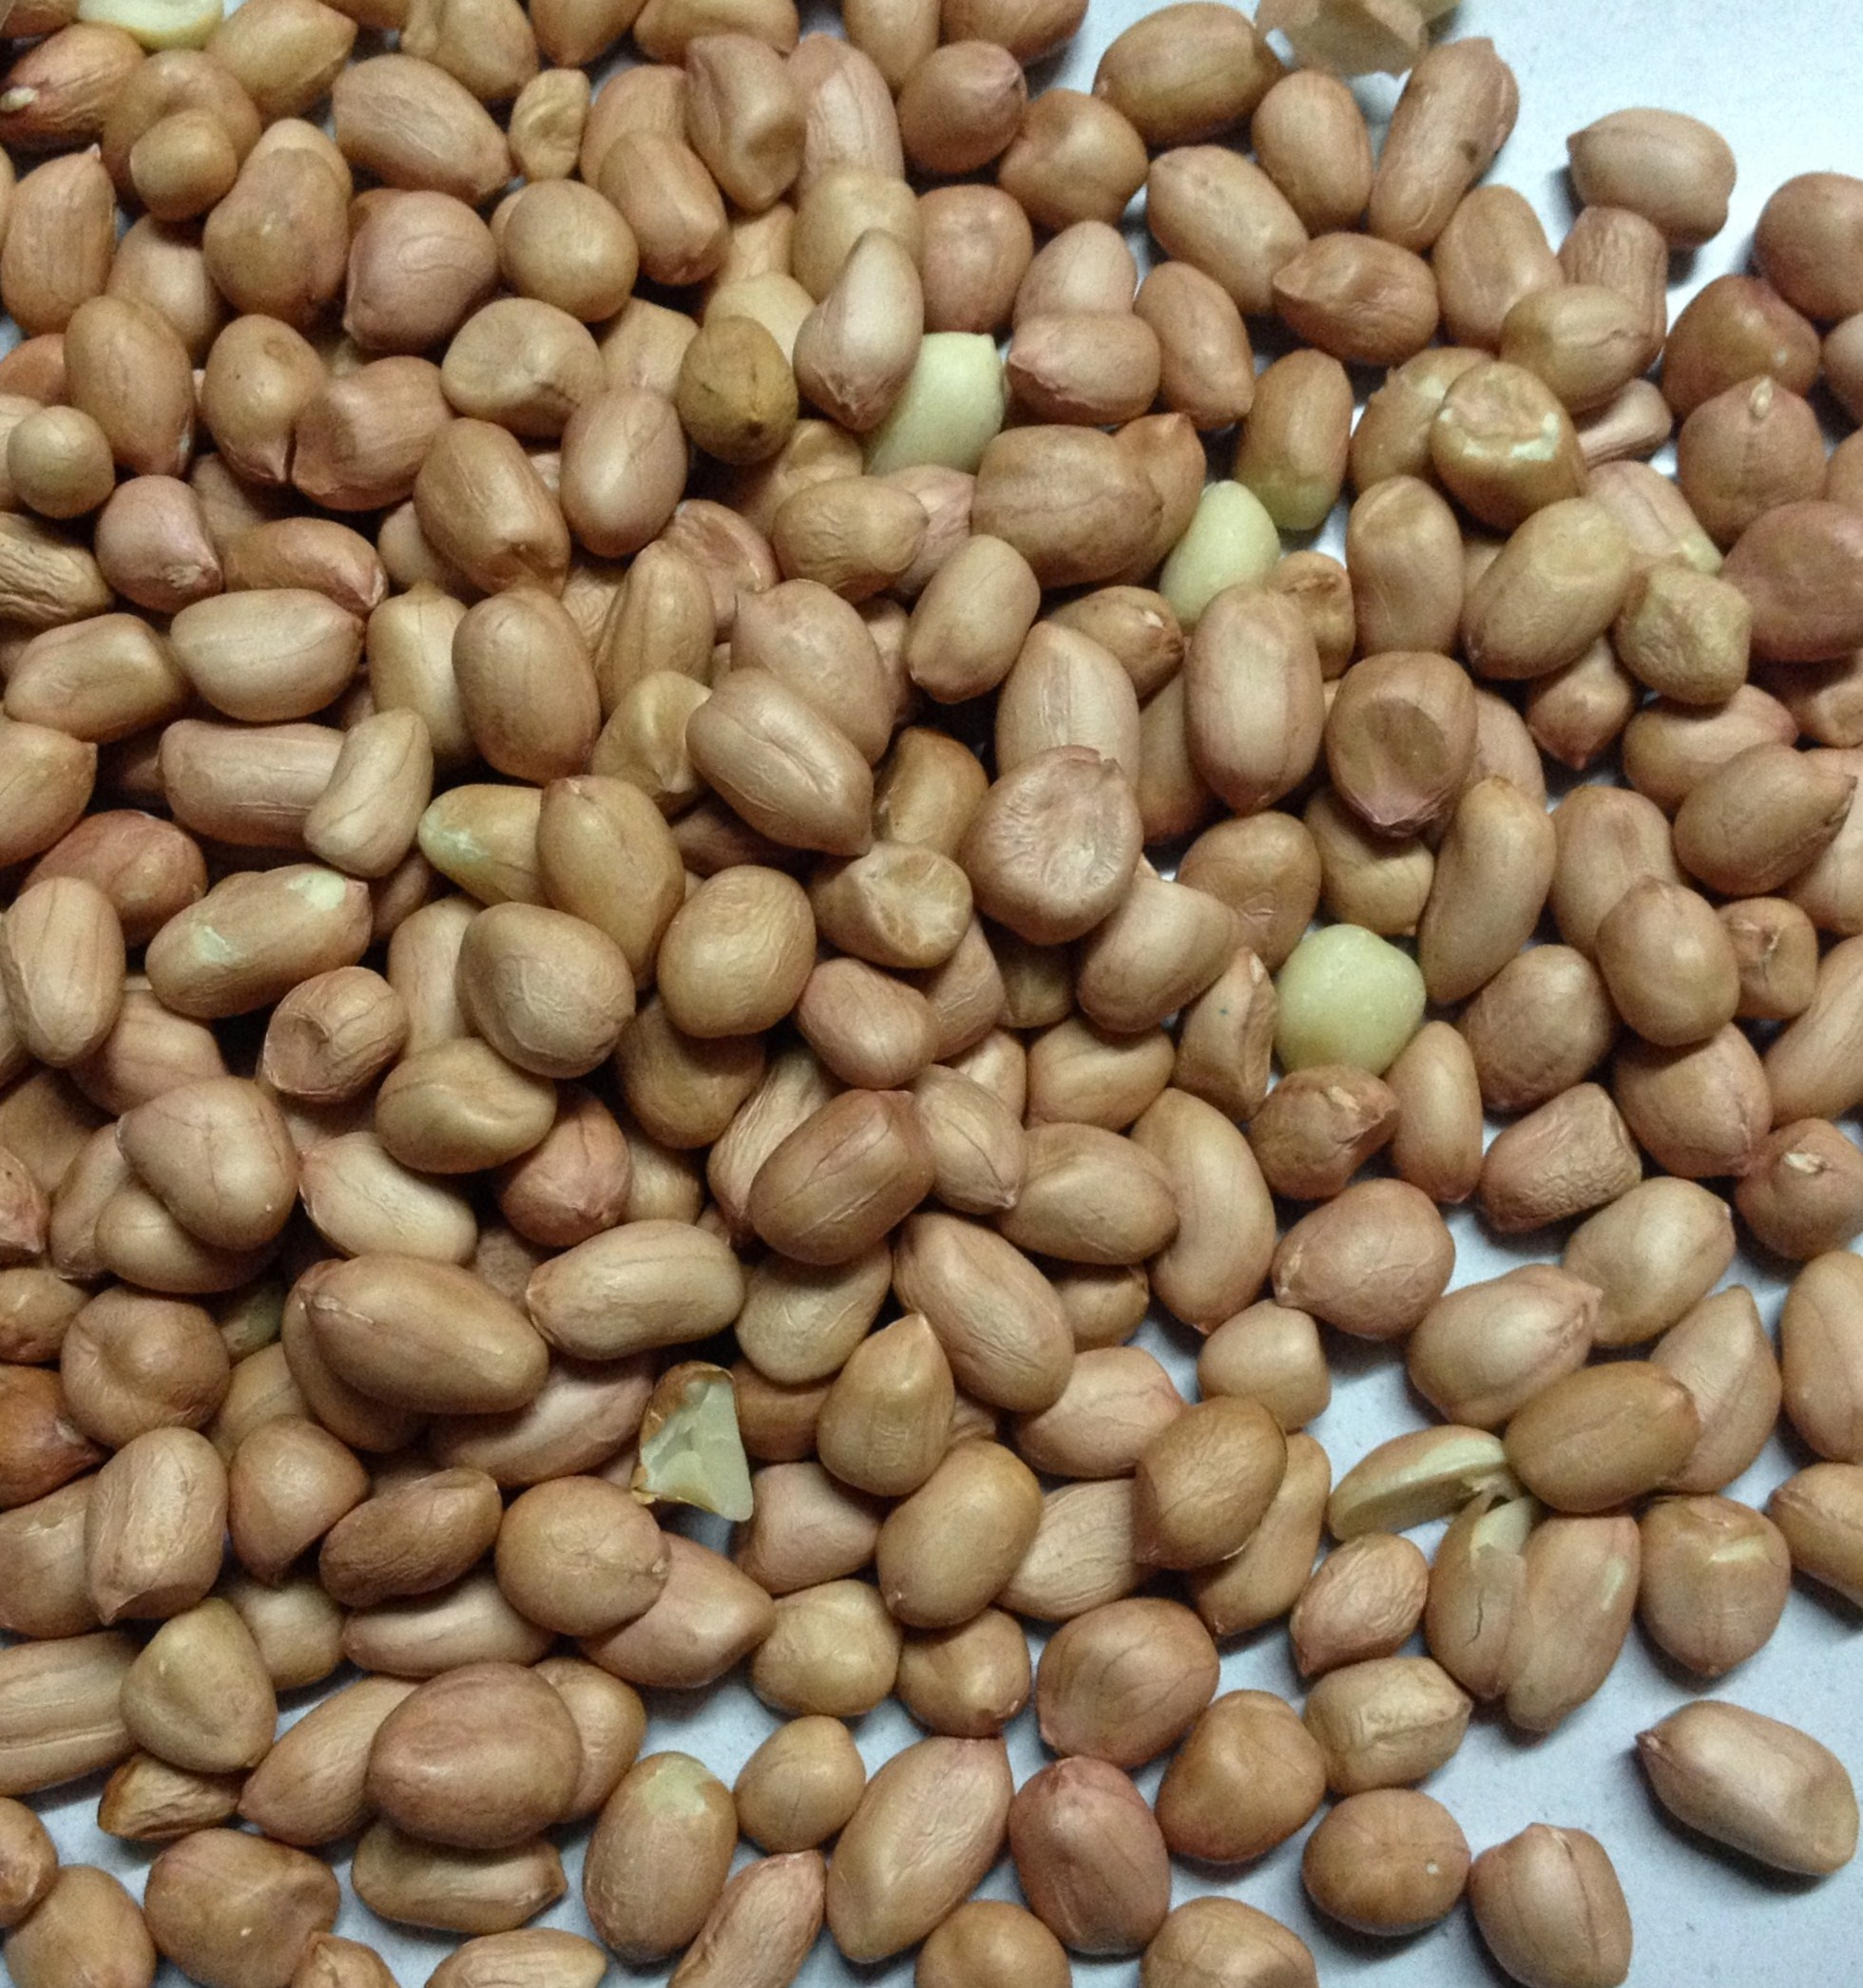
  2. Dry roast ulundham paruppu/urad dal – dehusked black gram till golden brown
  3. Grind to a fine powder in a blender
  4. Sieve it and keep aside
  5. Cool and Store in air tight container, and use when needed.


II. Making Fritters

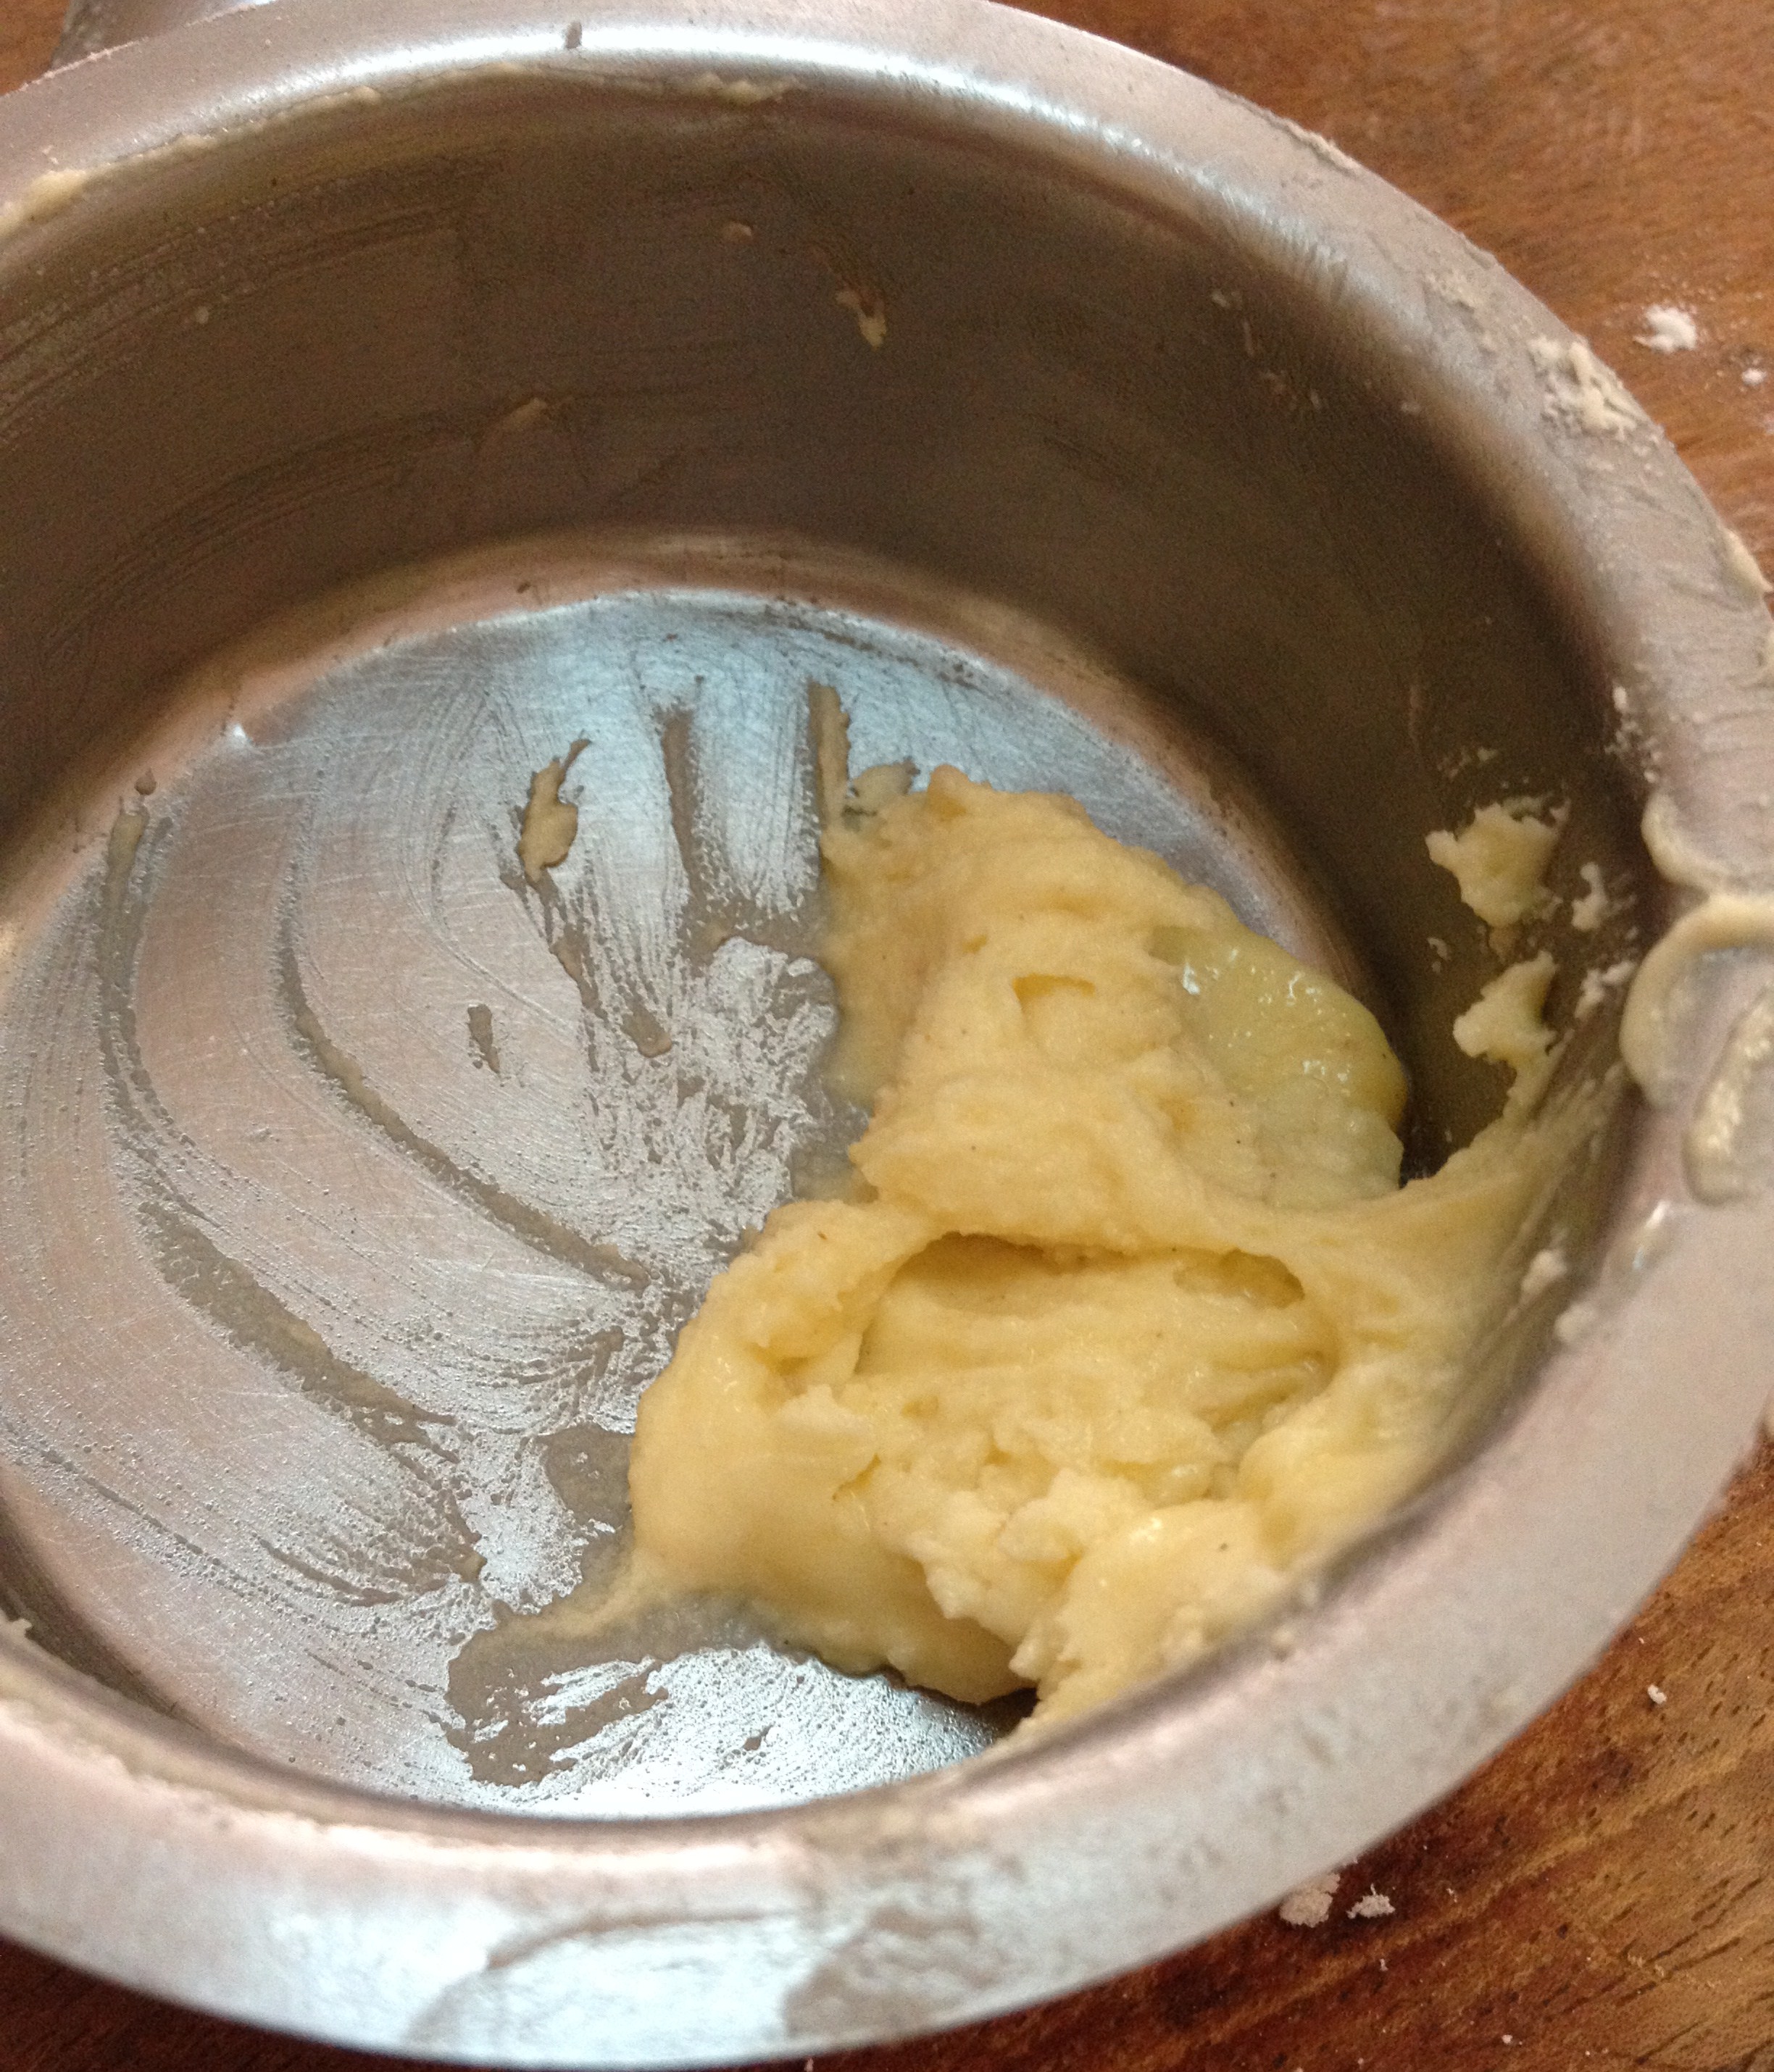
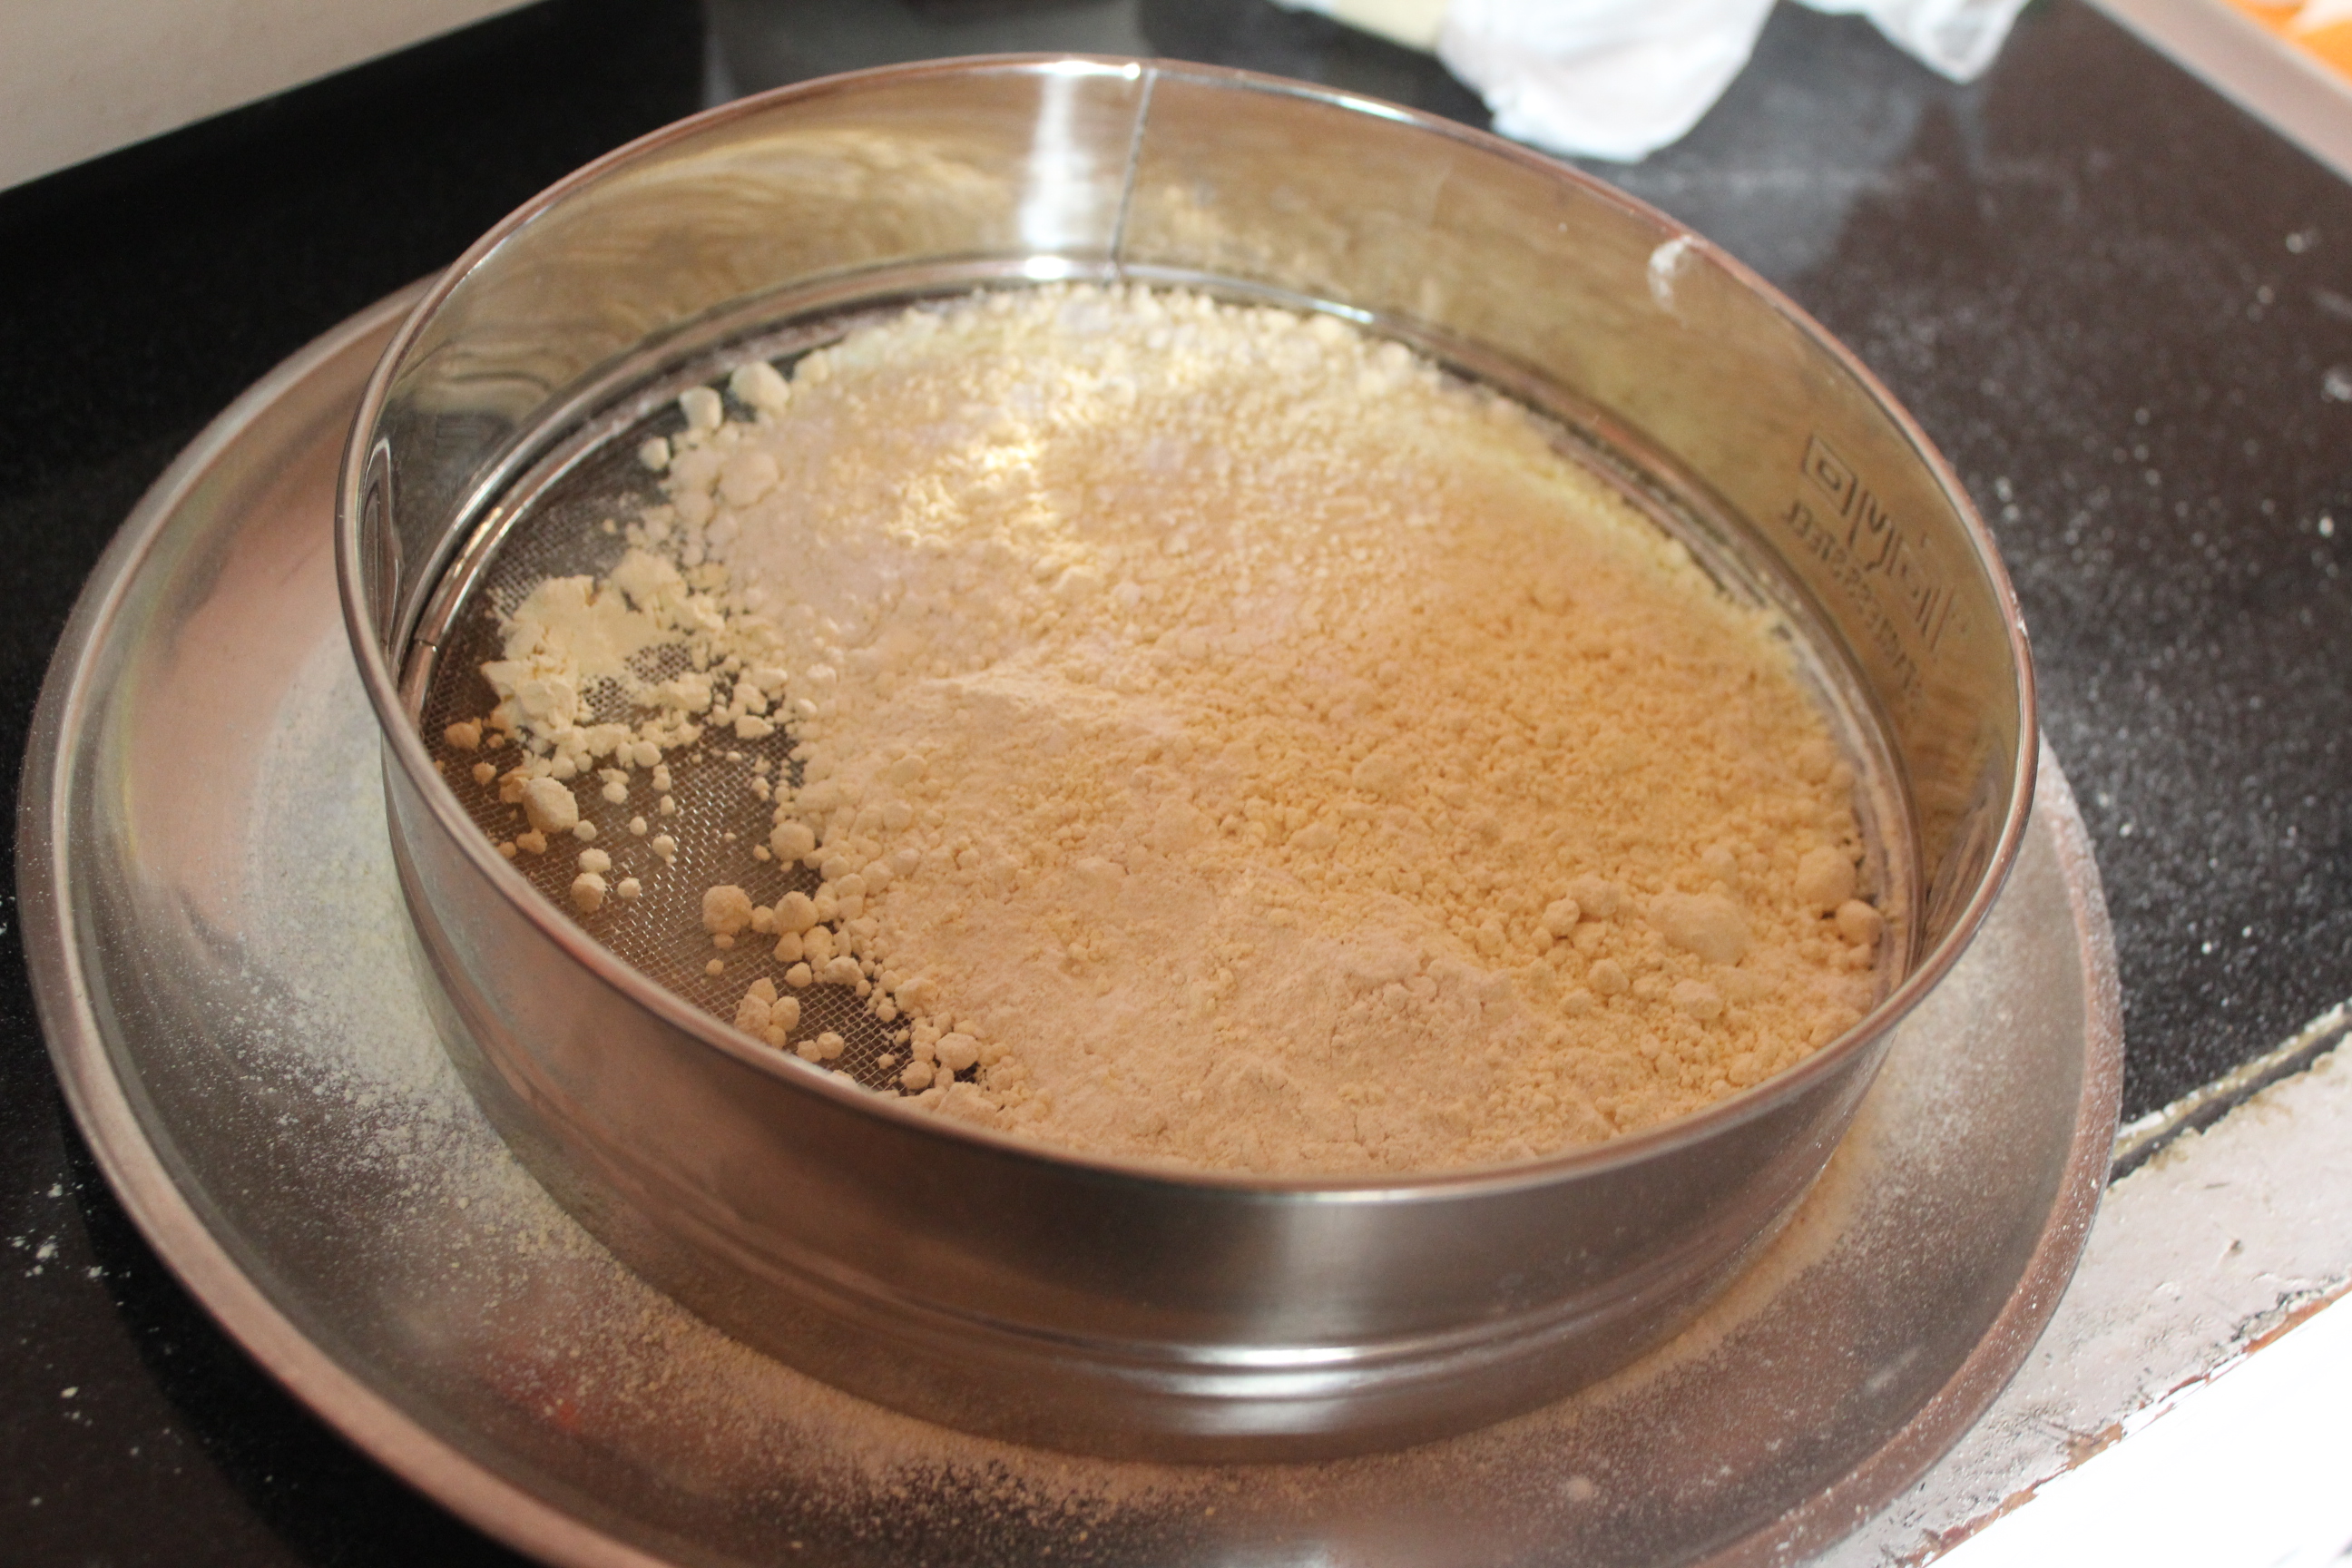
  1. Sieve all three flours without lumps

358

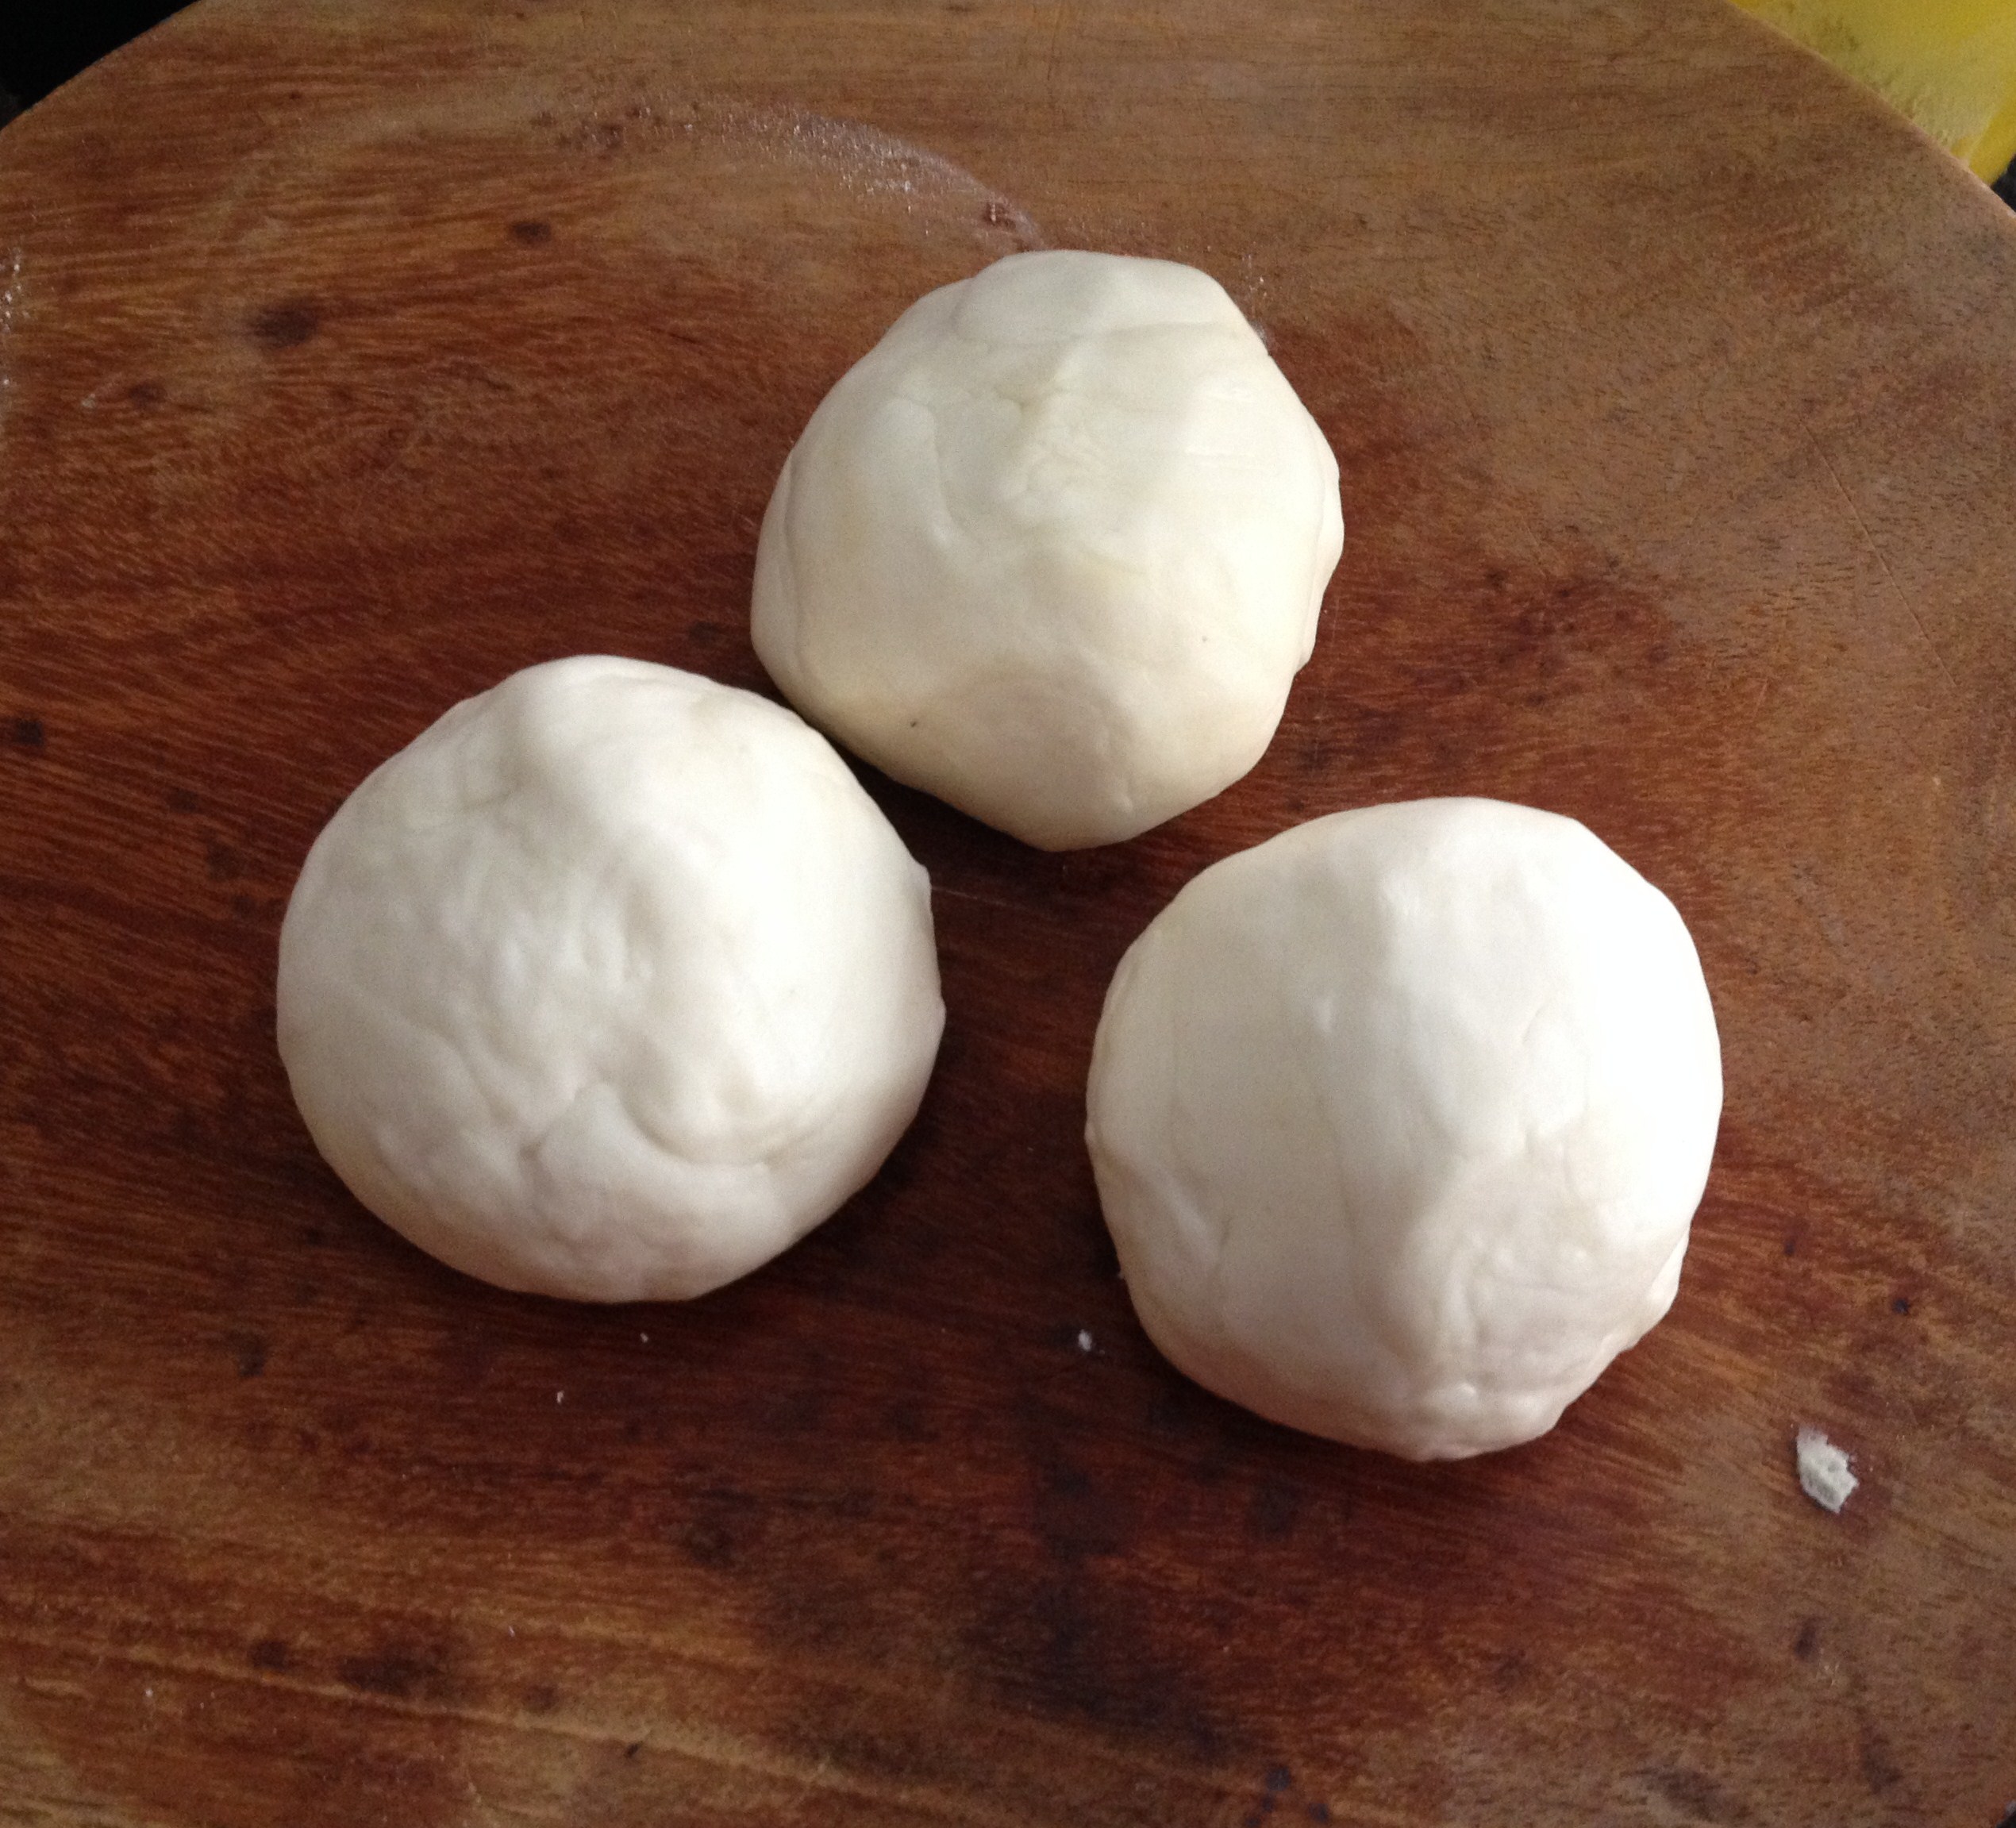
2. Add salt (just a pinch), clarified butter and just enough water to make a stiff dough
364


3. Heat oil in a pan for deep frying
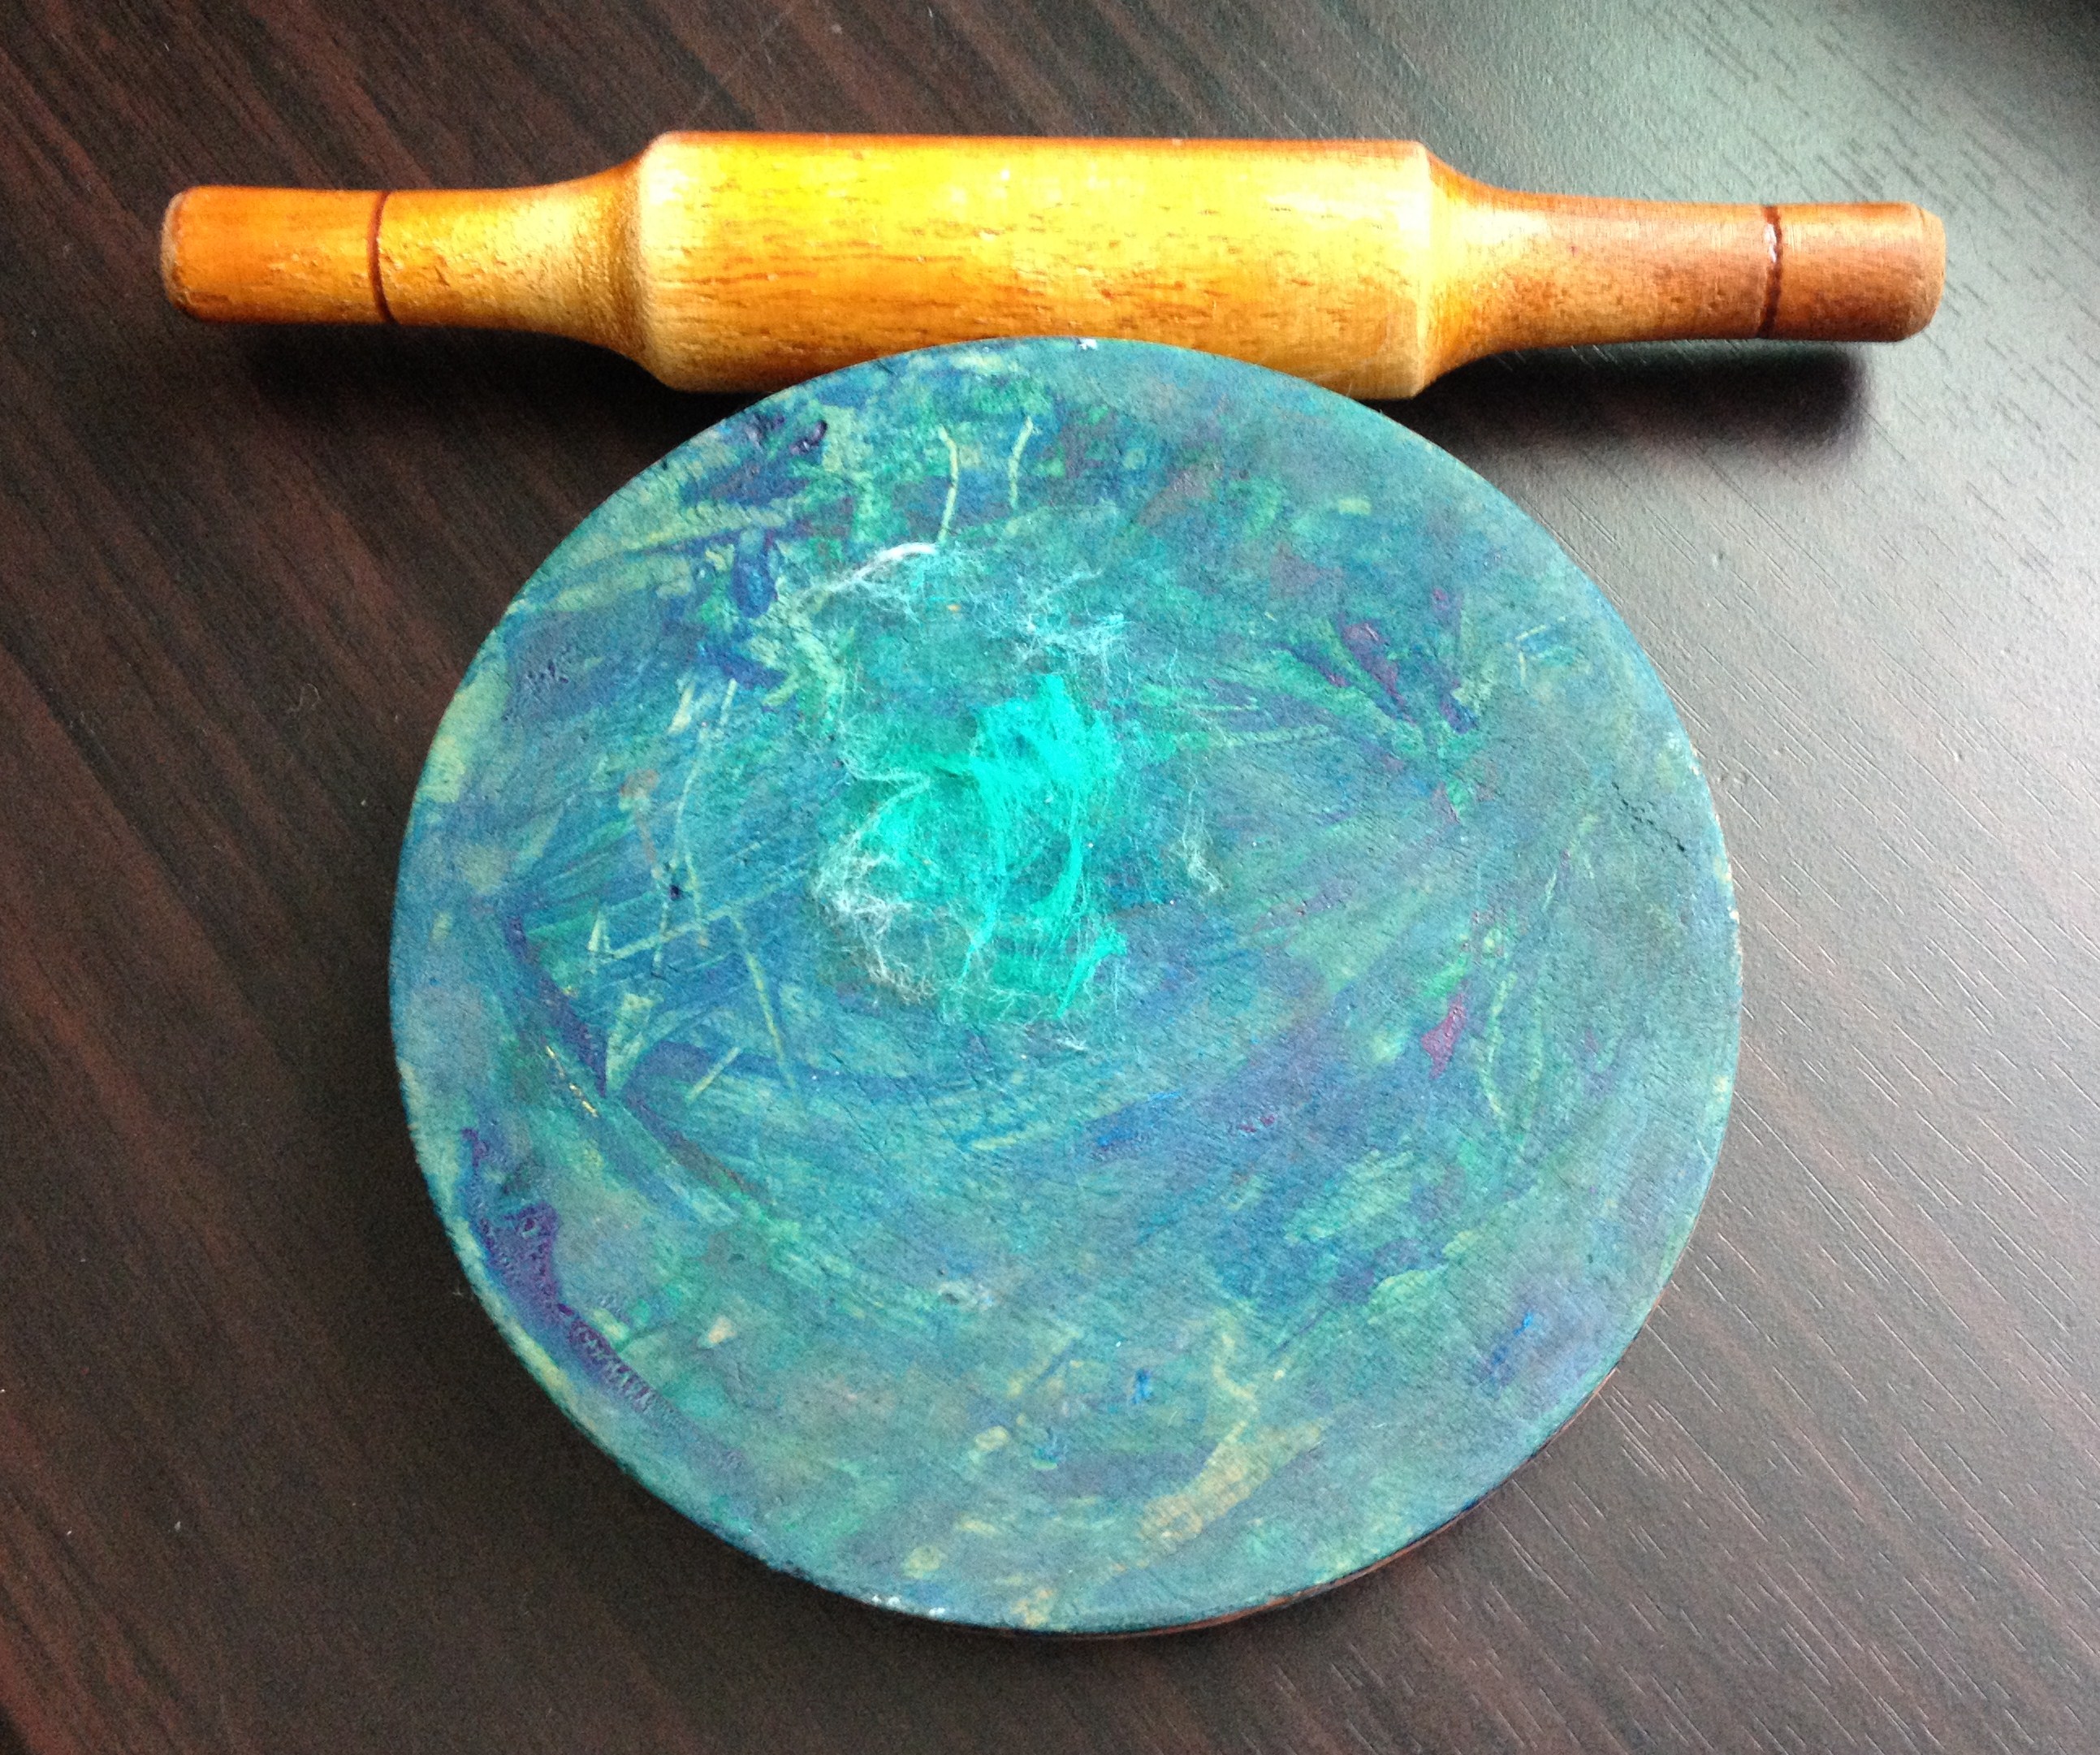
4. Use any single holed disc of a Murukku Maker to make the fritter (for details of murukku maker and single holed disc, refer – https://dosaikal.com/the-all-time-favourite-murukku/
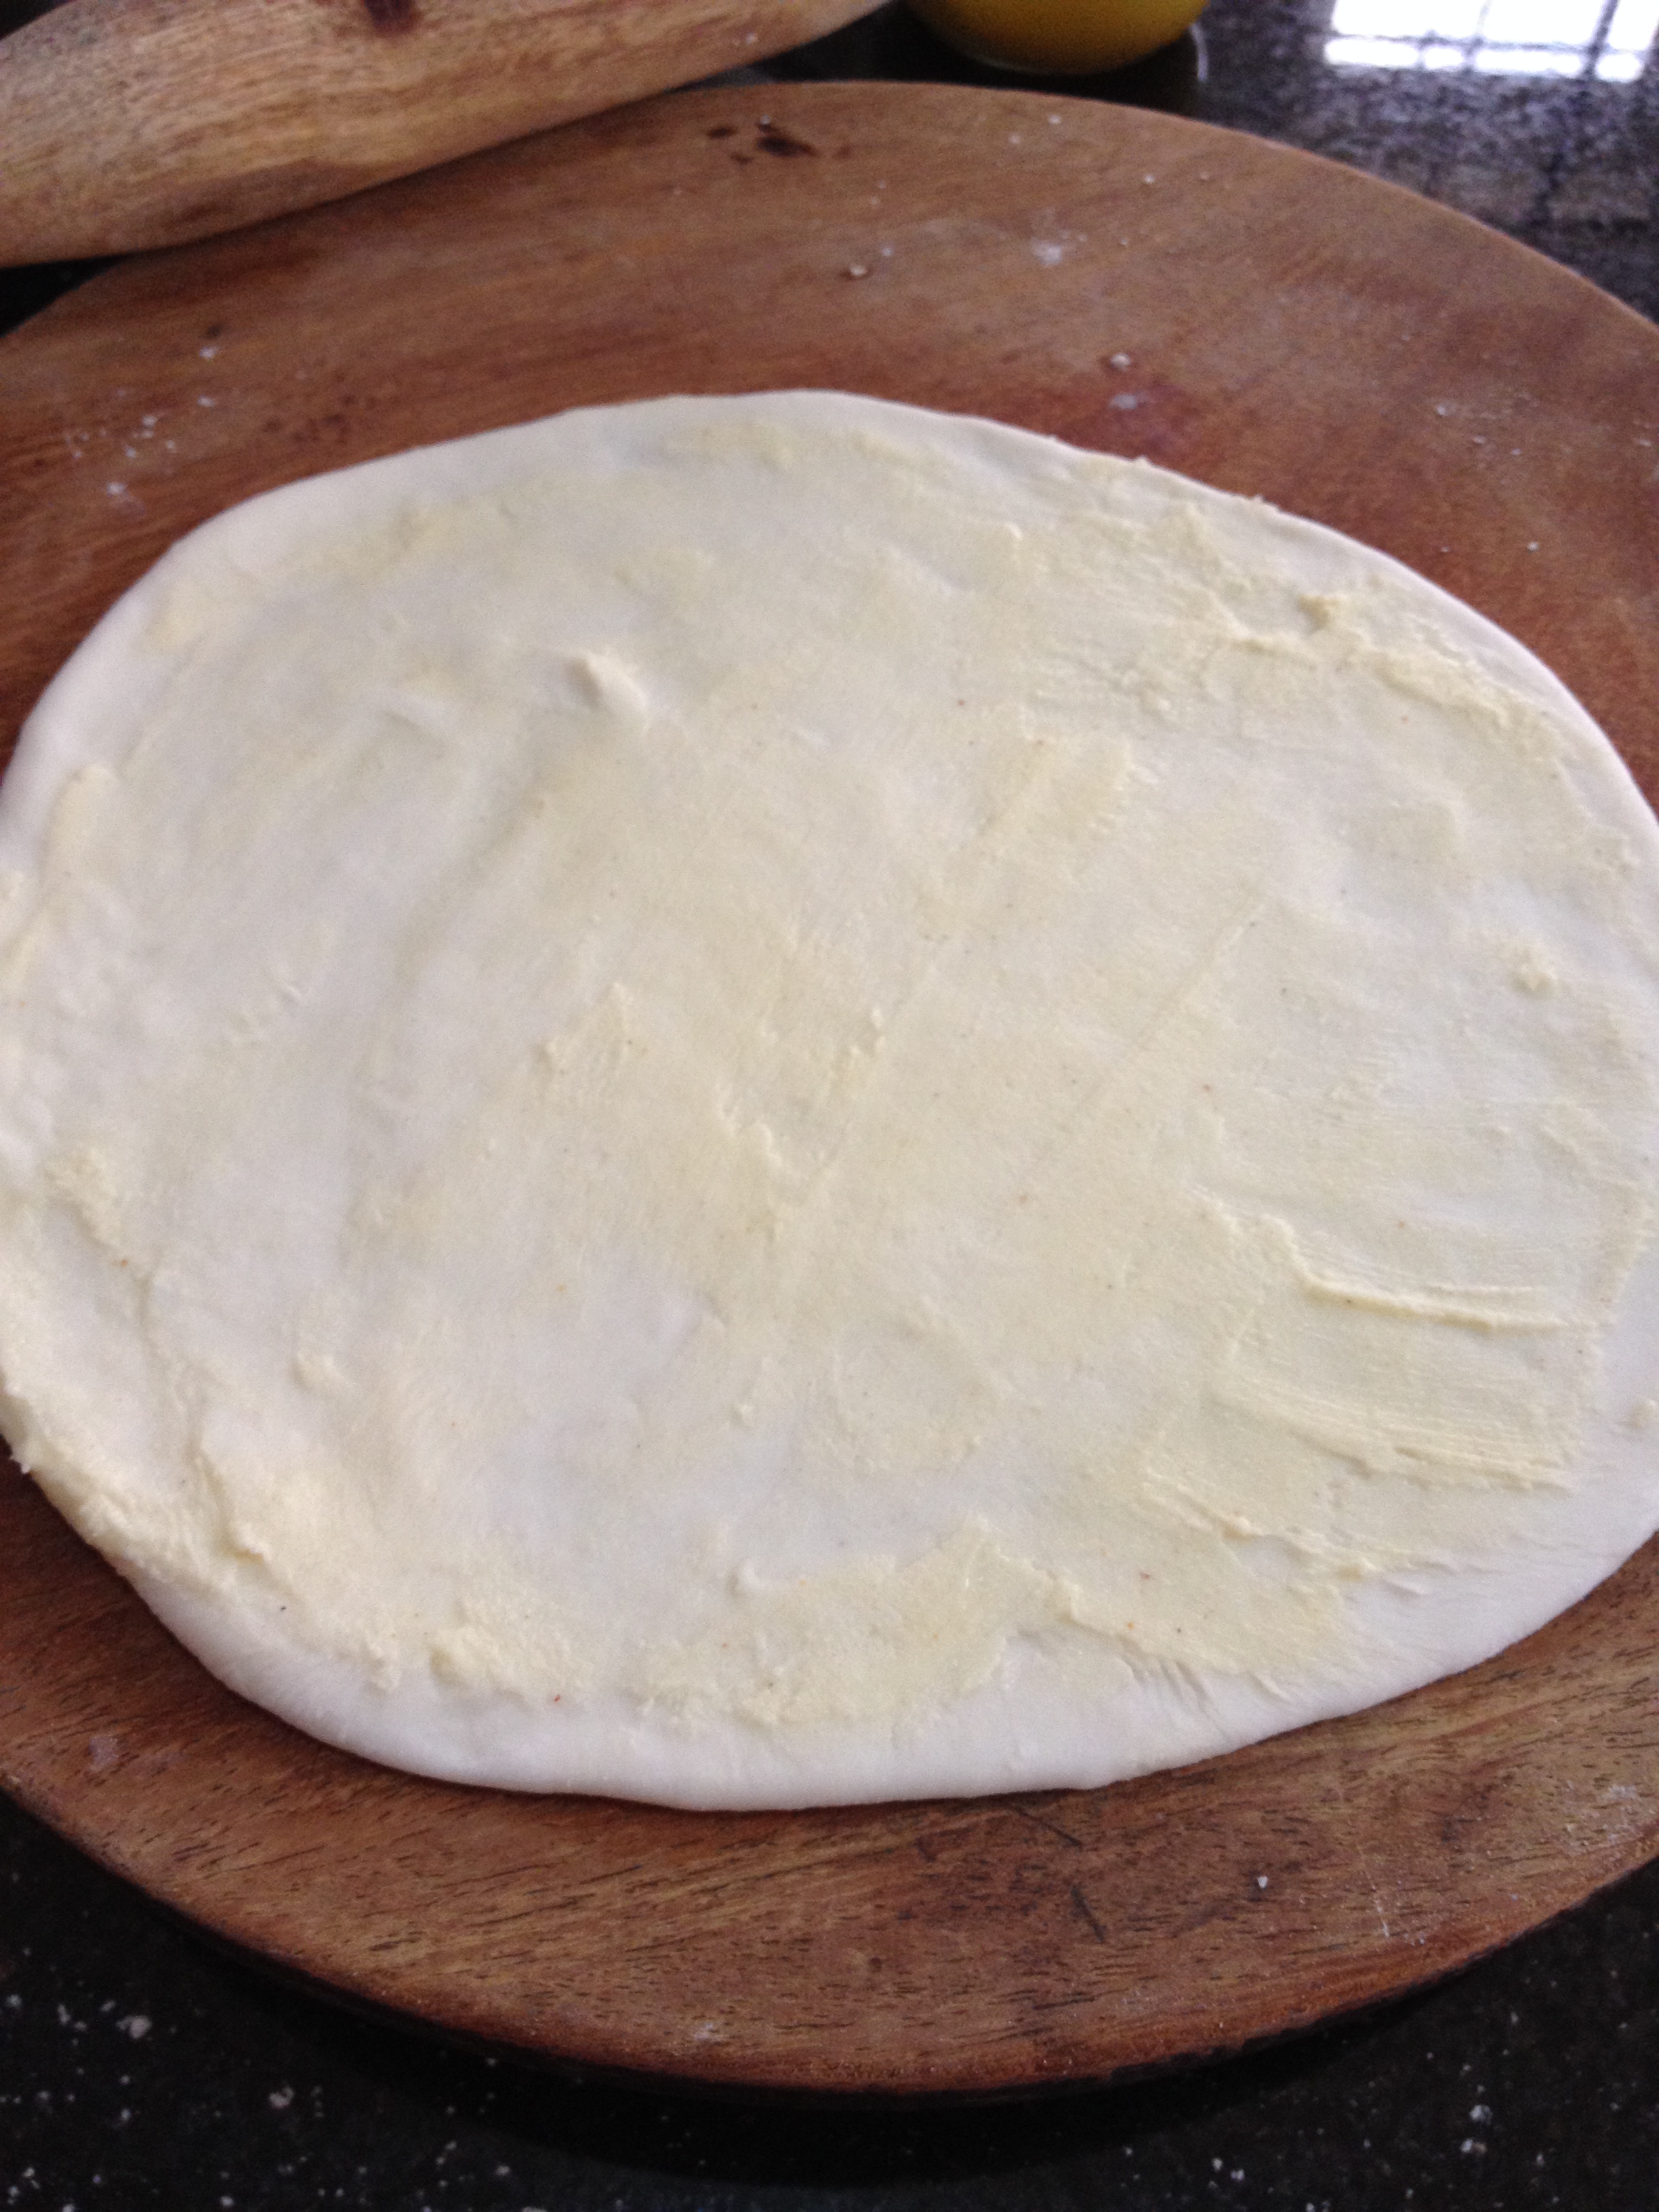
5. Take a portion of the dough and place inside the cylindrical container of the murukku maker and press into big circles,  directly inside hot oil
6. Fry both sides till golden brown


365
7. Remove in kitchen tissue to absorb excess oil

8. Break them into finger sized pieces
370


9. Keep them aside till we make the jaggery coating.


III. Making Jaggery Syrup and Coating the Fritters

  1. Let jaggery dissolve in water
  2. Filter the liquid to remove impurities
  3. Take a pan and pour the jaggery water
  4. Add cardamom powder and dry ginger powder
  5. Let the liquid come to a single string consistency or thick enough to roll the fritters through
  6. Keep the stove in sim position to judge the right syrup consistency

375

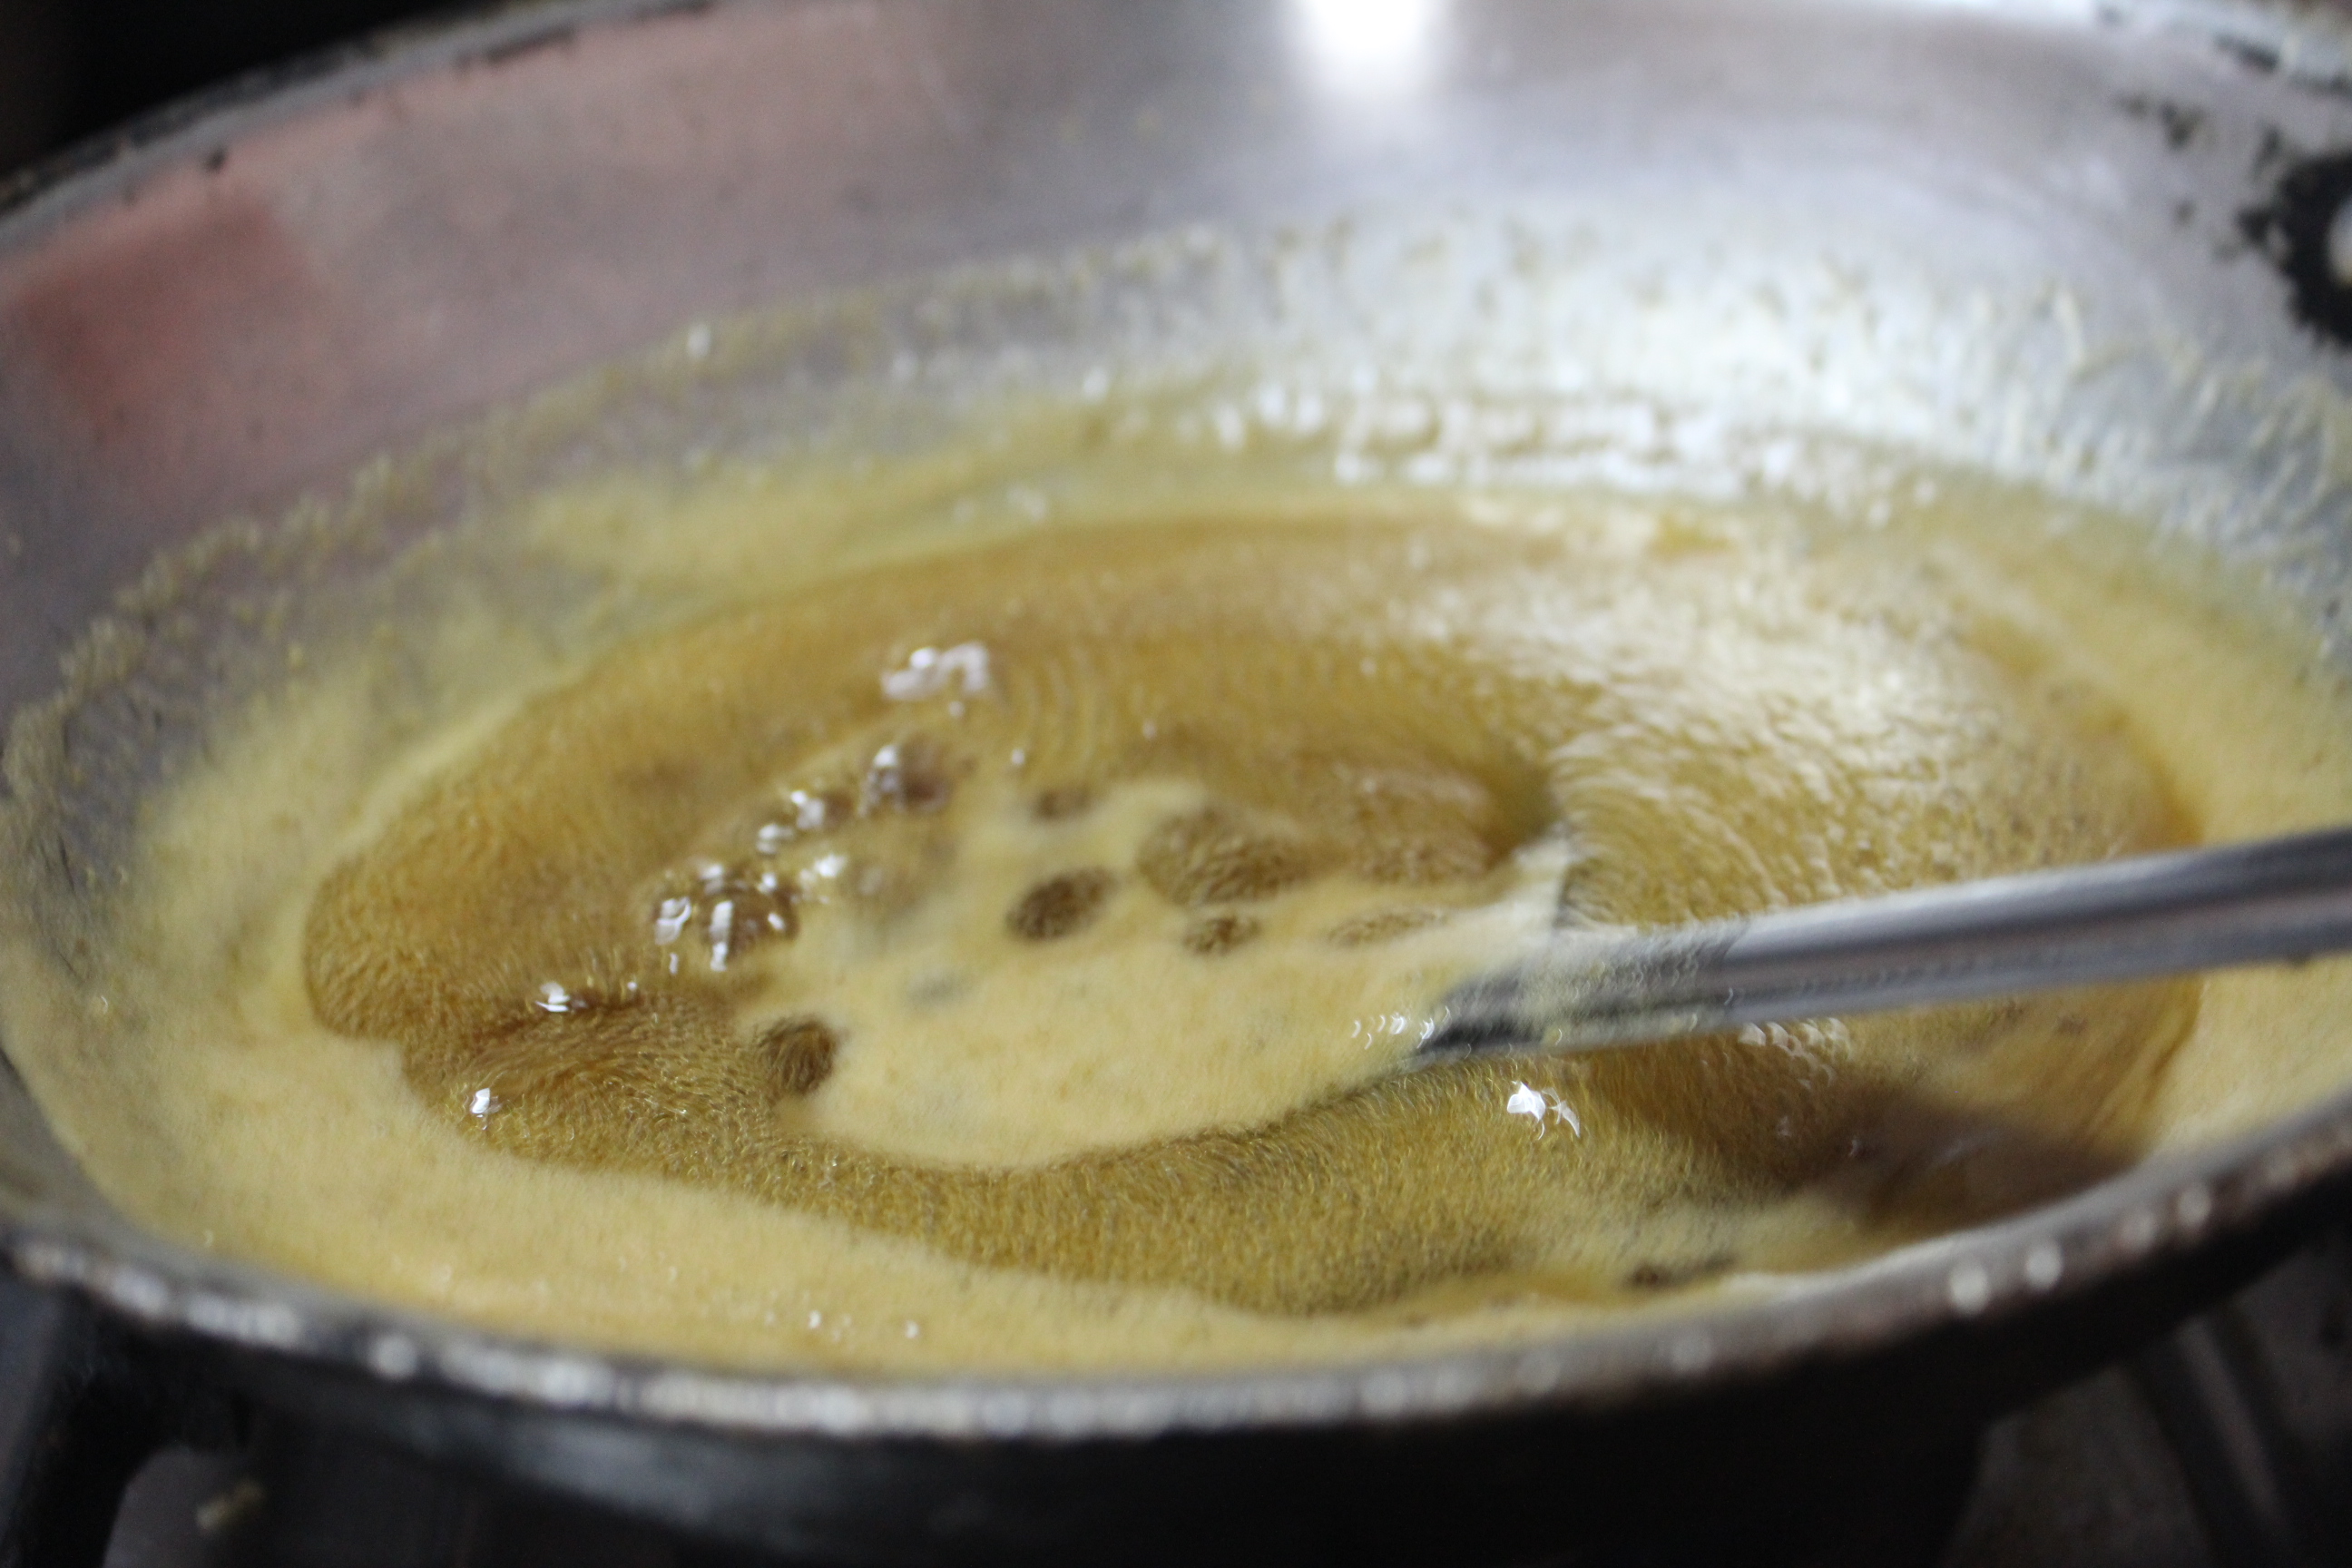
7. Once the liquid has become a syrup, drop all the fritters and gently mix well in the syrup

8. Let the stove be on and the thick hot syrup would coat the fritters well and reach the required crisp texture


381
9. When the syrup is thick and coated completely in the fritters, switch off stove

390

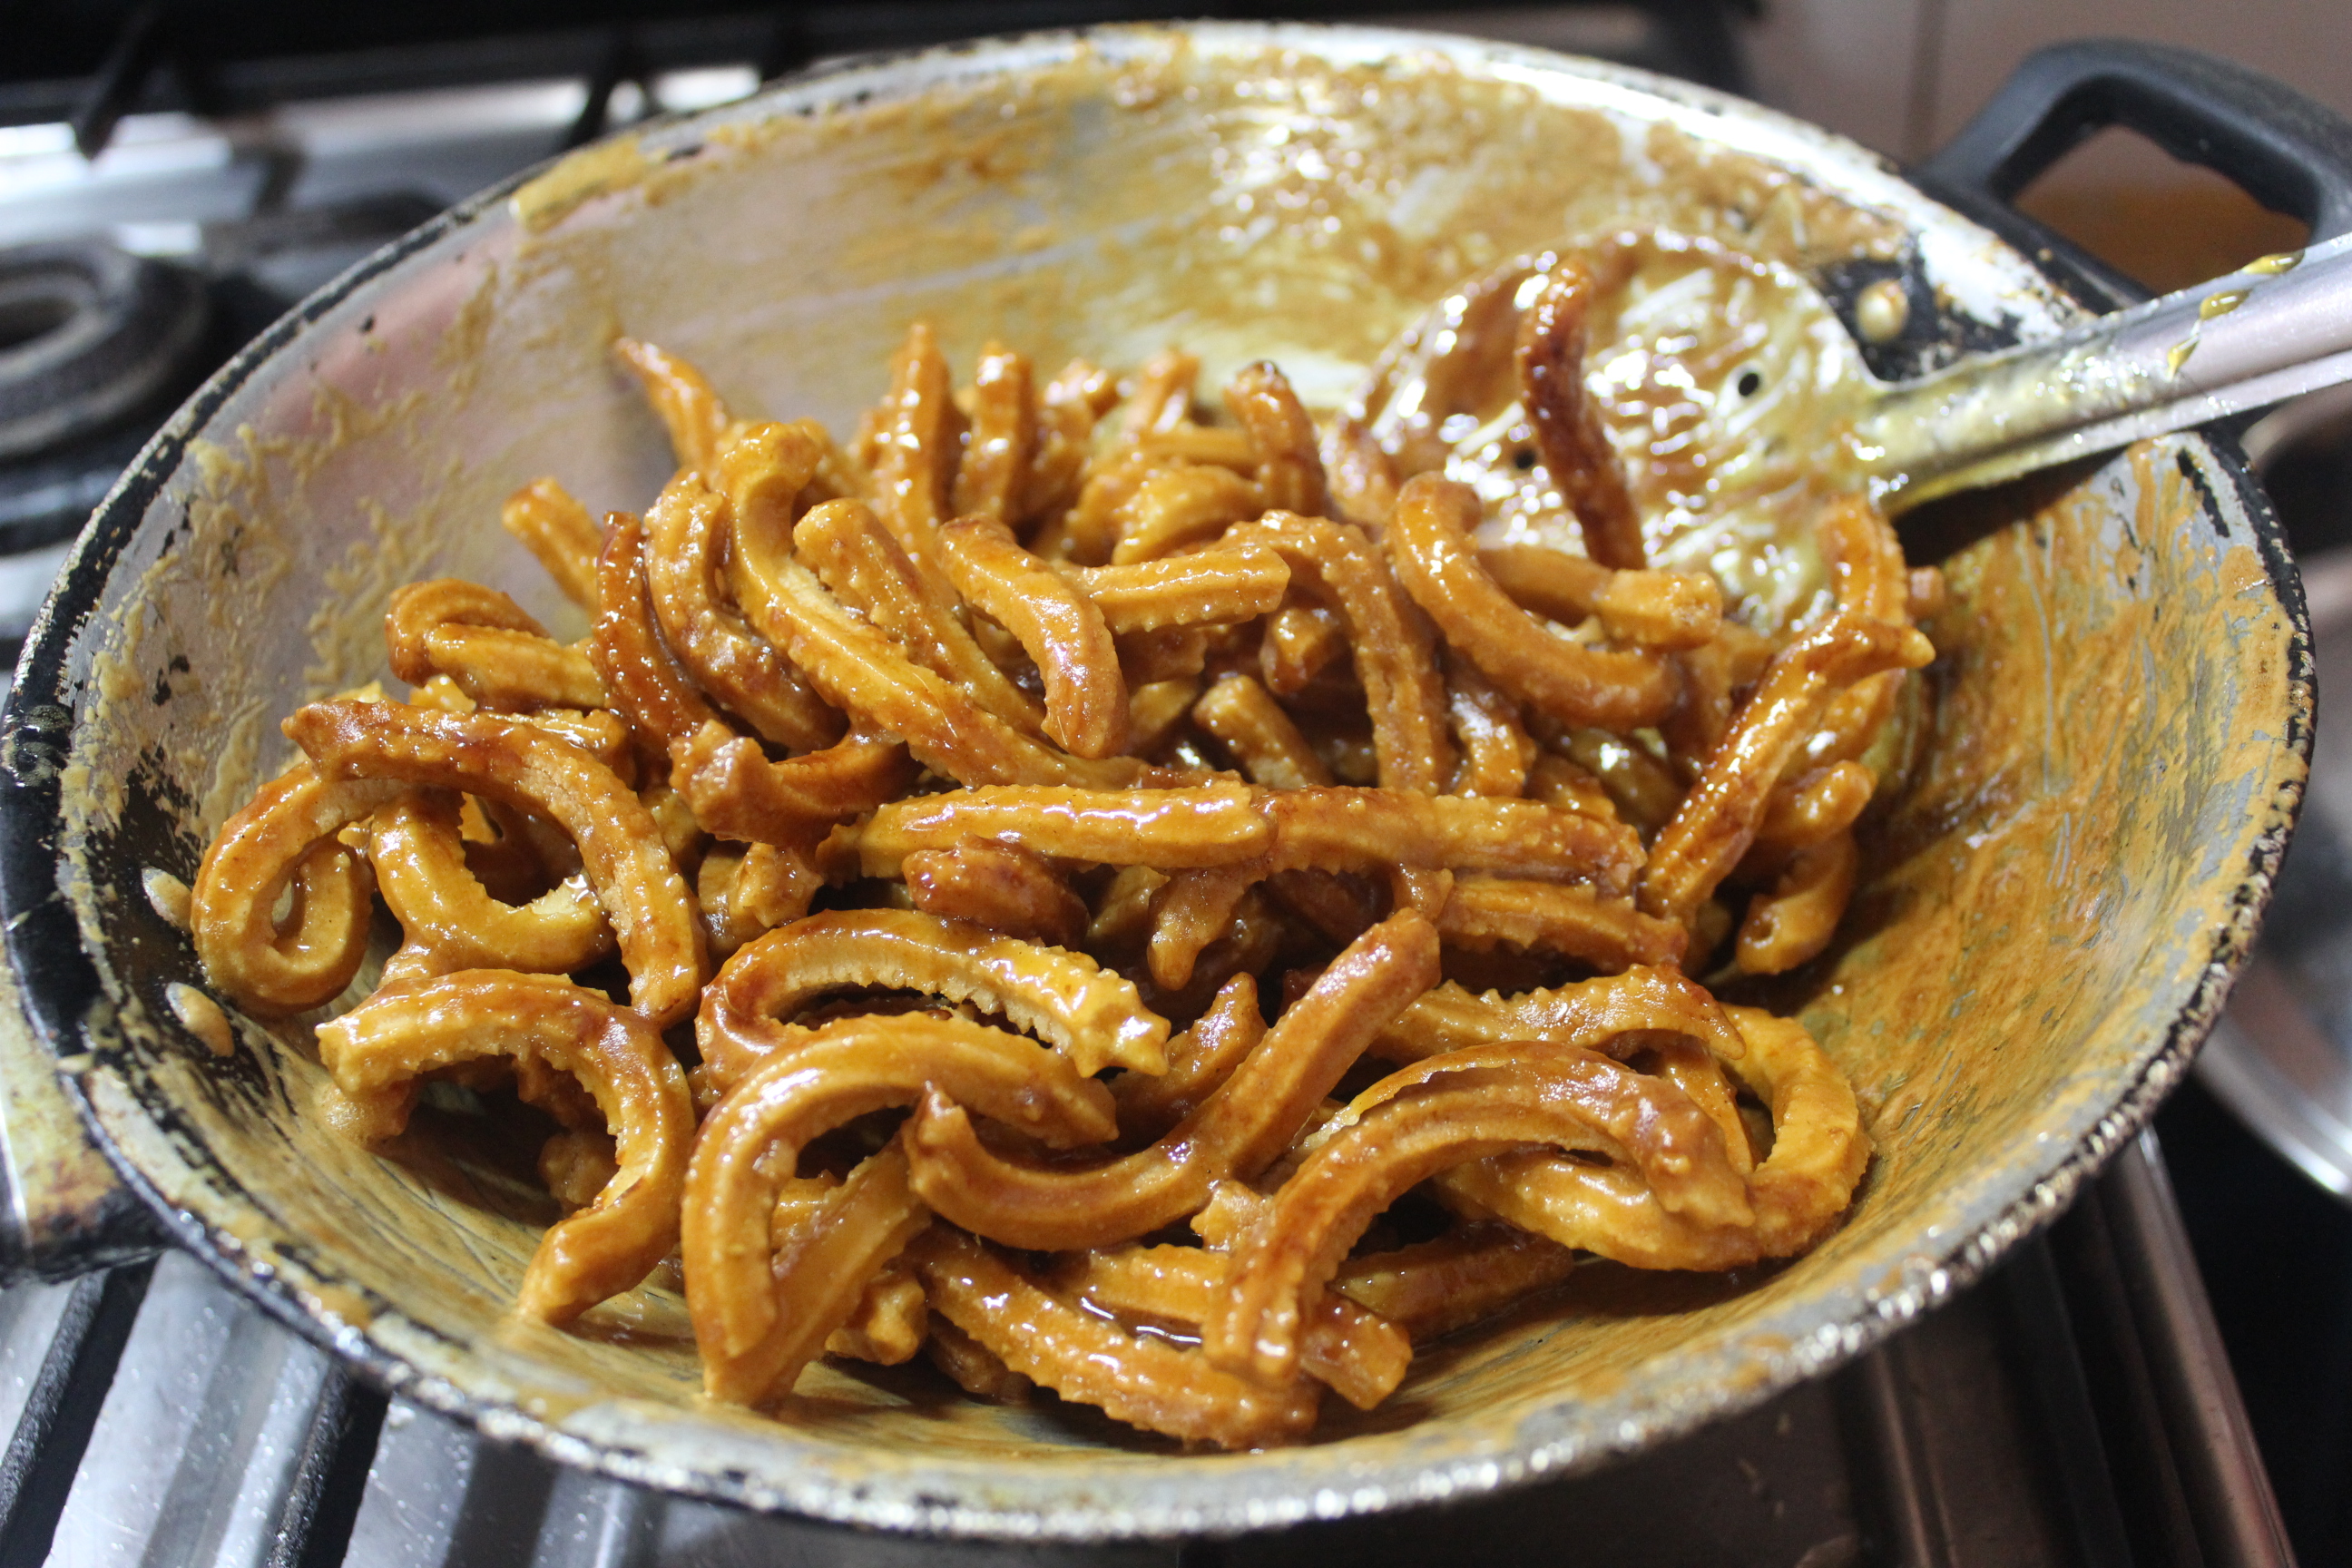
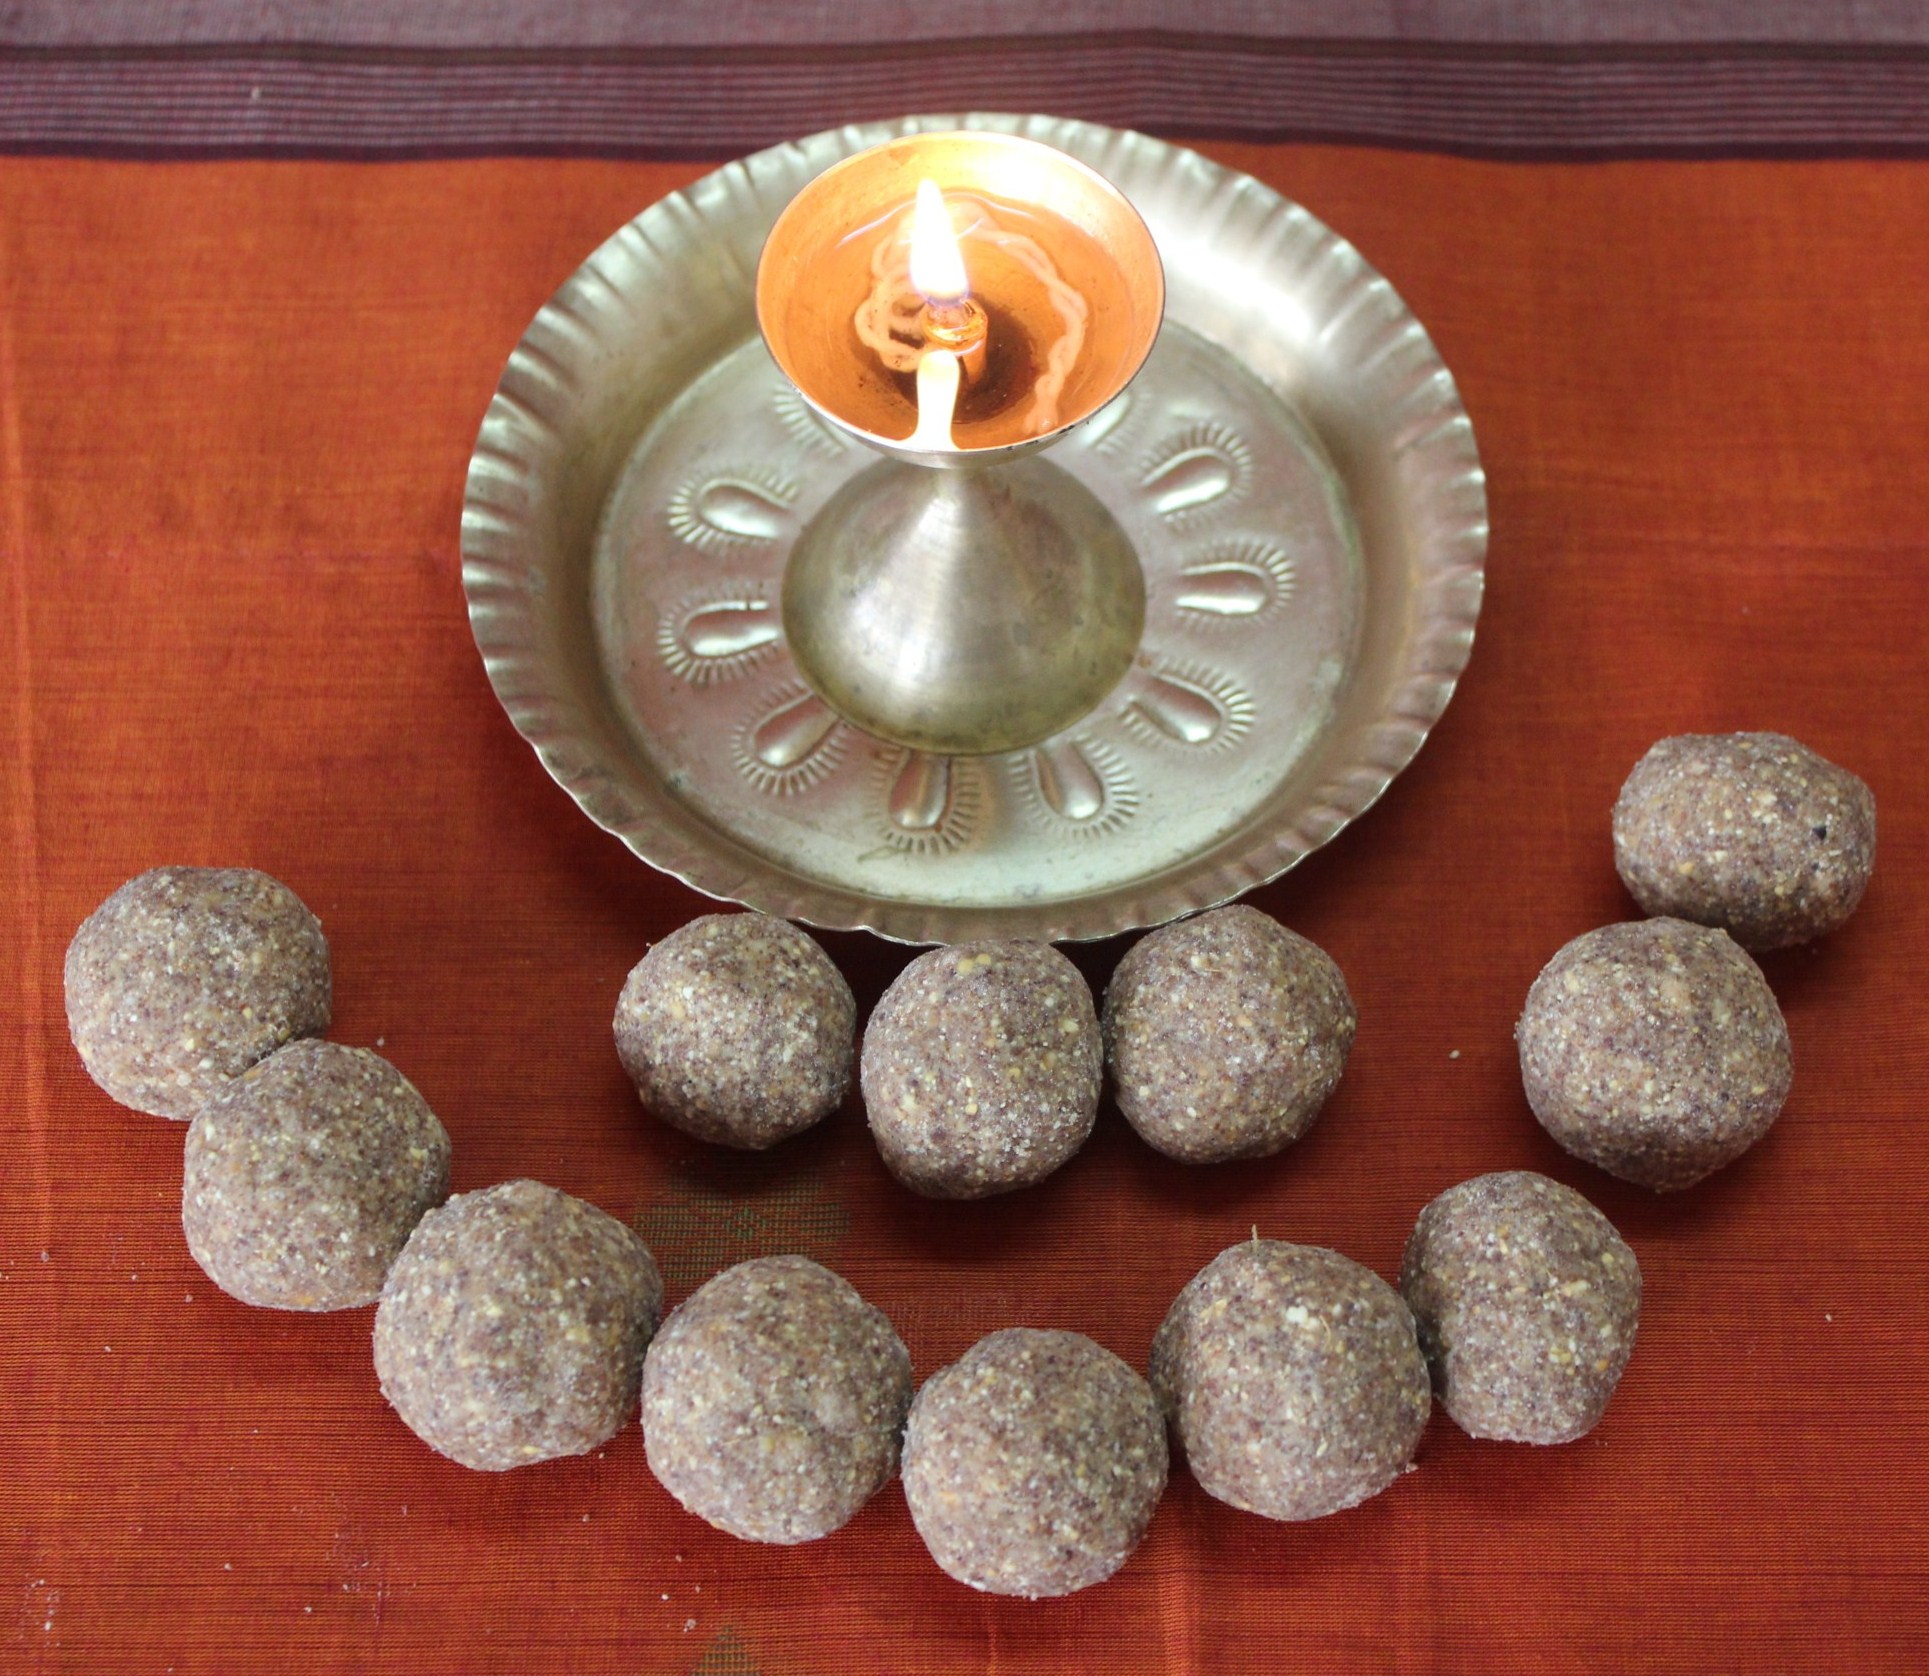
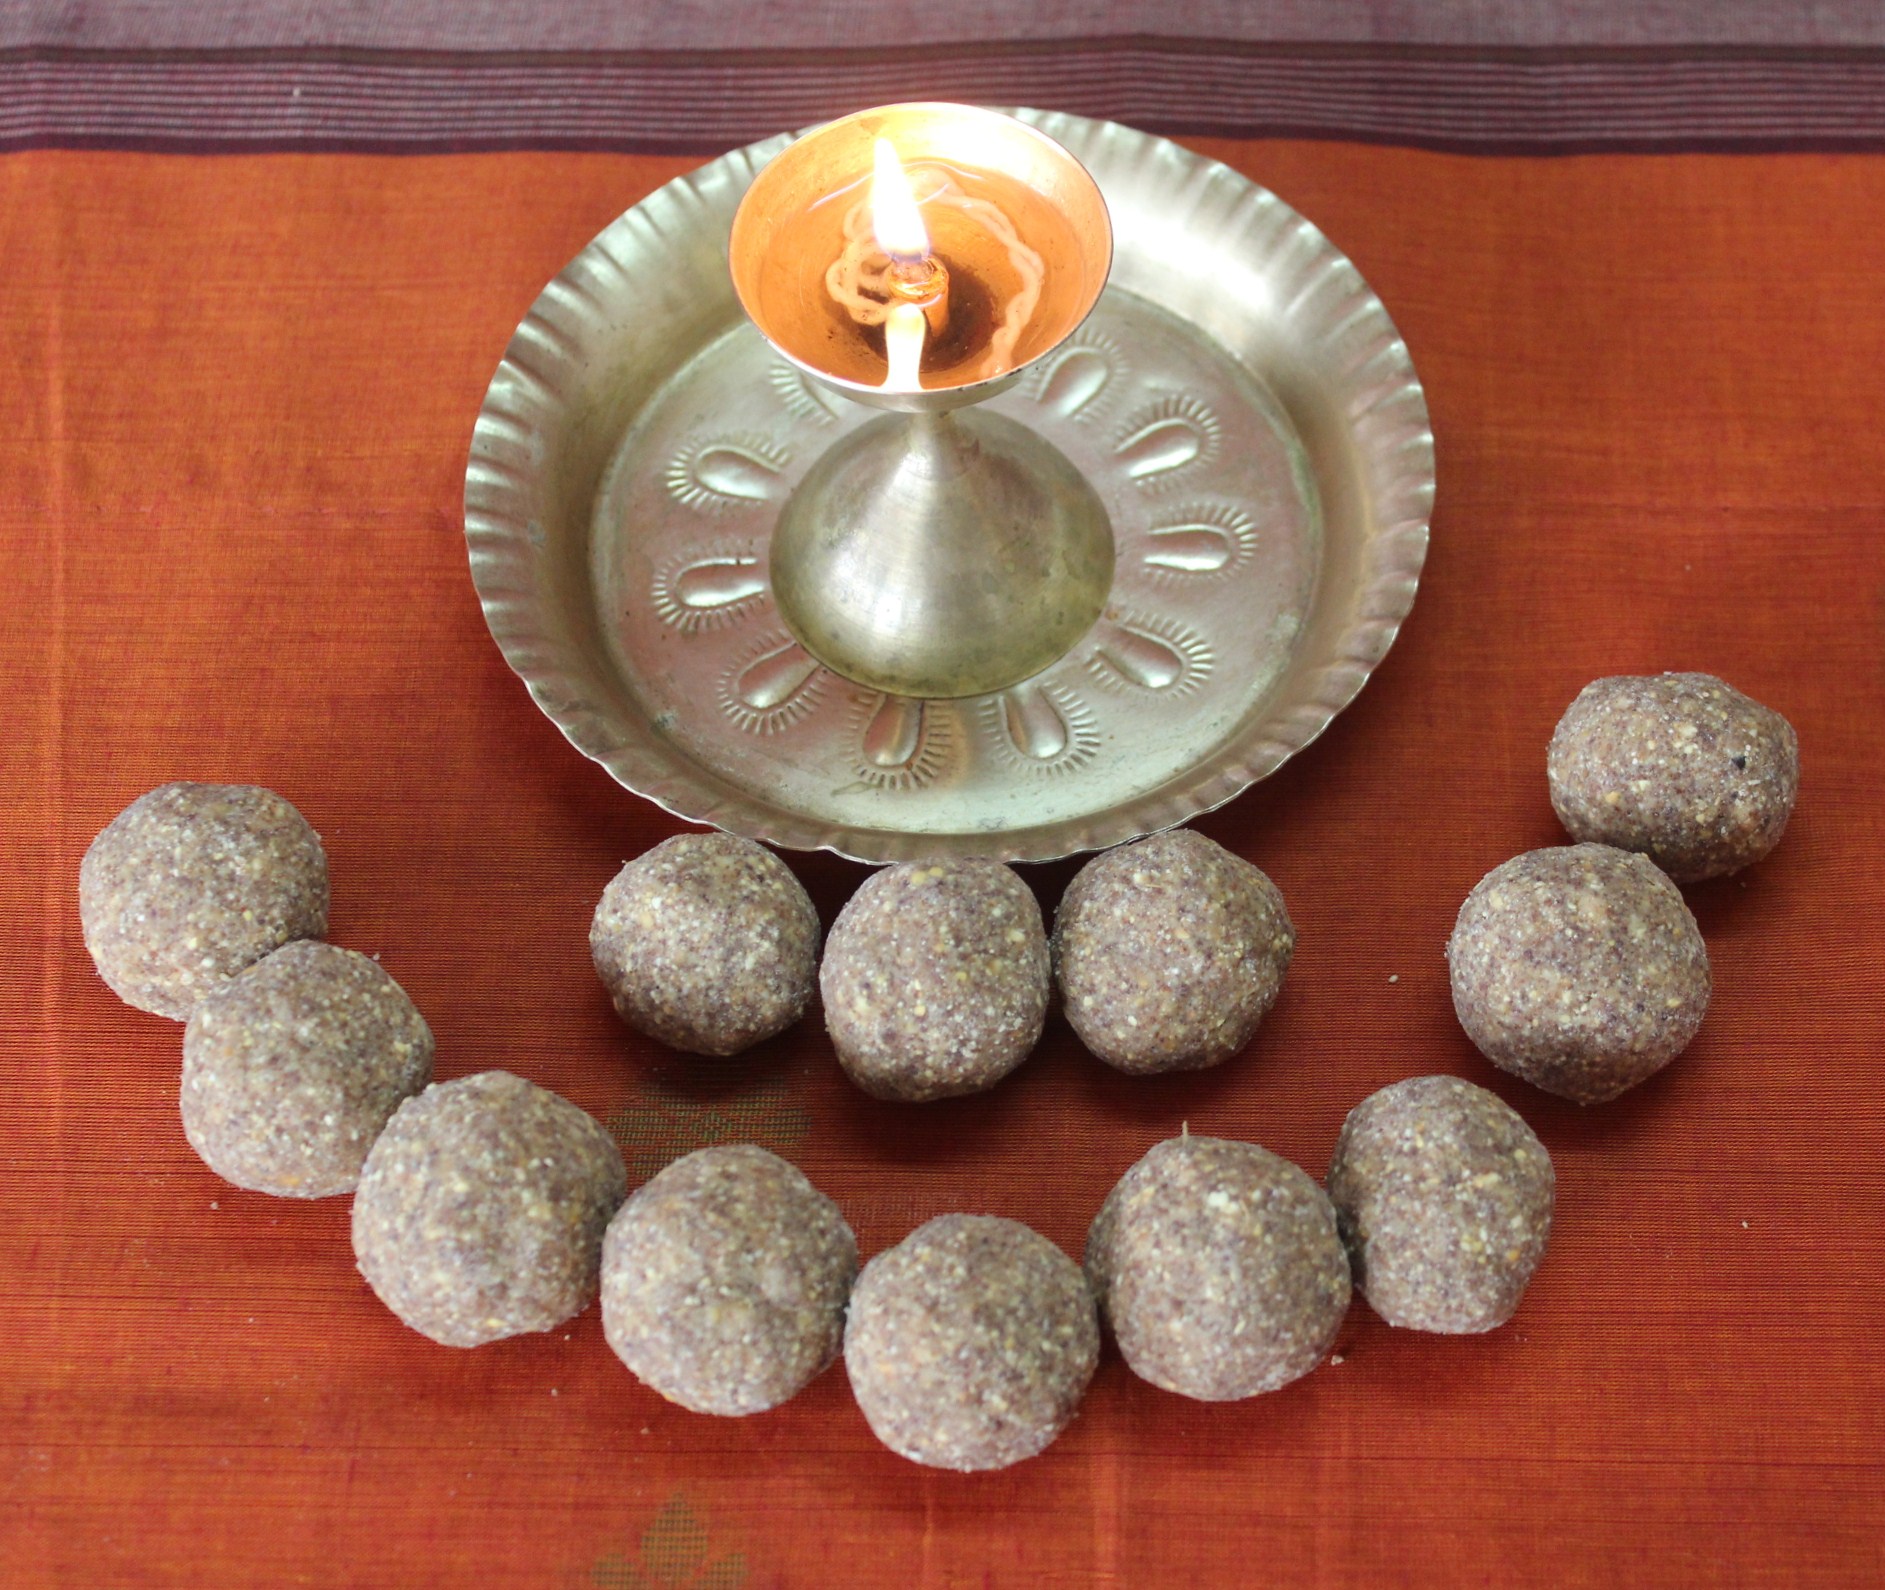
10. Jaggery coated glowing Manoharam is ready.


427


Advertisement

Pottukkadalai-Nilakkadalai Urundai/Roasted Channa-Groundnut Laddu

IMG_4377


Happy Diwali!

Any happy festival is made happier when it is made healthy too. With varied sweets and snacks to eat and greet, it is also important to include a few healthy sweets and snacks to reduce the damage already created by fatty intake of delicacies. After all the goodies have been stuffed and the digestive system has had over loaded duty to perform,  there is always the kashayam/poshion for stomach cleaning (dosaikal.com/deepavali kashayam), which is given as a damage control mechanism.

Yet, this is my contribution to a healthy sweet for the festival of lights, especially suitable for kids and due to the Clarified Butter/Ghee content- in limitations for adults too.

Pottukkadalai/Nilakkadalai Urundai/Roasted Channa-Groundnut Laddu (Sweet Ball)


IMG_4362

These Urundais/sweet balls are made in combination with roasted channa, peanuts and palm sugar all in powder form.  It is an easy to make sweet as well as high in nutritional value due to the protein rich chick pea and peanuts. White refined sugar has been avoided as they have only empty calories. Palm sugar which is rich in iron and other minerals is an added source of nutrition in the recipe. If powdered palm sugar is not available, cane jaggery syrup, palm jaggery syrup or unrefined cane sugar which is ‘Naattu Sarkkarai’ in Tamil can be used.

Pottukkadalai/Roasted Channa


dosaikal 12 061
Pottukkadalai is Roasted Channa, also called Chutney Dhal in the northern part of India. It gets this name as it is directly used to make chutneys/dips without the burden of frying/roasting the lentil at home. It is had as a simple teatime nibbler too in Tamilnadu. Combined with pieces of coconut and jaggery it can be a healthy munch suitable to curb hunger between meals.


  1. They are naturally fat-free, saturated fat-free, and sodium-free. Roasted chana helps lower your risk of heart disease and may reduce your risk of colon cancer.
  2. They help to keep blood sugar low as the carbohydrate present in them takes longer time to digest and hence it has a low GI which makes them a suitable snack for diabetics.
  3. Use them to add a protein boost to meals without introducing meat or unnecessary fat to the dish.
  4. Roasted chana contain 6 grams of dietary fiber, or 22 percent of the recommended daily requirement of 28 grams. Dietary fiber encourages regular bowel movements, prevents constipation and lessens the risk of heart disease.
  5. They are also a good source of calcium, potassium and magnesium.http://www.tarladalal.com/glossary-roasted-chana-1800i


Nilakkadalai/Peanuts


IMG_2774

Here are a few nutritional facts of groundnuts or peanuts-

  1. They are actually legumes but carry almost all the qualities of other popular edible kernels such as pistachio, almonds, etc.
  2. They compose sufficient levels of mono-unsaturated fatty acids (MUFA), especially oleic acid. MUFA helps lower LDL or “bad cholesterol” and increases HDL or “good cholesterol” level in the blood
  3. The kernels are an excellent source of vitamin E (a-tocopherol);
  4. The nuts are packed with many important B-complex groups of vitamins such as riboflavin, niacin, thiamin, pantothenic acid, vitamin B-6, and folates. 100 g of peanuts provide about 85% of RDI of niacin, which contribute to brain health and blood flow to brain.
  5. The nuts are rich source of minerals like copper, manganese, potassium, calcium, iron, magnesium, zinc, and selenium.
  6. Just a handful of peanuts per day provides enough recommended levels of phenolic anti-oxidants, minerals, vitamins, and protein.
    http://www.nutrition-and-you.com/peanuts.html


Pottukkadalai-Nilakkadalai Urundai/Roasted Channa-Peanut Laddu/Sweet Balls


IMG_4352


Ingredients (makes appr. 20-22 urundais)


IMG_2768


  • pottukkadalai/roasted channa – 1 1/2 cup
  • nilakkadalai/peanut – 1 1/2 cup
  • palm sugar (powder) – 1 1/2 cup
  • elakkai/cardamom powder – 1 tsp
  • chukku podi/dry ginger powder – 1 tsp
  • nei/clarified butter – appr. 1/4 cup


Method of Preparation

  1. Dry roast- roasted channa and powder it in a blender
  2. Dry roast peanuts, remove skin and powder it in a blender
  3. Take a wide bowl and place all the dry powders – channa powder, peanut powder, palm sugar powder, cardamom powder and dry ginger powder and mix well
  4. Heat clarified butter in a small pan and pour on top of the powder mix.
  5. Make lemon sized balls and they are ready to enjoy.


IMG_4379

Note:

  1. Be mindful of the roasted channa. Normal raw bengal gram is not the one to be used here. Go for the roasted gram available in south-indian groceries.
  2. Palm sugar can be substituted with ‘Naatu Sarkkarai’ which is unrefined cane sugar, easily available in local stores in tamilnadu.
  3. Another substitute can be jaggery syrup or palm jaggery syrup. In that case, usage of clarified butter can be reduced as the syrups act as binding agents themselves. A little touch of ghee should be enough.


Thengai Burfi/Coconut Burfi

With Diwali around the corner, it is certainly time for some sweets and snacks suitable for the festive occasion.
IMG_2665


Thengai Burfi is one my childhood favorites. Coconut based burfi or urundai/laddu can be made in different styles – with milk and sugar, with sugary condensed milk, with milk powder and sugar, with sugar syrup without milk… thengai burfi (square shaped sweet) or thengai urundai (coconut balls) is something the tongue and teeth wouldn’t forget for long – Tongue for the taste of it and Teeth for the extras that always cling on to it. The Chewy, Juicy, Sugary, Coconut Milky flavor of the sweet takes me to a special day called MISSION SUNDAY.
My early years of schooling in an Anglo Indian School introduced me to a bit of Christianity and to the Sisters of the Missionaries. MISSION SUNDAY used to be a fun filled day of events, something equivalent to Carnivals in European Schools. A day of food, games and fun activities – all done by combined efforts of Teachers, Parents and Children. Nothing to do with religion, it was a Sunday devoted to opening stalls, selling your home products- especially food cooked by mothers/grandmothers, earn money and donate it to school. I remember Amma used to make Thengai Burfi in different colors – Pink,, Red and Yellow and Amma and me used to be a team selling thengai burfi. As Stallmates, we used to earn a bit… that was a very happy feeling of being a junior entrepreneur at an early age. So that’s the juicy story of Thengai Burfi.
My cousin ‘S’ would remember more as we went to the same school and what more we did in our stall together for Mission Sunday is something to discuss about. My memories are somehow stuck up with Coconut Burfi.
This version of Thengai Burfi is with the basic ingredients – coconut and sugar. There is no milk and no food color in the recipe. As I had saffron, I chose to bring in the exotic flavor of saffron and its beautiful mild yellow color to the burfi. Also added is cardamom to complete the combined flavor of the sweet.
Thengai Burfi/Coconut Burfi


IMG_2673
Ingredients (makes 20-24 pieces)

  • thuruviya thengai/grated coconut – 2 cups
  • sarkkarai/sugar – 1 1/2 cups
  • water – enough to soak sugar – appr. 1/2 cup
  • elakkai/cardamom powder – 1 tsp
  • kungumapoo/saffron – a few strings
  • nei/clarified butter – to grease the tray


grated coconut and cardamom

IMG_2651IMG_2654


saffron and sugar-water

IMG_8429IMG_2656
Method of Preparation

  1. Grate coconut, without the brown layer close to the shell. We need the white meat alone
  2. Grease a tray with enough nei/clarified butter
  3. Place pan (preferably non-stick) on stove and heat sugar and water with saffron strands and cardamom powder
  4. When water comes to a boil add grated coconut and stir well
  5. Keep stirring till the mixture starts to thicken and foams up in the pan. It would not take much time
  6. The sweet is almost ready and once it starts to leave the pan, spread in the already greased tray/bowl
  7. When it is a little warm, mark the spread sweet into desired shapes and remove only when completely cool
  8. Juicy Coconut Burfi is ready.


Notes:

  1. Grating only the white meat of coconut is important for the beautiful white colour. A substitute option to easy traditional grating is to take coconut completely out of the shell, remove the brown outer layer and then cut into small pieces. Then, grate in a mixer-grinder. (see picture above)
  2. Saffron is optional. The aroma and subtle yellow color are the true benefits of saffron. Those who prefer the original white color of coconut shall avoid saffron.
  3. Sugar can be altered as per taste preference. More the sugar, finer the structure of pieces. I have stuck to medium sugar.

Rectifying problems in consistency:

  •  if you find the consistency of burfi too thin and hence not ready to form stiff pieces, keep the mixture back in pan and stir for some more time
  •  if the mixture seems too thick to spread or turns into granules, put it back in the pan, add little water and stir till it softens and remove at the right consistency

IMG_2665

Pathirpeni/Sugary Snow White Crisps


IMG_3397

Pathirpeni is a very special sweet to me and to my brother! It was and is still a speciality signature sweet of Aachi  my paternal grandmother. I do not remember having pathirpeni in any other house in the big clan that we belong to. The sole supplier to all near and dear ones was Aachi – helped meticulously by Amma – my mother.

I had my miniature ‘Puri kattai’ or the spherical puri maker in wood to specially make pathirpeni and also puris. This was handed over to my daughter who used to help me make rotis, but feels she is a grown up and uses my bigger puri kattai. She painted my dear little puri kattai though the newer roller is intact.


IMG_3744

Pathirpeni is for those with that extra sweet tooth – which might be god sent genetically or amma fed affectionately… We siblings have both – hence not one but two extras to successfully acquire that ‘happier the healthier’ plump look!

These are deep-fried crisps dipped/rubbed immediately in powdered sugar to get the snowy white finish. It is a simple sweet with minimal ingredients but one should be ready for some interesting variety of work. The sugar that melts in the mouth first is followed by the crispy crunch of the deep-fried discs.

These also involve an efficient team work. Since the count was always in hundreds, amma or aachi would knead the dough; they would take turns in pressing the spheres and frying in oil – the last quintessential part of rubbing the powdered sugar would be ours – mine and my brother… I think I did the rubbing and he contributed more into something which can also be decently termed as tasting!

So I did the rolling and frying and my 6-year-old did the sugar-coating! She wanted to make her own pathirpeni and then I was a proud mother!!


she started off like this….

IMG_3725


and then graduated with flying colours!! – special seven that the little hands made!

IMG_3722

These can be stored in air tight containers after cooled for a week – that’s not a concern as its life ends too quickly! Yet the tastiest crisps are those which directly come out of the oil and are delicately transferred for one’s taste buds to relish, sprinkled/rubbed very quickly with powdered sugar.

One cup of flour (about 150 gms), would yield 20-25 crisps. After a no maida/all-purpose flour and no white sugar life for many years now, this one has been an exception. Might be I try next time with whole wheat flour and brown sugar – but have to sacrifice on the colour as wheat flour would result in brown crisps and then we might call it brownie crisps!

Now to the recipe –
Pathirpeni/Sugary Snow White Crisps


IMG_3385

Ingredients (makes 30-35)


IMG_3426


  • maida maavu/all-purpose flour – 1 1/4 cup (200 gms)
  • cheeni/sugar – 1 1/4 cup (200 gms)
  • thanneer/water – as needed
  • uppu/salt – a pinch
  • nei/clarified butter – 1 tsp
  • arisi maavu/rice powder – 1 tsp
  • yennai/oil – for deep frying

Method of Preparation
1. Sieve all-purpose flour, add a pinch of salt and mix enough water to make a tight dough


IMG_3670

2. Finely powder the sugar and keep in a wide bowl or plate; the deep fried crisps would directly land inside this bowl to have a sugar bath
3. Heat oil in a pan, keep in sim position
4. In a small bowl, mix clarified butter and rice powder
IMG_3673
5. Make three even balls of the dough


IMG_3681

6. Spread into flat breads – chappatis/indian roti size – not too thin, not too thick


IMG_3683

7. Do not place rotis one on top of the other before spreading the mixture as they would stick to each other and one would have to make the three flat breads again. Make one and place on a plate; spread the butter rice powder mixture, make the second one and place on top of the first; spread the mixture and make the third; now place the third on top of the second. It had become messy as I had placed before spreading – I had to do it all over again. So be cautious on this


IMG_3684

8. Roll this triple layered roti . Now it is time to pull the rolled roti as long as possible without spoiling or breaking the texture


IMG_3685


pulled long

IMG_3687

9. Then cut into very small bits, size enough to make small circular crisps

these are little big, i had to make them smaller

IMG_3694

10. Roll into thin crisps – while rolling, see the side which was cut by knife – make thin puris/crisps pressing the knife cut edge into a circle. This helps the butter mixture to stay intact. Otherwise it would ooze out from the puris.


IMG_3688

11. When the oil is ready, roll one by one and fry till crisp. We do not want a fluffy soft puri – make really thin and flat ones that come out crisp
12. Immediately drop it inside the sugar bed and apply well; the powdered sugar must have coated evenly


IMG_3692

13. Tap the crisps slightly to reduce the excess sugar
14. Taste one to enjoy the true taste of pathirpeni – this is the most important step in my opinion; having identified the flaws (making thinner or thicker; right shape; less sugar coating; more sugar coating and so on), proceed with the next
15. Make all the crisps and let them cool
16. Store in an air tight container and enjoy.
17. Do not hesitate to help yourself with more – you won’t get those hot crisps after they are cooled – cannot be microwaved or reheated by any means!
Note:

  1. This is a simple one – yet, some caution on important steps would make it easier
  2. Try one and feel the crispness of it and accordingly try to make corrections on the thinness and crispness of the pathirpeni
  3. Each time, tap a little to take away the sugar if one doesn’t prefer so much sugar
  4. Adding cardamom powder to the powdered sugar might add some aroma and flavor though it is not added normally.


IMG_3367


The Tricky Athirasam!

***Updated on 03rd November 2016
img_7799

Deepavali as we know is marked by the sweets and savouries made for the occasion. The day of Deepavali starts with the early morning oil bath, new dresses, poojai with the – ever tricky athirasams. Athirasams are fried delicacies made of rice flour and jaggery. The texture of athirasams depend on the jaggery syrup and quality of rice flour. Generally, raw rice is soaked and dried at home and powdered, then used with jaggery syrup to make this exotic sweet. But rice flour from the store (fine quality) can also be substituted. The result might not be the best. I have used rice flour from shop – the shop did not have raw rice but had rice flour – hence I opted to settle with that.

Athirasam as the name suggests means very tasty or might be ‘x’ factor in taste! It certainly has it. All other sweets and savouries are prepared the day before Deepavali and Athirasams are a morning poojai affair. At my parent’s home on the Deepavali morning, as children we would be busy trying the new outfit/outfits and enjoying sparklers and crackers. So, I did not really have the experience in helping or making athirasams  – it was restricted to tasting alone.

After marriage, specially at my husband’s granny’s (paatti) home, I could be part of the athirasam making team of youngsters! The chief cook is always the octogenarian or nonagenarian granny – she doesn’t know her age – but calculating through her first son’s age, she could be in her nineties, but by her active cooking abilities – this is difficult to admit.  She makes flat athirasams on banana leaf, and guides her helpful daughter-in-laws to fry them to perfection, and other grand-children would be pressing excess oil out of the hot athirasams… This was thoroughly a watcher’s delight! First time, I joined the children’s gang to press out oil (atleast a hundred athirasams would be fried); Next deepavali, I graduated or got a double promotion sitting near paatti (grandma) to make flat athirasams on banana leaf. She wouldn’t allow me in front of the oil stove to fry!

img_7799

Making athirasam was so easy this way…but to make it alone for the first time is quite a difficult one. Making the dough for athirasam is a very delicate work which has to be done with caution. If the consistency of the jaggery syrup is not right, the athirasams  might break inside oil or turn out strong enough to break your enemys’ teeth! Being a high level optimist, I felt I was quite lucky this time – (oh, I don’t mean breaking anyone’s teeth but talking about athirasams) though not perfect as amma’s or picture perfect as paati’s athirasams – they tasted good enough though didn’t look the most perfect!

They were not hard but surely lacked the oily glow, one of the special features of athirasams. I didn’t know whether I should be happy about the less oil texture or worry about the missing originality… Then, I decided I would worry about the latter. The reason behind the not-so-good outcome might be the quality of rice flour or the more likely culprit – consistency of jaggery. I am going to try and rectify these known mistakes. Suggestions regarding this are always welcome. But since this is the proven right recipe by amma and paatti for making athirasams…might be you get it better than mine! Next time, I am going to try with raw rice from scratch…ofcourse when it is available in the Indian grocery shop  (better athirasams in the near future).

***Updated on 03rd November 2016
***The next time of good Athirasams arrived recently, from Athai/Aunt, who gave me a perfectly done dough to be stored for months. This has been a loving way of making Athirasam available all the time,  when you are out of your home town. The prepared dough has been stored in the refrigerator. I follow these simple steps for the true joy of Athirasam.

a. I take the required dough out

b. place it in a warm place to bring it to normal temperature

c. Mix very little warm milk to make a smoother dough

d. Fry in hot oil

e. Squeeze the oil out

f. Serve and enjoy tasting every bit of it.

I have certainly graduated with my paagu – syrup in making perfect groundnut or sesame or dry fruit brittles. Athirasam shouldn’t be very far off. But, when I had the opportunity of relishing Athirasam through the caring hands of Athai, didn’t miss the chance.

Nanri Athai.***

Athirasam

img_7783

Ingredients (makes approximately 10 athirasams)

  • arisi maavu/rice flour – 1 cup
  • thuruviya vellam/grated jaggery – 1 cup
  • Elakkai podi/cardamom powder – 1 tsp
  • chukku podi/dry ginger powder – 1/2 tsp
  • yennai/oil – for frying

Method of Preparation

  1. Heat jaggery with 1/4 cup water in a vessel to dissolve
  2. Filter when jaggery is dissolved and make a syrup
  3. The syrup should be single string consistency – When the jaggery is boiling well in the vessel – keep a bowl of water and add a few drops of the syrup. The drop should settle in water and one should be able to make a soft ball out of it – it should not be too sticky. This is the right consistency of syrup.
  4. Turn off the stove.

Making dough

  1. Add rice flour to jaggery syrup and mix with a ladle. There should be no lumps
  2. Do not wait for the dough to become stiff. One can stop adding rice flour if the dough becomes pasty
  3. Jaggery stiffens the dough after a while and hence the dough should be a little sticky
  4. Keep the dough closed overnight.

 Frying Athirasams

  1. Next morning, heat oil in an iruppu chatti/kadai
  2. Apply little oil on an aluminium foil, take a small ball and press it even into flat discs with greased fingers

  1. Deep fry one by one till golden brown
  2. Depending upon the colour of jaggery, athirasams can also be dark brown – mine was done from the darker variety of jaggery
  3. Soon after athirasam is removed from oil, place it on a dabara/kattori and press it with another dabara/kattori to squeeze out excess oil. This helps  in flattening the athirasams

Store in containers. Athirasams become softer after a while.

img_7800

Tip:

  1. If the dough thickens or is stiff after 12 hours – add 1 or 2 tsp of curds/yoghurt and knead well to bring it a soft dough consistency.
  2. Some might also add milk instead of curds.
  3. If one finds the sweetness of athirasams less or more, texture of athirasams soft or hard, can be altered in the next attempt! There is always another chance!!

I wish everyone a very HAPPY DEEPAVALI!

Sweet and Special Somasi!


Somasi is certainly a special traditional sweet – Why special? Because it is also international in the making process. These may very easily be mistaken for puff pastries – deep-fried but just a little different in shape. Whenever I try baking ‘dutch apple flappen’ with pastry sheets – I am reminded of somasis. The filling, (of course with different ingredients) – which goes into all-purpose flour rotis instead of the pastry sheet, sealed – then deep-fried for somasis and baked for apple flappen!

Somasi is usually cut with a special somasi cutter. At present, I do not possess one… It is a spoon with a wheel like cutter at the other end – somewhat like a pizza cutter with a spoon at the handle position –  (another proof of its international appeal!) I used a knife to cut the extra dough and my daughter helped in making the edges intact with a fork. By the time I made nearly 20 somasis, I felt quite tired.. Might be because this was the first time I made it all by myself! I know the next time it is going to be easier.. After completion, it seemed to resemble another all time favourite ‘f’rench pastry – the croissant’ (especially in the photo down below)!

I once again remembered and missed the joy of making sweets and savouries together with two generation of experienced hands as a kid. One to roll the dough and keep the filling, we the kids to cut it to proper shape and the other elder member to deep fry in oil – with filter coffee by our sides to keep the energy intact… But thambi (brother) would only need those somasis or already made murkkus to keep up his energy!

Somasis

Ingredients (makes approximately 15-18 somasis)

  • freshly grated coconut/desiccated coconut – 1/2 cup
  • ghee – 2 tsp to roast coconut
  • pottukadalai/roasted split chick peas – 1/2 cup
  • white sesame seeds – 3 tsp
  •  sugar – 1/2 cup
  • cardamom powder – 1/2 tsp
  • all-purpose flour – 2 cups
  • salt – a pinch
  • water – just enough to make a dough
  • oil – for deep-frying

 Method of Preparation

The filling

  1. Roast grated coconut with 2 tsp ghee. I used the desiccated coconut from the super market – the dryness in it helped roasting easier and quicker
  2. Dry roast sesame seeds till golden brown
  3. Powder pottukadalai and sugar separately
  4. Mix roasted coconut, powdered pottukadalai, roasted sesame seeds cardamom powder and sugar and keep aside

The dough

Mix all-purpose flour and a pinch of salt with enough water to make a smooth dough to be rolled into rotis

Making somasis

1. Make small balls out of the dough and roll them to round medium shaped rotis or puris

2. Keep 1 tbsp of the filling on the rolled rotis

3. Fold the roti into a semi-circle

4. Cut the folded semi-circle clean in the edges, with a knife or a pizza cutter or with a somasi cutter if one has it

5. Mix the removed excess dough with the basic dough

6. If cut with a knife or pizza cutter, seal the edges with a fork

7. If done with a somasi cutter, the cutter would take care of the edge design

8. Heat oil in a chatti/kadai

9. Gently drop the raw somasis into oil

10. Fry till golden brown and take them out in a kitchen tissue to absorb excess oil

11. Let them cool and store in an air-tight container.


Note:

  1. Sugar can be increased if needed
  2. If there is left-over filling, it can be stored and used within a week to make somasis again or any other sweet.

Susiyam – Deep fried lentil-jaggery sweet balls!

Susiyam – (nothing to do with yummy sushi) is a festival sweet – especially made for deepavali. It is popular by the name susiyam in Tirunelveli and Thoothukudi. In Chennai and nearby areas it is called sooyan. In Kerala, it is known as sugiyan with slightly different combination of dal or the outer batter.  These are bengal gram and jaggery balls, dipped in all-purpose flour and deep-fried. One can also store them for a couple of days.

Susiyam

Ingredients (makes approximately 30 susiyams)

  • kadalai paruppu/channa dal/bengal gram – 1 cup
  • jaggery – 3/4 cup
  • cardamom powder – 1/2 tsp
  • dry ginger powder – 1/2 tsp
  • all-purpose flour – 1 cup
  • salt – a pinch
  • vegetable oil – for deep-frying


flour, lentil and jaggery syrup


cook lentil and jaggery into a thick paste


make small balls


Method of Preparation

  1. Cook kadalai paruppu till just done with little water. It should not be overcooked
  2. Mash well with a ladle
  3. Boil jaggery with very little water in a vessel. Let jaggery dissolve well (to strain mud in the jaggery)
  4. In a hard bottomed vessel, take mashed paruppu and strain the jaggery into it
  5. Add cardamom powder and dry ginger powder
  6. Cook well till it becomes a thick paste
  7. Make small balls and keep them aside
  8. Mix all-purpose flour with salt and water to make a thick batter
  9. Heat oil in an iruppu chatti/kadai
  10. Dip each ball in the flour batter and fry them till golden brown
  11. Take them out in a tissue to absorb excess oil.


the fabulous five!


Note:

  1. 1 tsp rice flour can be added to all-purpose flour to make susiyams crisper.
  2. The balls should be coated well with the batter, or else the paruppu mixture might spread in the oil. Hence, batter should be a little thicker.
  3. When the oil is hot, the susiyams would turn golden brown very soon. Be careful to take them out of the oil in right time.