

dough and bread
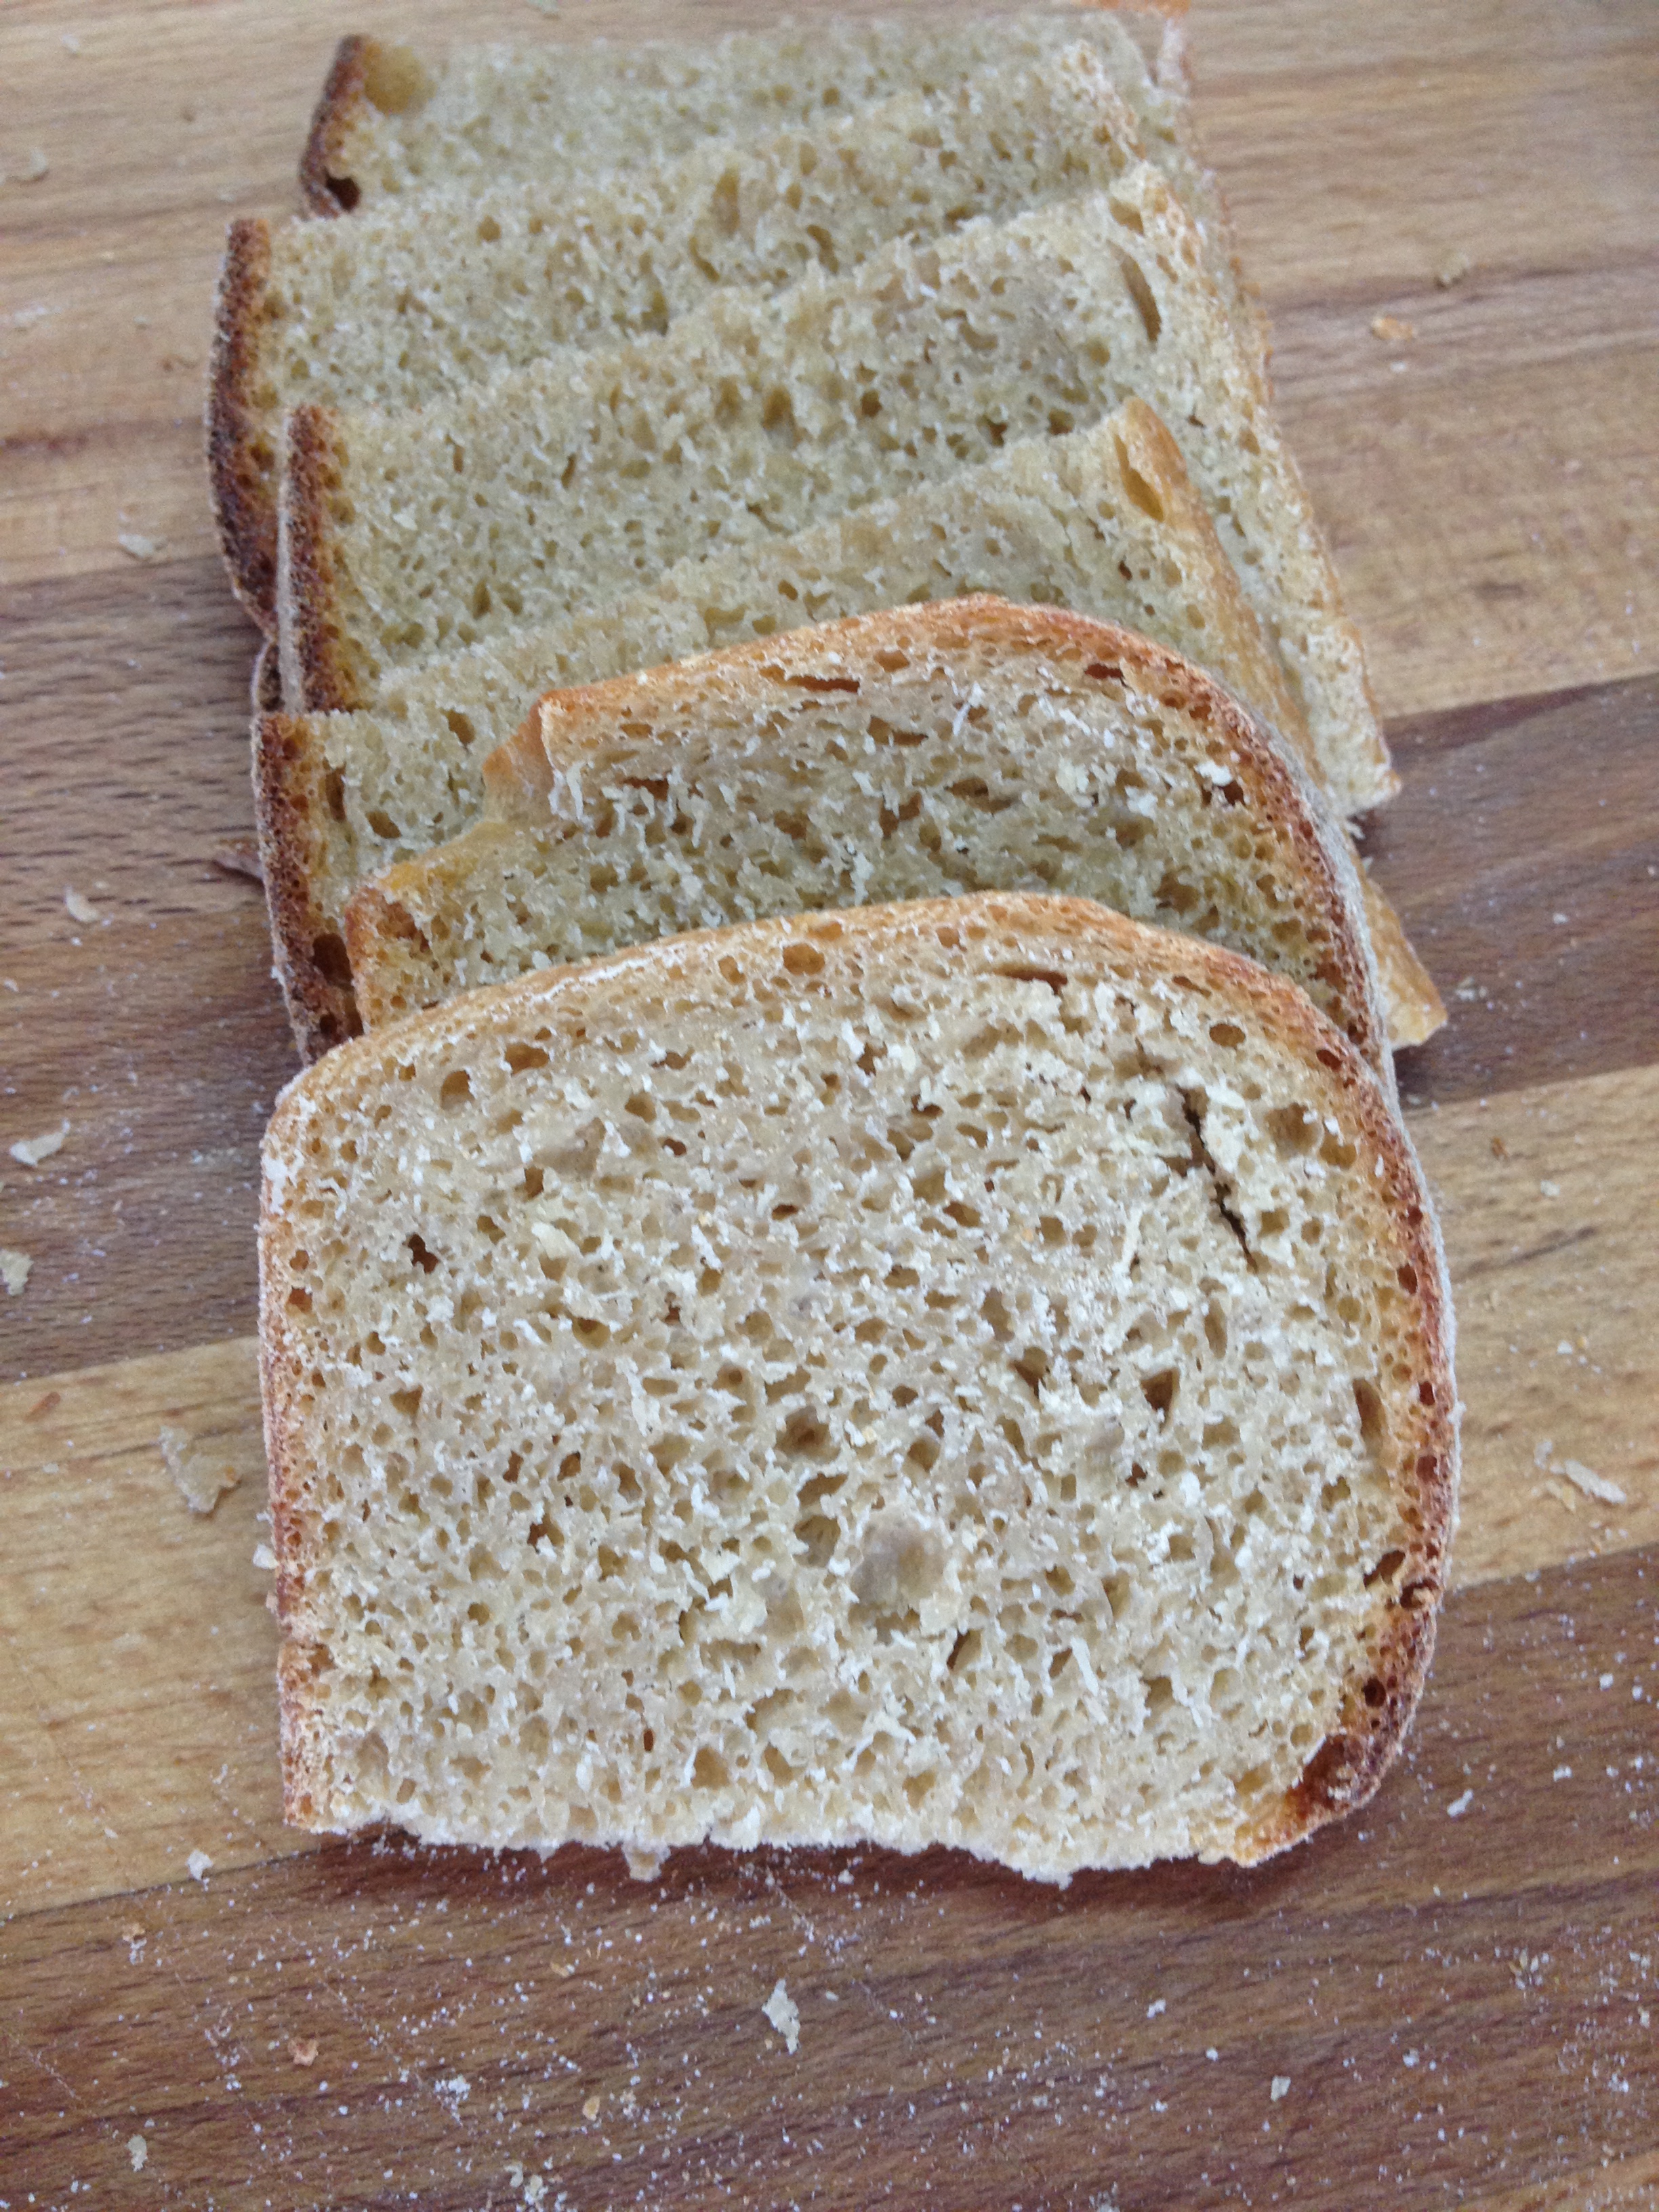
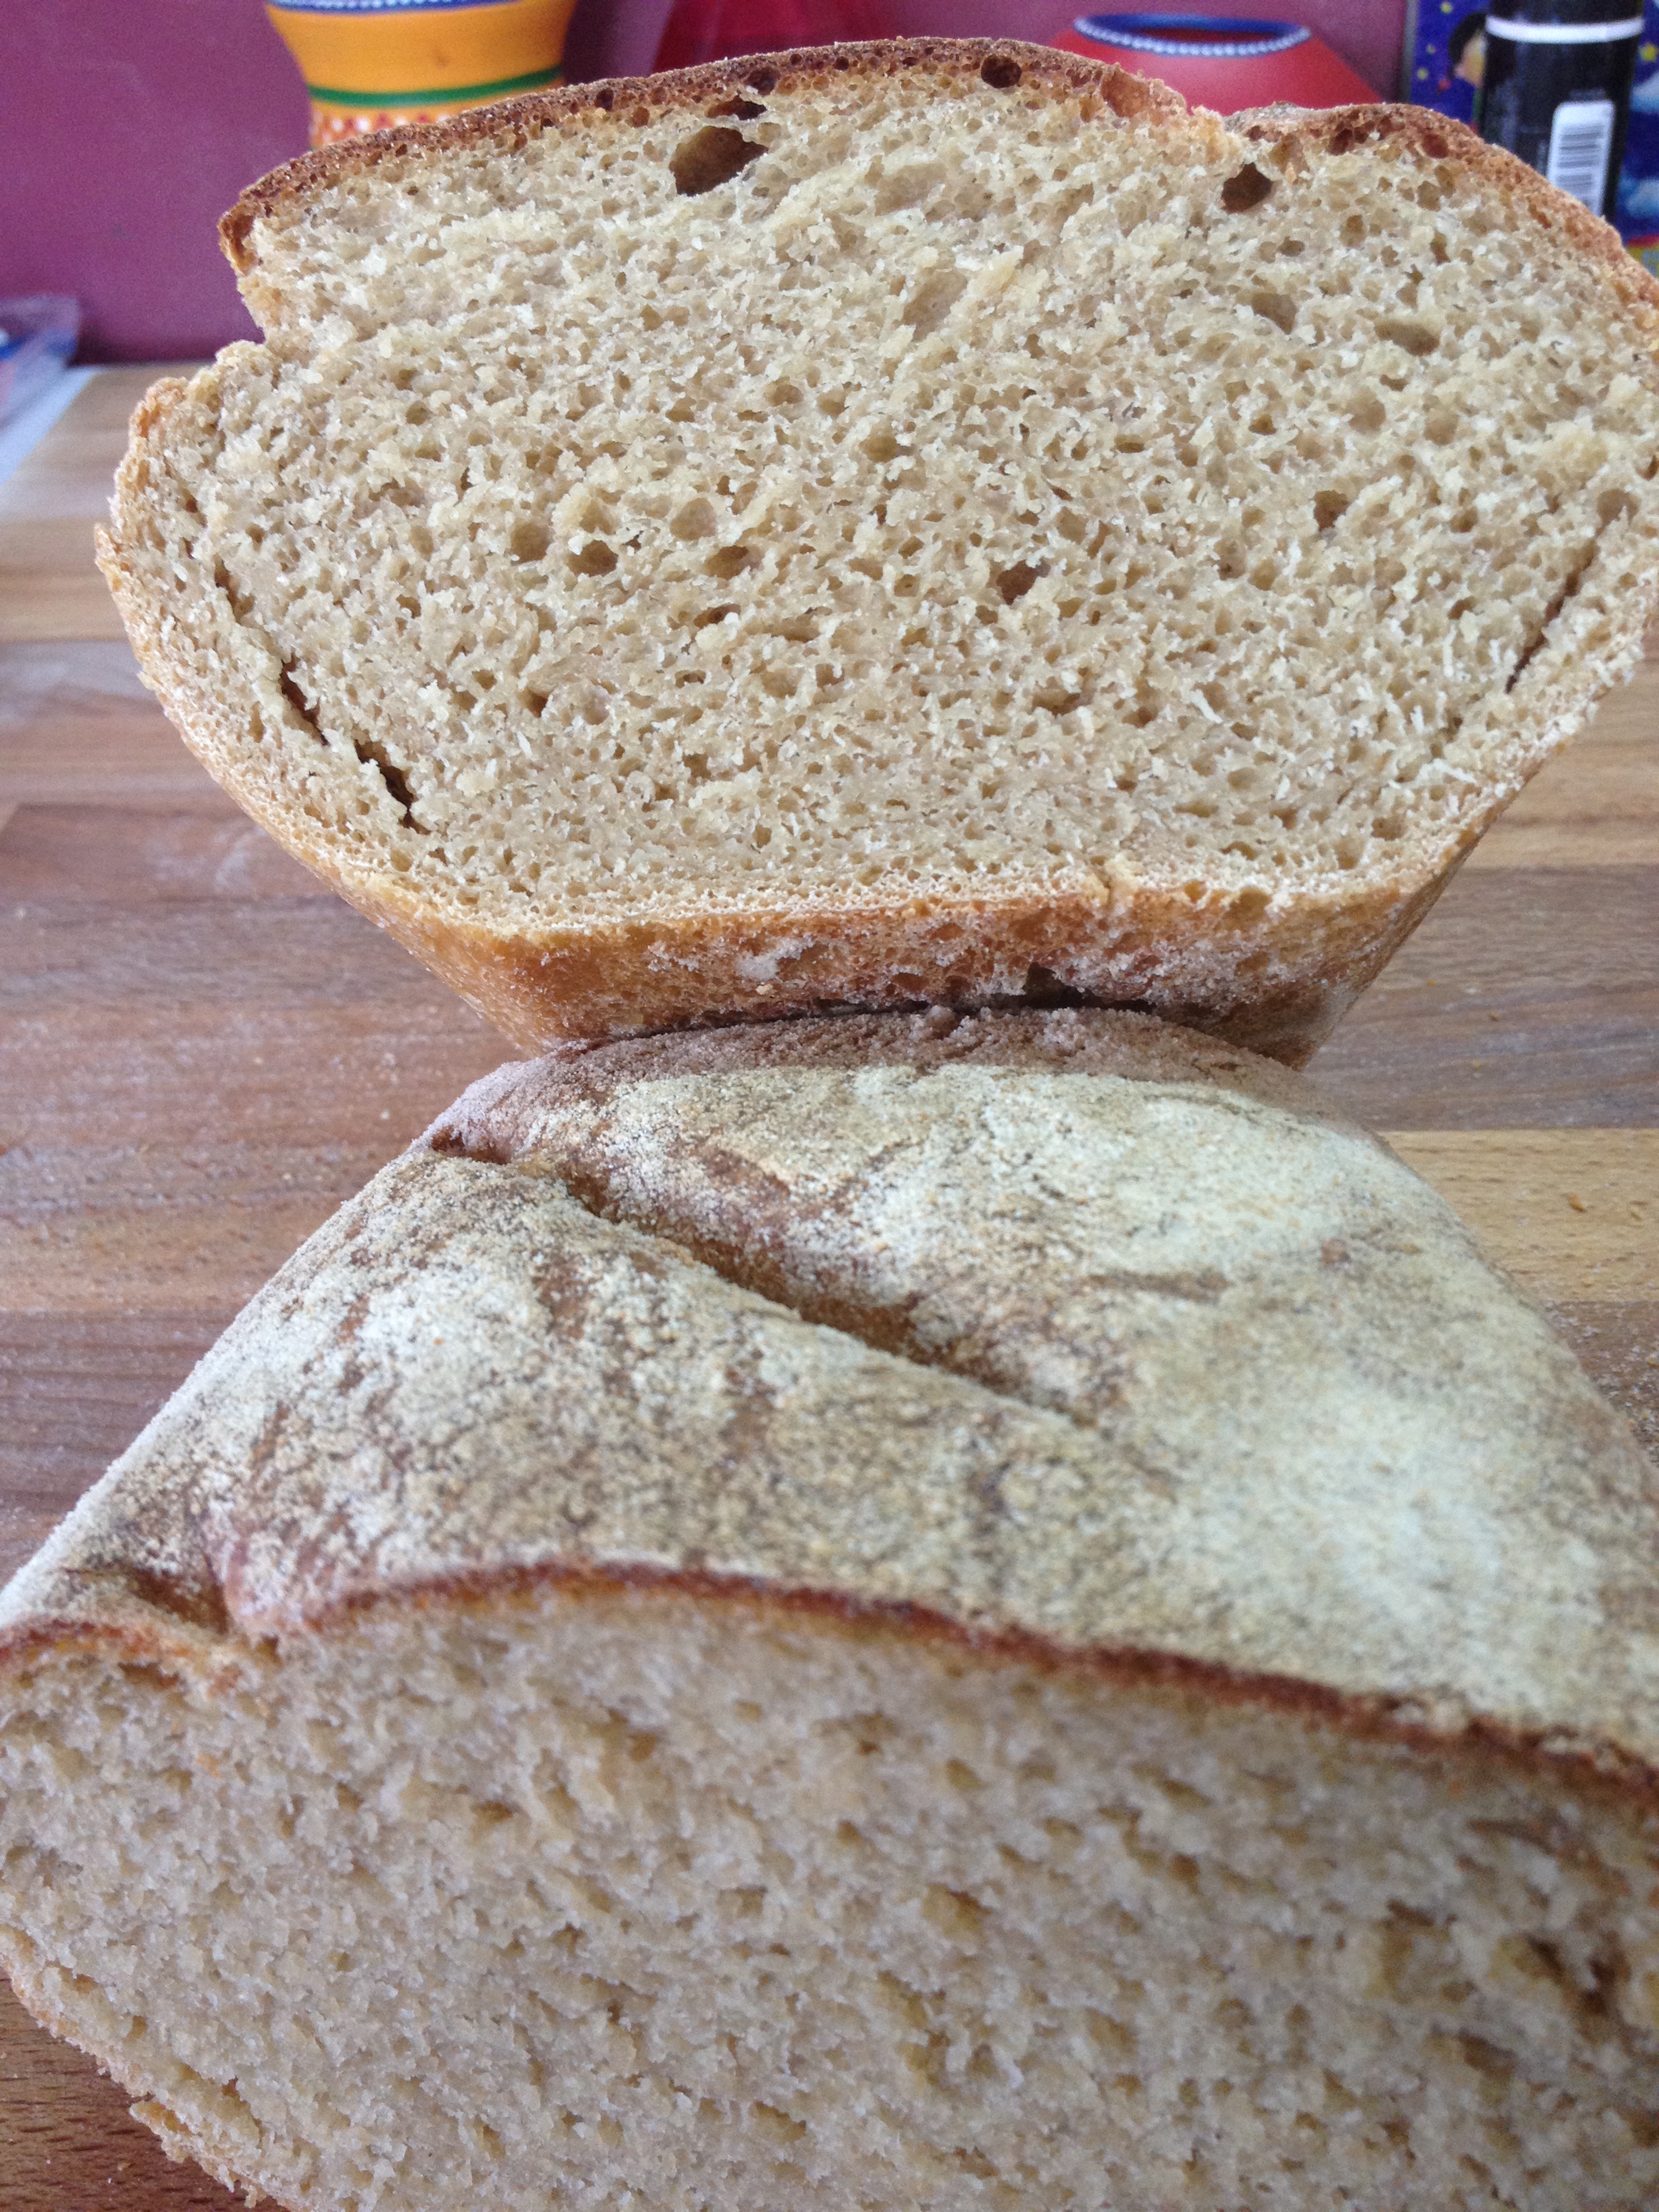
I am truly a happy home-baker today. After years of trying to bake bread that has helped my family practice yogic patience, this time my bread had the better taste of sourdough bread. It is a chunky bread, due to the whole wheat flour. I made a little compromise with 100 gms of white flour to 500 gms of whole wheat flour.
I’ve forever tried to bring in almost the same softness of white bread in my whole wheat bread, with the addition of eggs, butter, flax seeds or yoghurt. All these variants have certainly altered the texture of the bread and given unique flavors to home made 100% whole wheat bread.
A rustic bread with just 2 hours of leavening and 2 hours raising (in hot climate), has been the best ever breakfast bread that I have made. Yes, that was the best best I relished in terms of taste of rustic bread to me, but I’m not sure, it would be appreciated as a blog post. My quest for better baking, if not for the best bread has never faded. It’s still on.
But, this time I decided to become a bit more professional to strike a balance with whole wheat bread. A Big Thanks to so many bloggers out there in the world wide web, who have helped me learn so much about the process of baking bread. So, this is not my invention, but my discovery of baking good bread which has already been analayzed by so many unknown friends throughout the world.
Now, I chose to take up the two basic necessities of baking bread –
1. Patience
2. Endurance
Apart from these two – the most important techniques –
1. Giving enough time for leavening – i.e. giving enough time for the leavening agent, which is yeast to grow well. This helps in softening the bread.
2. Knead the flour well – kneading dough by hand, strengthens the gluten strands that gives bread its structure.
I came across these beautiful articles on bread making very recently –
a. http://www.thekitchn.com/how-to-make-sourdough-bread-224367
Here, I was pleasantly struck by the intricate details.
b.
Flour, yeast, water and salt – a traditional loaf needs only four ingredients. So why are calcium propionate, amylase, chlorine dioxide and L-cysteine hydrochloride now crammed into our daily bread? Andrew Whitely, Britain’s leading organic baker, reveals how our staple foodstuff was transformed into an industrial triumph, but a nutritional and culinary disaster. http://www.independent.co.uk/life-style/food-and-drink/features/the-shocking-truth-about-bread-413156.html,
That was a shocking revelation of the hazards of quick leavening agents used by bakers for lessening the time spent in bread preparation. That was an eye opener for sure.
Special thanks to both the bloggers for such useful information.
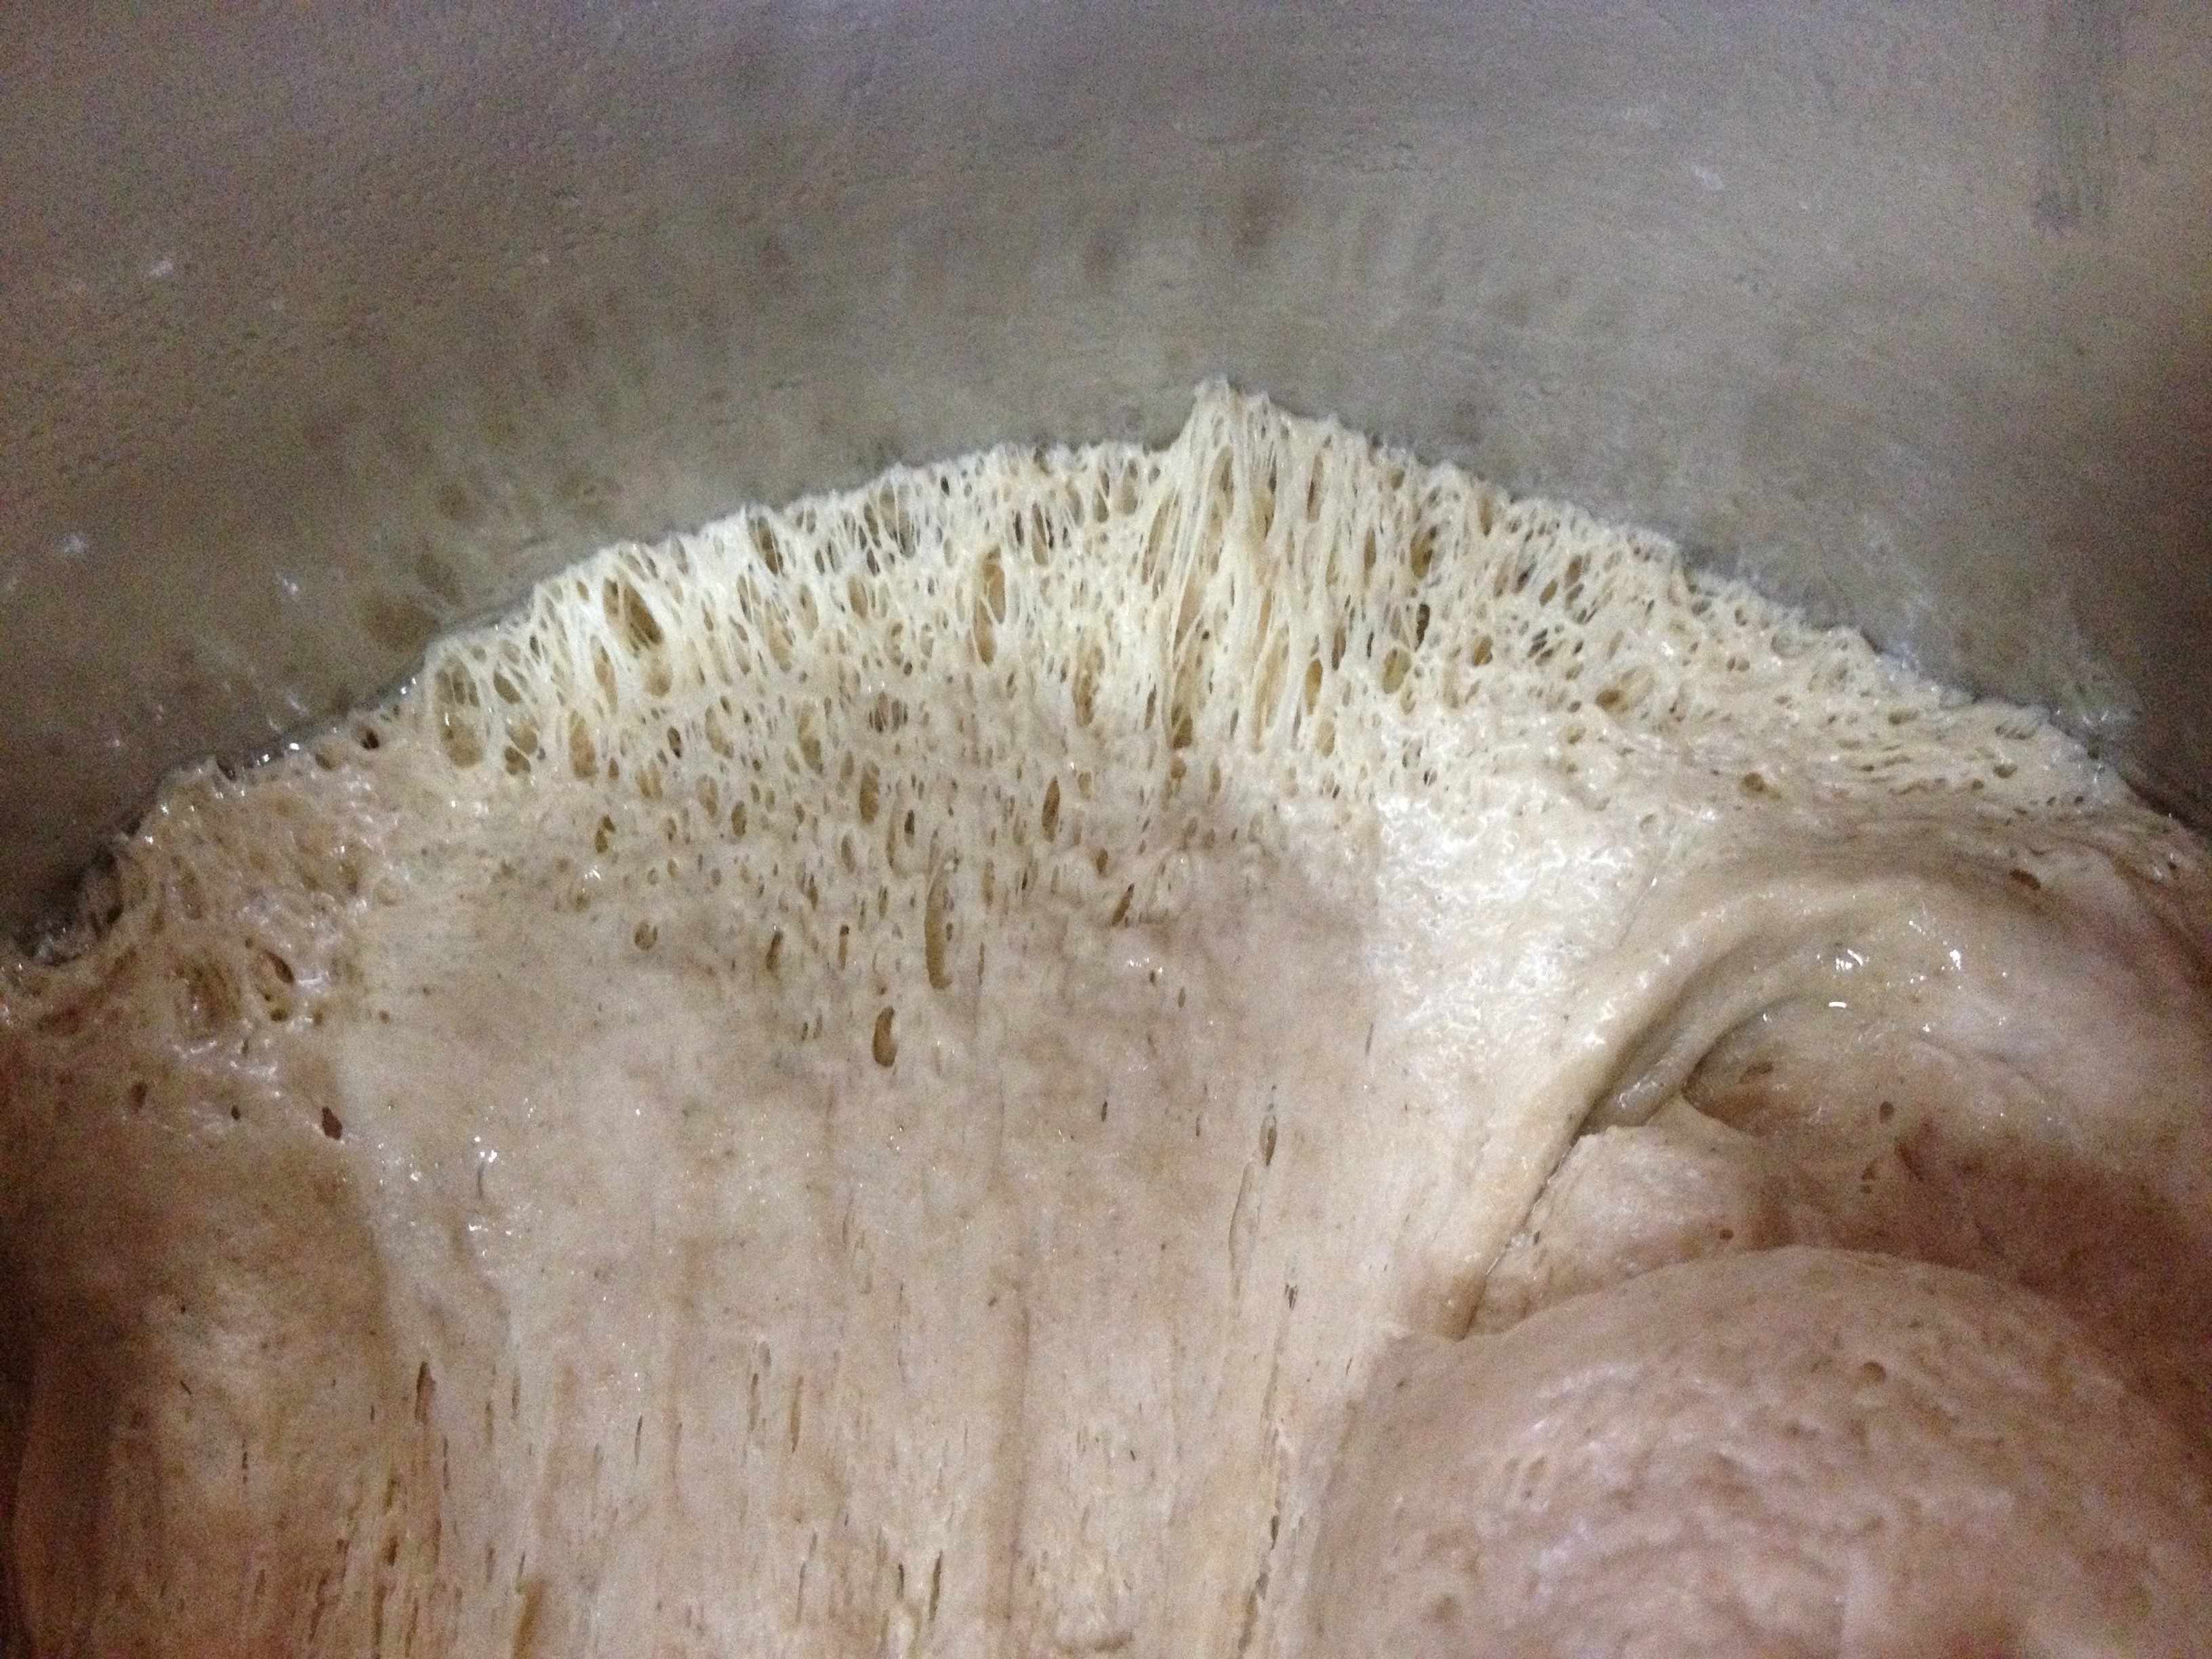
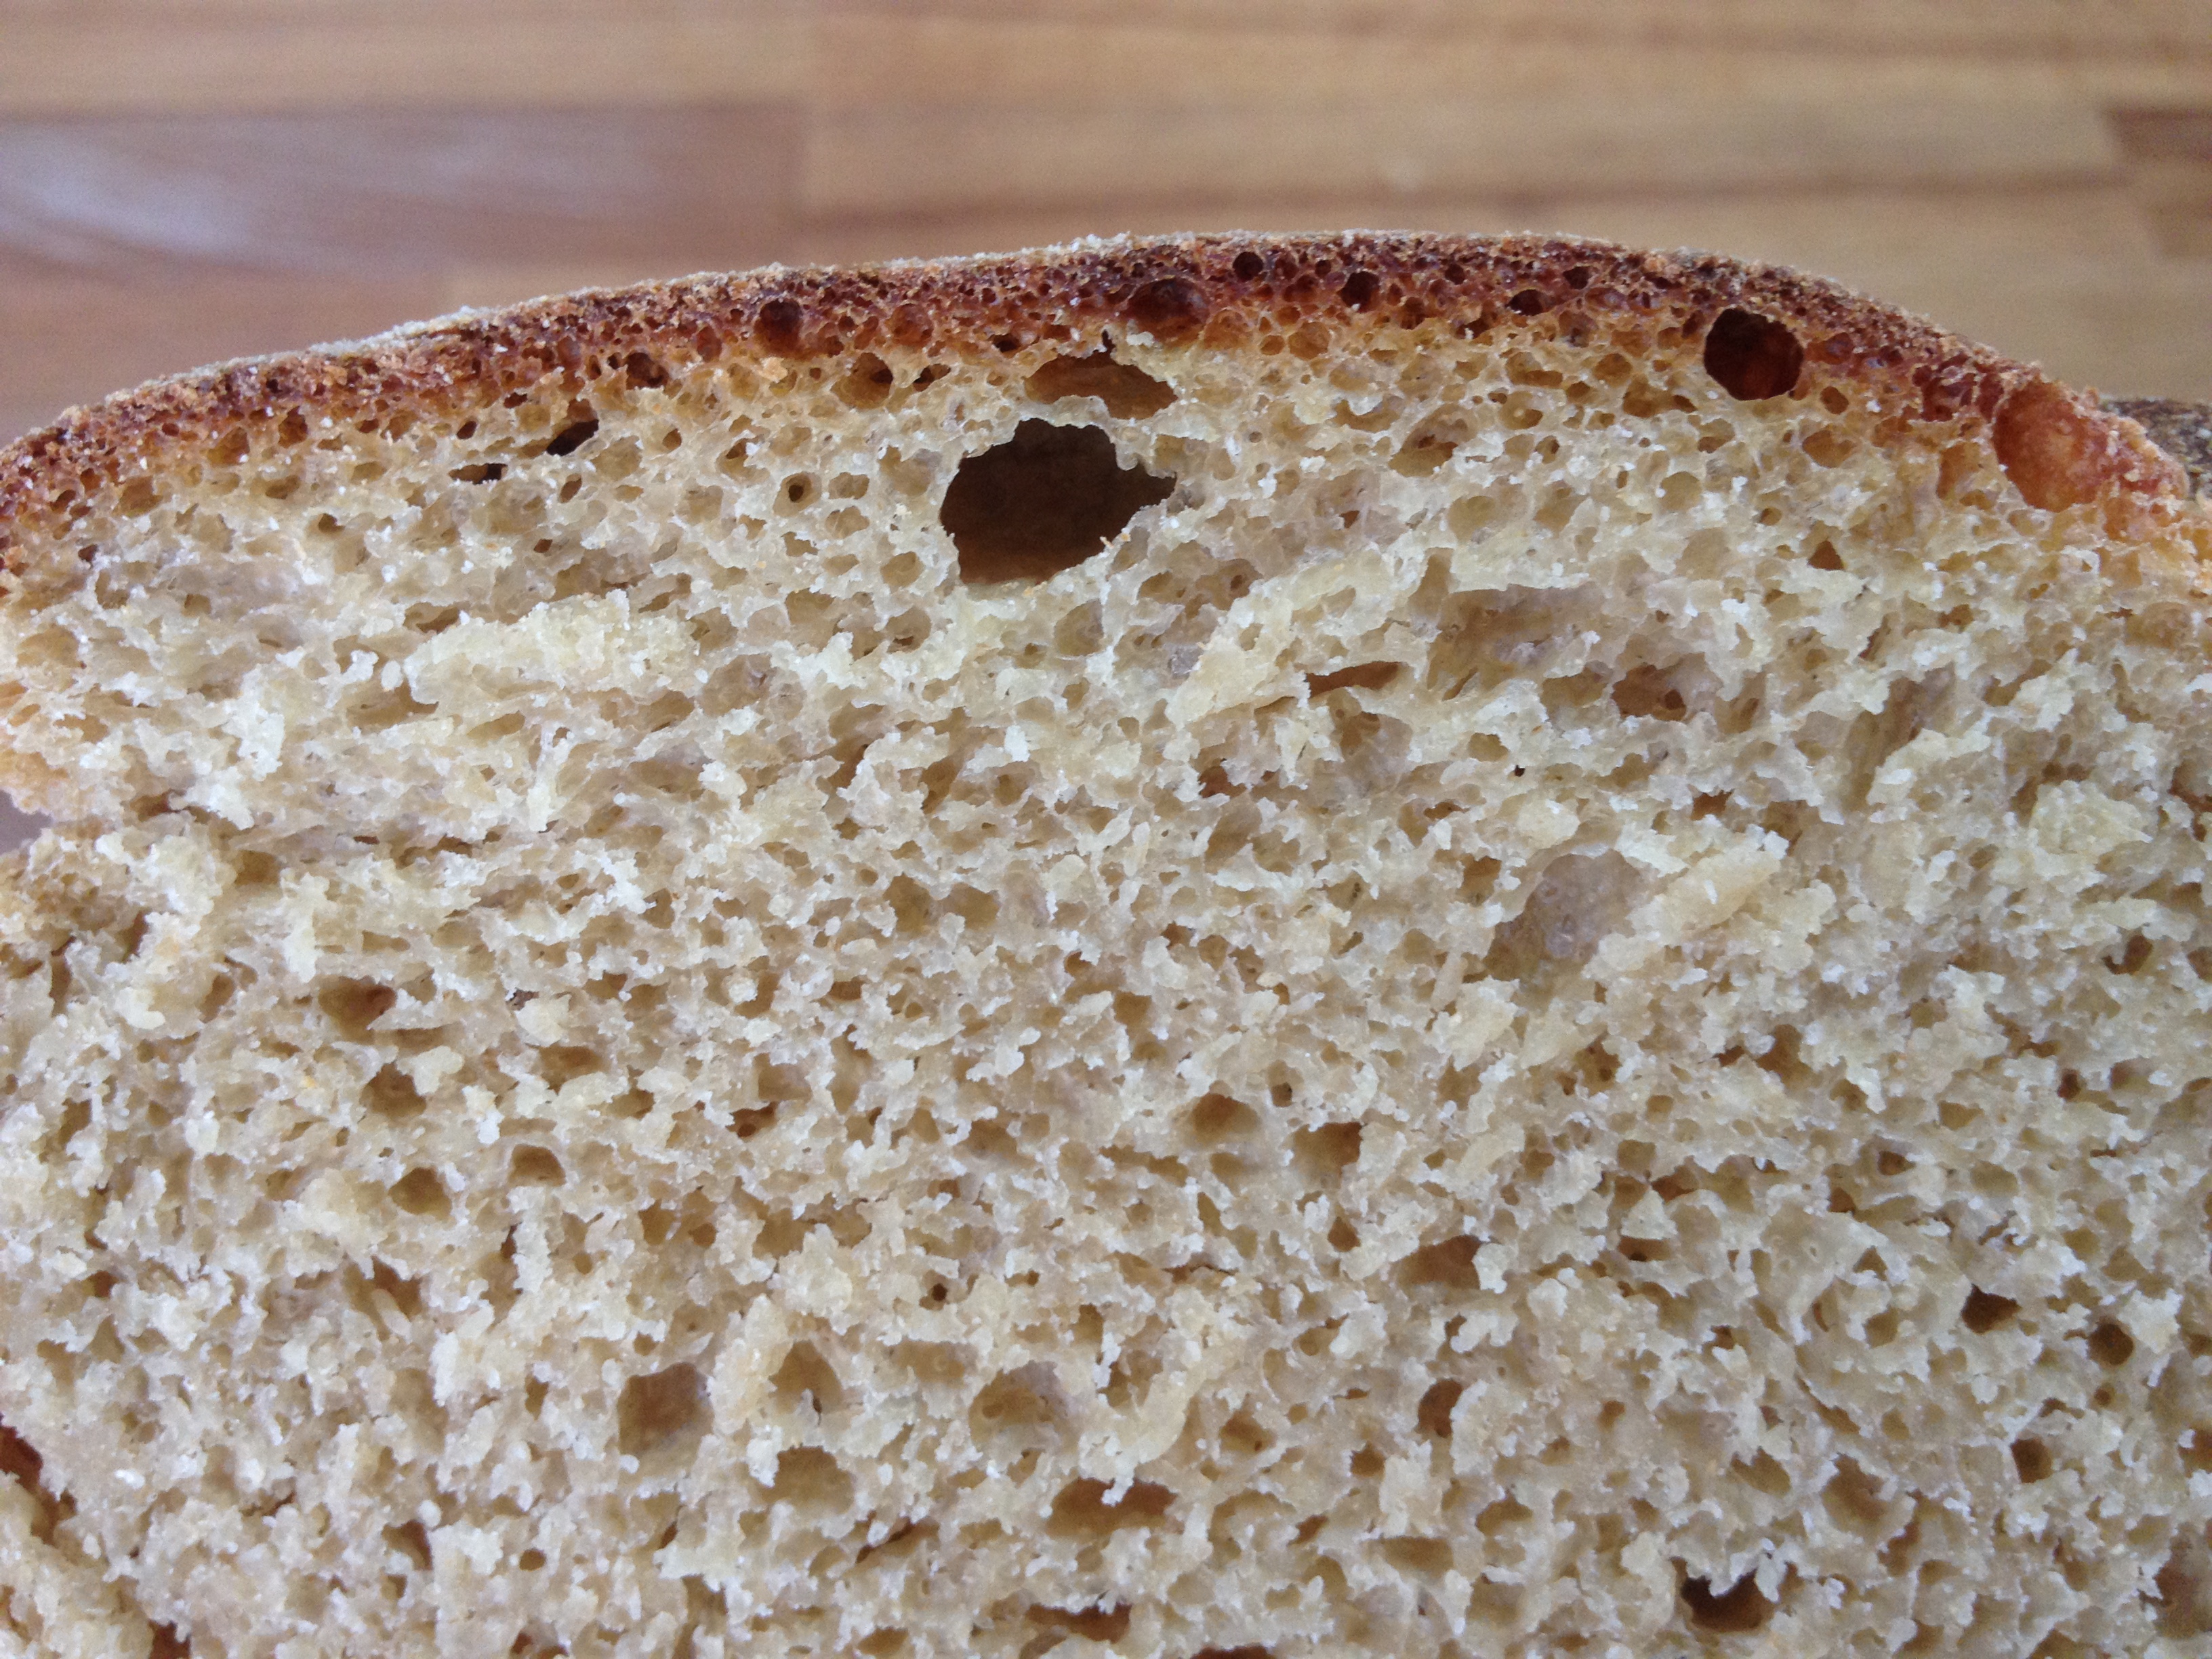
I chose to try the basic bread recipe suggested by www.independent.co.uk . A small change was made. I left the dough to raise overnight, instead of 2 hours suggested by the blog. I think that made a lot of difference. The yeast had sufficiently grown and the bread had beautiful pores as a result.
Making Bread
Ingredients
- whole wheat flour – 500 gms
- white flour (maida) – 100 gms
- active dry yeast – 8 gms
- sea salt – 5 gms
- olive oil – just enough to grease the bowl and bread baking tray
- warm water – 400 ml – 150 ml to soak yeast initially and extra 250 ml to knead
Method of Preparation
1.Soak yeast in 150 ml (app. 1 cup) warm water for 10 minutes. Always do this to check for its active ability. If yeast does not grow/turn foamy in warm water, might be the yeast is not in good condition for bread baking. Do not use it.
2. Measure whole wheat flour, white flour and salt in a dry bowl.
3. Mix the foamy textured yeast water and extra warm water to the dry flours and mix with spatula.
4. Transfer to a clean surface and start kneading well with hands or kneader of a food processor for about 10-15 minutes. Kneading with machine might involve less time.
5. The dough should be moist and never dry. Add more water if needed.
6. While kneading, we can feel water getting absorbed into the dough and the dough becomes softer and stiffer. Keep scrapping off sticky dough from the surface and incorporate into the dough.
7. Grease a big bowl with olive oil and place the well kneaded dough inside.
8. Cover with a moist towel, aluminium foil or plate and place in a warm room overnight.
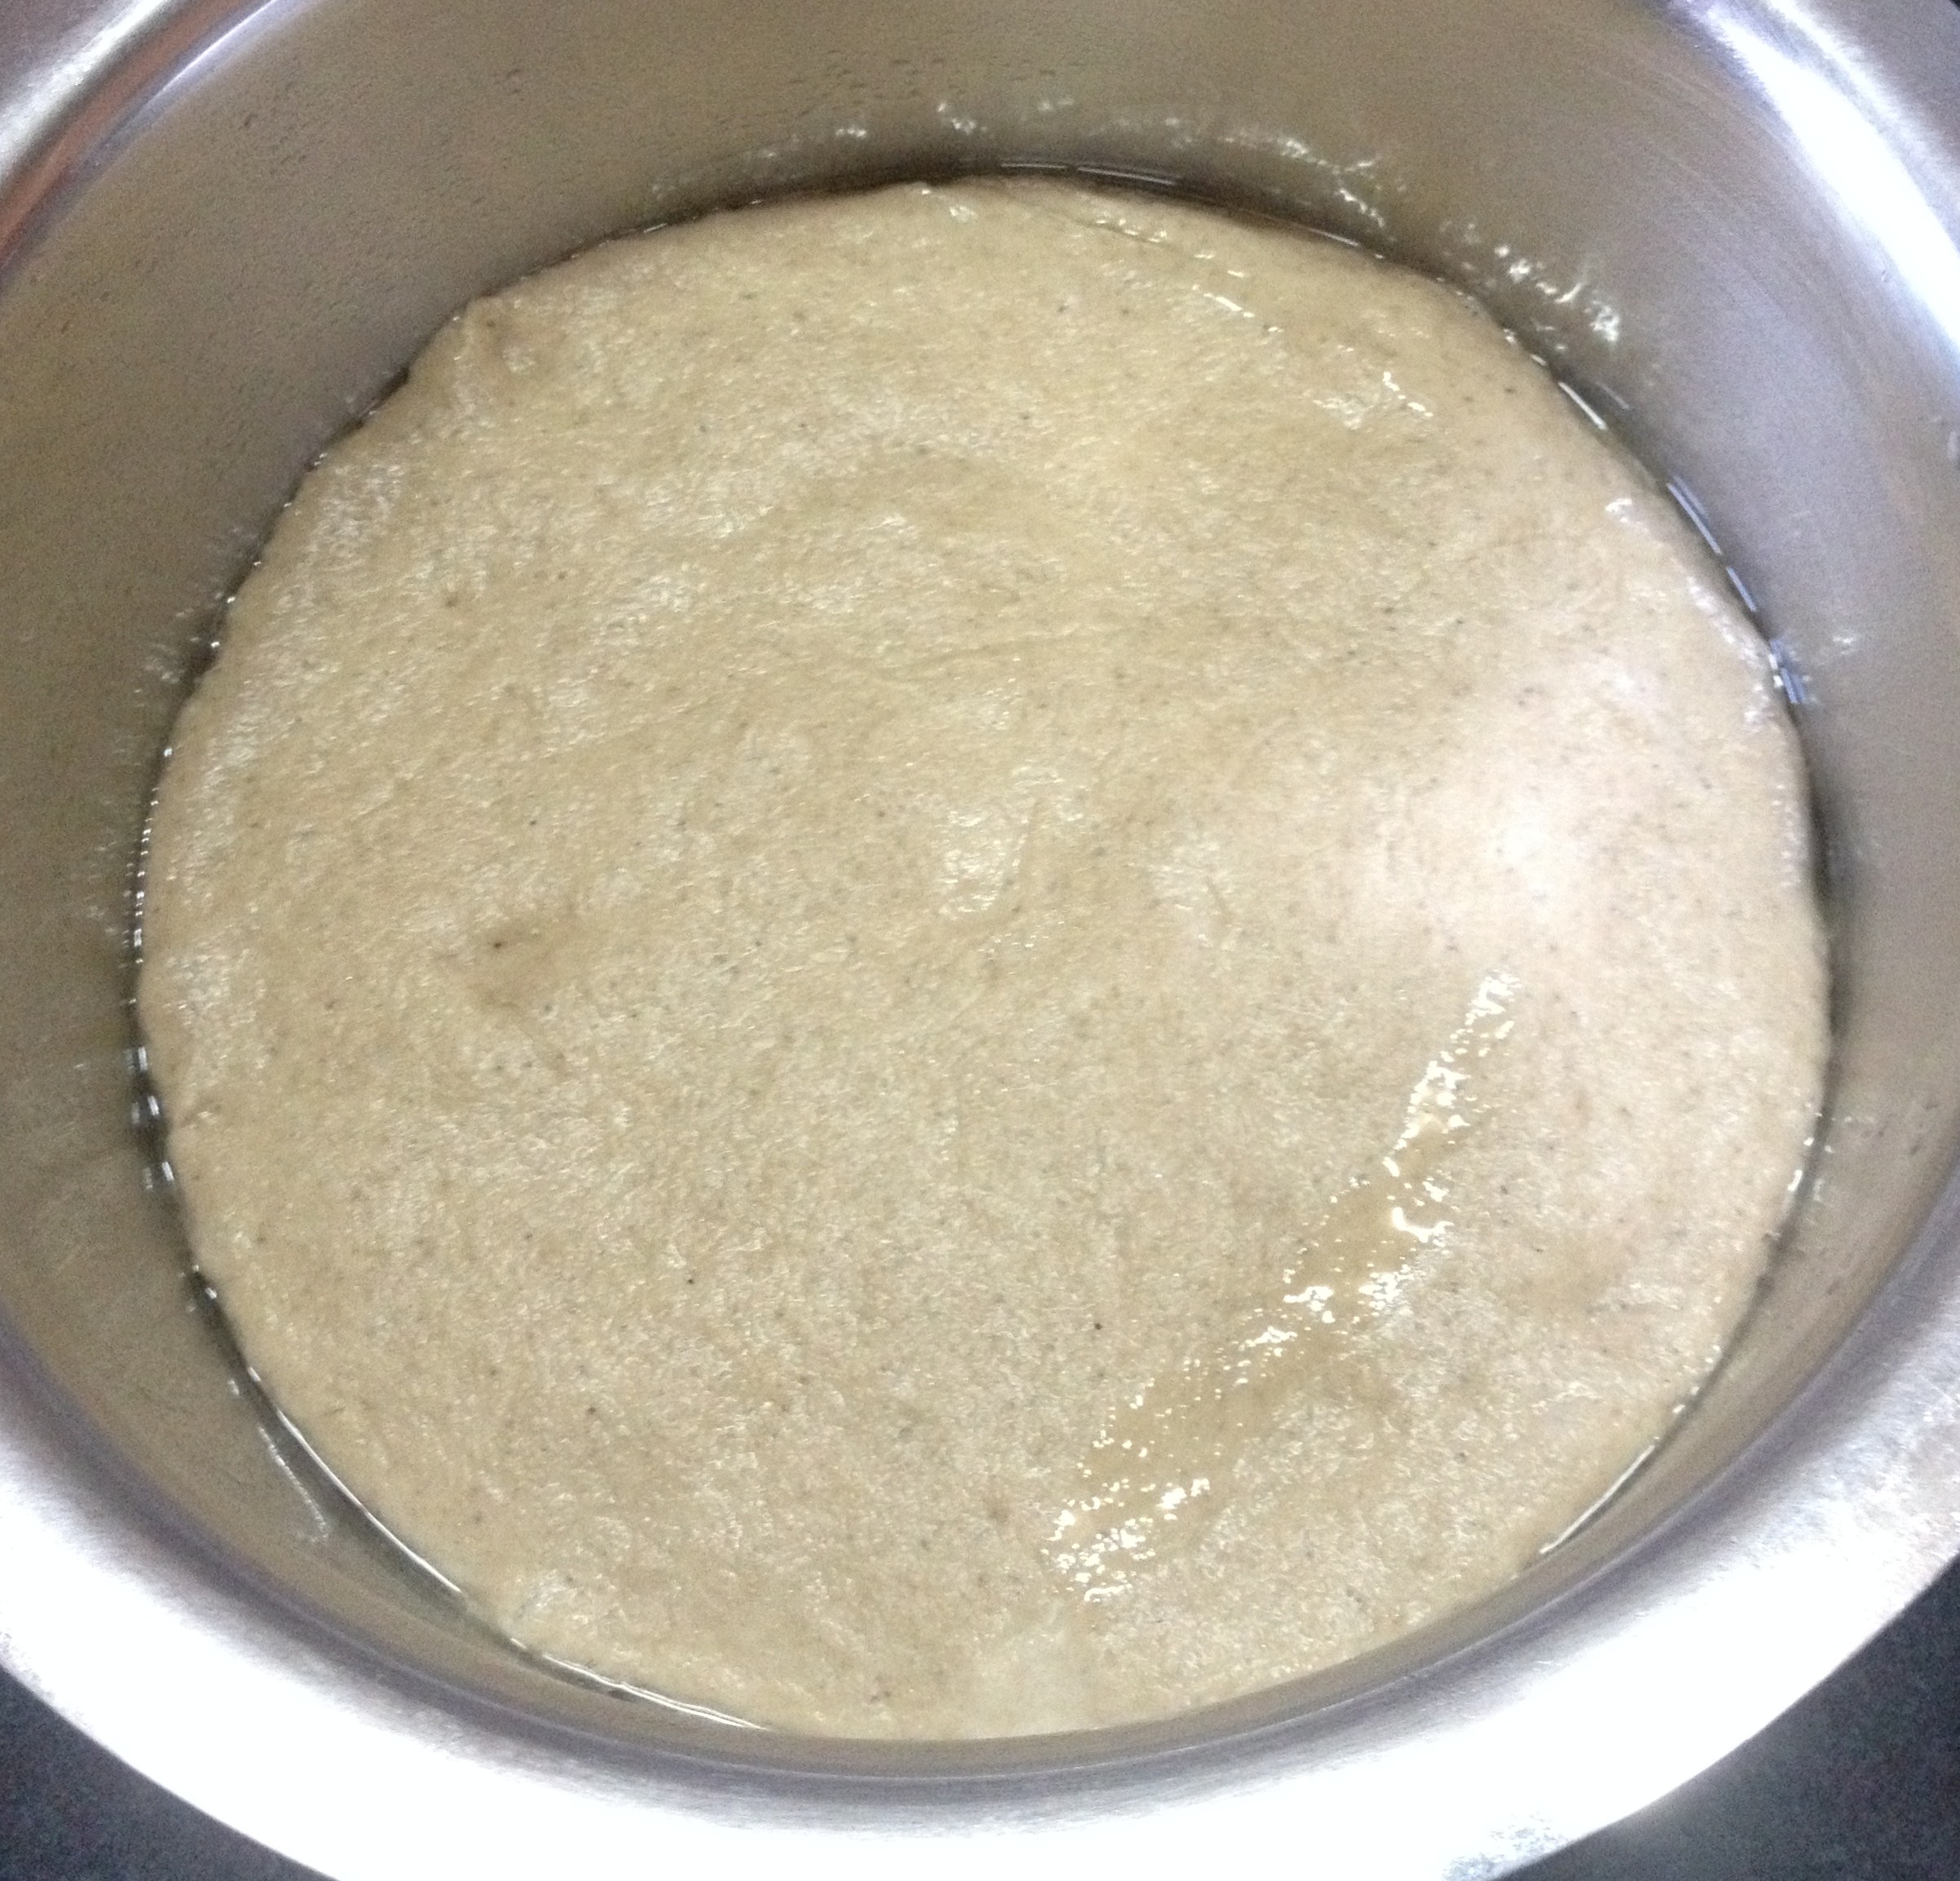
9. The next morning you may notice the wonderful growth of yeast by raising of the dough.
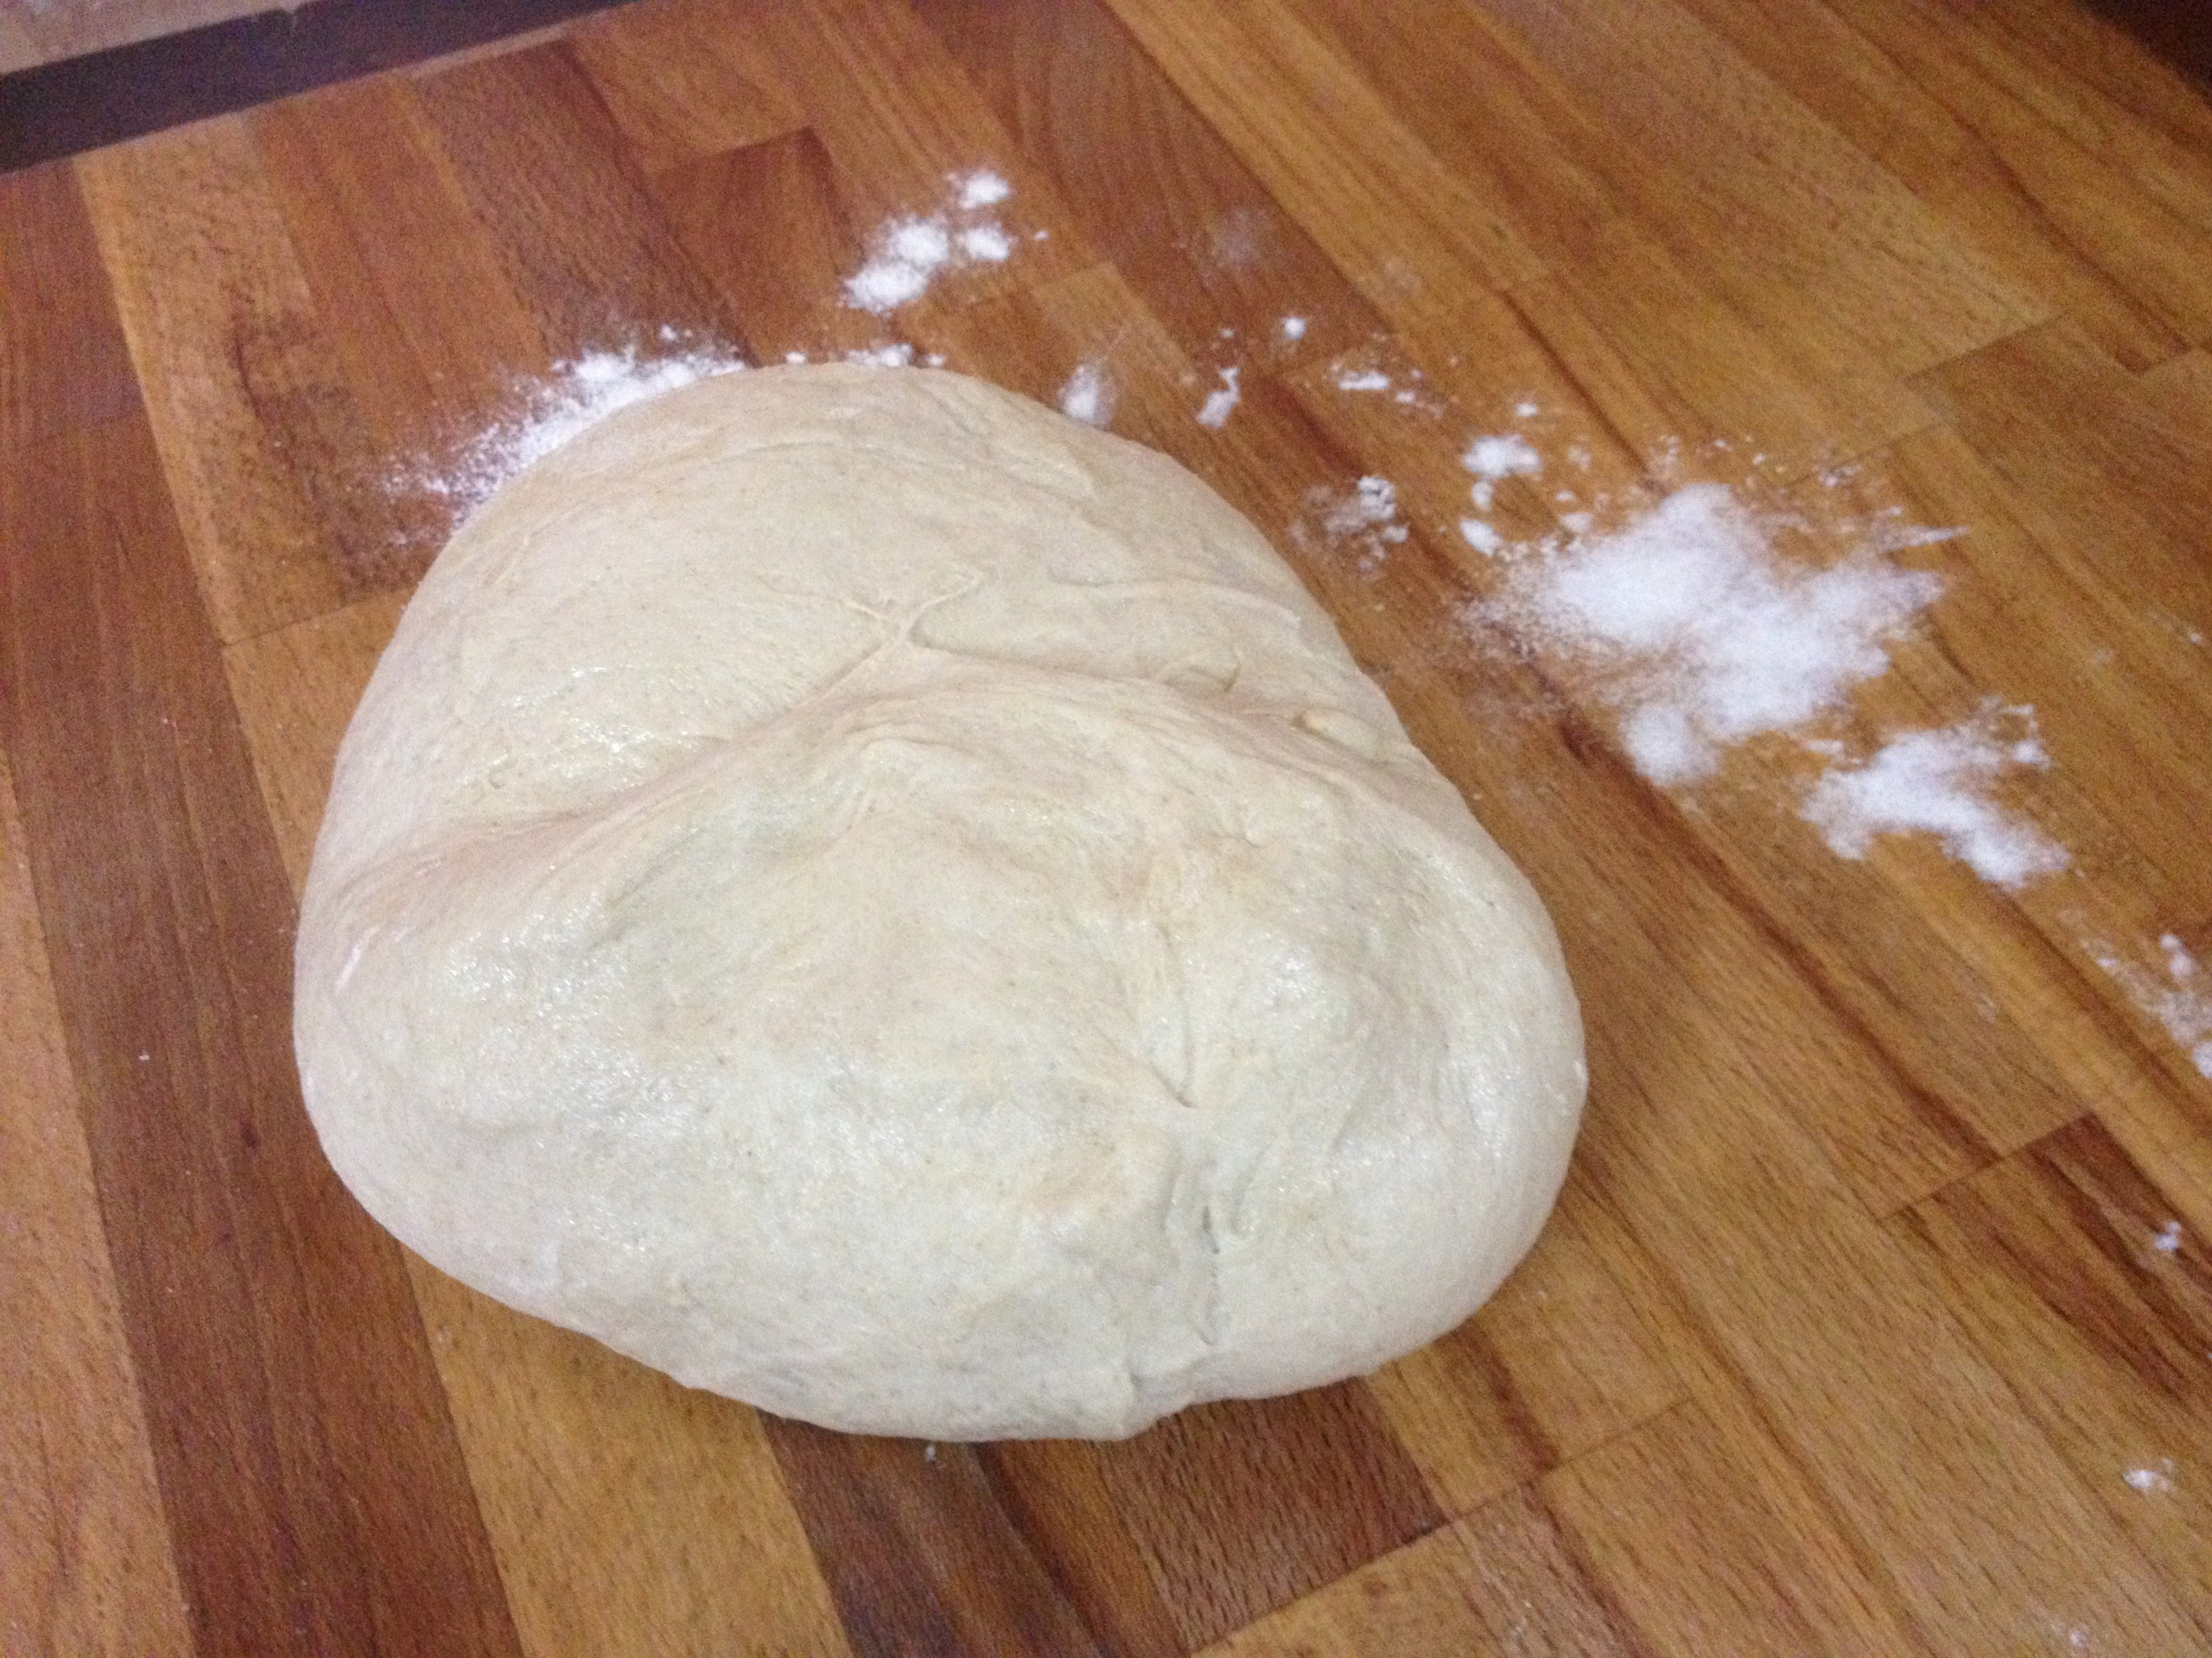
10. Knock the dough back to its sticky self.
11. Sprinkle little flour on a clean surface and start making a smoother dough, by folding for a few minutes – not as long as the first procedure. (search the web for ‘folding bread’ and you’d get to know the art of it)
12. If you’d like to bake a single big loaf, fold into into one dough. If one prefers two smaller loaves, divide into two halves and roll into rectangulars.
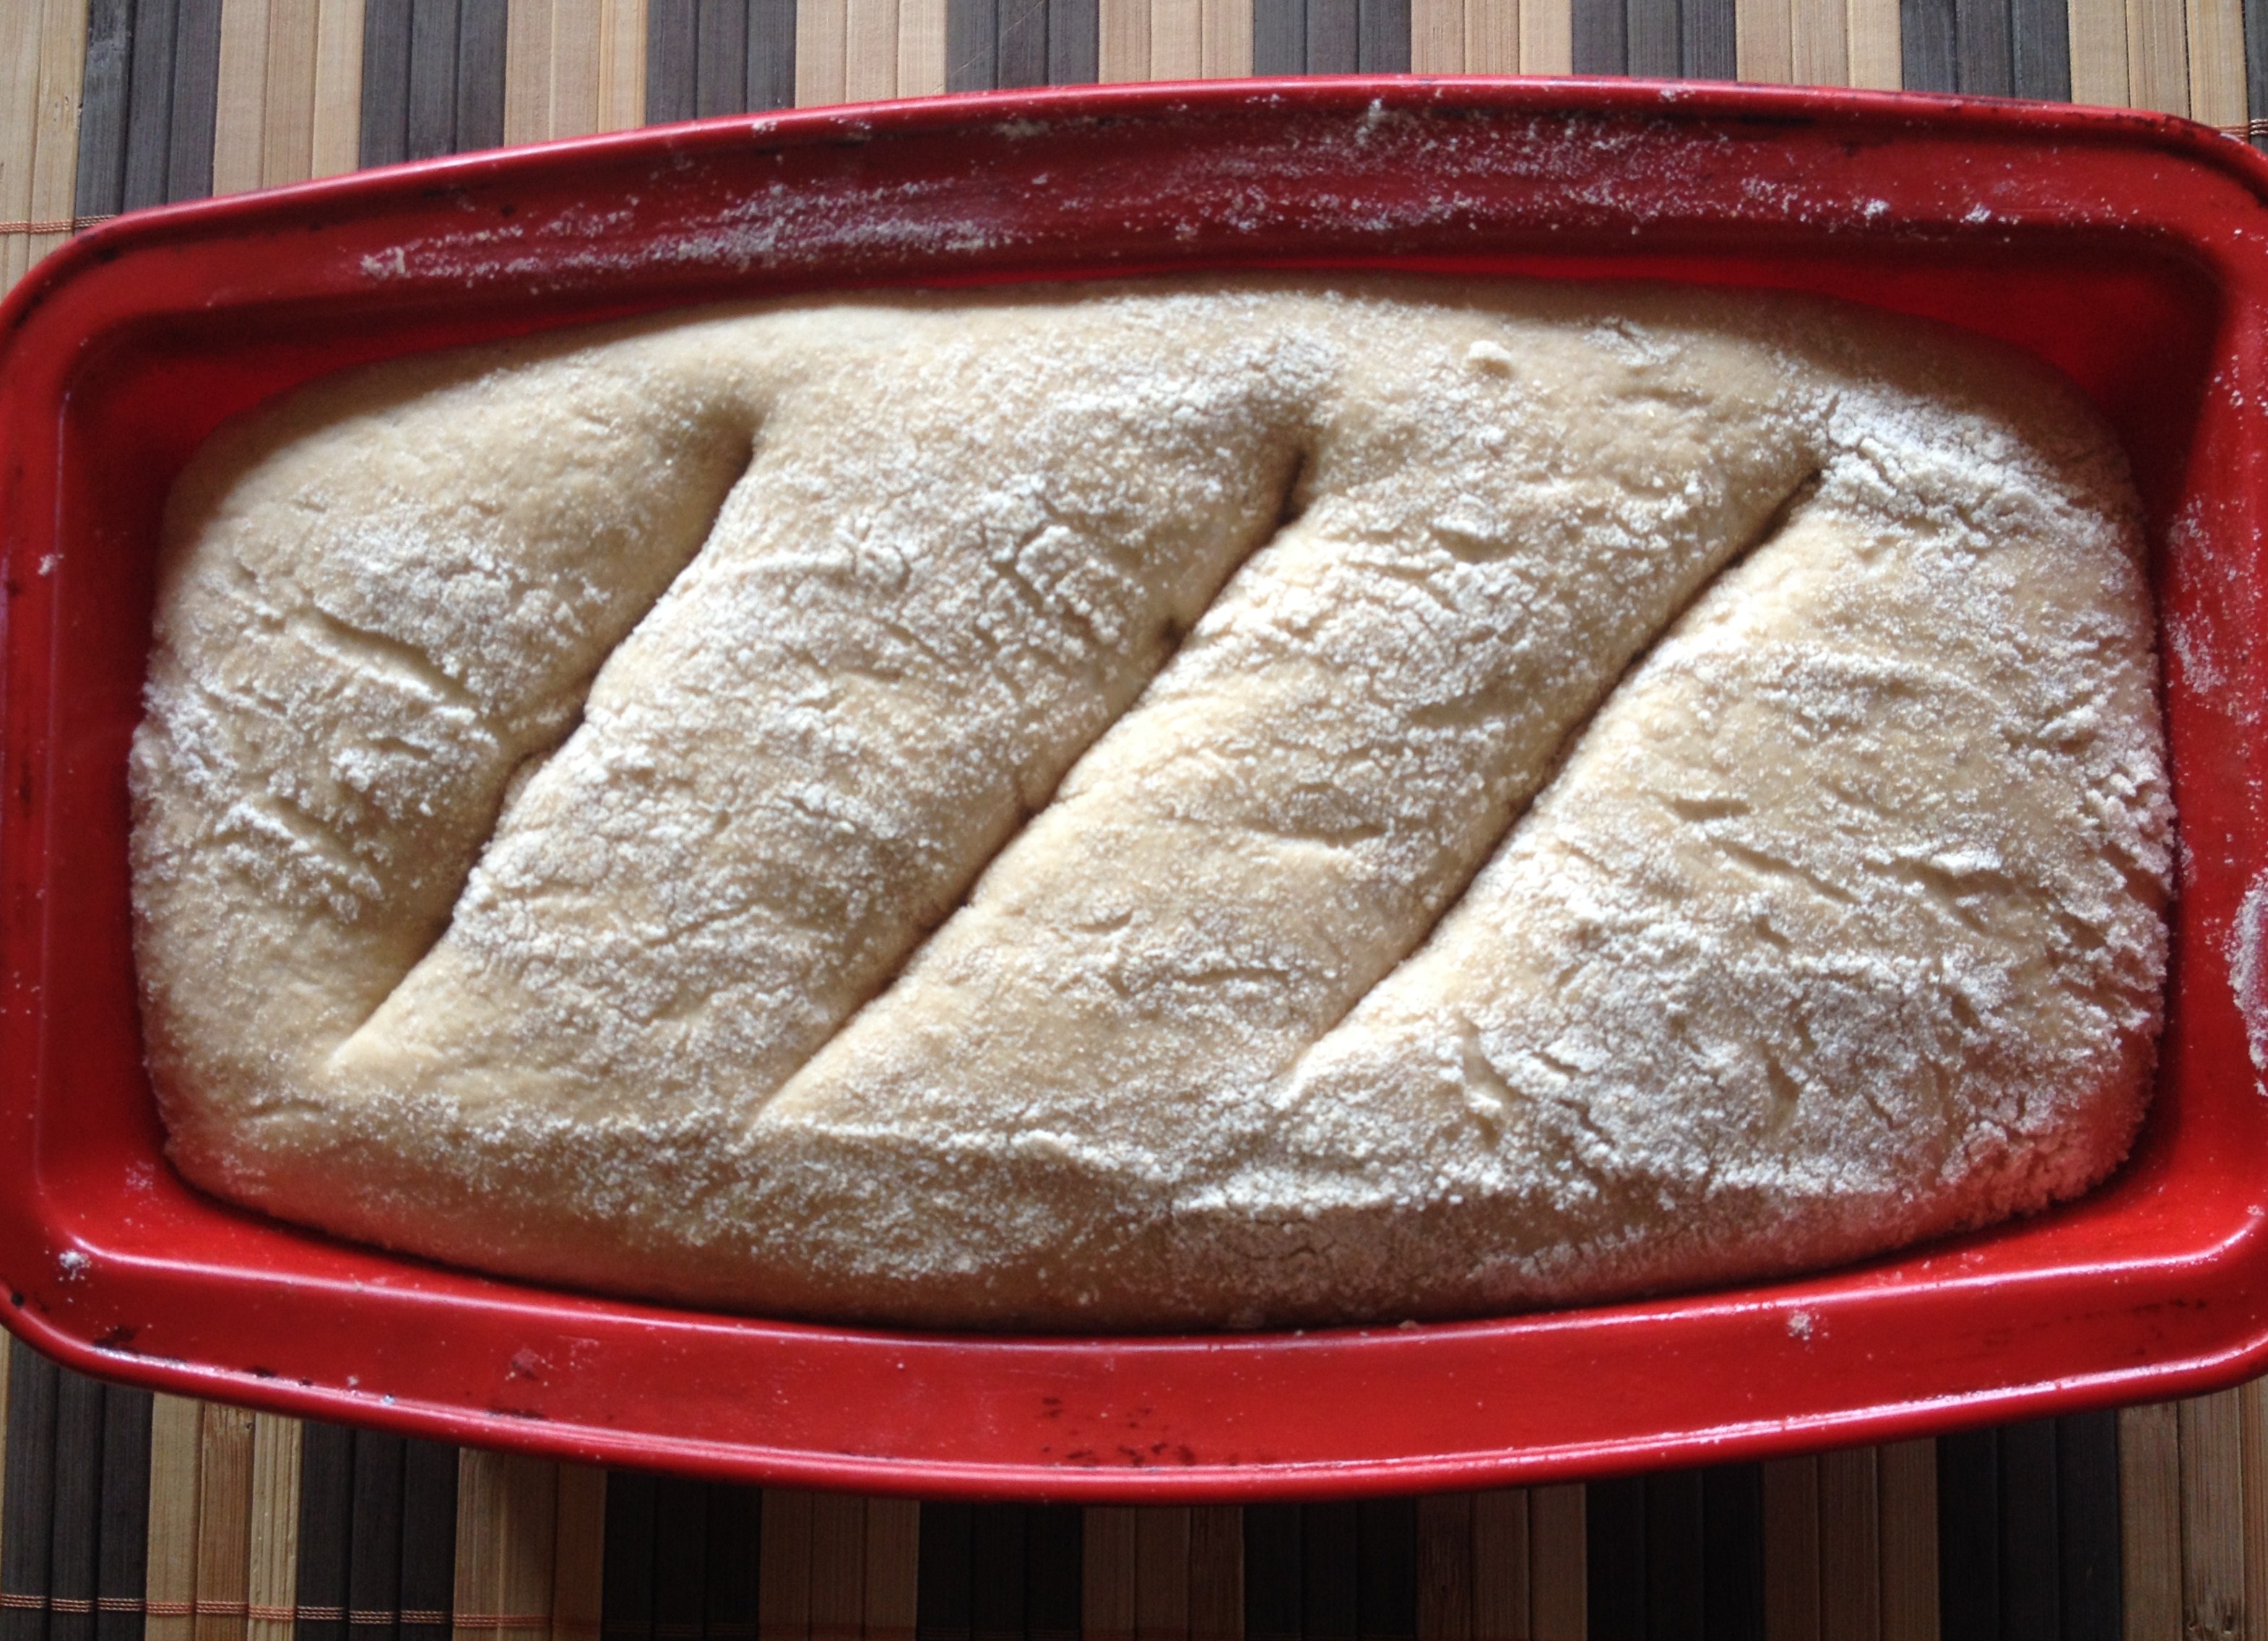
13. Place the rolled bread in greased tins and let it raise for two hours.
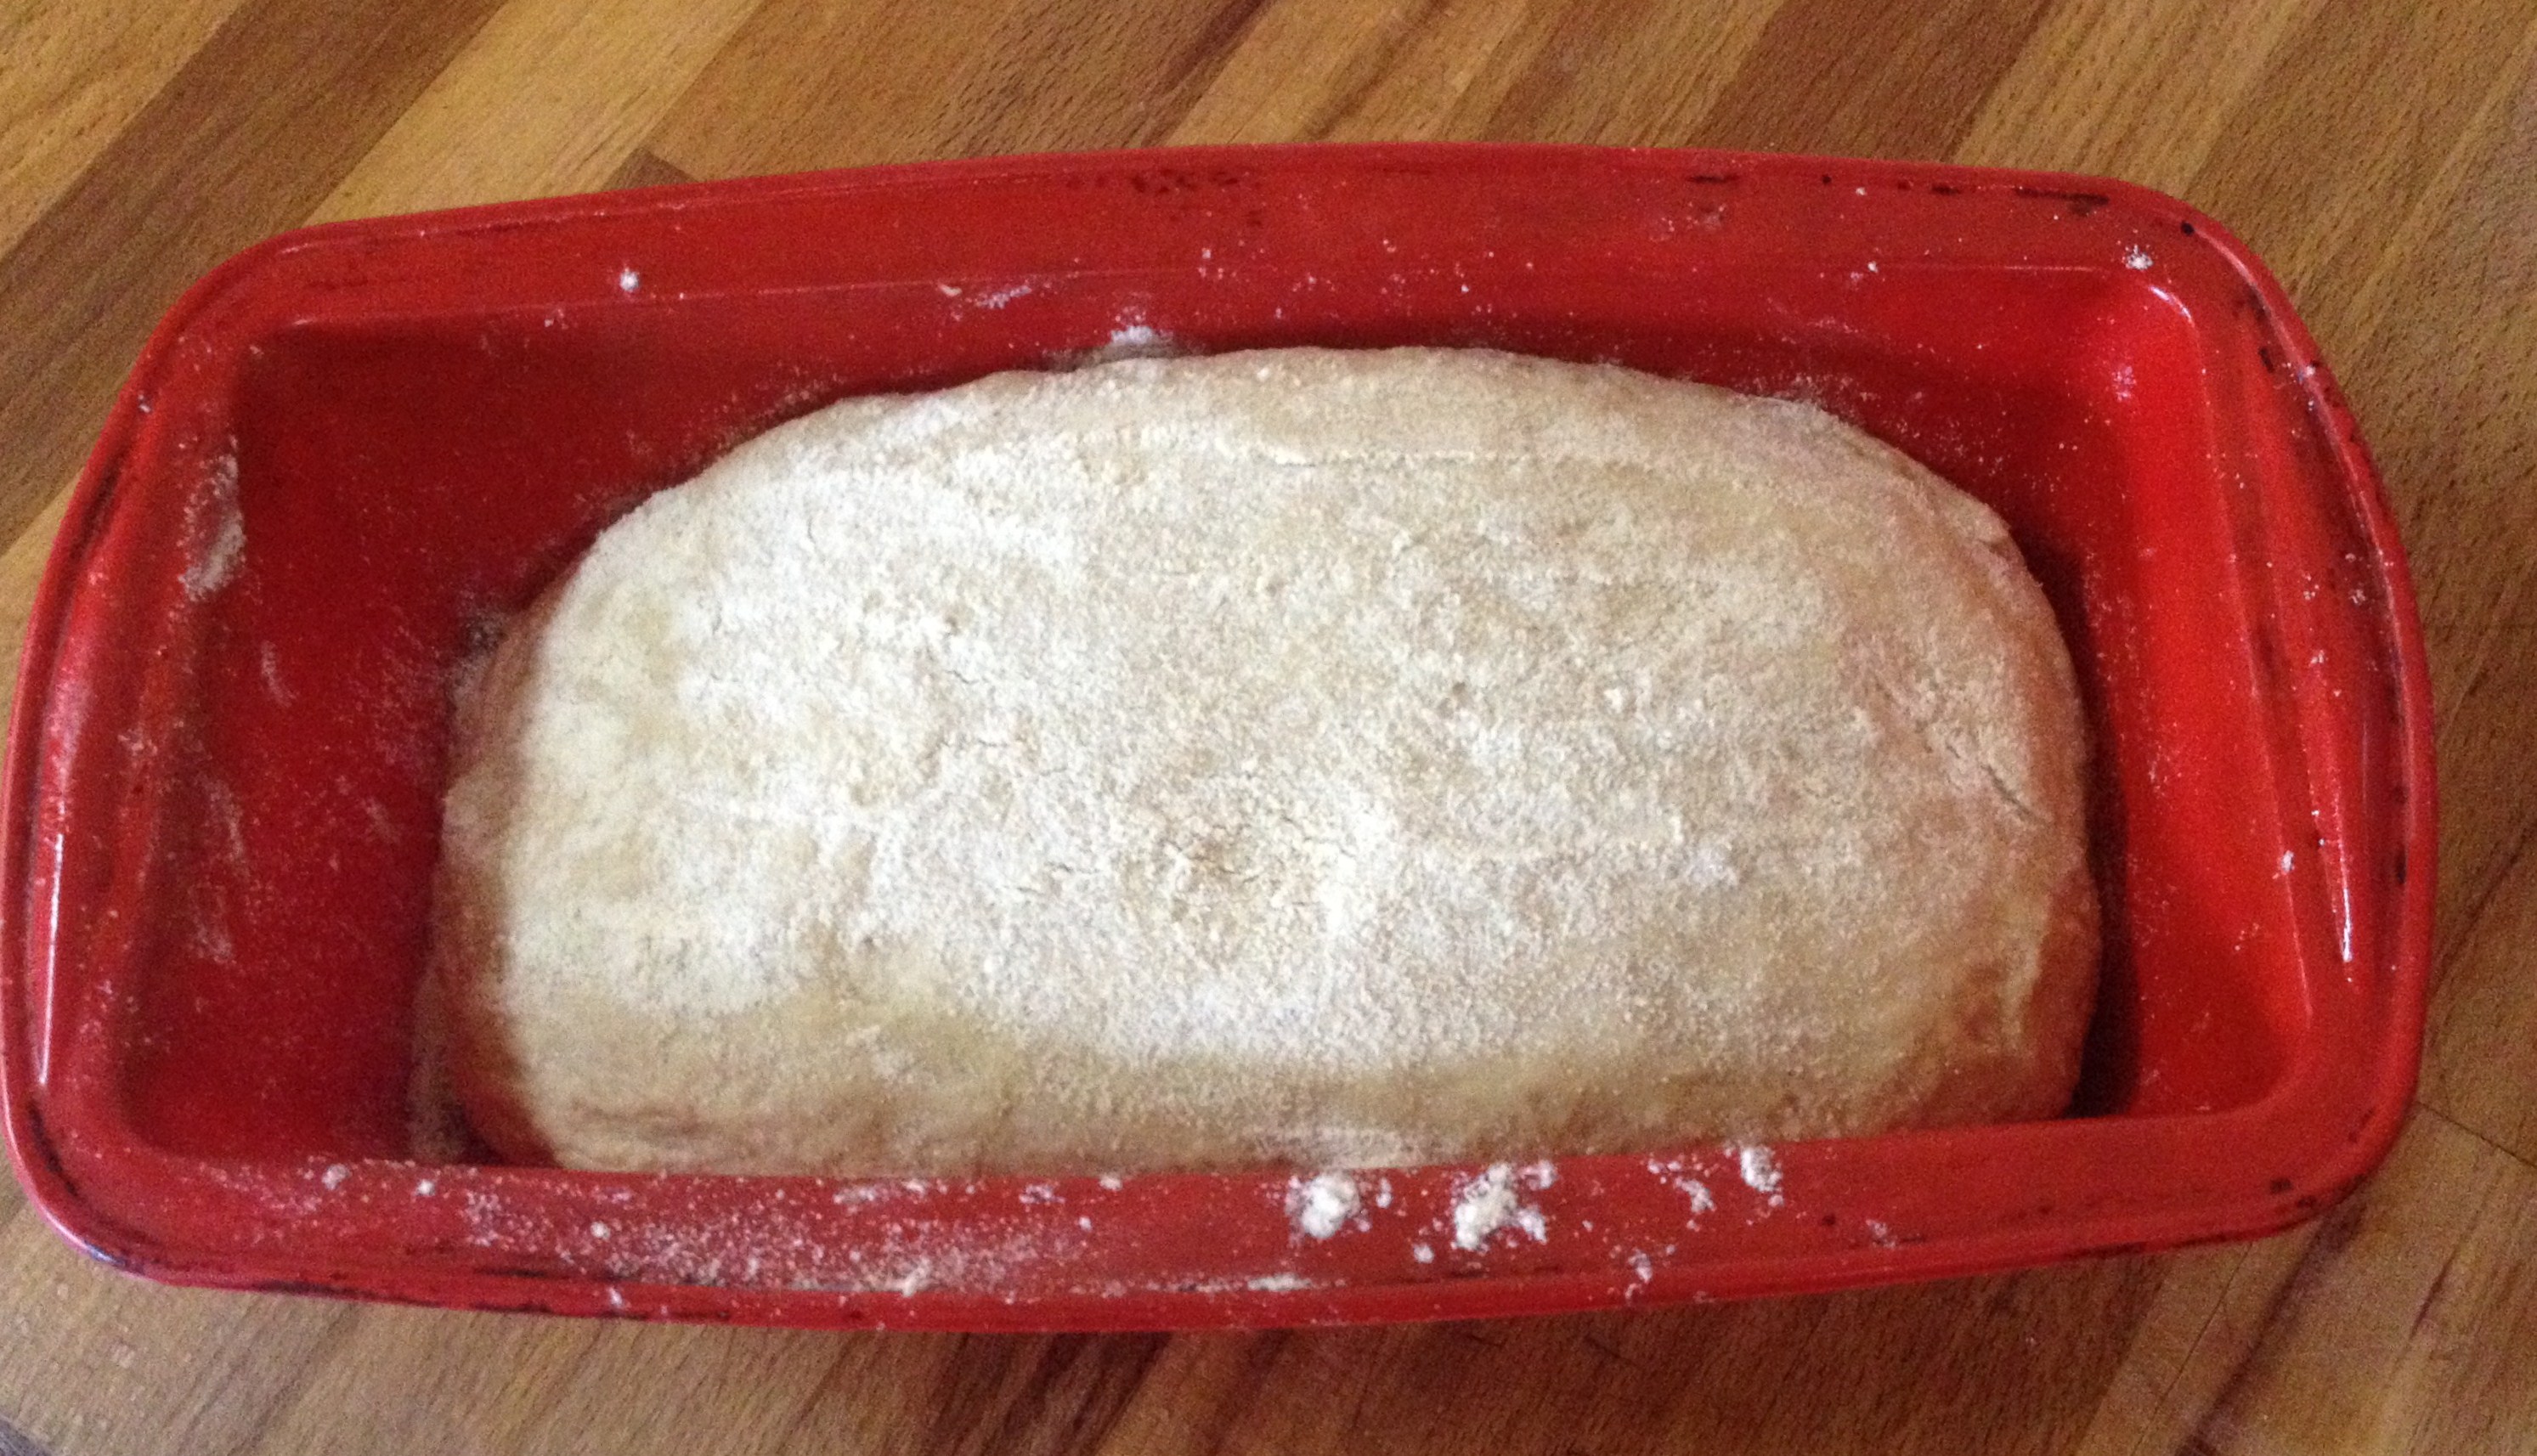
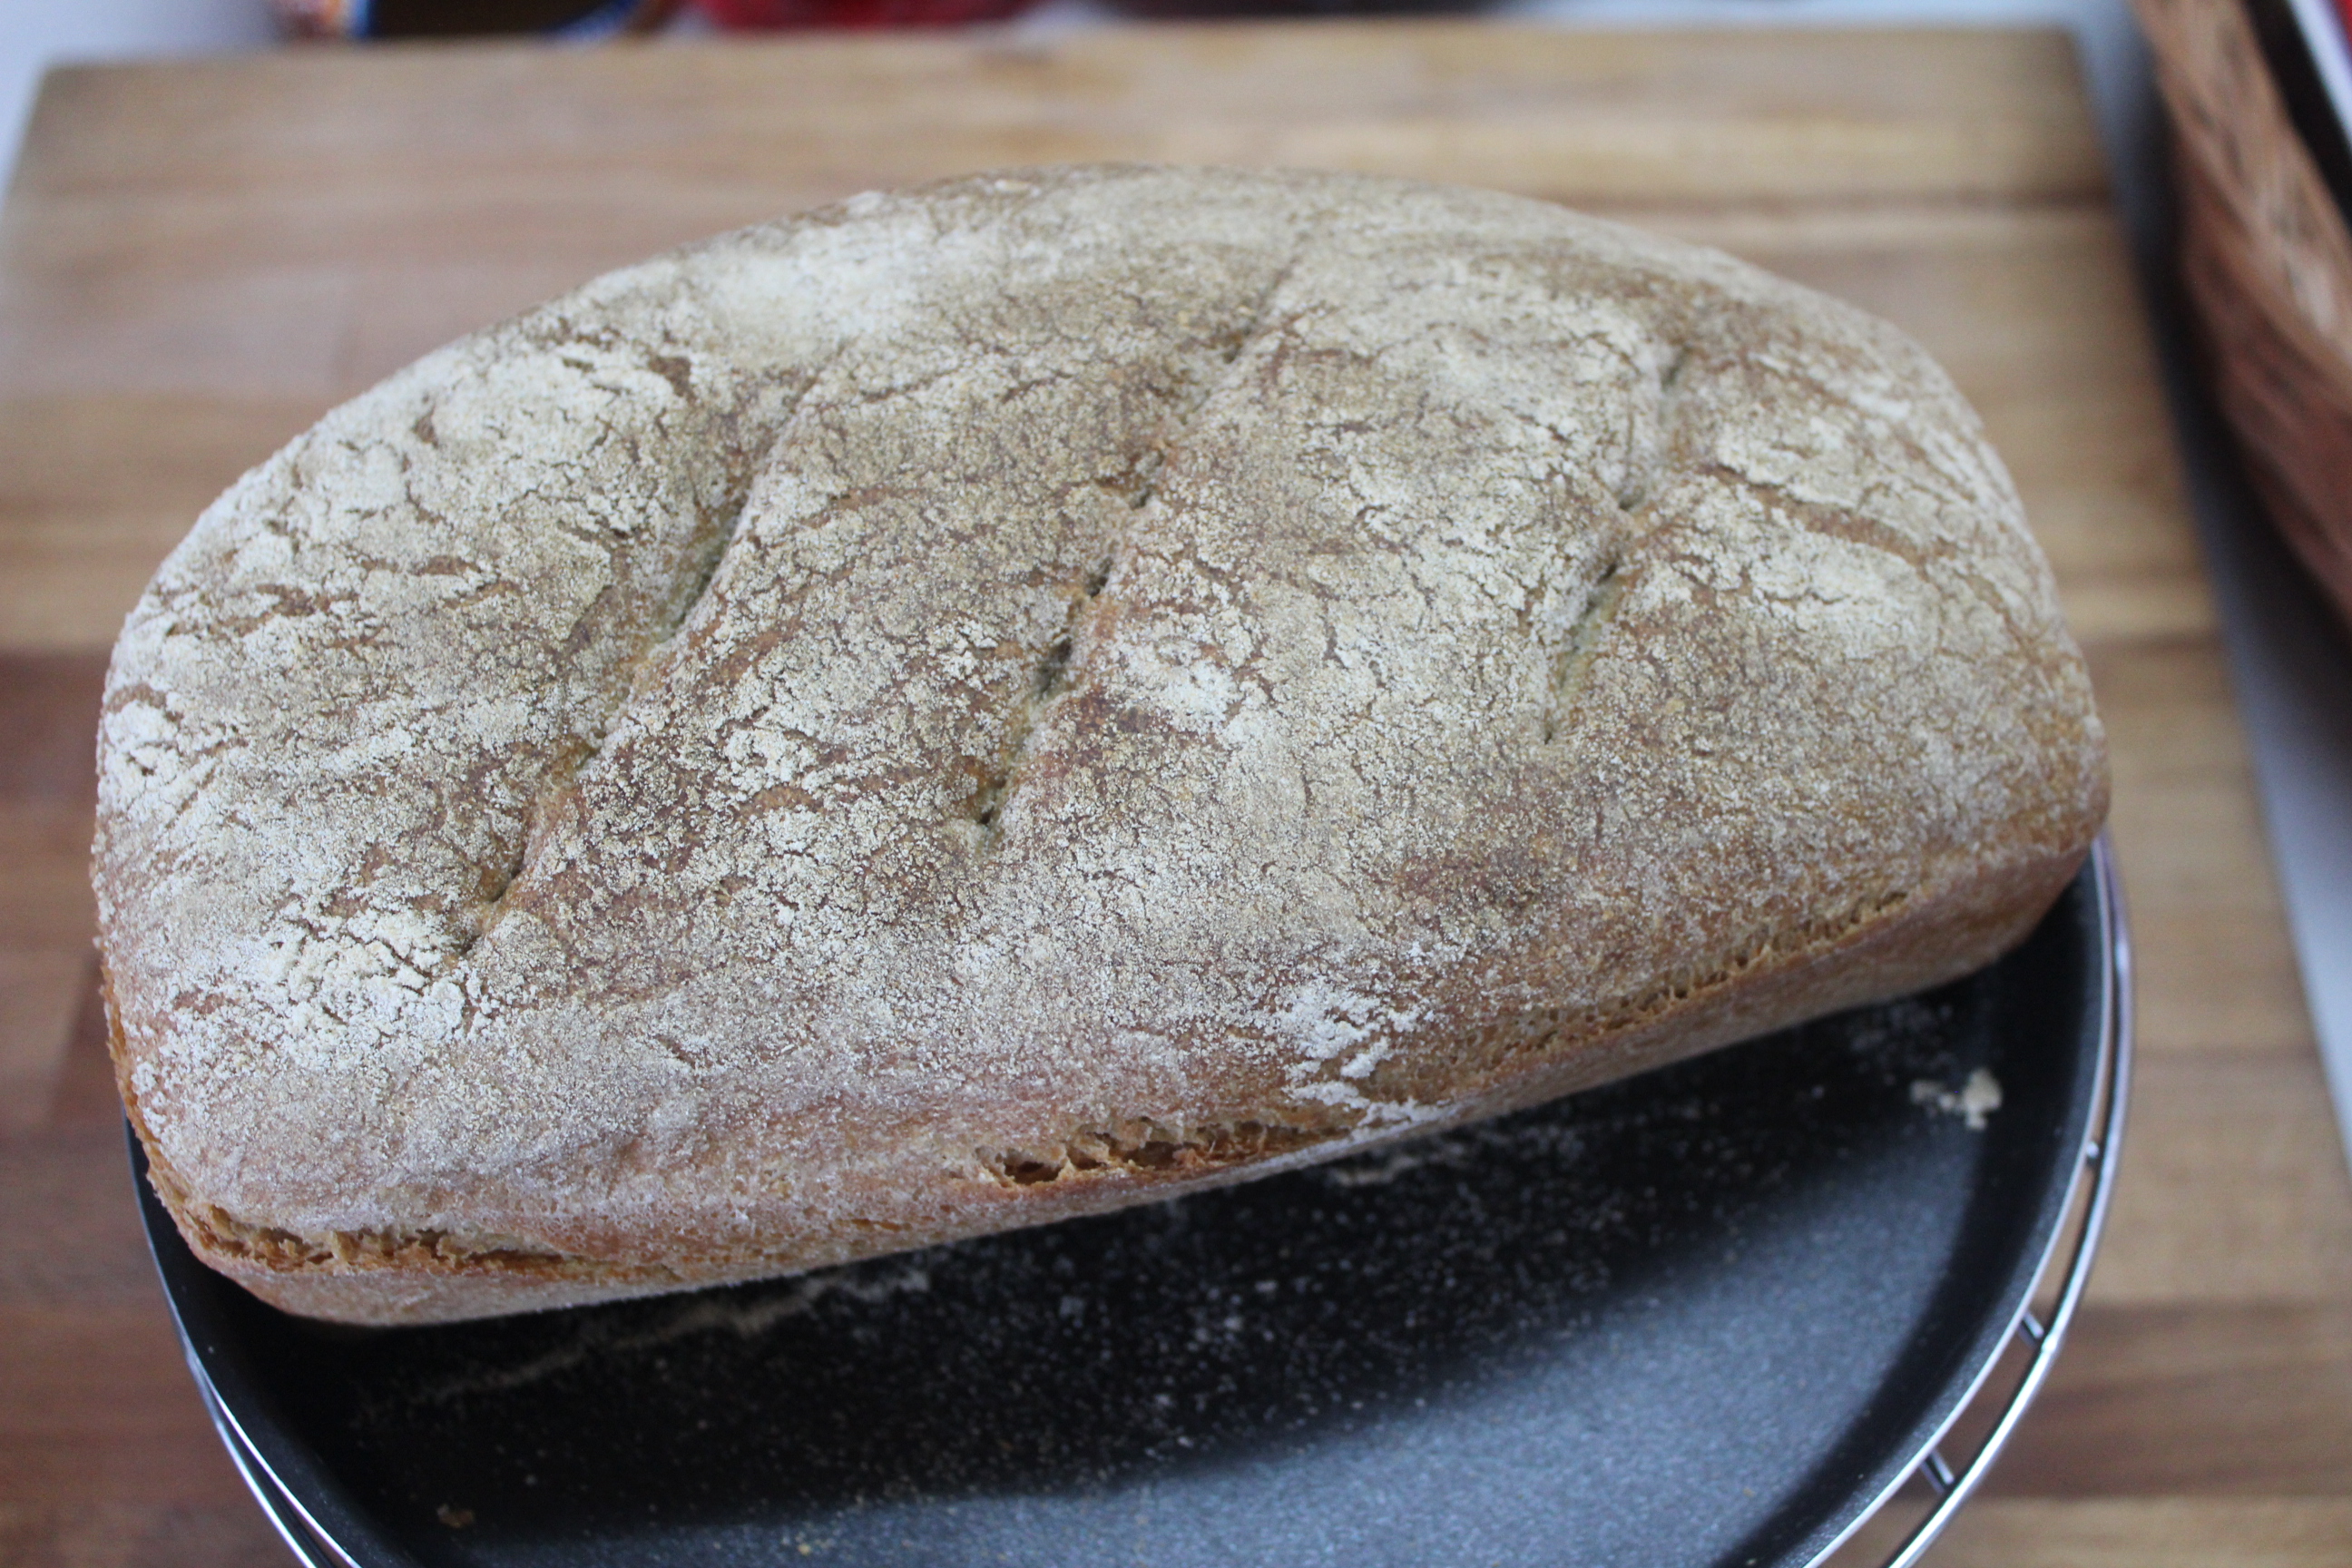
14. While the bread has doubled or raised a bit (some breads tend to raise in the oven), make slits in top and sprinkle little flour to avoid drying of bread while baking.
15. Preheat oven at 230 degrees C and place the bread tin for baking.
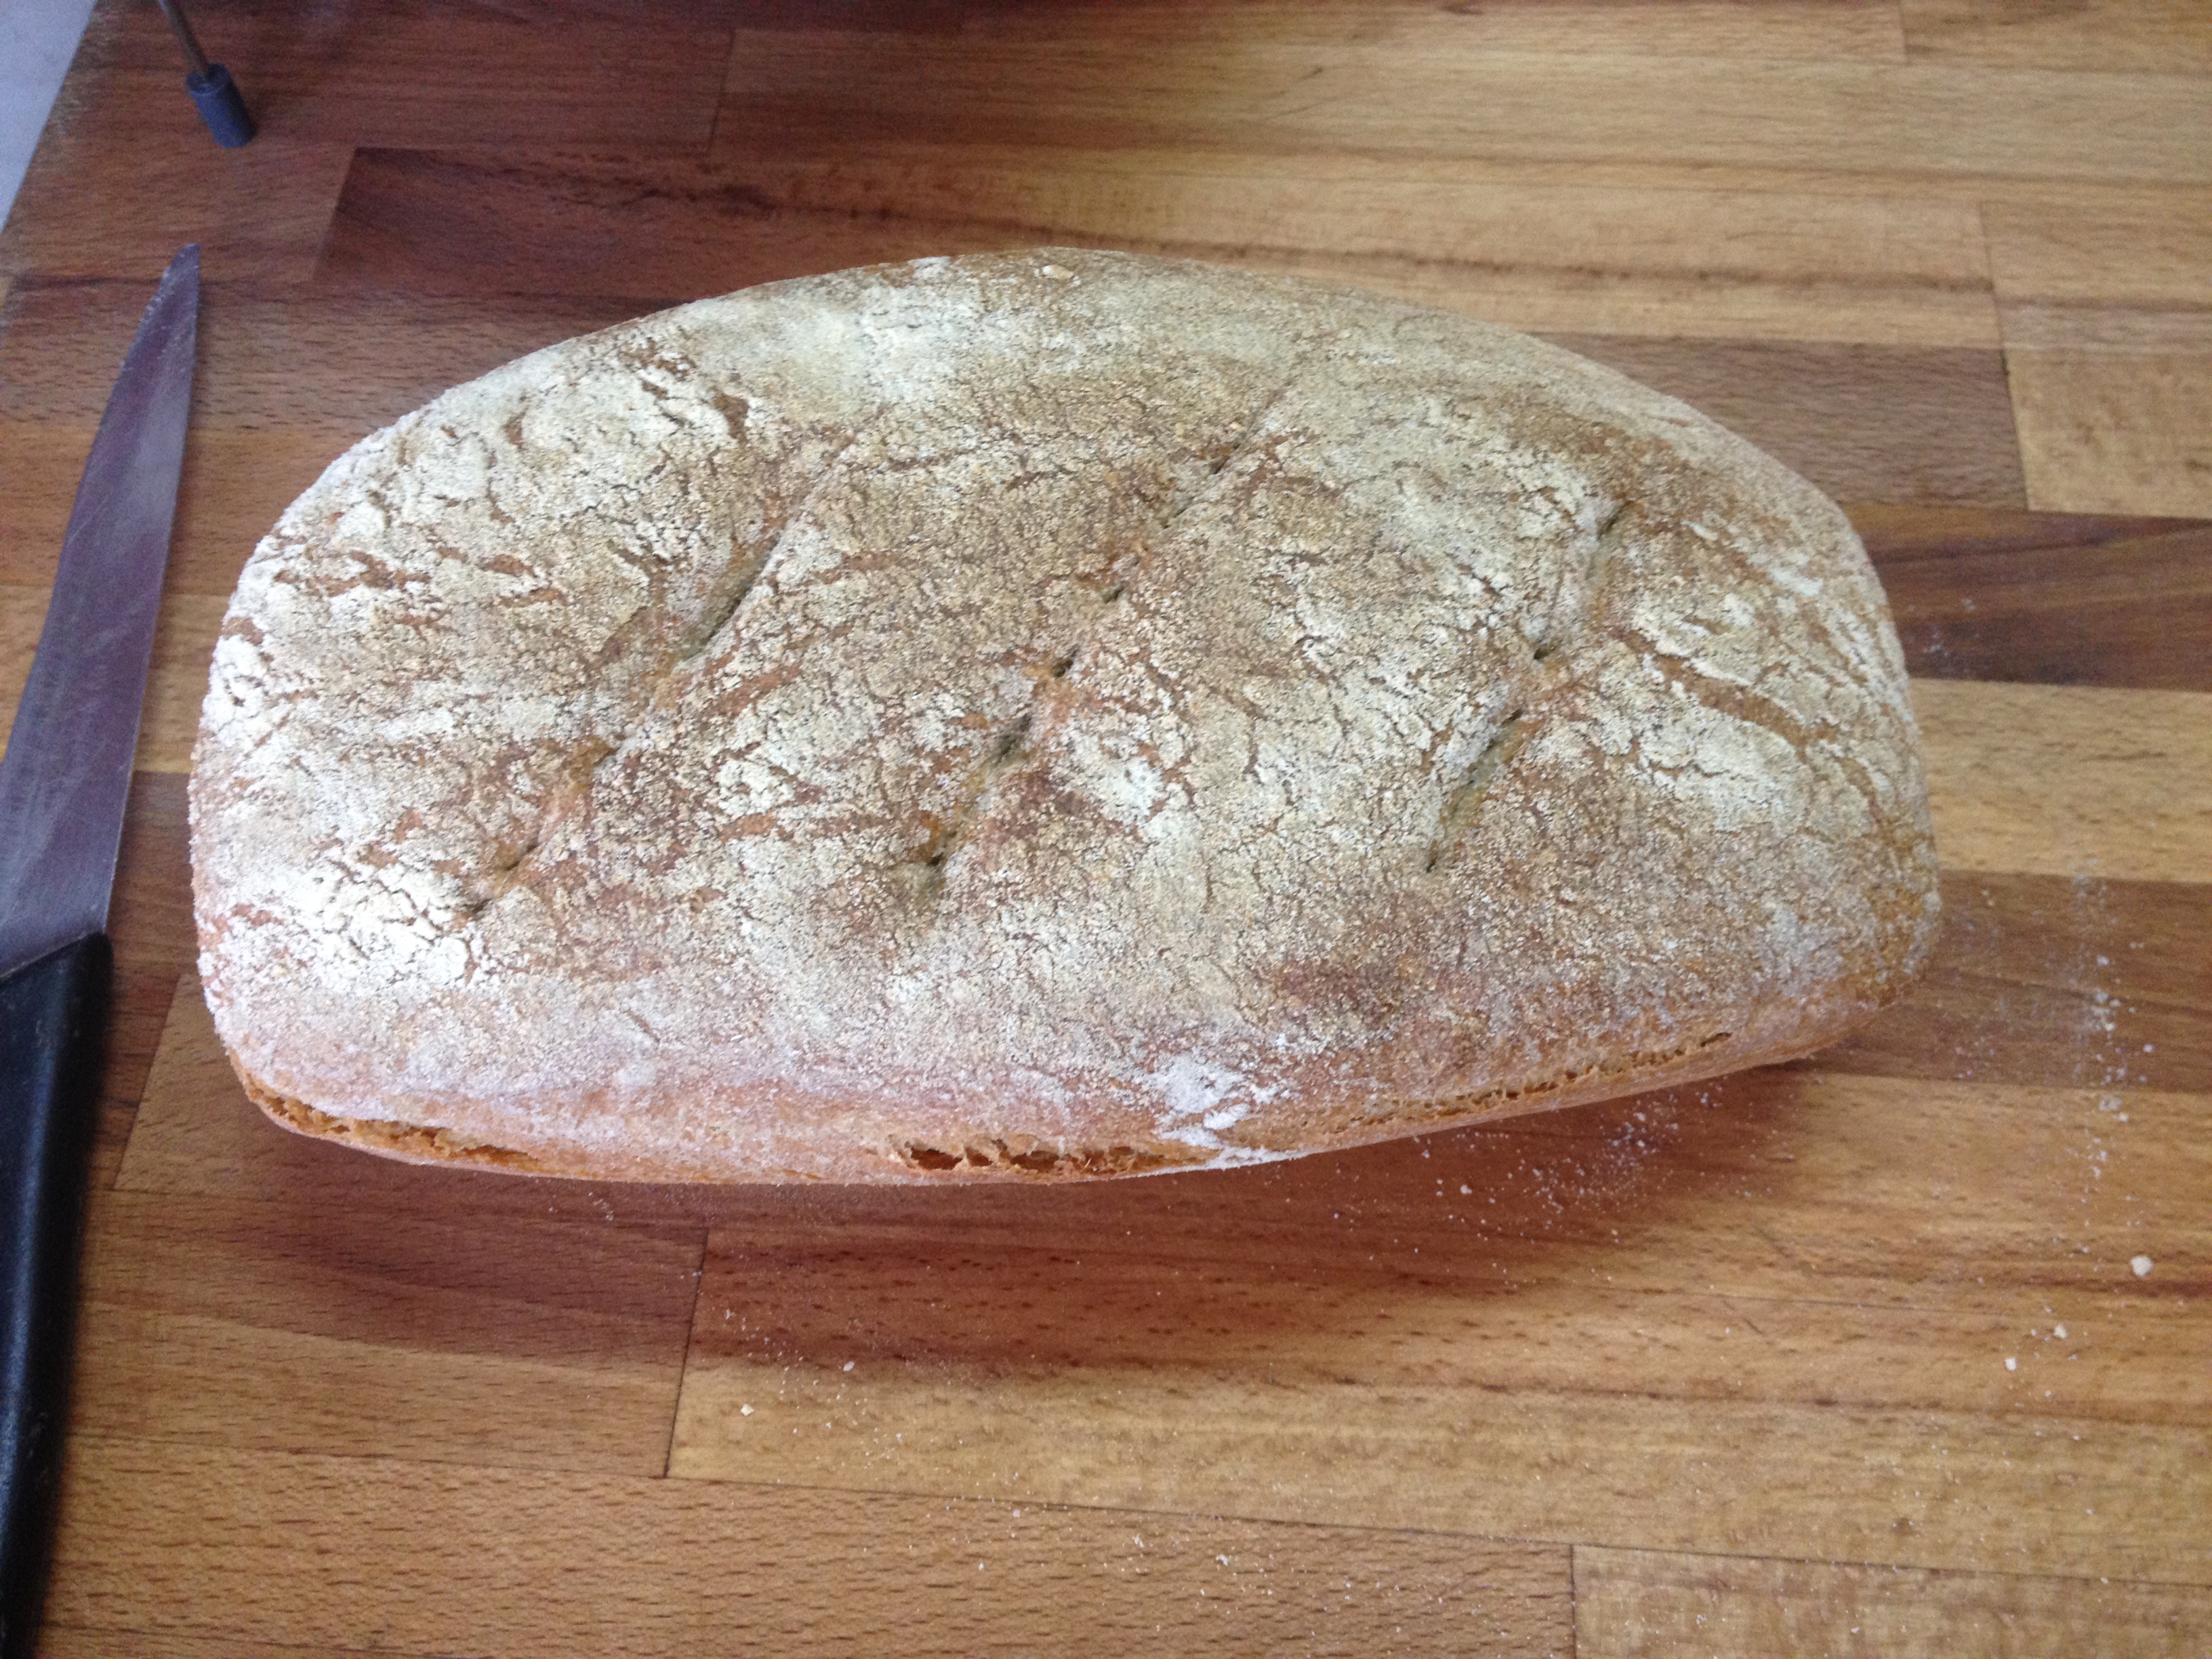
16. After preheated, reduce the temperature to 210 degrees C and bake for 30 – 40 minutes till the bread sounds hollow while tapped. Alter temperature according to your oven.
17. I have had this problem of bread getting baked brown on top but the covered bottom area remains a bit doughish. I took out the almost done bread out of the tin and placed on a wire rack and let it bake for another 10 mins and it was done.
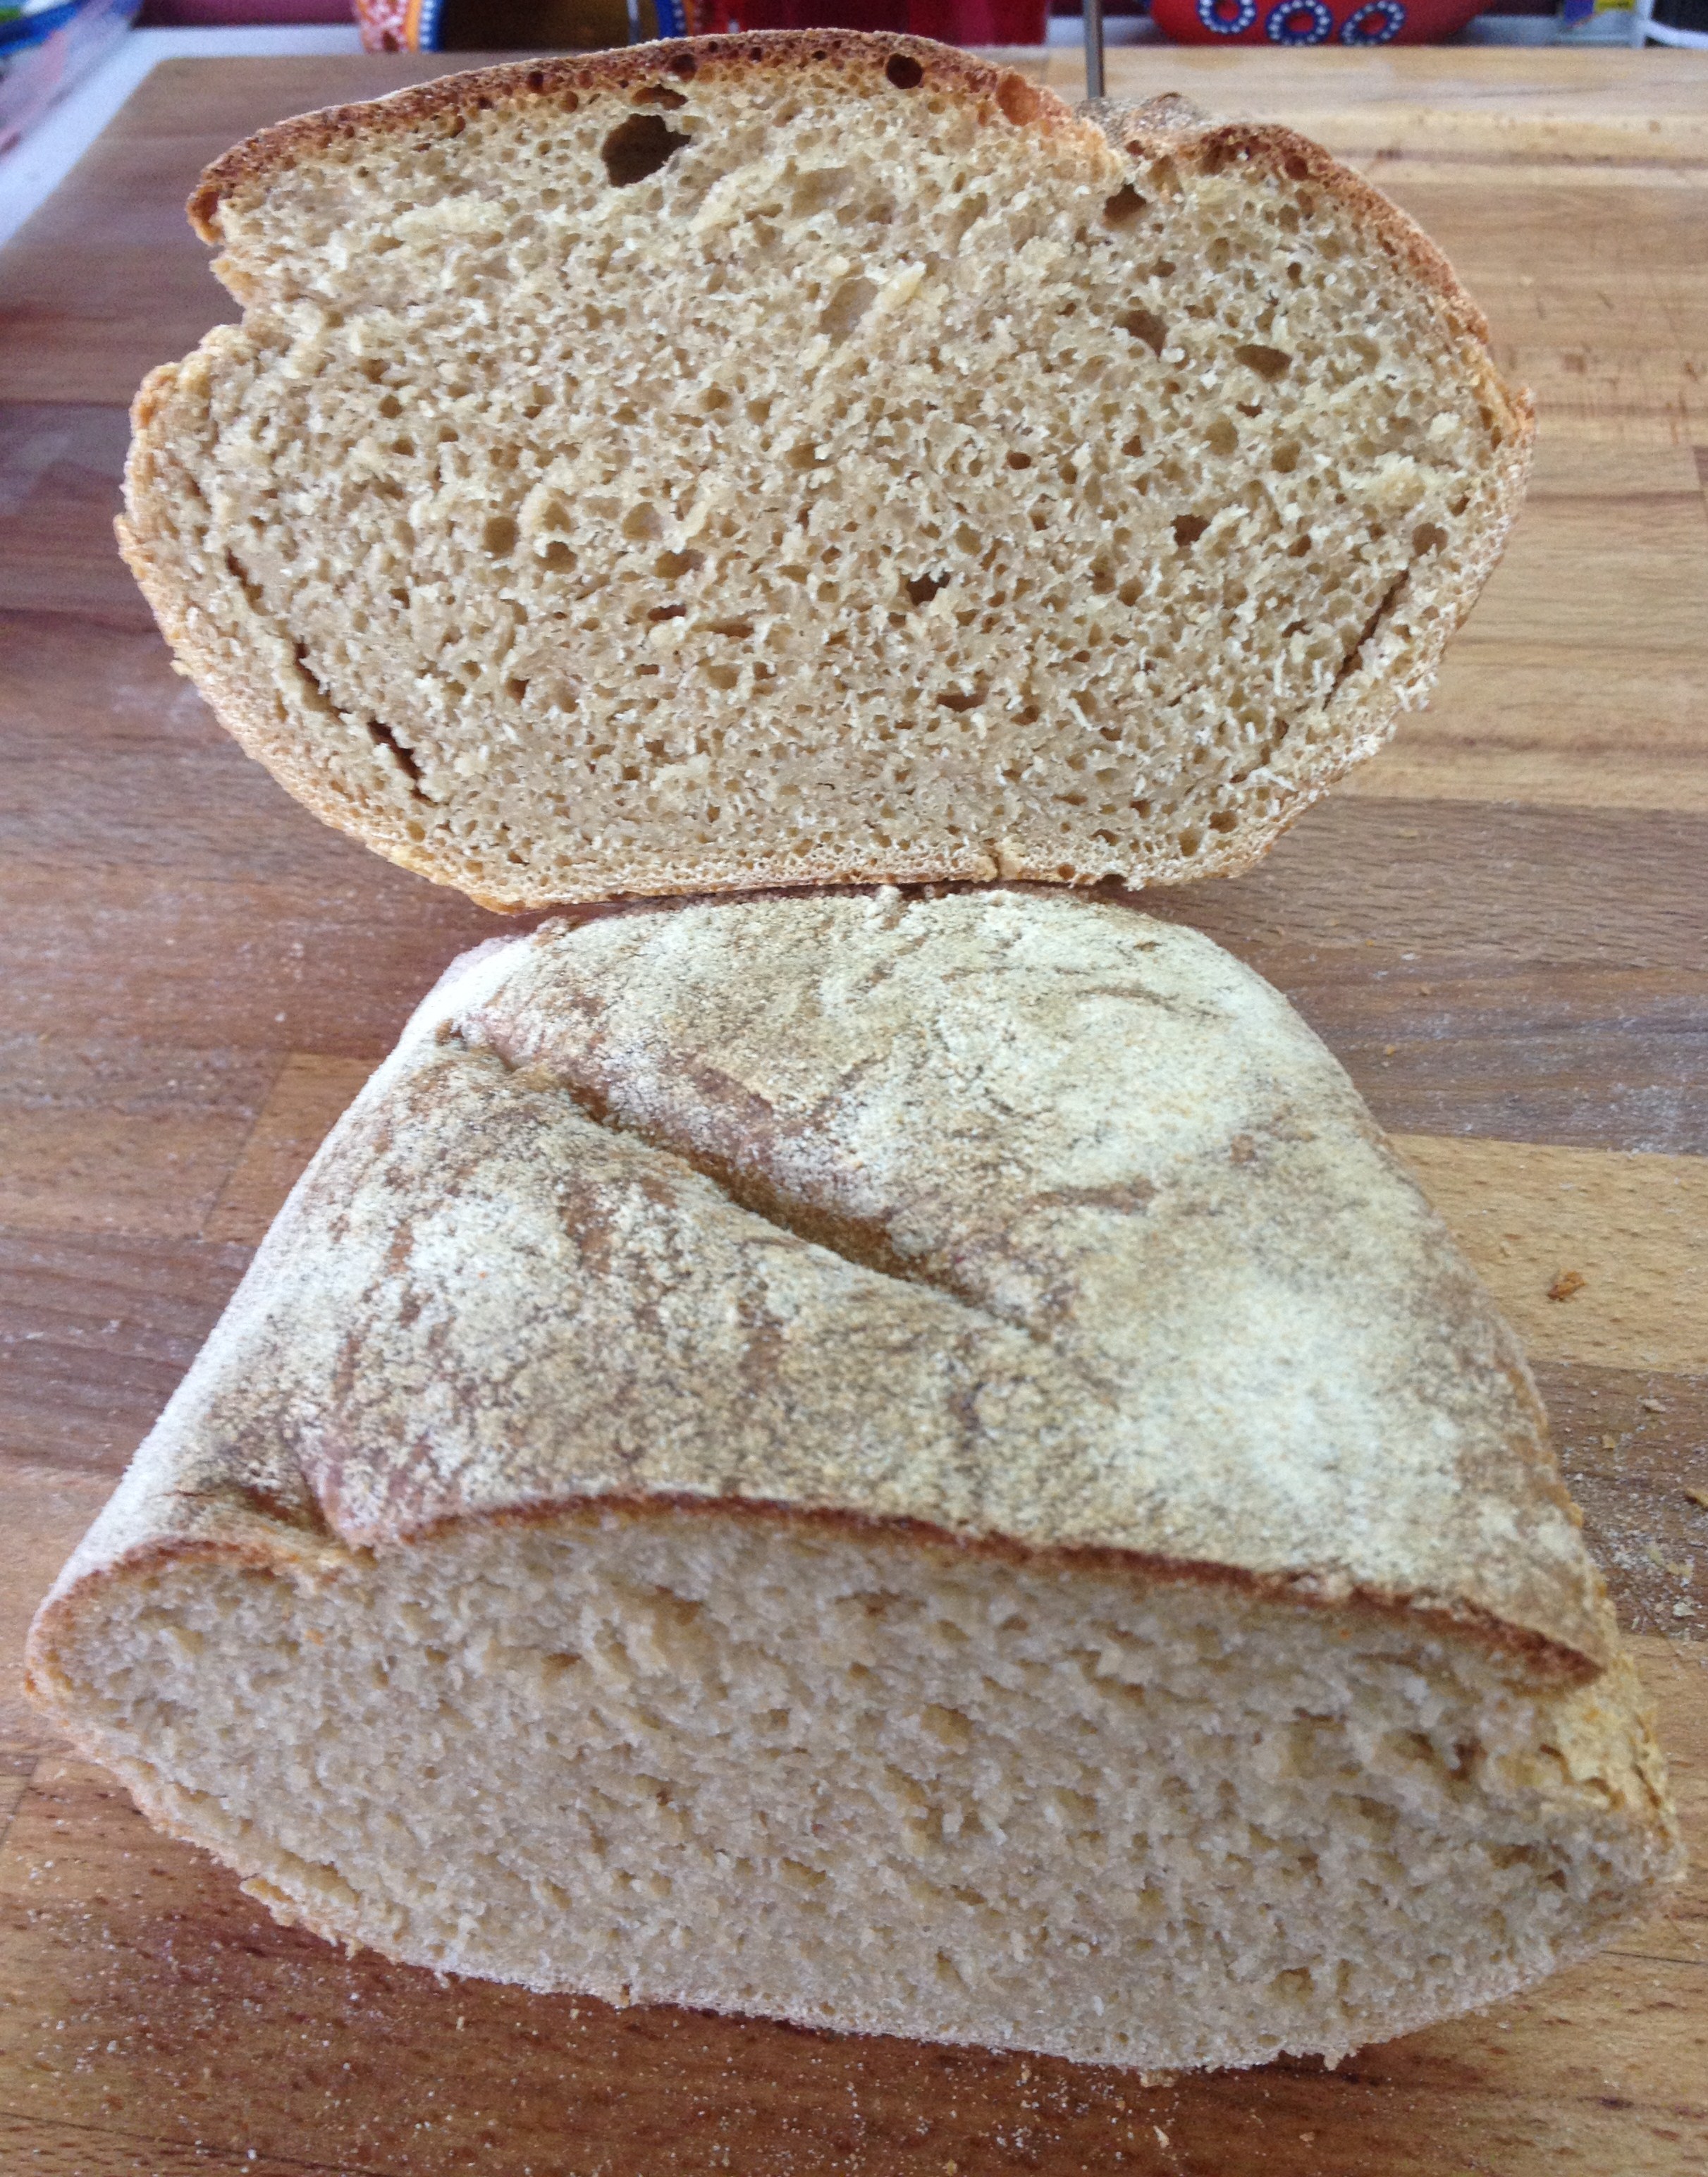
18. Cool it, Cut it and enjoy it. Freshly baked bread tastes wonderful just out of the oven.
the beautiful crust..
This one was certainly worth the effort!

Thank you so much! You make bread baking sound so simple! Often simple things are the best and most sought after. This was a much awaited recipe! Just imagining that smell of freshly baking bread from the oven at home…I can’t wait to try it!!
Thanks for your appreciation. The best part of home baking is the satisfaction of giving healthy food to the family. Plus the pride of making your own stuff, from scratch.
You have kept the bread for proofing overnight. Can you tell me the room temperature where you live? Because as i live in humid mumbài, the temperature here is 30° even at night. So do you think it is ok for me to leave the dough overnight?
The temperature of my place was around 20 degrees. At 30 degrees, you could leave to for 4-5 hrs during the day, Check after a couple of hours, if it has risen well. Then, it is time for the final proofing. The overnight leavening is more during winters, and especially aids in easy scheduling of the bread baking process. When left overnight, the next morning the bread is ready to be baked, in a couple of hours.It saves much time, waiting throughout the day.
You will have to try a couple of times… over-fermentation of the yeast, may alter the taste of the bread. If the quantity of yeast is lesser than normal (normal value is 7gms active dry yeast for 500 gas flour), and fermented overnight, then the resultant bread might taste like sour dough bread.
hope this helps.