The celebration of Ganesh Chaturthi or the birthday of the Hindu deity Ganesha is associated more with the state of Maharashtra in India. It is believed that Lord Ganapati was the family deity of the Peshwas. After the end of Peshwa rule, Ganesh Chaturthi remained a family affair in Maharashtra from the period of 1818 to 1892.
In 1893, Indian freedom fighter and social reformer Lokmanya Tilak transformed the annual domestic festival into a large, well-organized public event. (http://en.wikipedia.org/wiki/Ganesh Chaturthi).
Lord Murugan is the God of the Tamils. He is referred to as ‘Tamil Kadavul’. Archaeological findings of pottery and relics in several places in Tamilnadu, particularly in Adichanallur, had ideographic inscriptions of this name and show signs that Murugan worship was prevalent at least as early as 10th century B.C, if not earlier.
Lord Murugan is also associated with Ahmuvan, an Indus Valley Deity.
According to noted epigraphist Iravatham Mahadevan, the ideographs signify a brave warrior capable of killing evil beings to save the devoted. (http://en.wikipedia.org/wiki/Murugan).
So, when did ganesha/vinayakar or pillayar worship come to Tamilnadu? There are many versions that lead us to historical references.
1. It is popularly said that ganesha was brought into Tamilnadu after the Vatapi War.
Narasimhavarman I was a Tamil king of the Pallava dynasty who ruled South India from 630–668 CE. He avenged his father’s defeat at the hands of the Chalukya king, Pulakesi II in the year 642 CE.
Pulakesi II, a renowned early Chalukya king, had previously raided various northern Pallava provinces and forts. However, he was unable to capture the Pallava capital of Kanchipuram. This led to a long conflict between the Chalukyas and the Pallavas.
Narasimhavarman defeated the Chalukyas in several battles, including one at Manimangalam 20 miles to the east of Kanchipuram. Encouraged by this victory, Narasimhavarman led his army along with his general Paranjothi and invaded Vatapi (Vatapi was the name of Badami the chalukya capital situated in present day Karnataka) successfully defeating the Chalukya king Pulakesi II in 642 CE. He returned victorious to Kanchipuram, and was given the title Vatapikondan (one who destroyed Vatapi).
His general Paranjothi was known very well for his devotion to Lord Siva and as one of the 63 Nayanmar saints, is said to have indeed personally destroyed the city of Vatapi under the command of Narasimhavarman I. He is also known as ‘Siruthonttar’. (http://en.wikipedia.org./wiki/NarasimhavarmanI)
It is generally assumed that Ganesha was brought to Tamilnadu by Siruththondar. After the victory over Chalukyas in Vatapi, he brought back a statue of Vinayaka. This statue, he placed in the Siva temple of his home town – Thiruchenggattangudi. In Thiruchengattangudi, even today the vinayakar is called Vatapi Ganapathi.
2. Whether the Thiruchengattangudi Vatapi Vinayakar was the first to have come to Tamilnadu is still controversial. The rock-cut Ganesha- the Karpaga Vinaayagar of Pillaiyaarpatti fame is earlier than the period of Siruththondar. (www.visvacomplex.com/GanesaWorshipInTamilNadu)
3. Beyond these facts, there is another instance where the name Ganapati is referred to in literature – in Appar Thevaram.
Among the 63 Nayanmar’s of Saiva Bhakti literature, Appar or Thirunaavukkarasar holds a special place. A Saivite by birth, he embraced Jainism in his early years. Later, after the intervention of his sister Thilakavathiyar, Lord Siva made him realise Saivism and he became an ardent devotee of Lord Shiva.
The Jain leaders did not like the return of Thirunaavukkarasar to Saivism. They approached the then Jain King Mahendra Varma Pallavan to punish him. Appar antagonised the Jains and the Pallava emperor, Mahendra Varman I. The king tried in many ways to punish and kill appar.
After some failed attempts, the king ordered to tramp Thirunaavukkarasar by the Royal elephant. Thirunaavukkarasar with heart filled with devotion for Siva, sat down and sang the hymn which starts –
Sunna ven sandhana chchaandhum sudar thingat chuulaa maniyum….
and ends –
Anjuvadhu yaadhondrum illai anja varuvadhum illai
(we are not afraid of anything. There is nothing that can frighten us.)
The elephant instead of tramping on him saluted him with its trunk. In one of these hymns, appar mentions
‘kalamalak kittuth thiriyun ganapathi yennun kalirum’
Here, there is a mention of Ganapati.
This ‘anjuvadhu yadhonrum illai’ hymn predates Siruththondar’s invasion of Vatapi by at least 30 years. (www.visvacomplex.com/GanesaWorshipInTamilNadu). For more details on thevaram and nayanmar saints visit www.shaivam.org./tamil/thiru04.html. This website gives the hymns of all nayanmar saints in detail.
Appar sang these hymns in front of King Mahendra Varman, the father of Narasimhavarman – under whom Siruthondar brought Vatapi Ganapathi to Thiruchengattangudi. King Mahendra Varman too returned back to Saivism.
4. The rock-cut Pillaiyaar of Mahipaalanpatti is also very ancient and is quite unique. There is no other statue like it, in Tamilnadu. Mahipaalanpatti is known by the name Poongunram in Sangam ages. This was the home-town of kaniyan poongunranaar – one of the great poets of sangam literature. (www.visvacomplex.com/GanesaWorshipInTamilNadu).
I could not find more details about the Pillayar in Mahippalanpatti in the net. There are only geographic references to the place and not the temple.
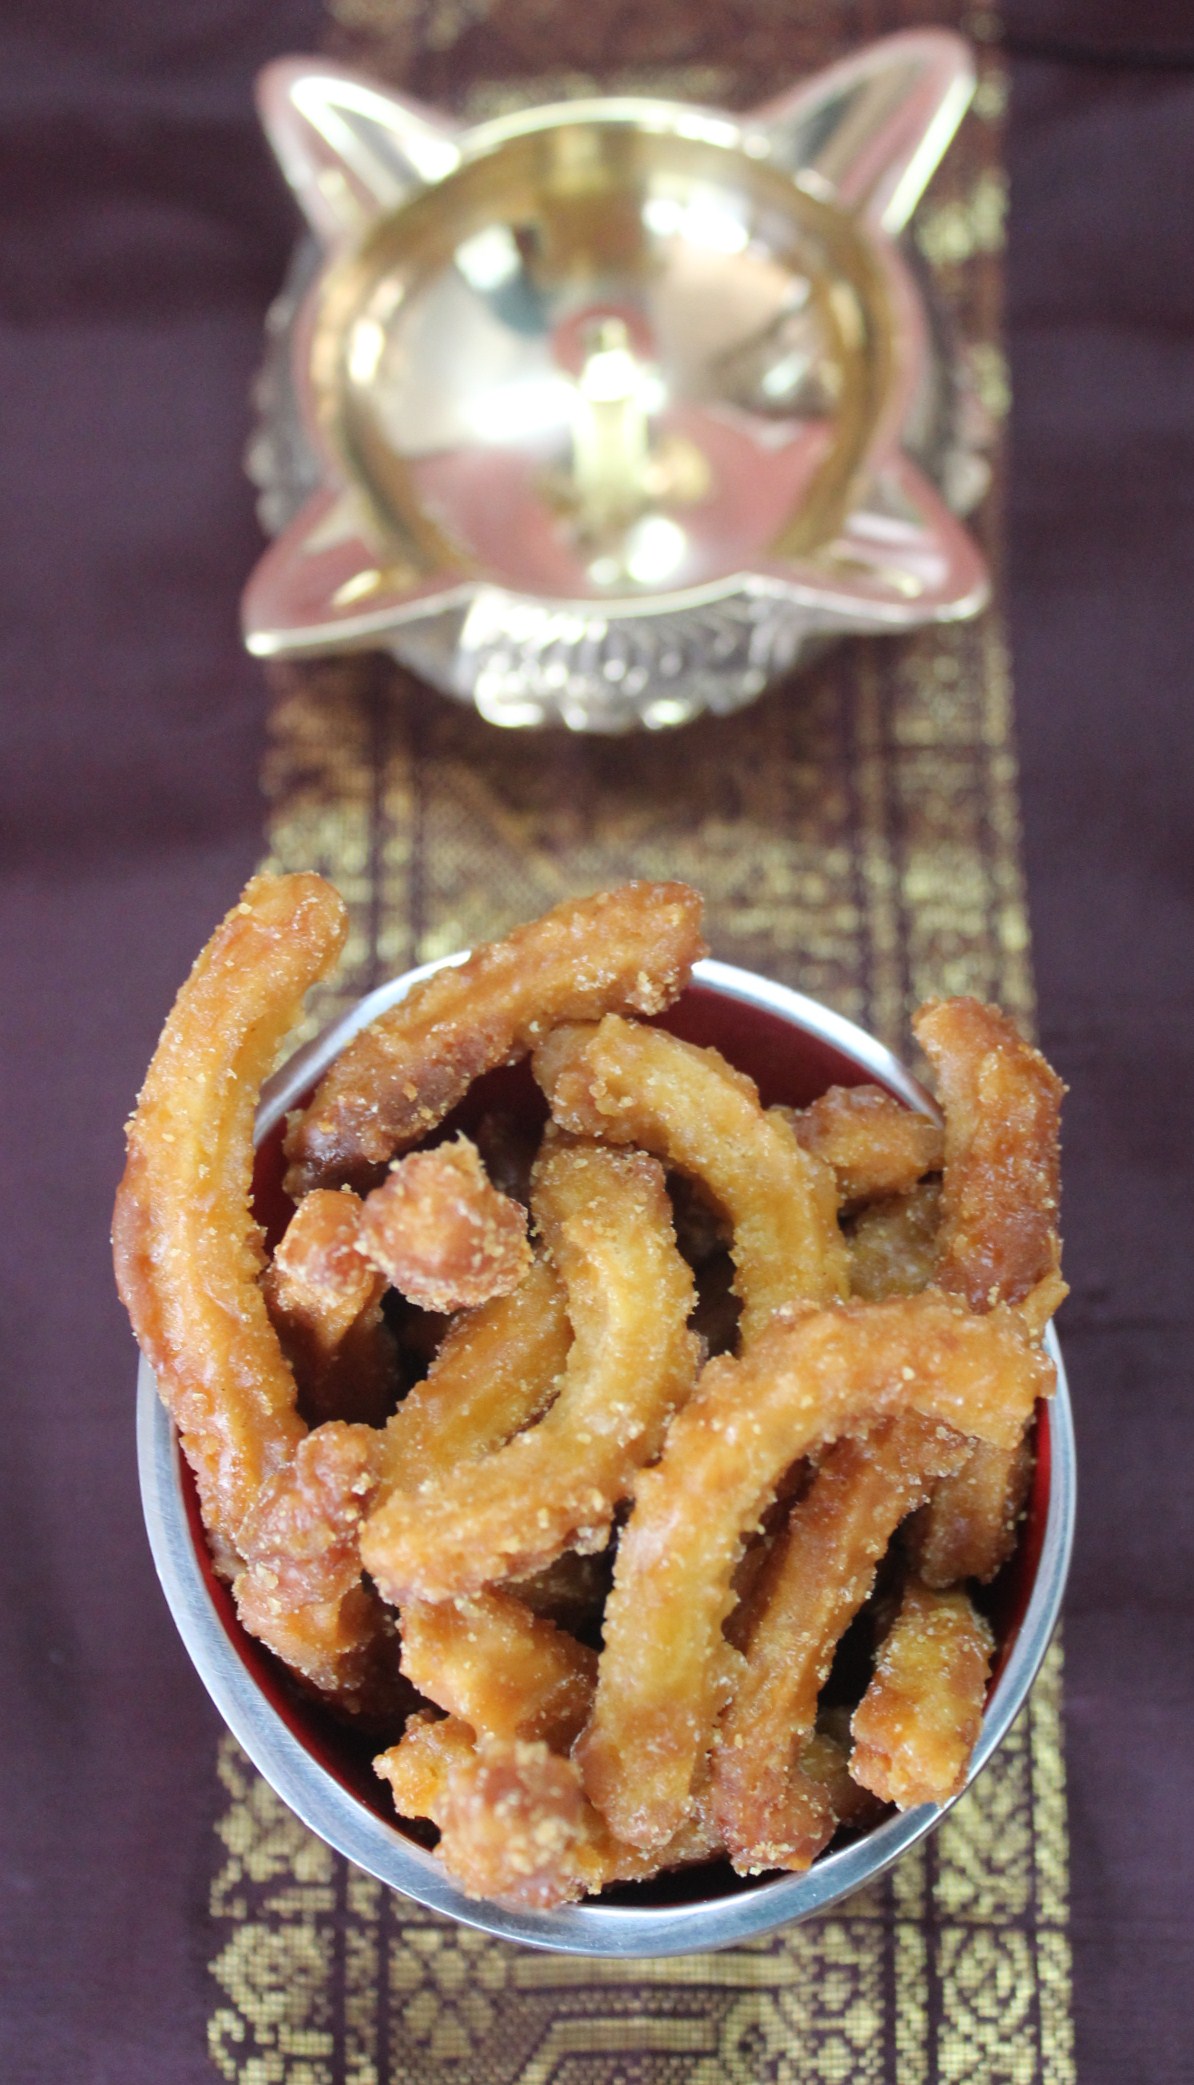
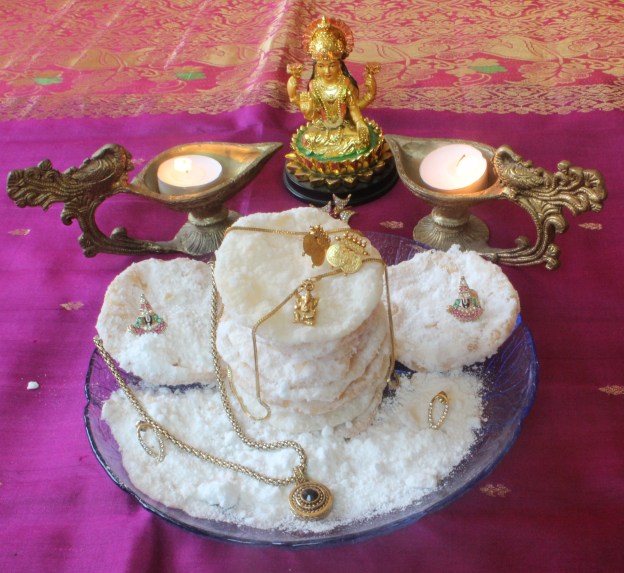
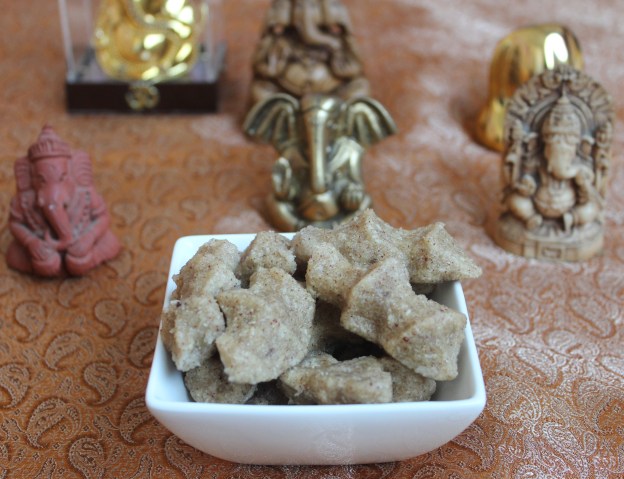
Now, back to cooking! Ganesh Chaturthi or Pillayar Chaturthi – birthday of Lord Ganesha fell on 1st of September this year. It is a late post on that issue – but better late than never!

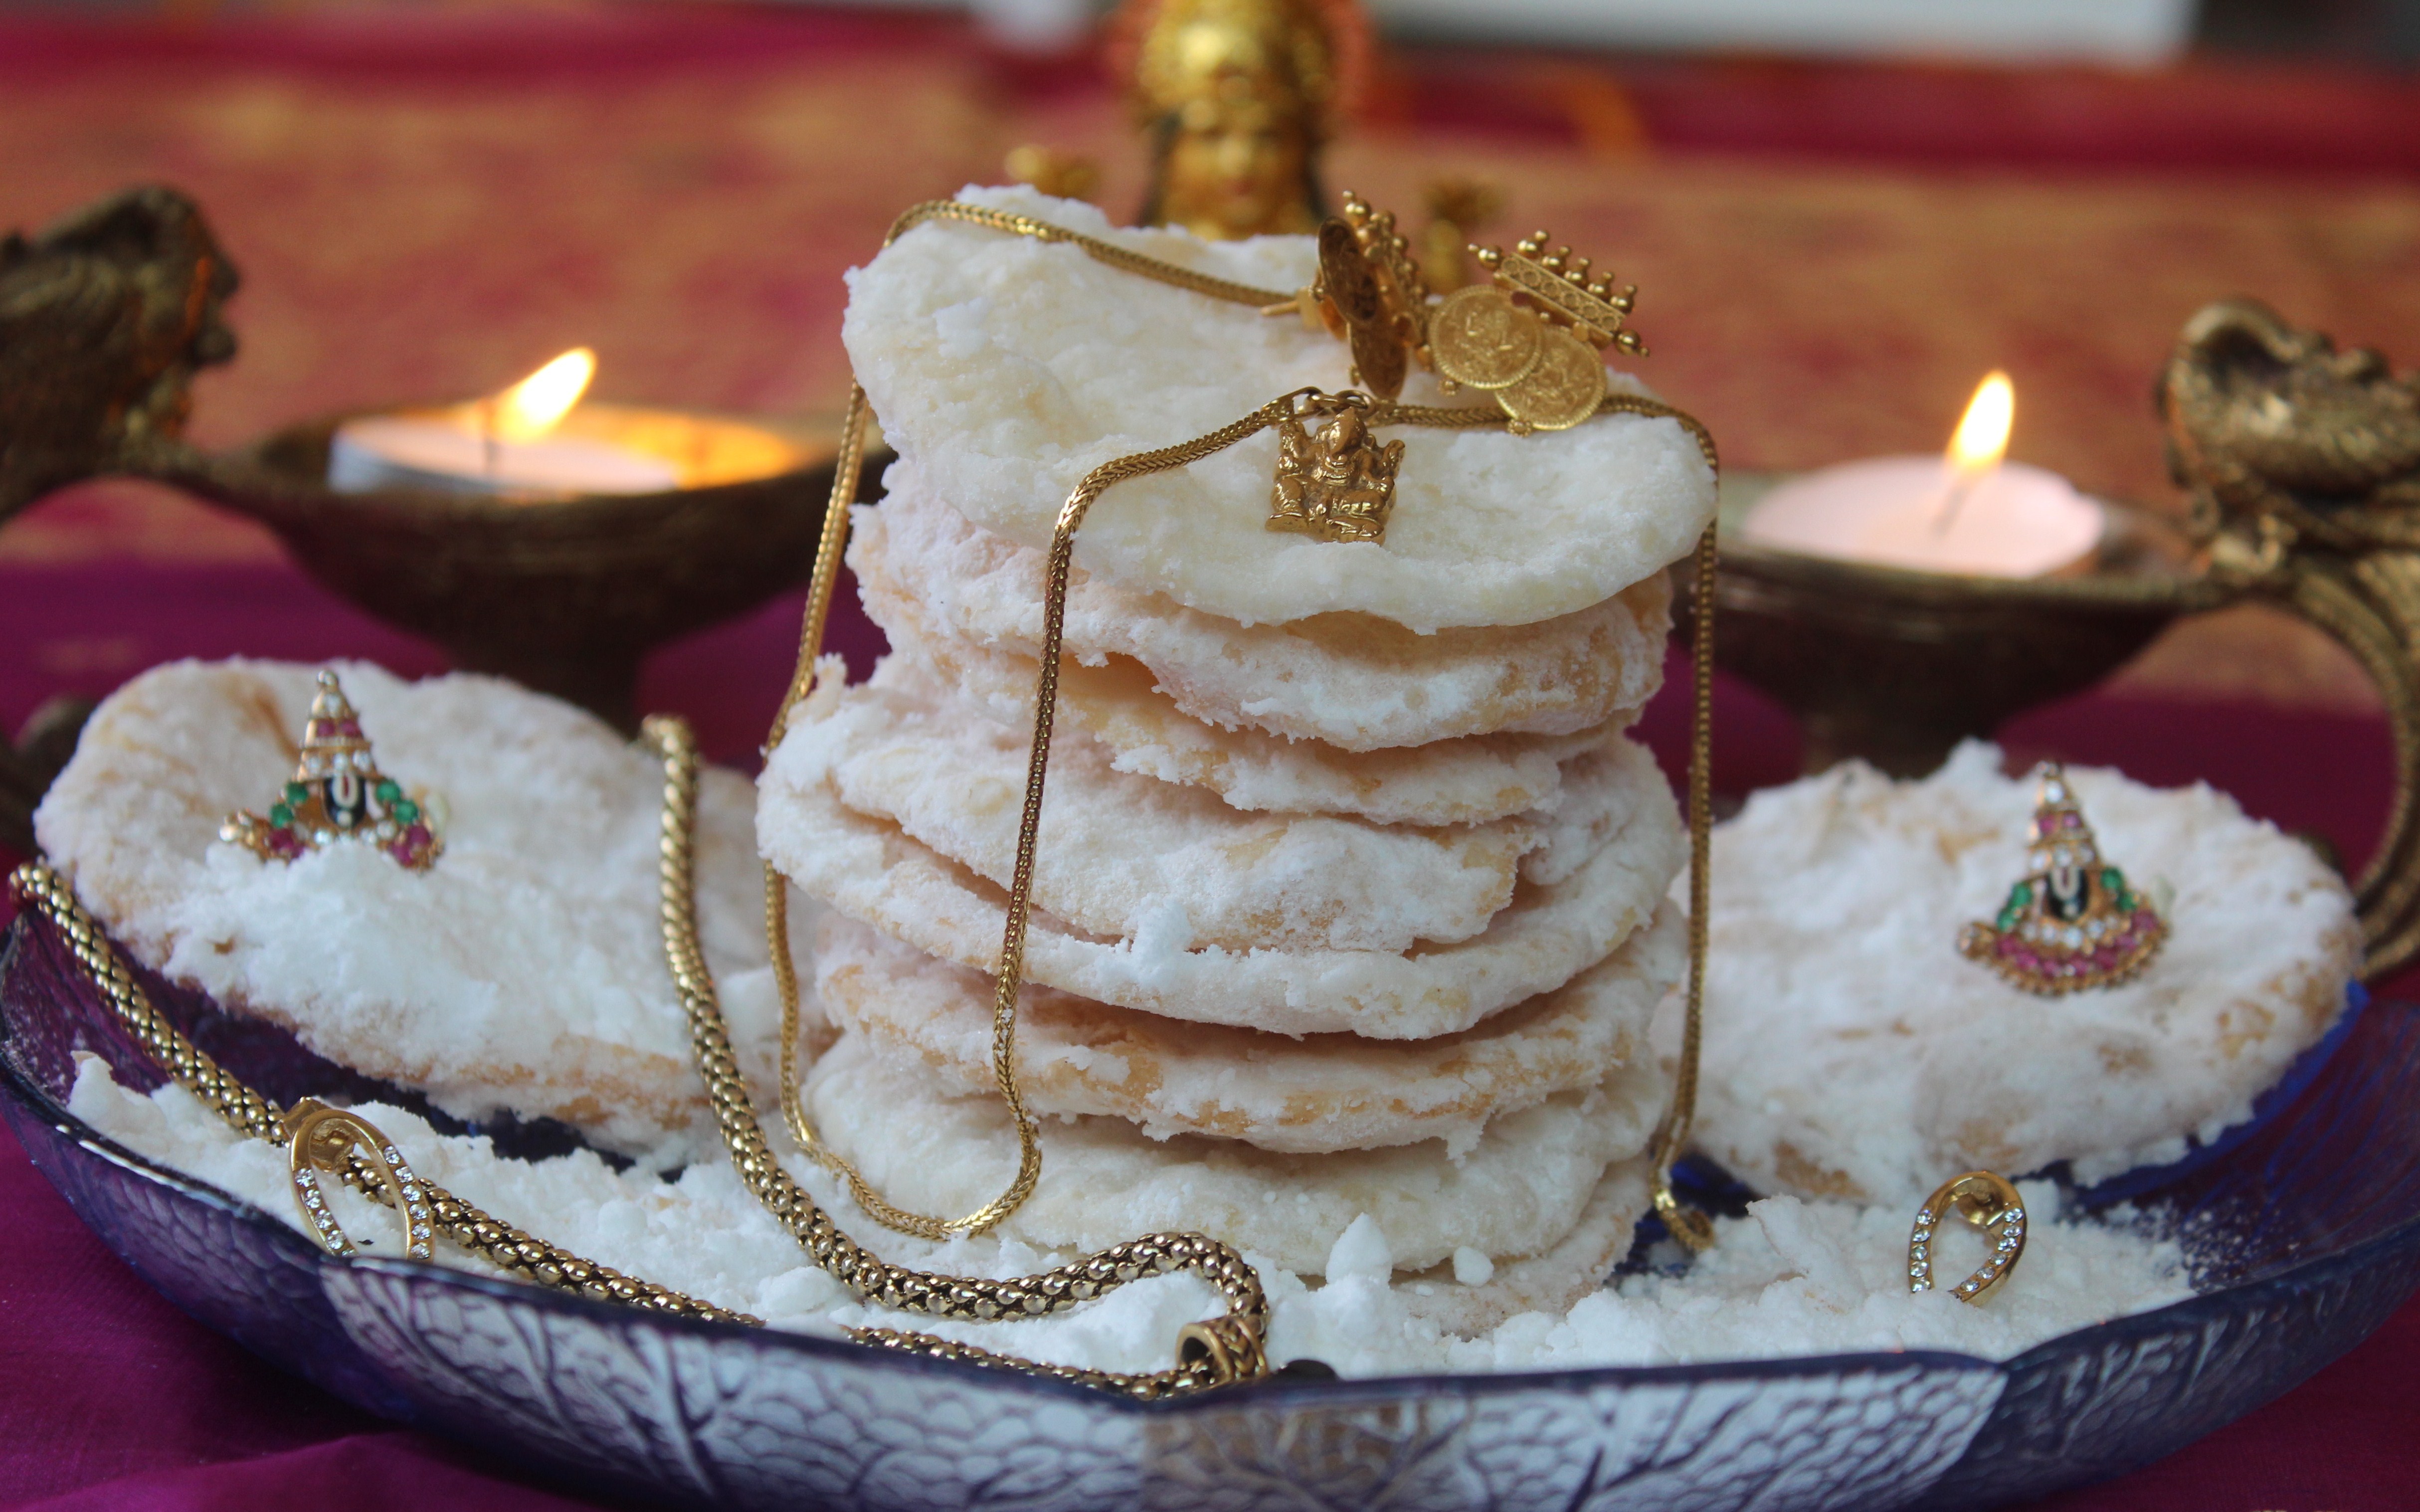
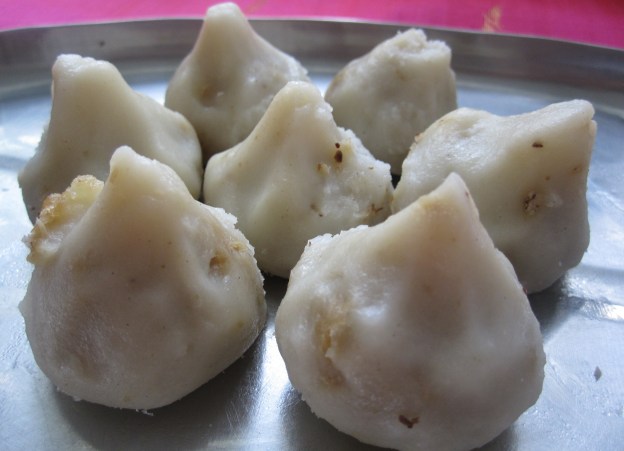
Pillayar Chaturthi or Ganesh Chaturthi is marked by modhakam – coconut jaggery filled dumplings – lord ganesha’s favourite. Waking up early and making 108 modhakams used to be the duty of children guided by amma. The exotic smell of roasted coconut mixed with jaggery would wake us up. After a quick hair wash, no solid food before puja – only coffee, tea or milk, we would start making modhakams.
When 108 is done and everything else ready for puja – more than ganesha, our tummies would be longing for the steamed white modhakams. Ofcourse, after distribution of modhakams in the neighbourhood, the whole day is there to finish the wonderful, jaggery syrup flowing sweet balls!

Modhakam (approximately 20 dumplings)
Ingredients
For the filling
- coconut – one half portion
- grated jaggery – 1/2 cup
- dry ginger powder – 1/2 tsp
- cardamom powder – 1/2 tsp
For the flour dough
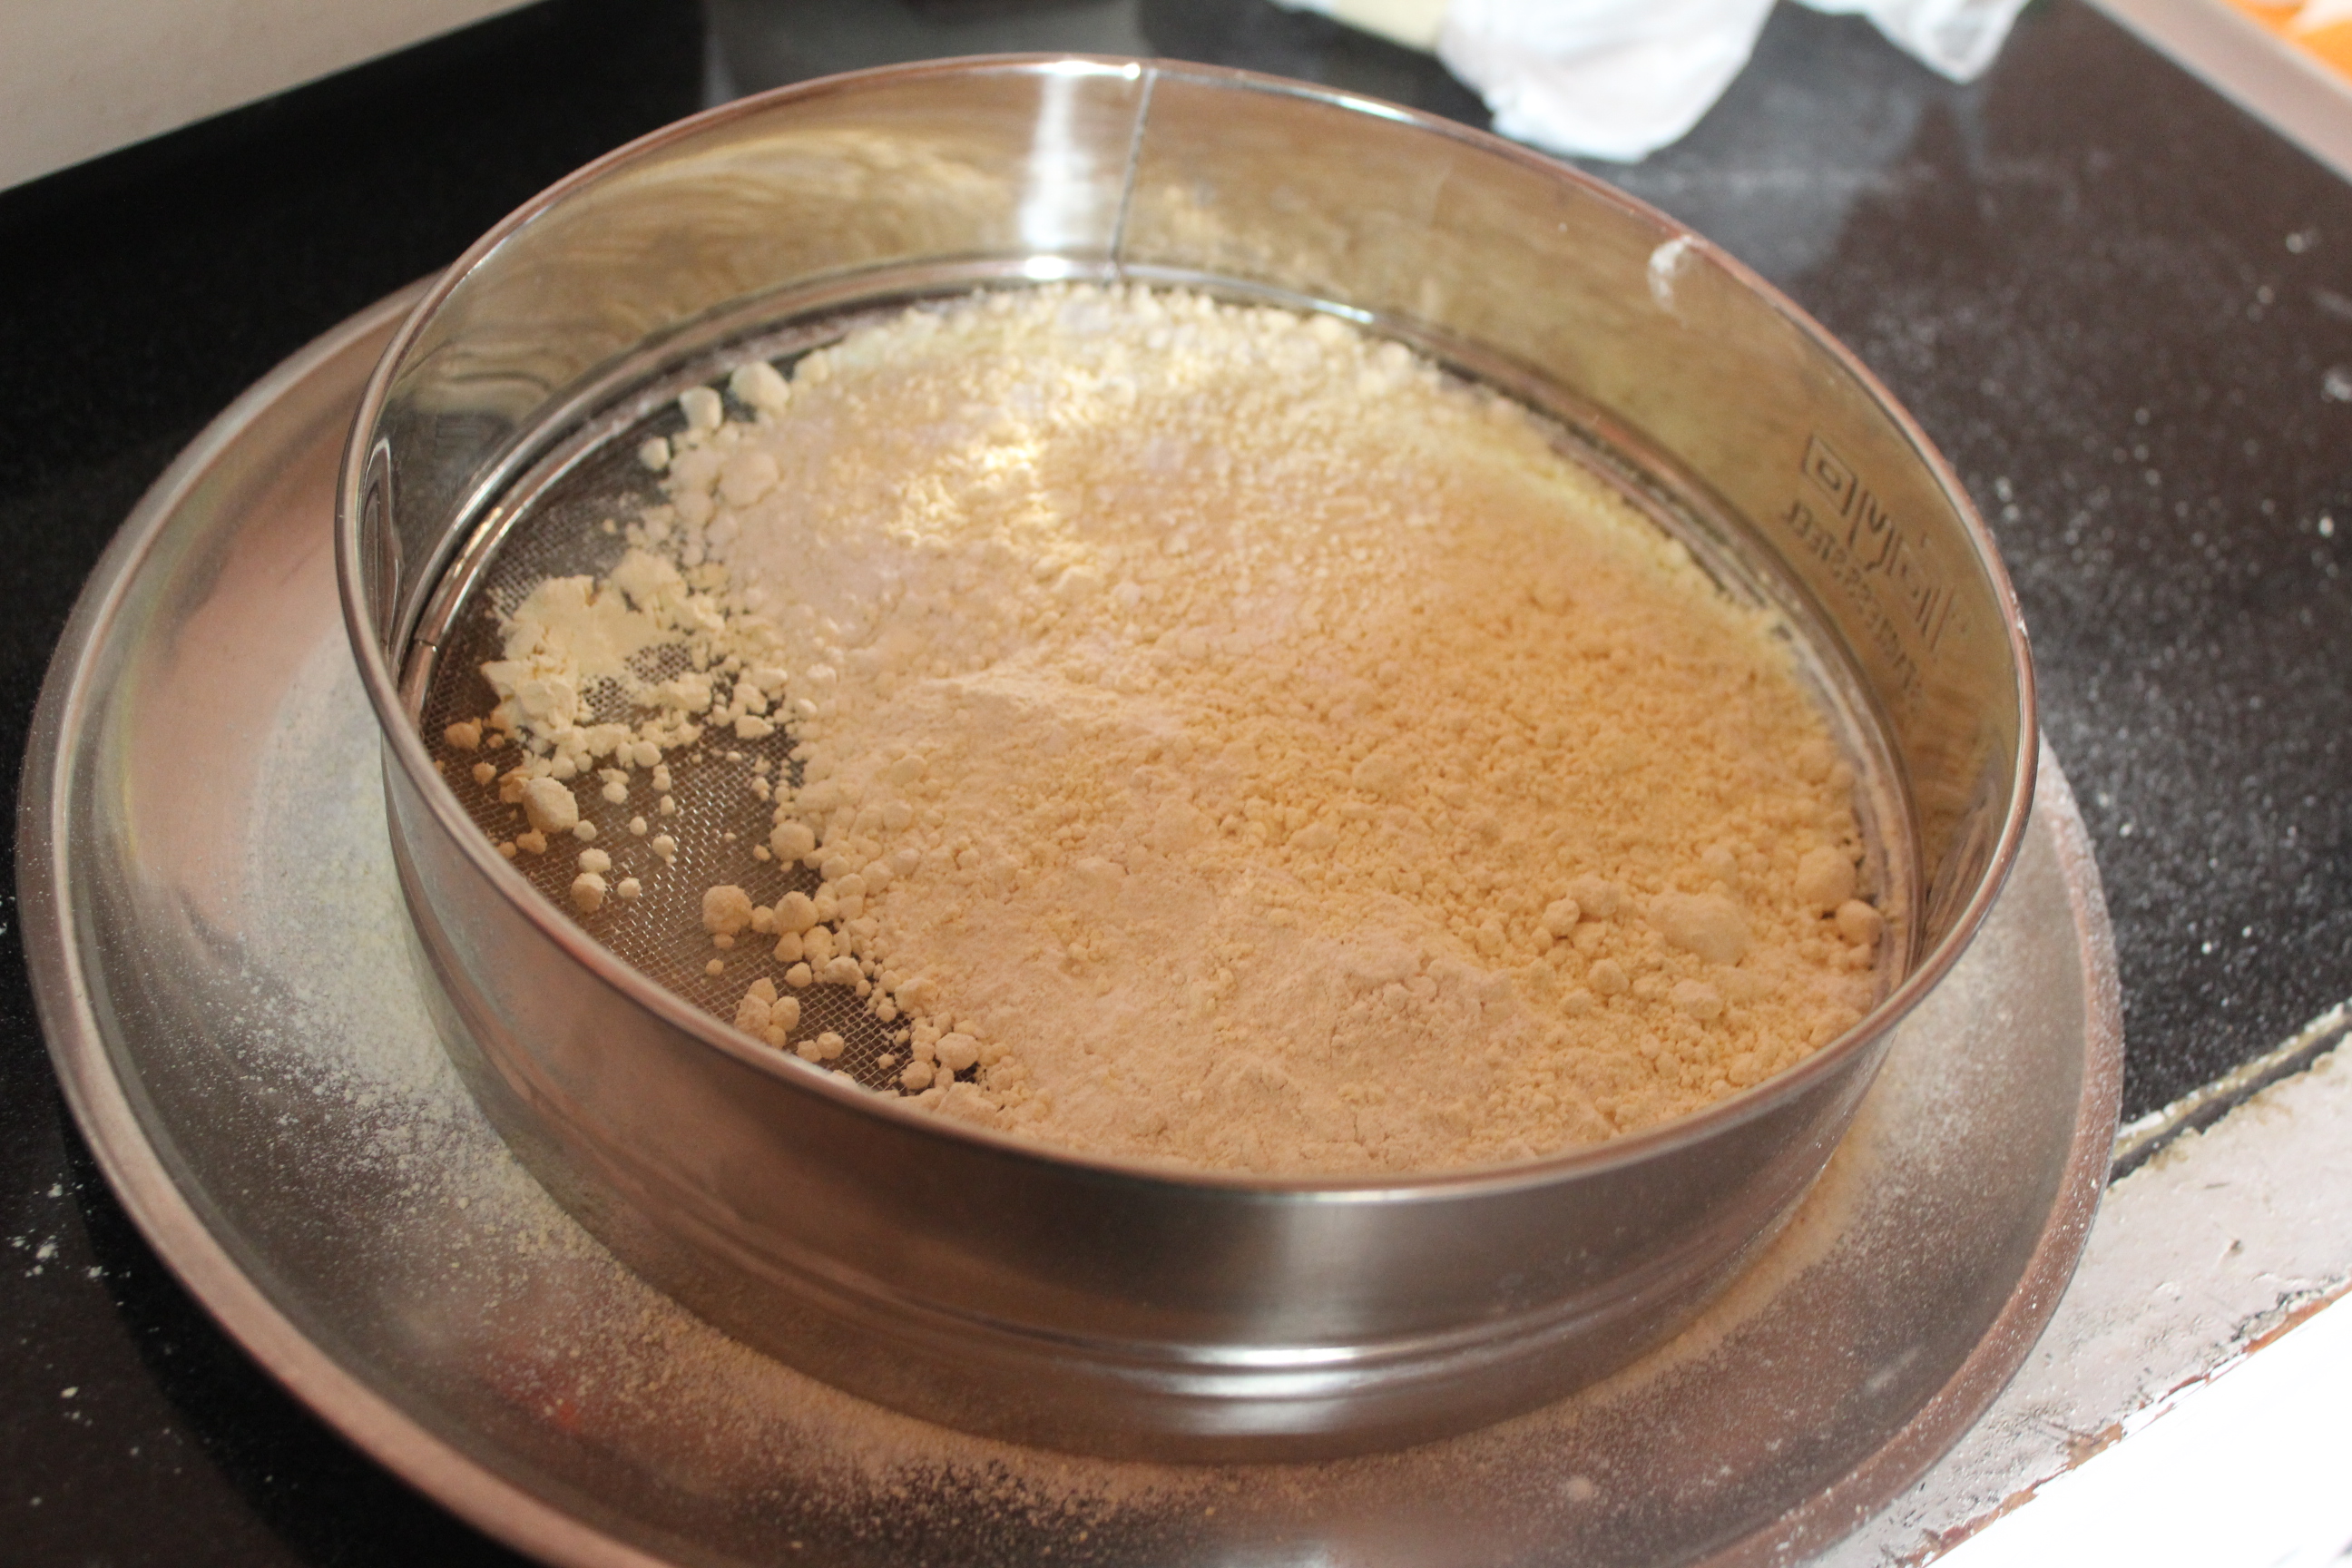
- rice flour – 200gms
- hot water – 200ml
- gingelly oil – 2 tsp
Method of Preparation
Filling
- Take grated coconut in a kadai and roast it slightly
- Coconut need not be roasted till golden brown
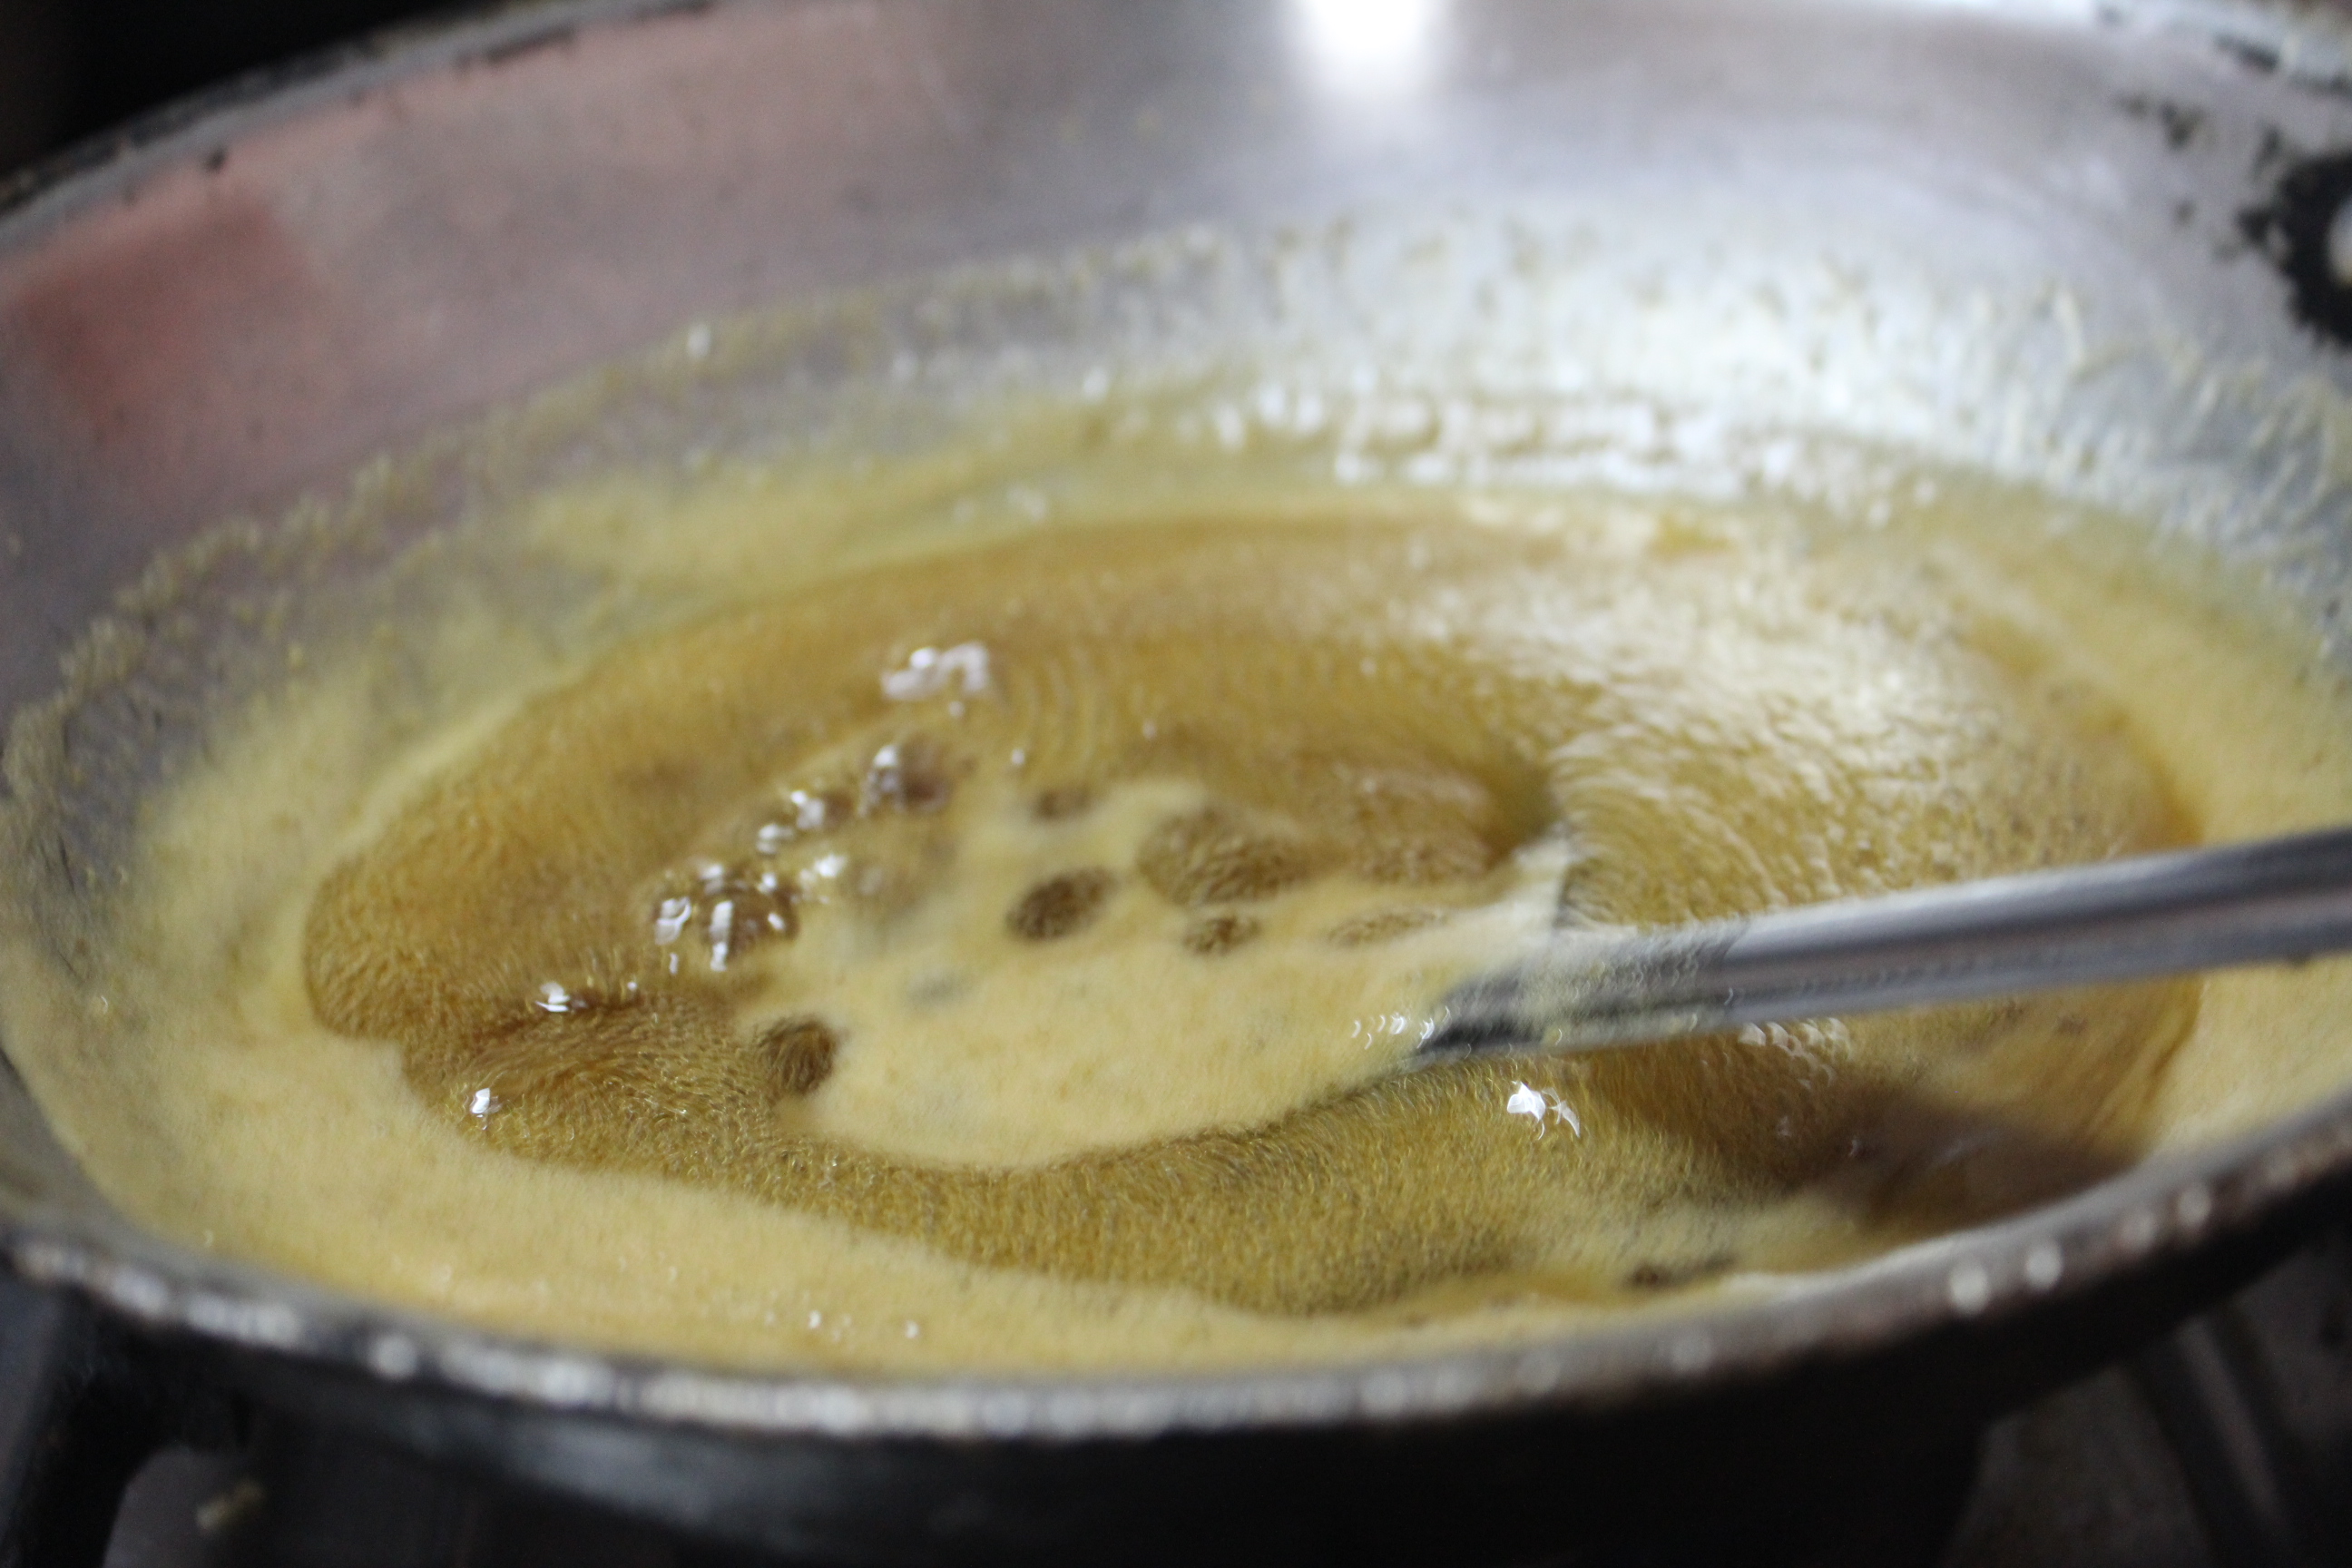
- In a pan, melt jaggery with 1/4 cup water
- Wait till jaggery melts and the mixture bubbles up
- Bubbling up of jaggery and water is the right consistency to be added to roasted coconut
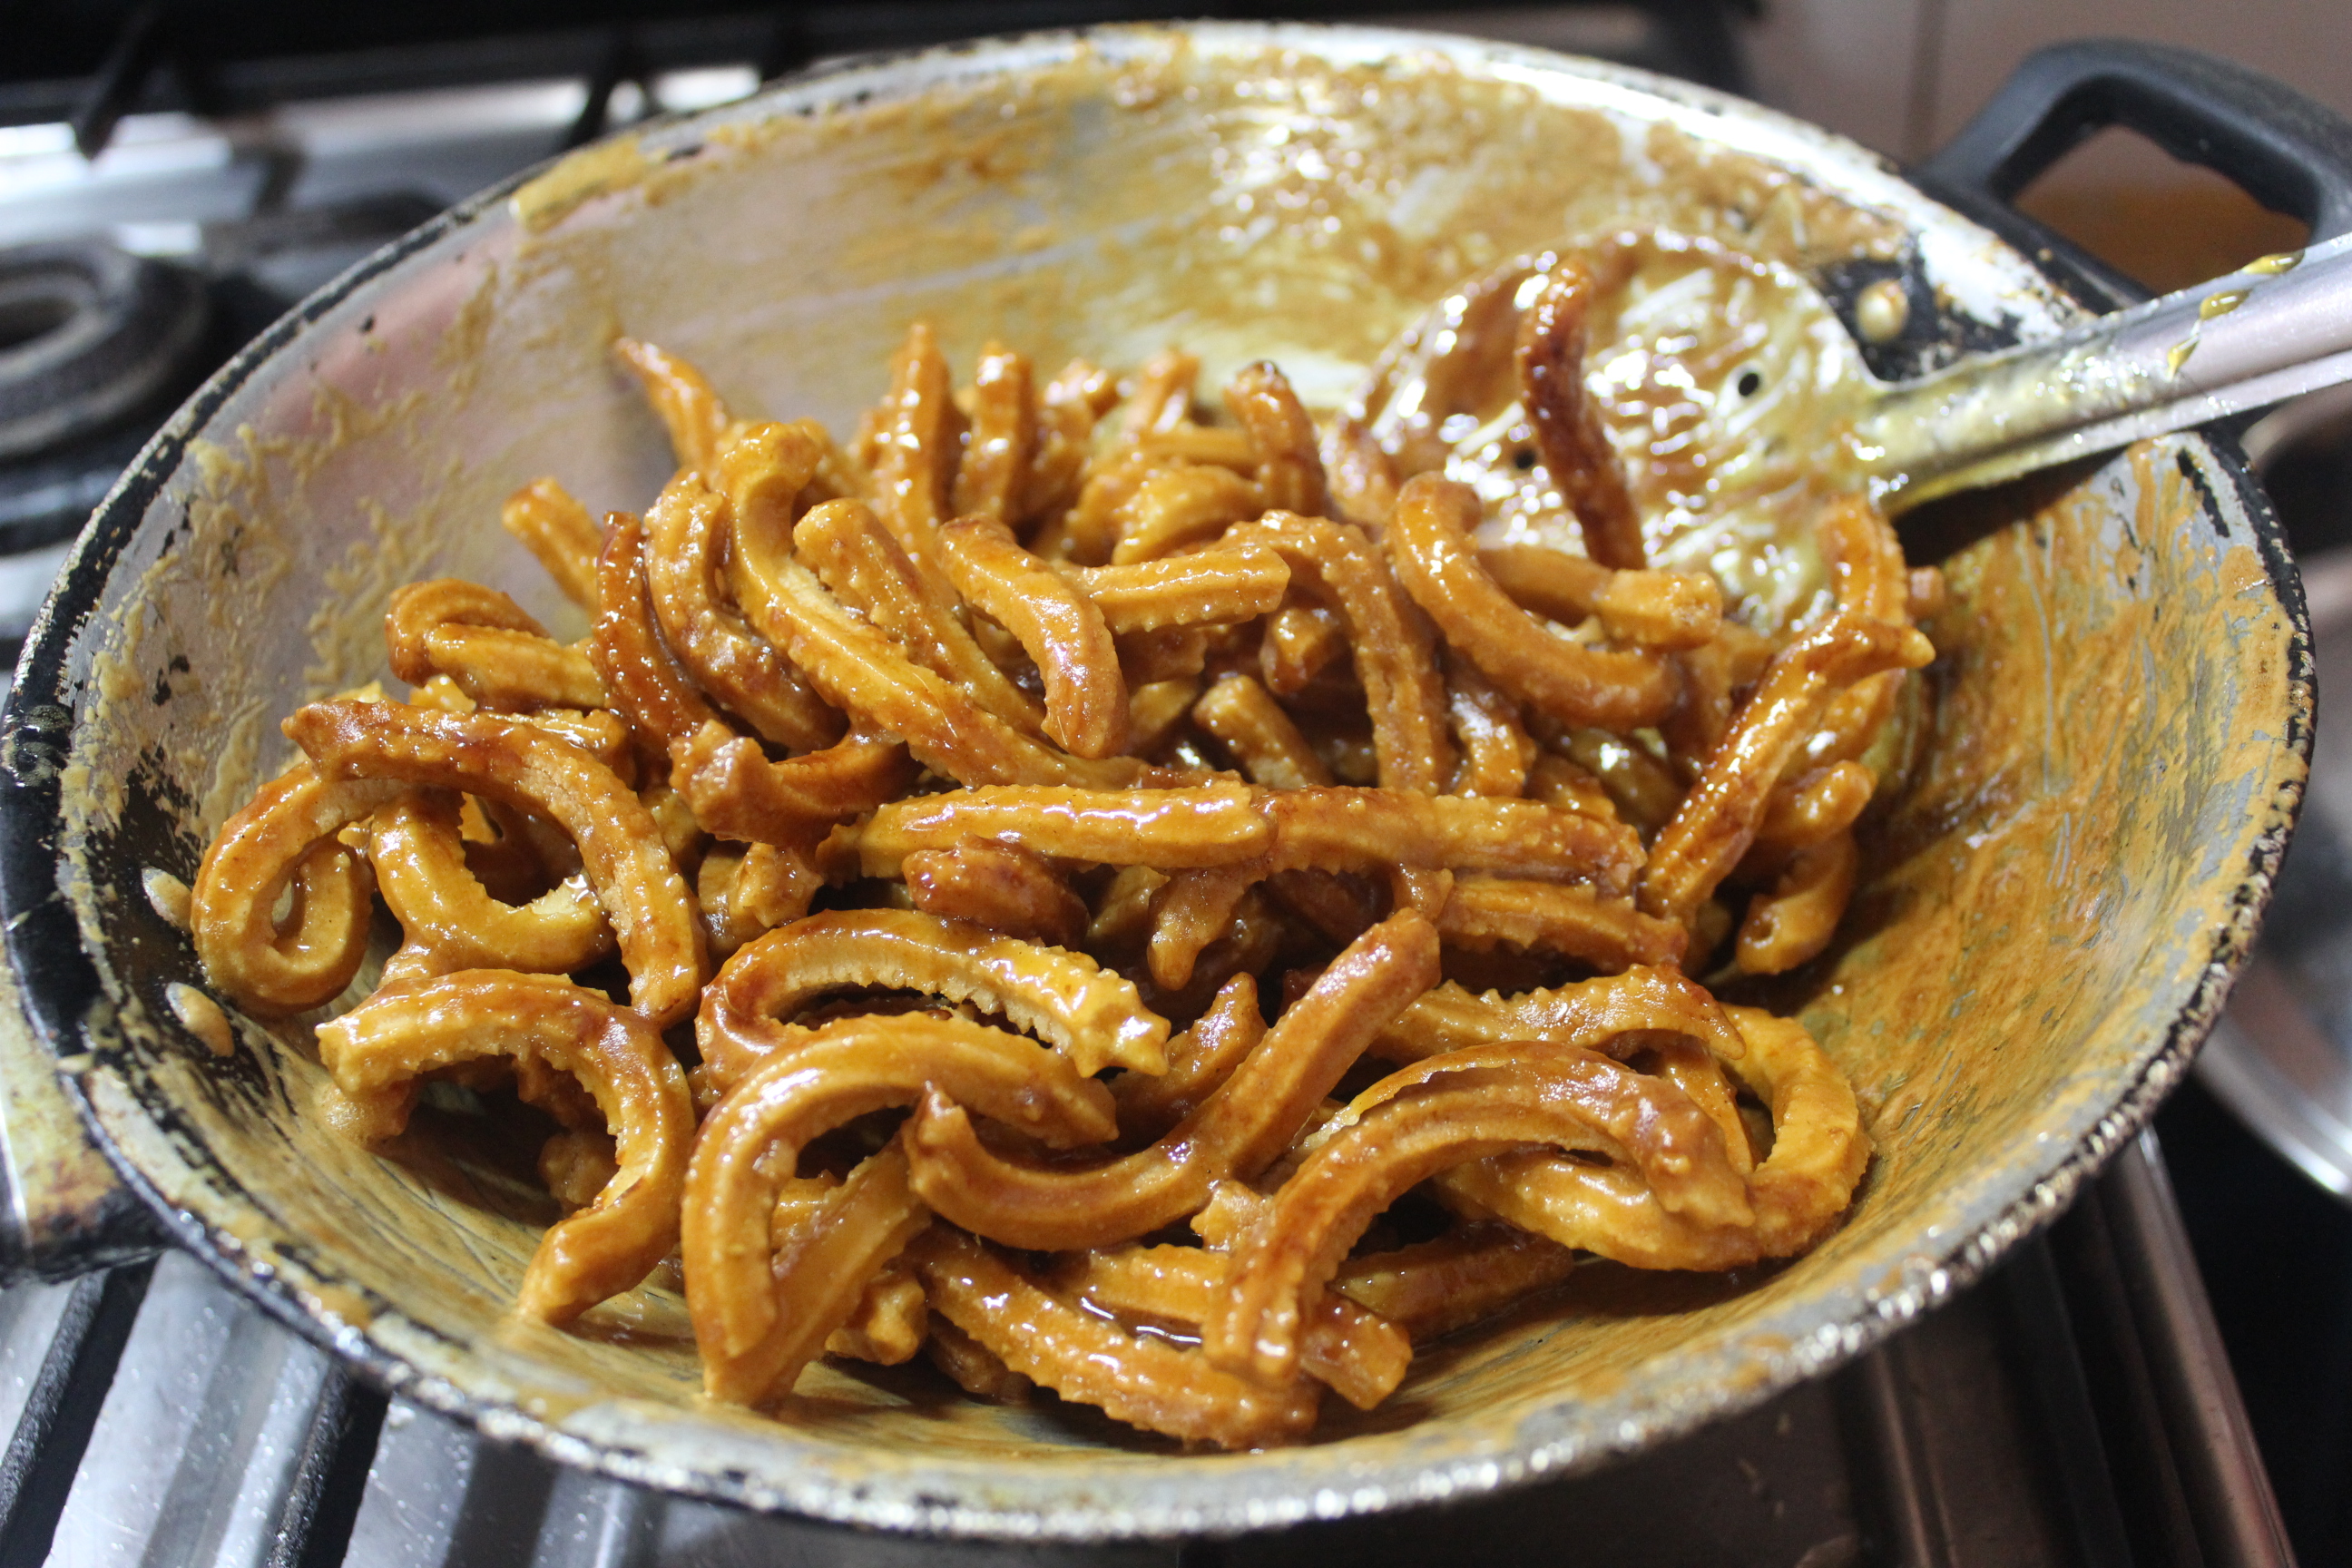
- Strain the jaggery syrup to coconut and fry till coconut absorbs most of the water
- Add dry ginger powder and cardamom powder
- Be careful not to thicken the filling too much as jaggery would tighten further more after it is cooled
- For the right consistency – press the mixture with a ladle – there should be a little thick syrup which oozes out
- Filling is ready
roasting coconut

coconut jaggery filling

Dough for dumplings
- Boil water in a vessel
- Add 2 tsp of oil to water
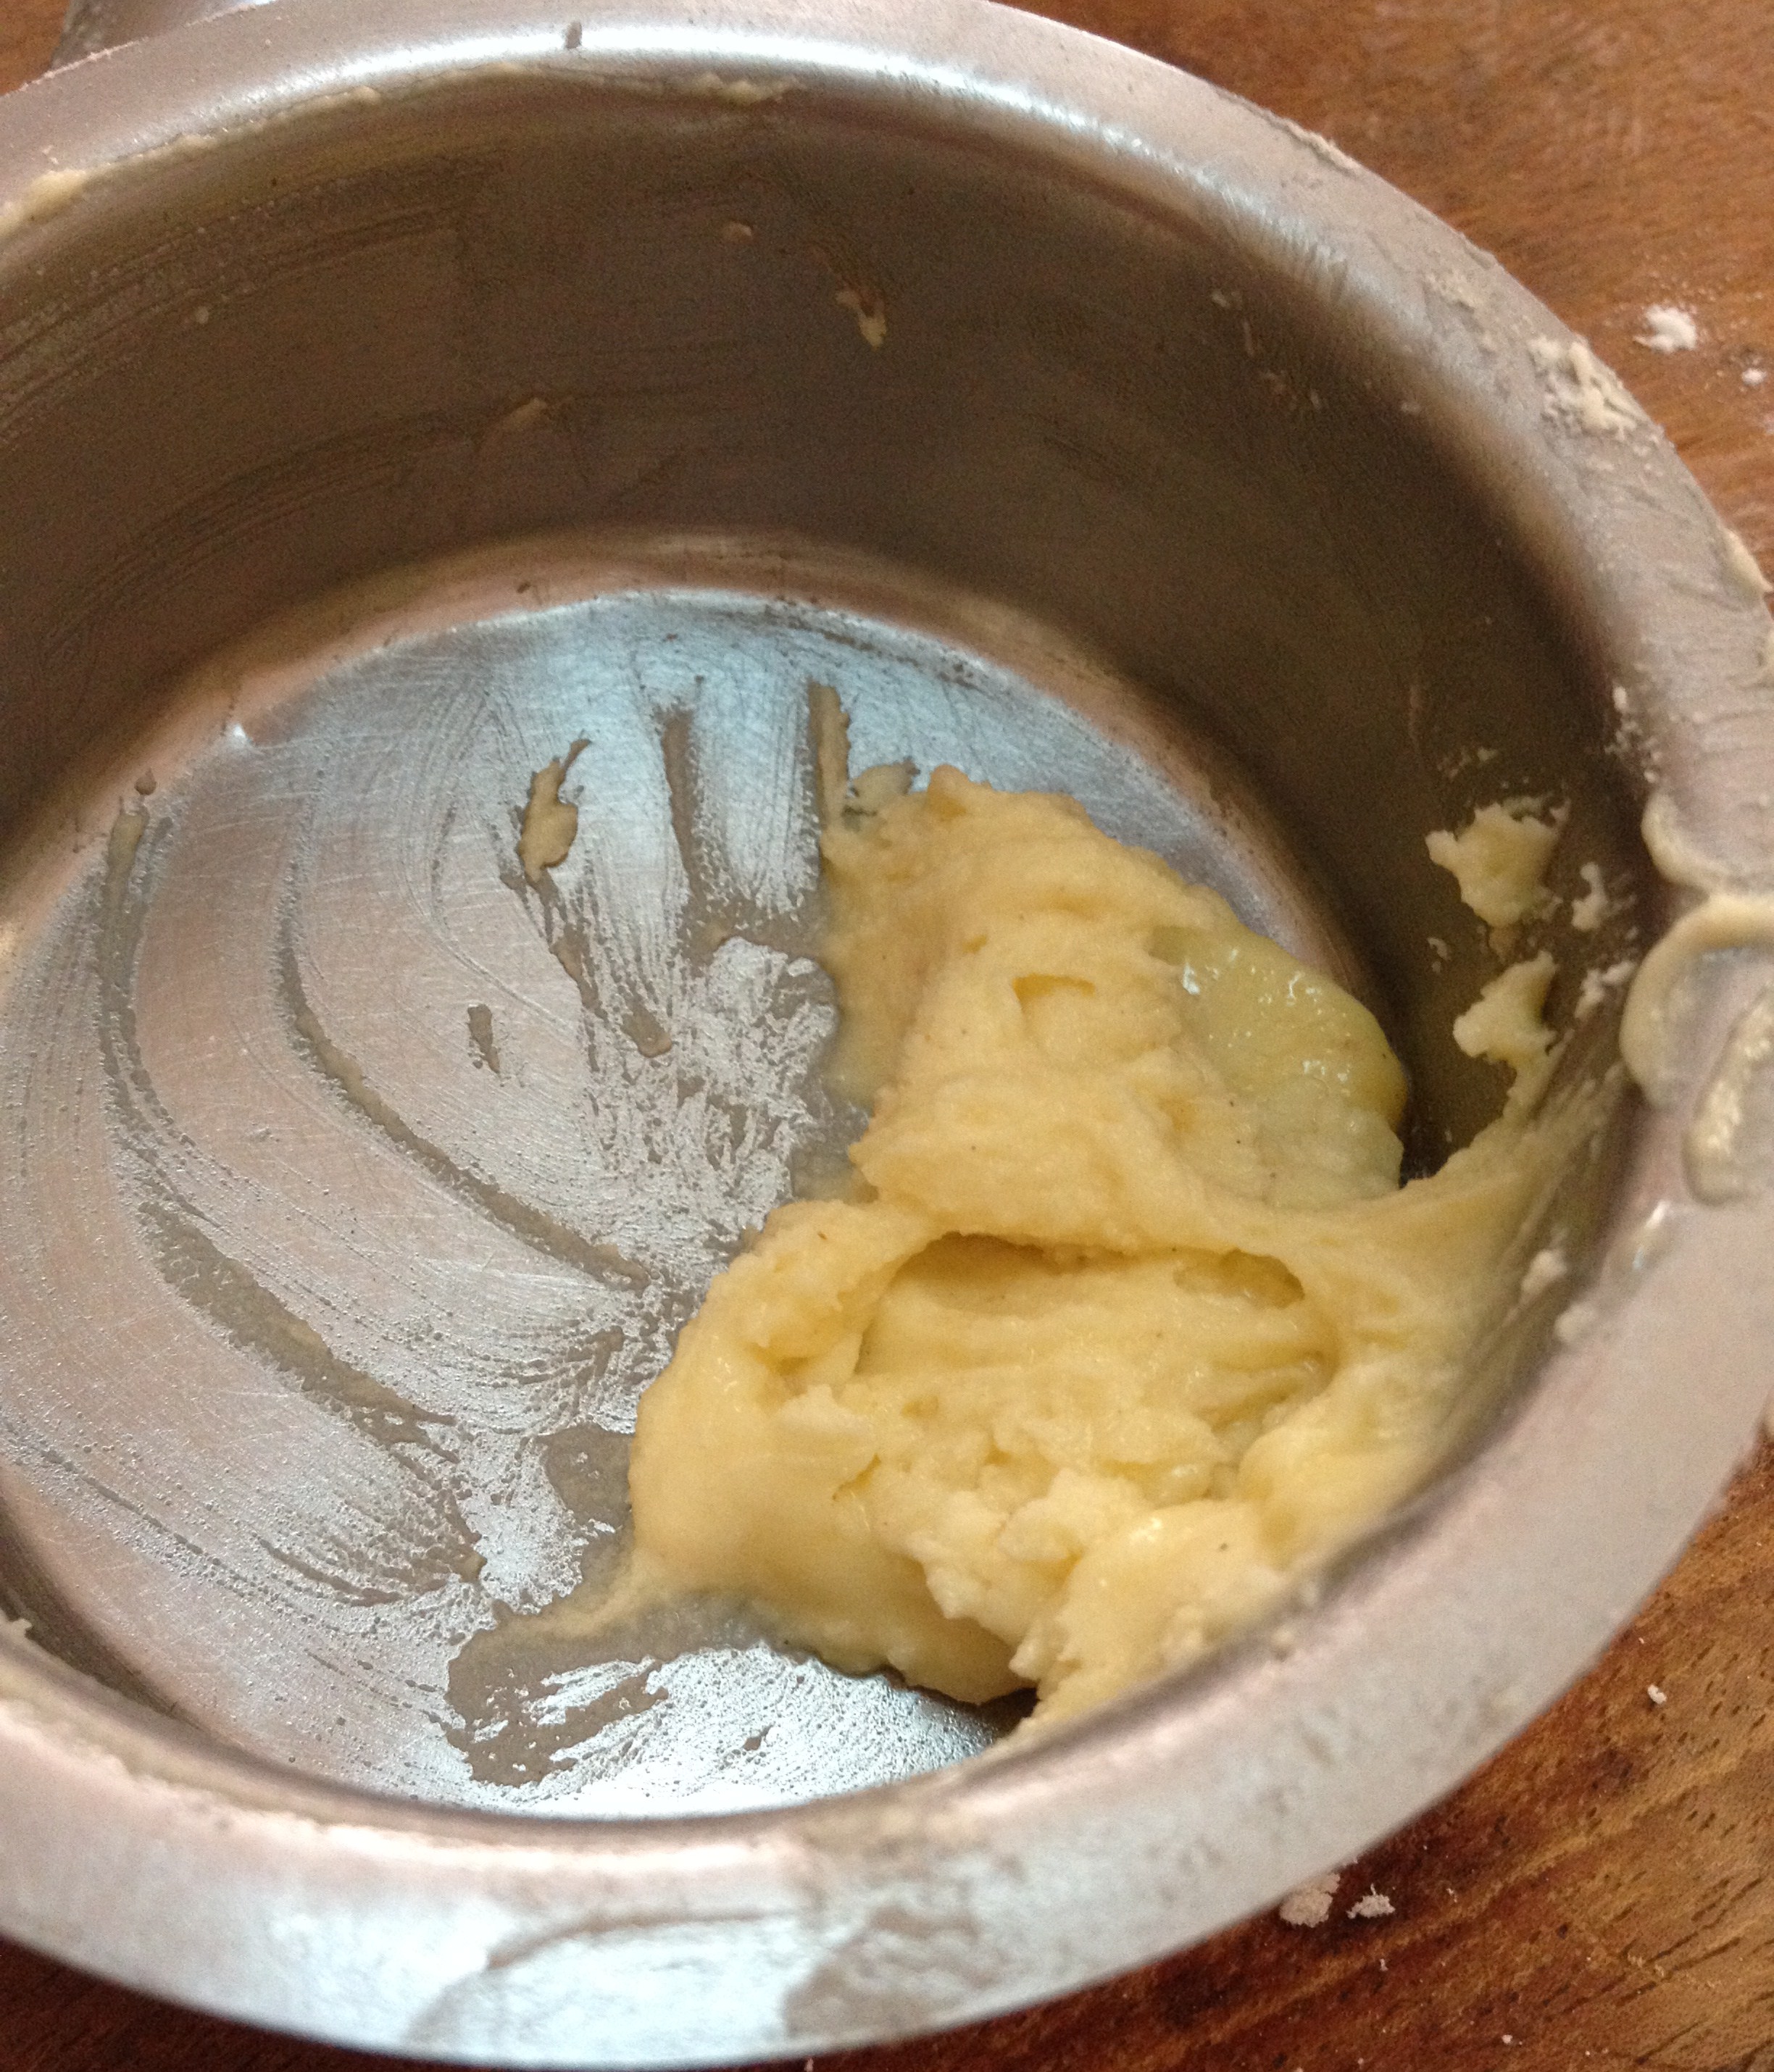
- In a bowl, take rice flour and pour boiled water on it
- Mix it well initially with a ladle and then make it smooth with hand
- Dough is ready
Preparation of Modhakam
- Grease your palm with very little oil
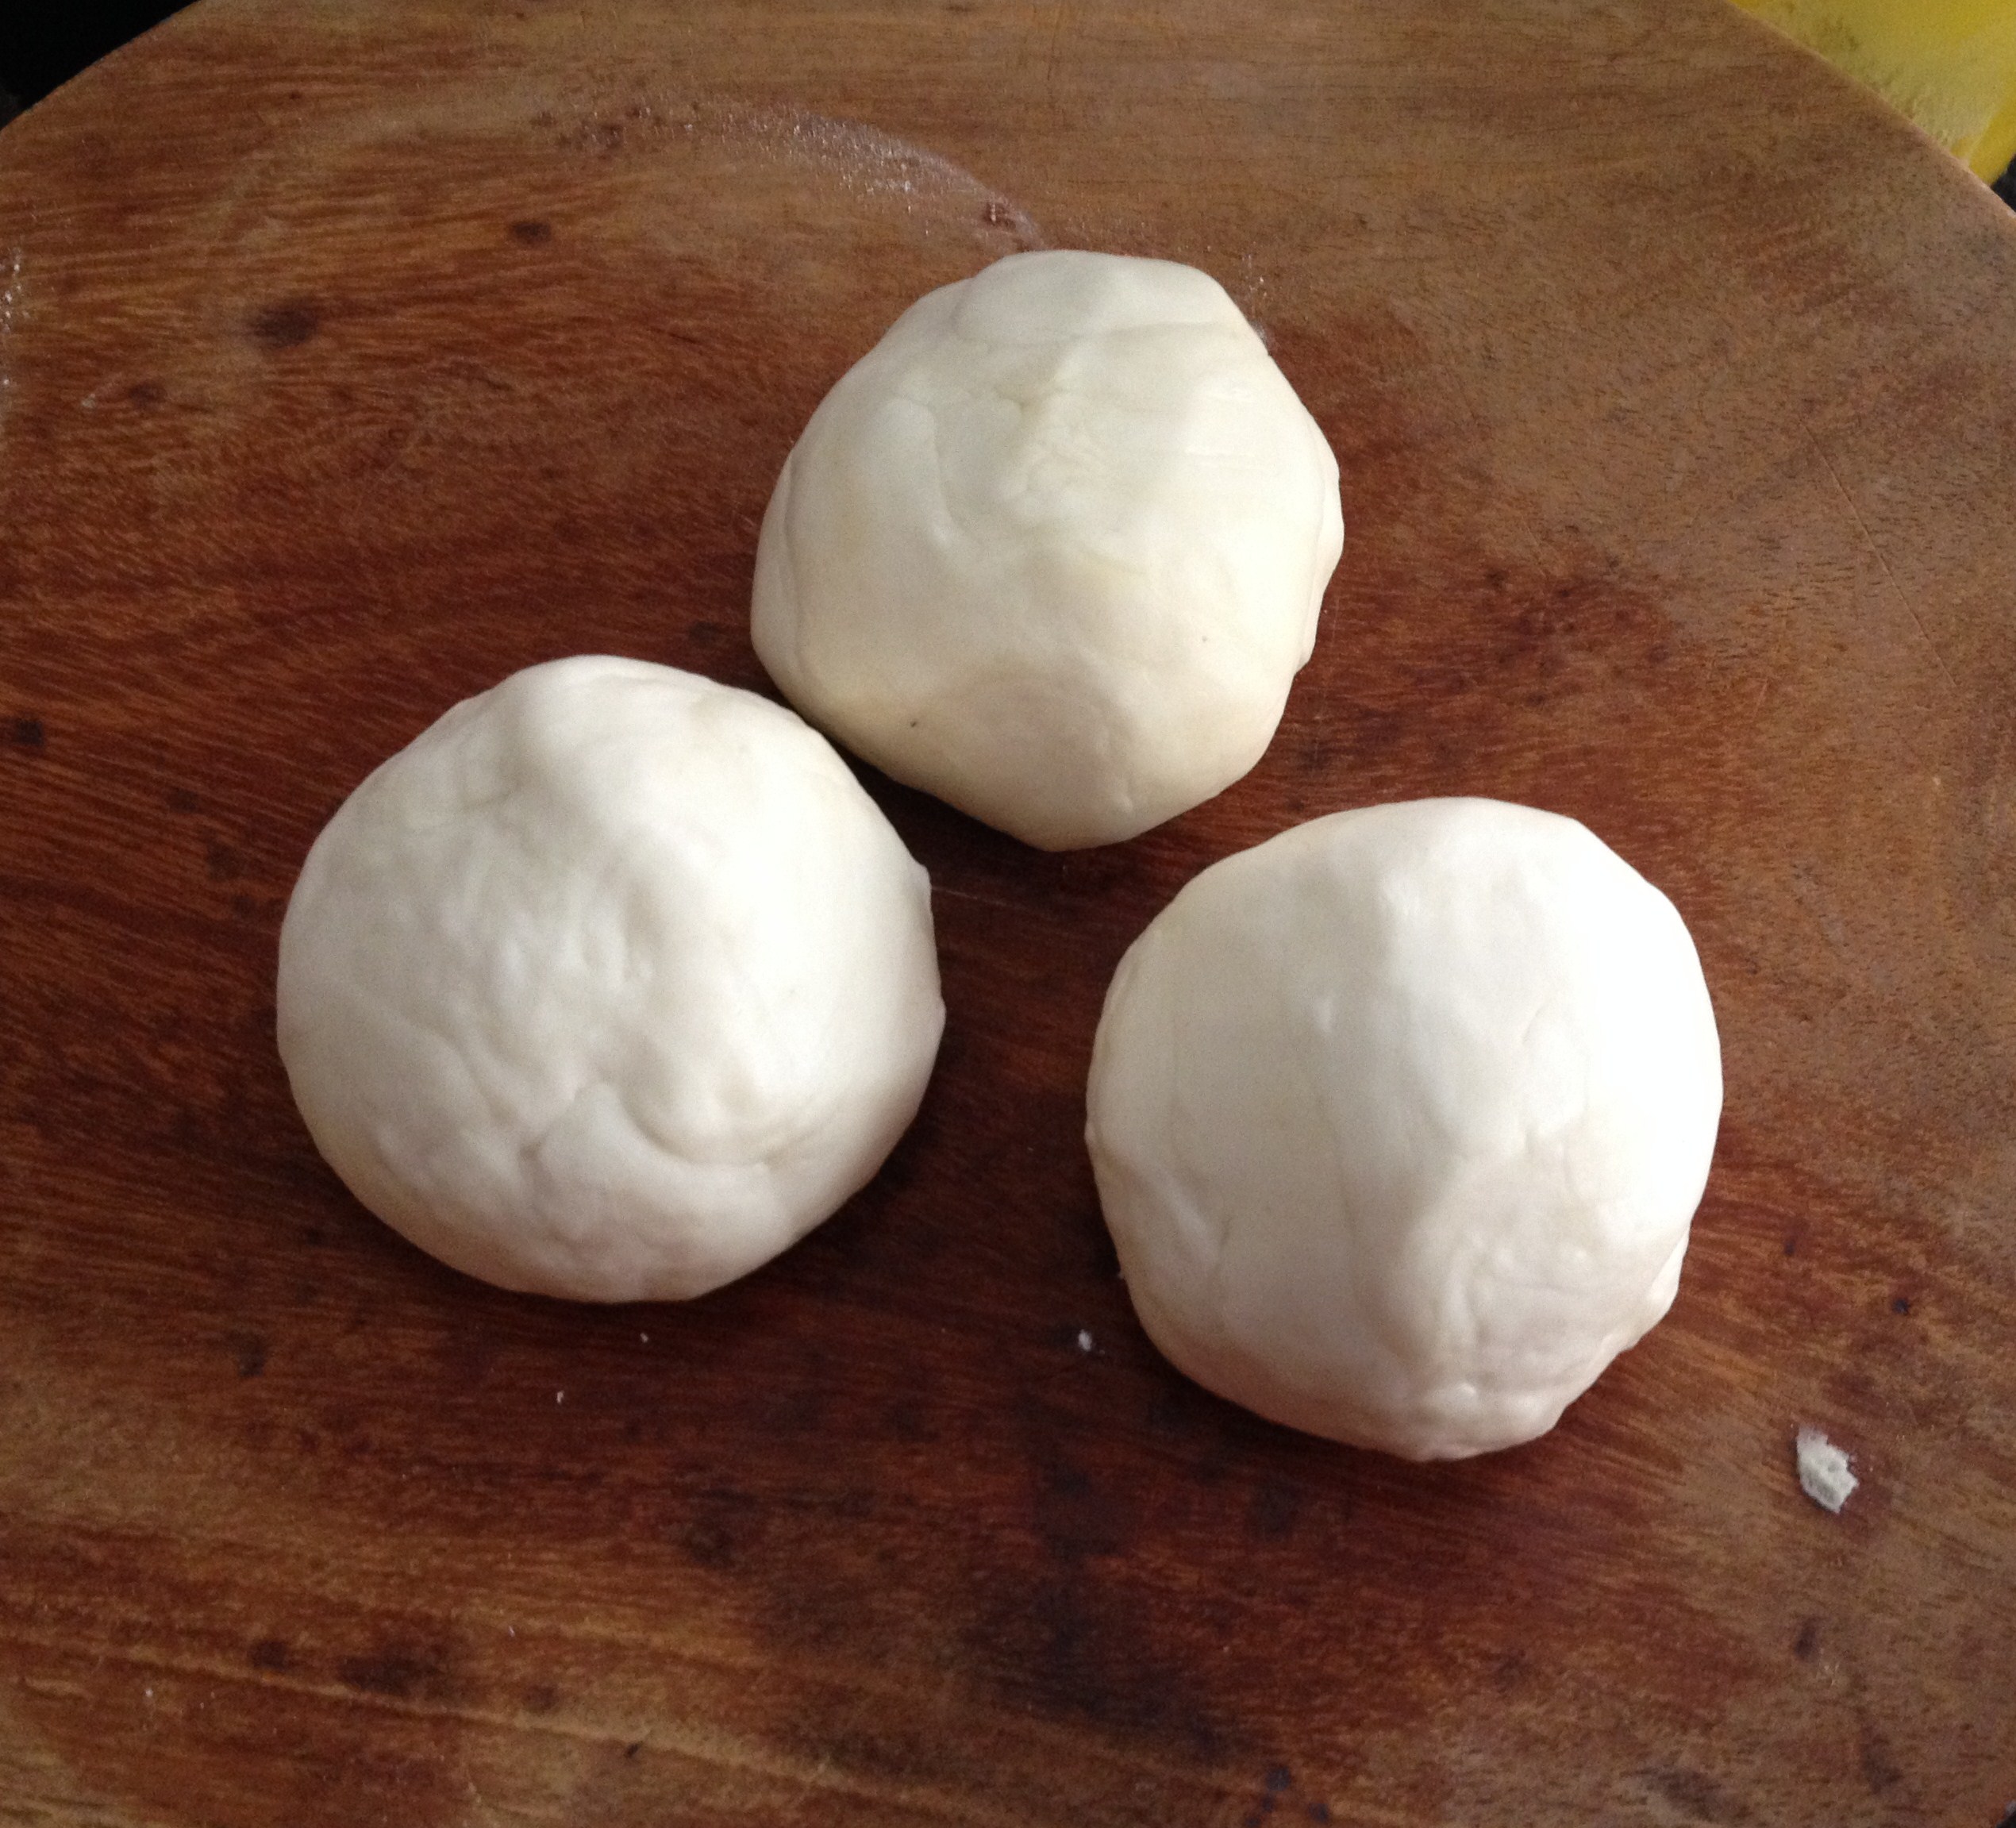
- Take enough dough to make a small ball
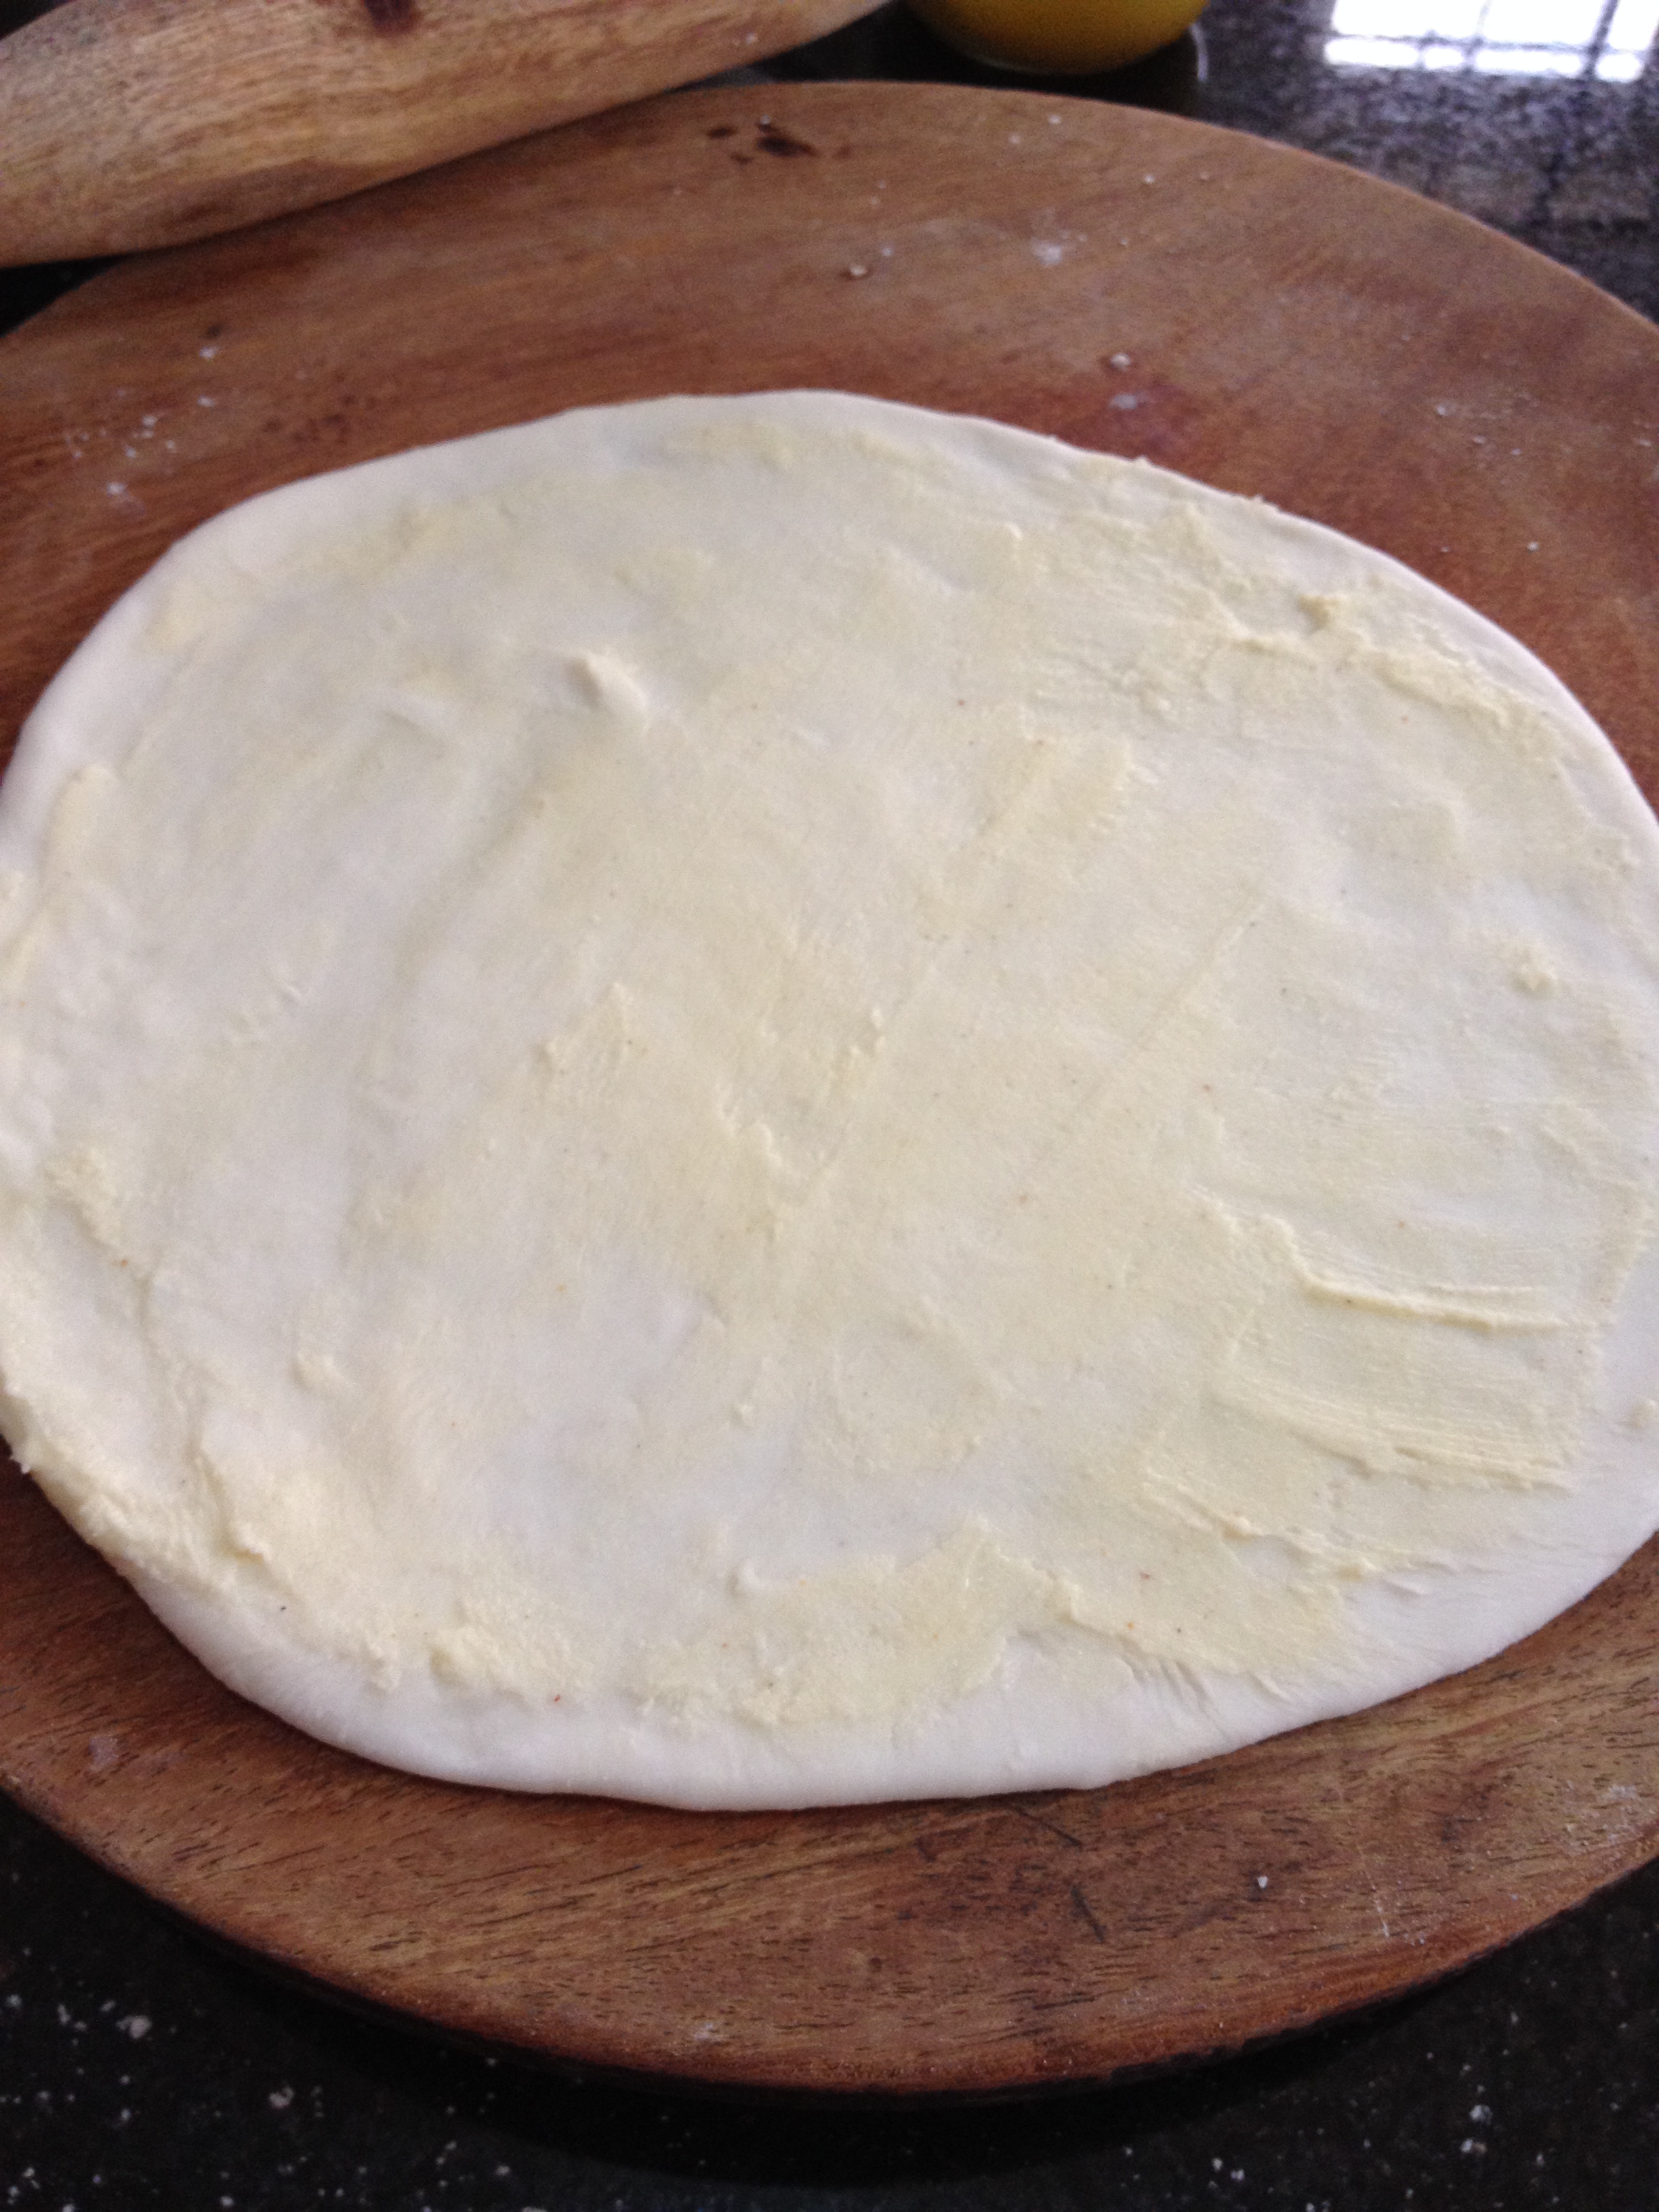
- Flatten the ball and spread it on the palm
- Keep a tsp or just enough filling (easy enough to close the dumpling without the filling peeping out)
- Close it (see picture)
- Either leave it as a ball or make a sharp tip (picture)
- Shape can be as per one’s preference (we even used to make ganesha’s ears by folding the dough in the shape of ‘D’)
spread dough on palm and place filling

close the dumpling

press and close the tip for a better shape

nearly perfect

Steaming Modhakams
- Take an Idli Kopparai/Idli Cooker or any Steamer
- Boil water till the required level
- Oil the moulds and place the dumplings/modhakams
- Place the mould in the steamer and steam for 15 minutes
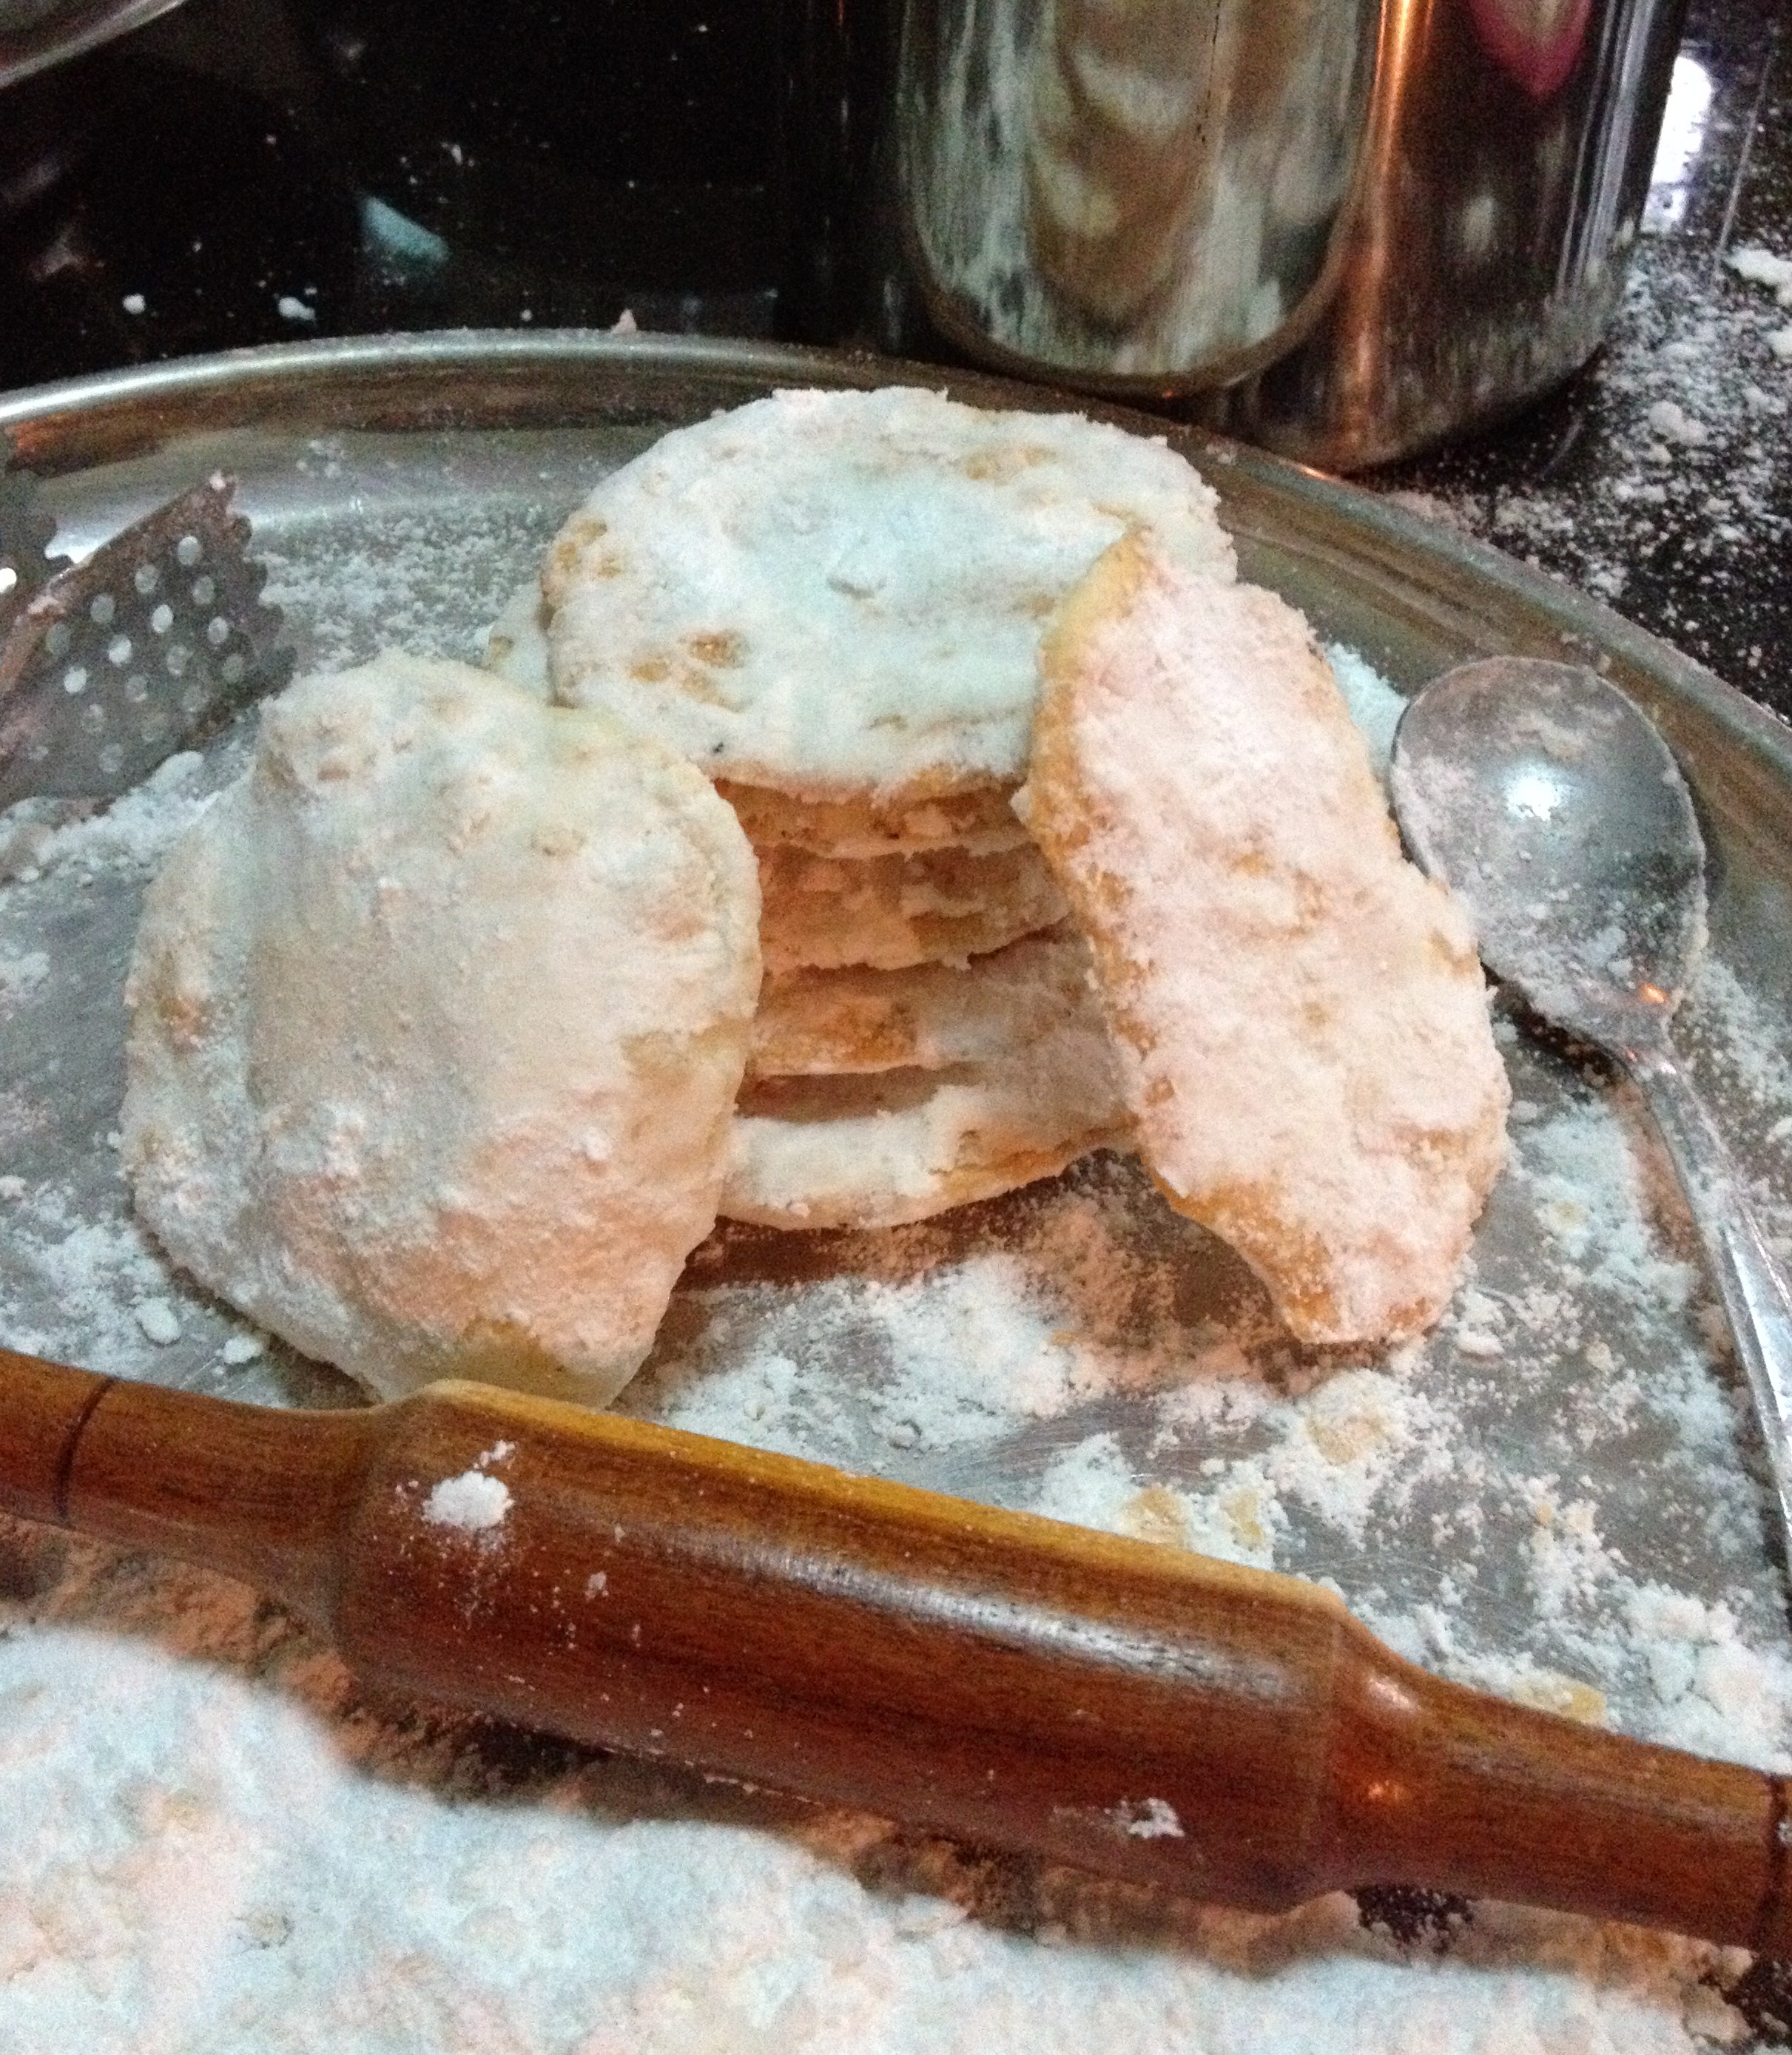
modhakams in rice kopparai

steamed modhakam

Modhakams are ready to be served!