After a vegetarian pizza, let’s try a Fish Pizza. This is how I made it.
Whole Wheat Fish Pizza
Ingredients (for 2 medium pizzas)
fish fillet – 1/2 a kilo appr.
button mushroom – 200 gms (halved)
frozen corn – 1/2 cup
shredded mozzarella cheese – 300 gms appr. (more or less)
cut green chillies or thai red chillies – for a spicy treat (optional)
The quantity of each ingredient can be altered according to family preferences. Also, insead of fish, one can use chicken, prawns or any meat of choice.
Method of Preparation
Keeping things ready–
Clean and cube fish fillet.
To make fish flavorful, marinate the cubes in soya sauce, tomato sauce and red chilli sauce for an hour or any masala of choice
Pan fry them in minimal oil. Set aside
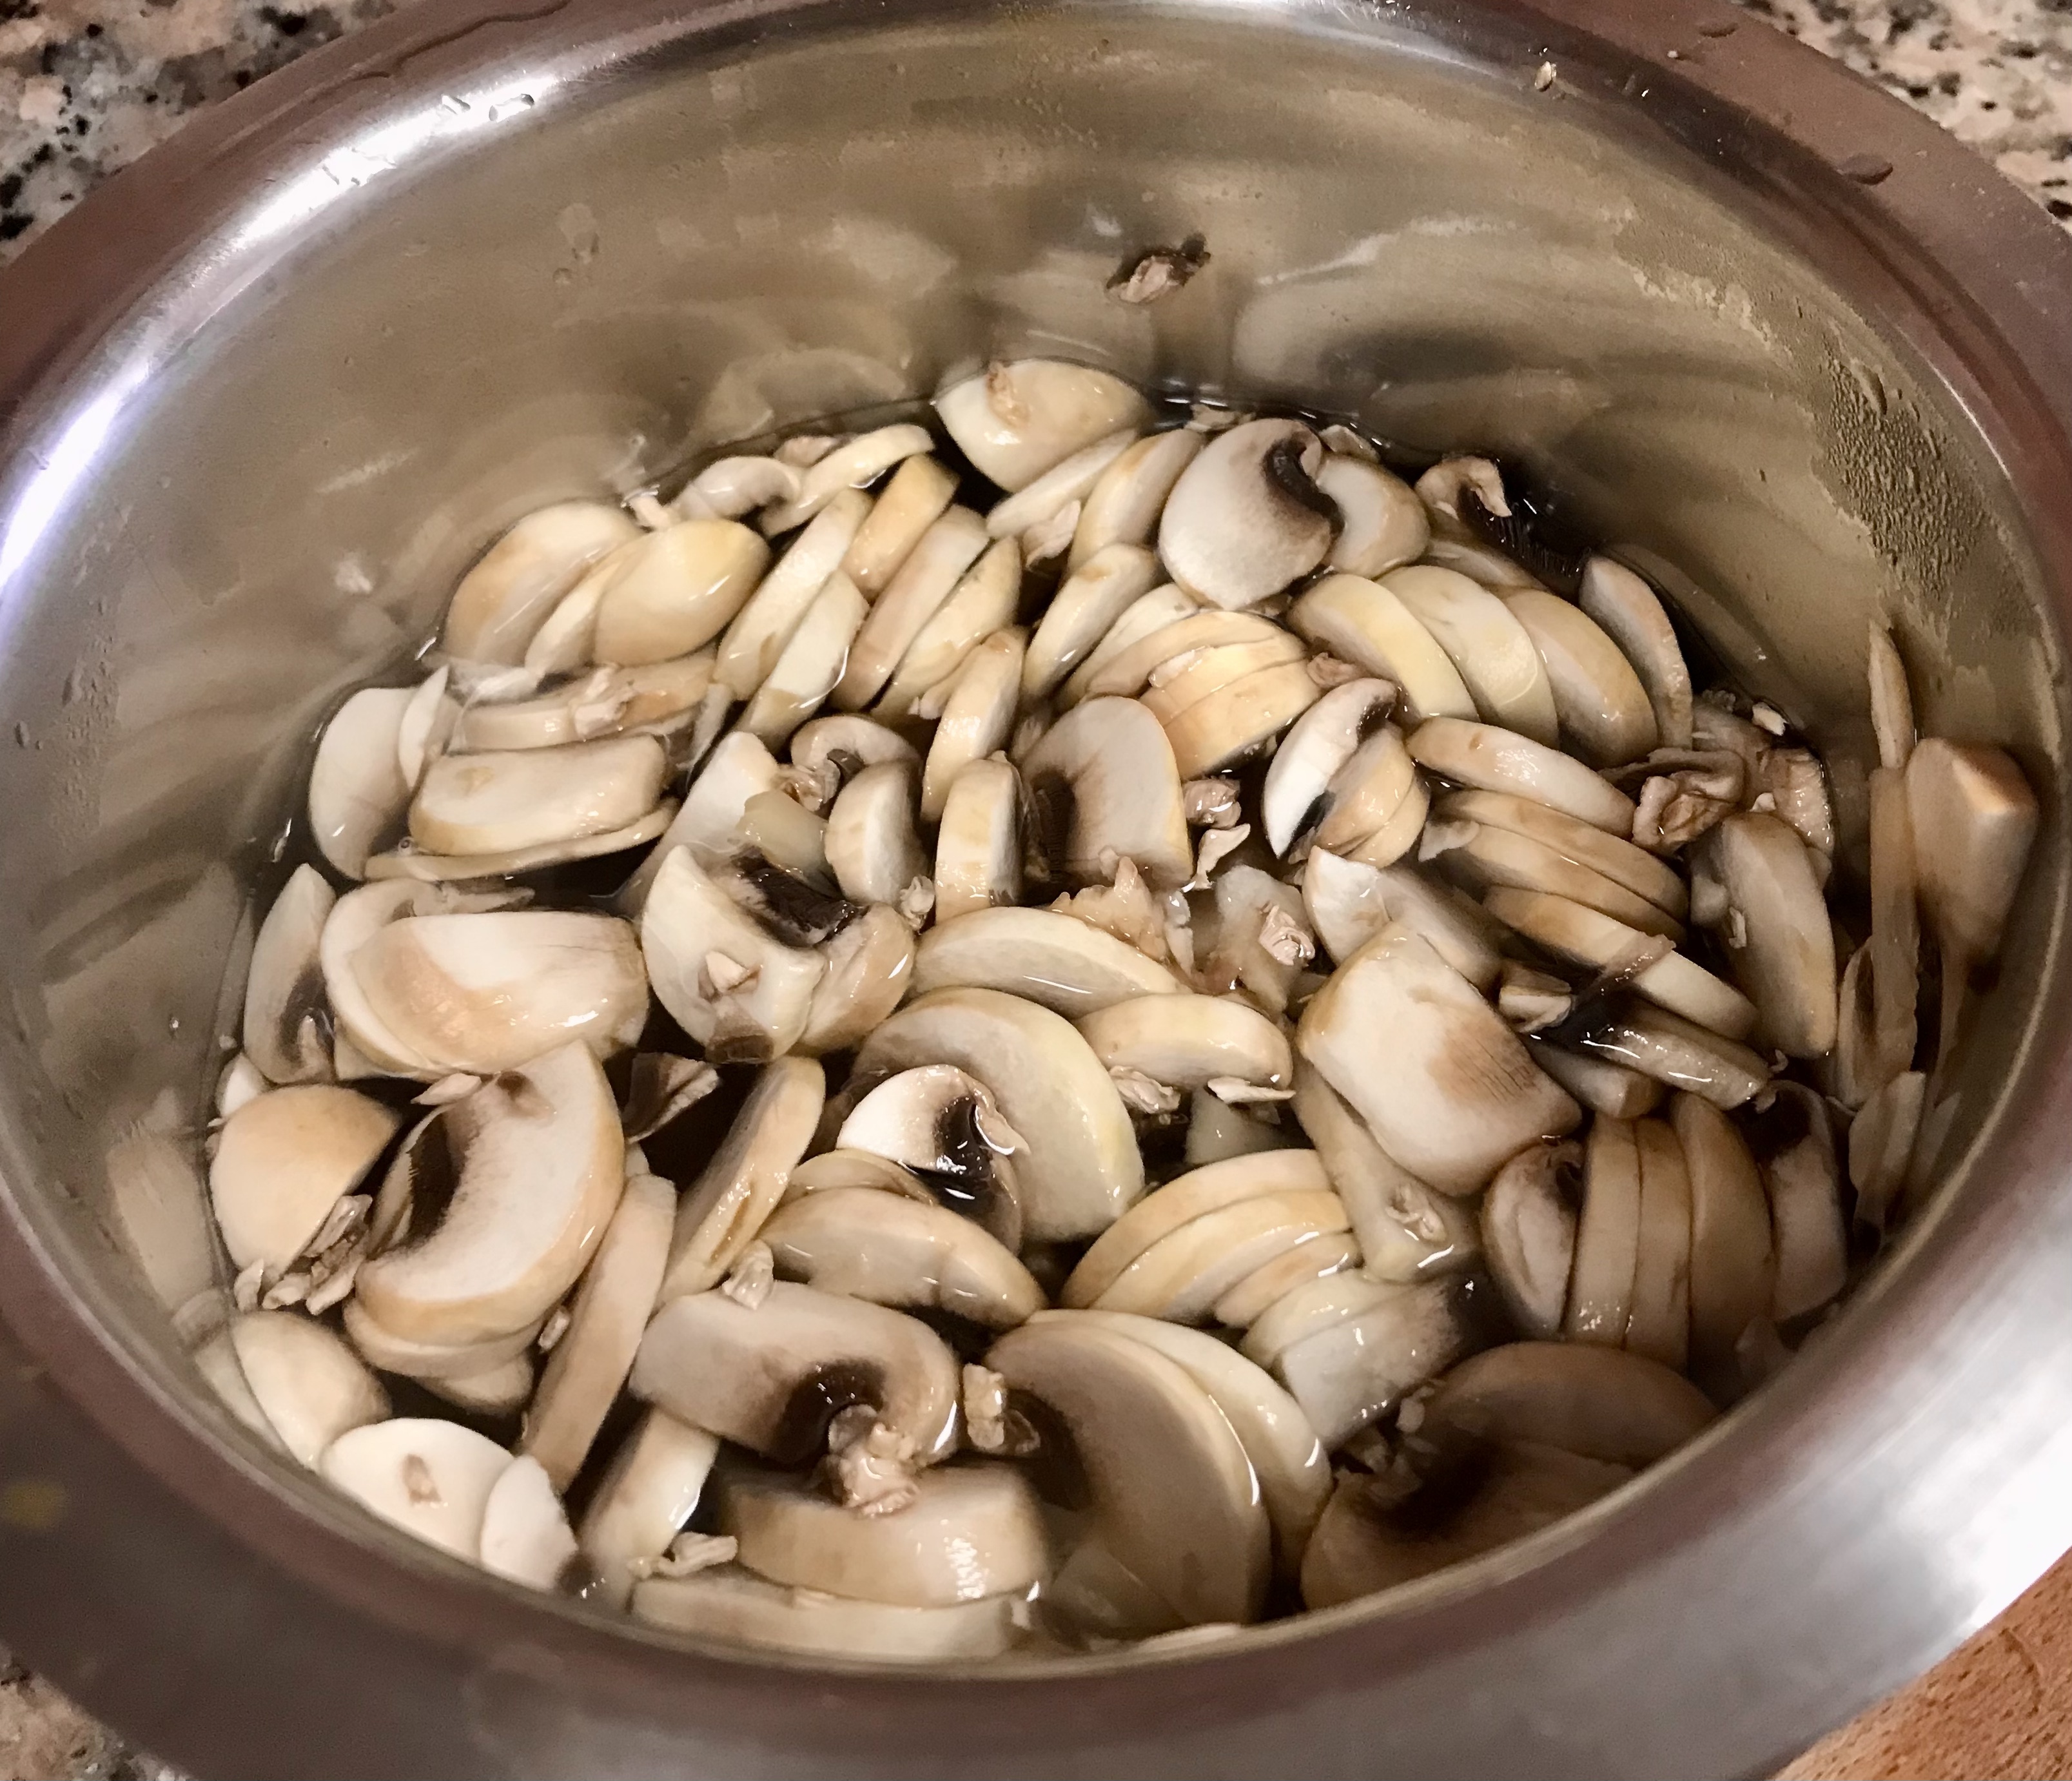
4. Blanch the mushrooms. i.e. Pour hot water over halved mushrooms and close with lid. Leave this for 1/2 an hour. Mushrooms would be cooked
5. Run water over frozen corn until thawed. Or, keep frozen corn soaked in water for a few minutes. Drain well without water
Creating your Pizza –
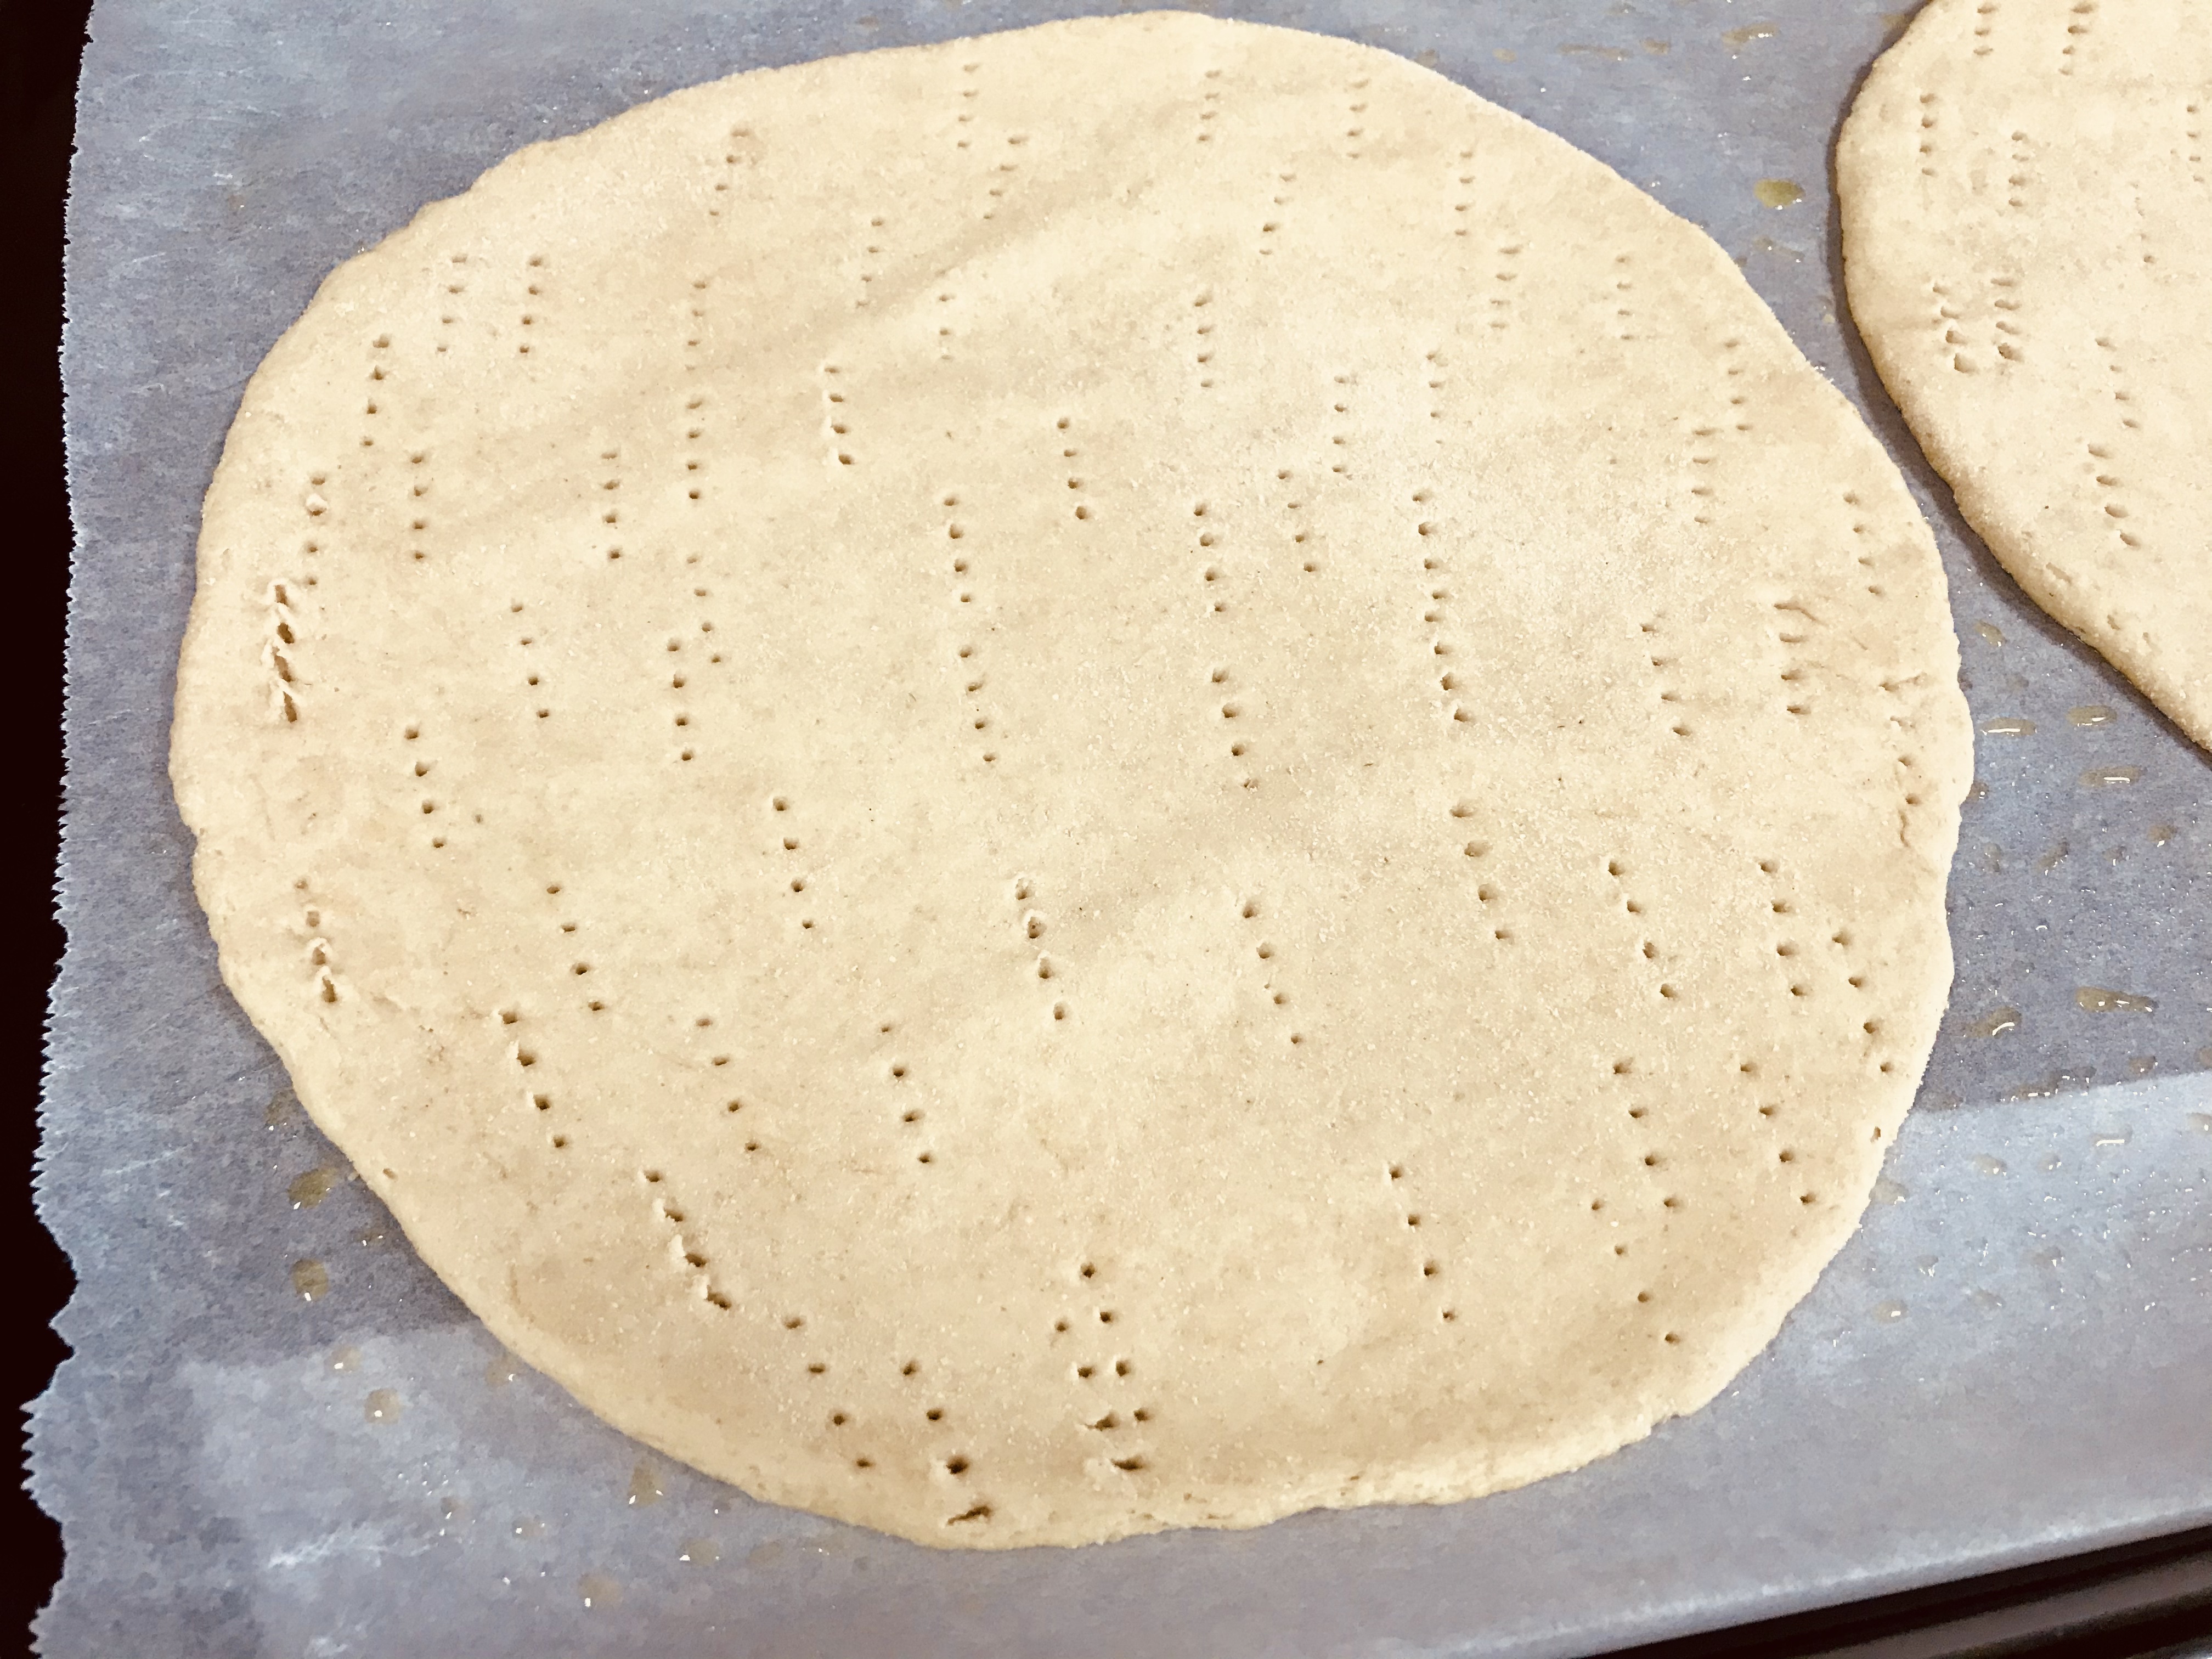
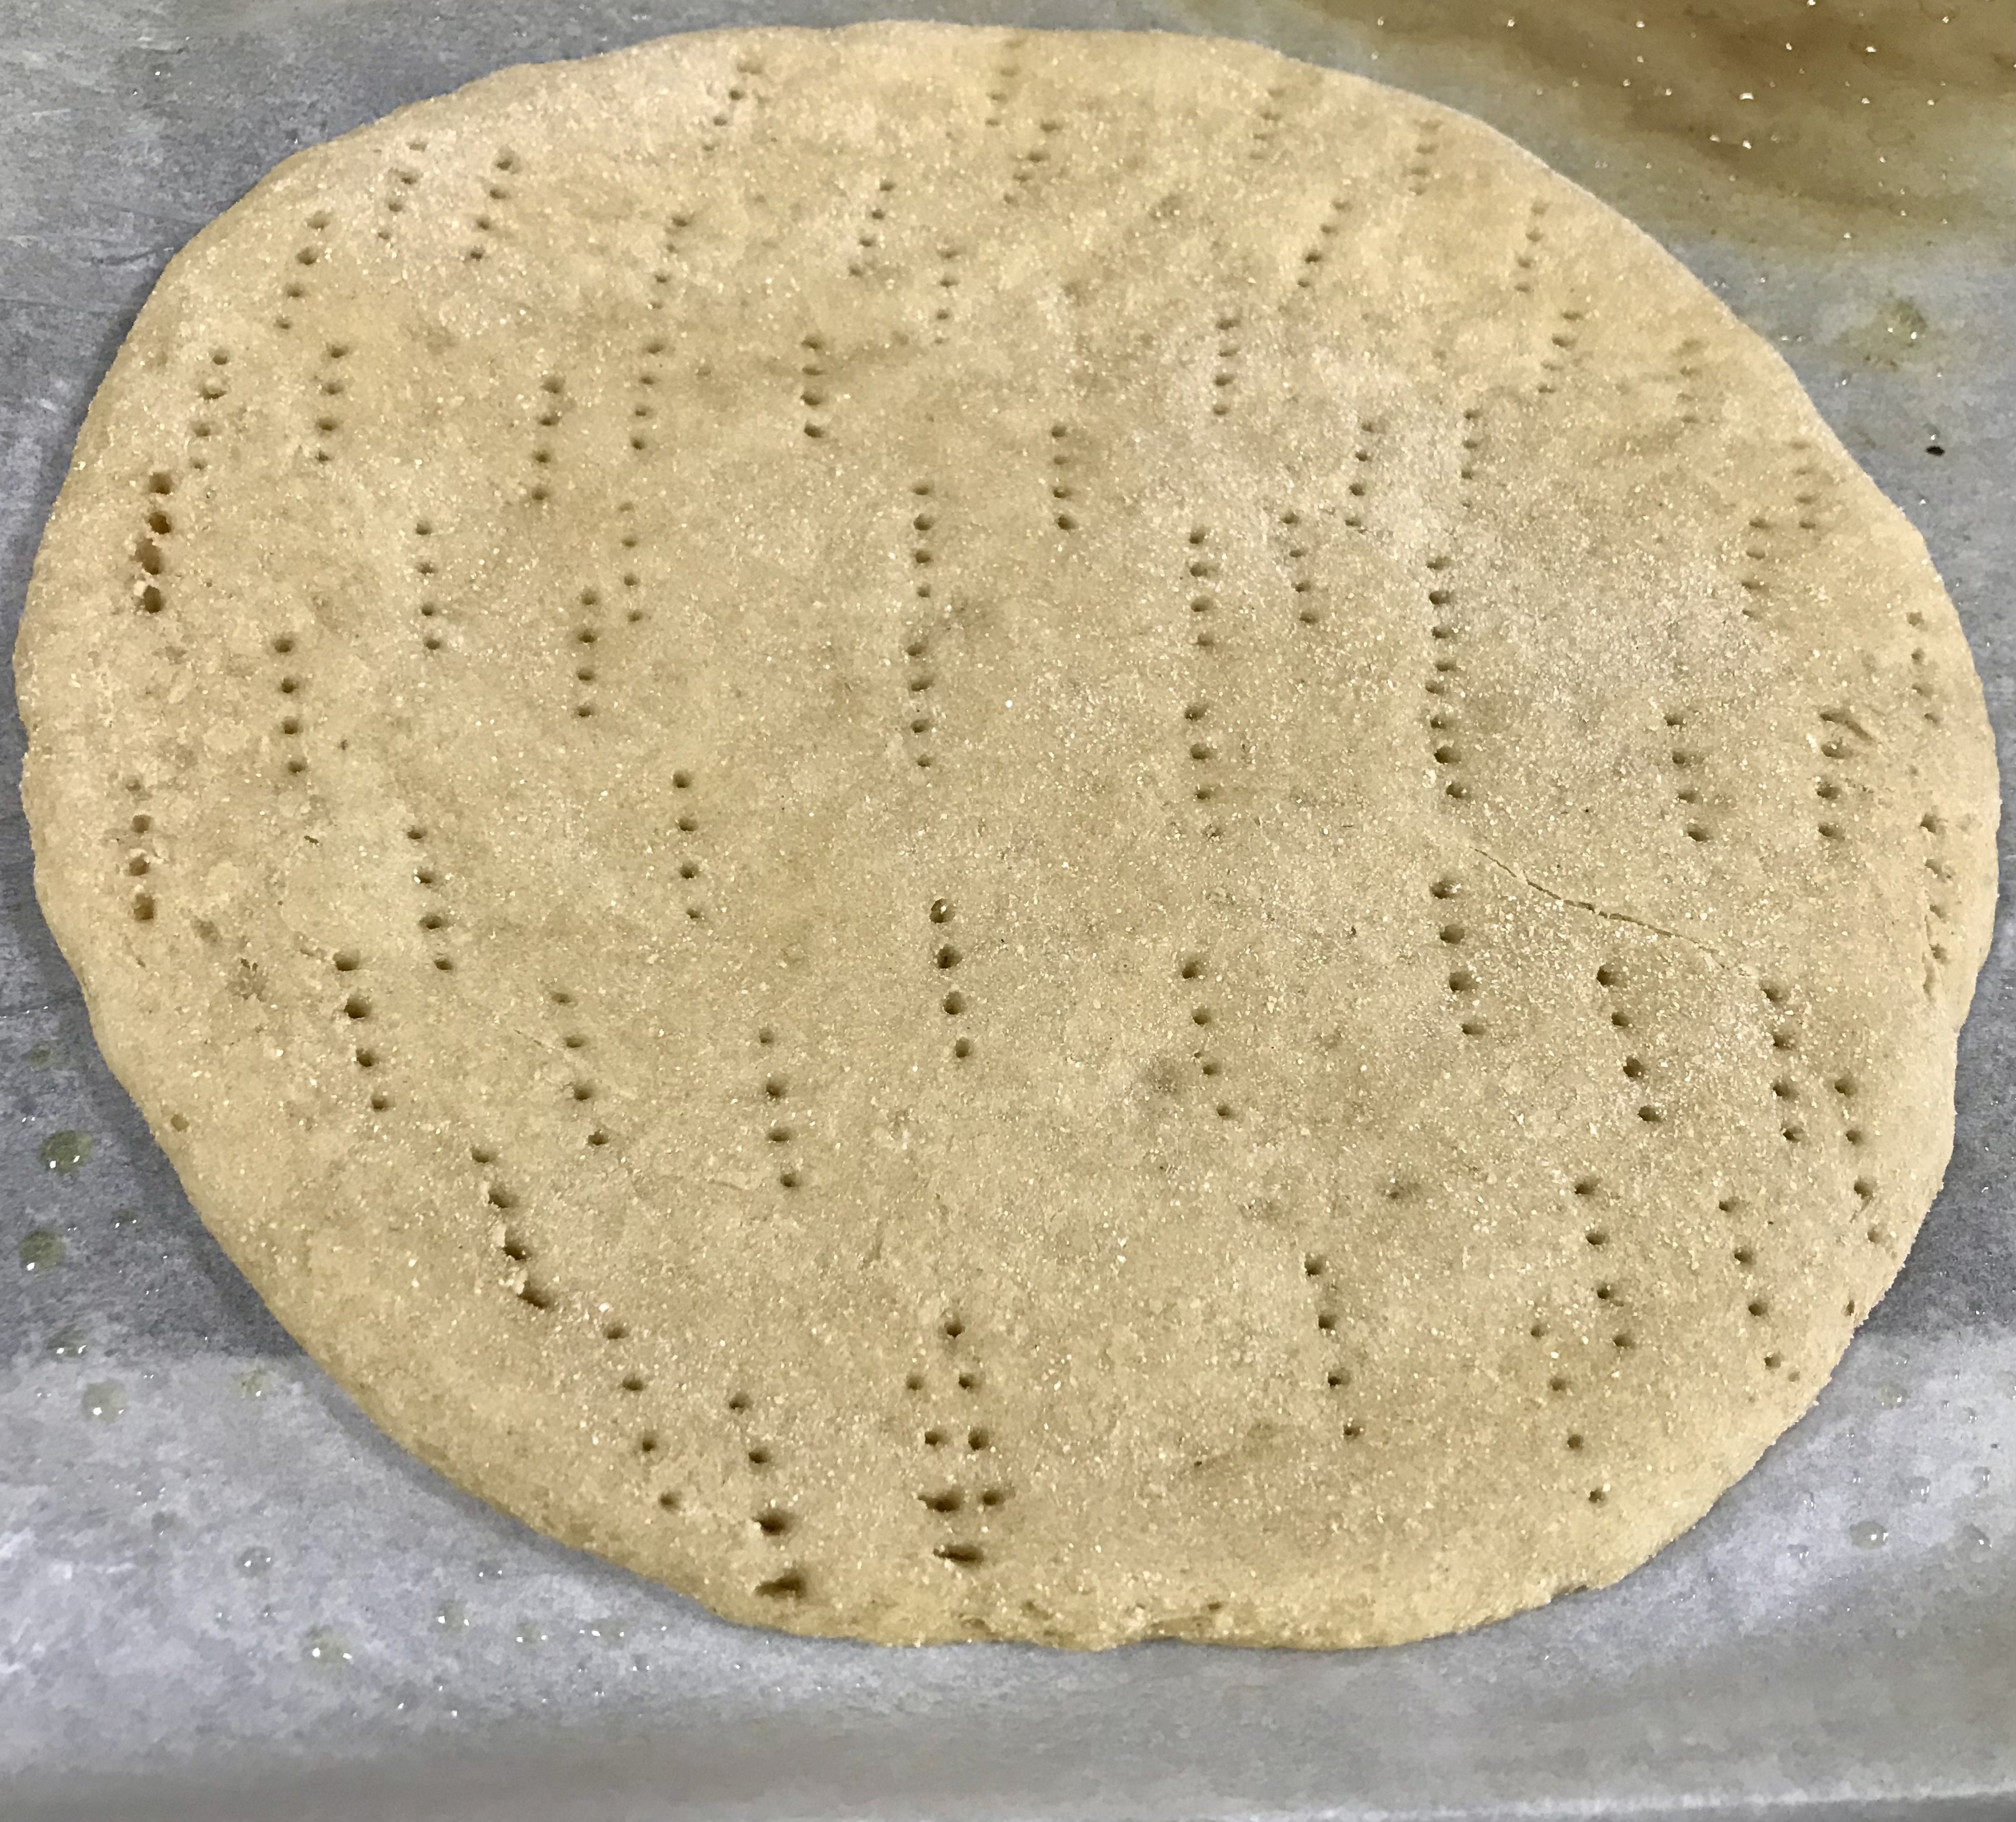
Line a baking tray with baking paper. Or grease a plate that can go straight into the oven
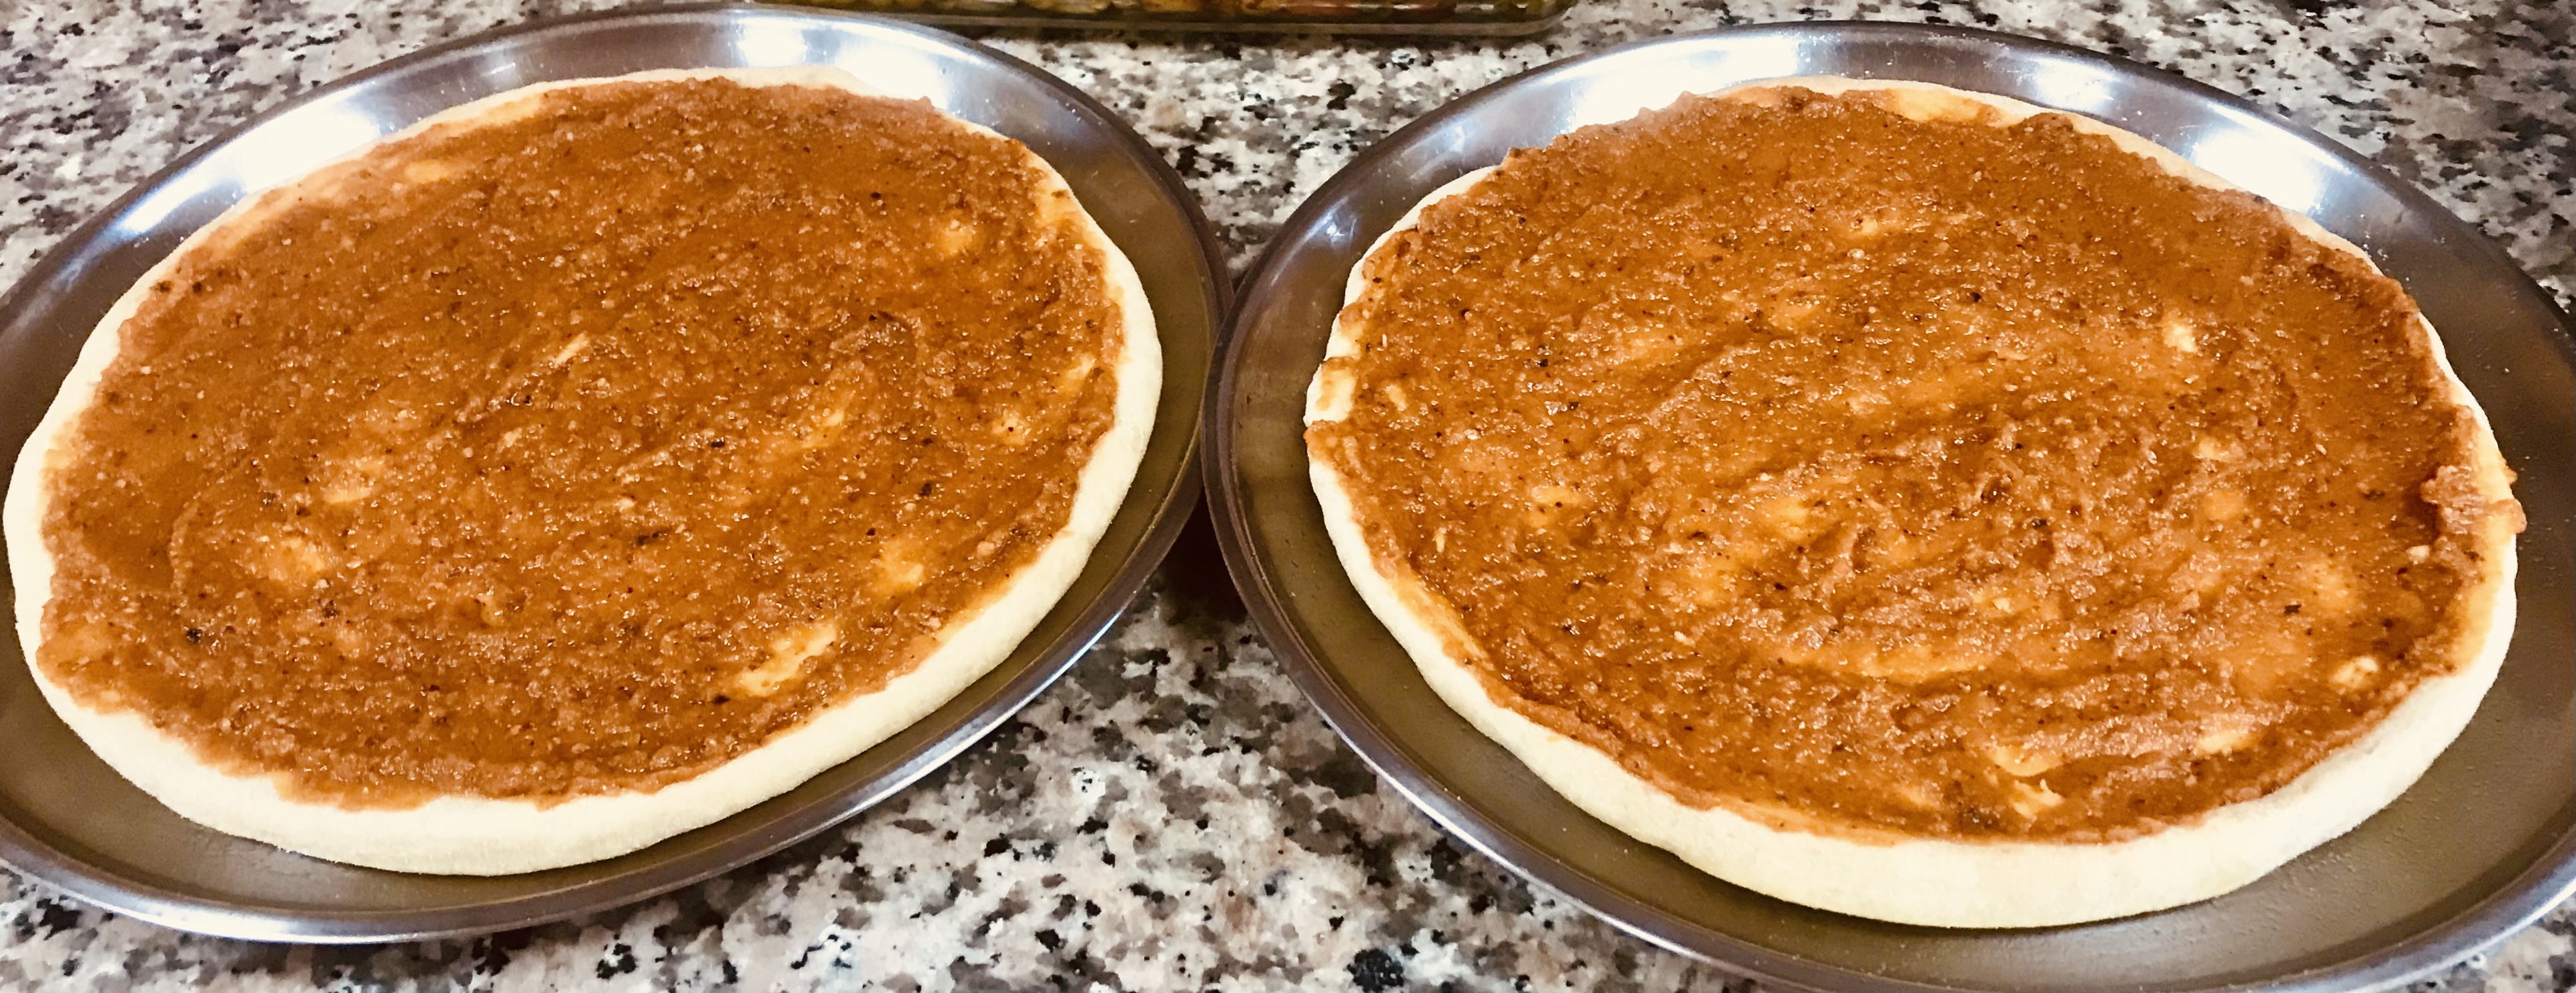
Place the pre-cooked pizza base on the baking tray and spread enough pizza sauce
3. Arrange corn, fish and mushroom to cover the base
4. Add cut green or red chillies for that extra spice, that’s completely optional
5. Sprinkle cheese on top
6. Get ready to bake.
Pizza in the oven-
Pre-heat oven at 220 degree centigrade.
Reduce the temperature to 200-210 degrees Centigrade before baking
Since I have a Gas Oven, the burner makes the baked dishes cook faster, at the same time there is this risk of burning the goodies in a giffy. That’s why I am cautious about mentioning exact temperatures. Set temperatures according to your oven.
Having made the Pizza base and sauce in the previous post, without wasting much time, let’s create our vegetarian pizza – with paneer/indian cottage cheese.
Store bought pizzas may contain just a few sprinkles of vegetables. The base and loaded cheese are enough to fill our tummies. But, when we make pizza at home, we are able to load more vegetables and alter the nutrient content. That’s why I feel we are creating our own version of Pizza here.
So, feel free to create your own.
Whole Wheat Paneer Pizza
Ingredients (for 2 medium pizzas)
paneer/cottage cheese – 20-25 cubes
green capsicum – 1 no. (cubed)
red capsicum – 1 no. (cubed)
button mushroom – 200 gms (halved)
frozen corn – 1/2 cup
shredded mozzarella cheese – 300 gms appr. (more or less)
cut green chillies or thai red chillies – for a spicy treat (optional)
The quantity of each ingredient can be altered according to family preferences. I like to load my pizza with vegetables, and hence this list.
Method of Preparation
Keeping things ready–
To make paneer flavorful, marinate the cubes in soya sauce, tomato sauce and red chilli sauce for an hour
Pan fry them in minimal oil. Set aside
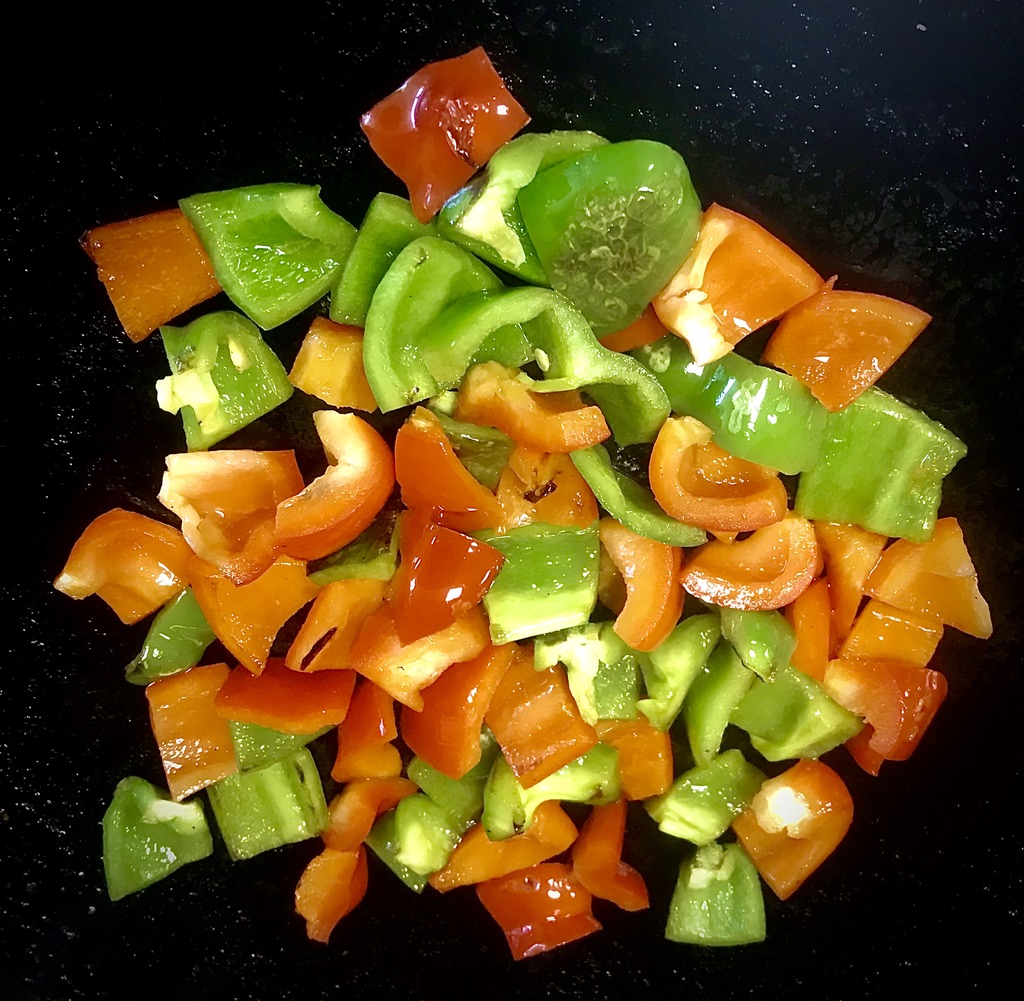
3. Saute the capsicum for a few minutes or if preferred, use them raw
4. Blanch the mushrooms. i.e. Pour hot water over halved mushrooms and close with lid. Leave this for 1/2 an hour. Mushrooms would be cooked
5. Run water over frozen corn until thawed. Drain well without water
Creating your Pizza –
Line a baking tray with baking paper. Or grease a plate that can go straight into the oven
Place the pre-cooked pizza base on the baking tray and spread enough pizza sauce
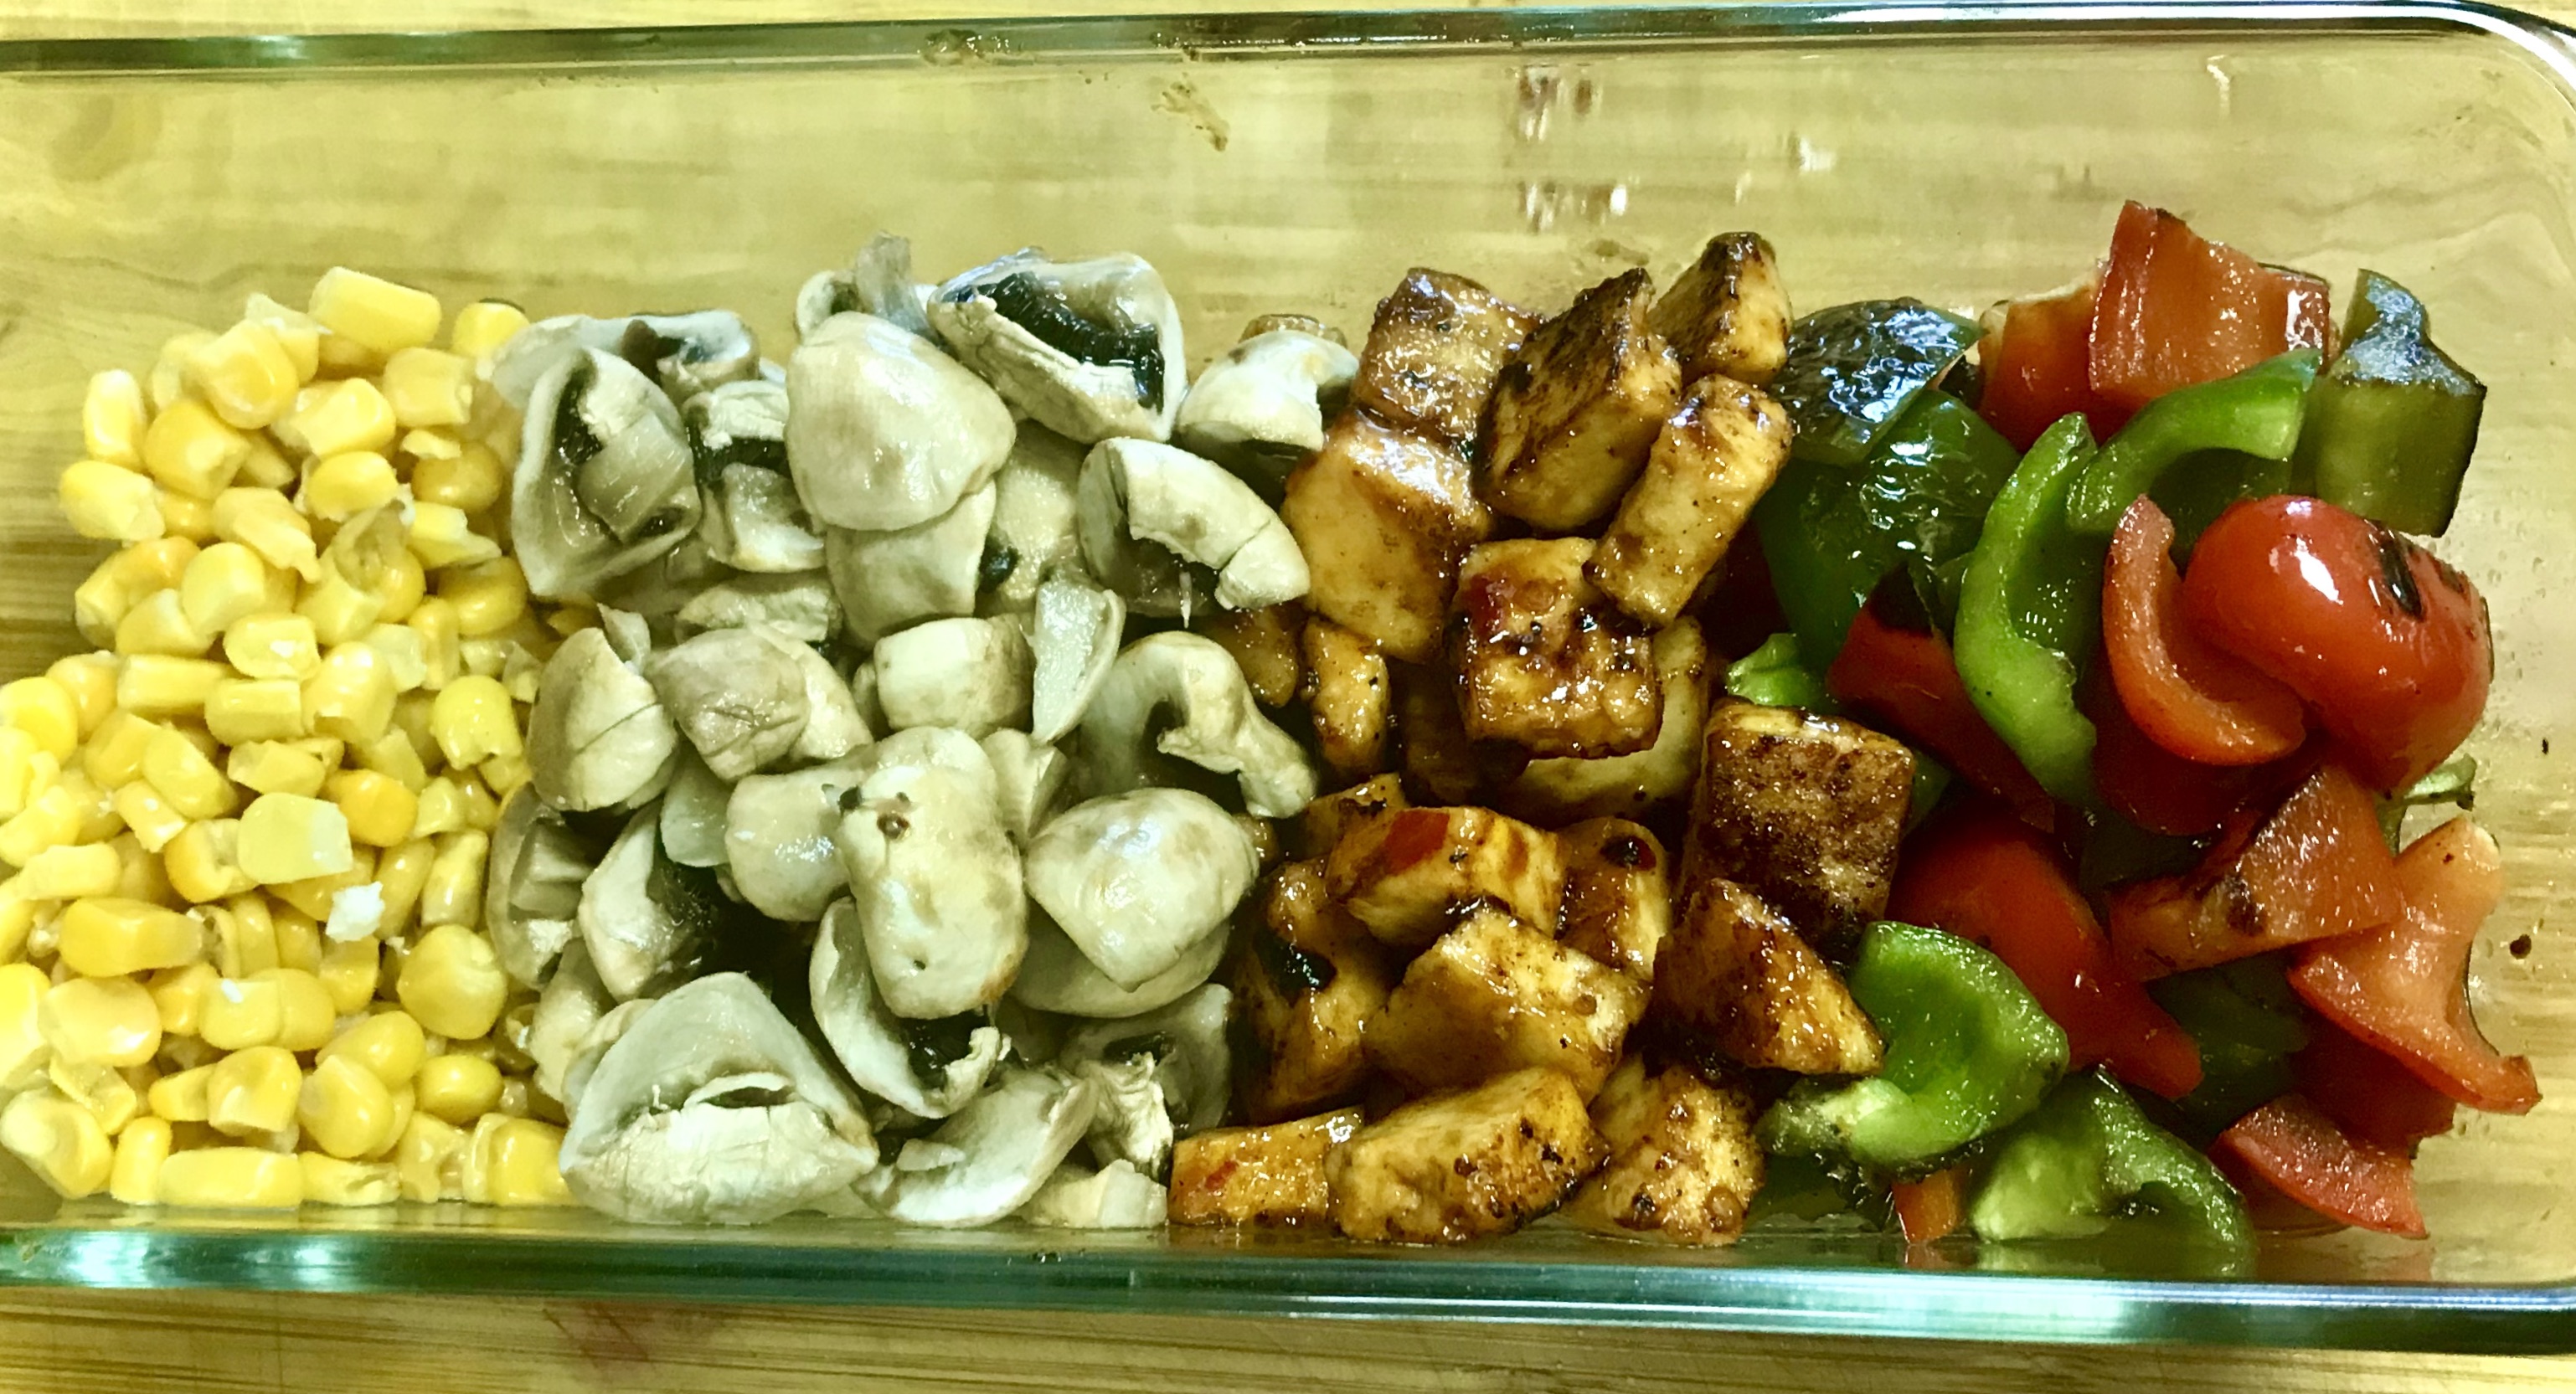
3. Arrange corn, paneer, capsicum and mushroom to cover the base
4. Add cut green or red chillies for that extra spice, that’s completely optional
4. Sprinkle cheese on top
5. Get ready to bake.
Pizza in the oven-
Pre-heat oven at 220 degree centigrade.
Reduce the temperature to 200-210 degrees Centigrade before baking
Since I have a Gas Oven, the burner makes the baked dishes cook faster, at the same time there is this risk of burning the goodies in a giffy. That’s why I am cautious about mentioning exact temperatures. Set temperatures according to your oven.
Bake for 10-15 minutes
Pizza would be done in 10-15 minutes – cheese melted to glory and the base crisp and golden.
I’m still a learner, when it comes to baking Bread. My notion is not a gluten free bread, but something different from the usual ones.
I am at a stage, where I’d like to play with yeast, to find more interesting recipes. Hence, thought of including Almond Flour in the well practiced Bread recipe. Without the gluten (wheat), bread with plain almond flour might not be a successful one. We might need other binding agents like eggs or flax seeds. Even with flax seeds, eggs would be necessary for a Good result.
So, I chose to combine Wheat and Almond flours – in the ration 2:1. For 400 gms of wheat flour, I added 200 gms of almond flour. I also included warm buttermilk.
Buttermilk might kill the yeast. So, I had a careful eye to mix the dry ingredients first and then warm water and warm butter milk. And, immediately ran the kitchen machine. We could also proof the yeast before adding it to the flour.
Almond Flour and Whole Wheat Flour Bread
Ingredients
whole wheat – 400 gms
almond flour – 200 gas
honey – 4 tsp
salt – 1 1/2 tsp
yeast – 3 tsp
warm water – 1 1/2 to 2 cups approximately
warm buttermilk – 1 1/2 cups
oil (preferably olive oil) – 2 tsp = 1 tsp for greasing the bowl; 1 tsp for greasing the baking tin
Making the Bread
Process I
In the Stand Mixer Bowl, add wheat flour, almond flour, yeast and salt and mix well with a spatula
Pour warm buttermilk and honey; and switch on the mixer with the dough hook
Add warm water little by little, till the dough has enough water to knead
Note: Almond Flour doesn’t need water as much as plain whole wheat flour would need. That’s why, check the dough and then add water
After the initial mixing up of all the ingredients in the mixer, let the dough be kneaded for 10 minutes. Add more water, if needed while kneading
Alternatively, if you plan to knead by hand-
In a big bowl, add ingredients as in step 1, 2 and 3
Knead well until buttermilk and water gets incorporated and the dough is stretchy.
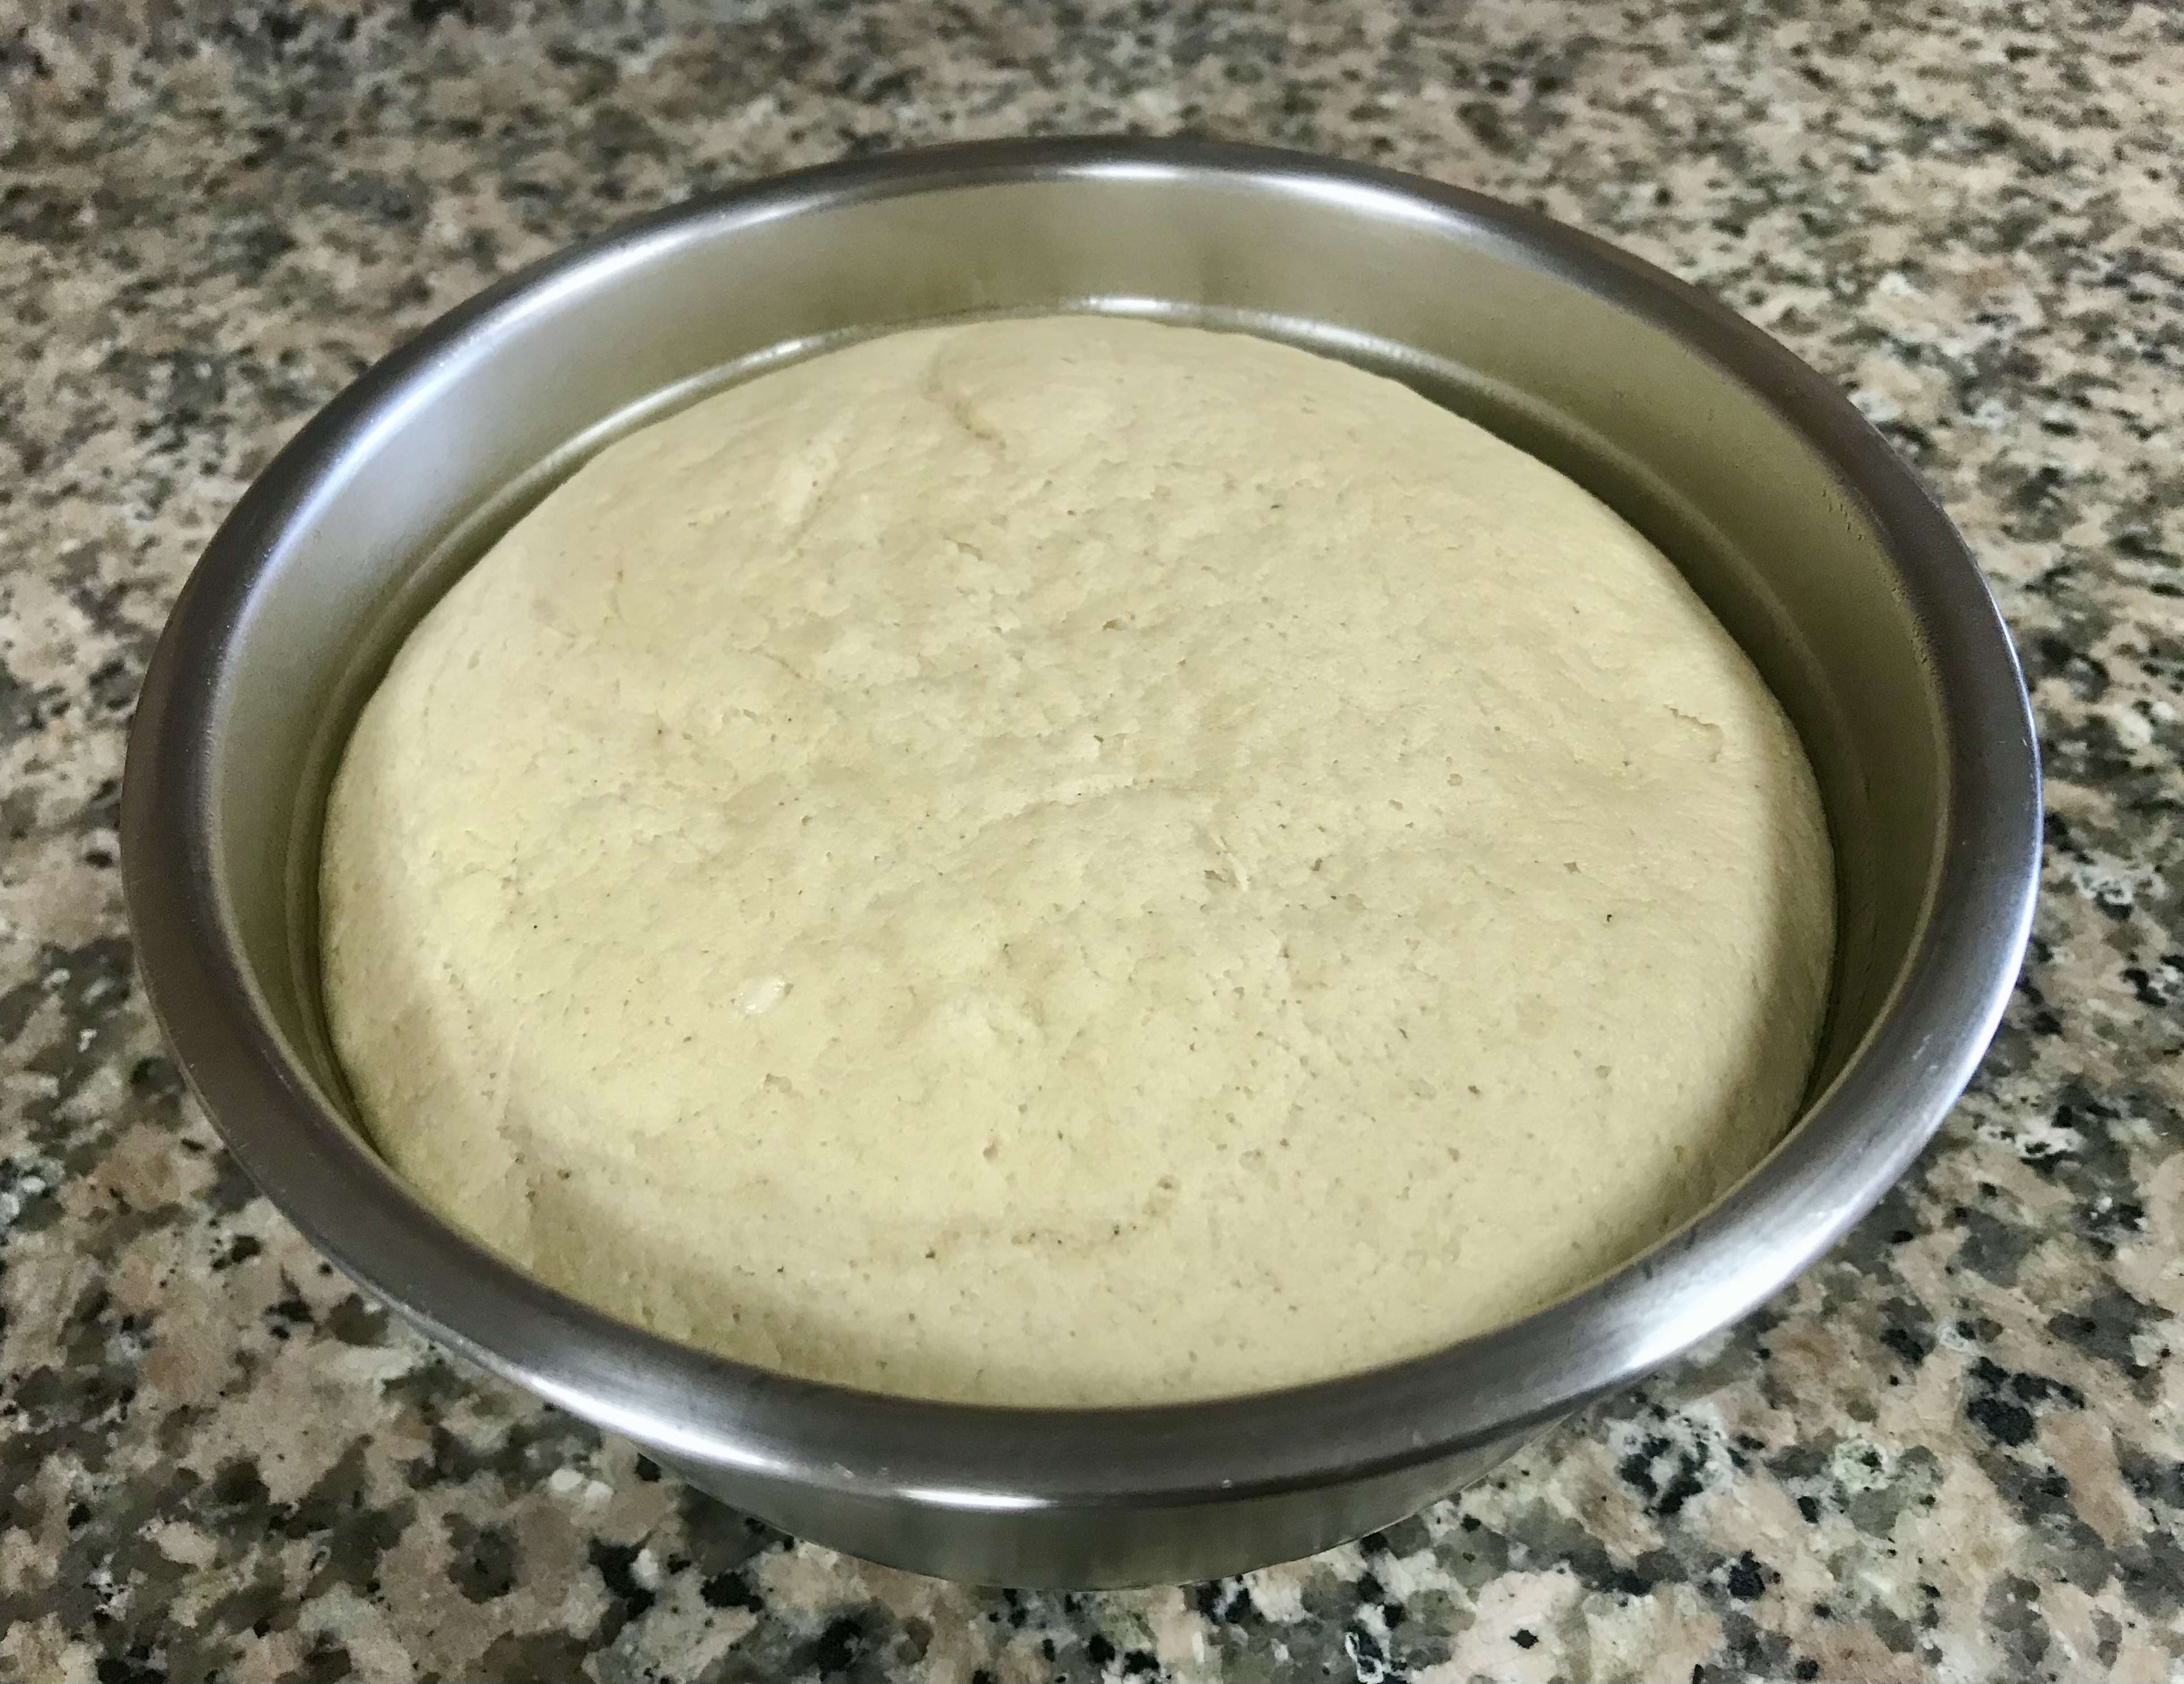
Grease the same bowl, with 1 tsp oil, and place the bread dough
Cover with a clean cloth, place the bowl in a warm place
Let the dough rise for half an hour or until double
Process II
Knock the dough, and give it a gentle knead
Grease the baking tin with the other 1 tsp olive oil
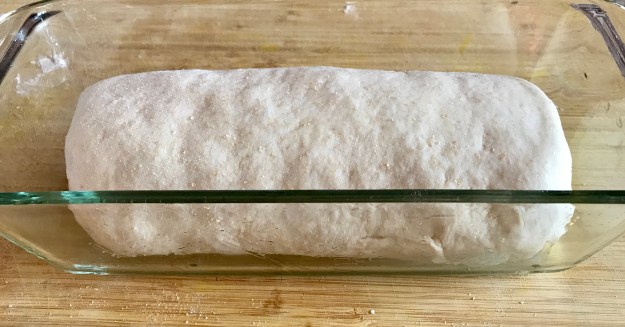
Roll the dough into loaves and place in the tin
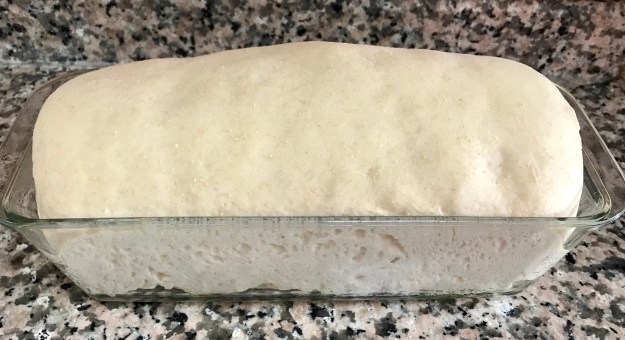
Let the dough rise for another 1/2 hr to one hr – or until doubled
Process III
Preheat the oven at 220 degree C
Place the dough and let it bake for 30-35 minutes, more or less, depending upon the oven.
For a soft crust
Once the baking is done-
Switch off the oven
Brush the crust with butter
Open the oven and leave the bread inside. Let there be a little gap in the door, for air to pass through
Once the bread is warm, remove and let it cool completely
Let it cool, with a cloth covered
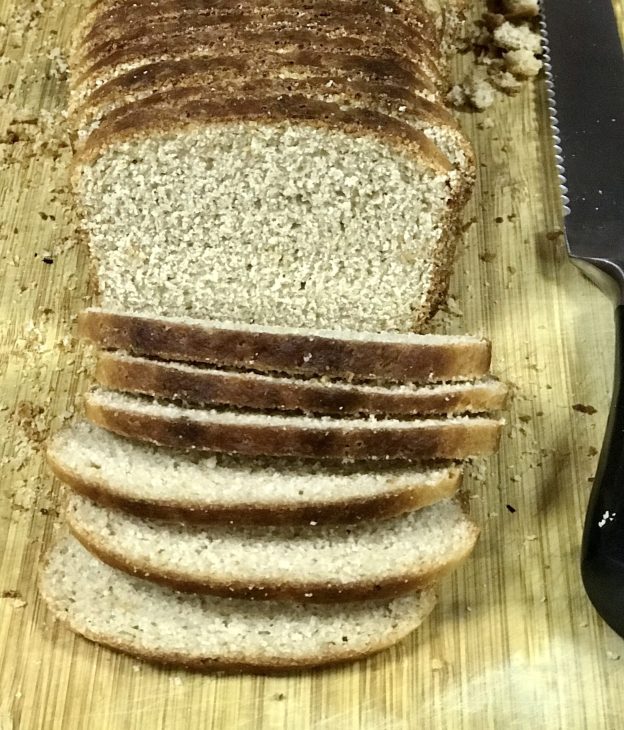
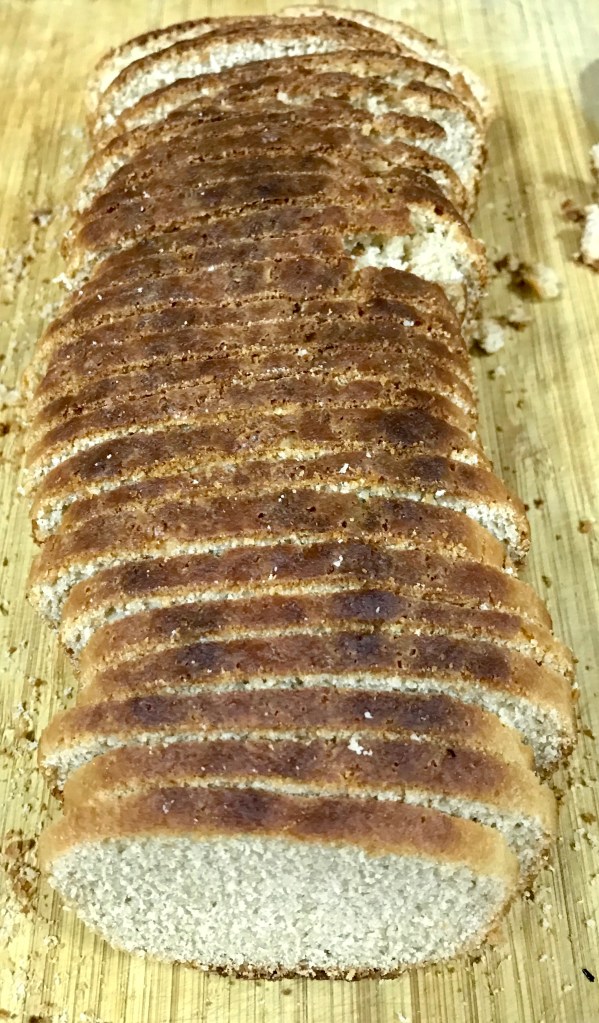
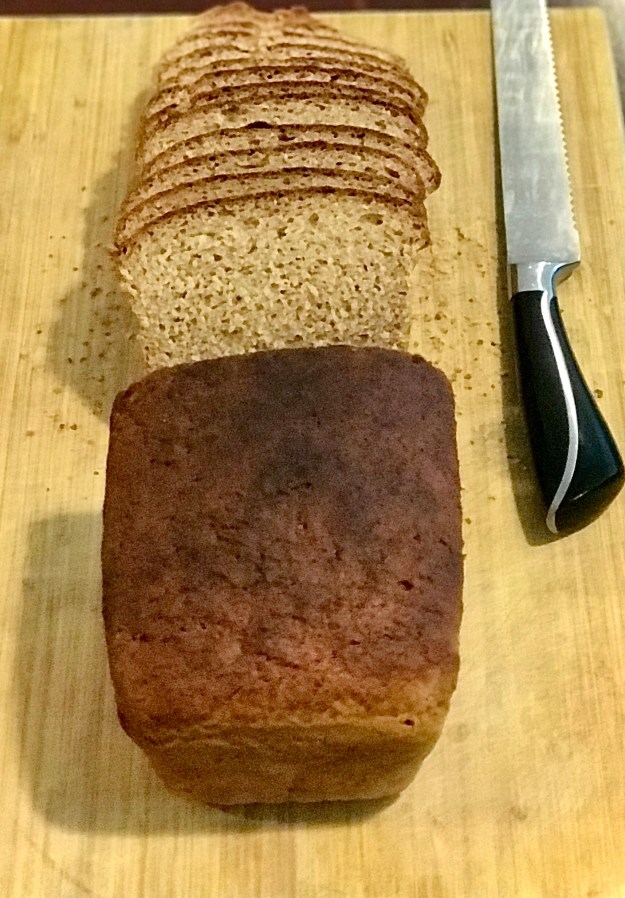
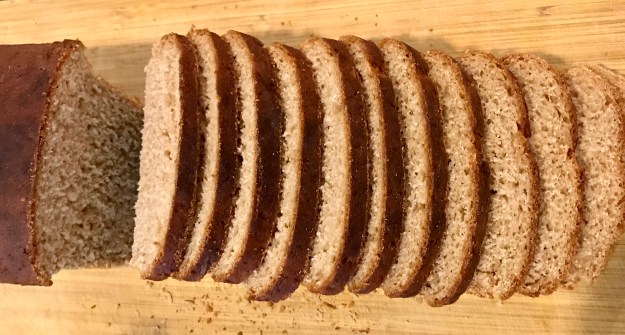
The crust of the baked bread is soft and easy to slice.
Why I prefer the ‘100%’ tag is, due to the countless number of times I’ve been fooled in shops and the web – with the phrase ‘whole wheat’ bread, bun or whatever snack that claims to be whole wheat.
This whole wheat product, doesn’t include white flour at all.
After I changed my yeast and started kneading with a Stand Mixer, my home-baked whole wheat Bread has passed with flying colours.
So, without wasting much time…….
100% Whole Wheat Bread
Ingredients
wholewheat flour – 4 cups (one cup = 130mg x 4 = 520 gms)
yeast – 3 tsp – 11 gms
honey – 1/4 cup
salt – 1 1/2 tsp – 11 gms
warm water – enough to knead into stretchy and elastic dough
olive oil – 2 tsp app. (1 tsp for greasing the bowl; 1 tsp for greasing the baking tin)
Making the Bread
Process I
In the Stand Mixer Bowl, add flour, yeast and salt and mix well with a spatula
Pour warm water and honey; and switch on the mixer with the dough hook
After the initial mixing up of all the ingredients in the mixer, let the dough be kneaded for 10 minutes. Add more water, if needed while kneading
Alternatively, if you don’t have a mixer, not to worry
In a big bowl, add ingredients as in step 1 and then step 2
Knead well until water is incorporated well and the dough is stretchy.
Grease the same bowl, with 1 tsp oil, and place the bread dough
Cover with a clean cloth, place the bowl in a warm place
Let the dough rise for half an hour or until double
Process II
Knock the dough, and knead well again
Grease the baking tin with the other 1 tsp olive oil
Place the well rolled dough in the tin
Let the dough rise for another 1/2 hr to one hr – or until doubled
Process III
Preheat the oven at 220 degree C
Place the dough and let it bake for 30-35 minutes, more or less, depending upon the oven
For a soft crust
Once the baking is done-
Switch off the oven
Brush the crust with butter
Open the oven and leave the bread inside. Let there be a little gap in the door, for air to pass through
Once the bread is warm, remove and let it cool completely
Let it cool, with a cloth covered
The crust of the baked bread is soft and easy to slice.
Baking might be an addictive affair. It is discouraging to see a flopped recipe. But, I feel, the aroma that the kitchen brings out, with baked goods, is one of the main reasons that make Baking, as addictive as it is. Why would one want to bake again and again, to make unsuccessful baking, successful, as though that is the only way to attain salvation??!!
After a change in the yeast brand, my bread/bun baking, has become better than before. I am working on making them more moist – as they turned out dry a few times. But, I assure, they taste excellent. My recent raisin bread too, turned out a bit dry. But, tasted awesome.
To tackle dryness, I have started incorporating buttermilk to buns. As such, while baking eggless goodies, I try to substitute with yoghurt. I prefer Dinner Rolls/Buns to be baked with butter. Though, quite recently, while I baked a butterless buns, (recipe from a cook-book I had), they came out really well. Shall bake it again, and confirm the recipe.
This time, I wanted to bake buns, with the excess mint leaves (I had dried indoors) and chillies and pepper…. something salt and spicy. These whole wheat buns, came out good. That’s why I couldn’t resist sharing them immediately.
100% Whole Wheat Eggless Spicy Soft Masala Buns – with Flax Seed- Sesame Seed
Ingredients
whole wheat flour – 300 gms (2 heaped up cups)
unsalted butter – 100 gms (melted and warm)
cane sugar – 12 gms (2 tsp)
powdered sea salt – 7-8 gms (1 tsp)
active dry yeast – 7-8 gms (2 tsp)
warm buttermilk – 1 cup
warm water – as needed to make a fine dough
Milk – 2 tbsp- for milk wash
For the Masala
flax seeds – 4 tsp
sesame seeds – 4 tsp (2 tsp for the powder and 2 tsp to sprinkle on top)
dried mint leaves – 1 1/2 cups approximately
dry ginger powder – 2 tsp
pepper corns – 2 tsp
red chillies – 4 no.s
oregano (optional) – 1 tsp
Method of Preparation
Making Spice/Masala Powder
Dry roast flax seeds and sesame seeds. Roast 2 tsp of the sesame seeds and reserve the rest 2 tsp for the milk wash.
2. Dry roast, dried mint leaves – a bit of roasting helps in blending well
3. Dry roast pepper corns and red chillies (as I had some home made chilli flakes, I used it too.) 4 chillies would be needed for the recipe. Since I also used the left over chilli flakes, I took 2 red chillies
4. Dry roast oregano for a very short time – oregano is optional. I added, to boost the flavour. But, the mint and others are sufficient to punch in the flavours. I roasted it a bit, again to blend well. If you don’t have oregano, use carom seeds
5. Blend all the roasted ingredients, with dry ginger powder to a fine dry mixture.
6. The blended powder weighed approximately 42-45 gms
Making the dough
In a wide bowl, add whole wheat flour, yeast, masala powder, sugar and salt
As I had no doubts with my yeast, I directly added to wheat flour. Otherwise, proof yeast with warm water, to check whether it is still alive
Add melted butter, which is still warm
Warm the buttermilk and add to the flour mixture
No cold liquids, as the yeast would become inactive
Start kneading the dough, by kitchen machine or by hand
Add enough warm water, if needed. My dough needed more water
Knead for 10 minutes, to a soft dough
kneaded dough
9. Place in a greased bowl and close it. I don’t use cling wrap at home. So, just close with any lid, but keep it in a moist place. I always place my yeasted dough in the oven, with the light on. I also place a bowl of hot water below or beside. This helps create a warm environment, if you live in a cold place or air-conditioned environment
10. Keep the dough for 1 hour to rise or until double
doubled
11. Once doubled, knock the dough and knead for a couple of minutes
12. Grease a baking dish or tray, or place parchment paper on the baking tray
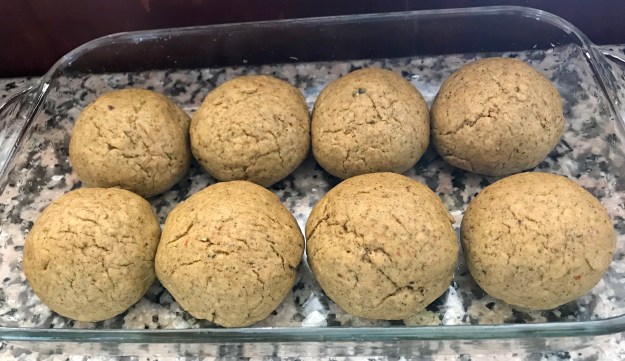
13. Make 8 equal portions and roll into fine balls
14. Place on baking tray, spaced apart
15. Keep these buns, to rise again for 30 minutes
ready to be baked
16. Preheat oven to 220°C
17. After they rise, brush the top of the buns with milk and spread sesame seeds
milk wash
18. Bake the buns in the preheated oven for 15-20 minutes or until hard crust is formed
Remove from the oven and let them cool
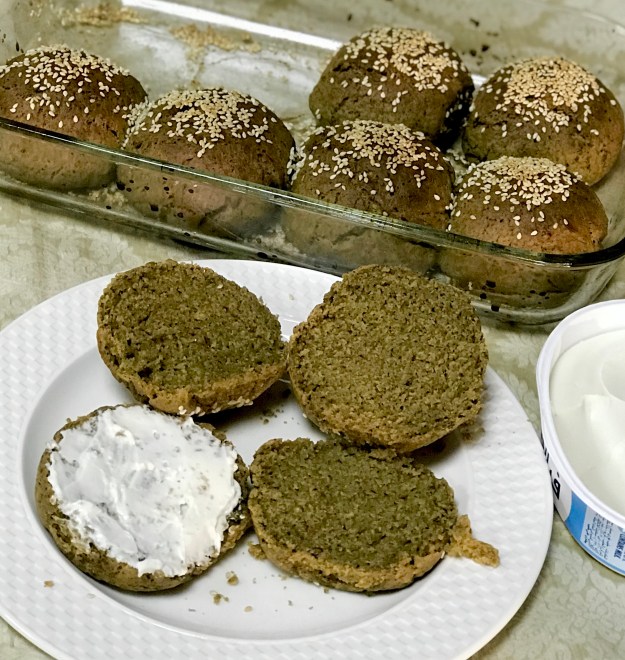
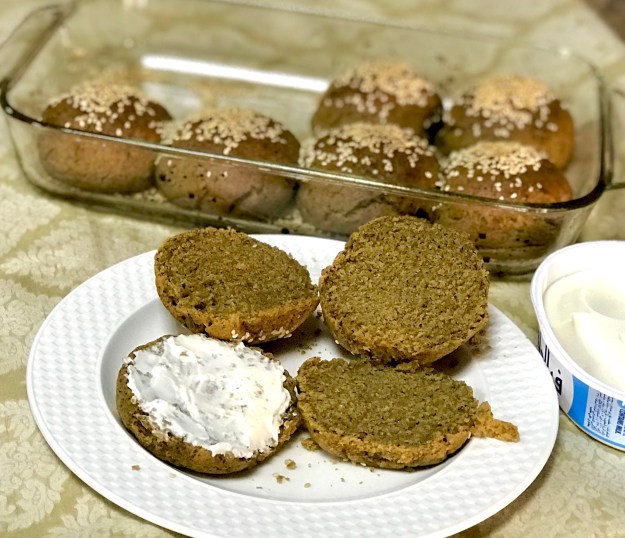
buns done
Serve with the spread of choice. Tasted good with cream cheese spread and also with tangy coriander chutney.
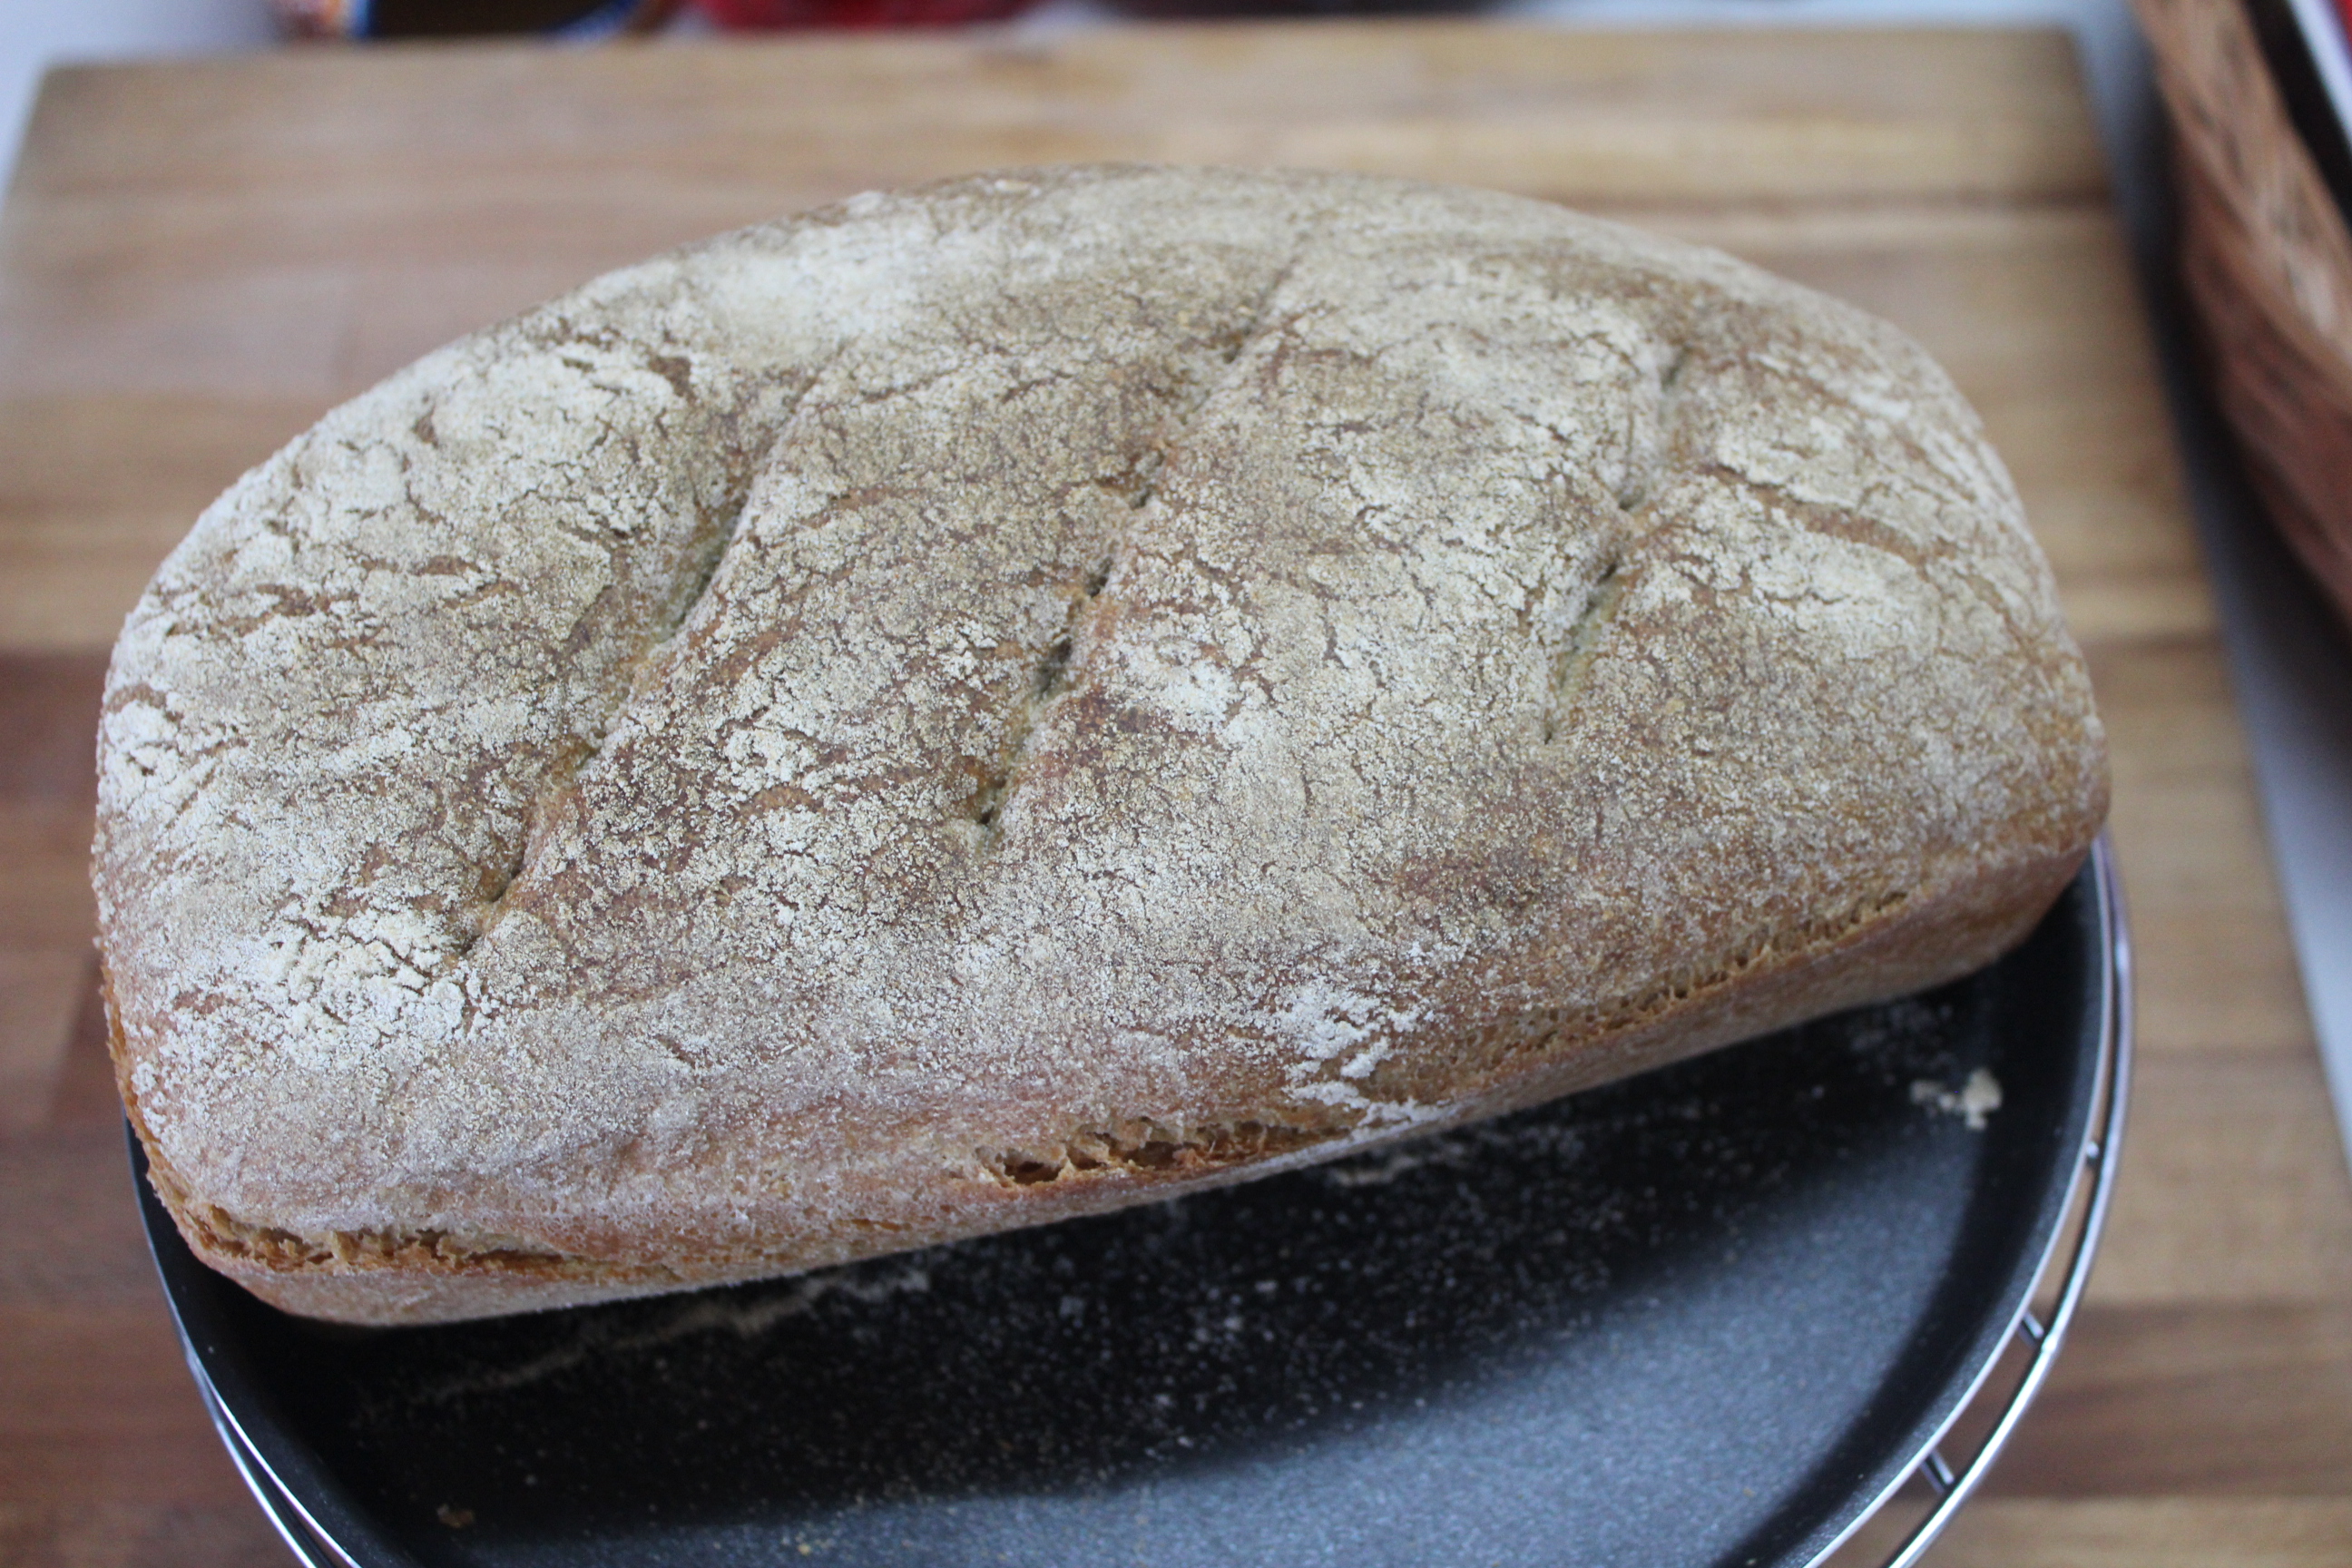
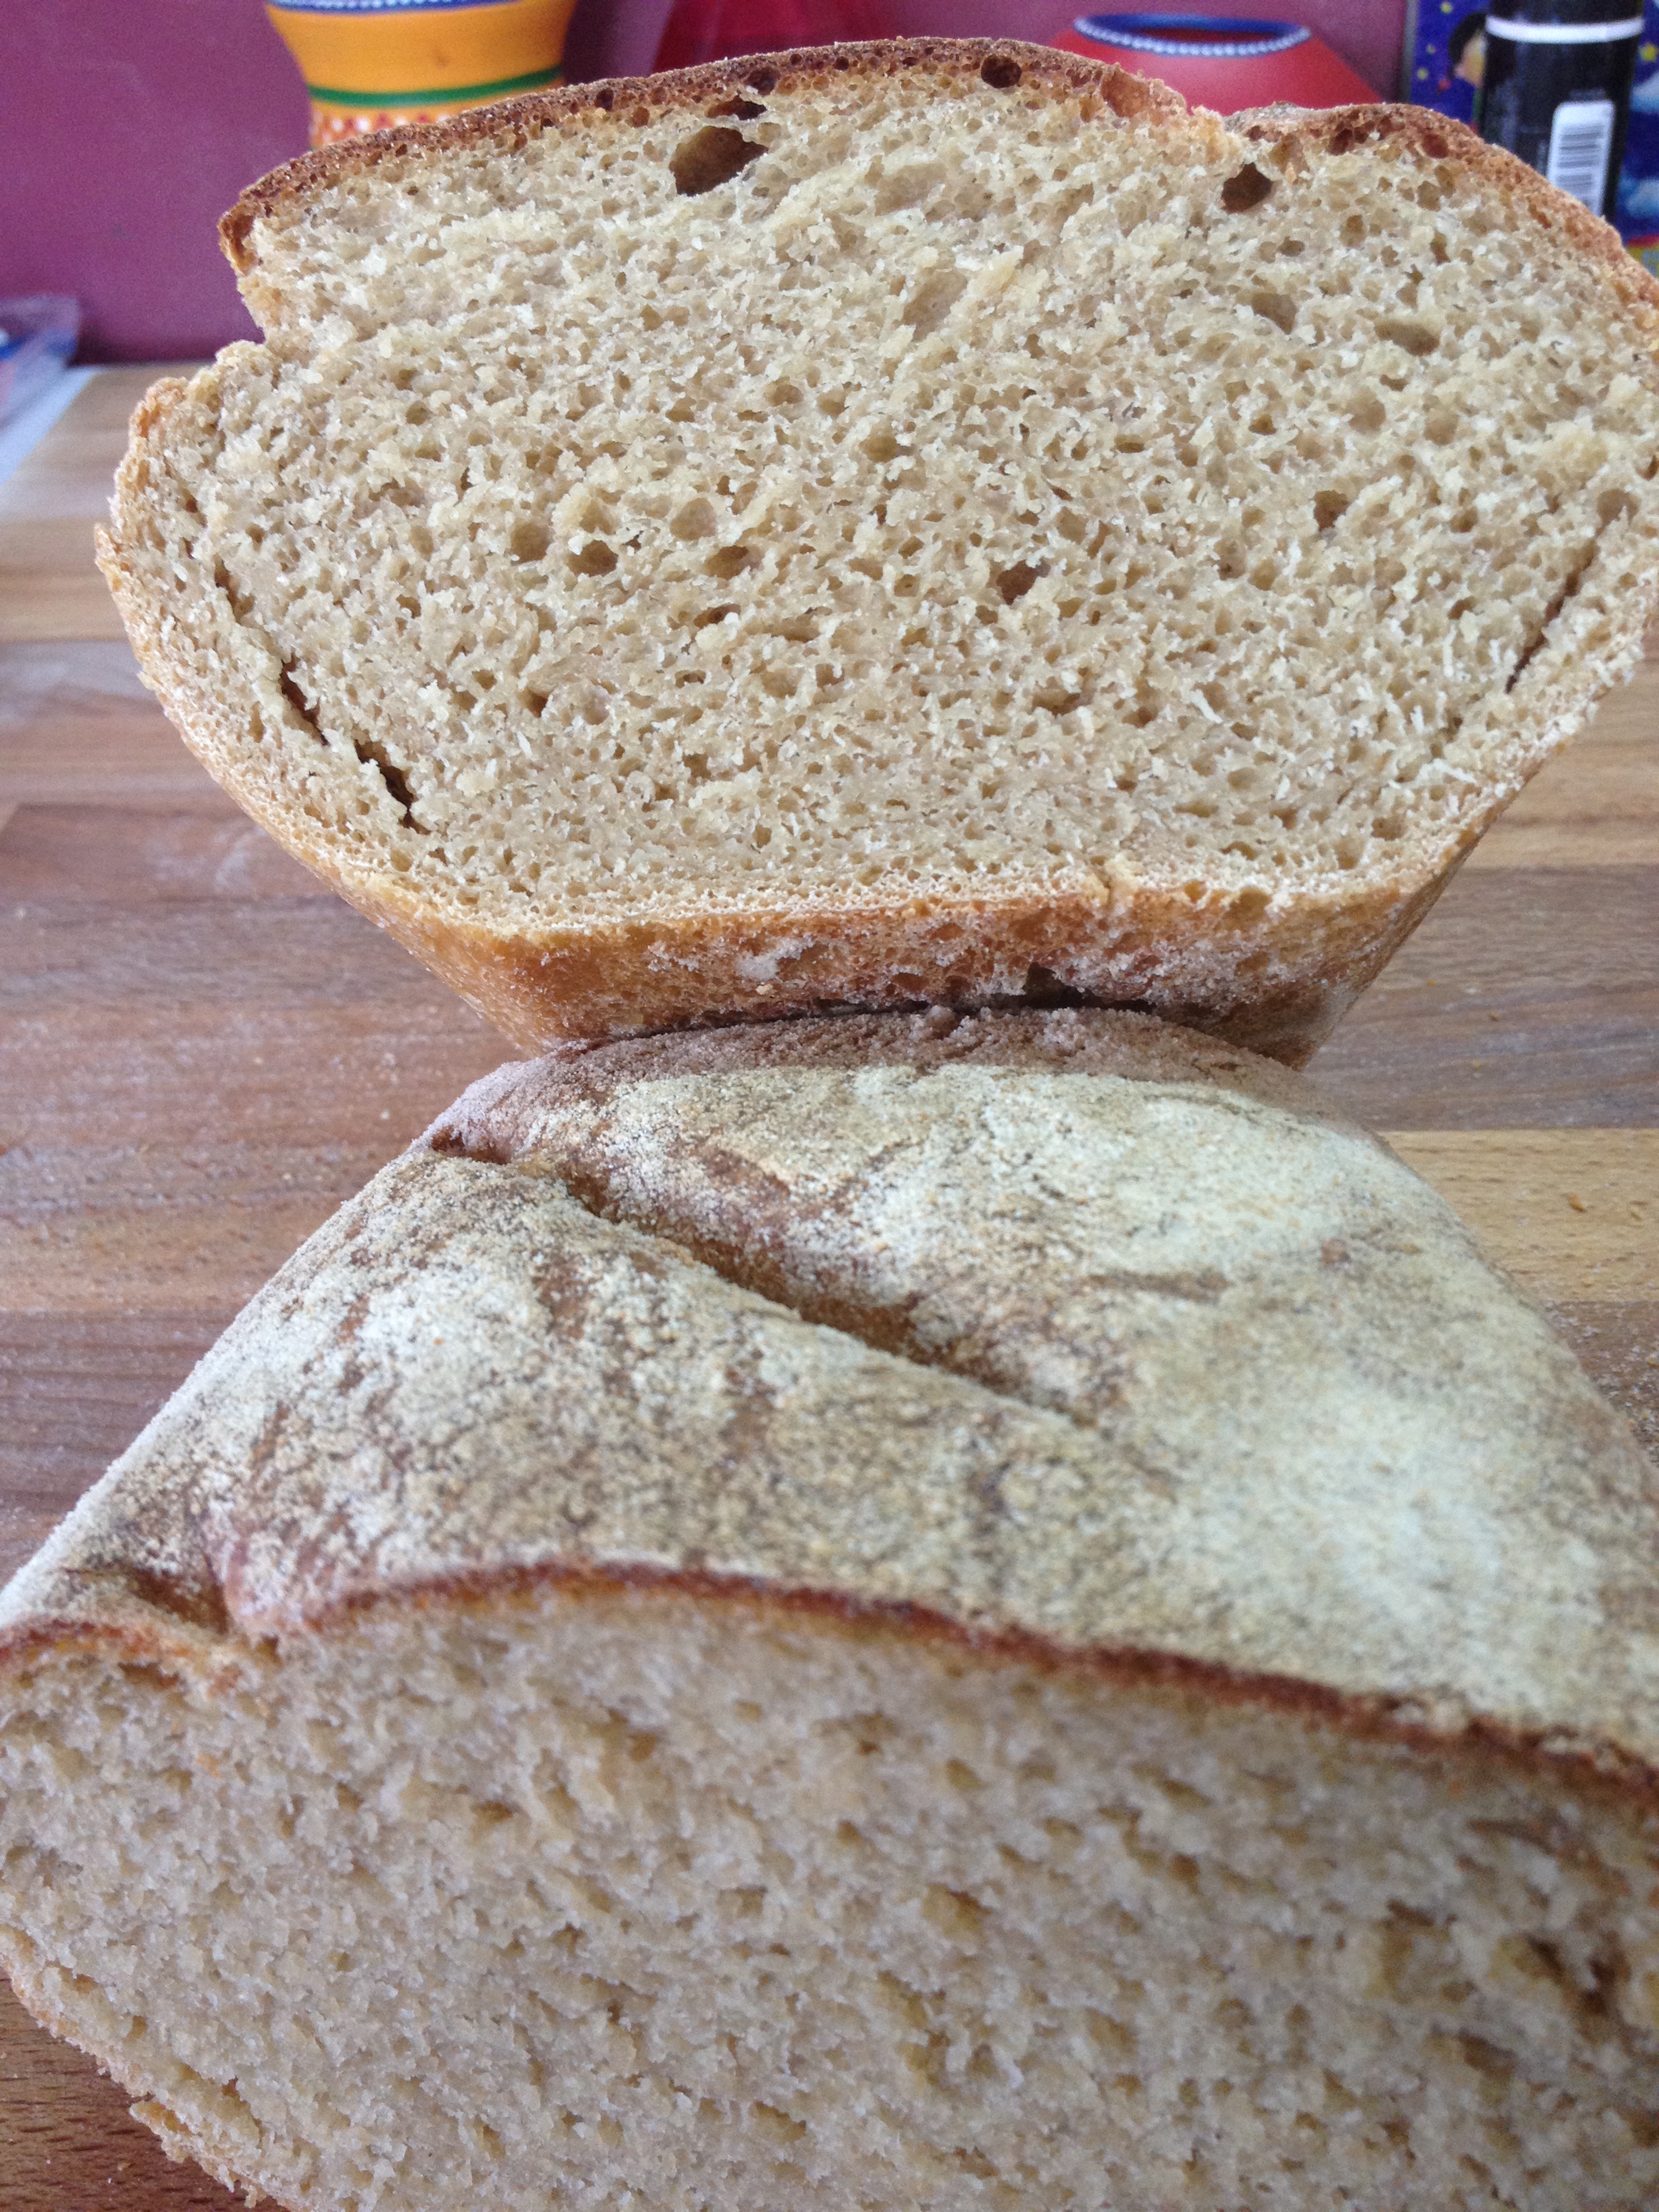
I am truly a happy home-baker today. After years of trying to bake bread that has helped my family practice yogic patience, this time my bread had the better taste of sourdough bread. It is a chunky bread, due to the whole wheat flour. I made a little compromise with 100 gms of white flour to 500 gms of whole wheat flour.
I’ve forever tried to bring in almost the same softness of white bread in my whole wheat bread, with the addition of eggs, butter, flax seeds or yoghurt. All these variants have certainly altered the texture of the bread and given unique flavors to home made 100% whole wheat bread.
A rustic bread with just 2 hours of leavening and 2 hours raising (in hot climate), has been the best ever breakfast bread that I have made. Yes, that was the best best I relished in terms of taste of rustic bread to me, but I’m not sure, it would be appreciated as a blog post. My quest for better baking, if not for the best bread has never faded. It’s still on.
But, this time I decided to become a bit more professional to strike a balance with whole wheat bread. A Big Thanks to so many bloggers out there in the world wide web, who have helped me learn so much about the process of baking bread. So, this is not my invention, but my discovery of baking good bread which has already been analayzed by so many unknown friends throughout the world.
Now, I chose to take up the two basic necessities of baking bread –
1. Patience
2. Endurance
Apart from these two – the most important techniques –
1. Giving enough time for leavening – i.e. giving enough time for the leavening agent, which is yeast to grow well. This helps in softening the bread.
2. Knead the flour well – kneading dough by hand, strengthens the gluten strands that gives bread its structure.
Here, I was pleasantly struck by the intricate details.
b.
Flour, yeast, water and salt – a traditional loaf needs only four ingredients. So why are calcium propionate, amylase, chlorine dioxide and L-cysteine hydrochloride now crammed into our daily bread? Andrew Whitely, Britain’s leading organic baker, reveals how our staple foodstuff was transformed into an industrial triumph, but a nutritional and culinary disaster. http://www.independent.co.uk/life-style/food-and-drink/features/the-shocking-truth-about-bread-413156.html,
That was a shocking revelation of the hazards of quick leavening agents used by bakers for lessening the time spent in bread preparation. That was an eye opener for sure.
Special thanks to both the bloggers for such useful information.
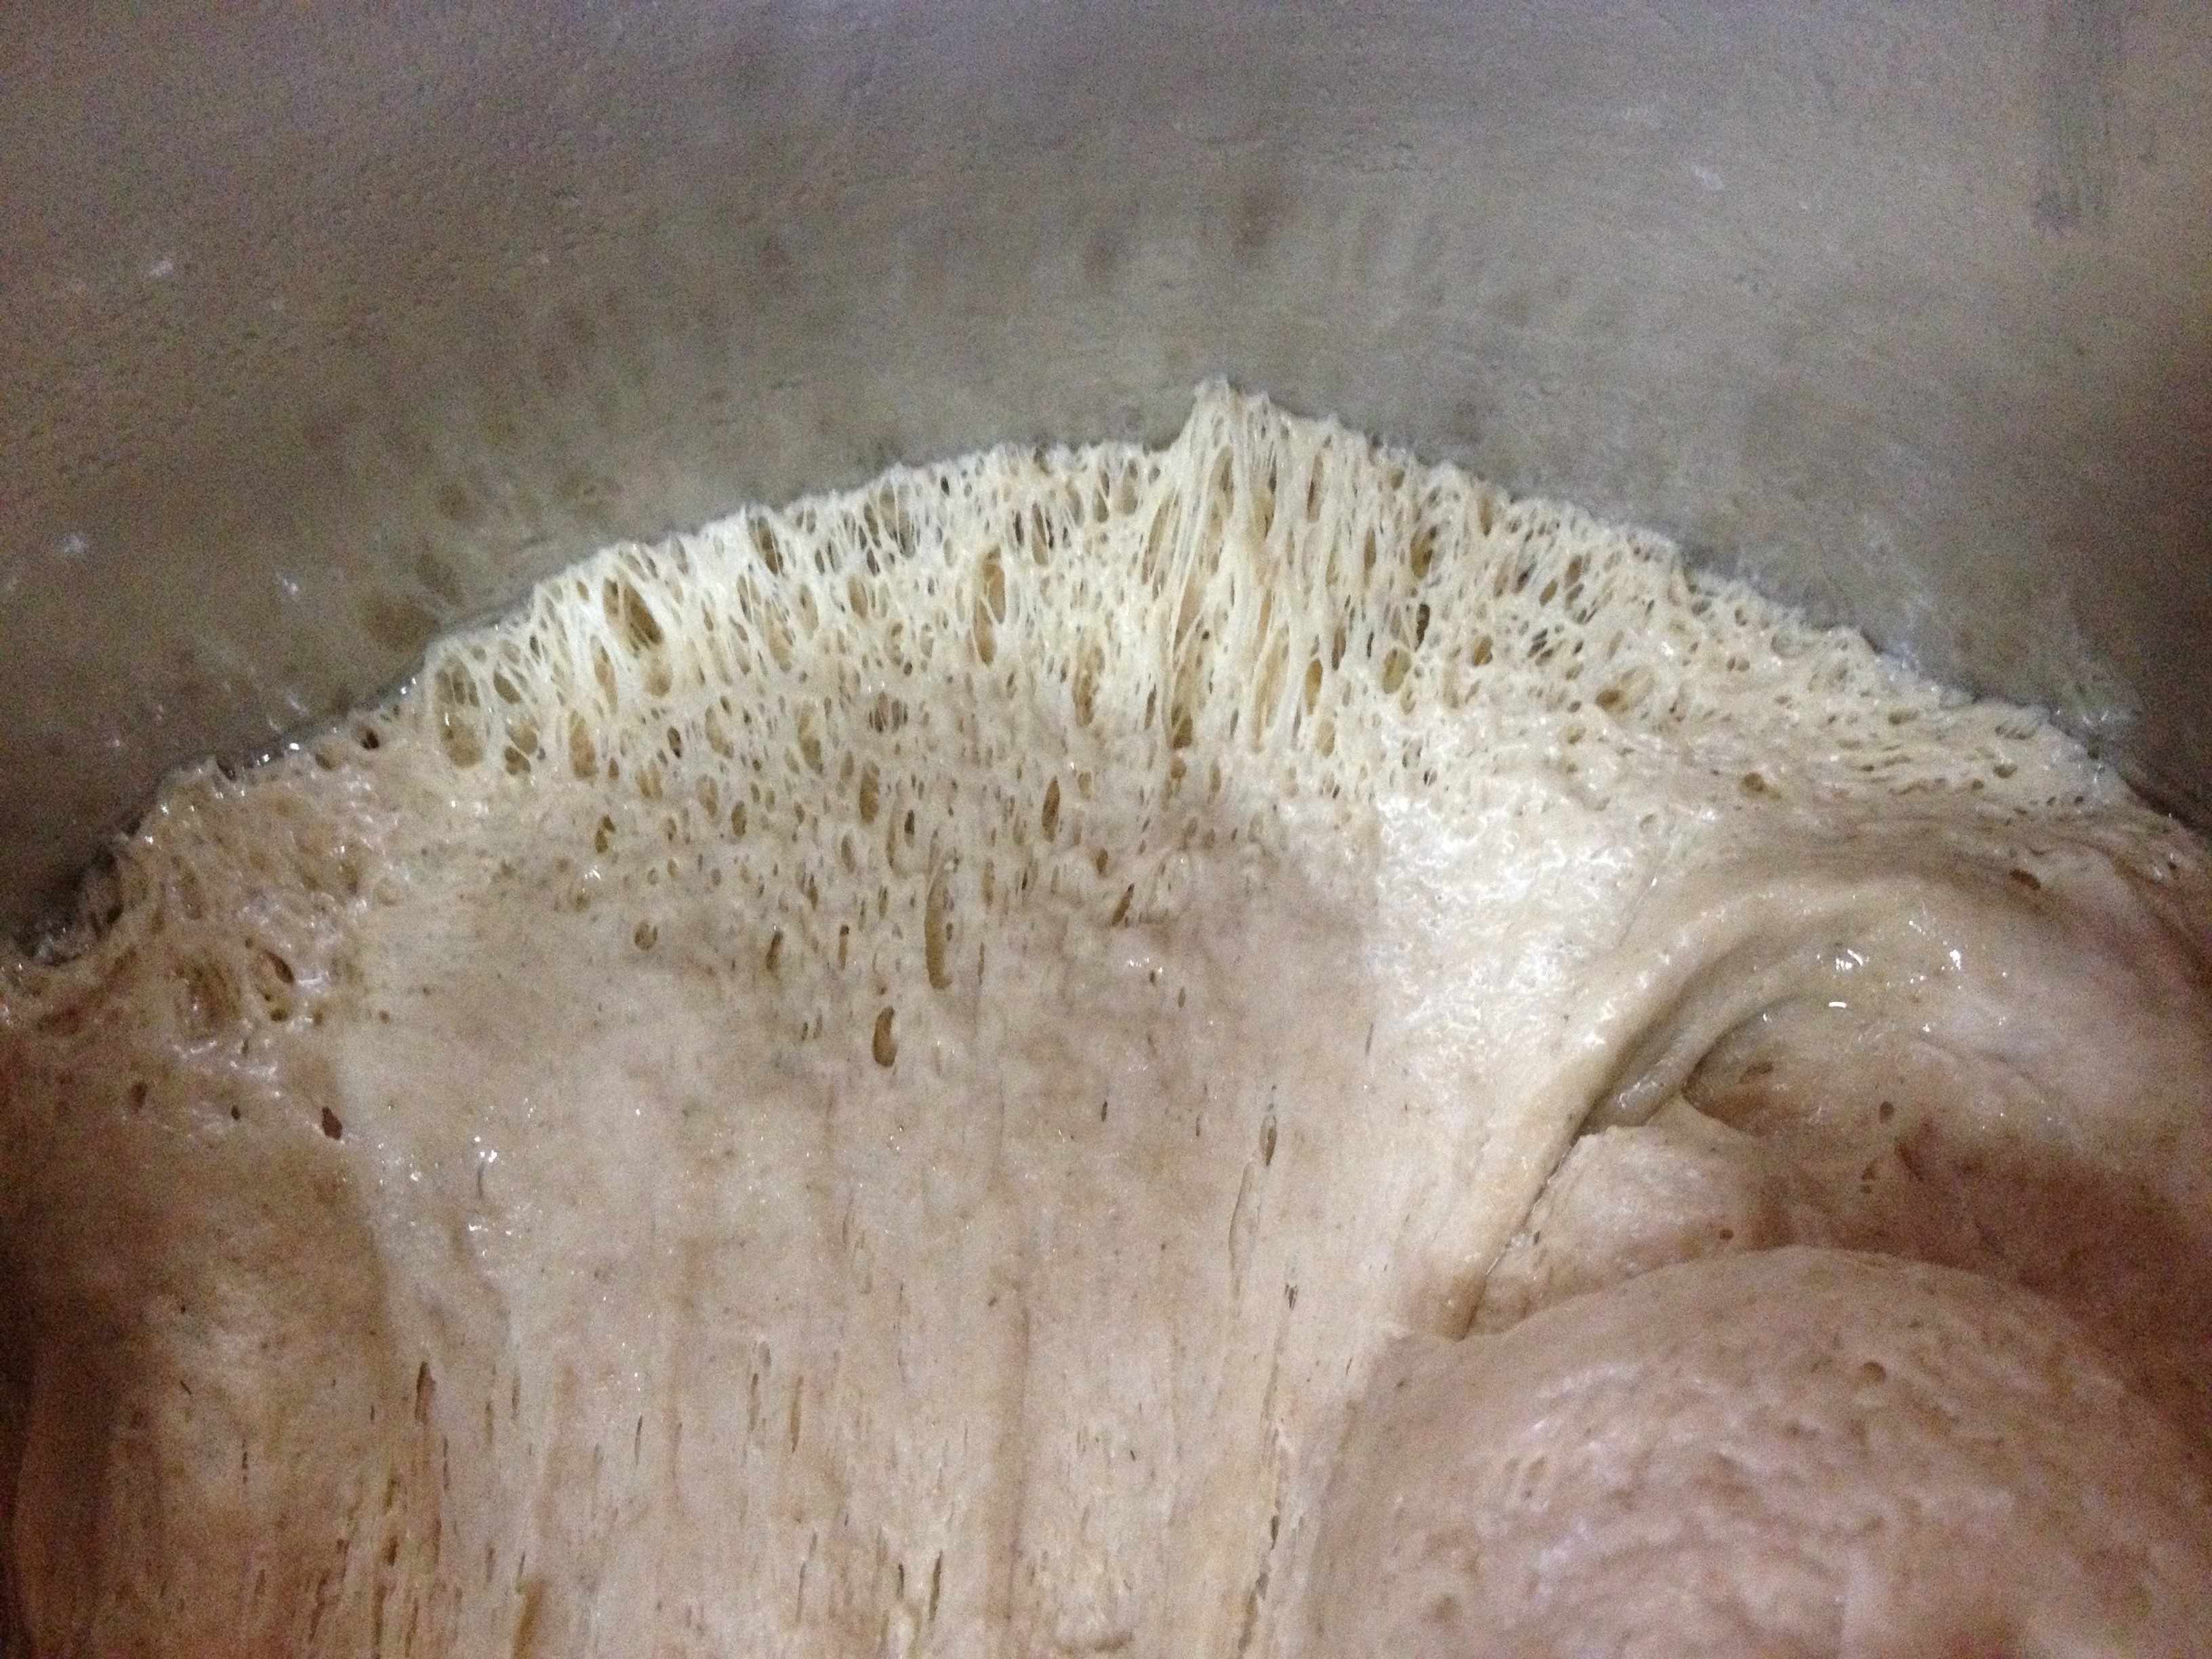
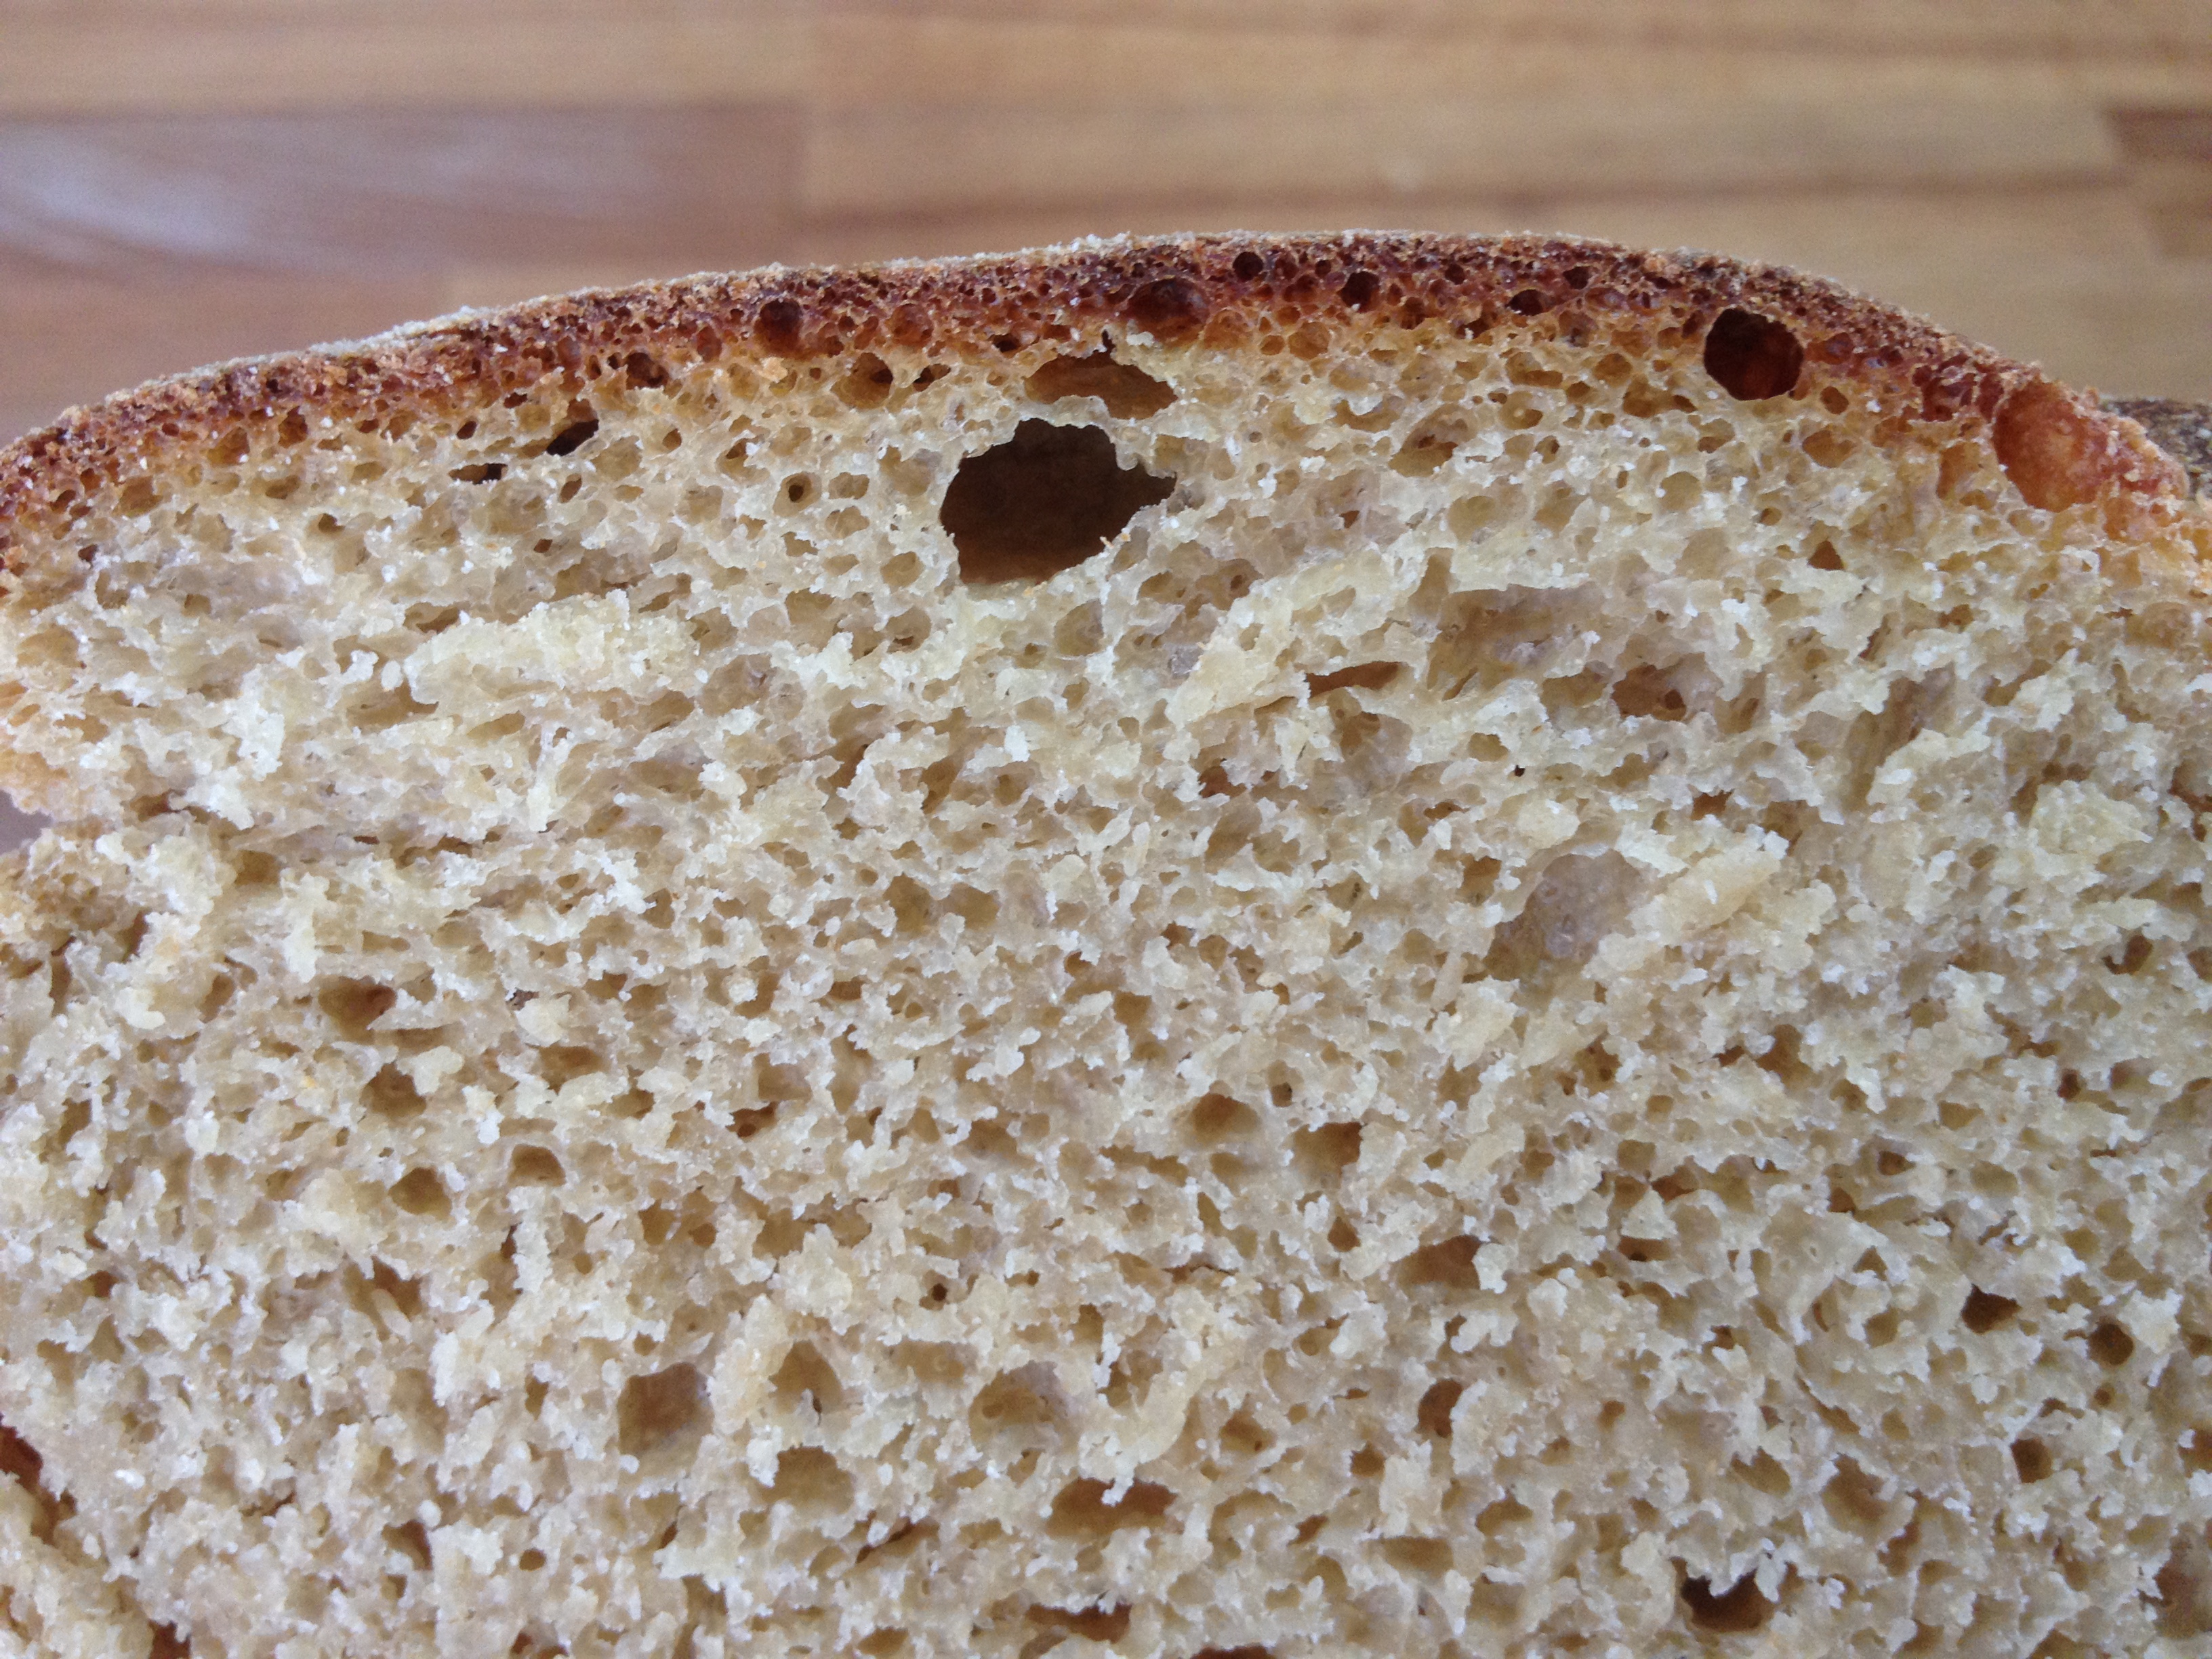
I chose to try the basic bread recipe suggested by www.independent.co.uk . A small change was made. I left the dough to raise overnight, instead of 2 hours suggested by the blog. I think that made a lot of difference. The yeast had sufficiently grown and the bread had beautiful pores as a result. Making Bread
Ingredients
whole wheat flour – 500 gms
white flour (maida) – 100 gms
active dry yeast – 8 gms
sea salt – 5 gms
olive oil – just enough to grease the bowl and bread baking tray
warm water – 400 ml – 150 ml to soak yeast initially and extra 250 ml to knead
Method of Preparation
1.Soak yeast in 150 ml (app. 1 cup) warm water for 10 minutes. Always do this to check for its active ability. If yeast does not grow/turn foamy in warm water, might be the yeast is not in good condition for bread baking. Do not use it.
2. Measure whole wheat flour, white flour and salt in a dry bowl.
3. Mix the foamy textured yeast water and extra warm water to the dry flours and mix with spatula.
4. Transfer to a clean surface and start kneading well with hands or kneader of a food processor for about 10-15 minutes. Kneading with machine might involve less time.
5. The dough should be moist and never dry. Add more water if needed.
6. While kneading, we can feel water getting absorbed into the dough and the dough becomes softer and stiffer. Keep scrapping off sticky dough from the surface and incorporate into the dough.
7. Grease a big bowl with olive oil and place the well kneaded dough inside.
8. Cover with a moist towel, aluminium foil or plate and place in a warm room overnight.
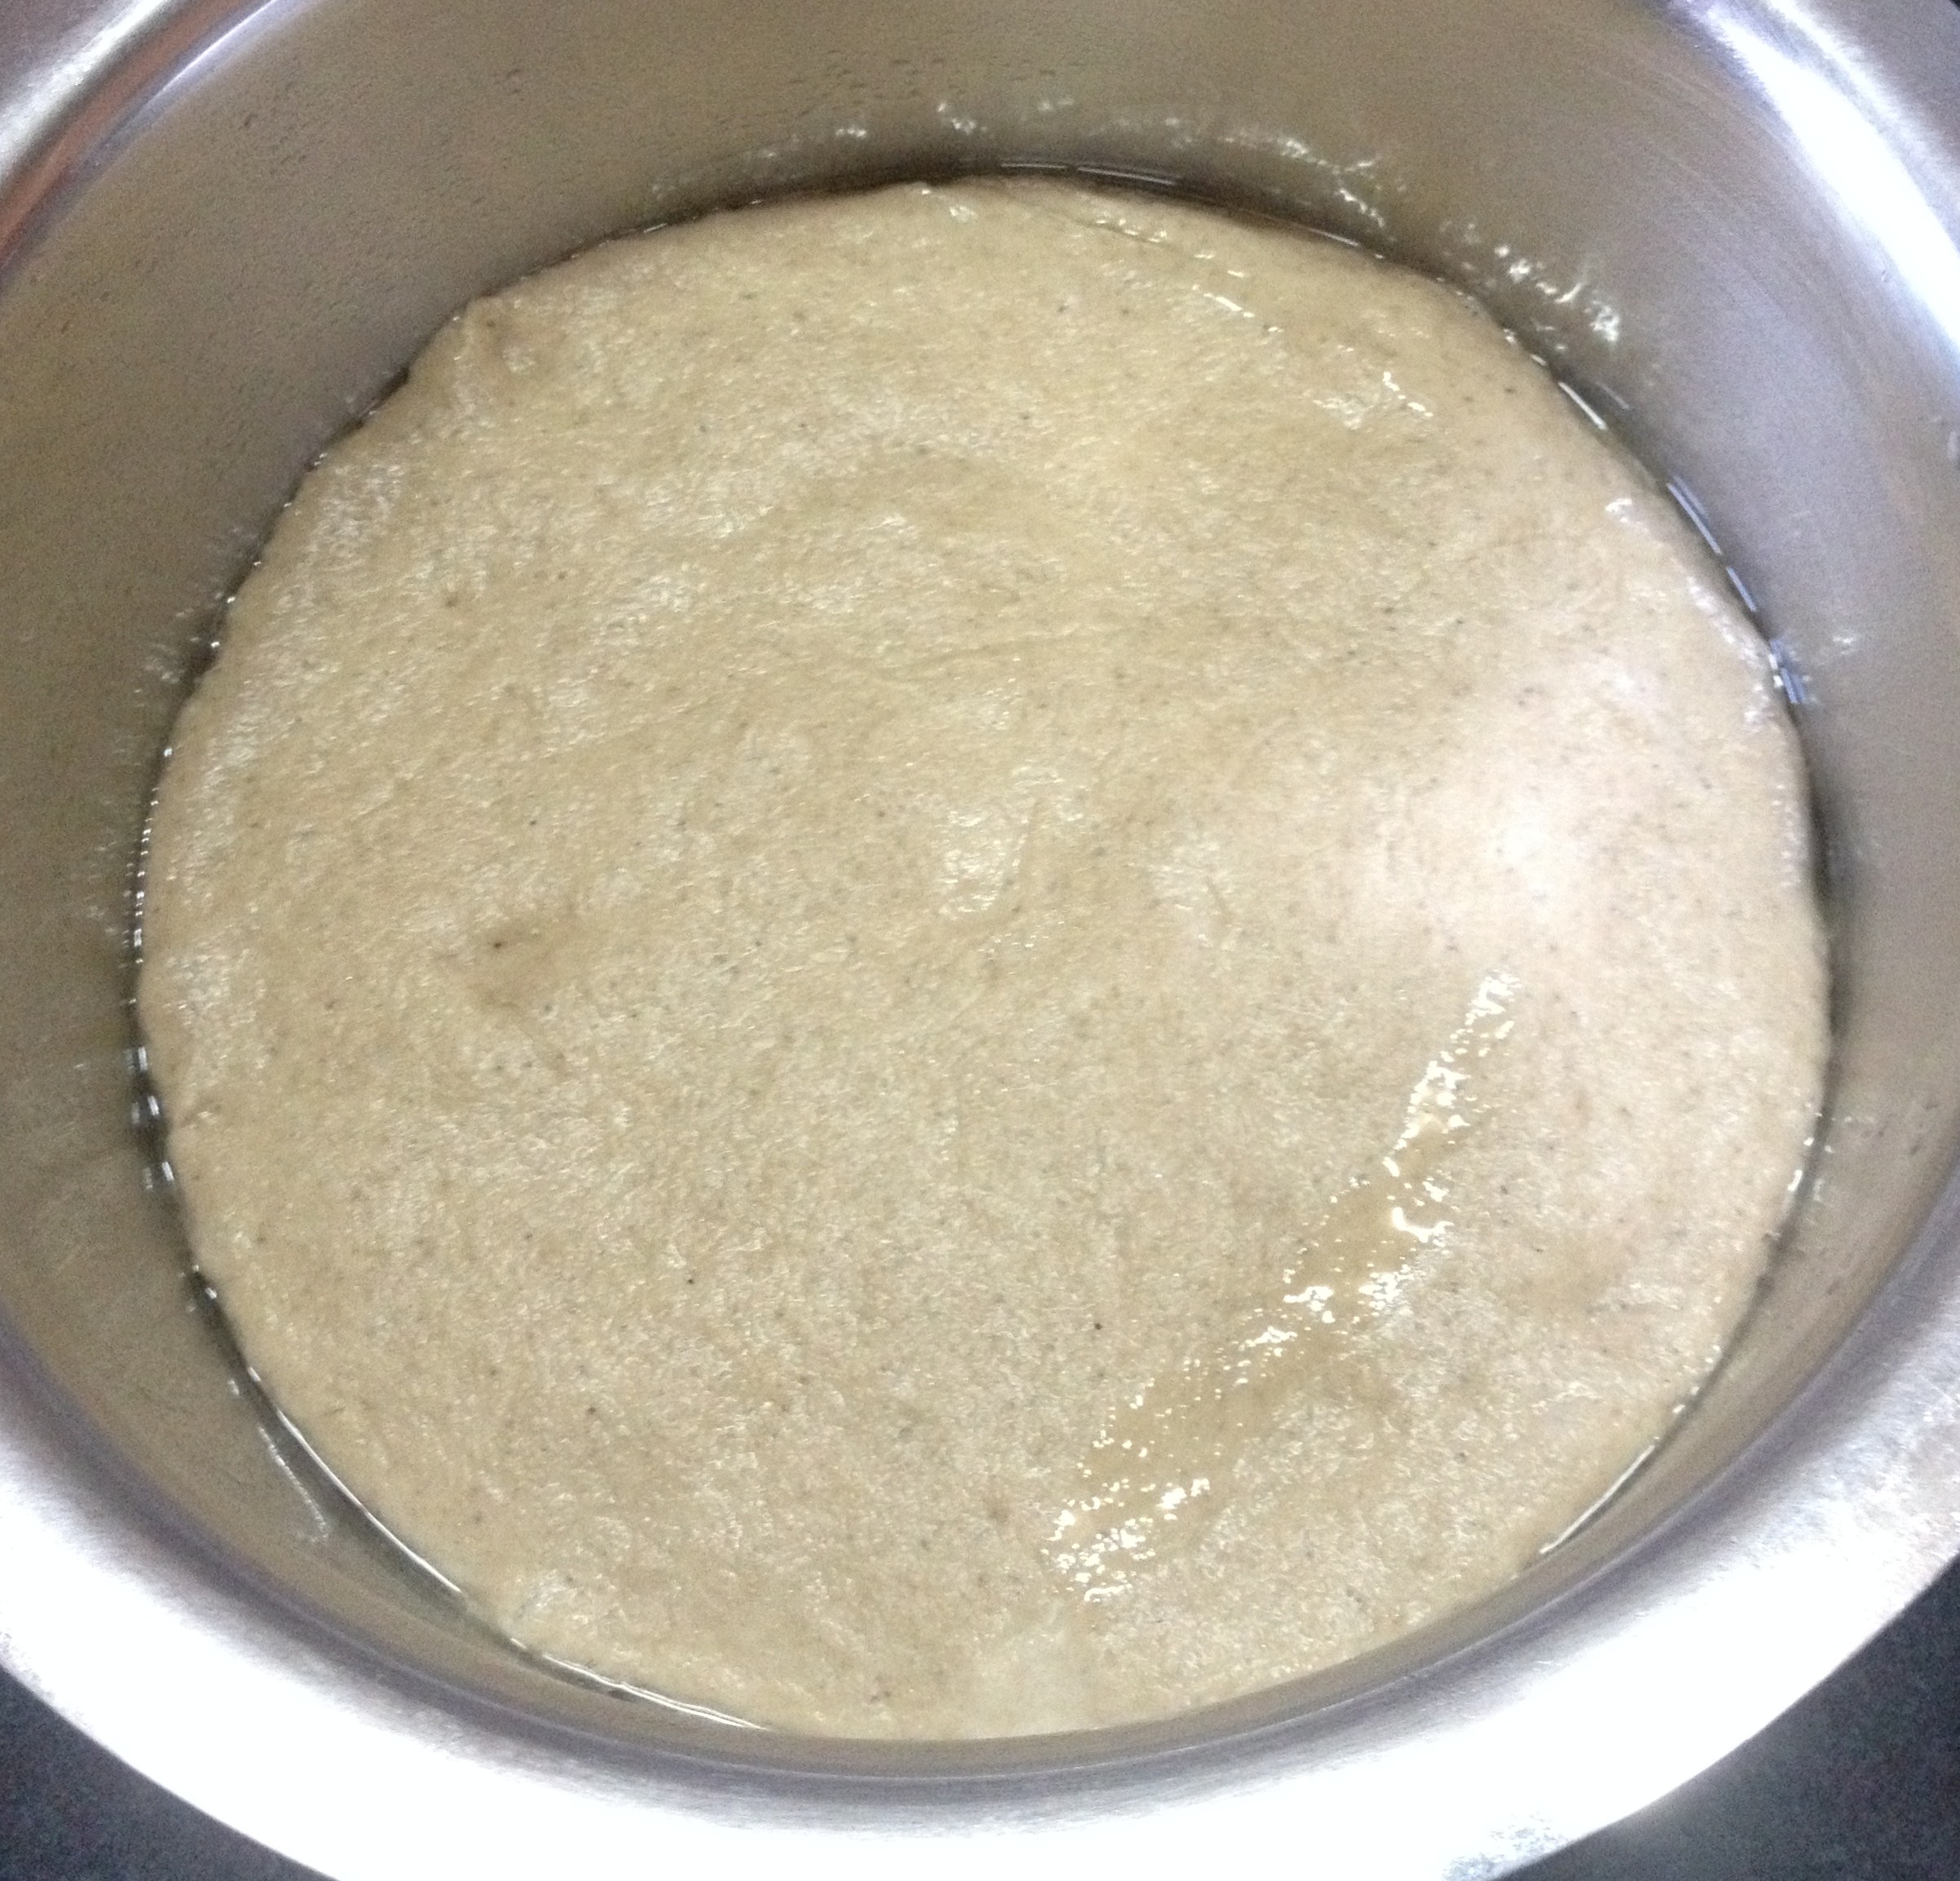
9. The next morning you may notice the wonderful growth of yeast by raising of the dough.
10. Knock the dough back to its sticky self.
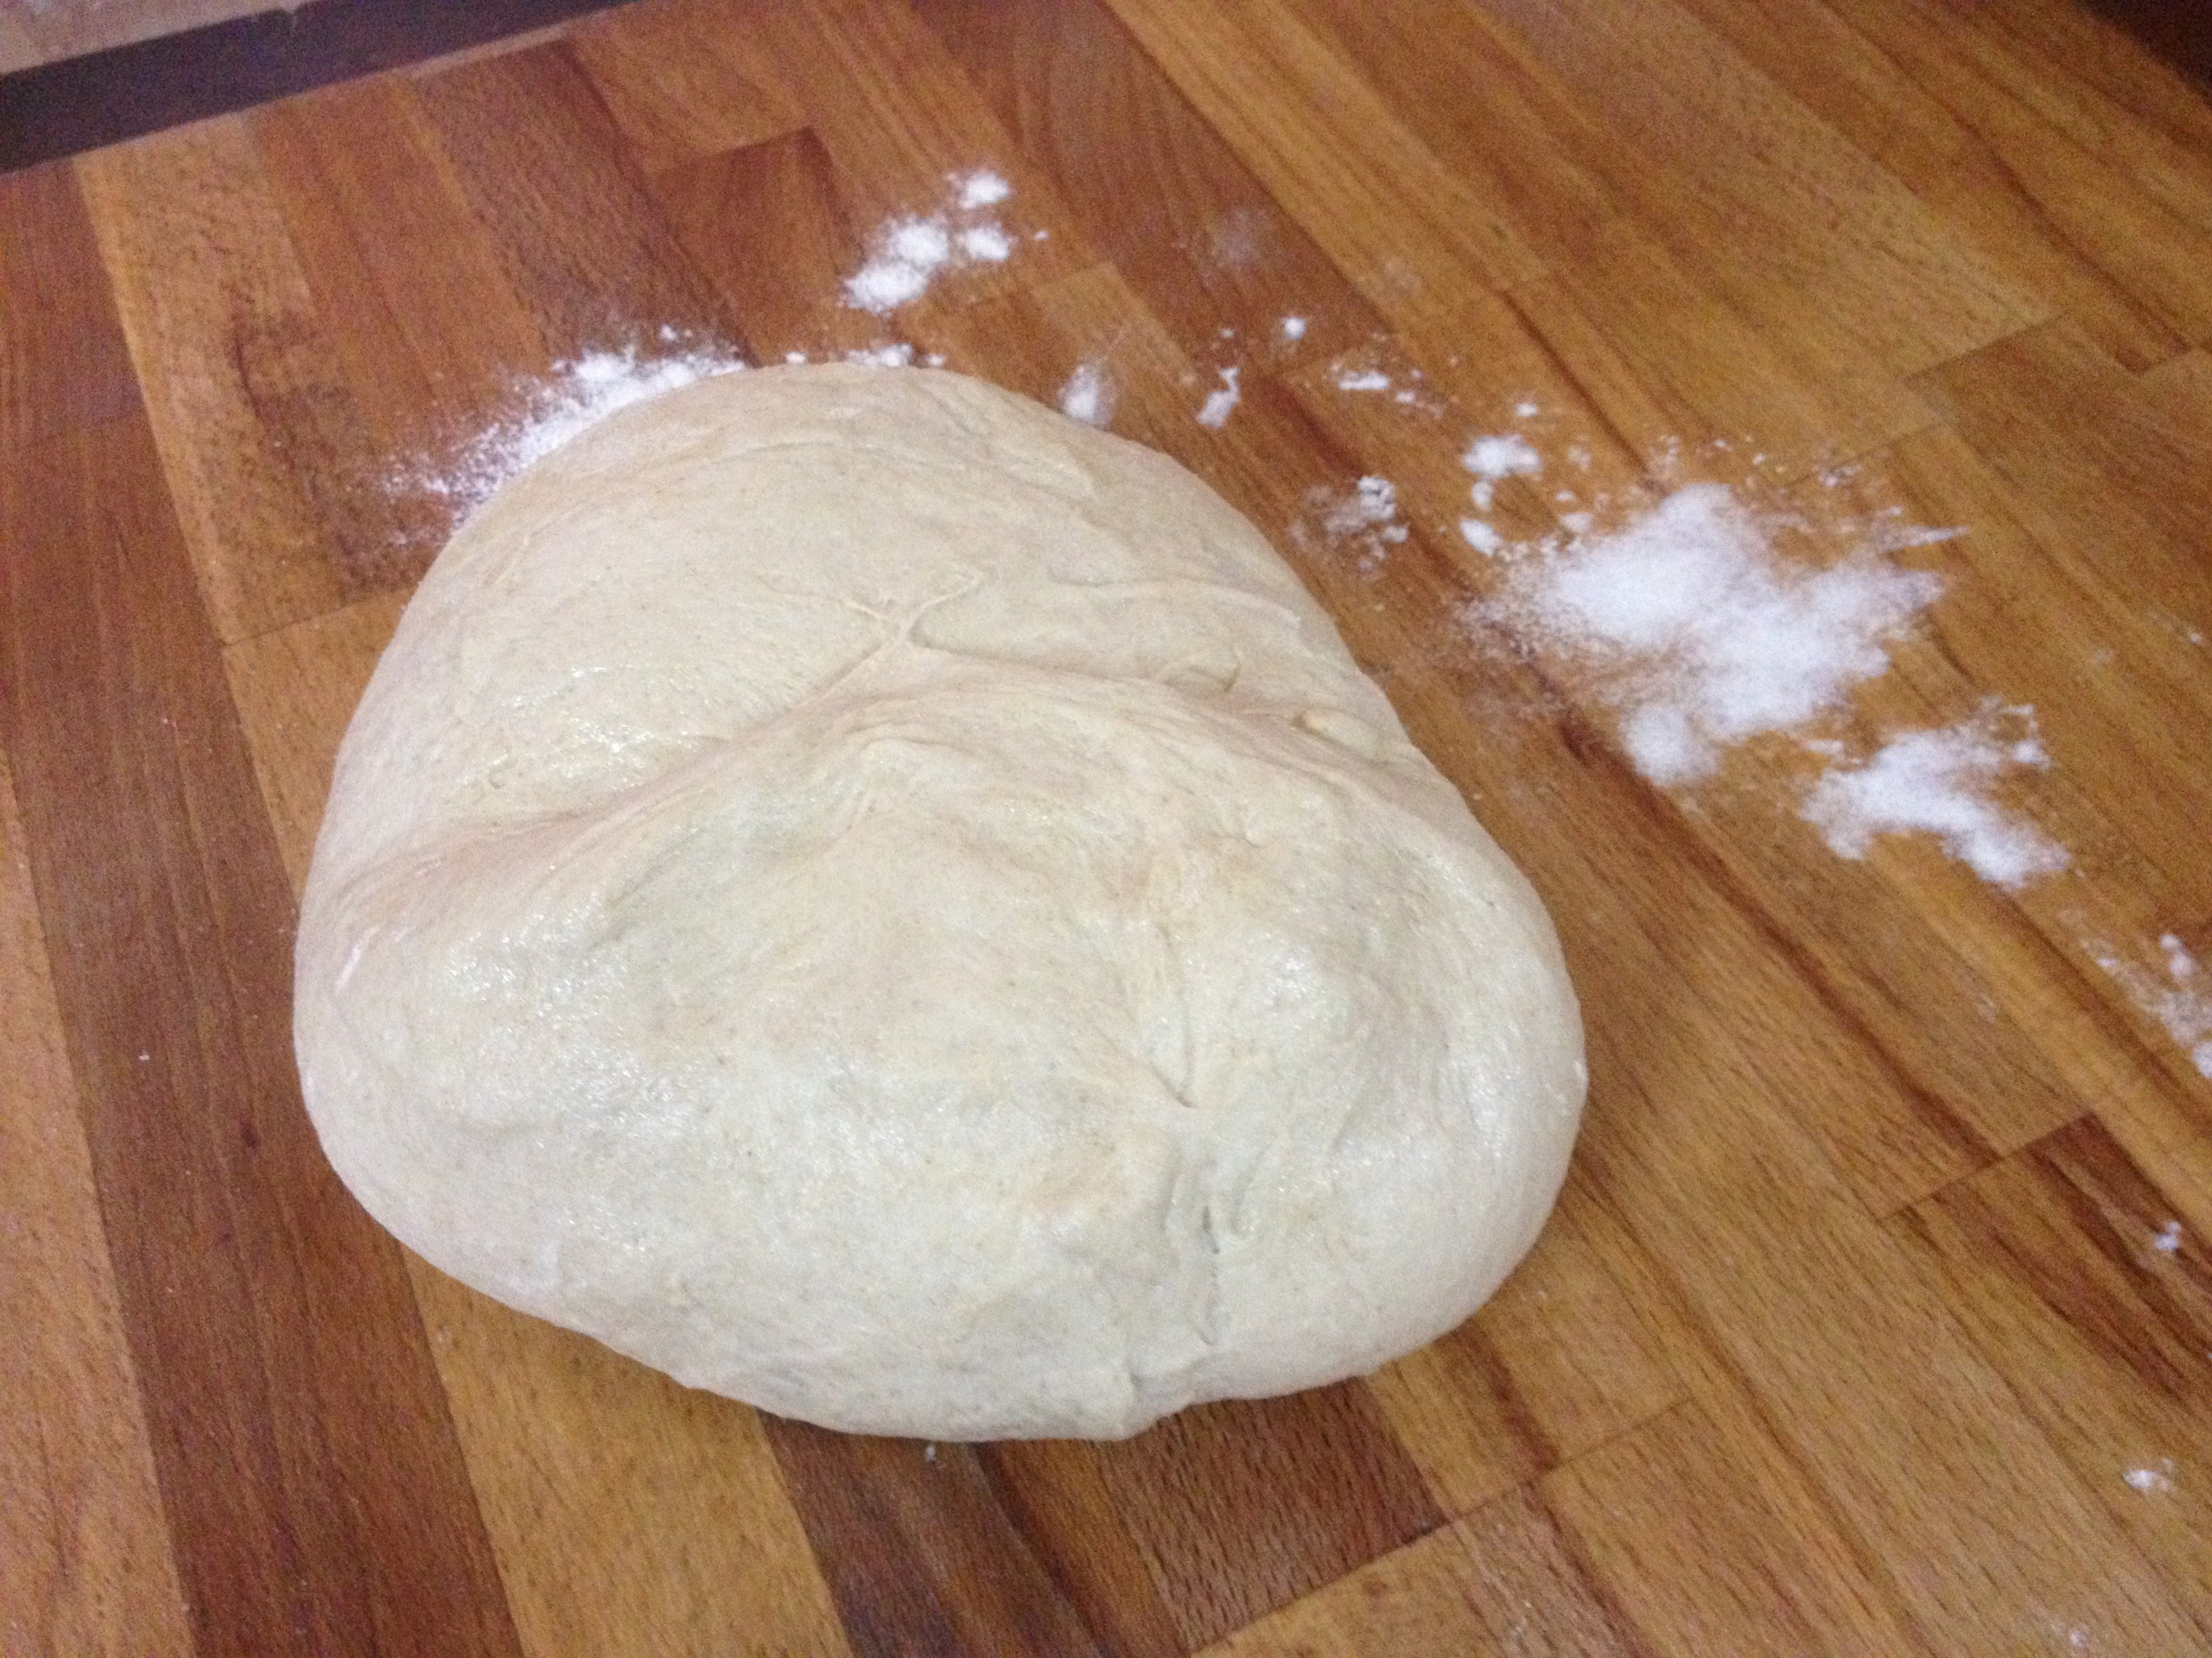
11. Sprinkle little flour on a clean surface and start making a smoother dough, by folding for a few minutes – not as long as the first procedure. (search the web for ‘folding bread’ and you’d get to know the art of it)
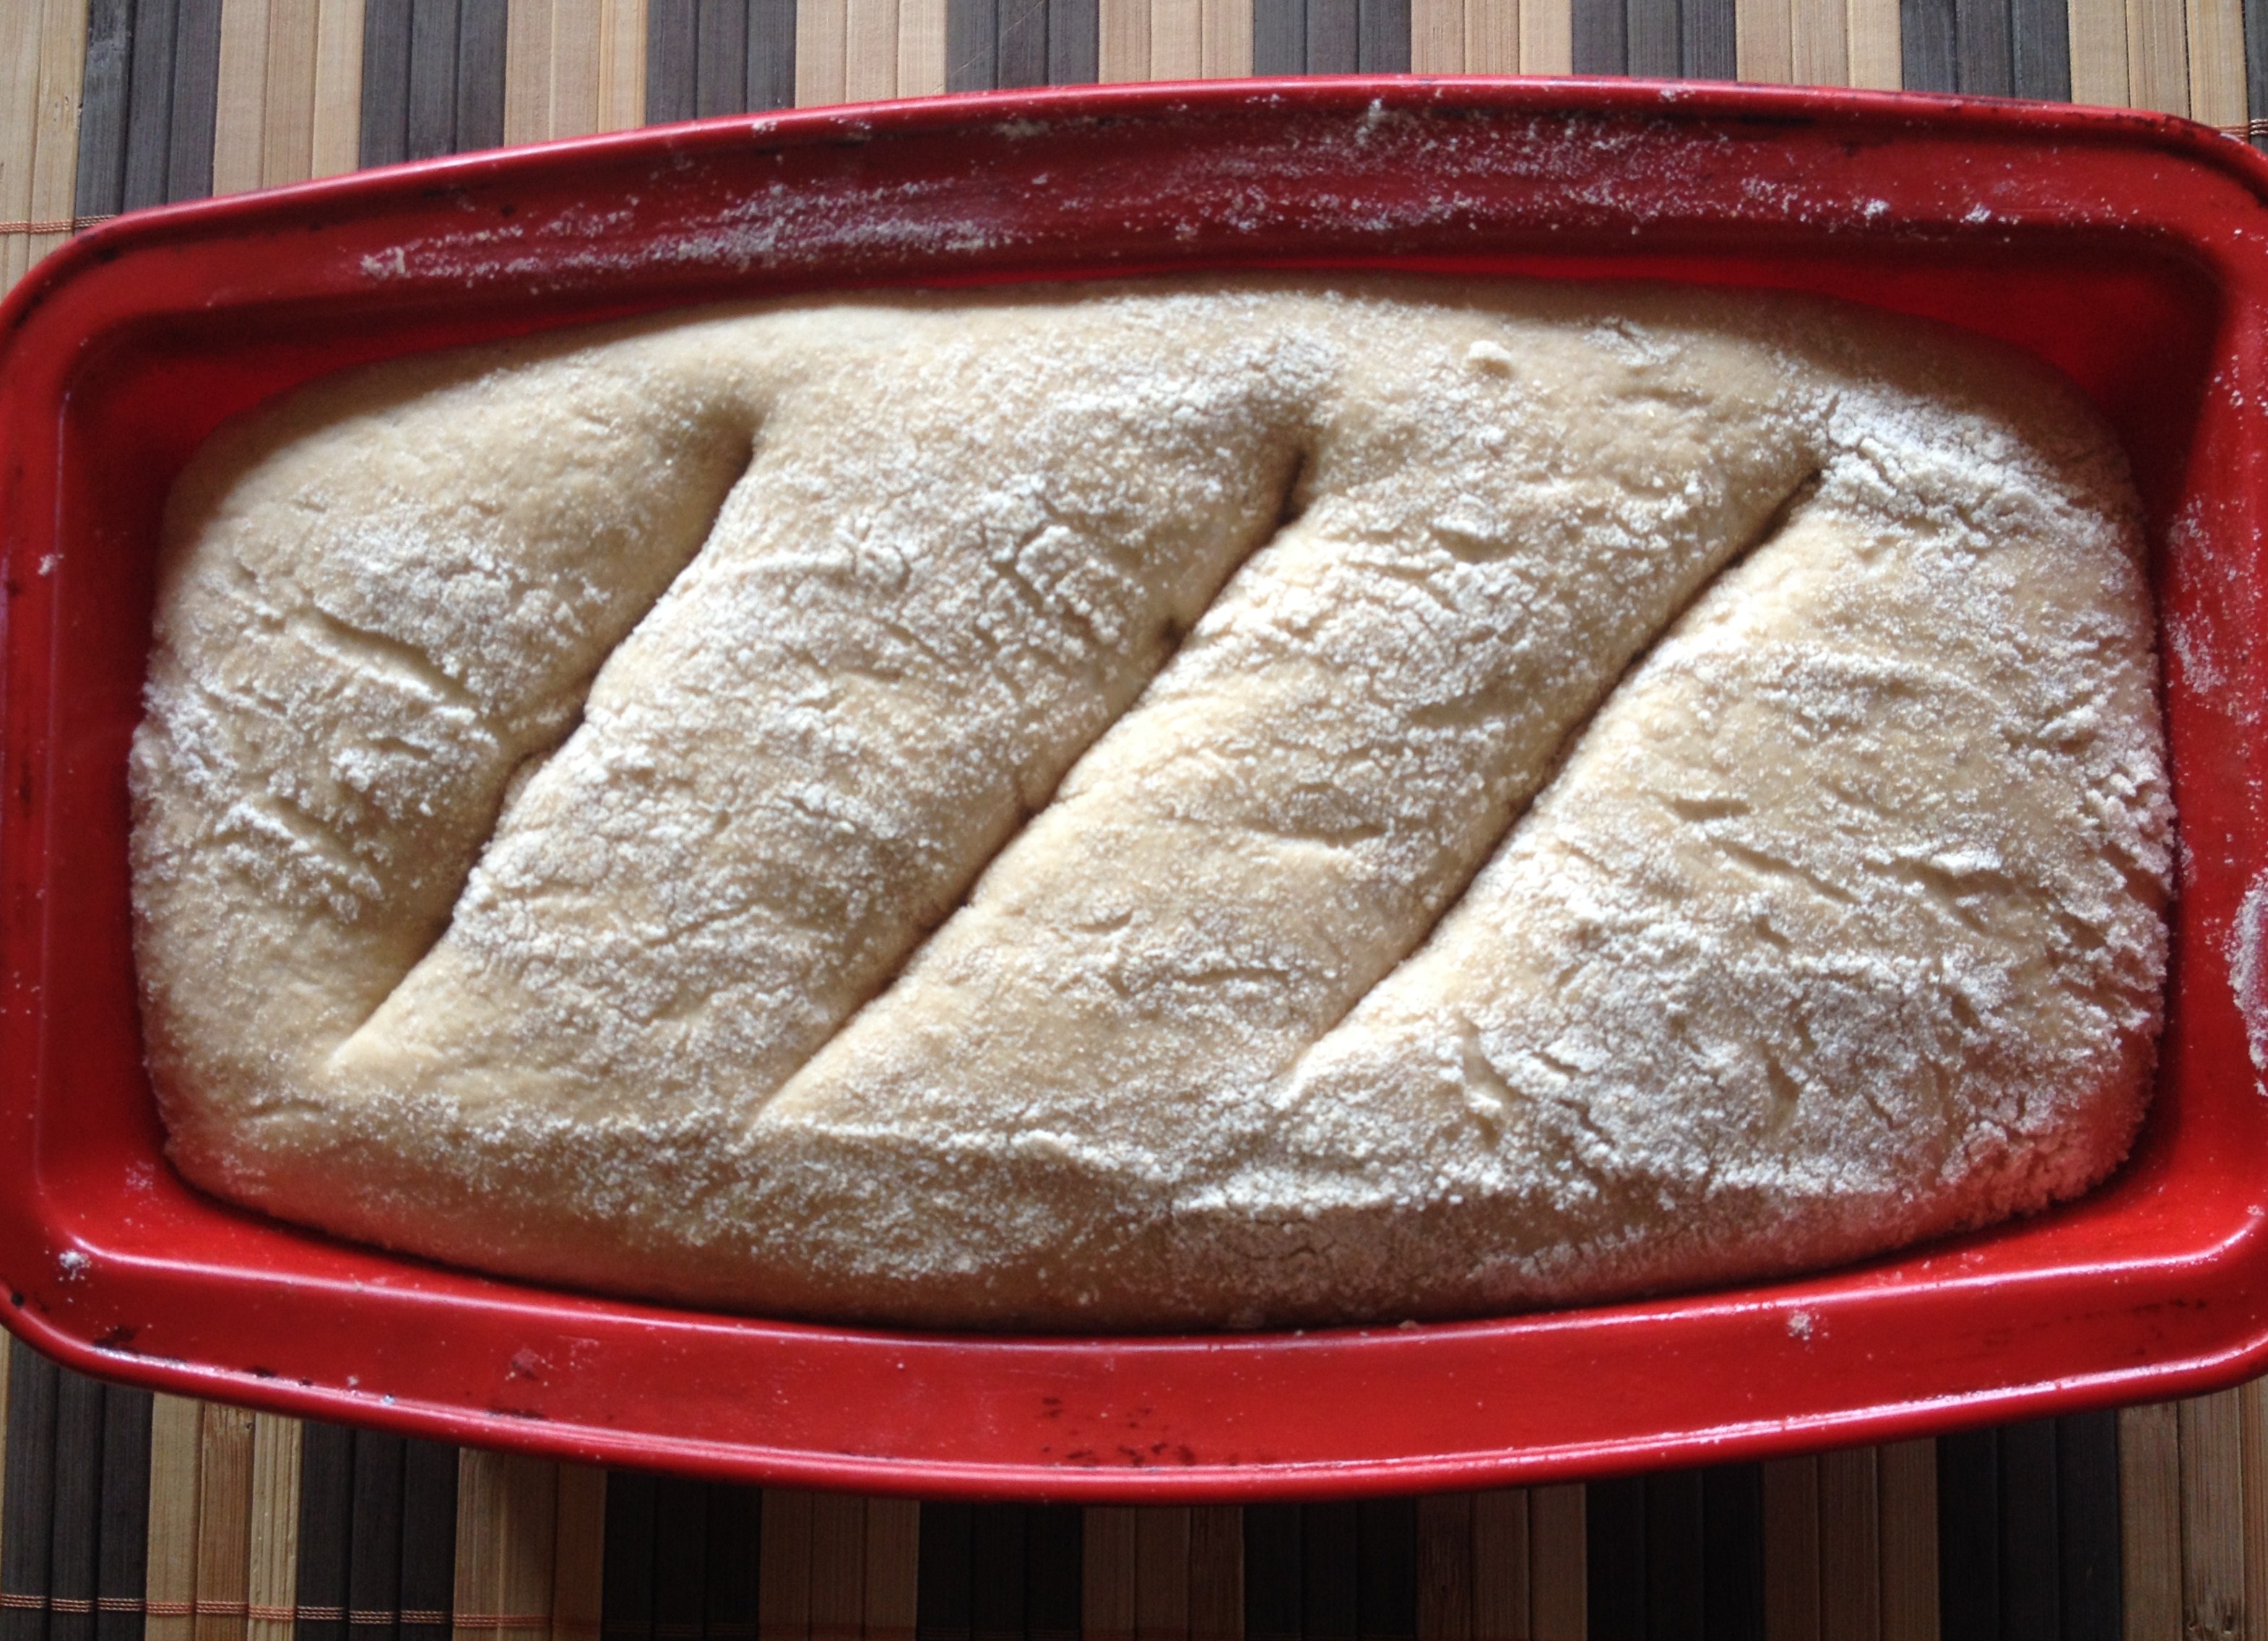
12. If you’d like to bake a single big loaf, fold into into one dough. If one prefers two smaller loaves, divide into two halves and roll into rectangulars.
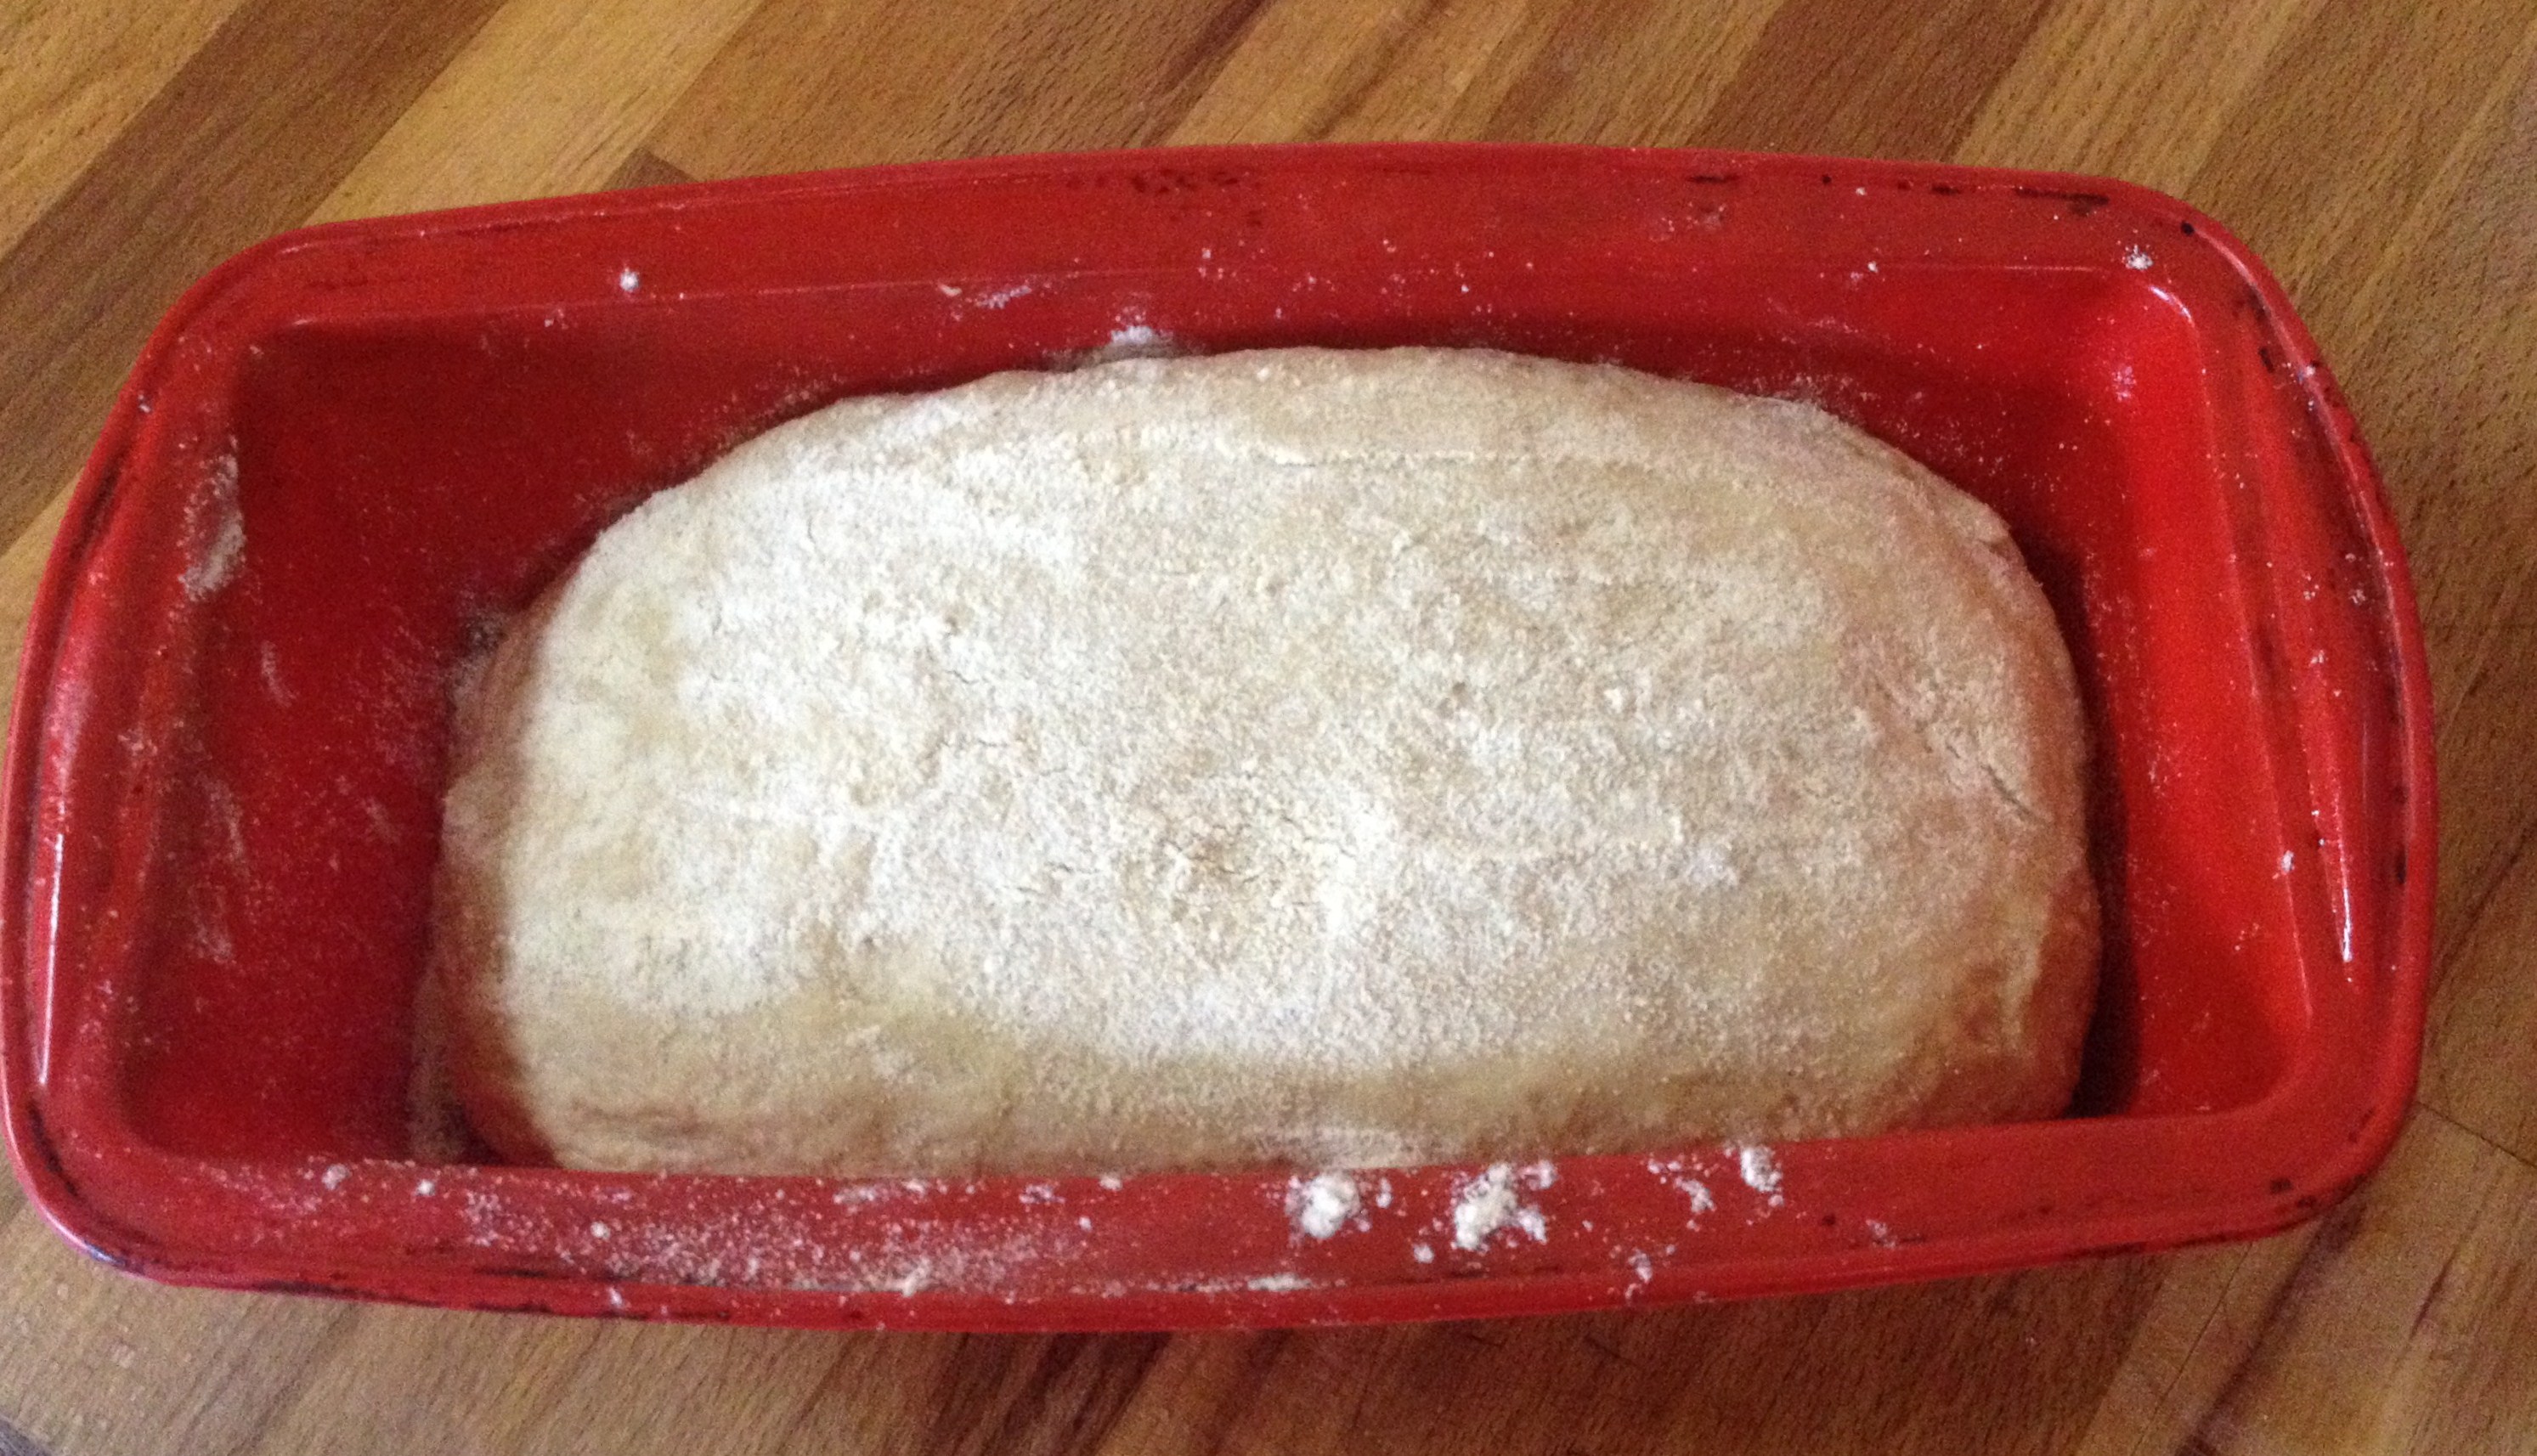
13. Place the rolled bread in greased tins and let it raise for two hours.
14. While the bread has doubled or raised a bit (some breads tend to raise in the oven), make slits in top and sprinkle little flour to avoid drying of bread while baking.
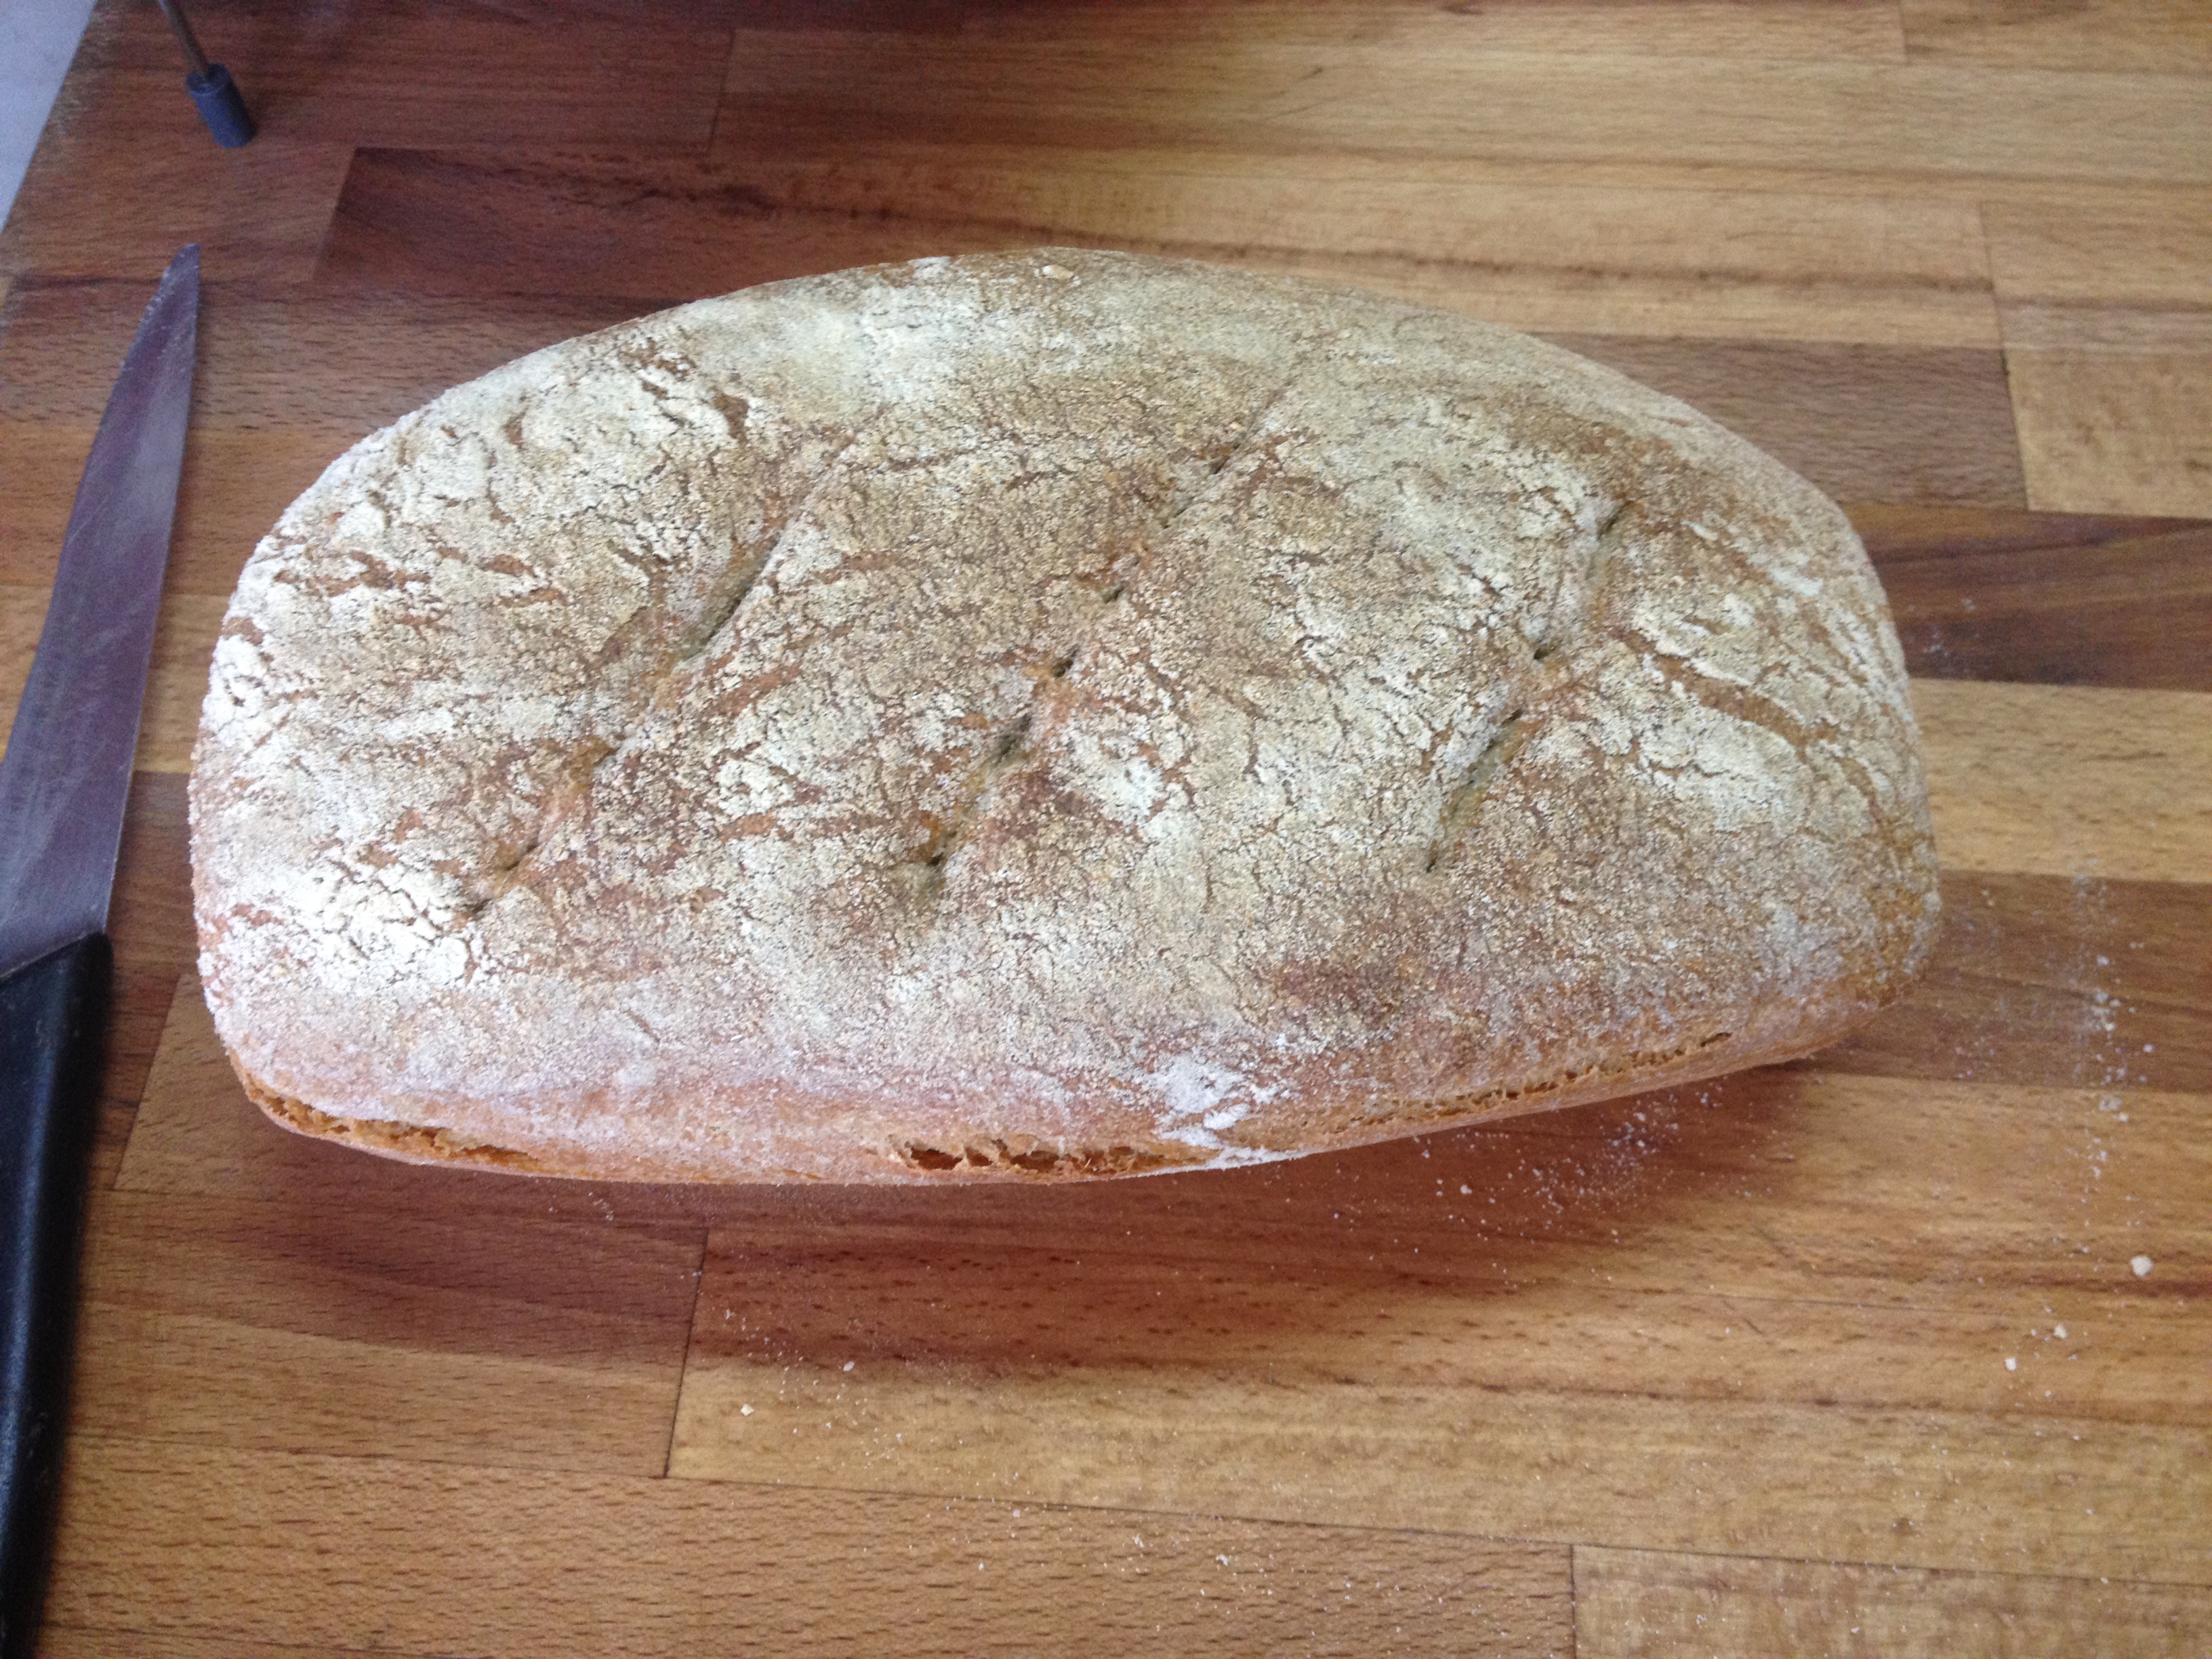
15. Preheat oven at 230 degrees C and place the bread tin for baking.
16. After preheated, reduce the temperature to 210 degrees C and bake for 30 – 40 minutes till the bread sounds hollow while tapped. Alter temperature according to your oven.
17. I have had this problem of bread getting baked brown on top but the covered bottom area remains a bit doughish. I took out the almost done bread out of the tin and placed on a wire rack and let it bake for another 10 mins and it was done.
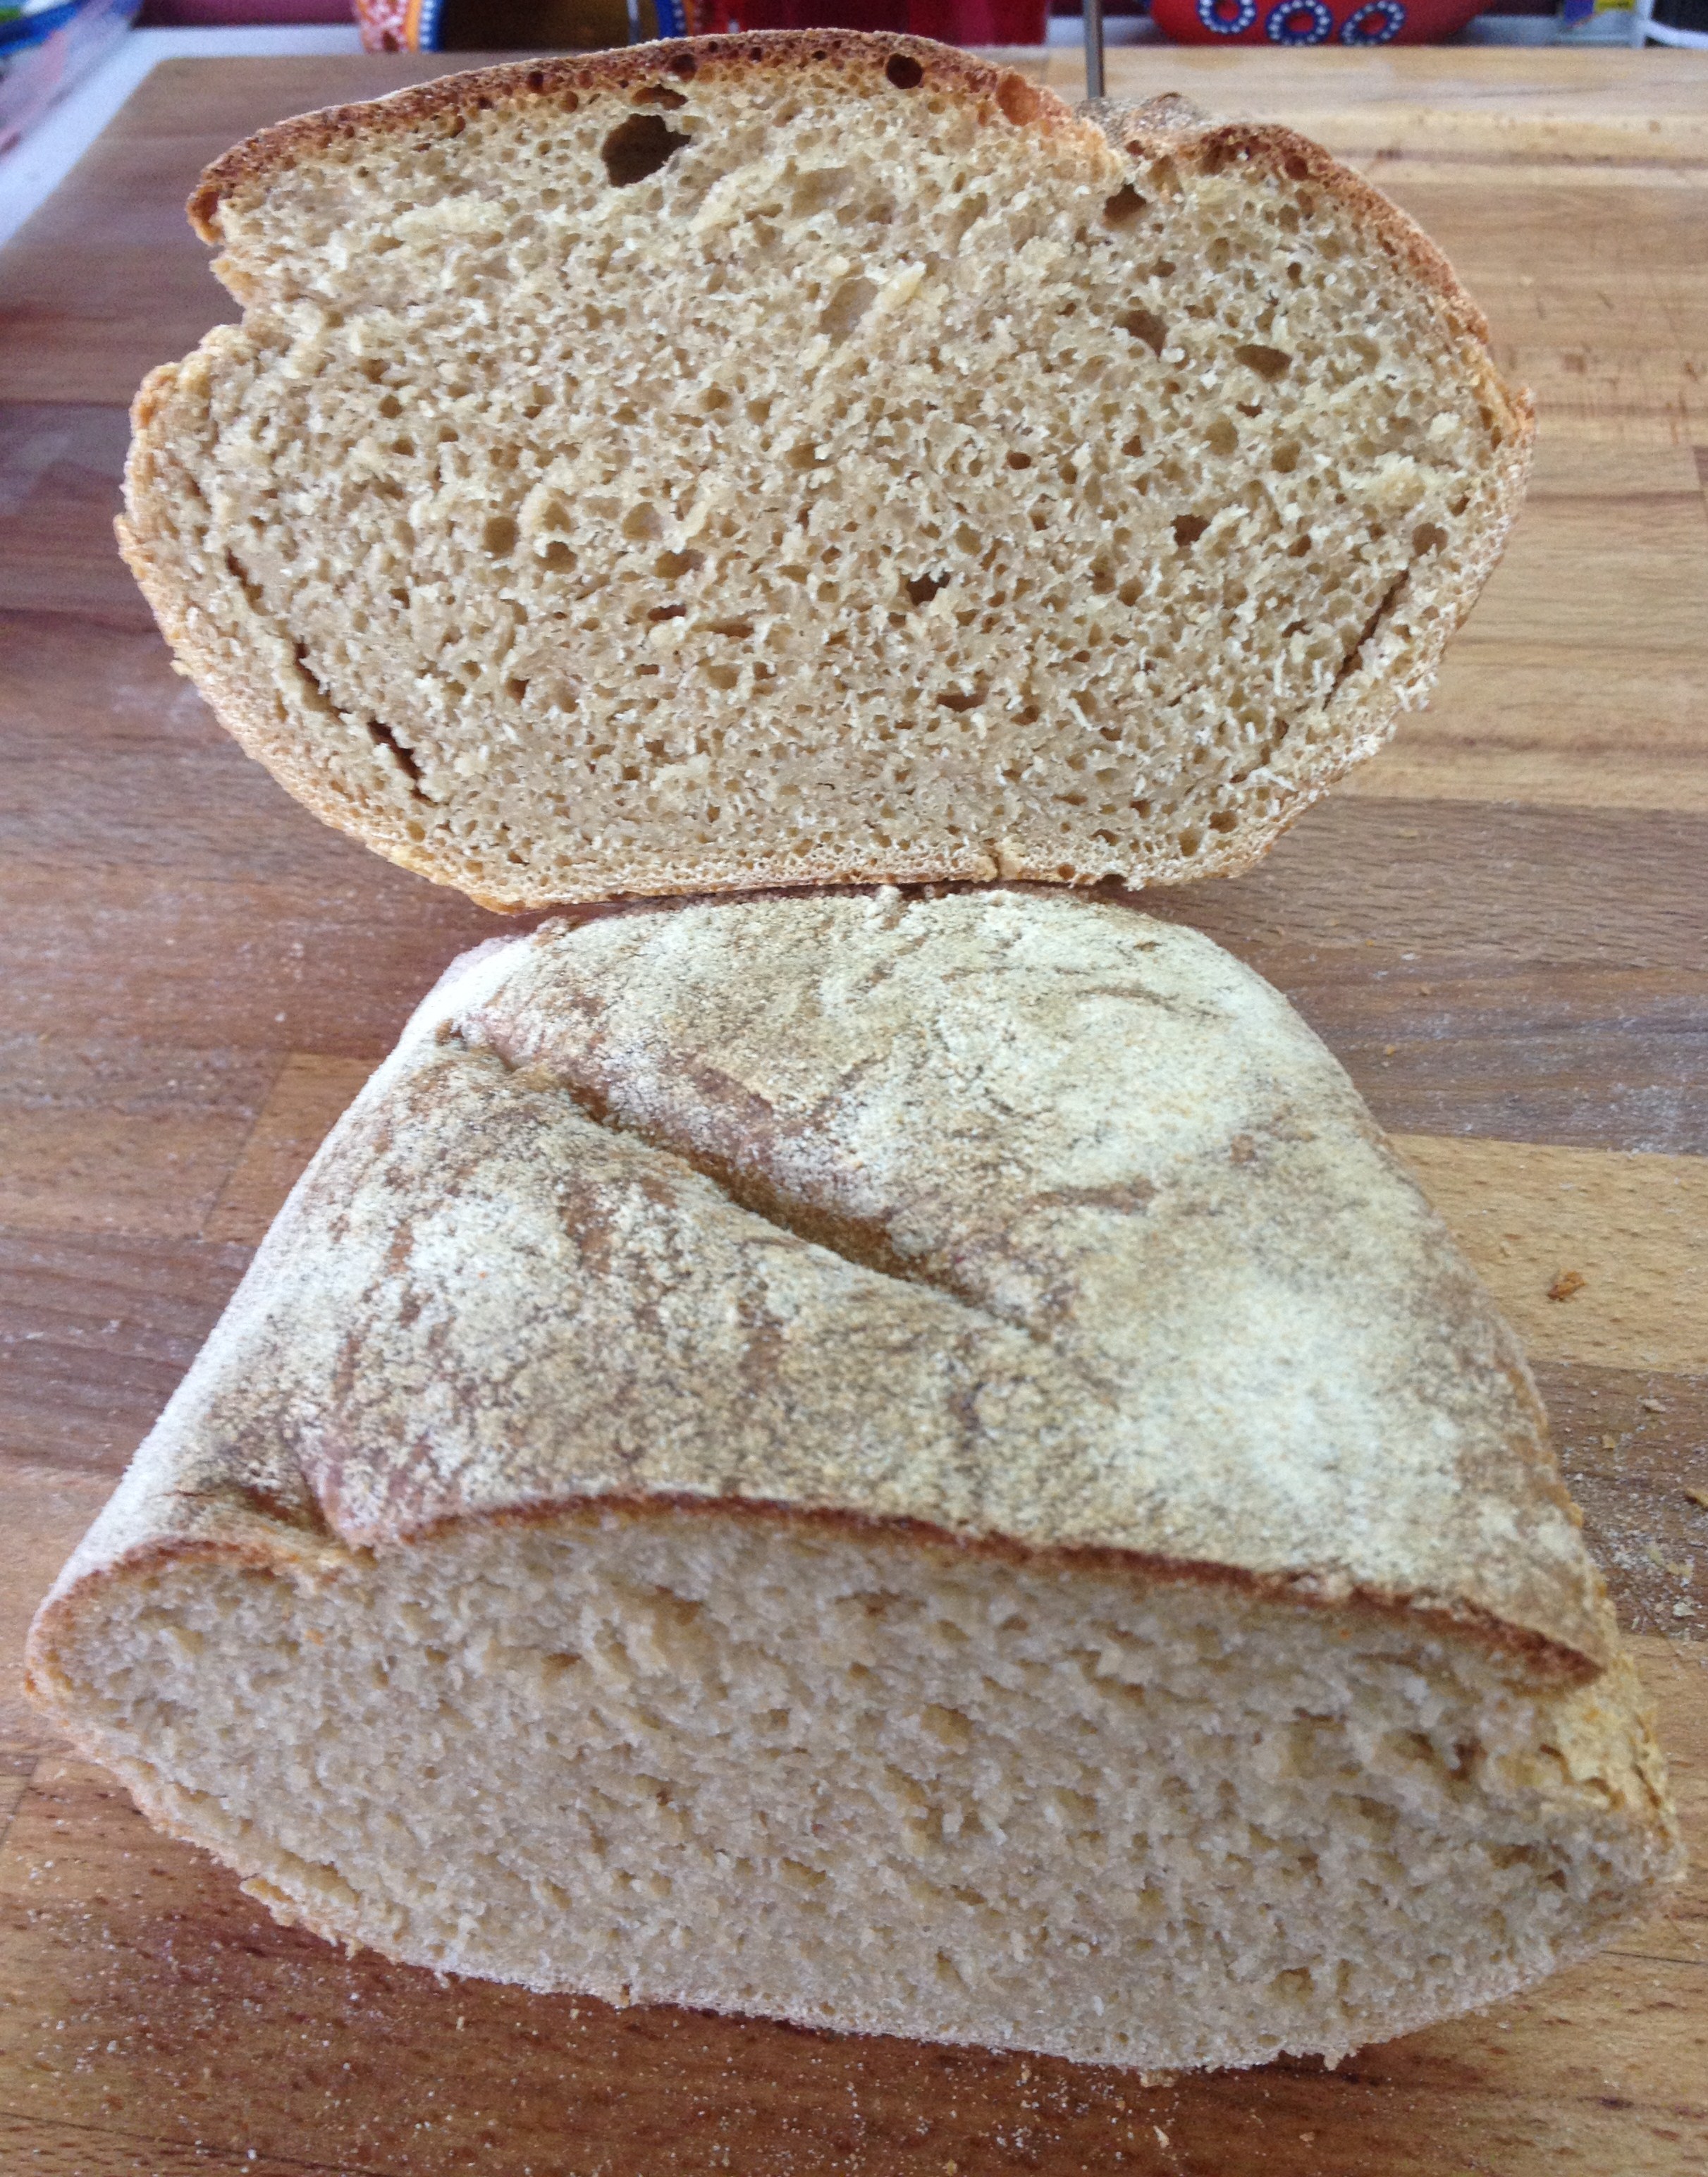
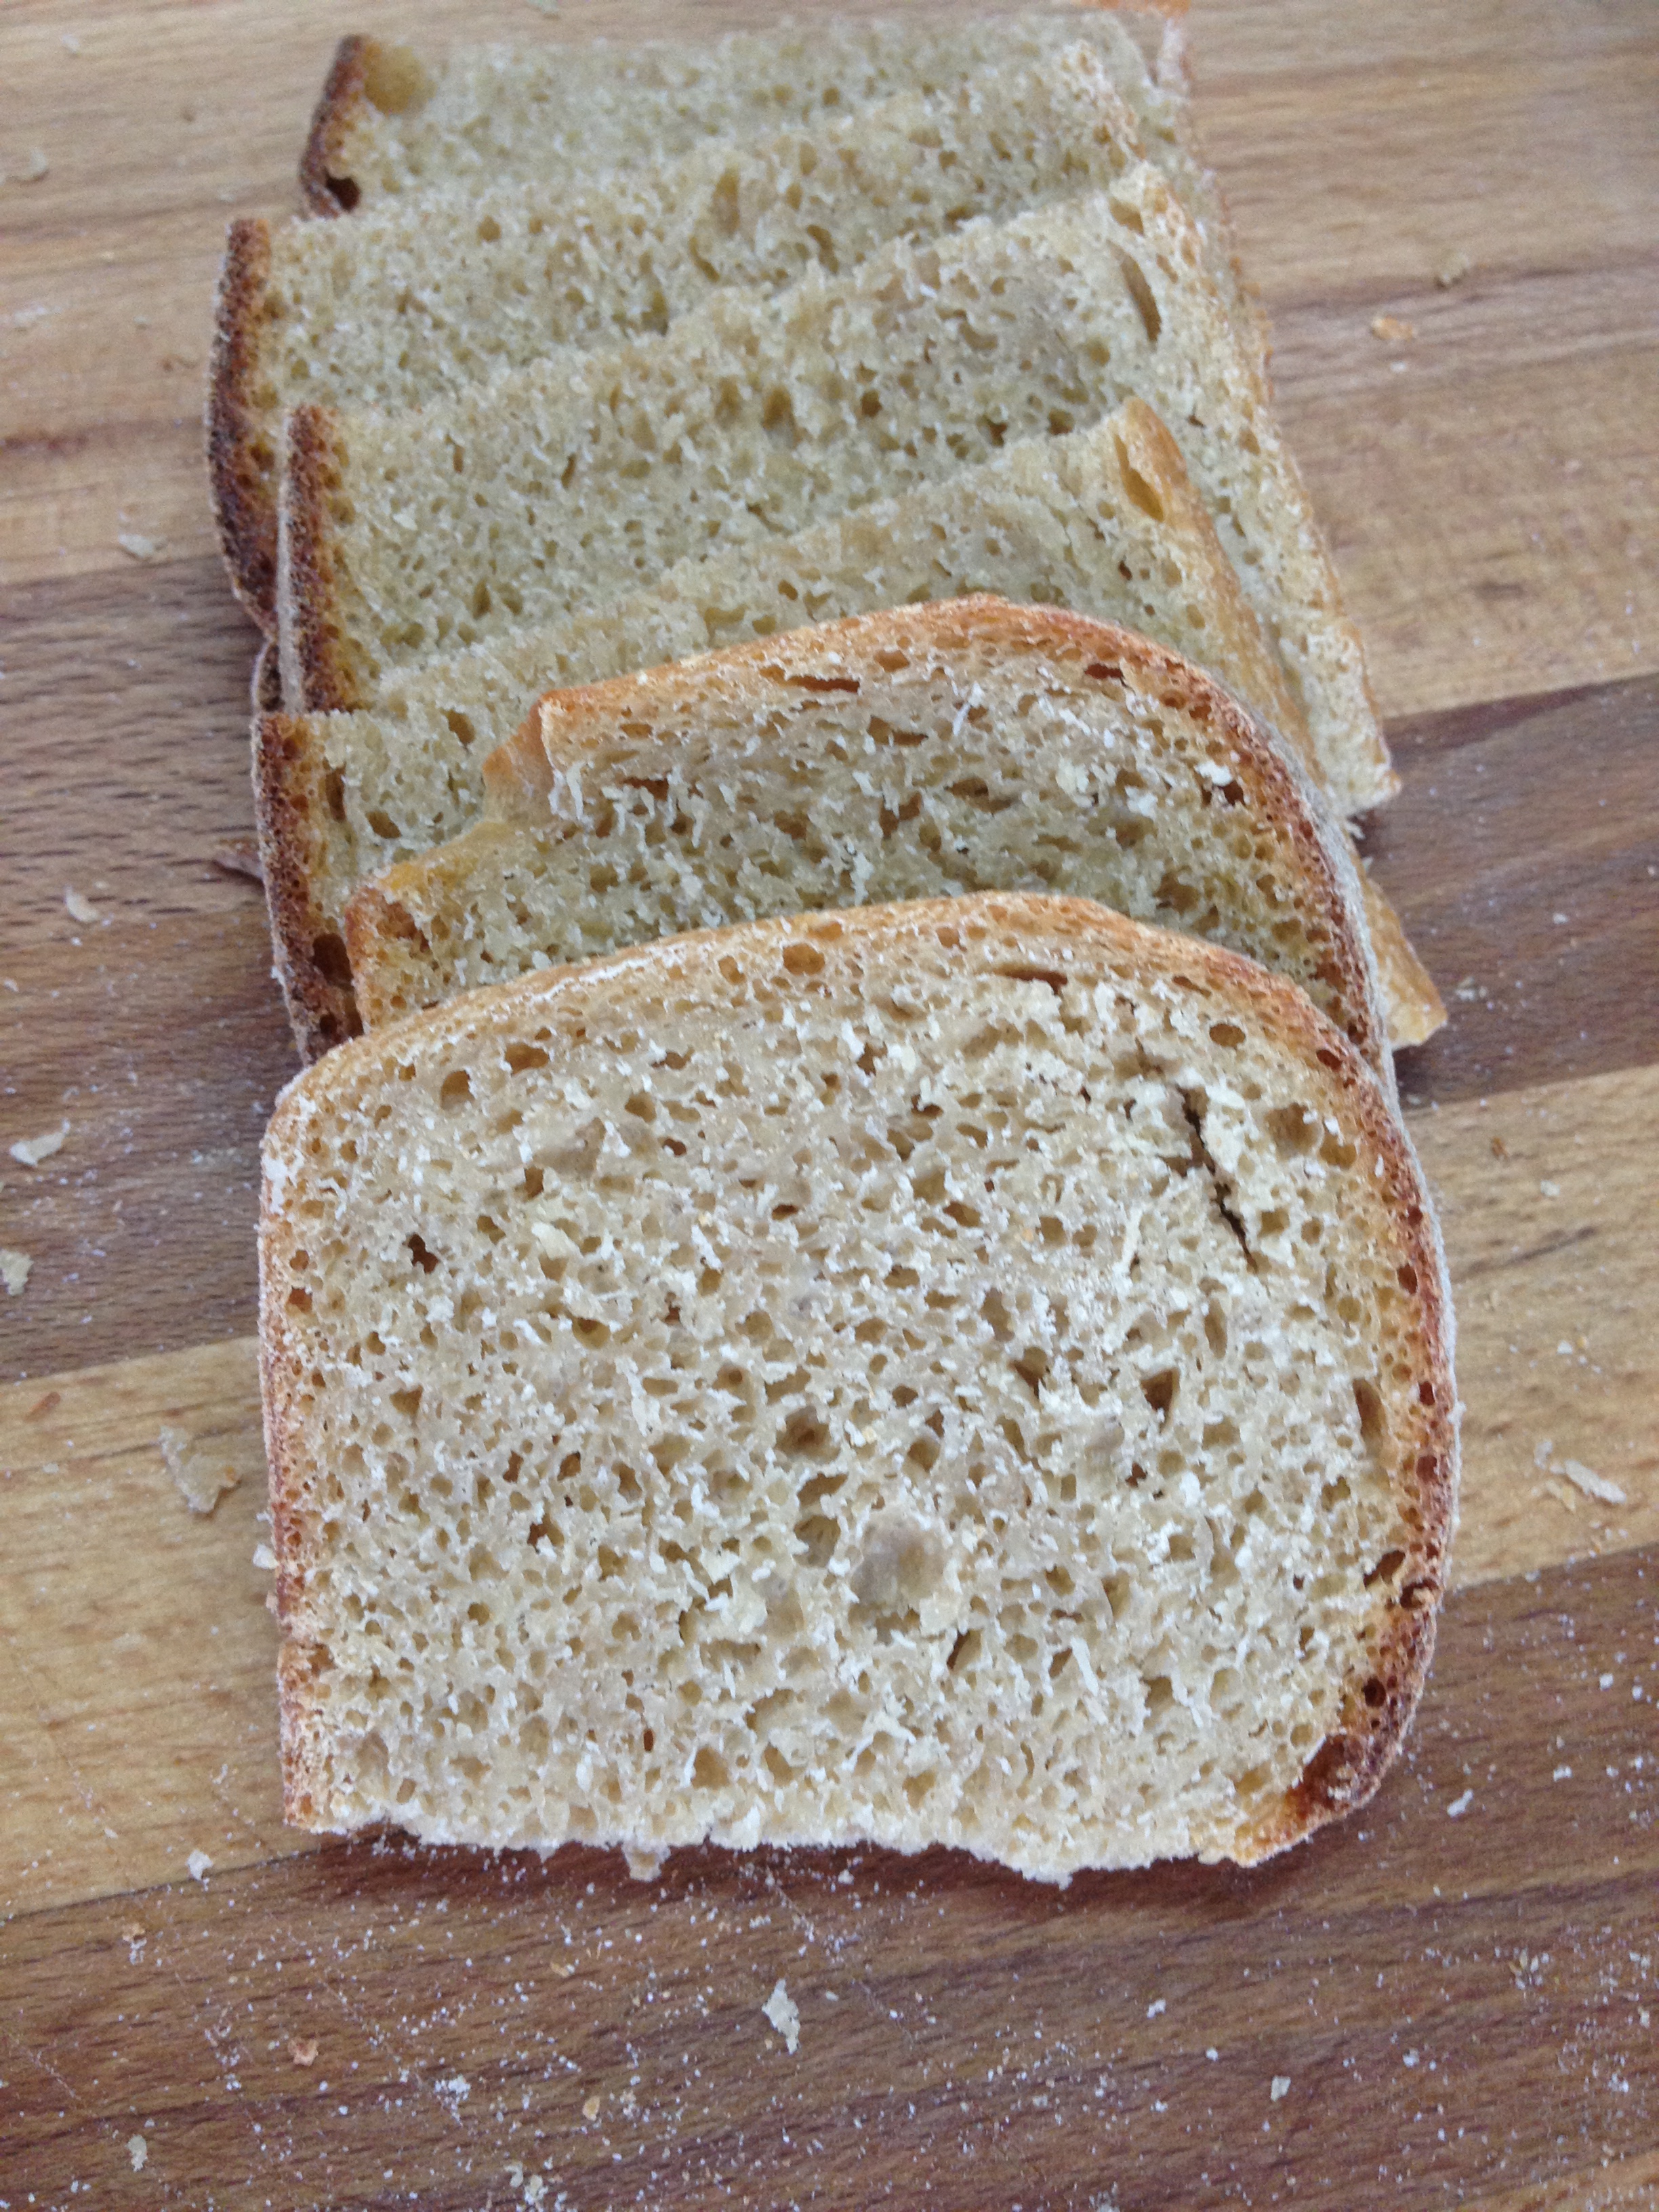
18. Cool it, Cut it and enjoy it. Freshly baked bread tastes wonderful just out of the oven.