100% whole wheat Bread and Jam without store bought Pectin

This post calls for some great adventure in the kitchen. From a person who started off highlighting traditional Tamilnadu dishes, with an open mind to learn cuisines of different countries, Baking Bread and Making Jam is of course an adventure. But it has certainly been a fruitful adventure.
Everyone aims at Healthy Food for the Family. Aiming at providing healthy food might mean many things –
Cooking-
a. food from scratch
b. with fresh, healthy ingredients
c. with unrefined food products like whole grains, lentils or unpolished stuff
d. that inculcates balance in all nutrients – carbohydrates, vitamins, proteins and fiber
e. that sticks to traditional foods
f. that involves less time to cook
and any other version that suits you and your family and more essentially the Family’s Palate.
My preferences of making food, starts from scratch and follow a traditional Tamil Grandma’s Household style. Satisfying the taste buds that long for foods from different parts of the world, through specialties which can be cooked at home – from scratch with minimal ingredients, has been no less than a beautiful, adventurous journey across the world.
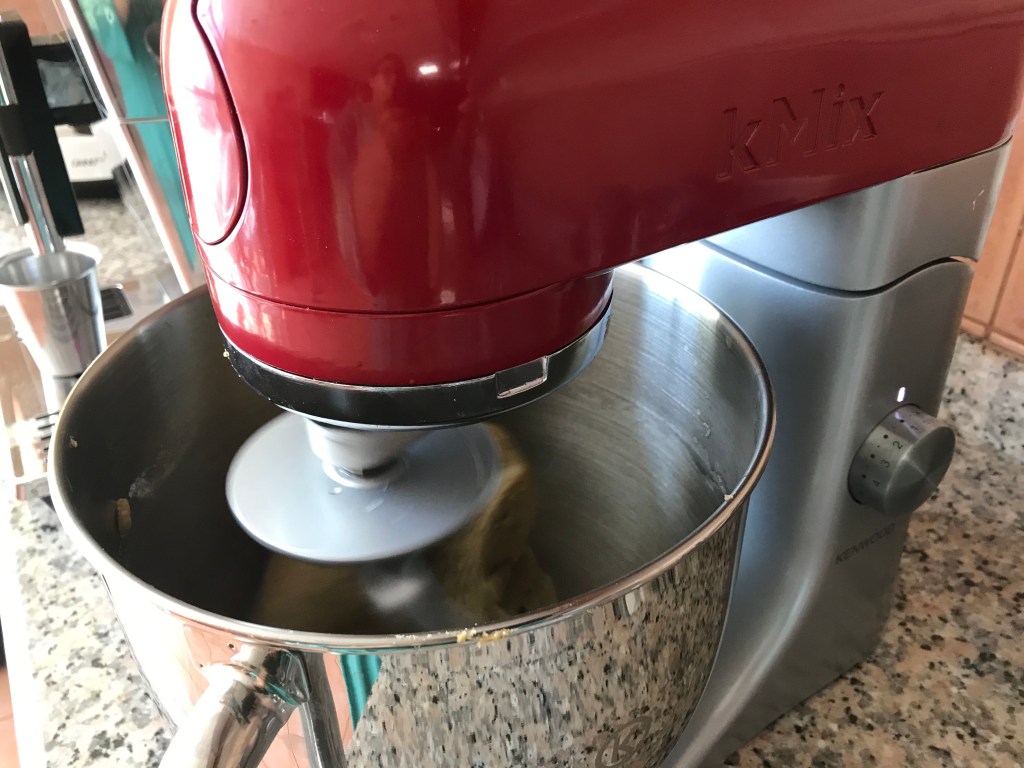
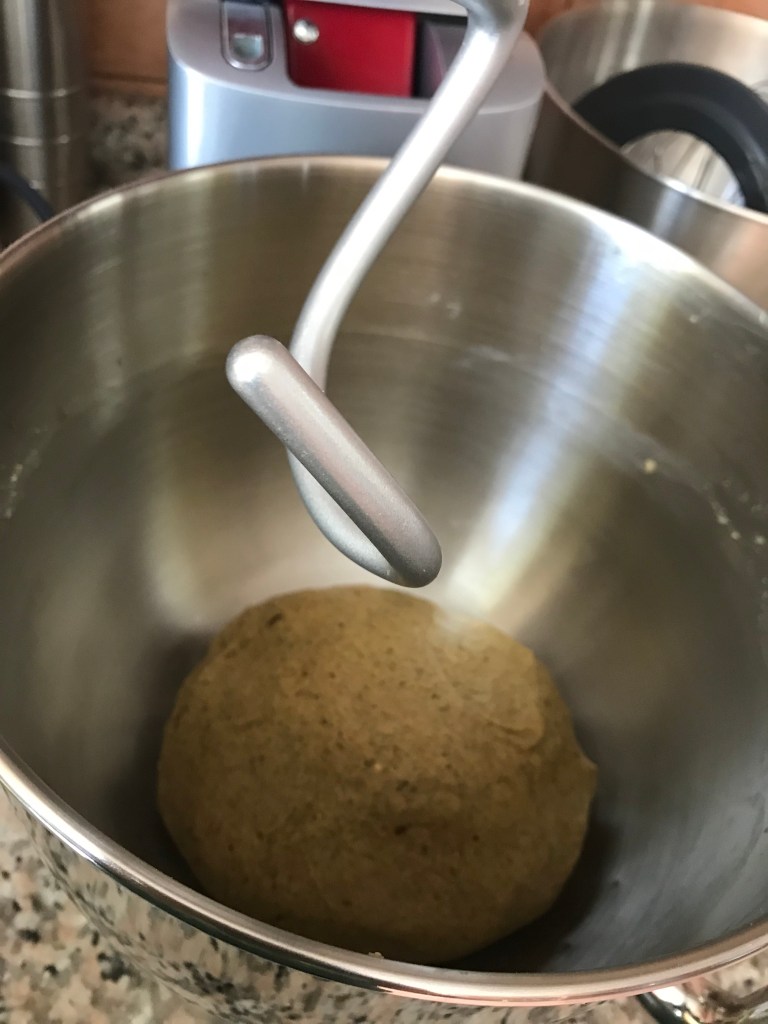
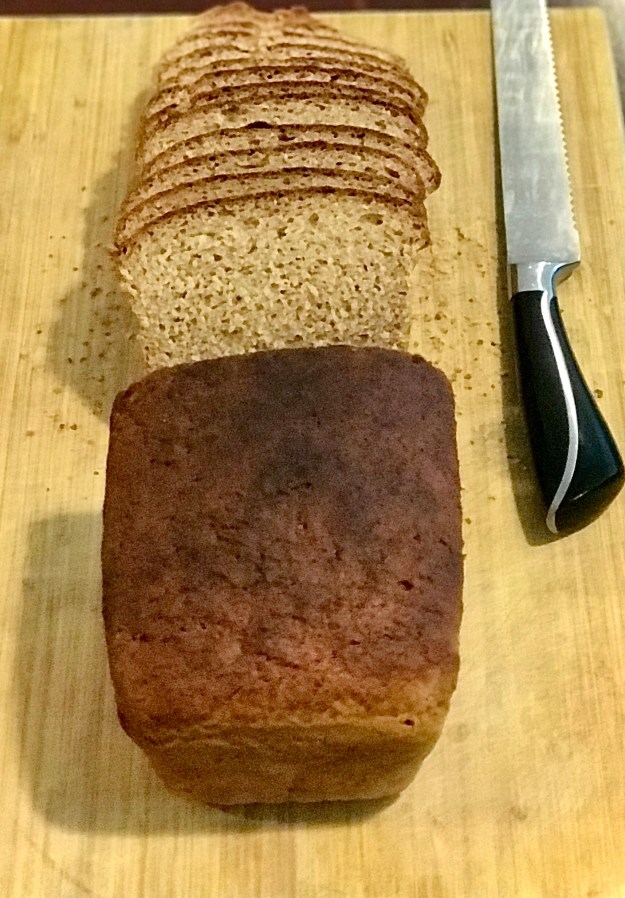
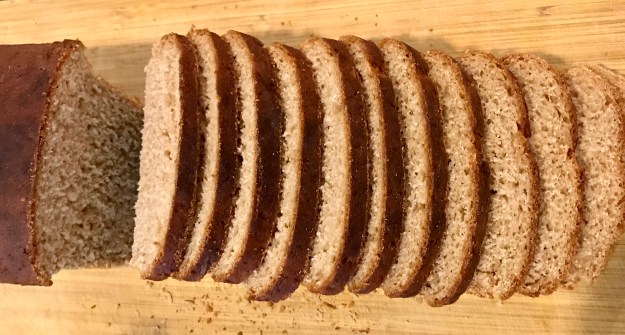
So, my recent passion has been Baking Bread – 100% whole wheat and 0% all purpose flour. And connected to it, came the Making of Jam with no added preservatives or store bought Pectin.
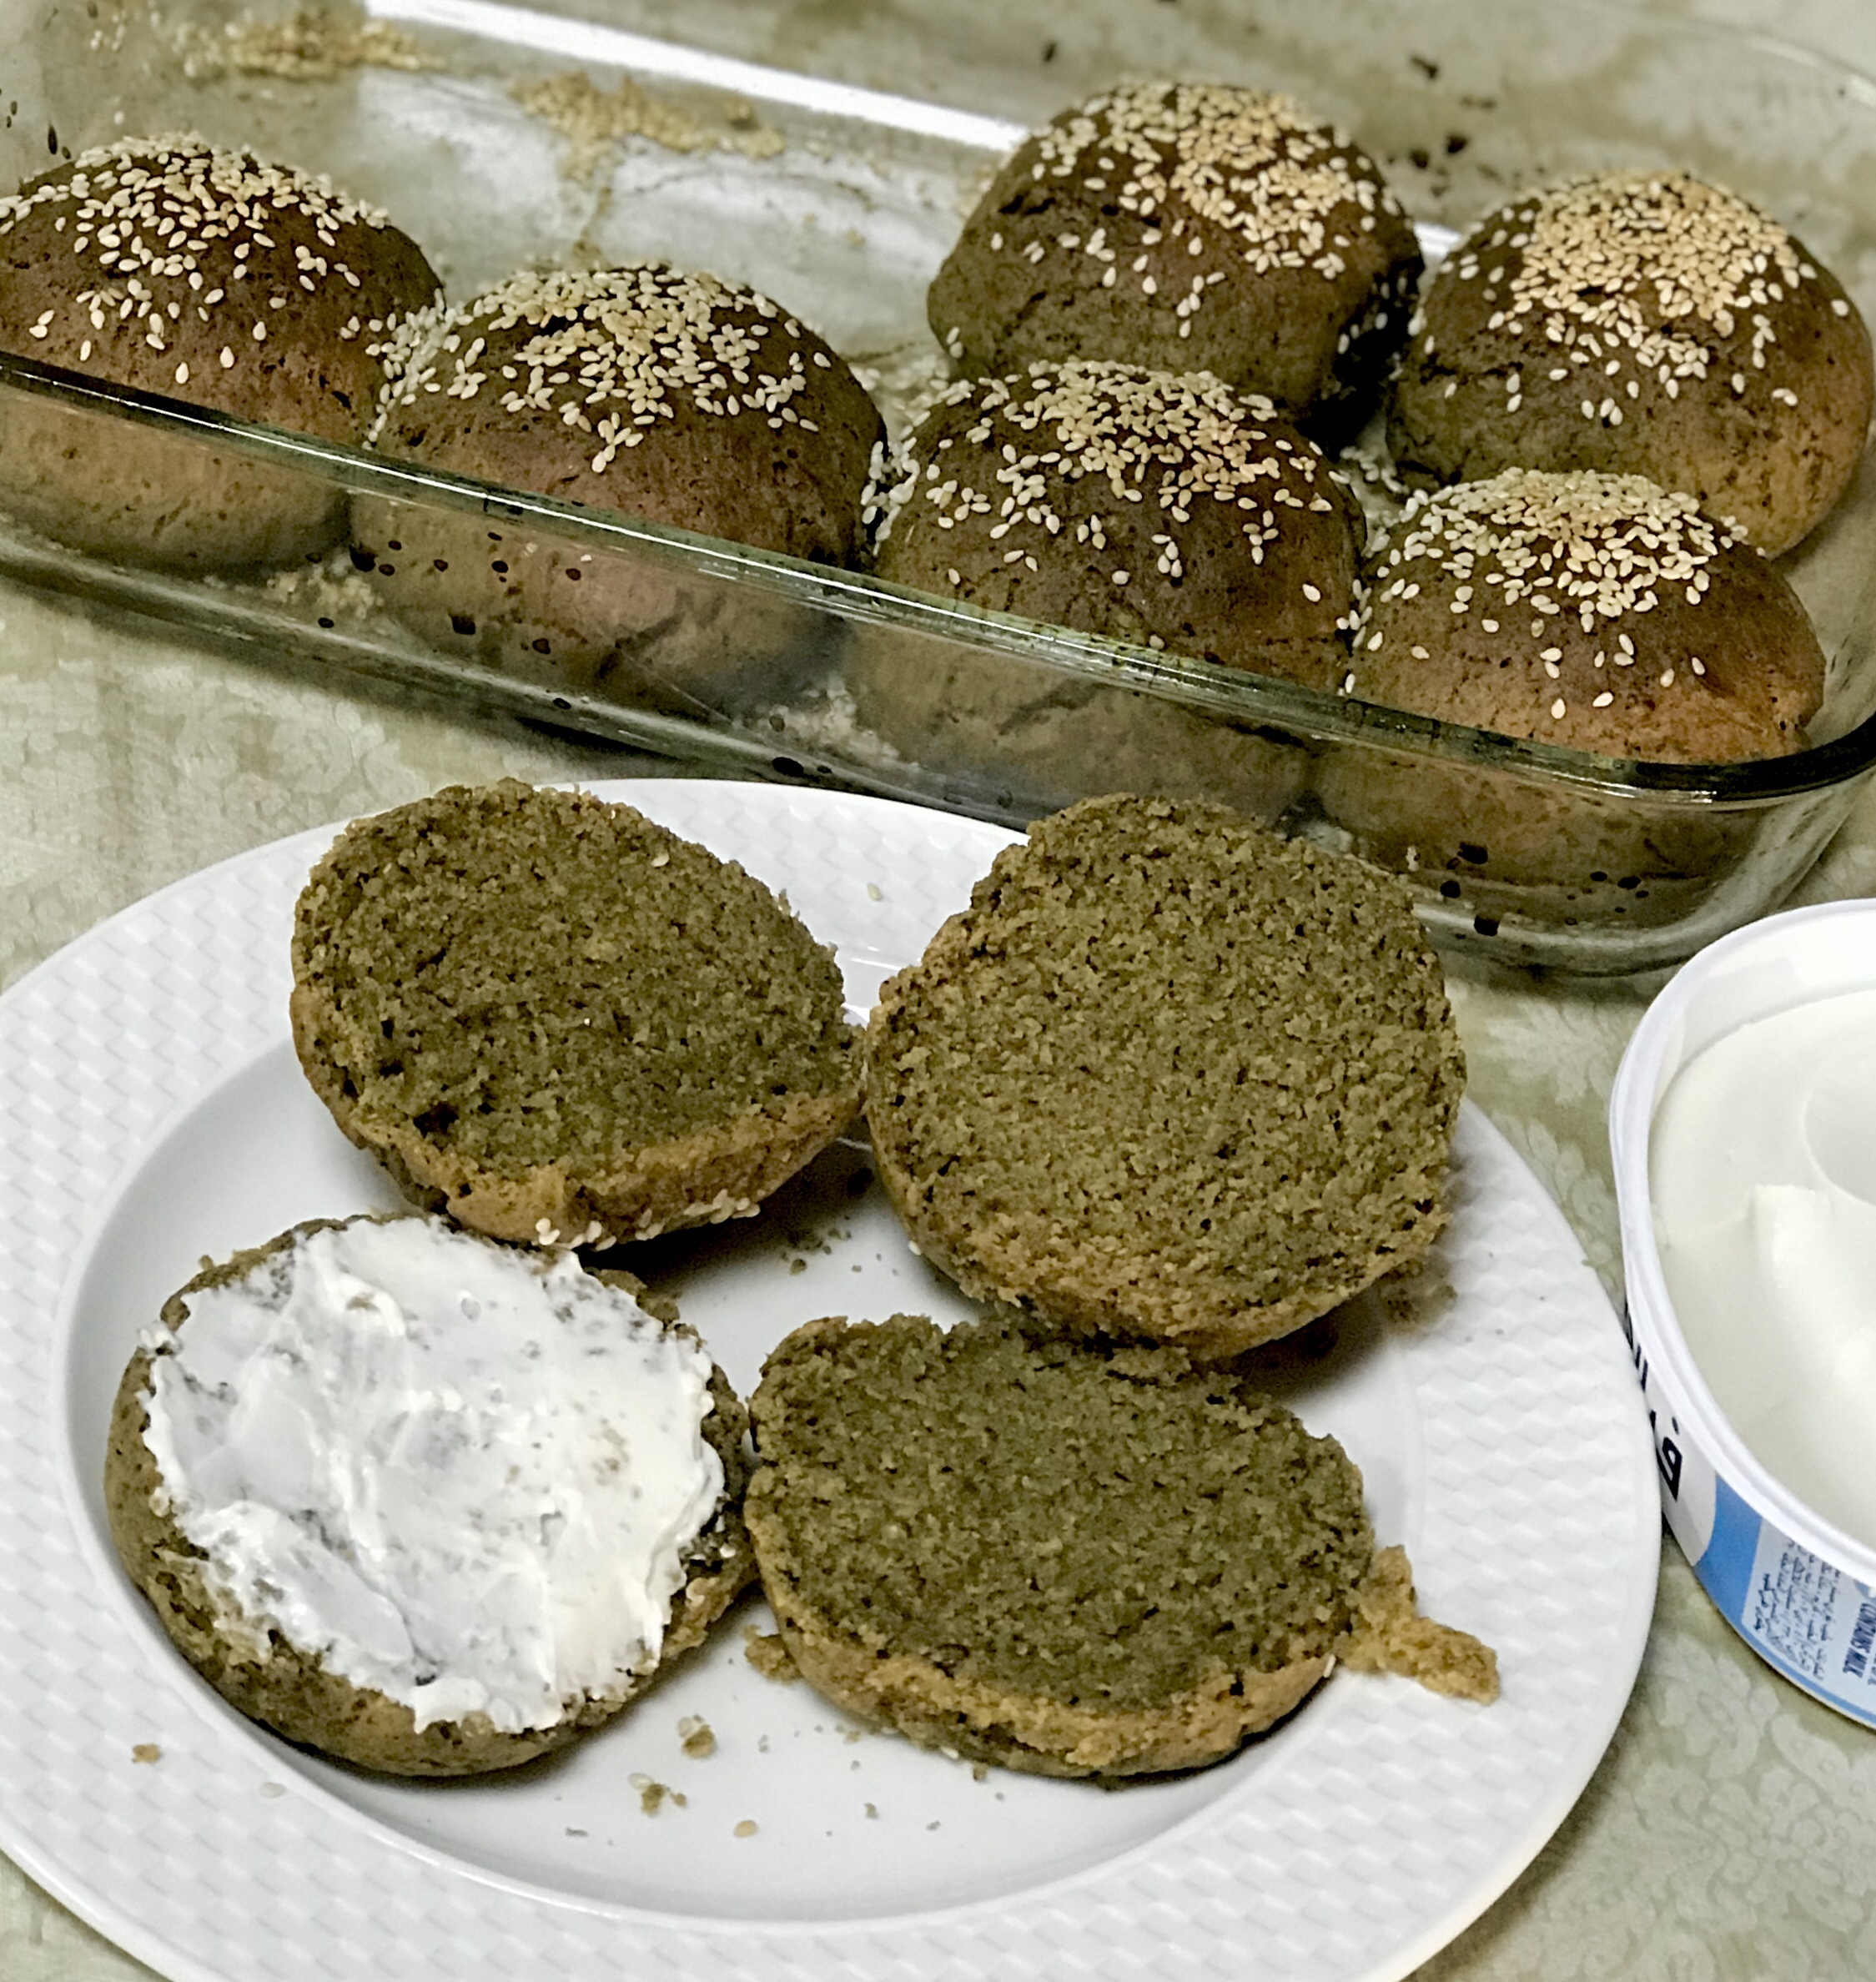
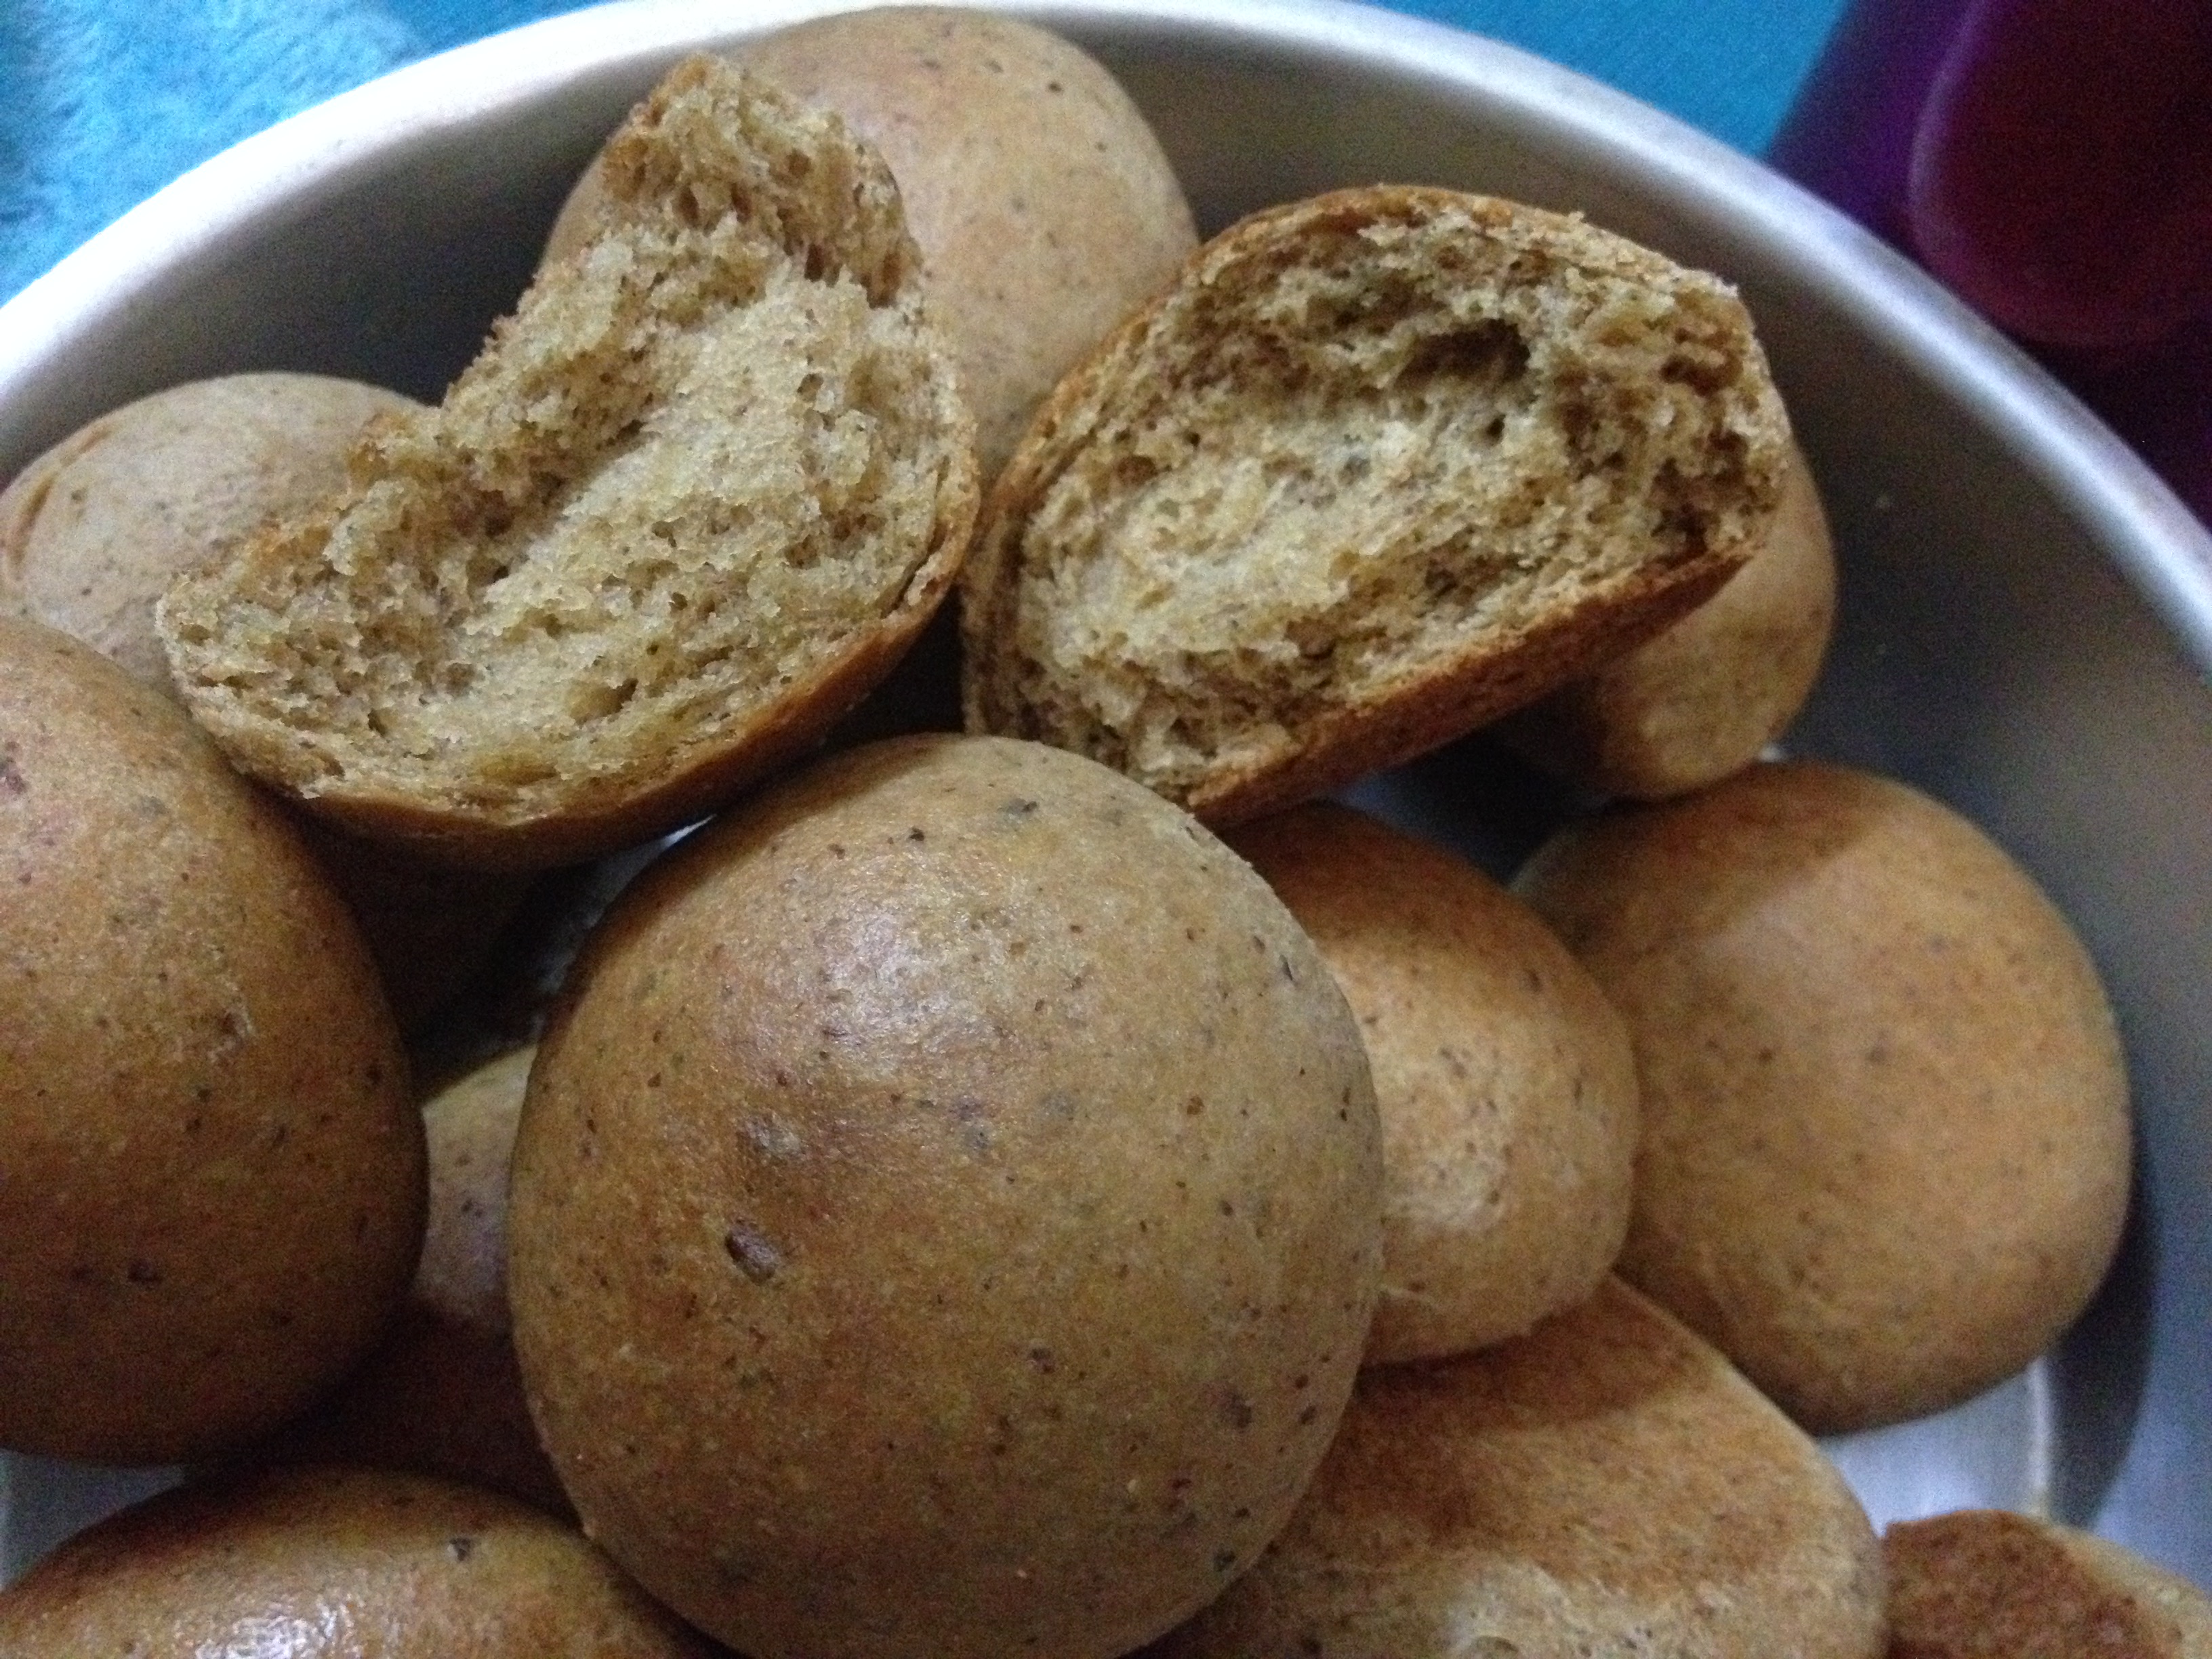
The Nutty Bread
Cooking Healthy Food might seem like a difficult task in hand. I chose the simple method of clinging on to all the above, especially understanding traditional foods – be it from any country or culture.
Simpler than this can be to just avoid processed food. That might not sound practically simple, but I assure, it is certainly a simple affair with loads of care and patience in choice of food stuff bought from the store.
When you go farther away from Earth, less the gravitational force and hence you float. A visit to the Local Super Market can be like a visit to Space, away from the true necessities of healthy living. While it pulls you or sucks you in, you float in the amazing aura and aroma of packed, refined junk basic items. As your heart and brain is immersed in the tempting outer world of packaged nonsense, we tend to pick the most fancy ones, easy to cook and less time consuming. The next possible misery would be to fool oneself in the health benefits that has been quoted in the pack, and come back to the original world- Home, with more unwanted processed stuff.
It is so easy, we pick what we want, depending upon what had already tempted us and the beloved kids through advertisements. Now, we are proud owners of all those beautifully sealed packets – but, the proud owner of the super market is surely ‘The Winner’. That Super Market is indeed a Special SPACE where Losers are also satisfied souls.
Obesity and increasing health issues at a very young age throughout the world are things of real concern. This anxiety and uneasiness made me bake my own whole wheat breads and buns. The additional benefit of home made 100% whole wheat breads and buns is the abundant patience instigated in the family. Truly, the chunky breads and buns need endurance to be consumed, after so many years of soft/store bought/ s0-called whole wheat bread. Yet, the aroma of baking bread that fills the house and the satisfaction of having a healthy whole grain meal has become an addition. It has become our Sunday breakfast after a 6 day breakfast plan with power packed pancakes. https://dosaikal.com/2014/04/19/power-packed-pancakes-whole-grain-dosais/
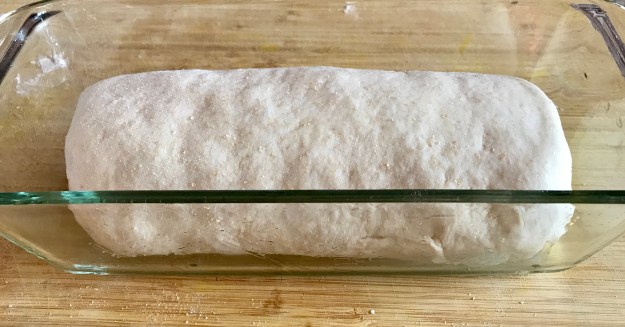
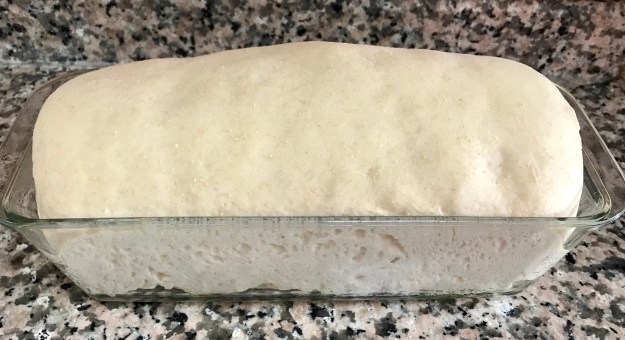
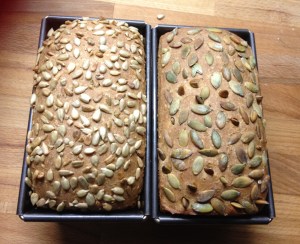
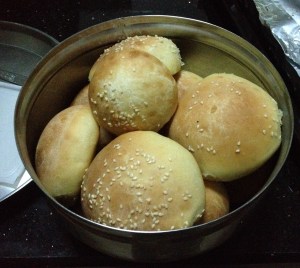
My own… Dinner Rolls and Breads


and buns…

While I need to perfect my bread baking efforts, before I post a few breads and buns that I make, I thought of the best accomplishment for breads – Jams and Jellies – easily the most sort after store bought item. Have a glance on the package of Jams available, there would be a long list of ingredients for storage purposes. Why not make our own Jam with the minimal ingredients – truly only two needed – sugar and fruit.
What about Pectin, an important ingredient needed for the consistency of jam? This has been a learning experience.
http://healingcuisinebyelise.com/2012/07/questions-answered-is-pectin-healthy.html gives a detailed analysis on Pectin.
According to the USDA, fruits contain the greatest amount of pectin — all fruits are made up of at least 5 to 10 percent pectin. Peaches, apples, oranges, grapefruit and apricots contain the highest amount of pectin among fruits. For example, one small peach contains 0.91 gram of pectin, while 1 cup of apple slices contains 0.654 gram of pectin. http://www.livestrong.com/article/289067-list-of-foods-high-in-pectin/
The learning fact is that fruits can be direct sources of Pectin, to attain the exact consistency in Jams and what can be skipped is the store bought Pectin. The danger of commercial pectin is that it might be a chemical combination with artificial sweeteners.

Courtesy: http://healingcuisinebyelise.com/2012/07/questions-answered-is-pectin-healthy.html
Hence, for a healthy food style, just choose unprocessed food. A visit to super market is a necessity. But, having healthy choices makes all the difference. What is healthy is something to be understood with Precision.
Additionally, it also means preserving foods with natural preservatives – unbelievable natural ingredients available in your kitchen – also available in small shops and super markets – but not as a processed version but as a basic unprocessed raw material. Amazing isnt it? But what remains most important is that ‘We Need to Make Our Choices’ for a healthy life style.
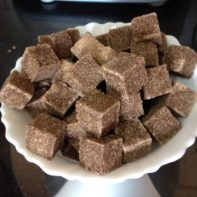
That’s why it is time for a Jam with fruit and sugar alone. When I had beautifully ripe Plums, that also had a sour touch to it, I chose to make a jam with plum and unrefined cane sugar – no refined white sugar either…Hurray!! Why bother about Pectin from store – Plum has all that is needed to fix the jam. And that was a true Success – with a capital ‘S’.
Come along… let’s see how I made it.
Plum Jam with Unrefined Cane Sugar (No Preservatives or store bought Pectin)

Ingredients
- plums deseeded and chopped – 1200 gms (approximately 6 bowls)
- molasses/unrefined cane sugar – 500 gms

Method of Preparation
Part I
To disinfect the plums, take a big bowl of water with turmeric and salt. Leave the fruits in the water for 1/2 an hour.

Part II
Before cooking the plum, there are two other things that are essential in the making of Jam-
a) Plate in the Freezer
Place a plate in the freezer and a few spoons- we need to check for consistency later by placing the jam in the chilled plate.
b)Sterilize the bottles with lid

- Wash the bottles and lids to store jam very well with no food particles sticking to it.
- Take a big bowl and place the washed bottles and lids on sides.
- Fill water in the bowl immersing the bottles.
- Let the water come to a full boil.
- Close with lid and let it stay till the jam is done.
Part III
- Remove the plums from turmeric-salt water. Wash well and pat them dry with a clean cloth.
- De-seed and chop them into small pieces. Smaller the pieces, more blended the jam would turn out.
- Smaller pieces combined with slightly bigger chunks in-between, taste delicious with a candied flavor.
- Take a hard bottomed, wide bowl and drop in both ingredients -plum and sugar.

4. One can also substitute molasses with cane sugar.
5. Let the mixture boil in open bowl, do not close with lid.
6. The procedure would take 45 minutes to an hour to reach the required jam consistency

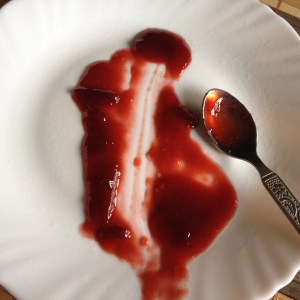
7. Check in between with the plate in the freezer- swipe a spoon of jam on the plate and cut into two halves. If it sets well and isn’t flowing on the plate, jam is done. Else, cook for some more time.
8. When the jam has reached the required consistency, switched off flame.
9. Pour into sterilized hot bottles directly from stove and close lid tightly.
10. Do not pour hot jam in cold bottles, otherwise the bottles would crack.
11. Leave the jam to cool by itself. Do not engage in cooling by other means. That would affect the setting of the Jam.
12. Enjoy with home made bread or bun. Also try in tarts or pies.