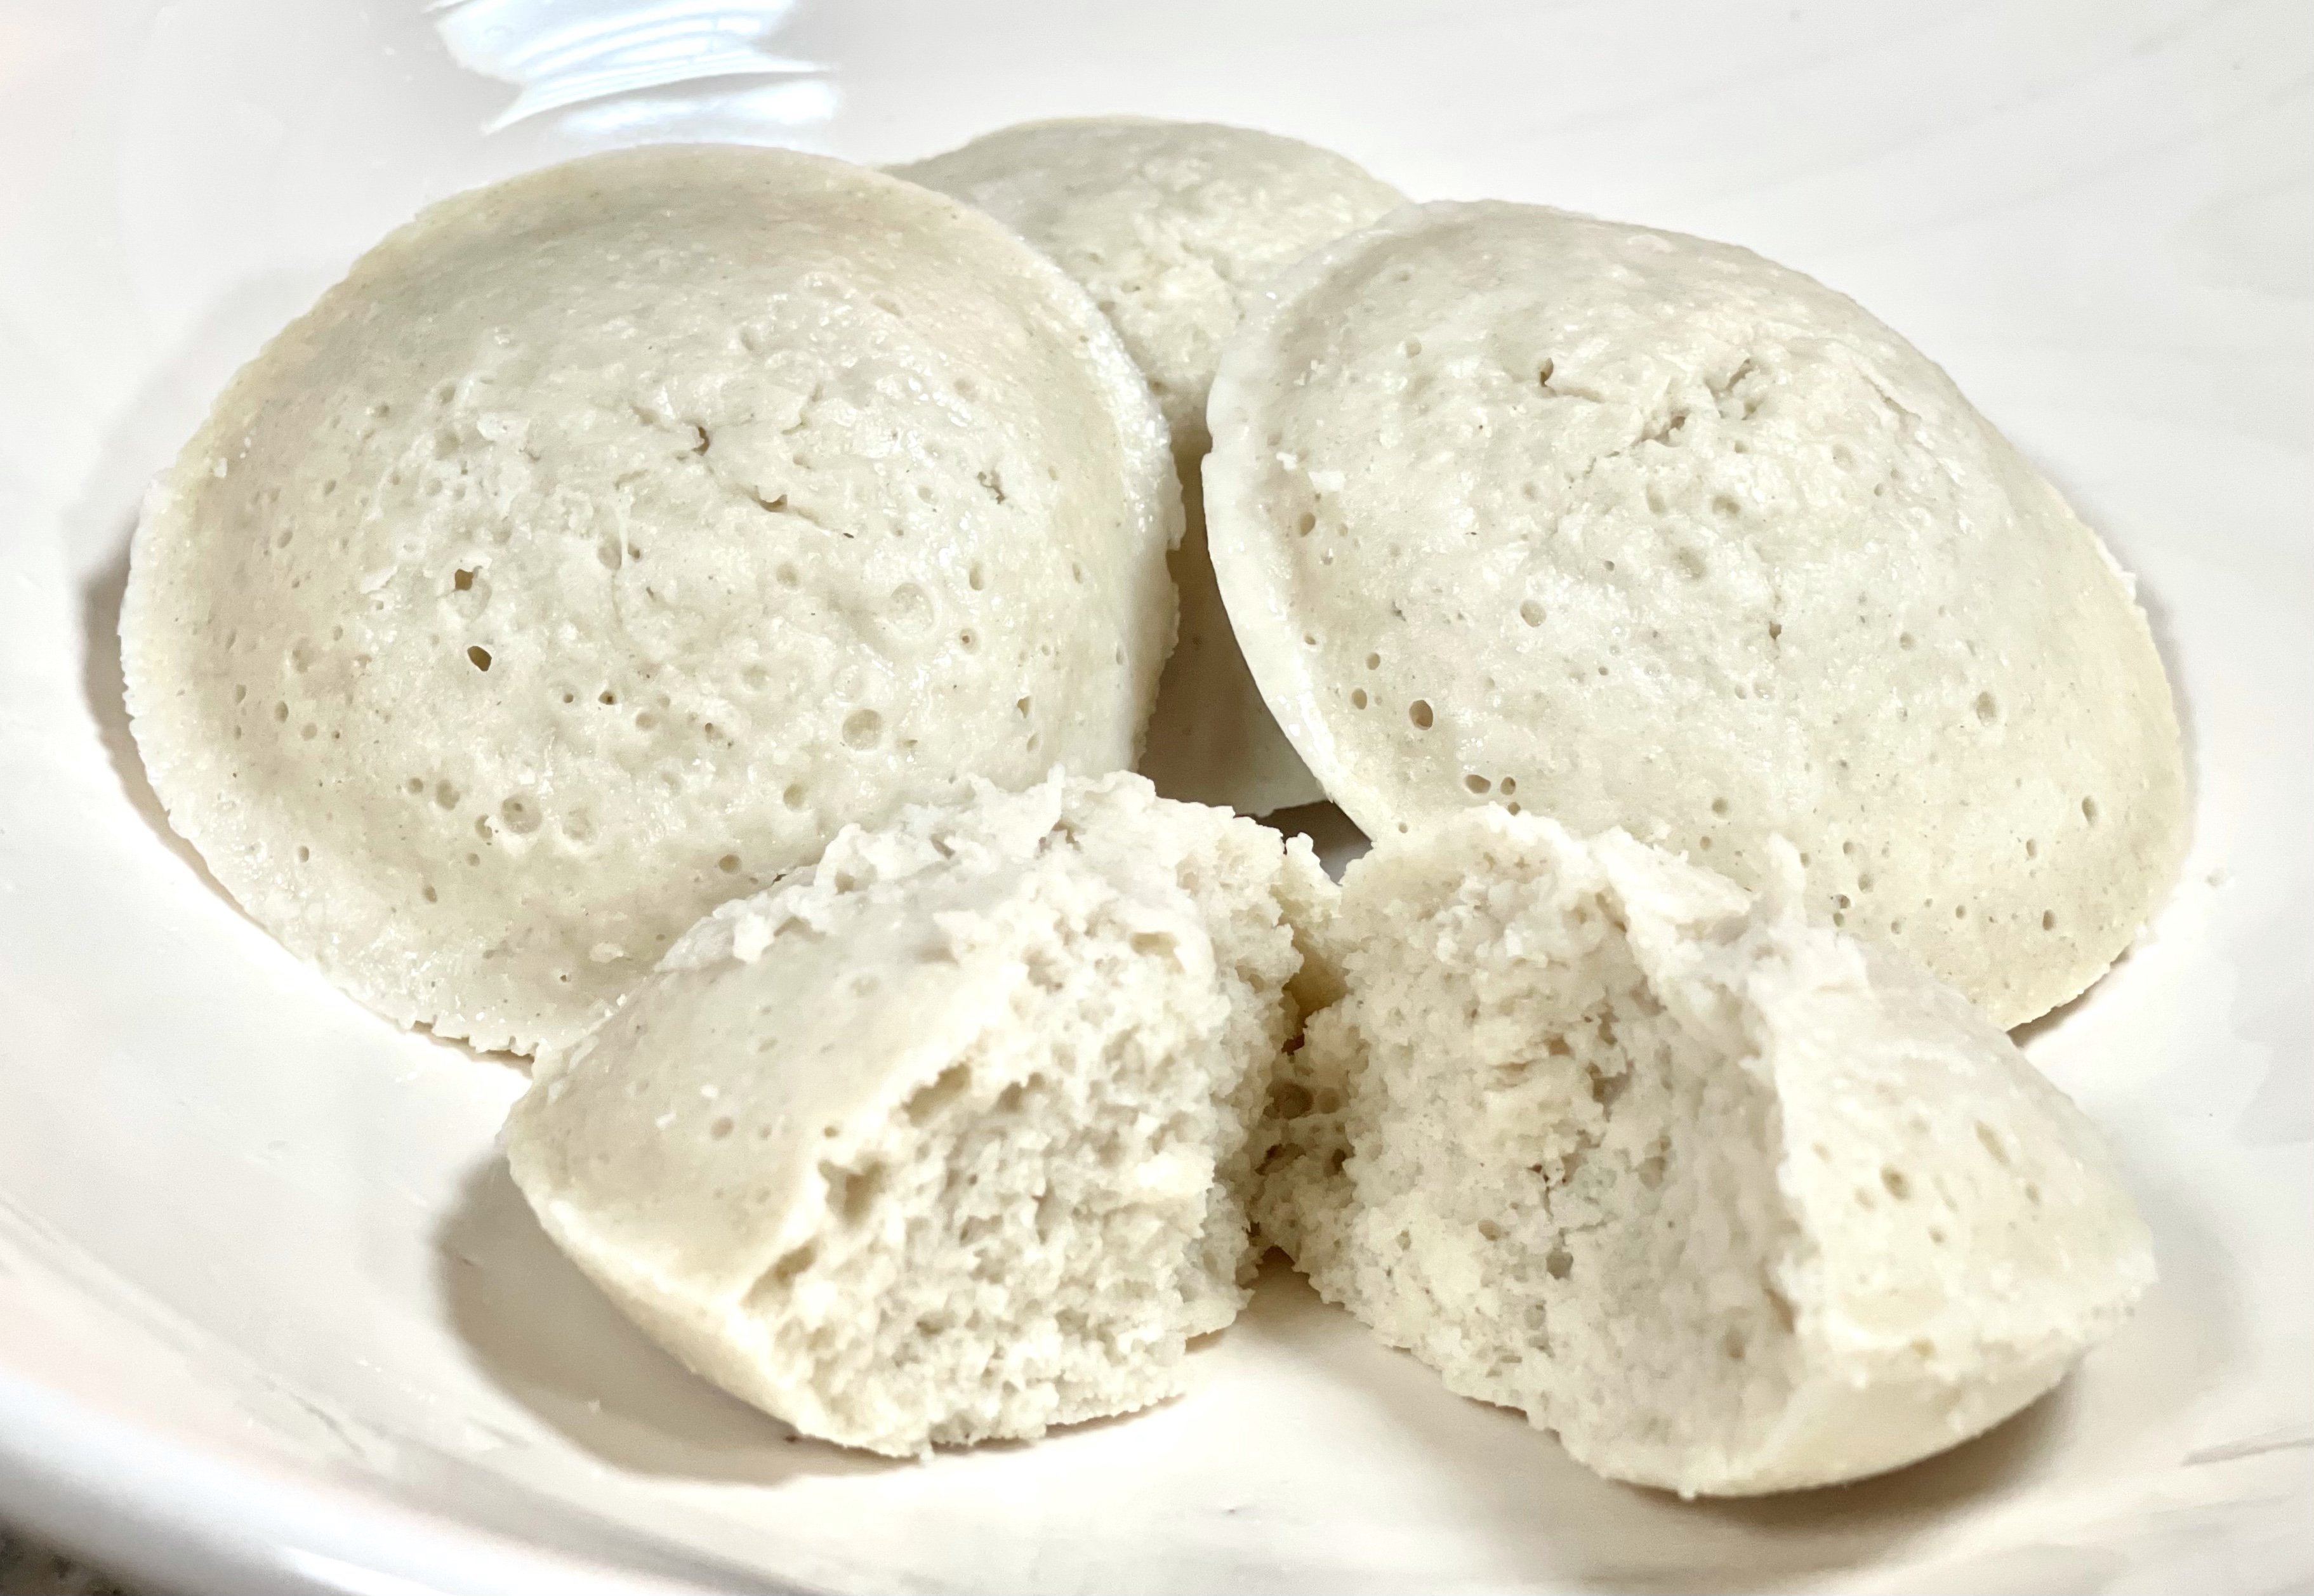
Kollu or Horse Gram can be used to make soft and fluffy steamed cakes. Other millets used previously to make Idlis were grains and Horsegram is a lentil. Hence, the lentil here is combined with rice to make Idli, the staple breakfast/dinner food of Tamilnadu.
Kollu Idli/Steamed Rice Cakes with Horsegram
Ingredients (makes approximately 25-30 idlis)
kollu/horsegram– 1 cup
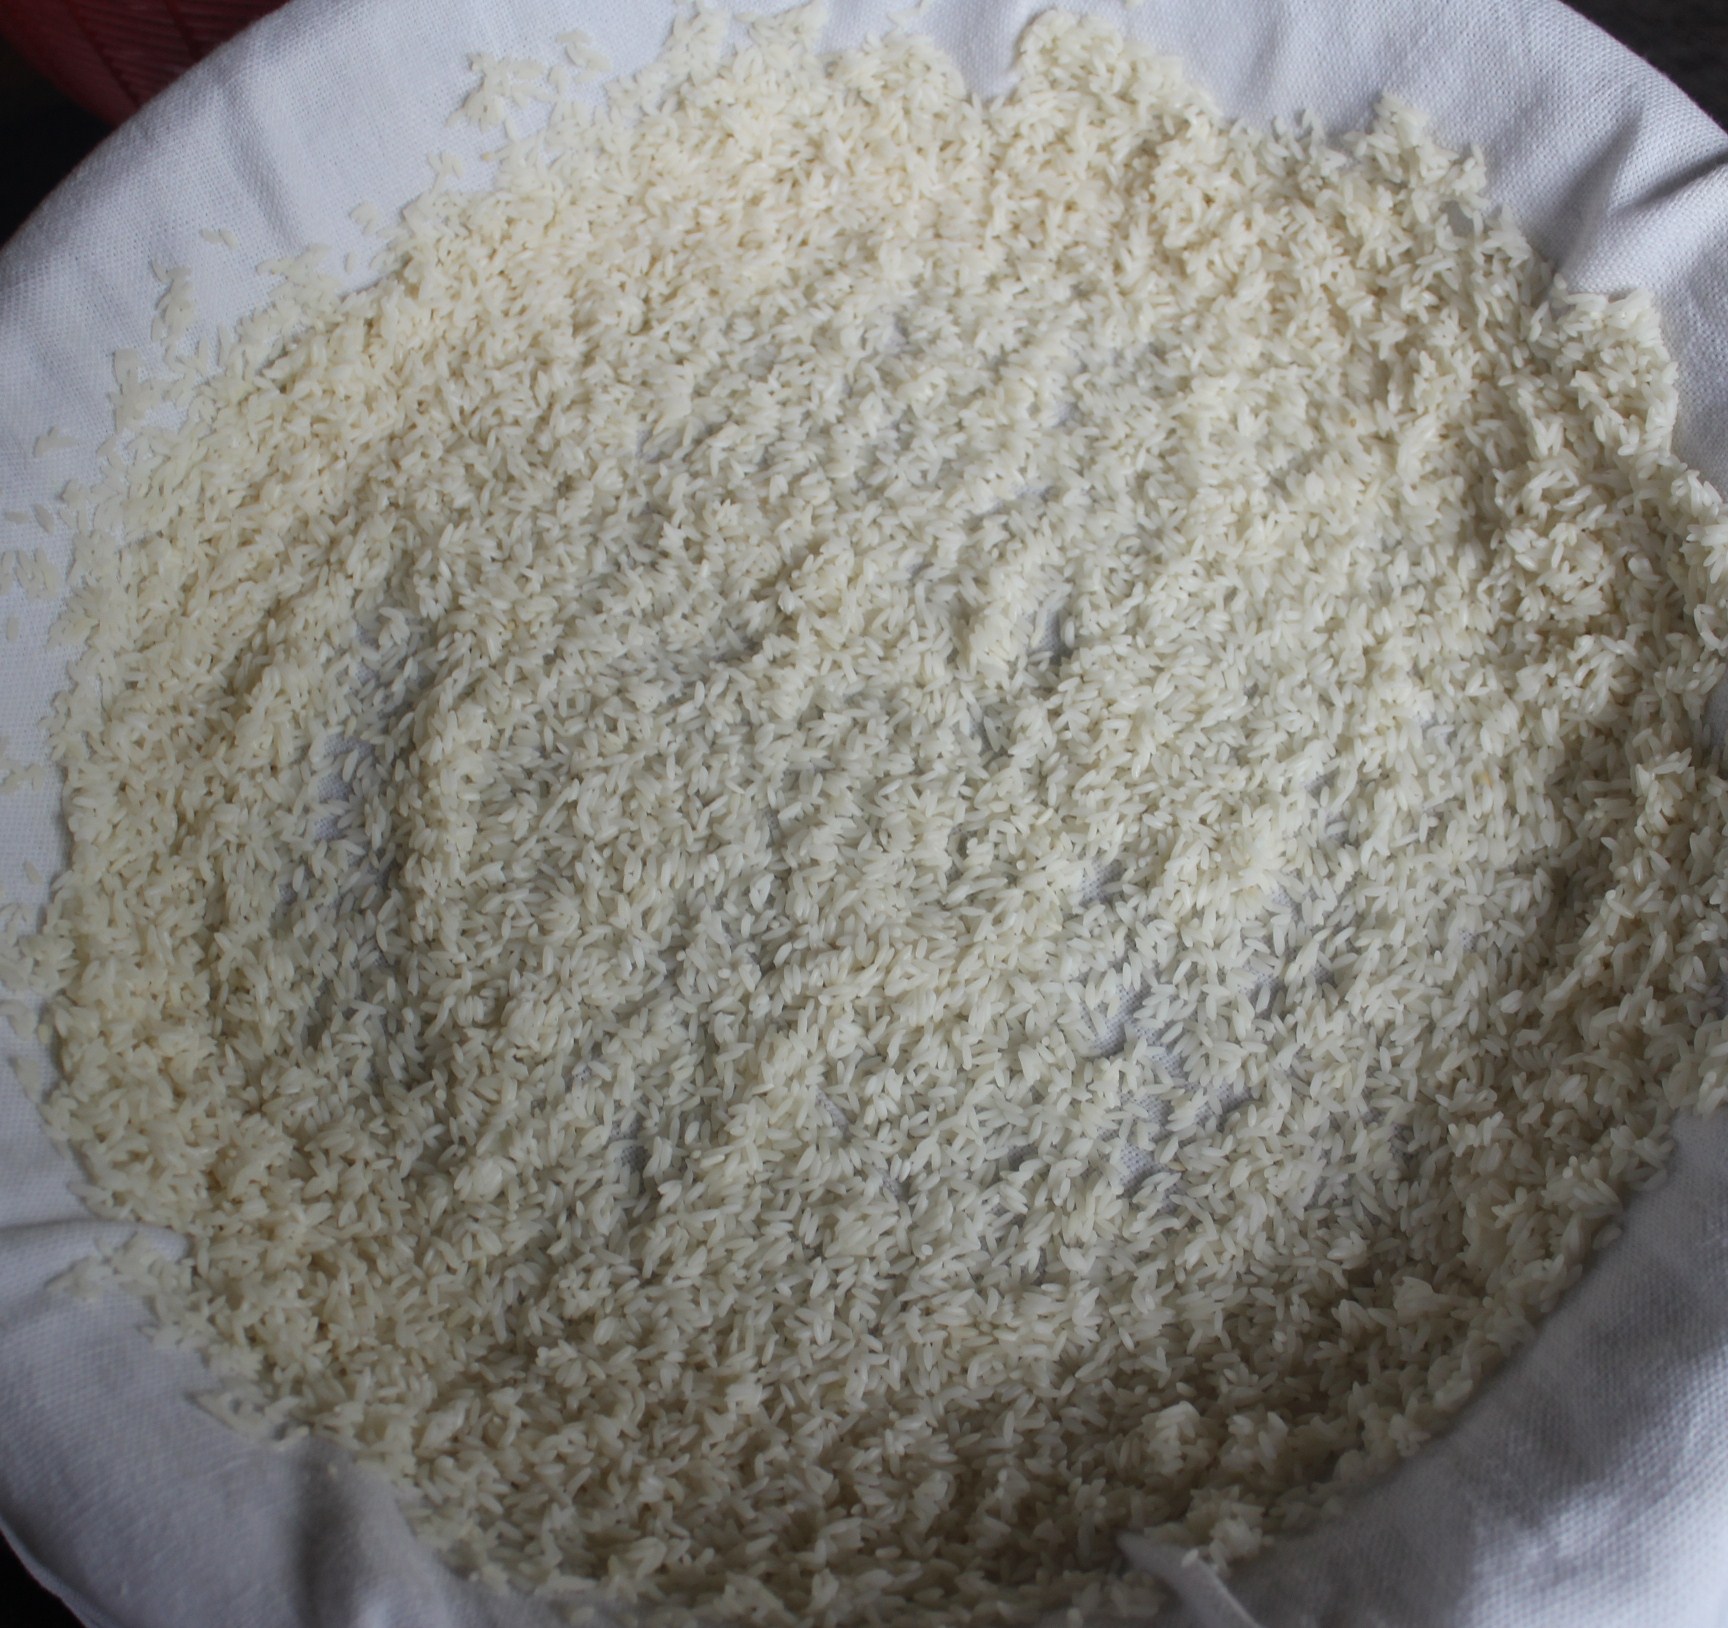
puzhungal arisi/parboiled rice or idli rice – 2 cups
uppu/salt – as needed approx. 1 tsp
Method of Preparation
Wash and soak horse gram and rice separately in enough water for 6-8 hours
2. It is important to soak both rice and gram separately for idli. To make dosai, soaking and grinding together doesn’t alter the crispness or softness of pancakes
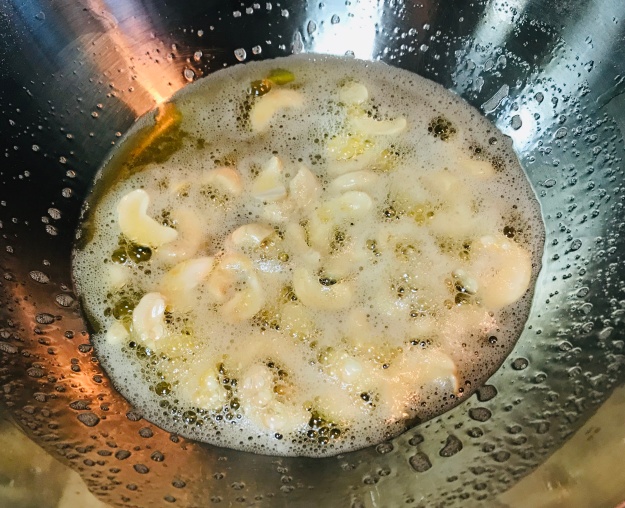
3. First, drain excess water and grind the horse gram into a smooth batter. It would be super foamy
4. Important point to note in Kollu Idli batter is, horse gram should be ground with minimum water needed. If excessive water is used, the final batter cannot be used to make Idli or steamed cake. Only Dosai/Pancake can be made
5. Remove horse gram batter from the blender and grind soaked rice separately to a smooth batter
6. When both batters are ready, add salt and blend well with a ladle or by hand. Do not use blender to mix both as batter will become watery
7. Leave the batter to ferment for 8 hrs or overnight
8. Millet or Gram batters do not need as much time as Rice Idli batter. They turn sour sooner
9. 8 hrs in a warm place is enough; If the climate is too hot, check after 6 hours; In an air conditioned environment, I place it in the oven overnight with the oven light on
10. Once fermented, mix the combined Idli batter well
11. Always keep the batter refrigerated for further use
12. Steam Idlis in the mould and serve them hot with chutney of choice.
Next in the steamed millet cake series is Thinai/Foxtail Millet. As 200th post of Dosaikal, I had shared two desserts with Foxtail Millet – Thinai Sarkkarai Pongal and Thinai Payasam.
As mentioned previously, all millets can be used in making several staples like idli, dosai, idiyappam, pongal etc. They taste awesome as desserts too.
Try the millet cakes as Podi Idli too. These are stir fried Thinai idlis in spicy gun powder and gingelly oil ….
Thinai Idli/ Foxtail Millet Steamed Cakes
Ingredients (makes approximately 25-30 idlis)
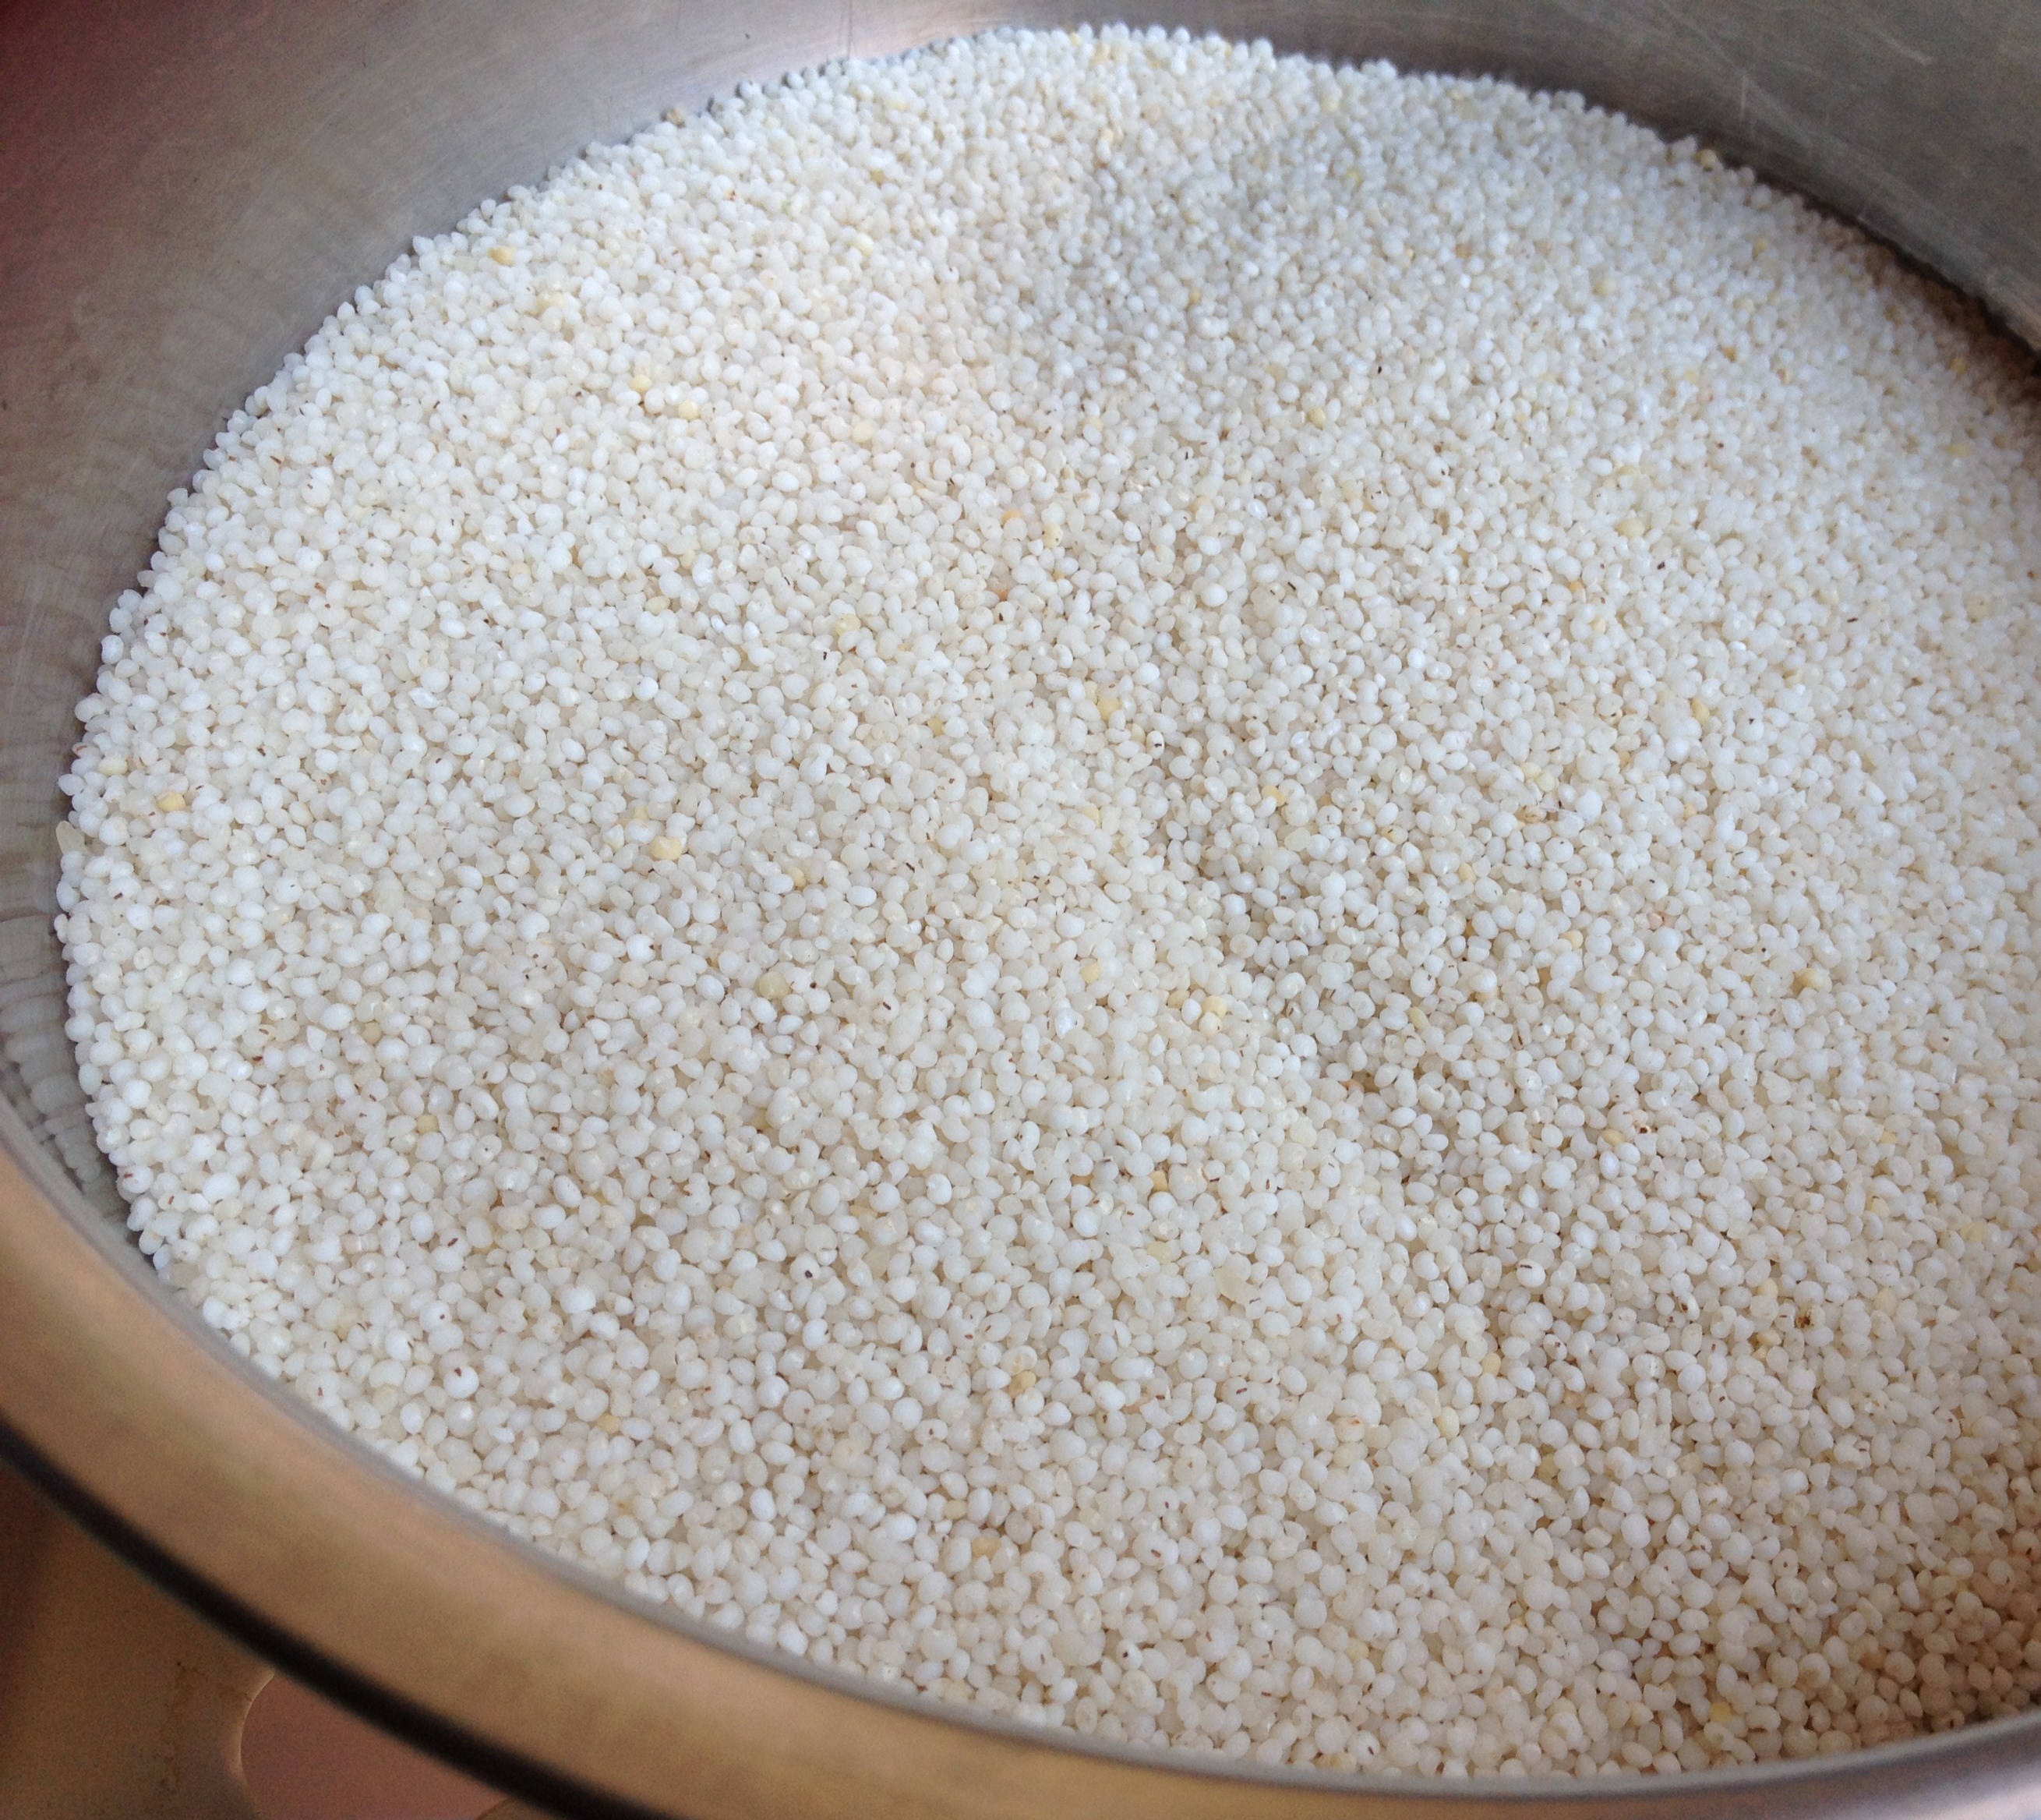
thinai/foxtail millet – 3 cups
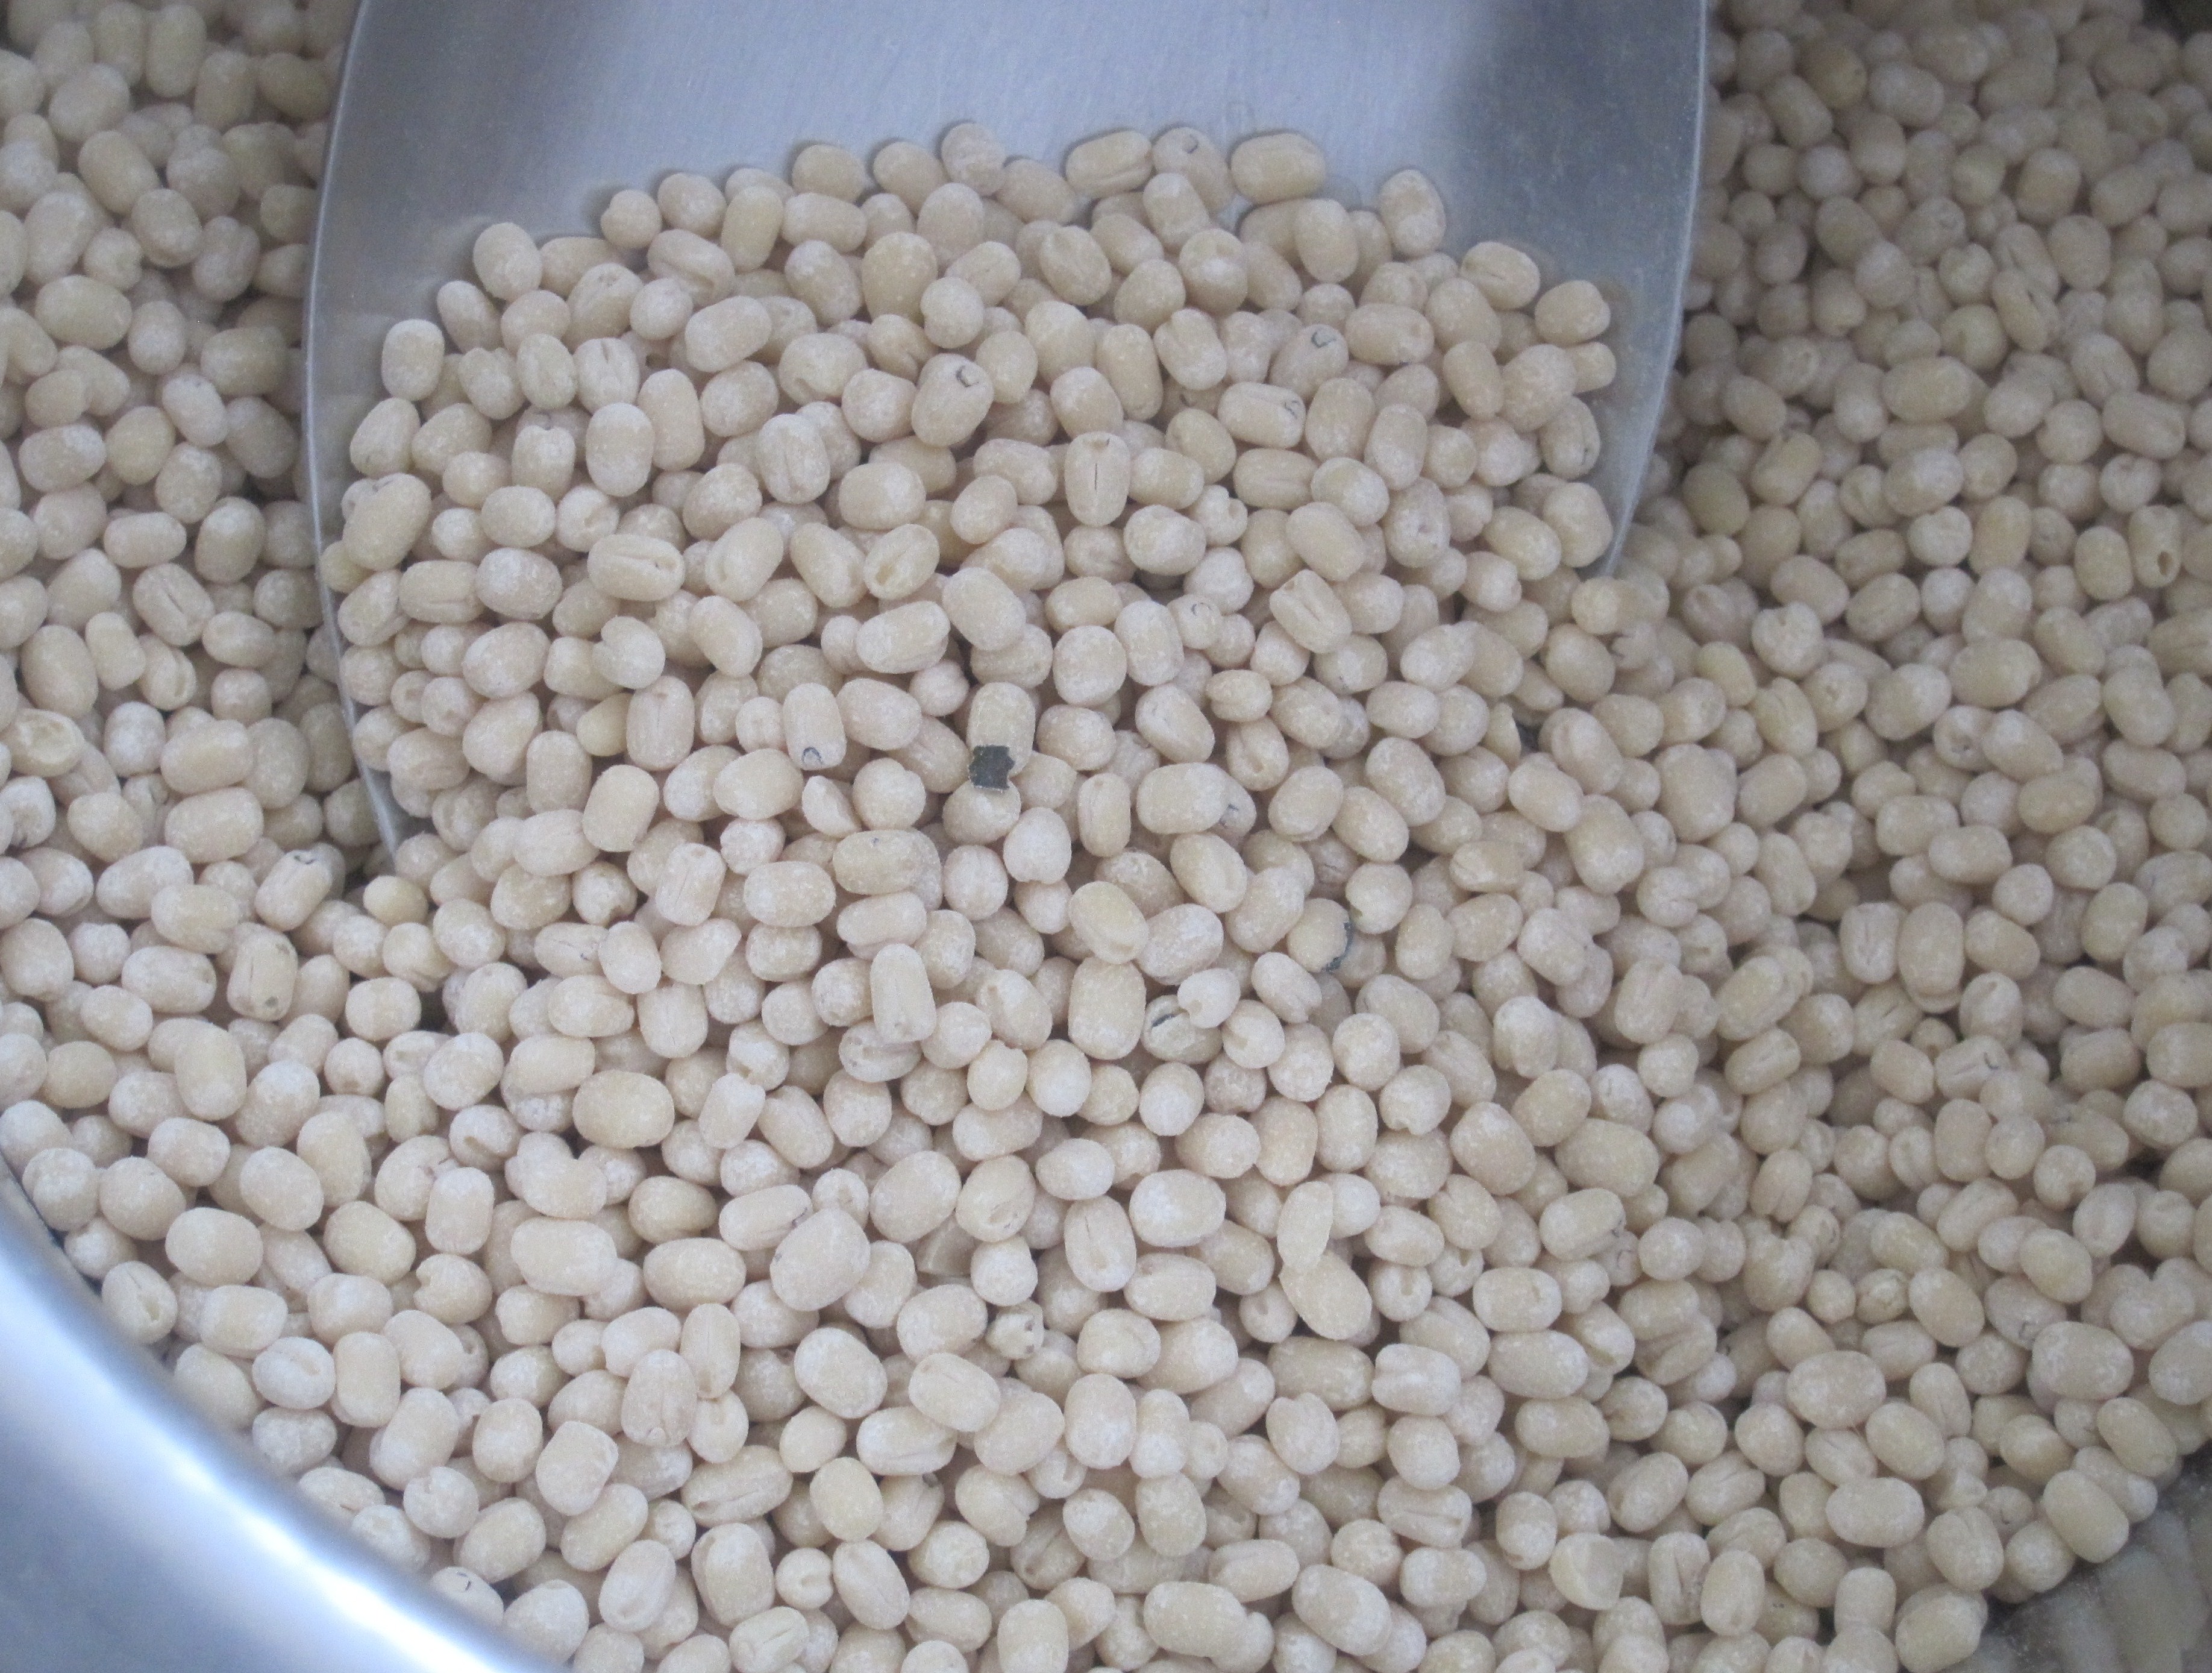
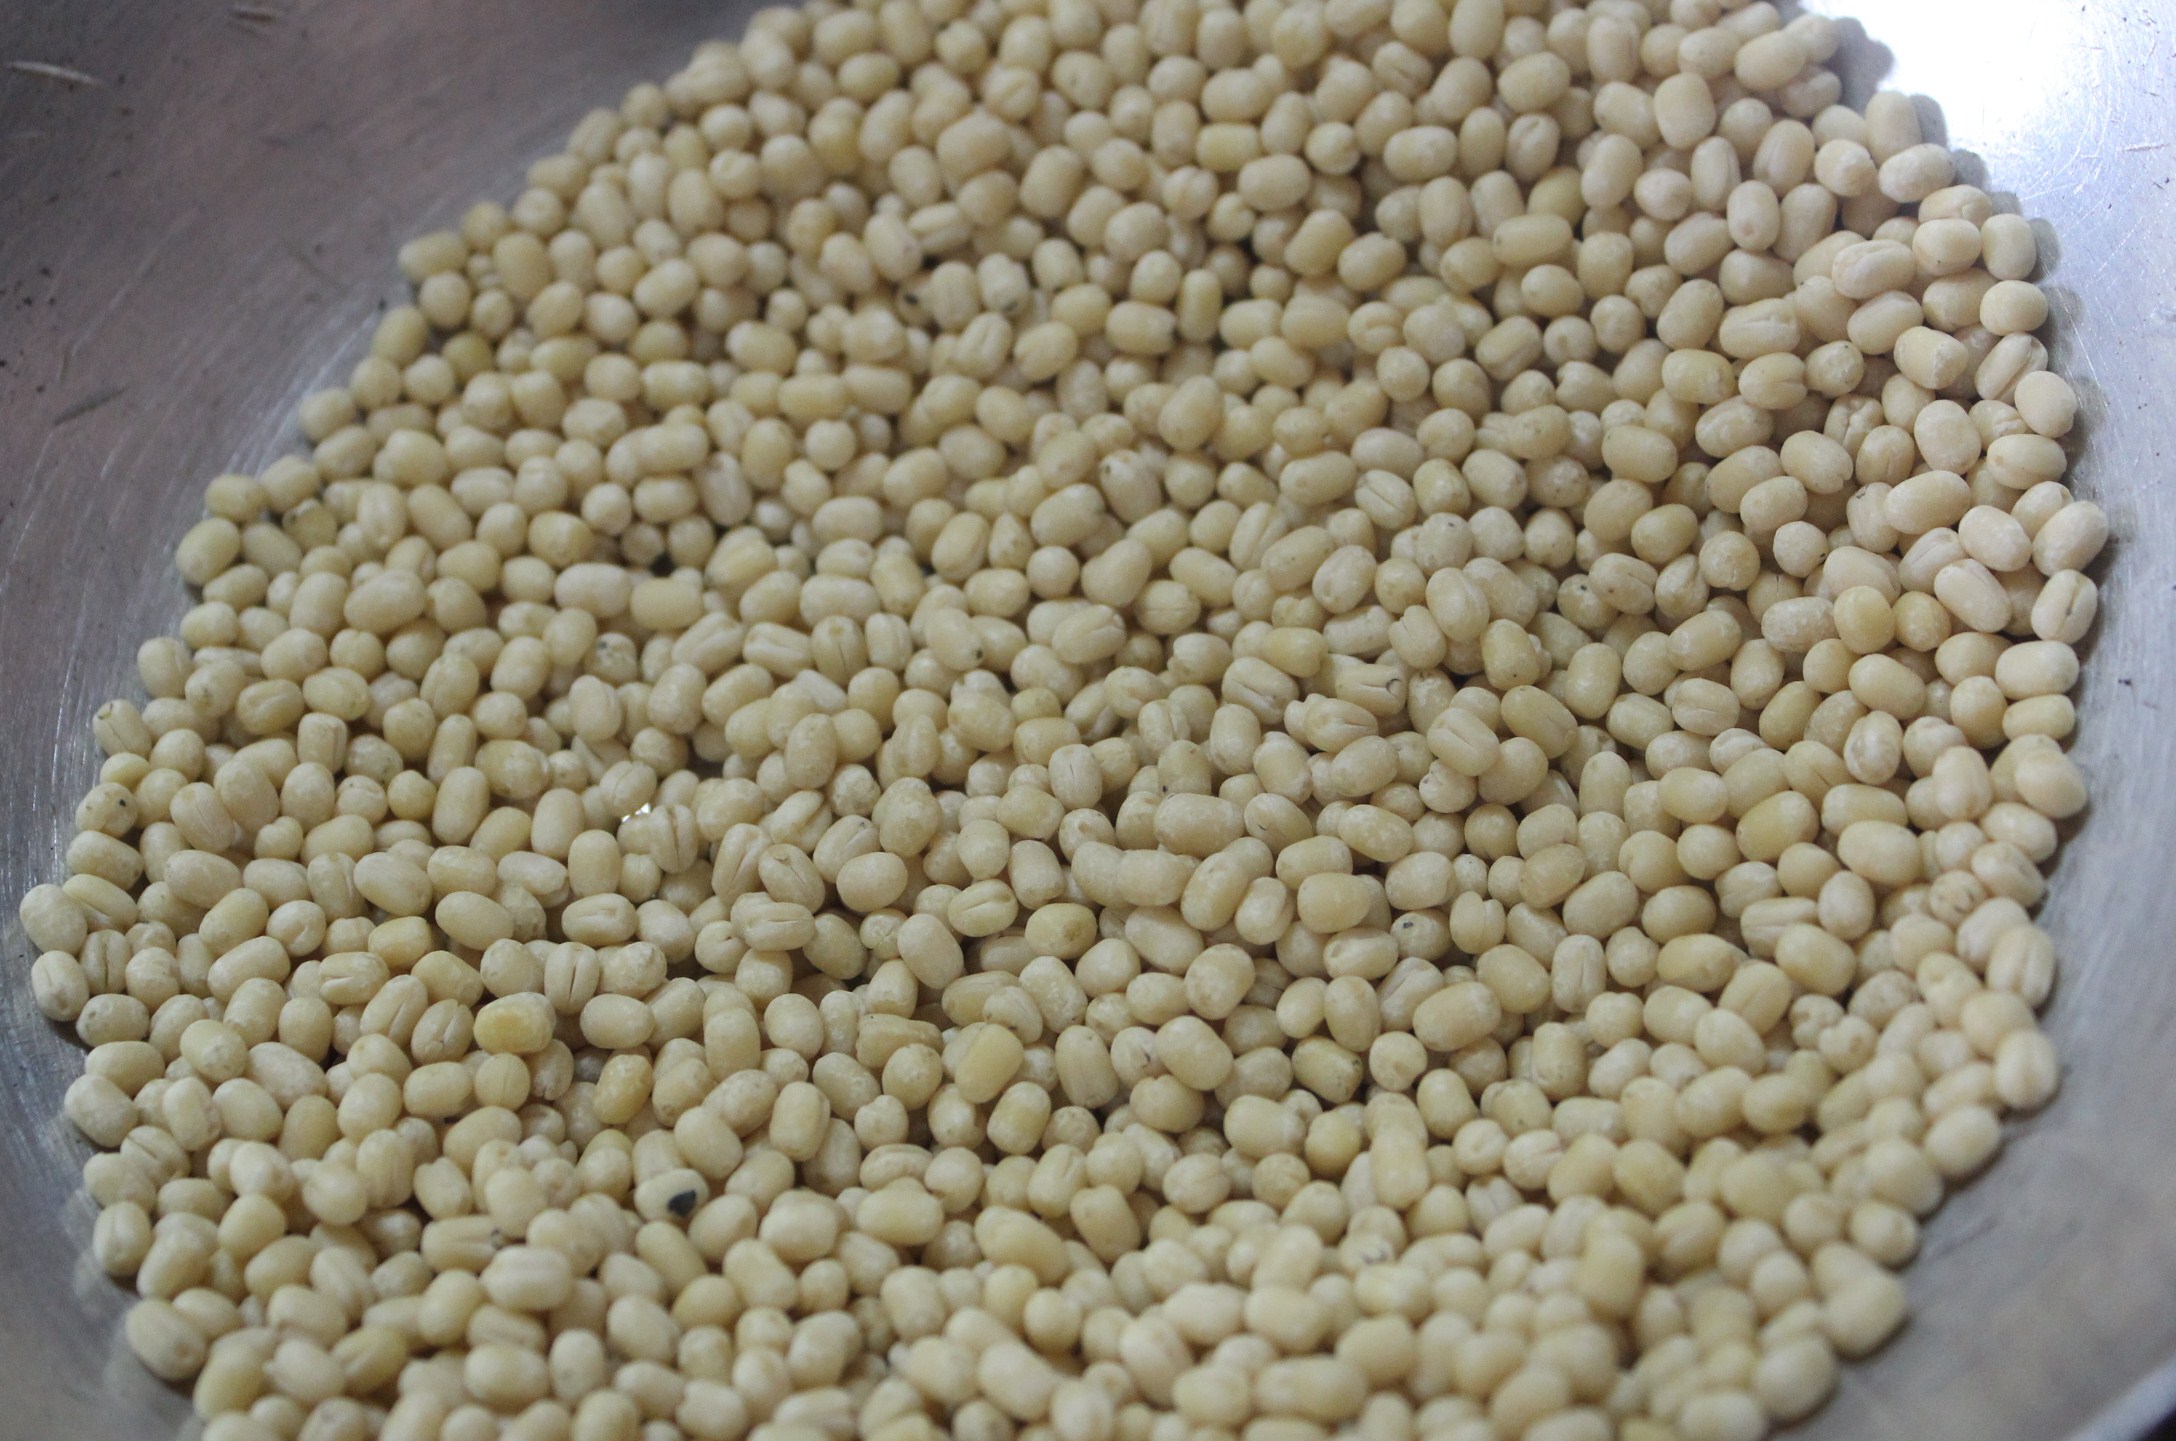
ulundham paruppu/deskinned black gram – 1 cup
uppu/salt – as needed approx. 1 tsp
Method of Preparation
Wash and soak millet and black gram together in enough water for 6-8 hours
Drain excess water and grind them into a smooth batter
Once the batter is done in the blender, add salt and blend well
Leave the batter to ferment for 8 hrs or overnight
Millet batters do not need as much time as Rice Idli batter. They turn sour sooner
8 hrs in a warm place is enough; If the climate is too hot, check after 6 hours; In an air conditioned environment, I place it in the oven overnight with the oven light on
Once fermented, mix the batter well
Always keep the batter refrigerated for further use
If left to ferment more than needed, the batter might turn too pungent to make idli or dosai
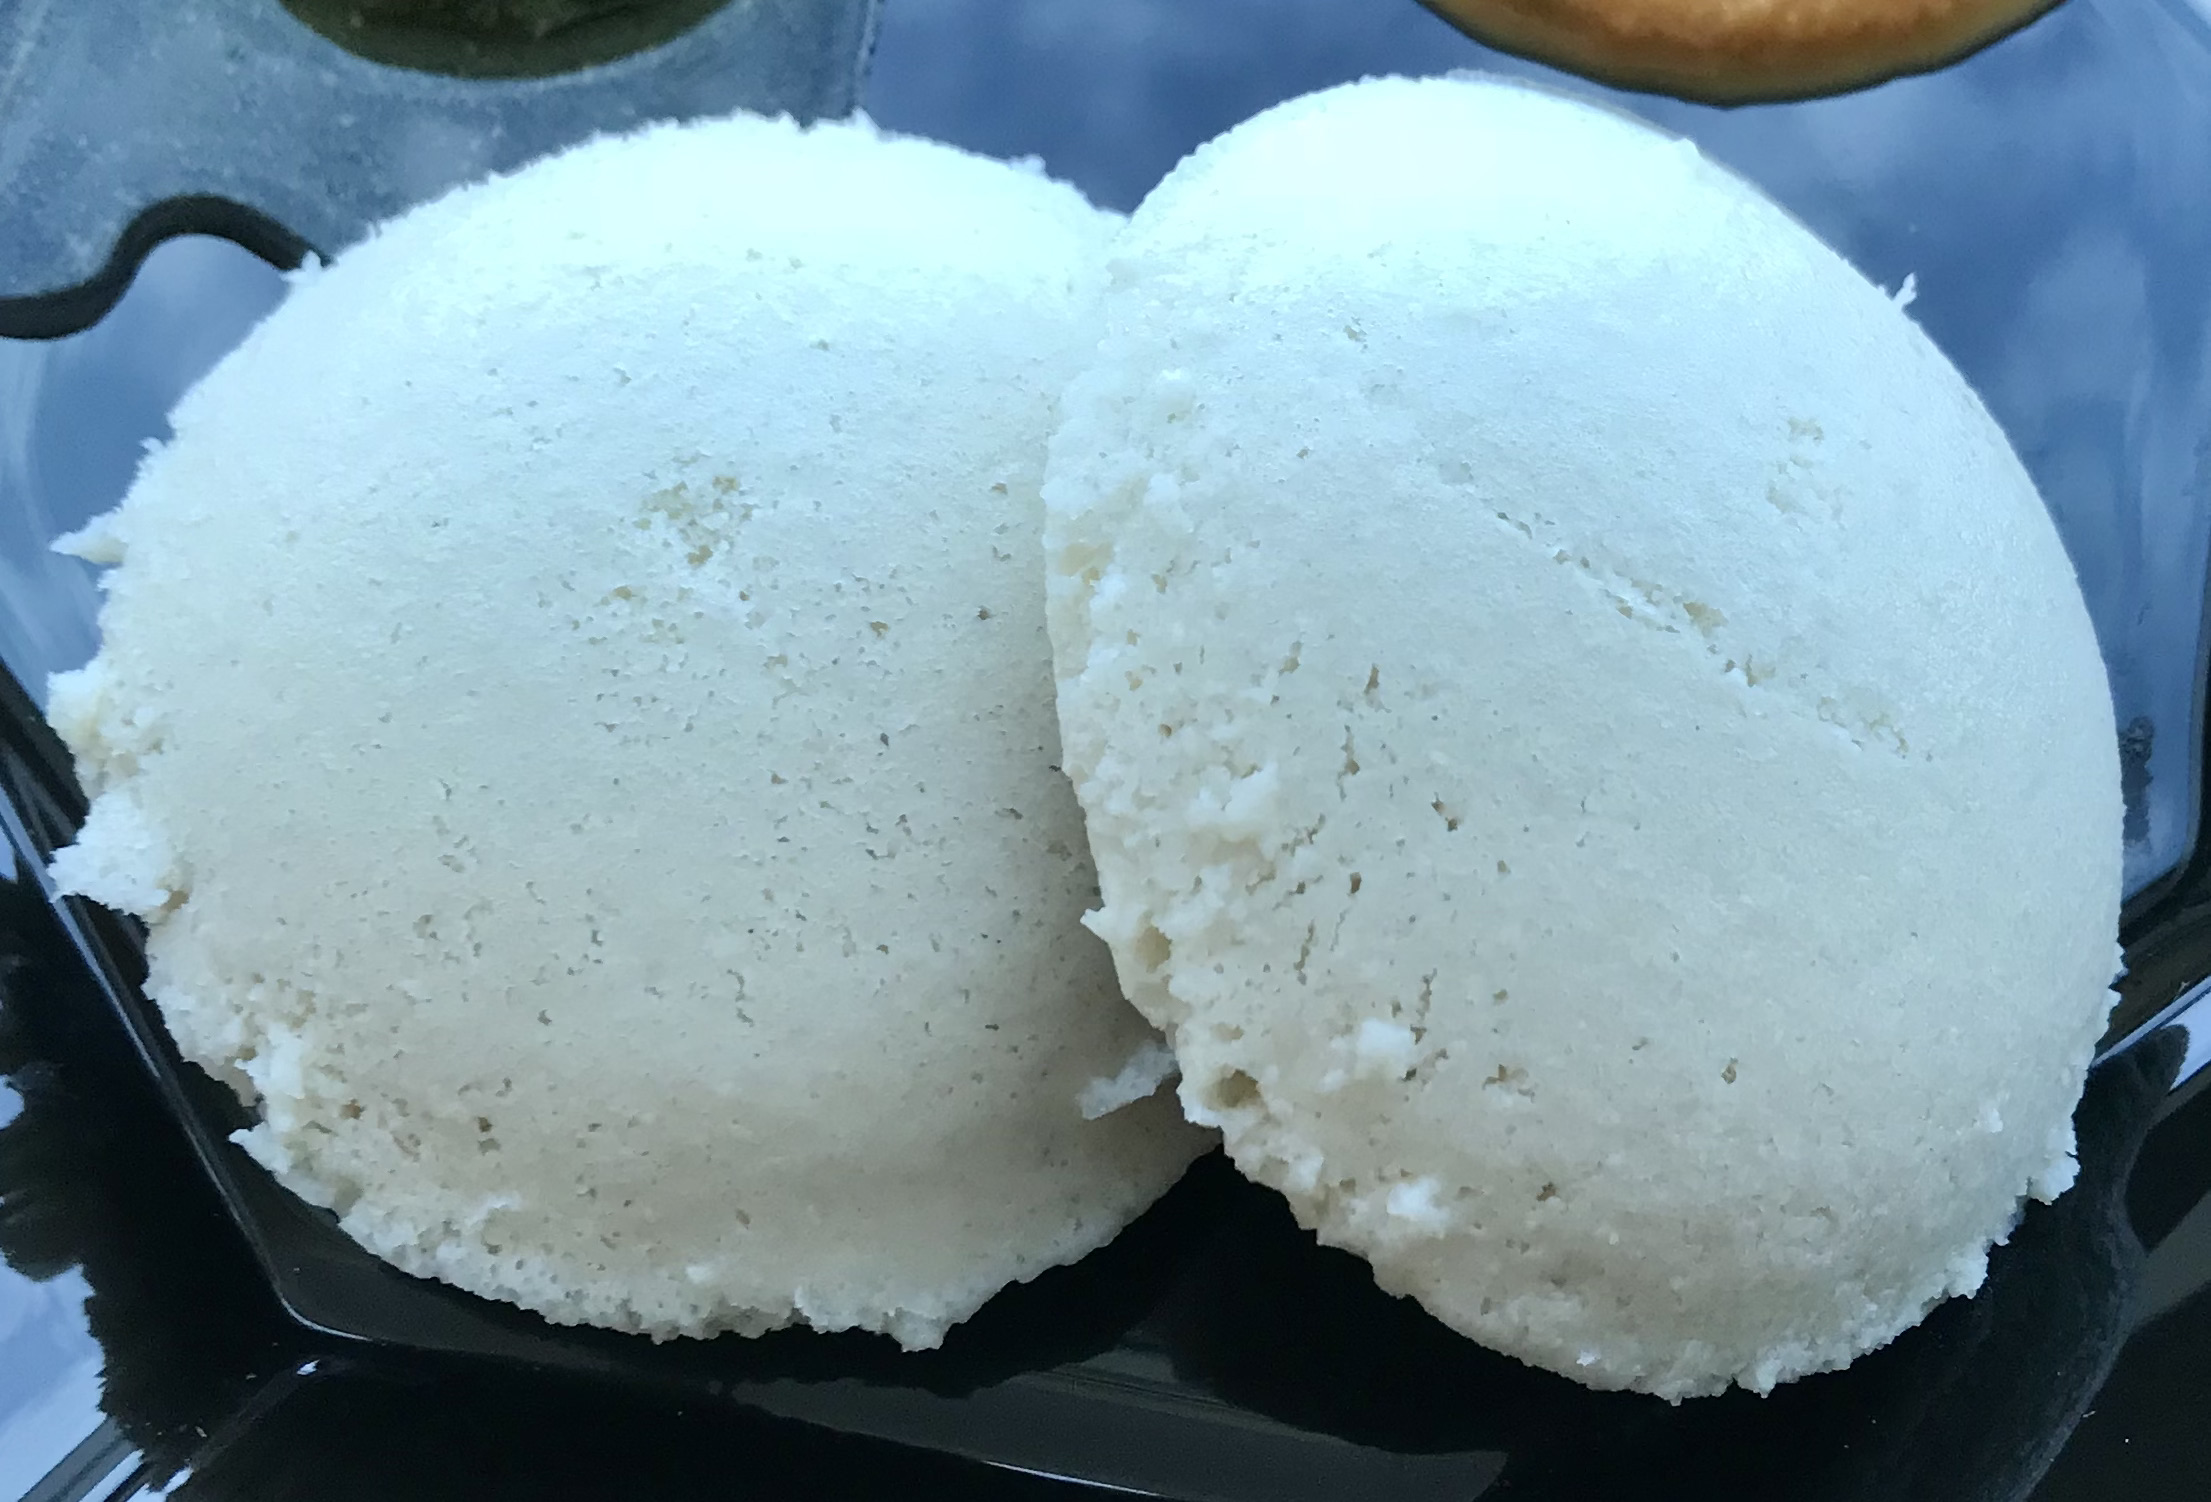
Steam Idlis in the mould and serve them hot with chutney of choice.
In the Millet Idli Series, next is Varagarisi/ Kodo Millet. It’s going to be simple from now on. The ratio of millet to black gram also being the same, all Millet Idlis have the same method of preparation of batter.
So, let’s move on to Varagu Idli.
Varagarisi Idli/ Kodo Millet Steamed Cakes
Ingredients (makes approximately 25-30 idlis)
varagu/kodo millet – 3 cups
ulundham paruppu/deskinned black gram – 1 cup
uppu/salt – as needed approx. 1 tsp
Method of Preparation
Wash and soak millet and black gram together in enough water for 6-8 hours
Drain excess water and grind them into a smooth batter
Once the batter is done in the blender, add salt and blend well
Leave the batter to ferment for 8 hrs or overnight
Millet batters do not need as much time as Rice Idli batter. They turn sour sooner
8 hrs in a warm place is enough; If the climate is too hot, check after 6 hours; In an air conditioned environment, I place it in the oven overnight with the oven light on
Once fermented, mix the batter well
Always keep the batter refrigerated for further use
If left to ferment more than needed, the batter might turn too pungent to make idli or dosai
Steam Idlis in the mould and serve them hot with chutney of choice.
My 100th Post was Kootanchoru – Typical Home Town One Pot Meal, way back in 2014. Dosaikal, my blog entered into its 10th year in May 2020. In my 10th year, jotting down my 200th post feels ecstatic.
It has been a slow and steady journey for me and a patient journey for my readers. Thanks a ton, for travelling at my pace, encouraging me to do what I’ve been doing.
When I sit back and think, the commitment of not endorsing junk foods and not blogging on unhealthy stuff has never faded. That I wouldn’t post a recipe, which I feel is unhealthy for my family; and wouldn’t cook any junk, that I wouldn’t prescribe to my readers, has been a norm that I set for myself.
In my quest to explore various versions of traditional foods, I felt THINAI / Foxtail Millet would be an apt food to post for my 200th.
Why Thinai?
Thinai is among the oldest millets consumed by Tamils. Sangam Literature, which dates from 300 BCE to 300 ACE, mentions Thinai, alongwith a few other millets and rice varieties, used by the ancient community.
Bamboo rice, Red rice, Foxtail, Kodo, Finger Millets, Black gram, Horse gram are a few rice, millets and lentils mentioned in Tholkappiyam (the most ancient Grammar Text of Tamil Language) and Sangam Literature.
With my quest to cook more, and write more and more on the traditional foods of the Land I belong to, I chose to do a post on one of the ancient millets of Tamilnadu.
It is the outcome of an urge to cling on tightly to my roots (quite strong with at least 2500 year old heritage), and transferring the wealth and knowledge my ancestors passed on to me through generations, to my offspring and others.
Thinai – Two Ways for the Sweet Tooth
Including Millets in our everyday diet is one of the most recommended health formulas of the 21st century, and hence, the internet overflows with the health benefits of all. Name it and you get it. Benefits of Thinai/ Foxtail Millet can also be found very easily in the net.
Any happy occasion demands a dessert. Why not 2 sweets for 200? That’s why I thought of making a Payasam and Sarkkarai Pongal with Thinai.
The basic ingredients are almost the same – Thinai and Jaggery; Payasam has the inclusion of coconut milk and Pongal doesn’t have the milk to bring it to thinner consistency.
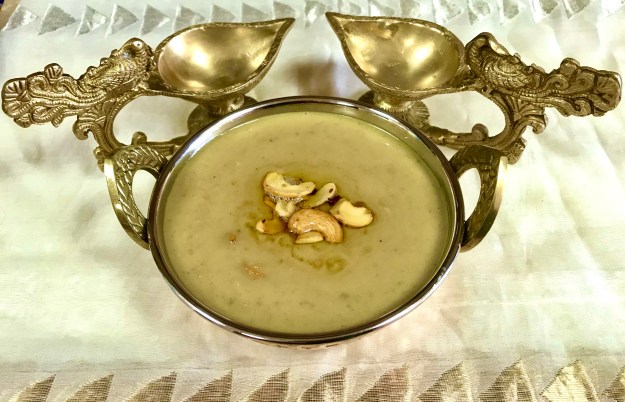
Thinai Payasam and Thinai Pongal
As mentioned above, the Ingredients for Payasam and Pongal are almost the same, with the addition of coconut milk in Payasam.
The basic steps in making Payasam and Pongal are again, almost the same. In simple terms, a thinner mixture and addition of coconut milk makes it Payasam; a thicker version with the glow of more clarified butter, makes it Pongal.
Hence, the procedure below might be repetitive. Yet, for better comprehension, I chose to make different recipe presentations.
THINAI PAYASAM – Ingredients (serves 3-4)
Ingredients (serves 3-4)
thinai/foxtail millet – 1/2 cup
vellam/jaggery – 3/4 cup
chukku podi/ dry ginger powder – 1/2 tsp
elakkai podi/cardamom powder – 1/2 tsp
nei/clarified butter – 2 tbsp
mundhiri paruppu/cashewnut – 10-12 pieces
thengai pal/coconut milk – if freshly squeezed -1/2 cup thin second milk and 1/2 cup thick first milk; if using canned coconut milk – 1 cup thick, add extra water accordingly
Method of Preparation
Wash Thinai and Pressure cook with 1 1/2 cups water.
How I cook – After the first whistle, reduce flame to sim and switch off after 2 whistles
Meantime-
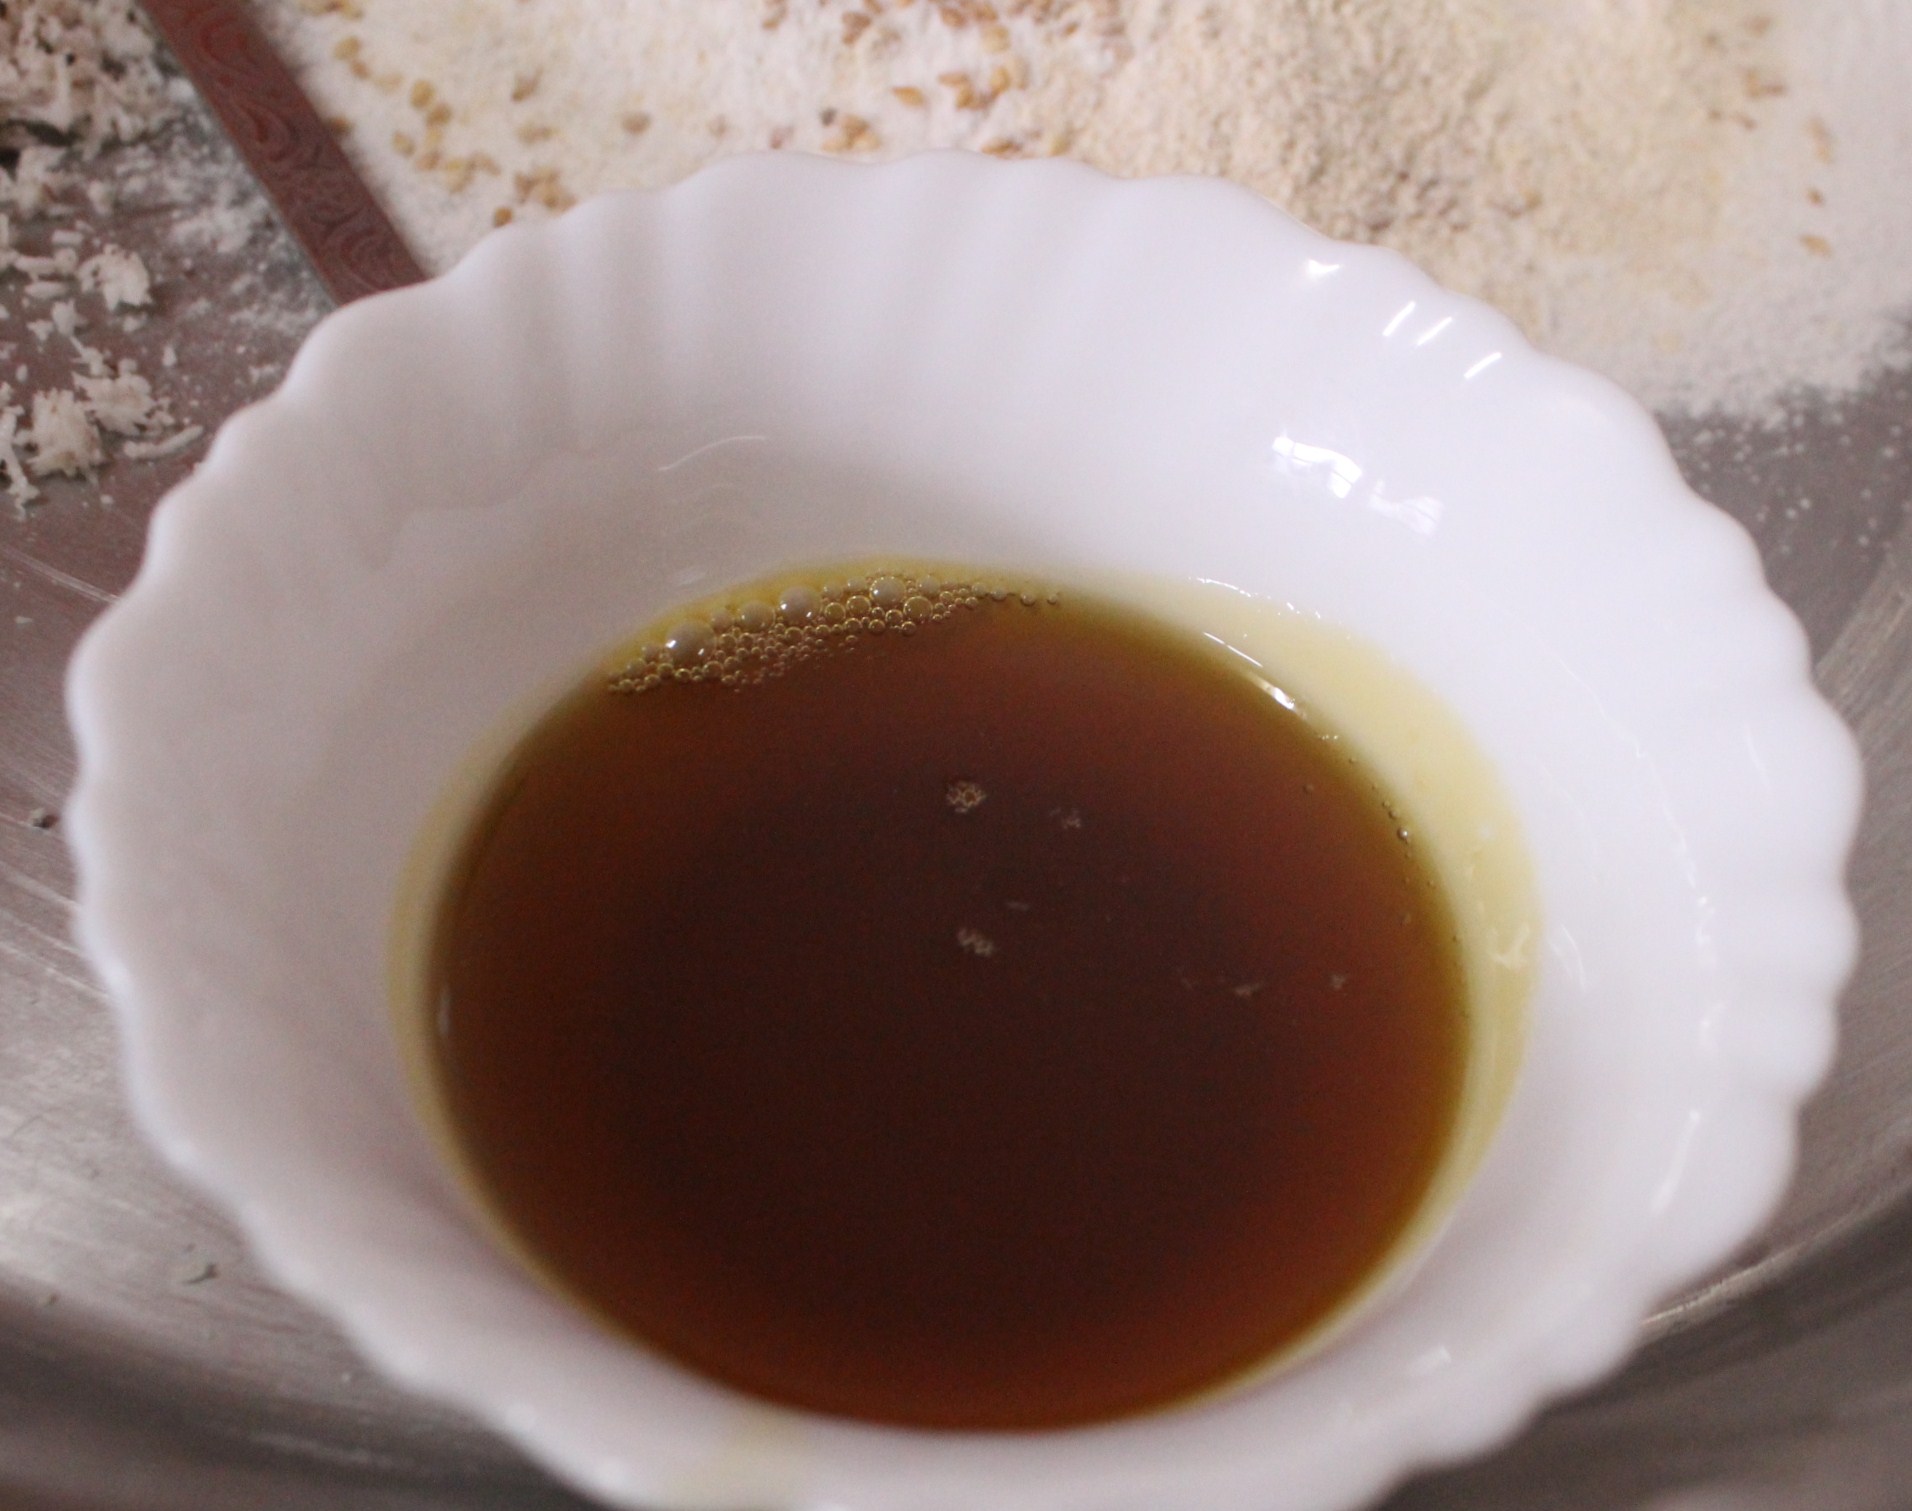
2. Boil jaggery with water to dissolve and remove impurities. Strain and keep aside
3. Squeeze milk from fresh coconut, separate thin second milk and thick first milk
4. Over sim flame, keep the cooked millet in a hard bottomed pan or in the same pressure cooker, in which it was cooked
5. Time to add strained jaggery water- Check if you would need the whole jaggery water. Add 3/4th of it and add more if needed
Extra jaggery water, if retained can be used for various other purposes
Stir well after addition of jaggery water
Add dry ginger and cardamom powders
Let the millet cook in jaggery water and the spices, and thicken
Fry cashew nuts in nei/clarified butter till golden; Add to the cooked thinai-jaggery pongal
When the jaggery is well incorporated in thinai, add coconut milk
Be careful not to boil the Payasam too much after adding coconut milk, as it might curdle
Wash Thinai and Pressure cook with 1 1/2 cups water. How I cook – After the first whistle, reduce flame to sim and switch off after 2 whistles
Boil jaggery with water to dissolve and remove impurities. Strain and keep aside
Over sim flame, keep the cooked millet in a hard bottomed pan or in the same pressure cooker, in which it was cooked
Add strained jaggery water- Check if you would need the whole jaggery water. Add 3/4th of it and add more if needed. Store extra syrup.
Let the millet cook in jaggery water again and thicken well
Add dry ginger and cardamom powders
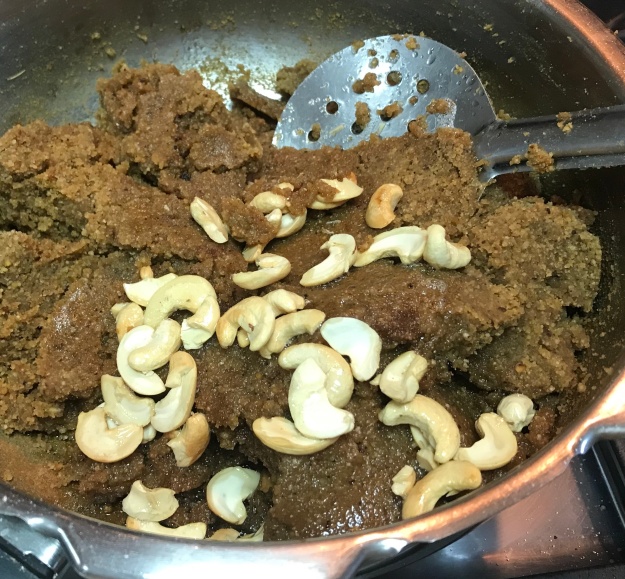
7. Fry cashew nuts in nei/clarified butter till golden; Add to the cooked thinai-jaggery pongal
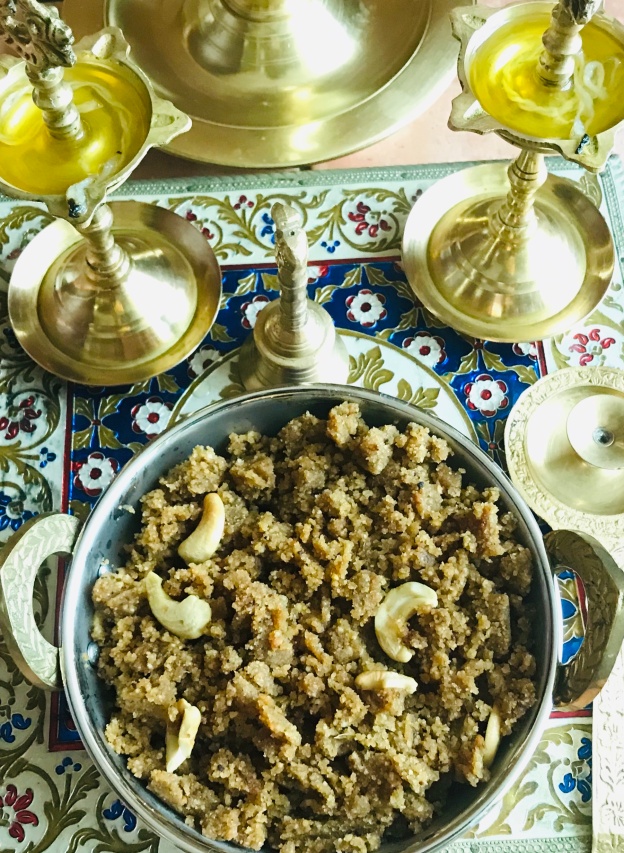
my favourite step –
Thinai Pongal is ready to be served.
Note:
I have reduced the quantity of jaggery for Pongal, as coconut milk might balance the sweetness of jaggery in Payasam.
I have added 2 more tbsps of nei/clarified butter to Pongal. This gives a beautiful glow and wonderful consistency to the dessert, not to mention the awesome taste.
Feel free to omit, reduce or add more nei.
Also, jaggery and coconut milk can be altered according to family preferences.
This year’s Pongal – the Harvest Festival of the Tamils, was a special one for me. After posting my experience of Pongal in Cambodia , way back in 2014, now, I am delighted to post my experience of Pongal in Abu Dhabi, in 2020. Pongal was celebrated on 15th January.
Abu Dhabi, as many of us know, is a place very close to a South Indian’s heart. I recall a few lines I already wrote in one my previous posts – Navaratri in Abu Dhabi–
Living in Abu Dhabi, one doesn’t feel out of homeland, with millions of Indians, especially South Indians quite huge in number. But, it is certainly an amazing place where festivals are celebrated in their best traditional way, with undoubted authenticity.
The same feeling of being at home, was felt during Pongal too. Firstly, there was a Pongal celebration by local Tamil Community, at Khalifa Park, Abu Dhabi on the 10th of January, 2020. That gave a great start to the essence of our own Harvest Festival. There are a few more to join, in the coming days as well.
Apart from the events, that give a welcome feeling of being part of one’s own society, one of the most essential things to celebrate a traditional festival, is the availability of ingredients – exclusive to one’s native soil.
So, first step – I listed down the necessary things I needed to buy, for an authentic, traditional celebration – almost close to home, but away from home.
My list –
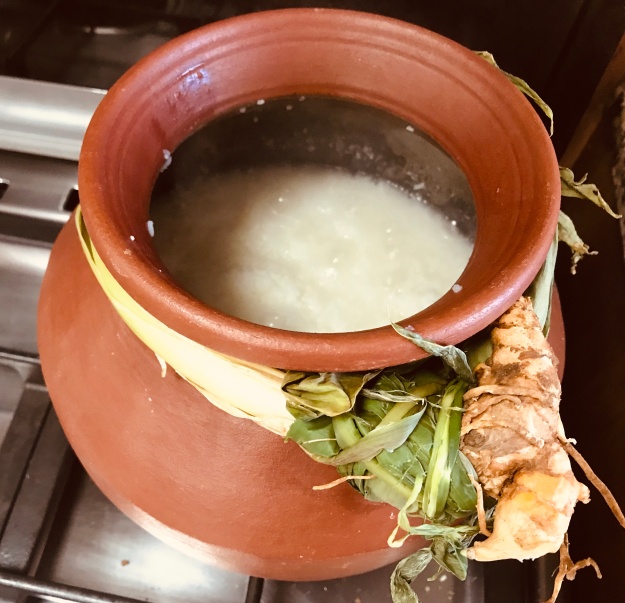
Pongal Paanai – a new Mud Pot to make Pongal – The sweet rice pudding
Manjal Kothu – Fresh Turmeric with the root and leaves, to tie around the pot
Inji Kothu – Fresh Ginger with root and leaves
Karumbu – Sugarcane
Panakizhangu – Palmyra Sprout
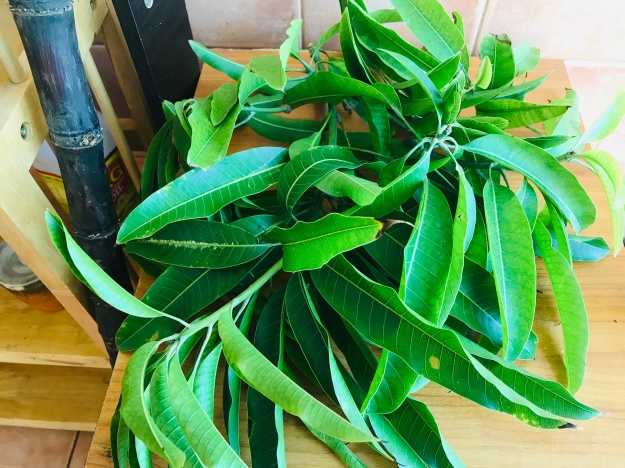
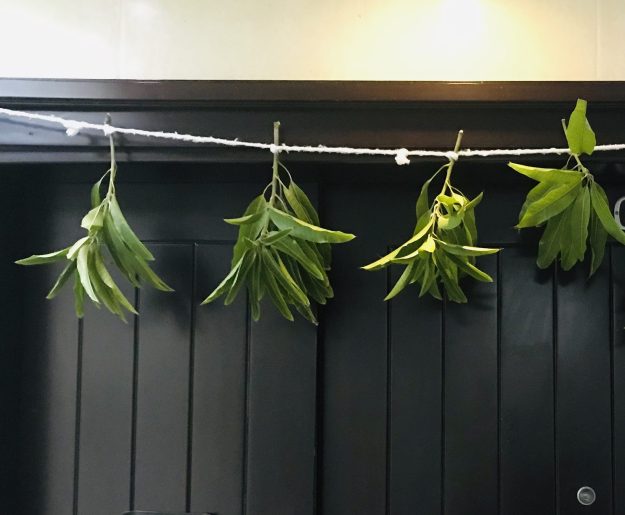
Maavilai – Fresh Mango leaves to make Thoranam or decoration in the house entrance
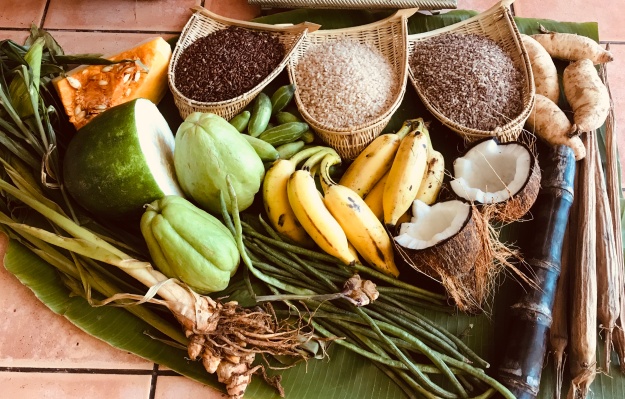
Fresh traditional vegetables of Tamilnadu
Banana Leaf
Coconut
Banana
Rice
Jaggery
Now, Rice, Jaggery, Banana, Coconut and vegetables are abundantly available in Abu Dhabi. Hence, the concern of getting those didn’t pop up at all.
My longing to make Pongal, in a new mud pot was fulfilled by Dar Al Meena Food Stuff Trading, located in Sharjah, which delivers organic produces from Tamilnadu, every week, on different days to different parts of the UAE. Click here to know more about the shop.
They deliver required native produces to Abu Dhabi every Sunday. So, my anxiety to get these trademark Pongal Agro products, was sorted out very quickly.
This post is not going to be one, with a recipe. But this one is, to share my happiness and fulfilment that resulted in this year’s Pongal celebration. Happiness, not because I could get those quintessential things – but specially and more specifically because, I could show my daughter, at least a glimpse of Pongal – the festival, so earthy, and so close to our roots.
Pongal is so special to the Tamils because, it is an ancient, non-religious, traditional festival, that is very strongly connected to the earthy aroma of our native soil. It is the Harvest Festival as well as a Thanksgiving Festival. Though, it is a festival in which the farmer is thanking his own eco system of nature, including the Sun, Soil and Cattle, for providing the strength to achieve best yields. In turn, it is our duty to thank the Farmer, who produces the grains and vegetables we consume daily. Then, isn’t it very important to make our next generation value the sheer Hardwork of those humble souls, without whom, our filled plates with nutritious food and satisfied palates after each meal wouldn’t be achievable?
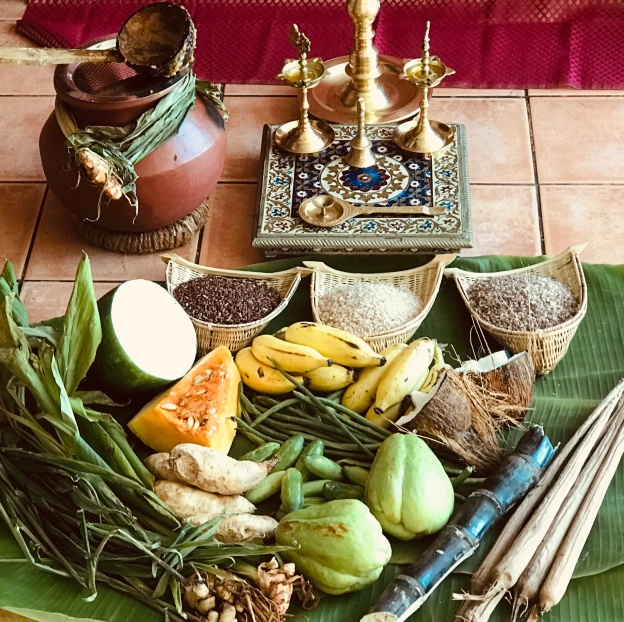
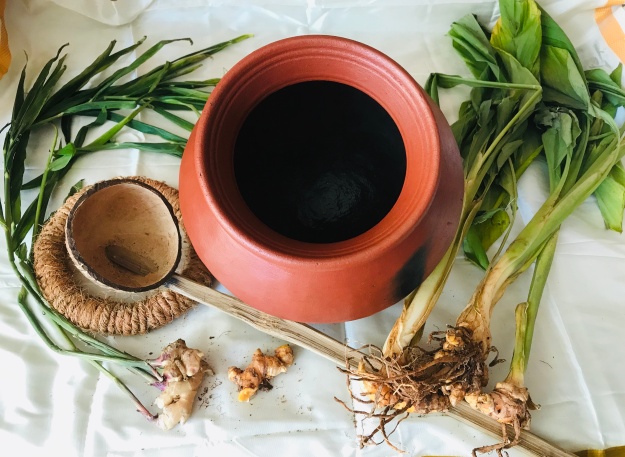
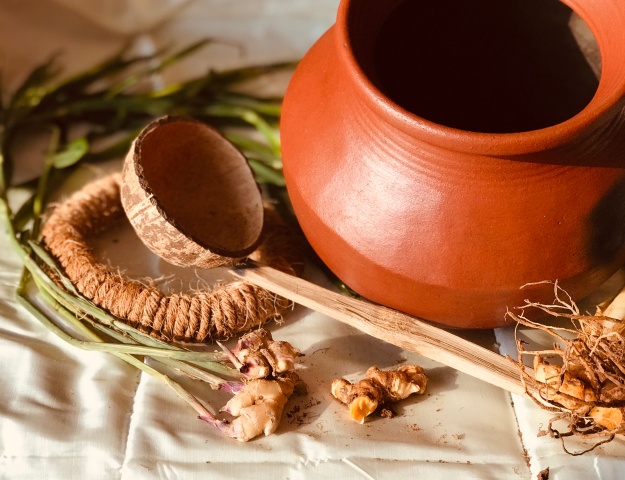
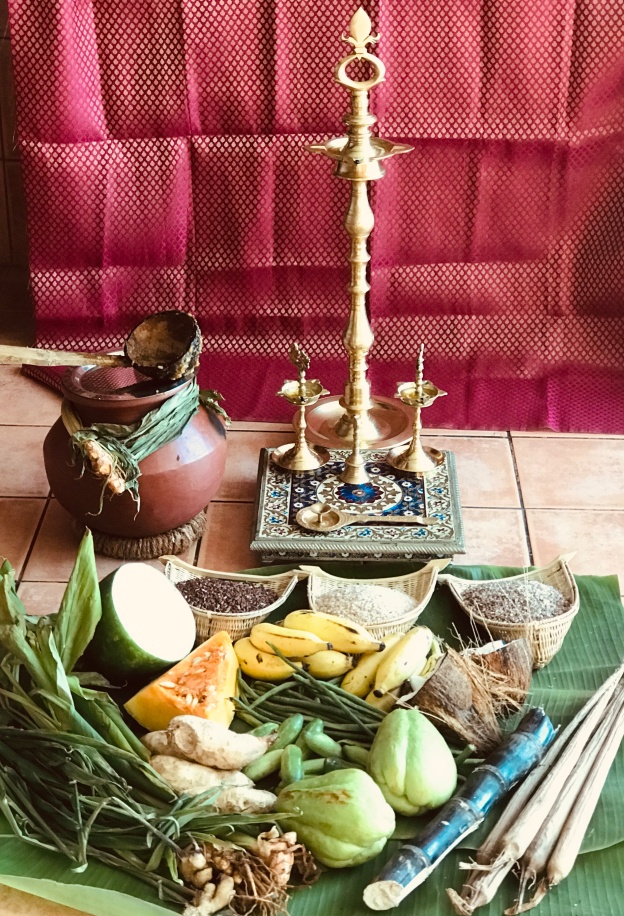
These are the things I procured from the shop, including my first priced possession of the new year – my Pongal Paanai/Mud Pot.
Pongal in Abu Dhabi
The quintessential things –
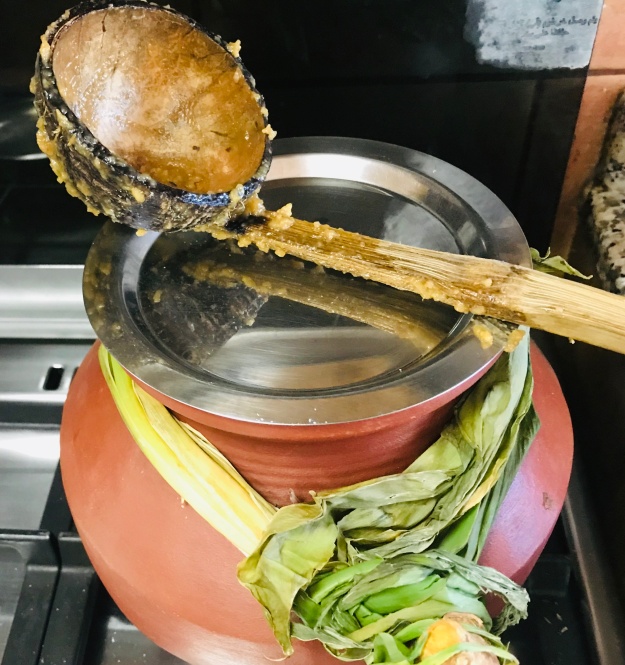
mud pot, coconut shell ladle, the pirumanai to place the pot, fresh turmeric with root and leaves, fresh ginger with root and leaves.
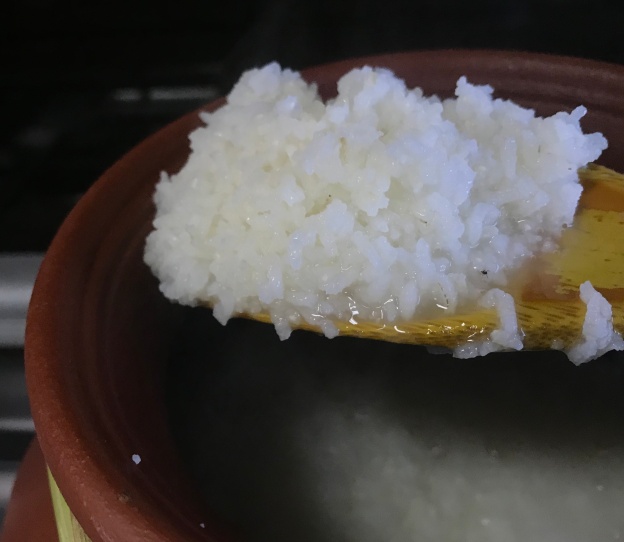
my priced possessions – mud pot and coconut shell ladle
Seasoning the Man Chatti/Mud Pot
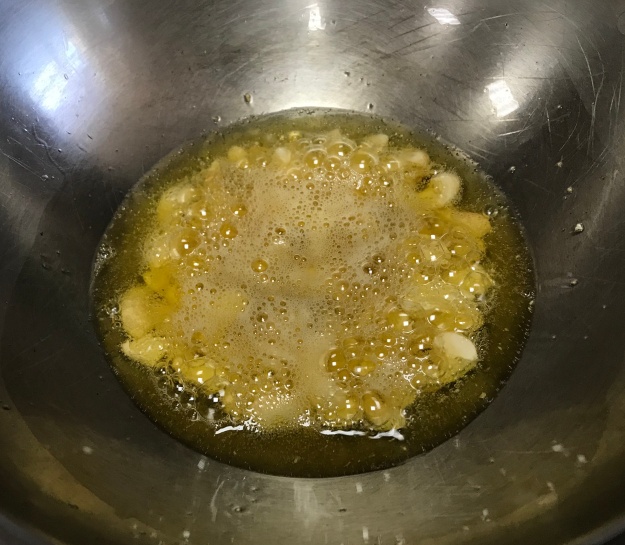
After soaking the mud pot in water overnight, I washed it well with gram flour using coconut scrub. The next step, in the process of seasoning the mudpot, I fried grated coconut and nei/clarified butter. This aids in removing any mud, impurities and also makes the pot stronger. Coconut and nei/clarified butter, would provide a nice aroma to the mud pot, while making sweet dishes in future. This is because, the clay would absorb the flavour and aroma of the things fried or cooked first, for the rest of its life span. I discarded the fried coconut. Then, washed the pot with the coconut scrub and gram flour. Man chatti/mud pot is ready to make Sarkkarai Pongal, in fact every year.
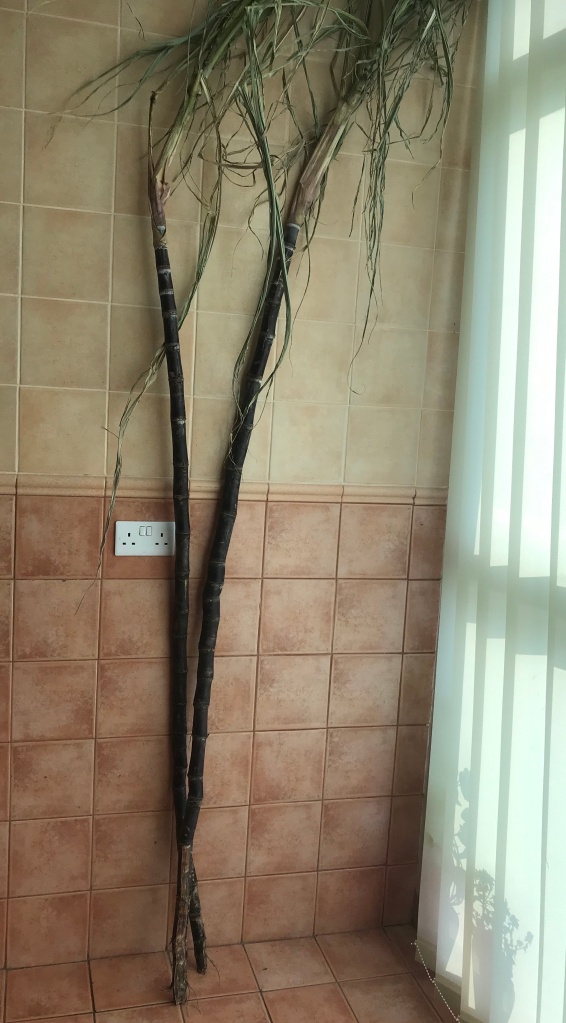
Rest of the products – Karumbu/Sugarcane
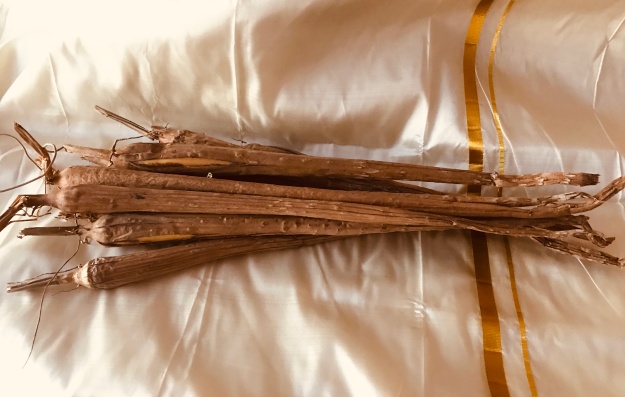
Panang kizhangu/Palmyra Sprouts
Maavilai/Fresh mango leaves and Maavilai thoranam
the vegetables and different kinds of rice – mappillai samba, hand pound white, hand pound brown
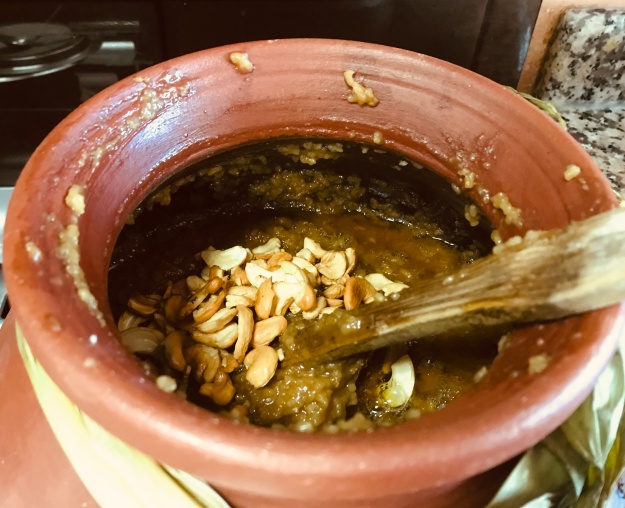
Making Sarkkarai Pongal
I made Pongal, with 3 cups rice and approximately 4 to 4 1/2 cups jaggery. Too much for a nuclear family. But, the joy of sharing with friends during such festivals is the true spirit of celebration.
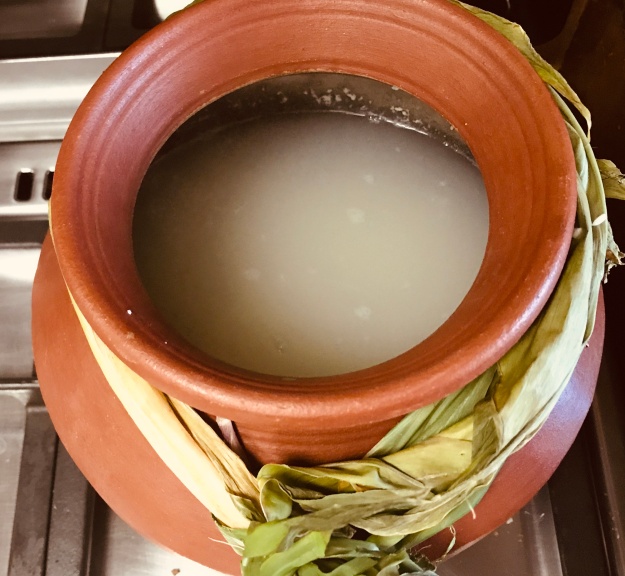
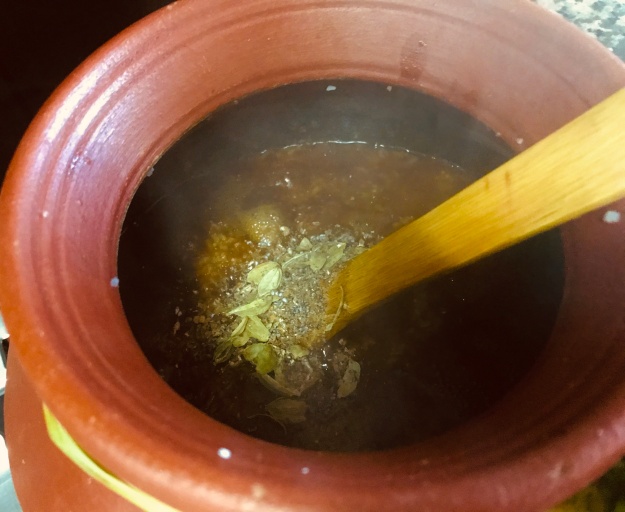
To start, I tied the fresh turmeric root with leaves to the neck of the manchatti. Placed the man chatti with water to boil, on the stove. A tip here – Add sufficient water for rice to cook… this is not pressure cooker cooking.. so no water measurements. Add water in between, if water is insufficient to cook rice.
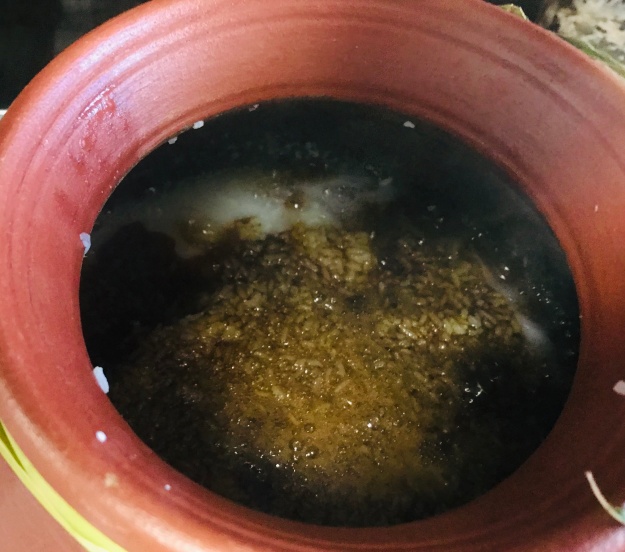
Sufficient water and washed rice immersed in it.
Meantime, I kept the jaggery with water on stove. Once water boils and jaggery is completely dissolved, switch off stove. We shall strain later, directly into the pot.
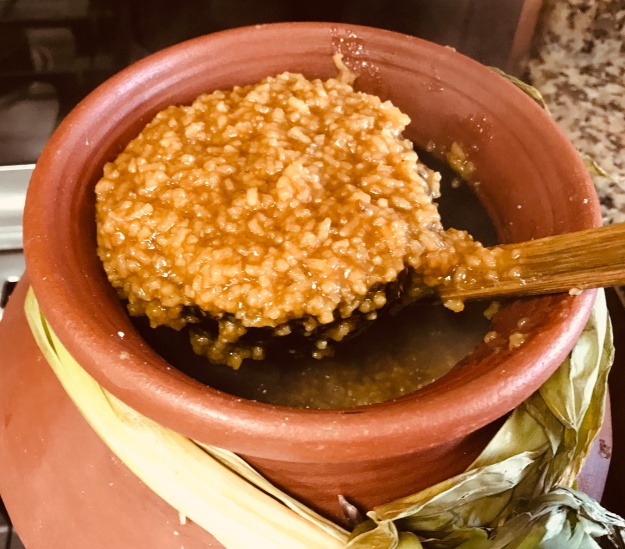
Checked the rice off and on, until it had become soft
After a few minutes, the rice had become thicker, with most of the water absorbed while cooking;
At this stage, I strained the jaggery liquid into the pot
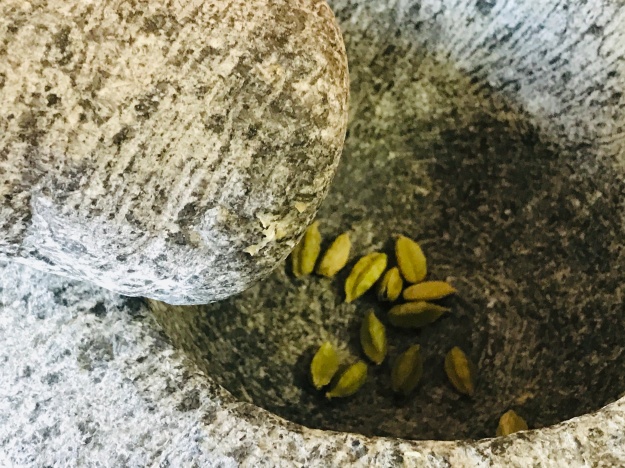
I added freshly ground cardamom into the rice and jaggery pongee
It was time to mix well and check whether everything was going right.
I used this beautiful coconut shell ladle, to mash the rice well. This dual purpose ladle, also serves as a masher.
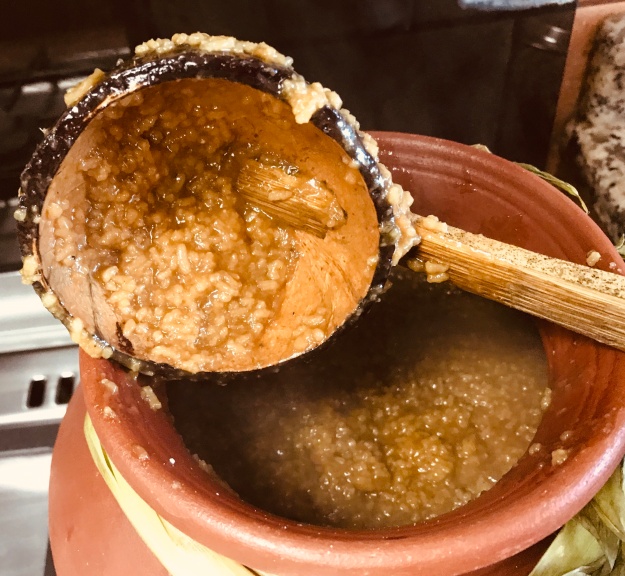
I fried cashew nuts in clarified butter/nei and added to the almost done sarkkarai pongal
Sarkkarai Pongal was a thickened pudding now. I closed the lid and got ready to thank the farmers, cattle and nature – all at heart, in front of the worship area, with all family members present.
Symbolising the new Harvest – vegetables and rice
Thanksgiving Time! Pongalo Pongal!!!
After the humble celebration at home, traditional meal with rice, sambar, avial, pachadi, poriyal, vadai and pongal was the treat of the day. It was truly a festival, remembering and thanking the Farmers, and their eco system of Nature, including the Sun, Soil and Cattle, that provide them their basic means of livelihood, besides enabling us to reap the benefits of our primary food grains and vegetables.
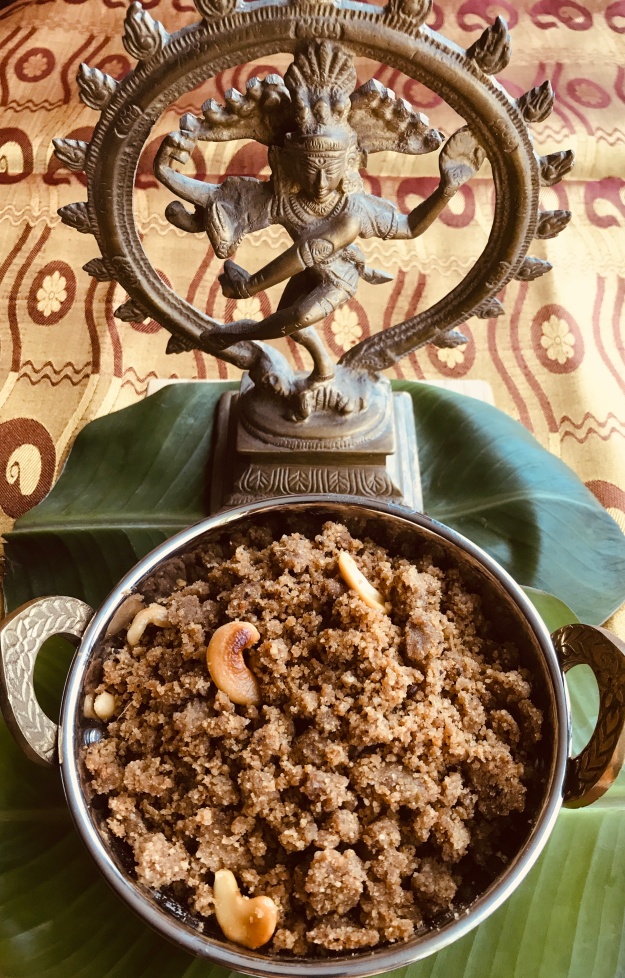
Thiruvathirai, is an auspicious day for Hindus, especially Shaivites. January 10, 2020 was the Day of Thiruvathirai. It is the day to celebrate Lord Shiva, in the form of Adavallan – the Cosmic Dancer. It is celebrated on the full moon night of the Tamil month of Margazhi, which falls between mid December and mid January of the Gregorian Calendar. What I know, is Tiruvathirai is celebrated in Tamilnadu and Kerala, the southern states of India.
Society has always found new philosophies and concepts to make Religion, an indispensable part of an individual’s life. Stories and Narratives of different eras, that are documented in various forms of literature and also those which are not documented, yet transferred through word of mouth, may form the basis of value based religious education.
To me, language and culture are synonymous to one’s roots, but religion is not. Not getting too much into this, I stay put here, as a Food Blogger alone.
That is why, we will not discuss about the religious aspects of Thiruvathirai, but the literary and culinary aspects of the special day.
Tamil Bhakti Literature consists of thousands of hymns, composed by several Saiva Saints, in praise of Lord Shiva, between 6th century ACE and 12th century ACE. Thirunavukkarasar, the Saint who lived in the 6th and 7th centuries ACE and Thirugnanasambandar, who lived in the 7th century ACE, have sung about the auspicious day of Thiruvathirai.
“ஊர்திரை வேலை யுலாவும் உயர்மலைக் கூர்தரு வேல்வல்லார் கோற்றங் கோள் சேரிதனில் கார்தரு சோலைக் கபாலீச்சரம் அமர்ந்தான் ஆதிரைநாள் காணாதே போதியார் பூம்பாவாய்”
‘Athirai naal kaanathe….’ says the last verse by Sambandar.
‘Athan Aarur Athirai naal…’ says the last verse above, by Thirunavukkarasar
These are literary evidences, that mention about the special day of Thiruvathirai, in praise of Lord Shiva, that go back almost 1500 years from today.
As a food blogger, who wishes to transfer the culinary legacies to the next generation, what is important to me, is the Gastronomy involved in the celebration of festivals. Celebrating cultural legacies and honouring heritage through these legacies, are key aspects in passing on the essence of one’s roots to our offsprings.
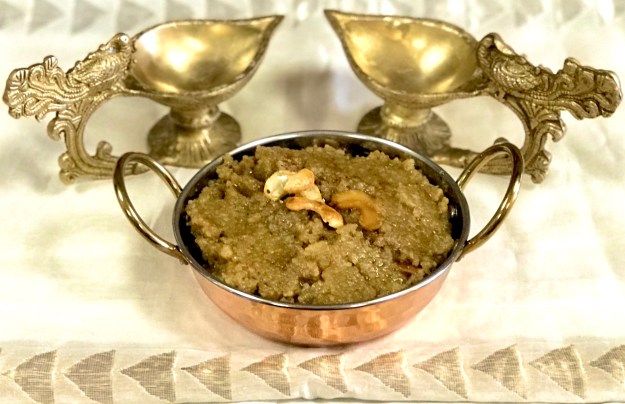
The festival of Thiruvathirai, is celebrated with Thiruvathirai Kali– a delicacy made with rice, split green gram and jaggery- that is cooked to a Pudding/Halwa like consistency. Kali might be Tamil word for Halwa… (I have already posted another Kali – Ulundhankali – which is made with black gram and palm jaggery).
This is how I made it, the day before yesterday.
Thiruvathirai Kali
Ingredients
pacharisi/raw rice – 1 cup
paasi paruppu/skinned, split green gram – 1/4 cup
vellam/jaggery – 1 1/4 cup (can use 1 cup if less sweet preferred)
water (to cook the kali) – 2 cups
elakkai podi/cardamom powder – 1 tsp
chukku podi/dry ginger powder – 1 tsp
nei/clarified butter – 2 tbsp
cashew nuts – 10 no.s, halved
grated coconut – 1/2 cup (optional- I didn’t add this)
Method of Preparation
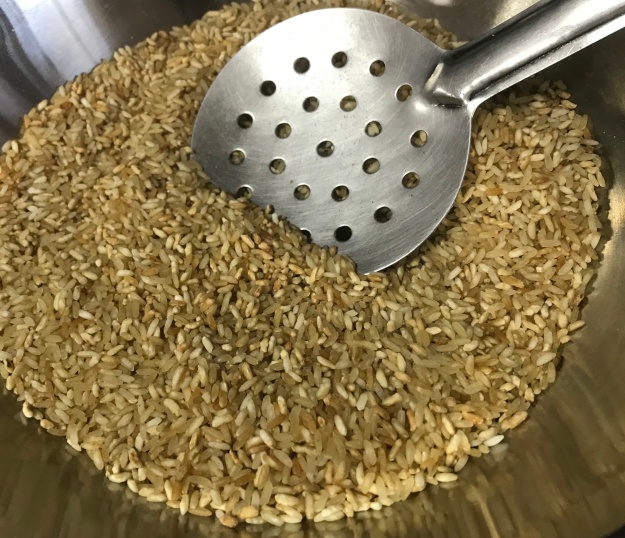
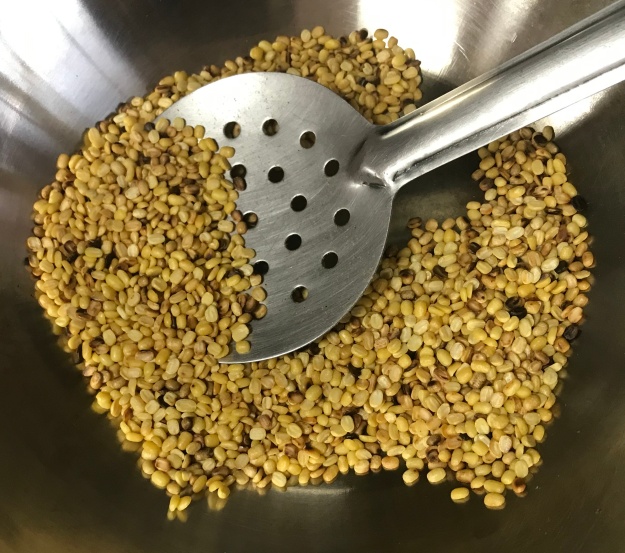
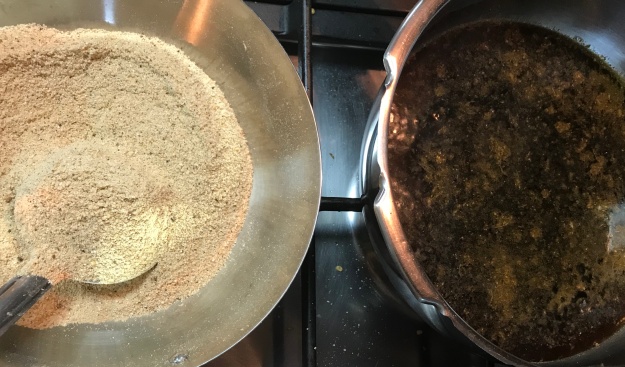
Dry roast rice and lentils separately, till they turn golden
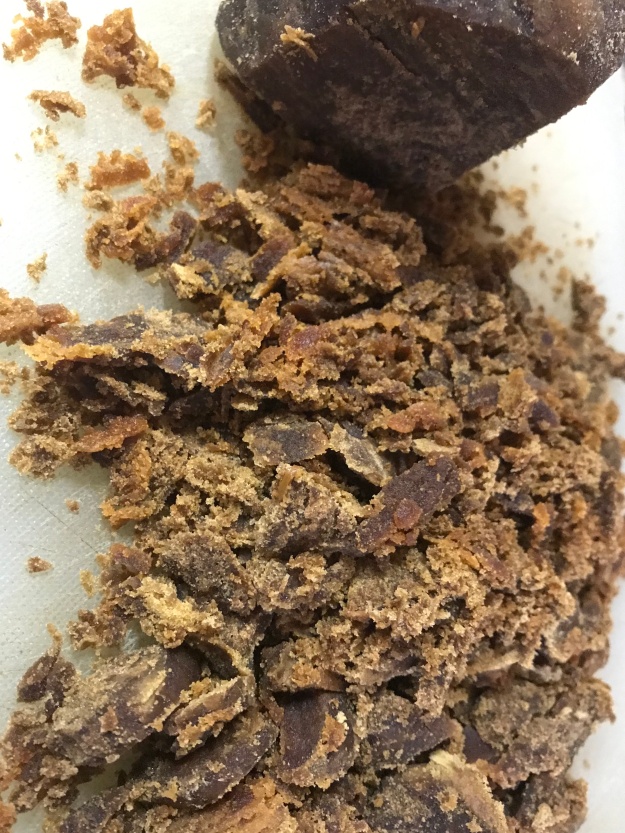
2. Grate 1 1/4 cups of jaggery and add 2 cups water and let the jaggery dissolve
3. Once dissolved, strain for impurities and place in a hard bottomed vessel. This is the pan, in which kali would be stirred.
4. Dry grind the roasted rice and lentil. Keep on a plate or bowl.
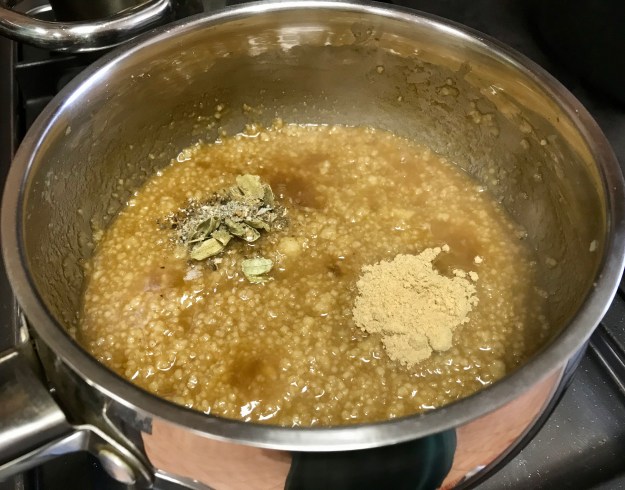
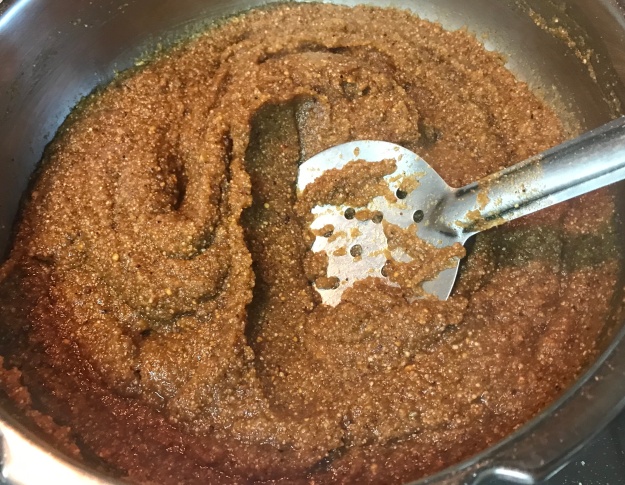
5. Place the hard bottomed pan with Jaggery water on stove. Add cardamom and dry ginger powder. Bring to boil.
6. Once the jaggery water starts to boil, add the rice-lentil powder slowly. Keep stirring before lumps form.
7. Very quickly, the flour will start to thicken – almost like Upma.
8. Since the rice is roast and ground, it will thicken fast; An additional informative tip from Amma, unroasted raw rice powder will be sticky, but this roasted flour will have a coarse and dry consistency.. and is easier and quicker to get cooked.
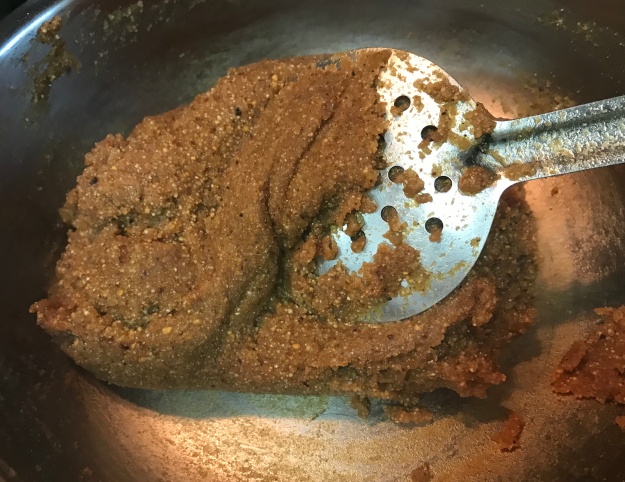
9. Now, the Kali is almost done; keep stove in sim or if you fear it might burn a bit, switch off stove.
10. In another pan, deep fry cashew nuts in clarified butter till golden.
11. Add the clarified butter and cashew nuts into the Kali and mix well.
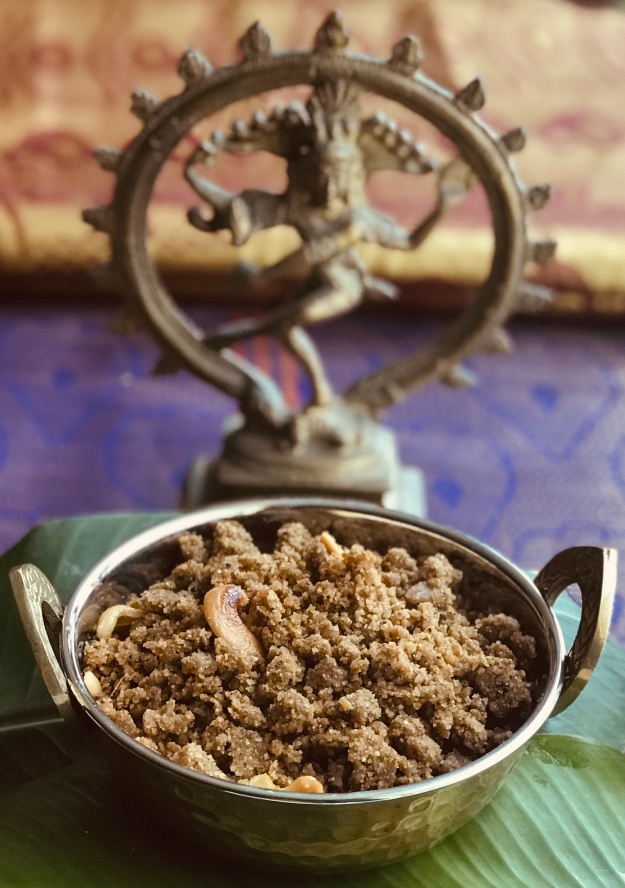
12. Switch on stove. Let the flame be in sim position, and keep stirring with the ladle. When the Kali doesn’t stick to the pan, remove and serve.
13. Feel free to add more nei/clarified butter. it only enhances the flavour.
14. If using freshly grated coconut, add before switching off the stove. Mix well and serve hot.
Kariveppilai is the Tamil name for Curry leaves. It roughly translates as neem leaf used in curries – Kari+Veppilai – Veppilai is Neem Leaf. It looks almost like neem leaf, but doesn’t carry the bitterness of neem. The wonderful aroma of the curry leaf when fried, makes it a great agent for seasoning in many dishes. Having known the medicinal effects and health benefits this exceptional tree possesses, the Tamils have been including the curry leaf in varied usages.
They are considered to have anti-diabetic, antioxidant, antimicrobial, anti-inflammatory, anti-carcinogenic, and hepatoprotective (capability to protect the liver from damage) properties. The roots are used for treating body aches and the bark is used for snakebite relief.
The main nutrients found in curry leaves are carbohydrates, energy, fiber, calcium, phosphorous, iron, magnesium, copper, and minerals.[1] It also contains various vitamins like nicotinic acid and vitamin C, vitamin A, vitamin B, vitamin E, antioxidants, plant sterols, amino acids, glycosides, and flavonoids. Also, nearly zero fat (0.1 g per 100 g) is found in them.
Apart from these scientific facts, the main benefits that home makers for generations have been telling their off springs are-
kariveppilai/curry leaf is-
good for eyes
good for digestion
important in maintaining darker hair colour
a natural coolant
When we used to leave aside the fried curry leaf from the chutney, from the sambar, from the kuzhambu/curries on our plates, amma would scold us to chew and finish it off. We would reluctantly do it or sometimes quarrel and throw it away. Then she would secretly add the leaves -powdered- in many dishes… we would unknowingly consume it. Now, as a mother, I am scolding my daughter to wipe the plate clean chewing all extra curry leaves, and am also trying to inculcate the valued curry leaves in many dishes, without my child’s attention. No fault here with the curry leaf, but some genetic disorder of setting aside chewable things from blended dips.
Curry leaves are herbs that are known to have essential nutrients that help in conditions like weight loss, blood pressure, indigestion, anaemia, diabetes, acne, hair loss, et al. These aromatic leaves, also known as kadi patta, have nutrients like copper, calcium, phosphorus, fibre, carbohydrates, energy, magnesium and iron. They also possess many types of vitamins like vitamins A, B, C and E and amino acids beneficial for health.
The specific usage of the curry leaf in preparing Hair Oil is the topic of this post. Curry Leaf Oil is a great coolant for the hot climate of the southern part of India, especially Tamilnadu. It also tackles early greying of hair and aids in hair growth – whether applied as oil or consumed in various dishes.
I have used kariveppilai yennai when young and still see appa (father) use it. We also make fun of his moustache having turned grey sooner than his hair, thanks to the kariveppilai yennai/ curry leaf oil. The aroma of curry leaves slowly cooked in coconut oil for the purpose of black, thick hair, takes me to my childhood.
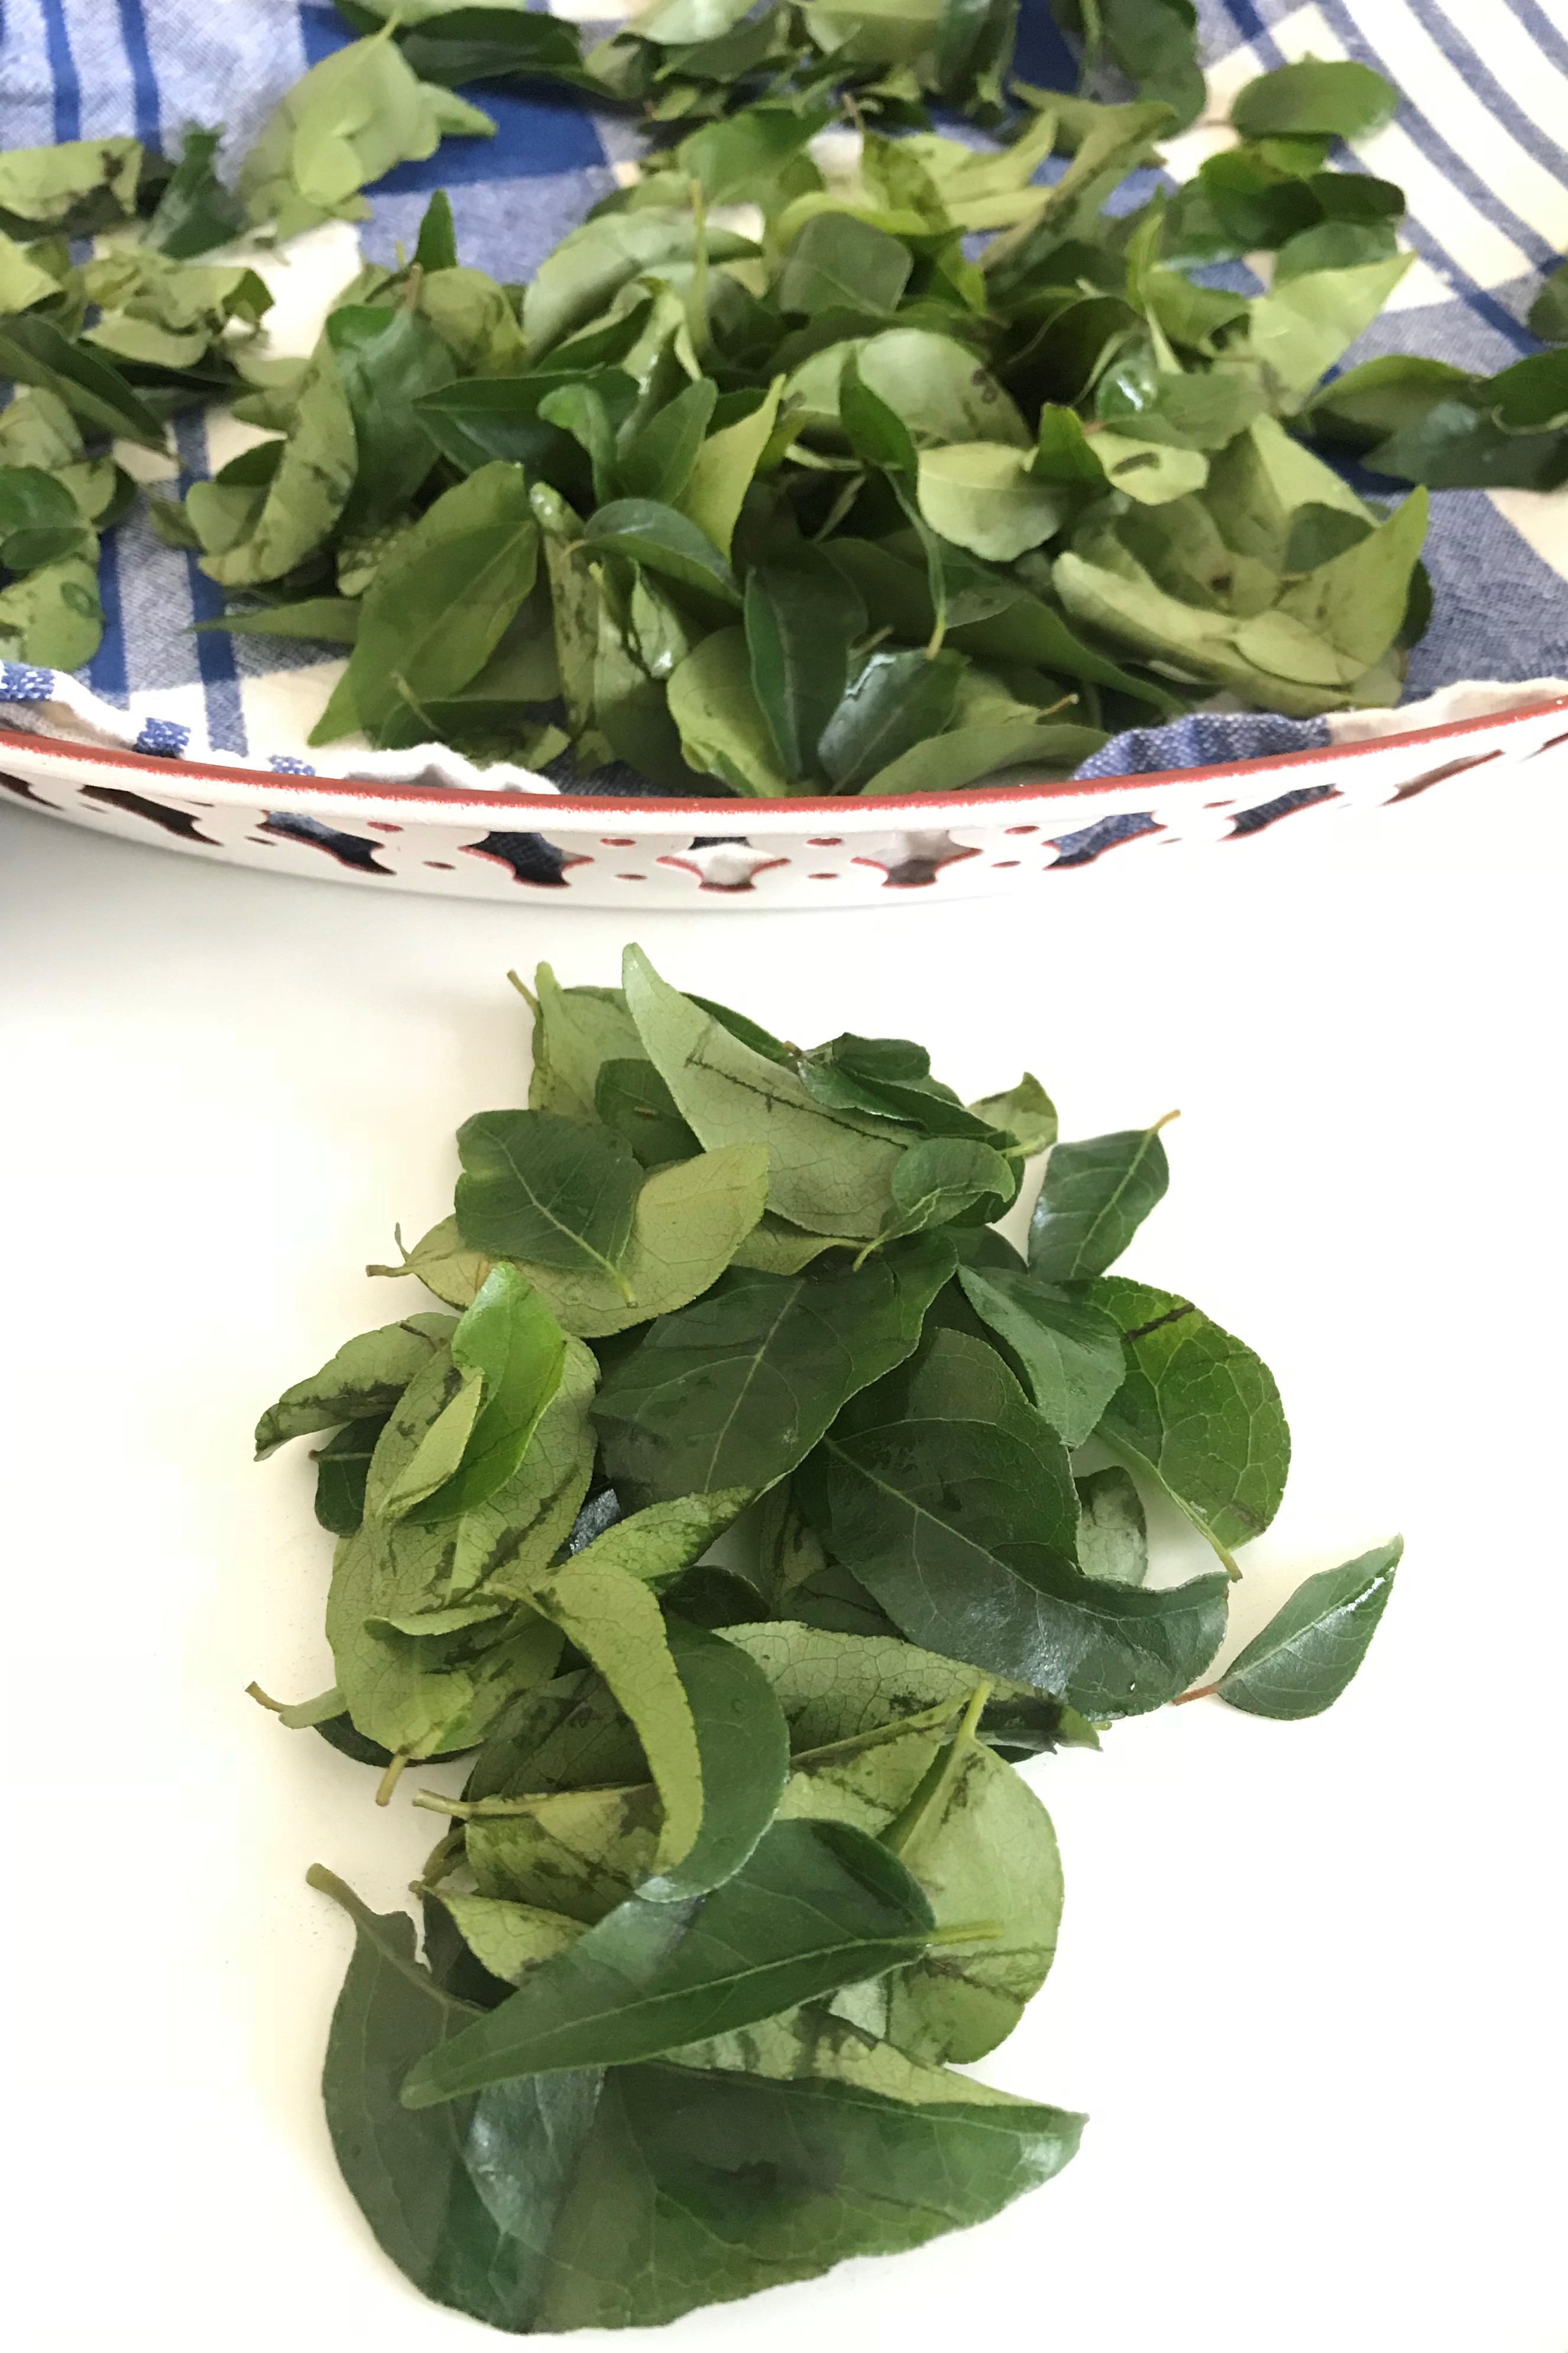
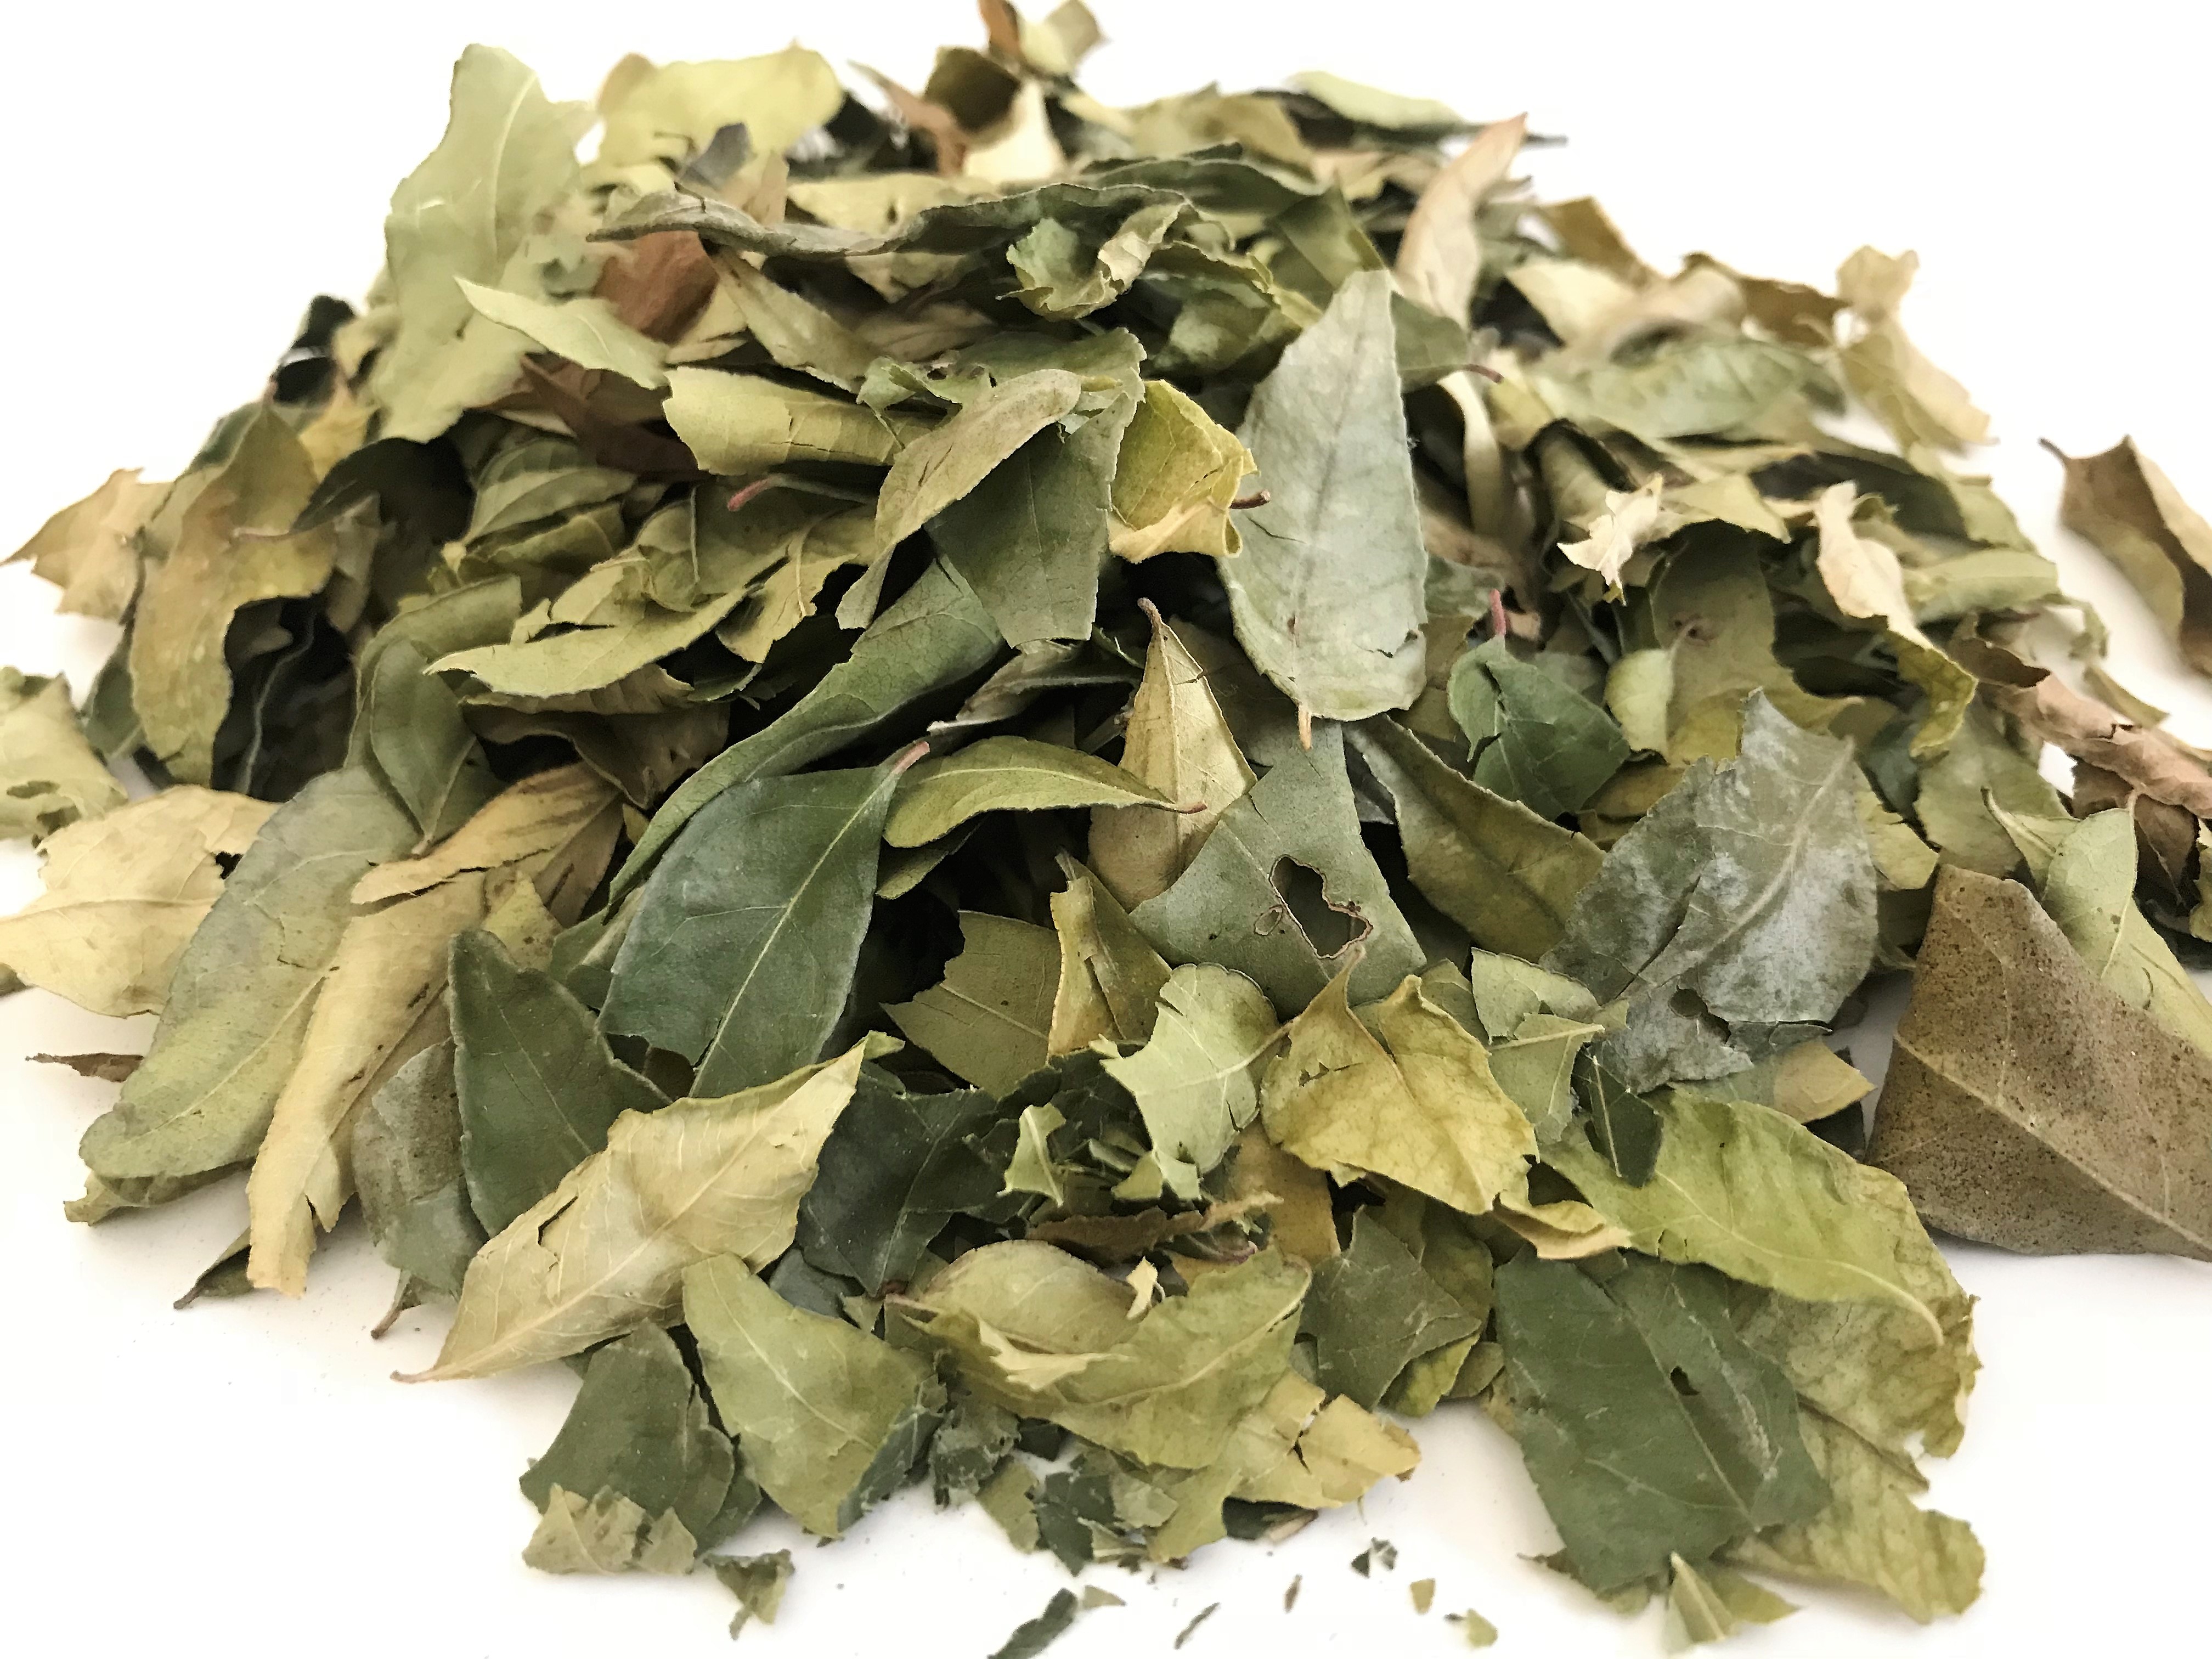
fresh and dried leaves
Original curry leaf oil is made in a more refined/step-by-step process-
Curry leaves are blended with very little water – in those days made into a paste with ammi – roller stone
They are then flattened into thin round cookies – approximately 1 1/2 to 2 inches diameter, on a muslin cloth or plastic sheet
These are sun-dried for days until the ground curry leaf sheets come out of the cloth, completely dried
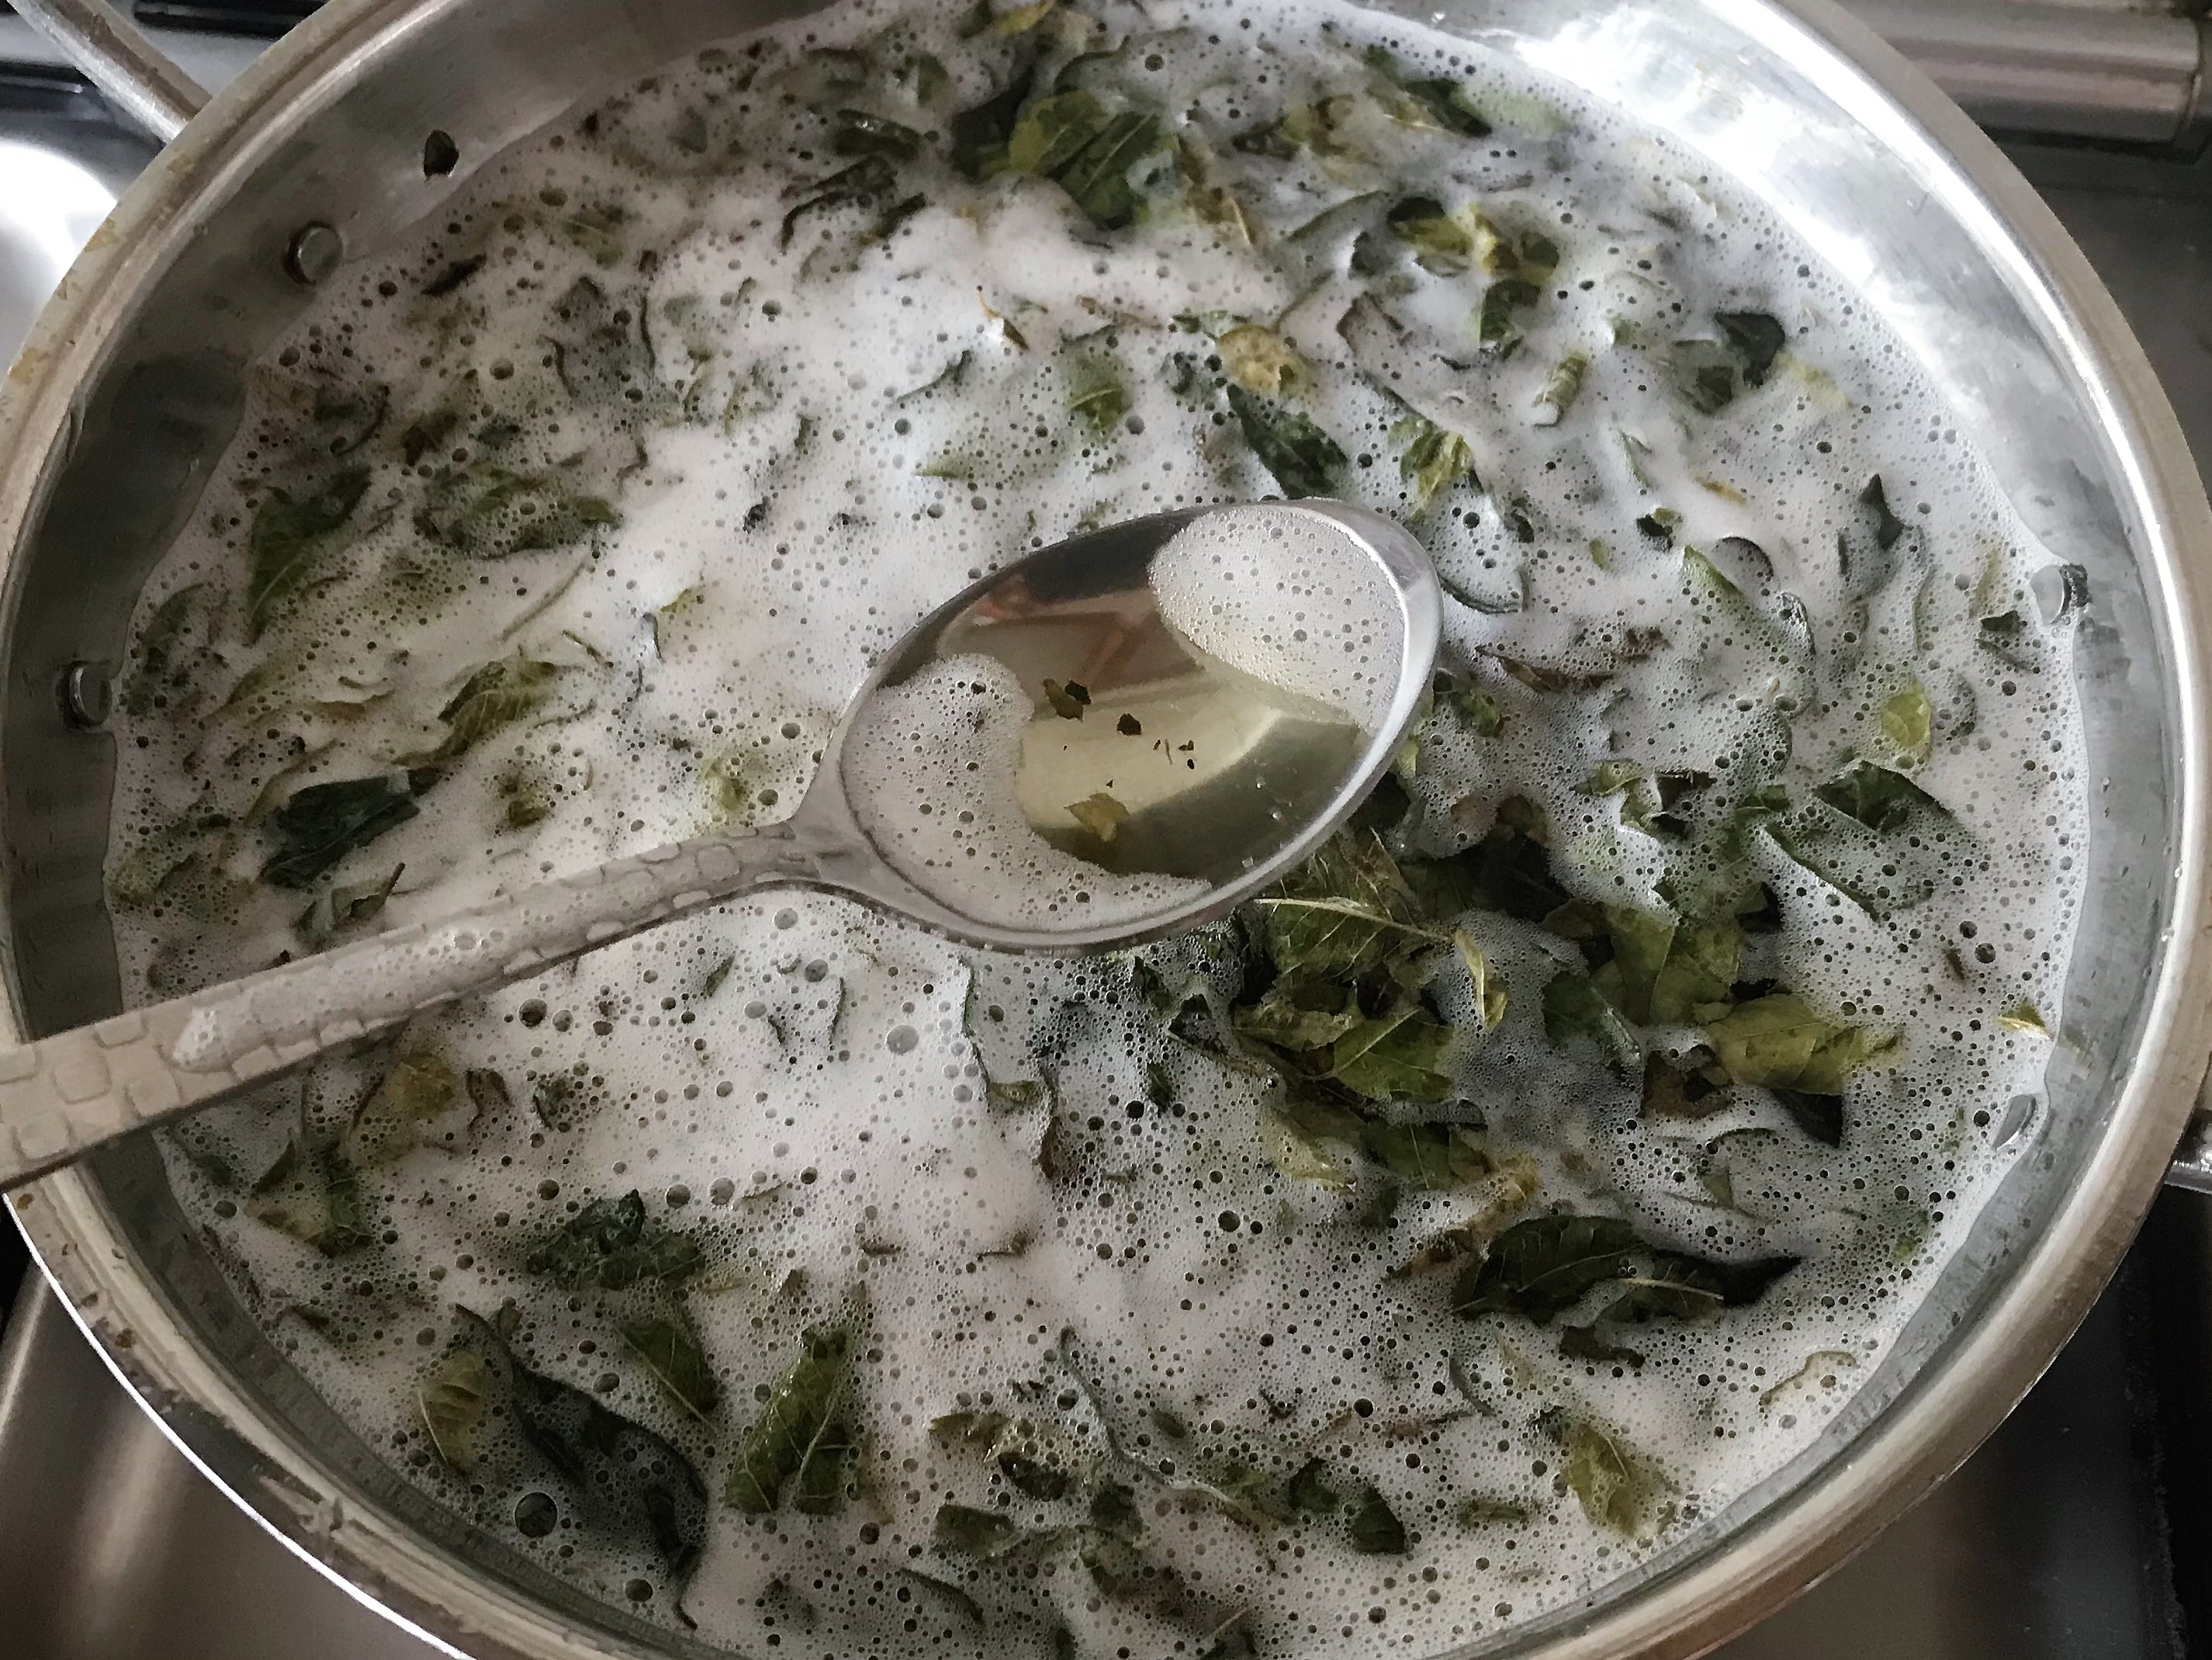
These dried thins are slow cooked in coconut oil, until the colour and aroma of the curry leaf is completely extracted
This is done when the oil stops to splutter or approximately 30 minutes of slow cooking
Extra curry leaf thins/sheets are stored for next oil preparation
The same is done with marudhani/henna while making henna oil.
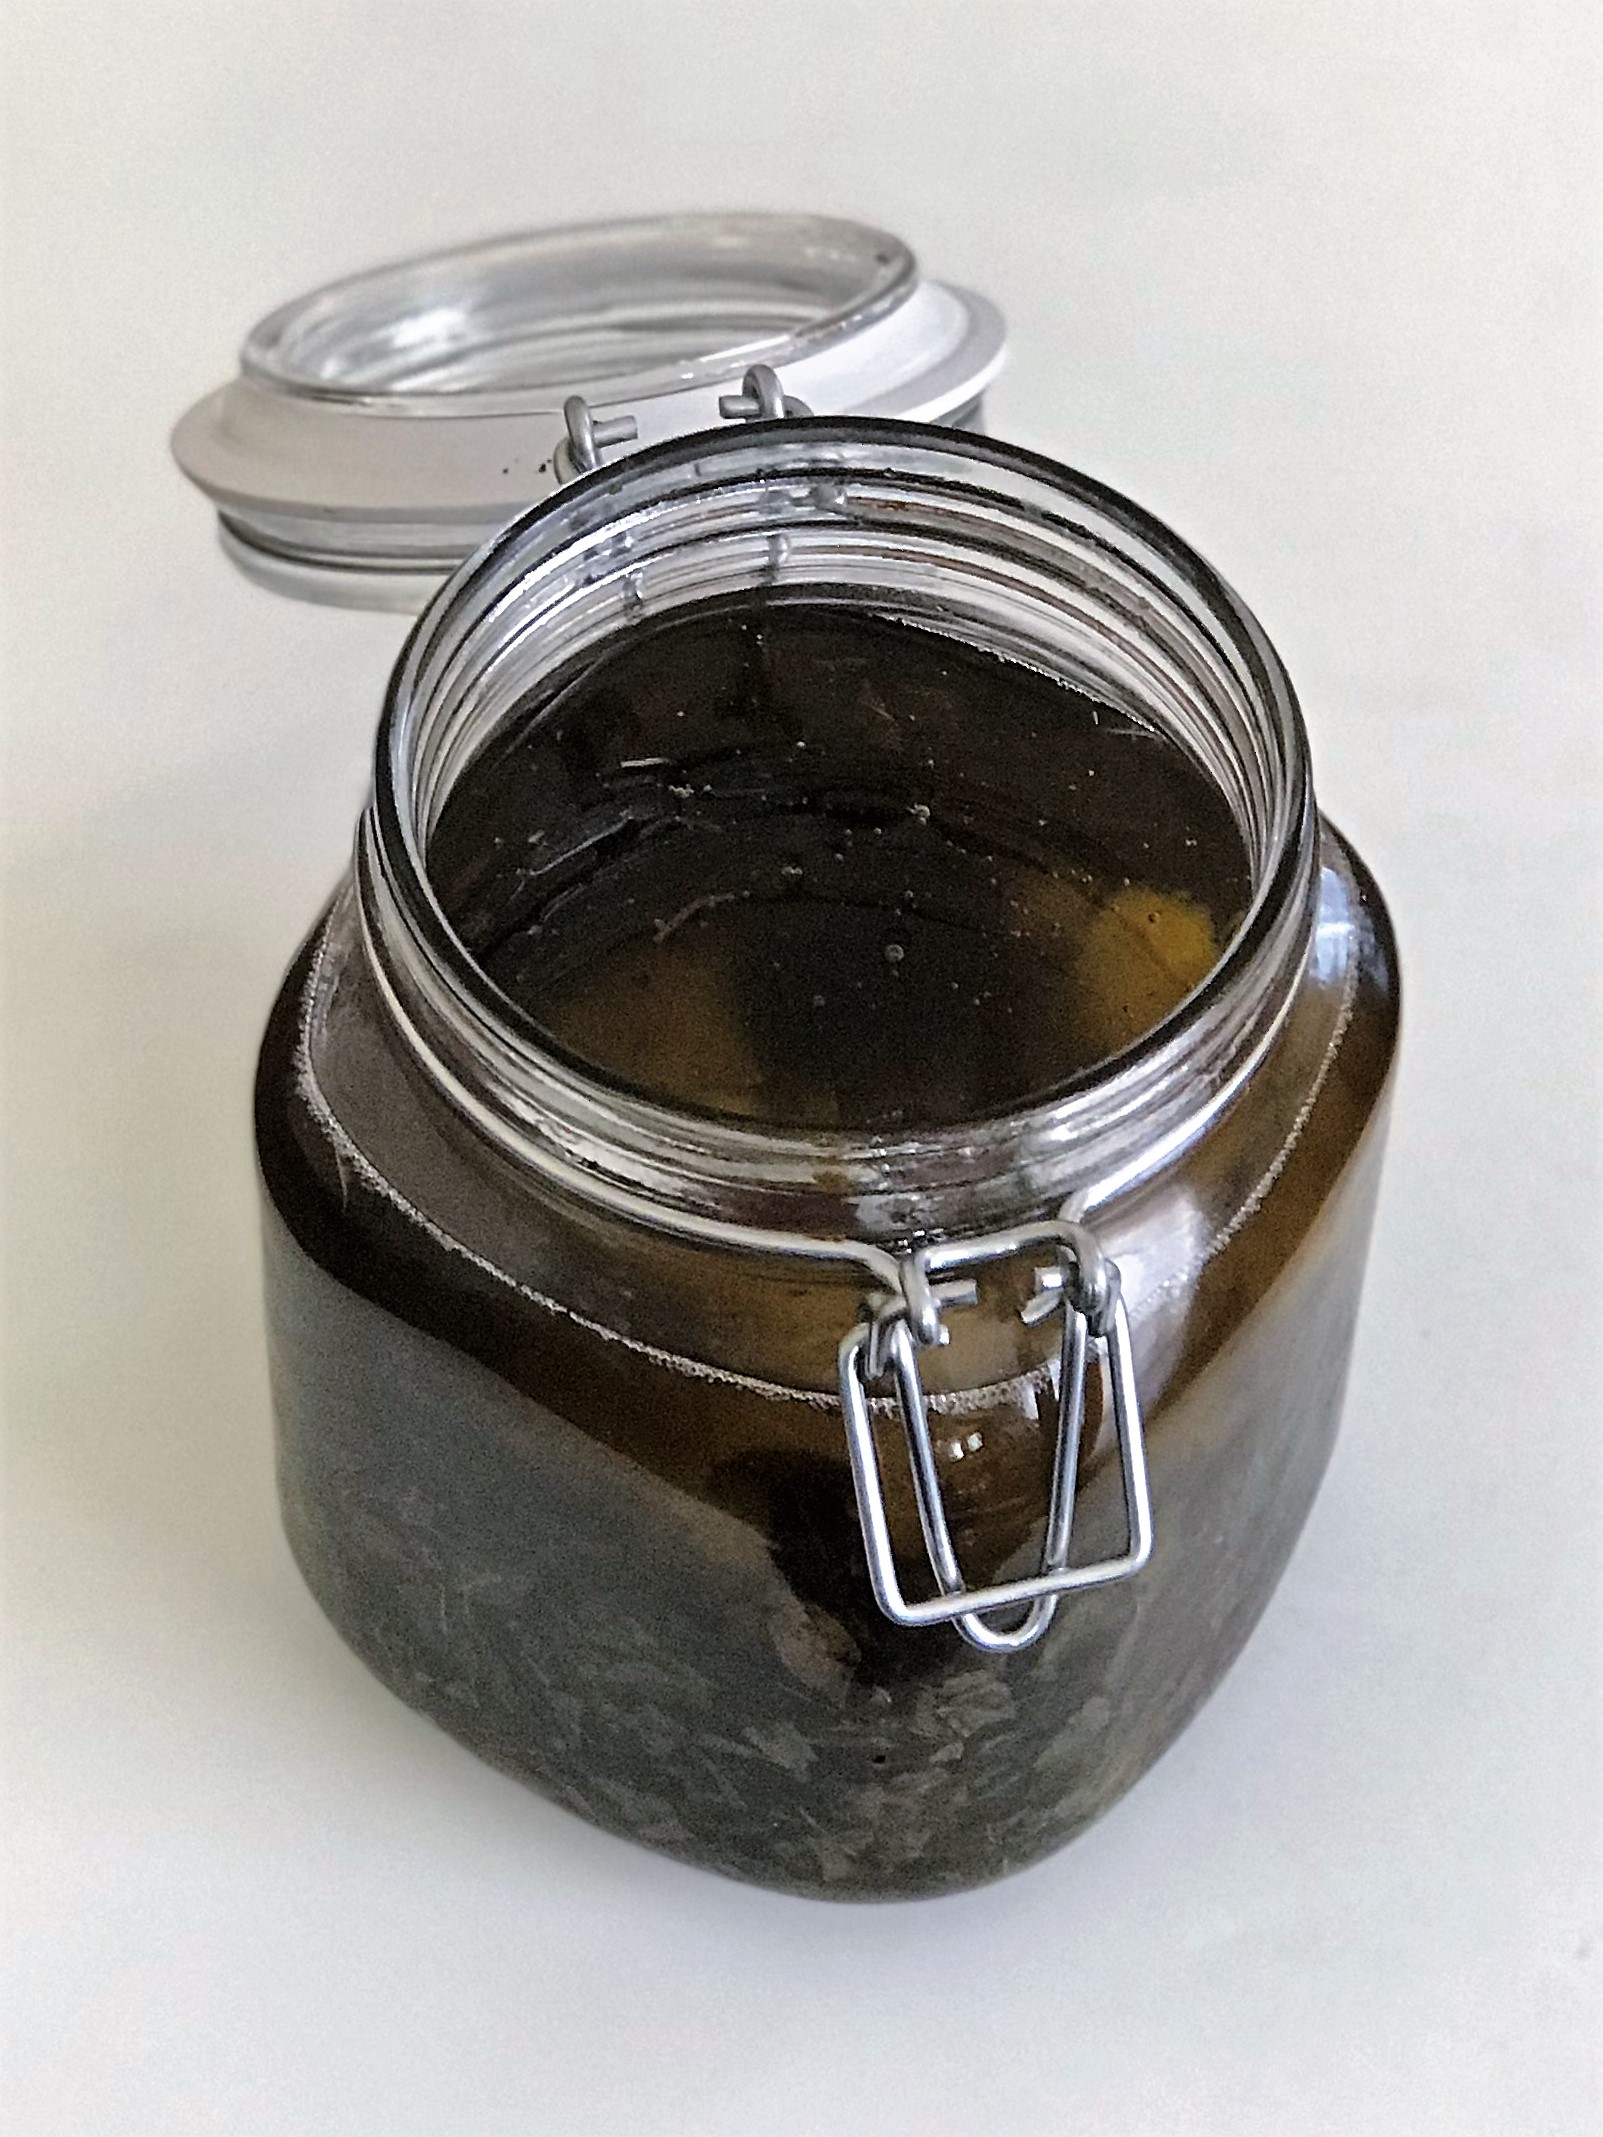
Here, I have not followed the same procedure. I took the short cut method of sun drying kariveppilai directly and slow cooked in oil. There is no compromise in the quality of oil, in comparison to the previous traditional technique – the aroma and colour seems to be the same. While using the curry leaf thins/sheets, they would settle down in the bottom of the bottle and leave a clear residue on top, but here- the dried curry leaves occupy more space in the bottle and yet, the oil on top is a clear residue. Later, when the oil is mixed too much with the leaves, one can filter and use.
Kariveppilaii Yennai/ Hair Oil with Curry Leaves
Ingredients
good quality pure coconut oil – 1 litre
dried curry leaves – appr. 6 cups
Method of Preparation
Sun dried curry leaves
Pluck curry leaves from tree/plant or buy enough from the vendor
De-stem leaves and wash very well
Spread on a clean cloth and pat dry
4. Place the cloth in a sunny area and dry well in the sun – might take few days to completely dry without moisture
5. Once the leaves are dried, they are ready to be used in the oil.
Making the Oil
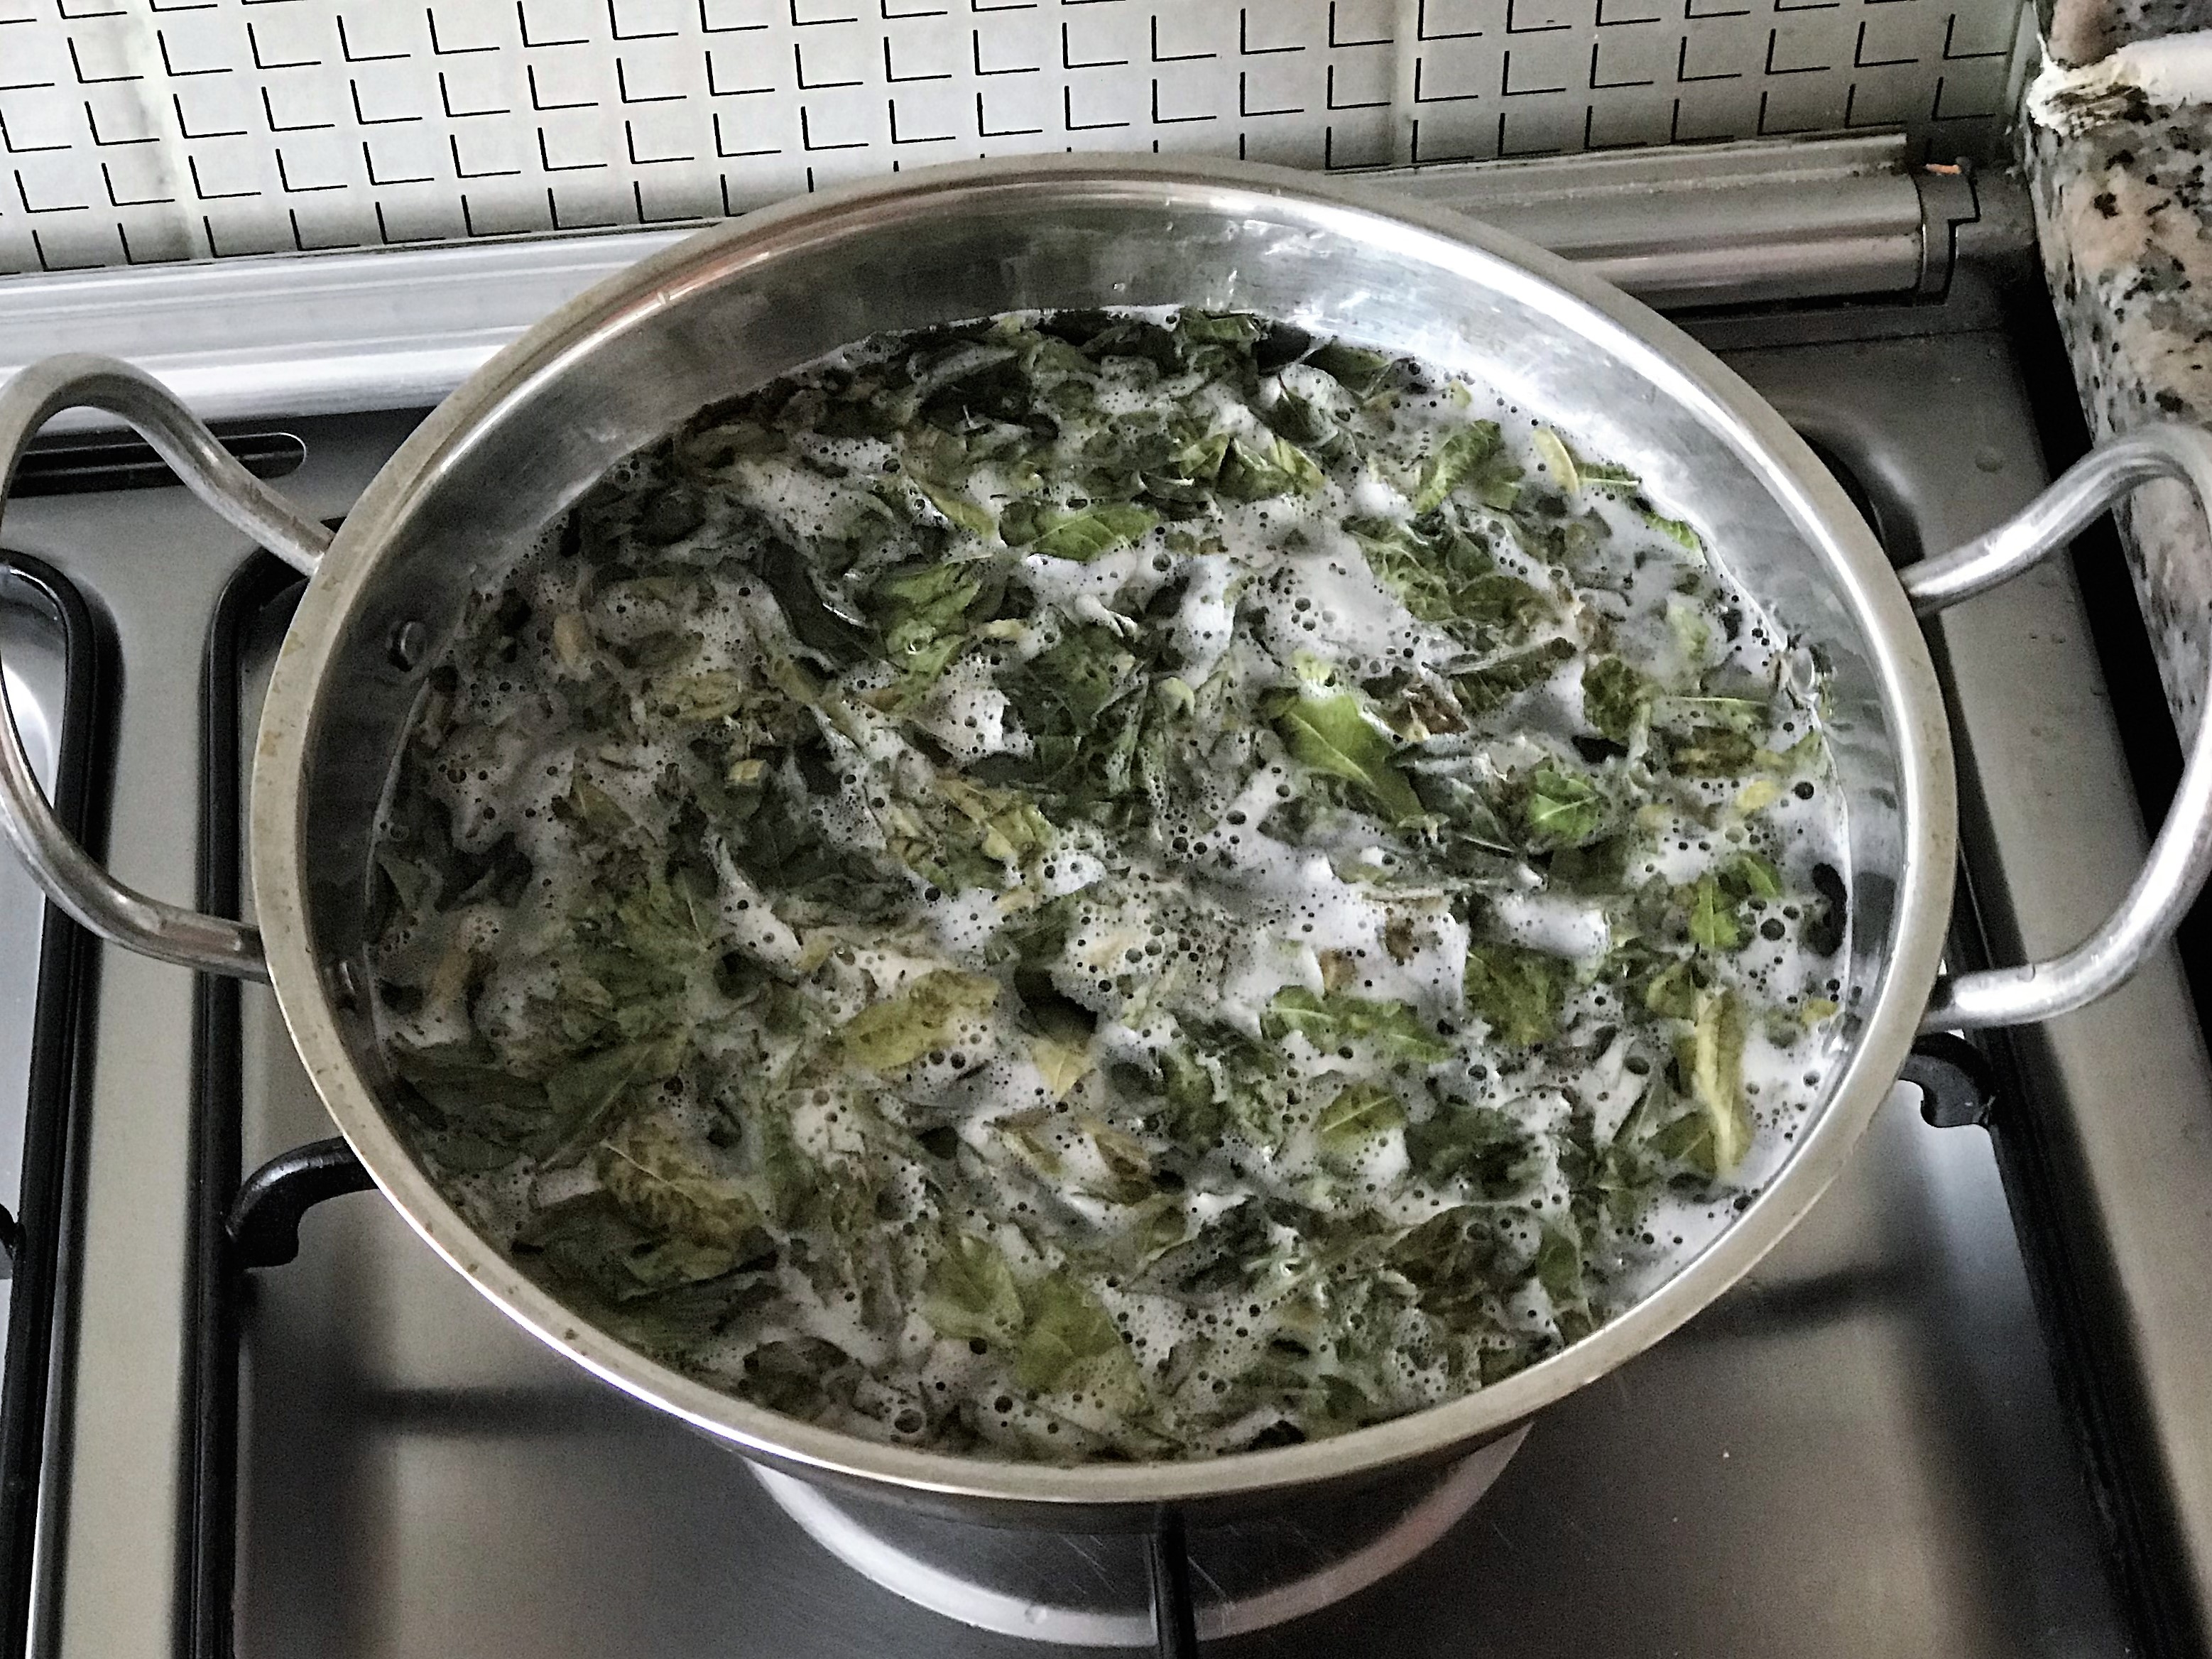
In a wide pan, pour pure coconut oil – see label for aromatic ingredients, other oils which might have been mixed with coconut oil. We need only 100% coconut oil – preferably cold-pressed. Most branded coconut oils are refined, can’t help.. proceed.
Measure 6 cups dried curry leaves and mix in the oil, before it turns hot. If dried leaves are added after oil is heated up, the leaves would be fried and would give out a burnt smell. Hence, drop the leaves in, while the temperature of oil is normal.
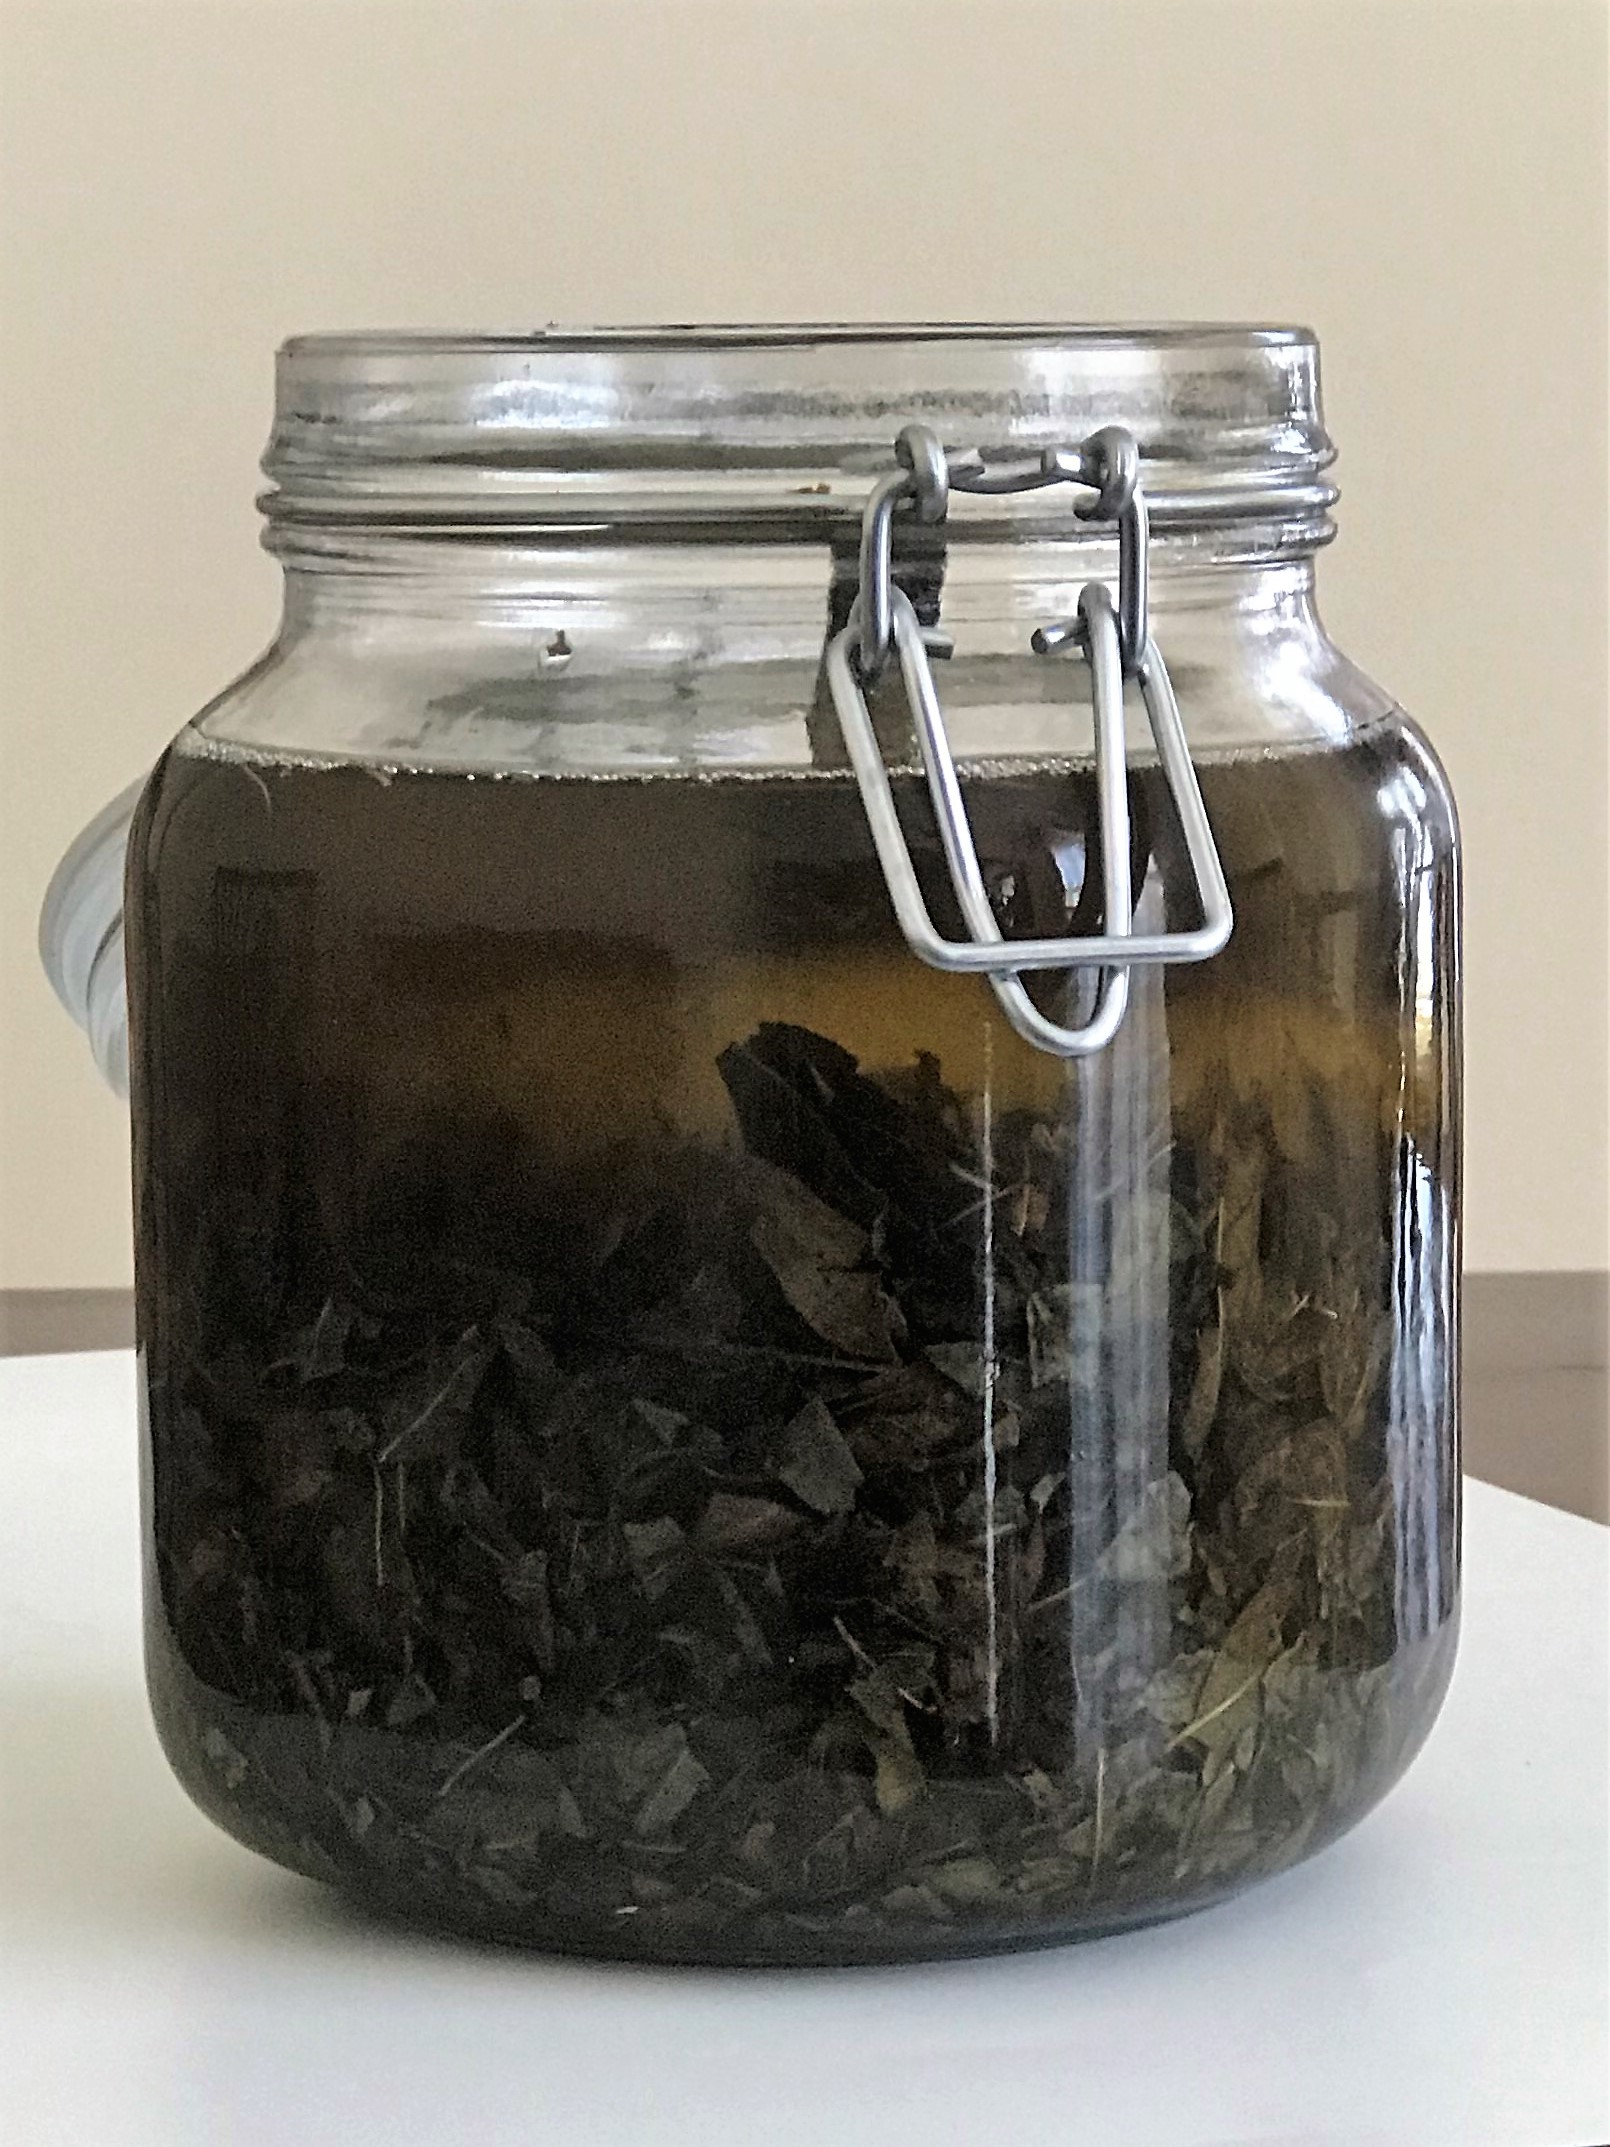
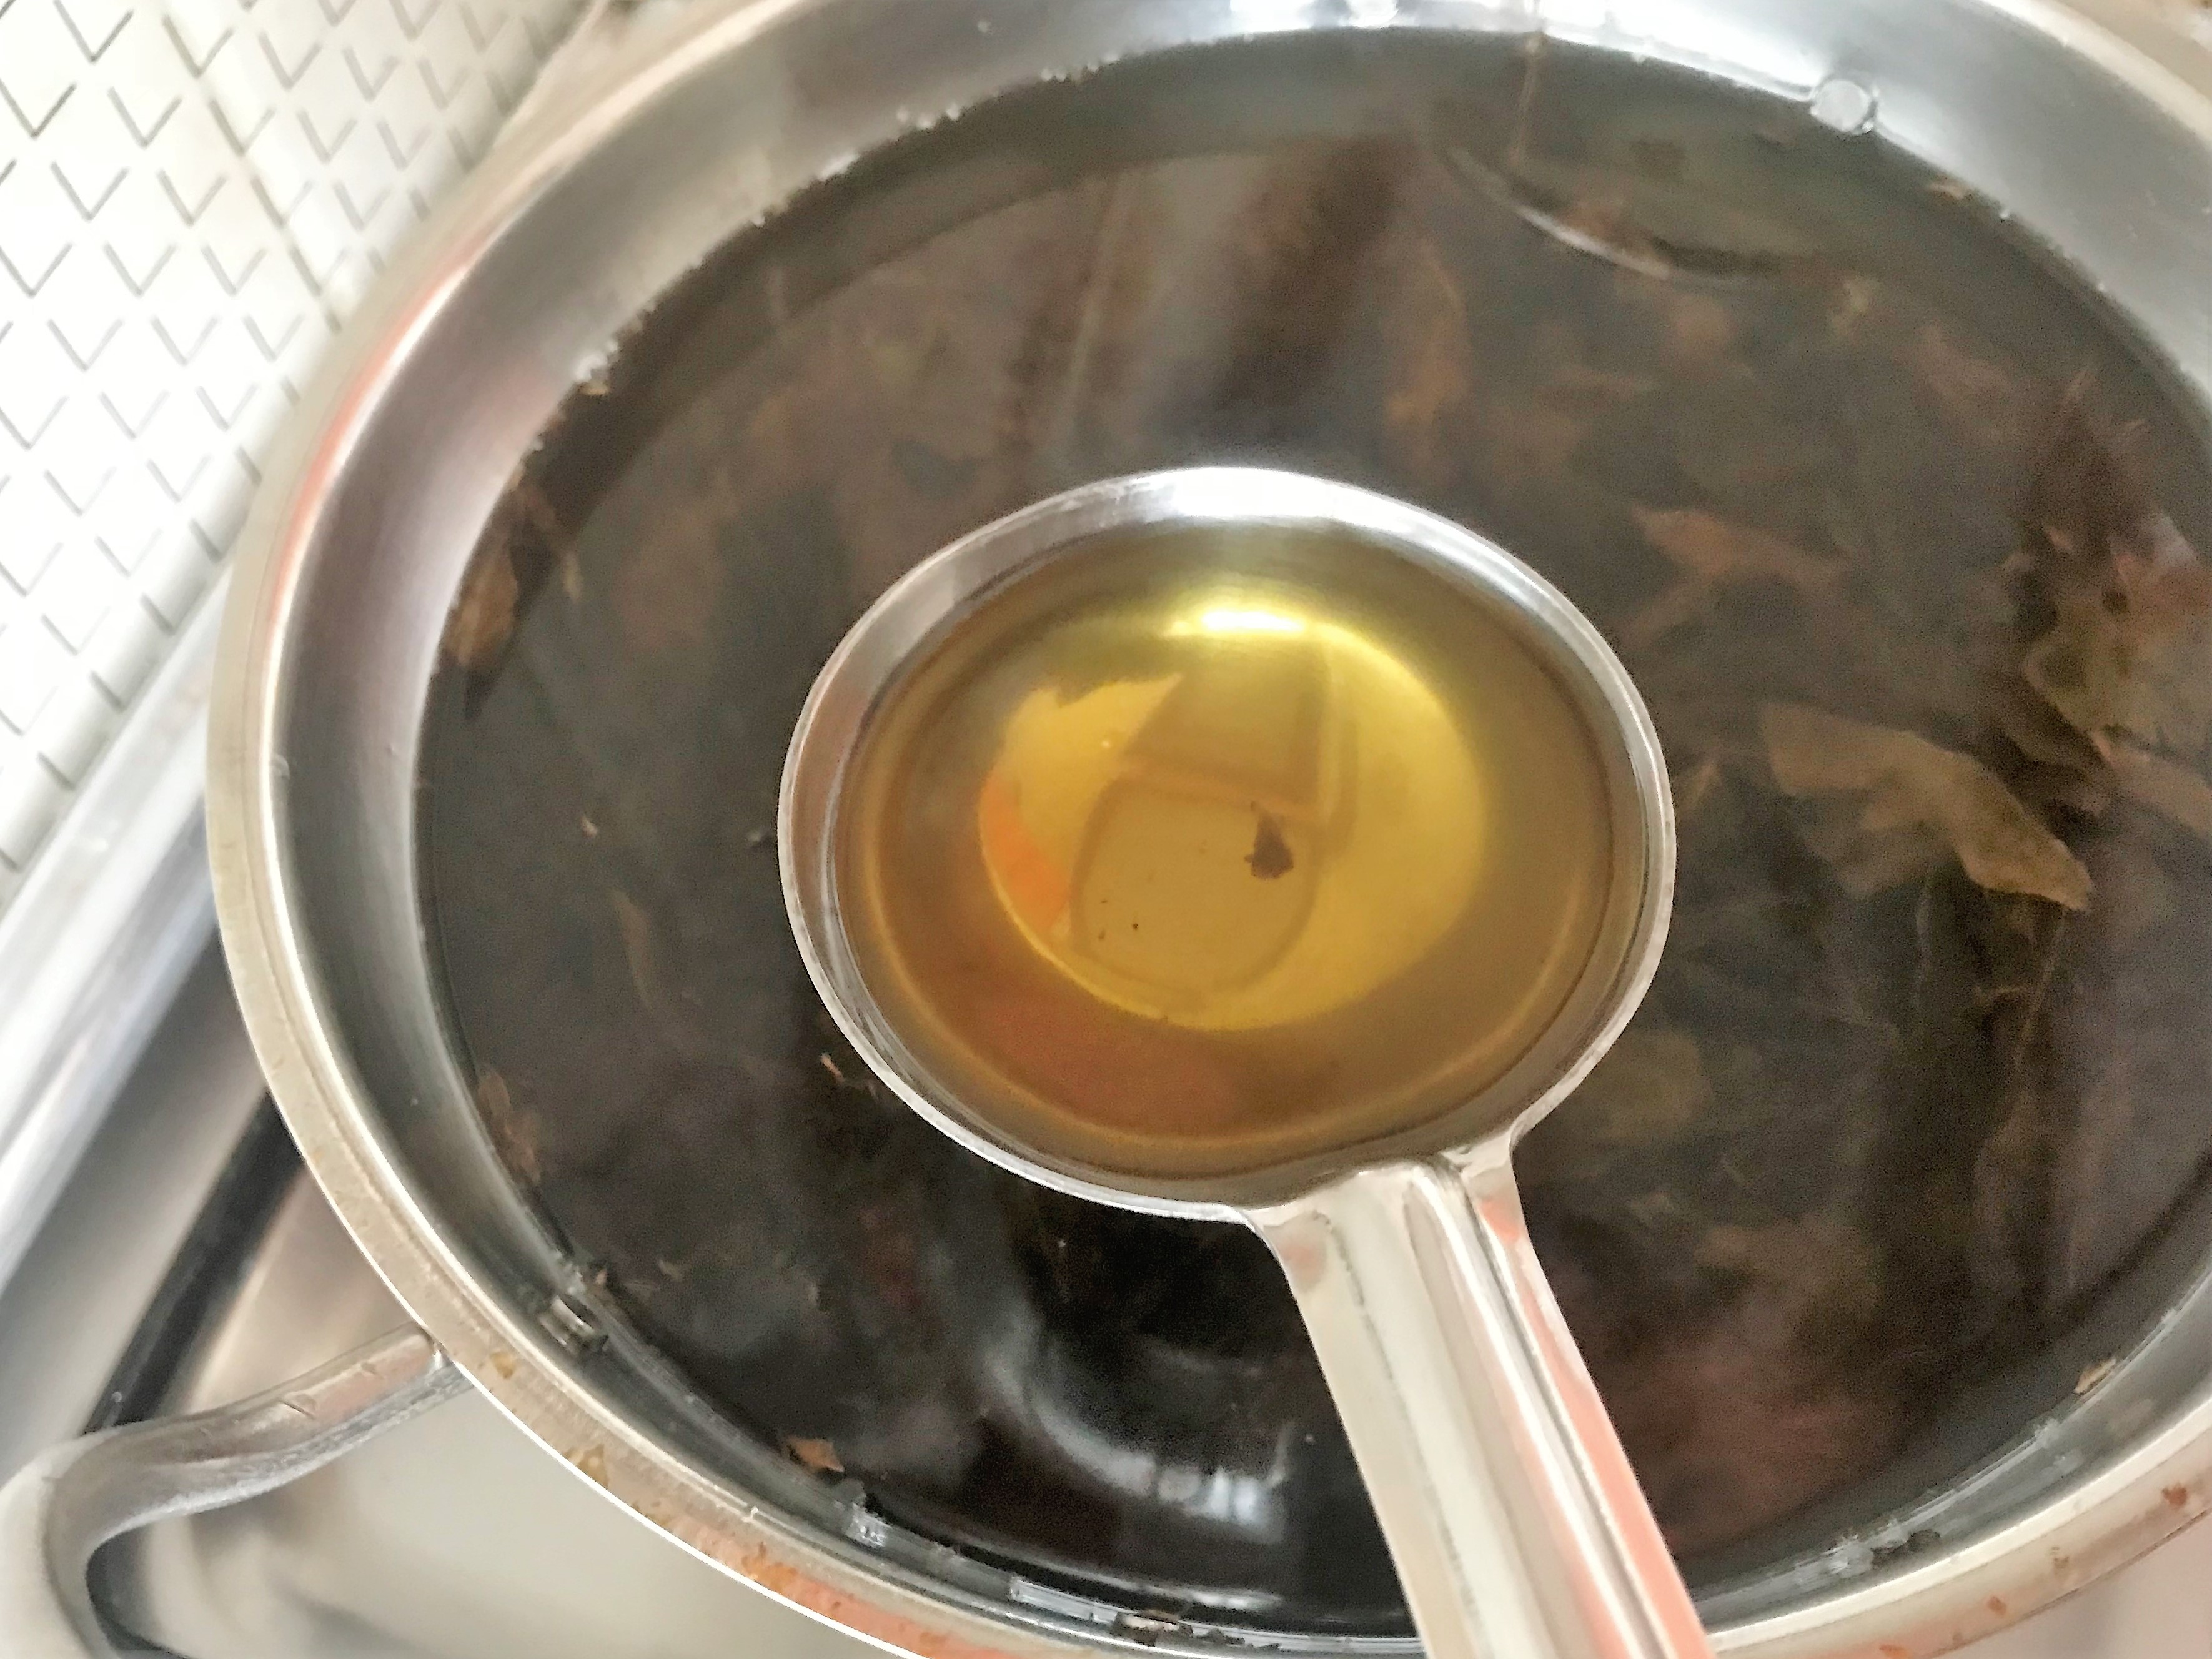
3. Once the oil starts to heat up, simmer the stove and let the leaves cook in oil for about 30 minutes, till the colour of oil starts to darken.
a little later – darker oil
4. Switch off and let the oil cool.
5. Store oil with curry leaves in a bottle and use everyday.
After black rice pudding or Karuppu kavuni Arisi payasam, my next wish was to try Karuppu Kavuni Dosai.
Dosais or Dosas are more flexible than making those perfect soft rice/millet idlies or fluffy cakes . Any grain base and lentil is enough to produce soft pancakes. While the western pancakes can be made with ground grain or flour alone, the South Indian Dosai has a protein lentil combined for the extra magical crisp or the soft spongy texture.
Hence, give us a grain and we can produce Dosai. Surprisingly very true. This was how the series – ‘Power Packed Pancakes’ with high fibre, nutrient rich millets came up. I am always awe-struck by the innovative culinary minds of our ancestors, who explored the combination of blackgram for the fermentation process of idlies and dosais – which aids in natural bacterial growth, than the additional usage of other external baking or steaming agents. That has given us- the generational followers, a clear way to explore a few more. Now, it’s time to try Tamilnadu style pancakes – the heavenly Dosais with various rices, which also seem to be common in southeast Asian countries.
So, join me again in the Dosai Journey in making a few more healthy pancakes, rich in anti-oxidants with the traditional rice varieties of Tamilnadu. To know more on the health benefits and payasam with black rice see – dosaikal- karuppu kavuni arisi payasam
Karuppu Kavuni Arisi Dosai/Black Rice Pancakes
Ingredients (makes approximately 15 dosais)
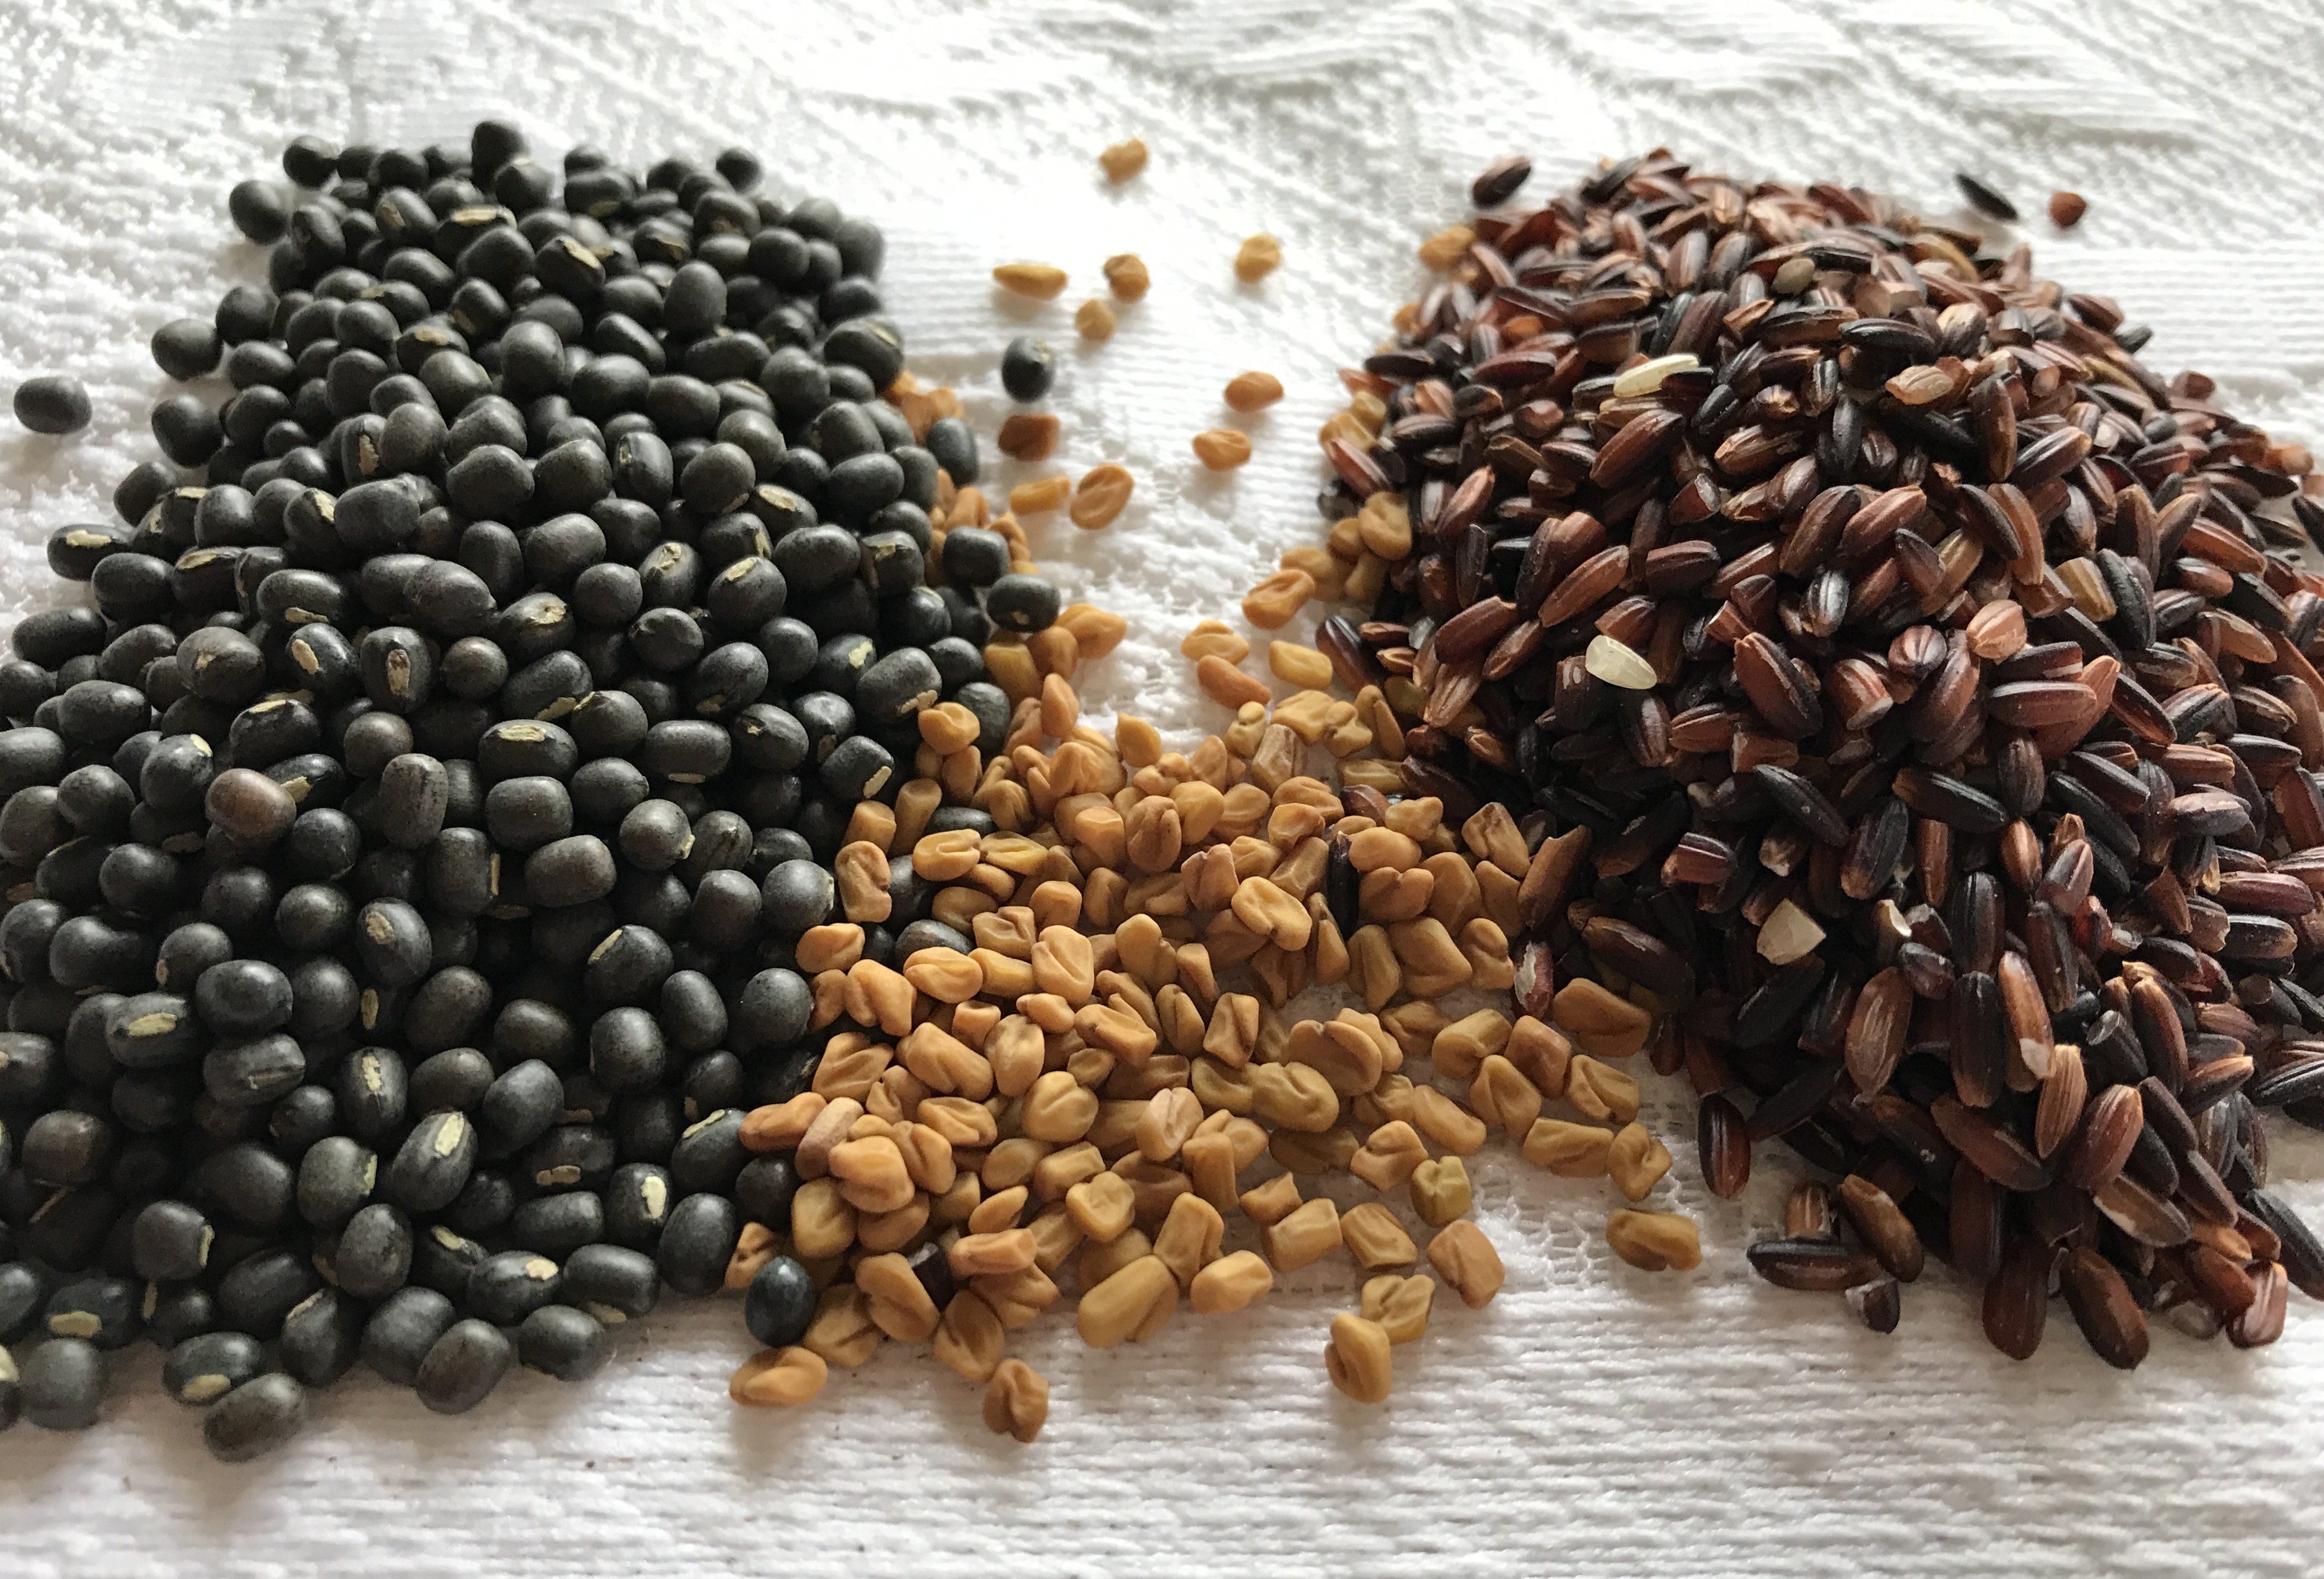
karuppu kavuni Arisi/black rice – 1 ½ cups
karuppu ulundhu/black gram – ½ cup
vendhayam/fenugreek seeds – ½ tsp
kal Uppu/rock salt – ½ tsp
Method of Preparation
Making batter-
Wash well black rice and black gram.
Add fenugreek seeds and soak overnight or minimum 6 hours in water
Grind well in a grinder or any blender
Once ground into a fine batter add rock salt and mix well or grind the rock salt in the end.
Leave the batter overnight or until fermented well.
Dosai batter is ready for use.
Making Dosai-
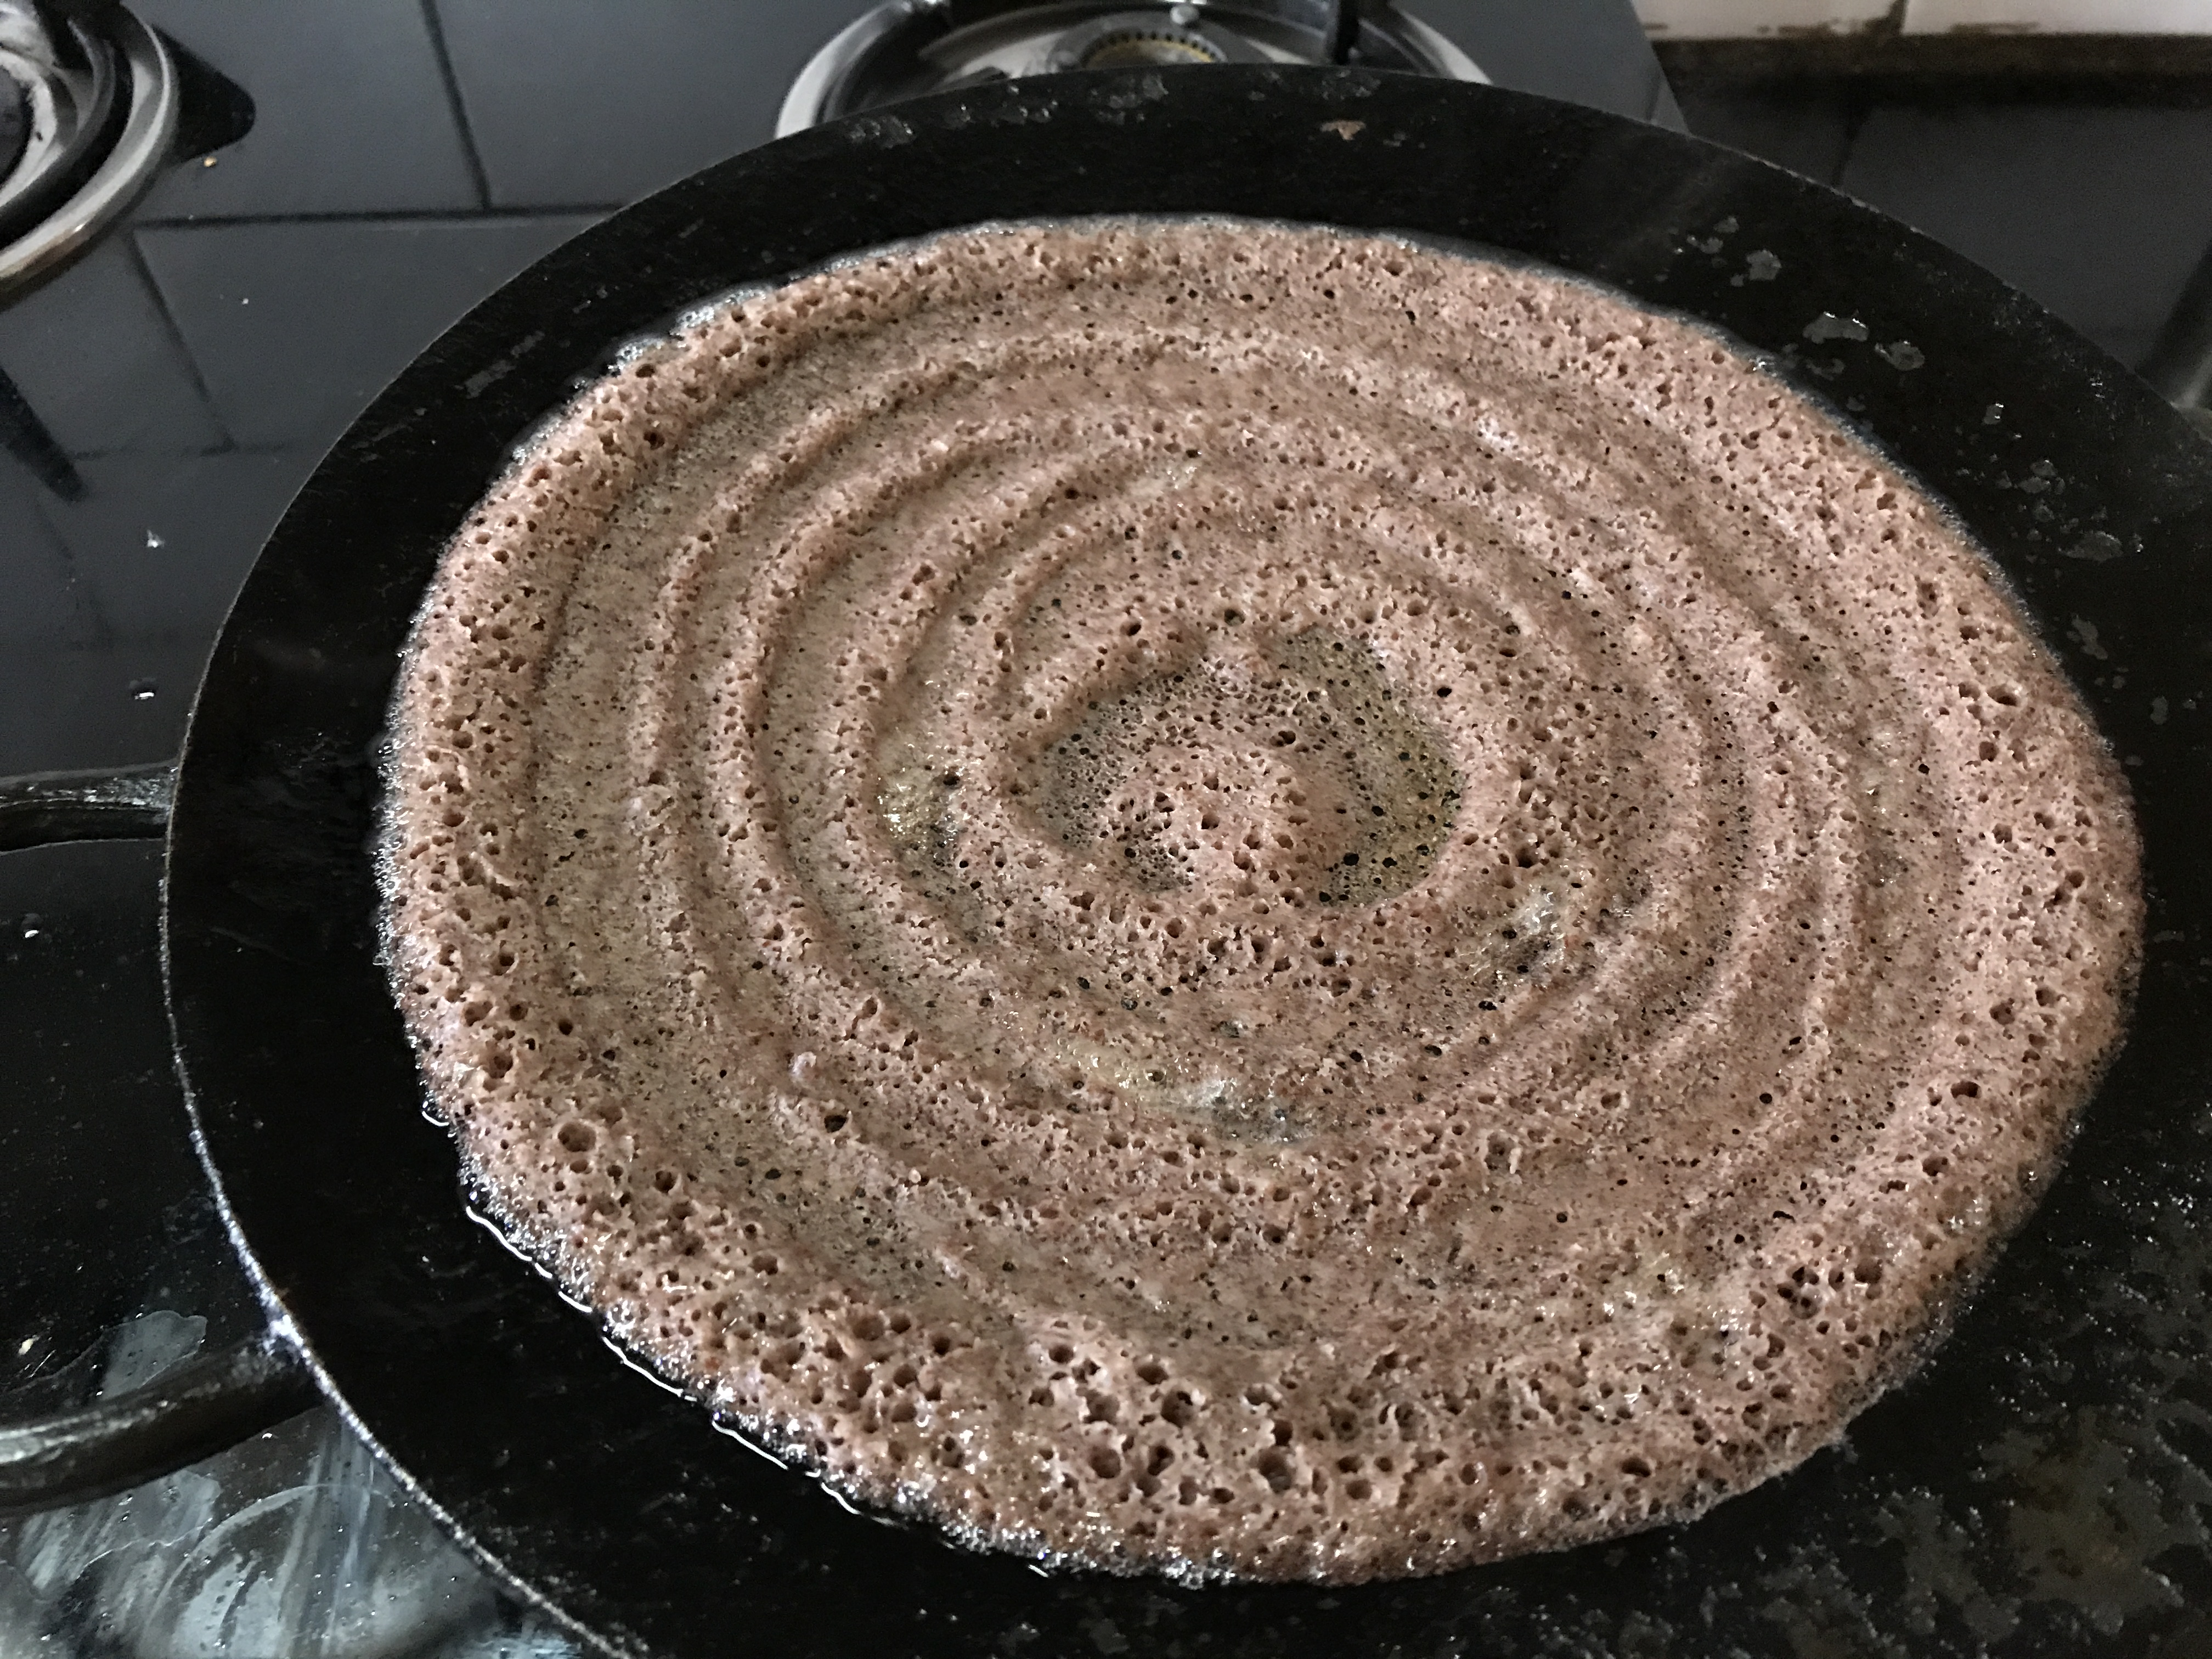
1. Heat dosaikal or the pancake pan on stove
2. Pour a ladle of batter and spread into perfect round pancakes – preferably thin
3. Pour droplets of gingelly oil on the sides of the Dosai for easy lift of pancake
4. Turn the Dosai to the other side and let it cook
5. Take out once done- remember it would take just about 30-50 seconds to cook a side of thin Dosai. If one keeps it longer, the texture of pancake would be lost.
6. Make Karuppu Kavuni Dosai crisp or soft and enjoy with any Thuvayal/chutney.
7. A dollop of nei/clarified butter is an extravagant addition to the beautiful Dosai.
Let’s continue the Mutton Biriyani recipe of the previous post, with a balance of Salna – veggie gravy/stew and complete it in the next post with Aadu Vadhakkal – spicy mutton stir fry.
First SALNA..
‘Salna’ – a unique delicacy that is served along with Biriyani, is a simple gravy to tackle any spicy variety rice. The tanginess of the Salna strikes a balance with the aromatic Biriyani. This is a tamarind curry, thickened with peanut-fennel powder. Peanut stands as a natural variant to the usual coconut based gravies of the south. Tried for the first time and voila.. turned out to be good. No separate pans, time consuming closed cooking here. Yes, the best part is, this dish is quite simple, as everything goes into the cooker and is cooked in no time.
I concentrated so much on the making of Biriyani, that didn’t click better pictures of salna or mutton fry. Shall update with better pictures..at the earliest.
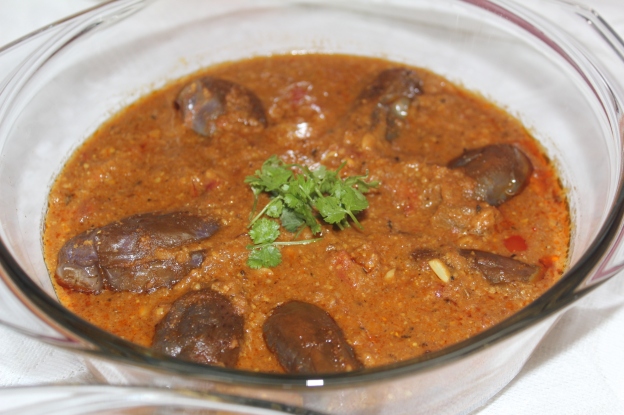
Kathirikkai Salna/Brinjal Salna
Ingredients
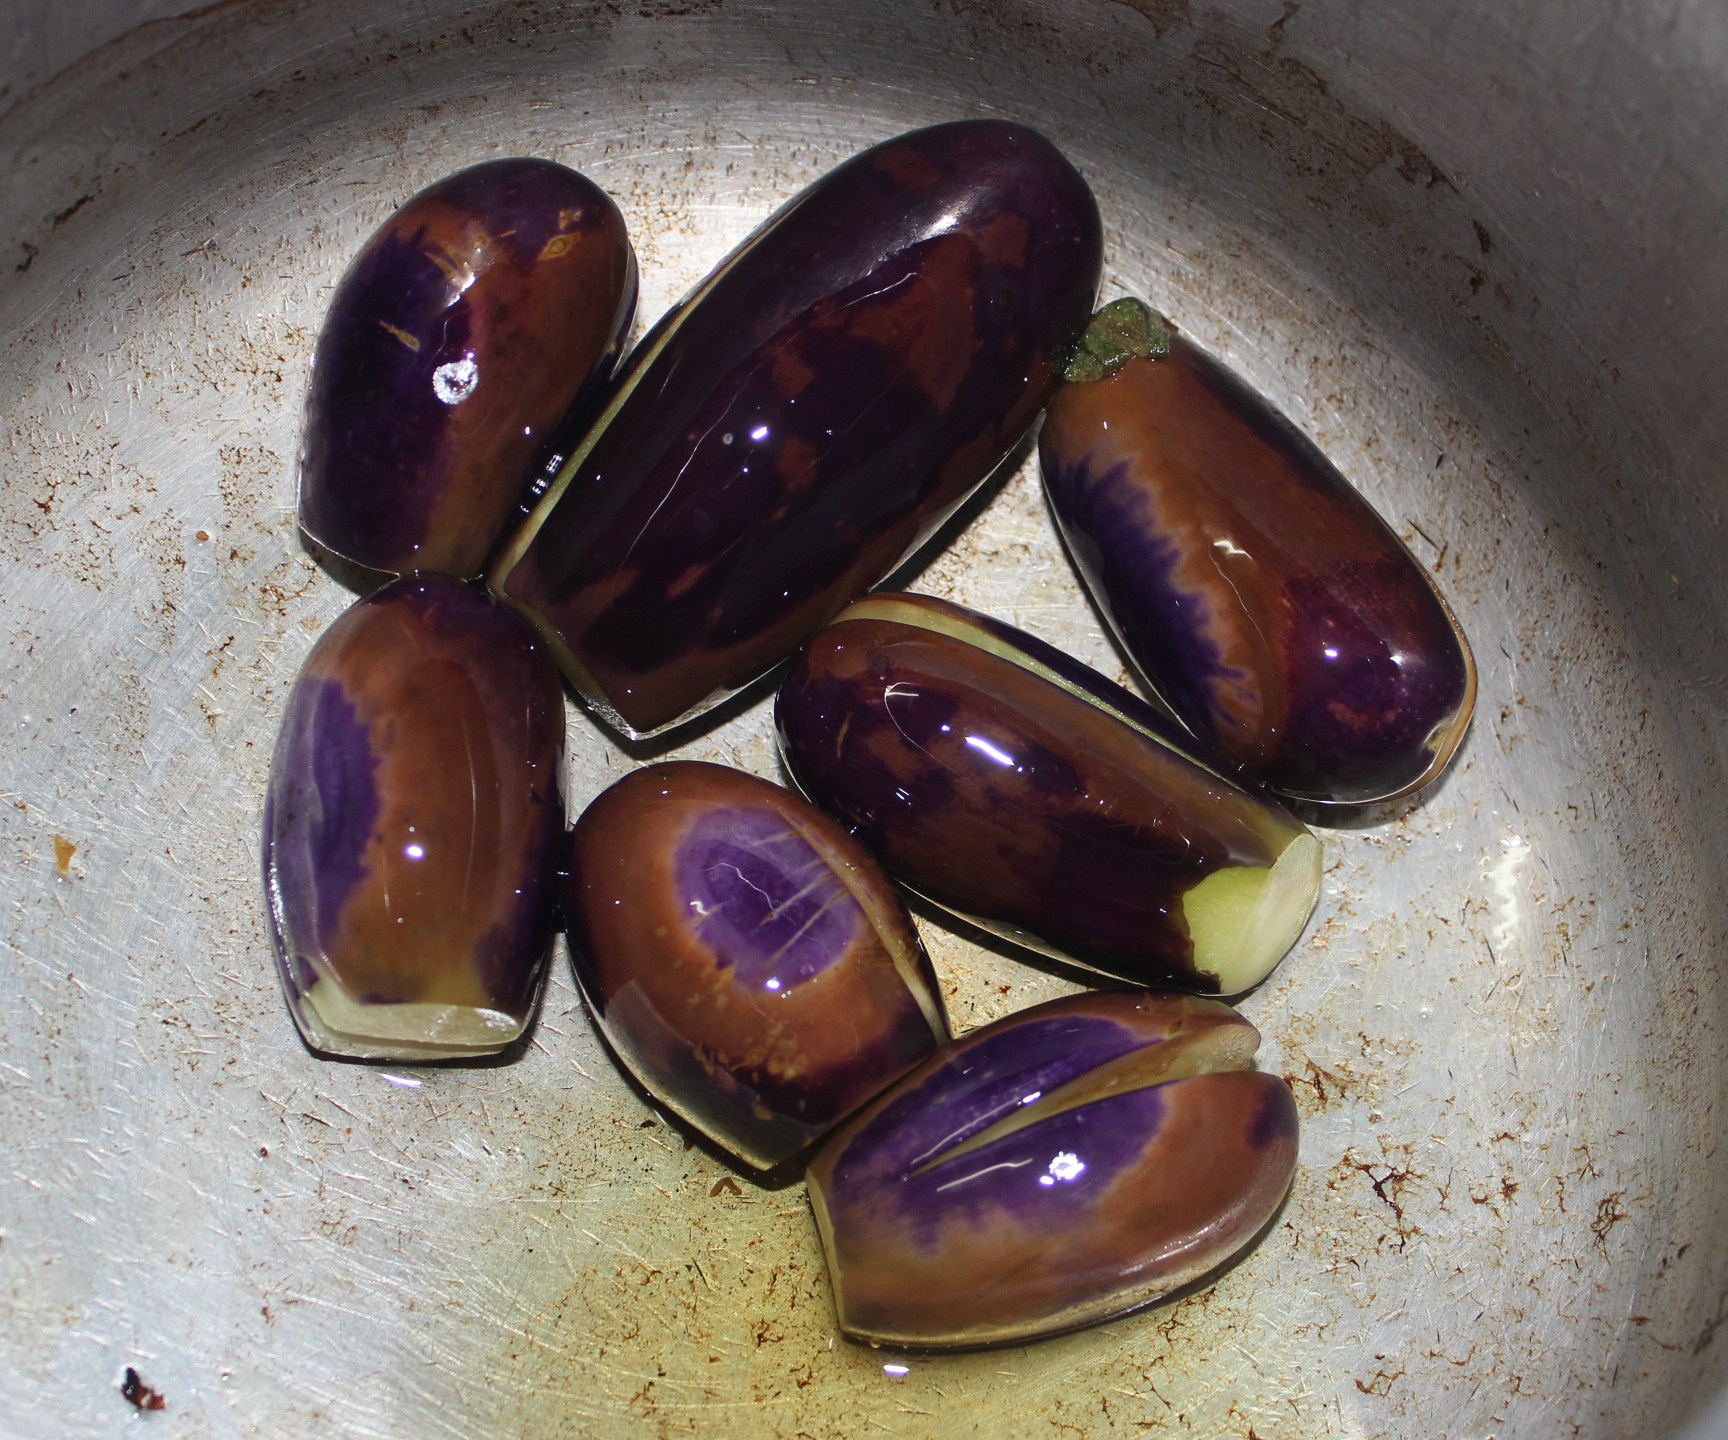
brinjal – 6 no.s. – slit in the middle
ginger- garlic paste – 2 tsp each
onion – 2 no.s – coarsely ground in blender
tomato – 2 no.s finely chopped
tamarind – extract of a gooseberry sized piece
jaggery syrup – 1 tsp
water – 1 cup
oil – 3 tsp
powders
sambar powder – 1 ½ tsp
coriander powder – 1 tsp
turmeric powder – ¼ tsp
salt – to taste
dry roast and powder
peanuts – 2 tsp
fennel seeds – 1 tsp
Method of Preparation
Wash and slit brinjal on top.
In a cooker, fry brinjal in oil. Remove and keep aside.
In the same oil, fry ginger garlic paste.
Add coarsely ground onion and fry till golden in color.
Add the chopped tomatoes and fry well.
Add tamarind pulp and powders and mix well.
Add 1 cup of water.
Then add peanut – fennel seed powder and stir well.
Add the jaggery syrup.
Close cooker and cook in full flame for 2 whistles.
Open the cooker once pressure is released by itself.
Kathirikkai (Brinjal) Salna is ready to be served.
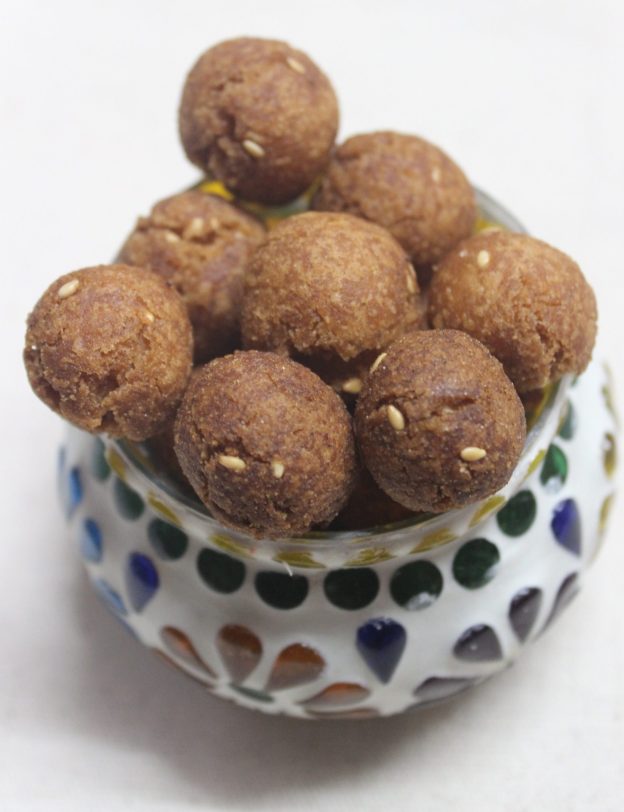
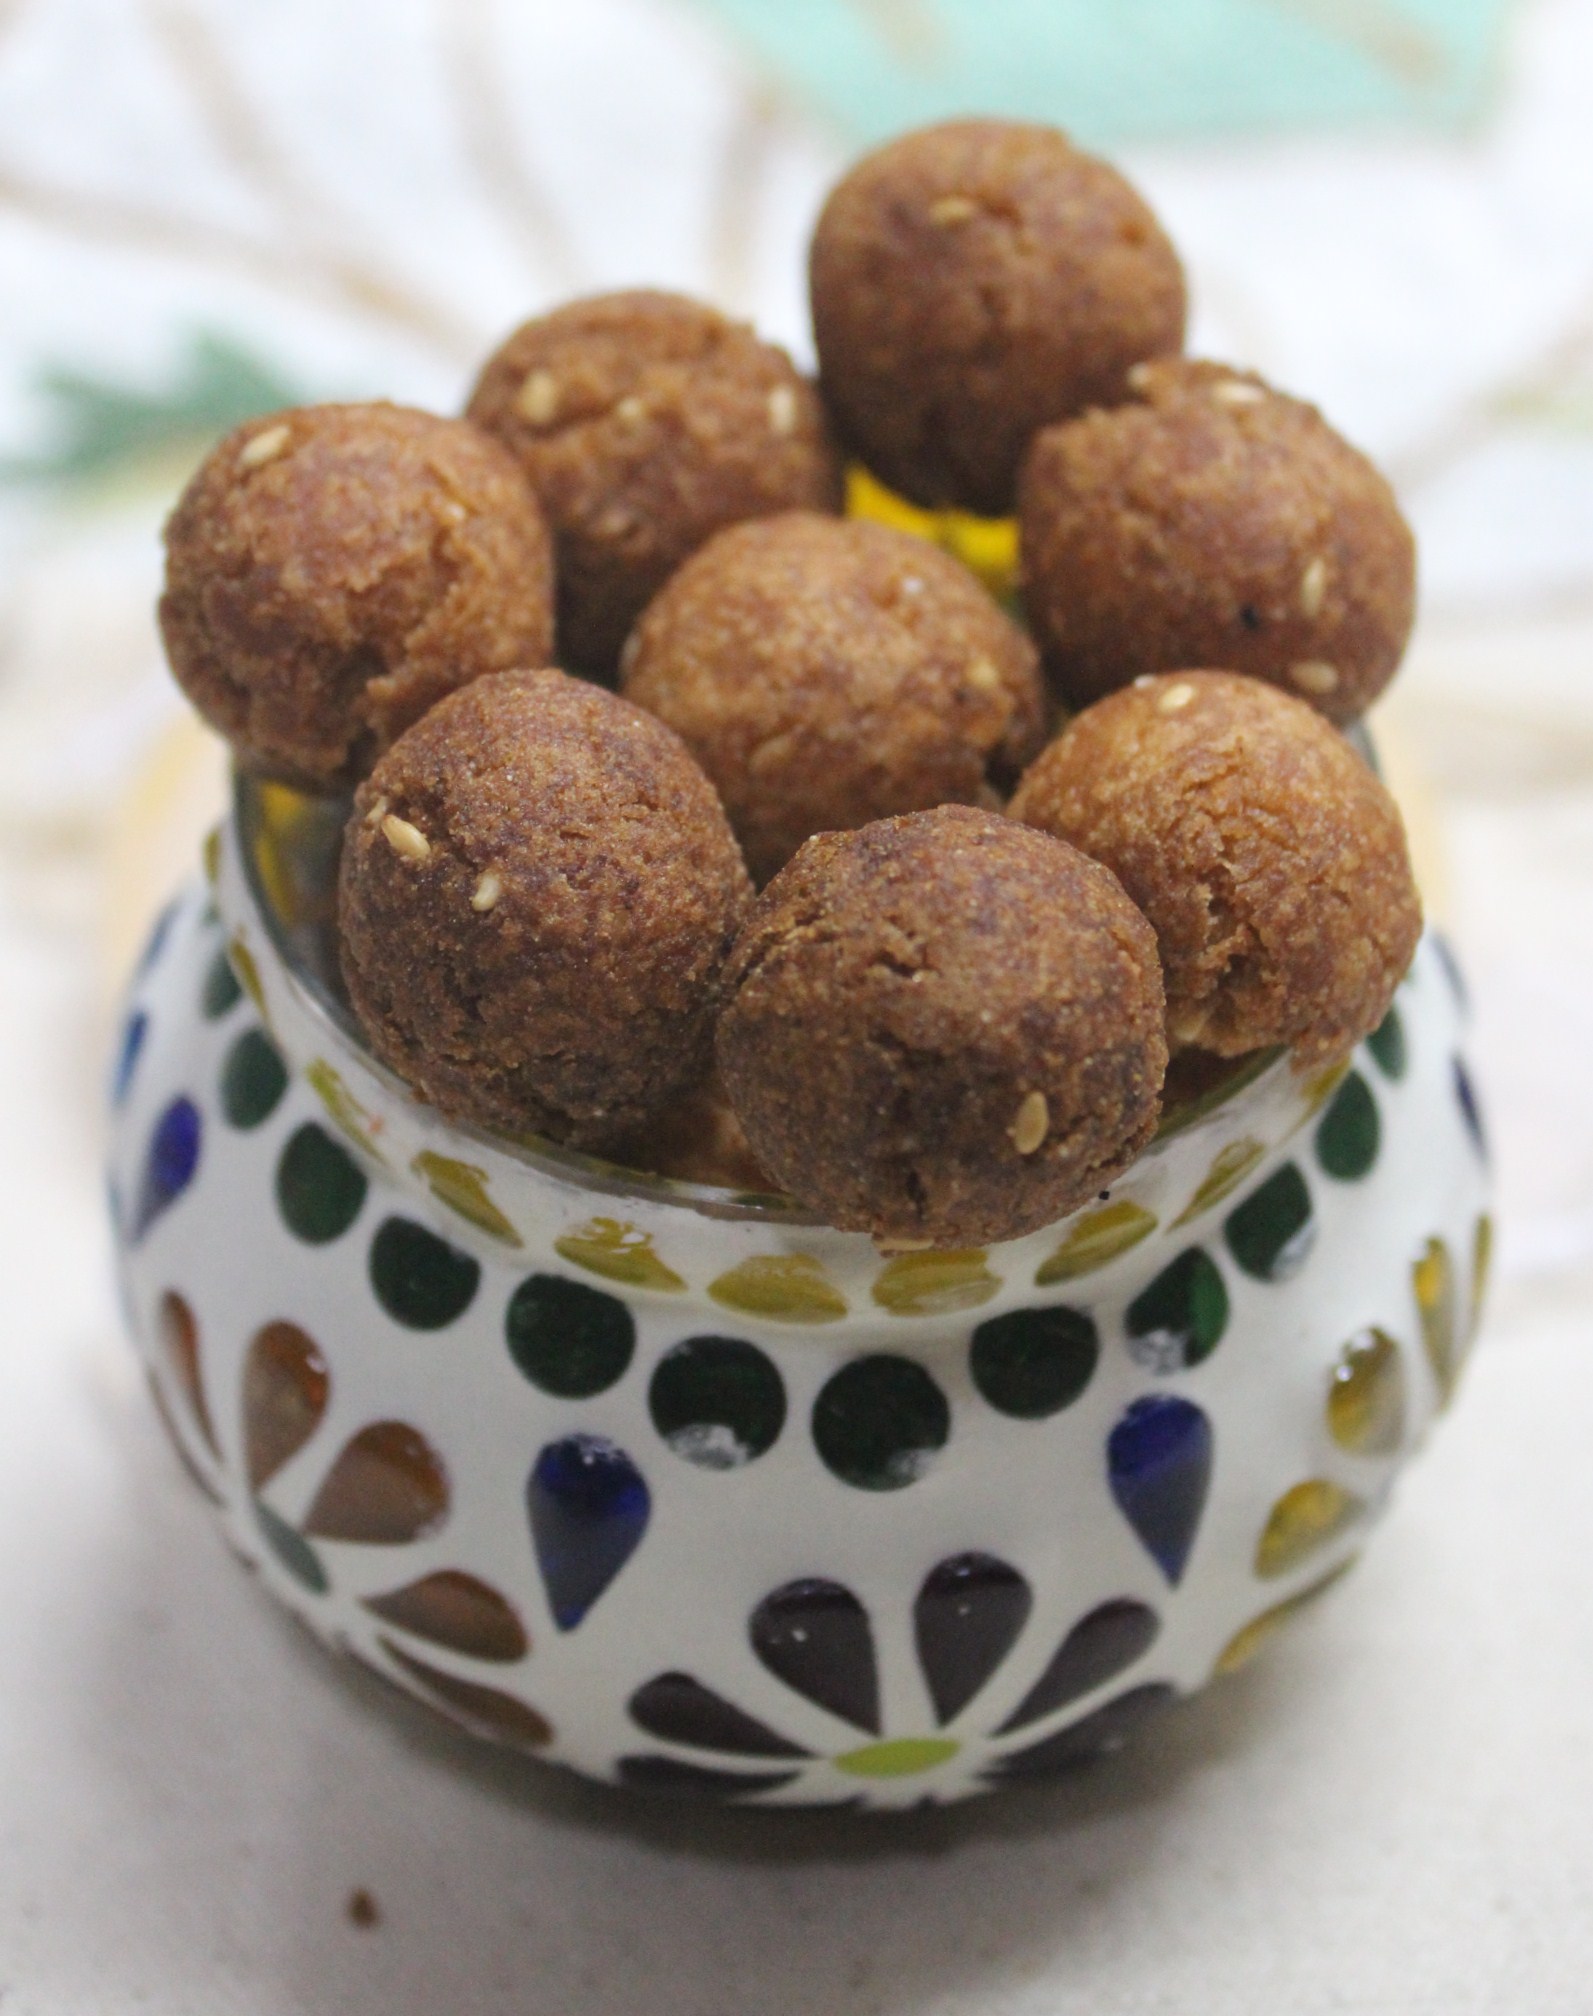
Vella seedai, as the name suggests is made of vellam or cane jaggery. The sweetness of the festive delicacy comes from the traditional jaggery and the right consistency of the dough results in a crunchy melting snack.
As mentioned in the Uppu Seedai recipe in the previous post, the dough stands the risk of melting while frying, the culprit being the temperature of jaggery, we need room temperature jaggery water. Hot jaggery water might lead to a break-up of seedai in hot oil. The sweet deep fried balls lose their shape and end up in a powdery chunk if the jaggery water is hot. So, one needs to be cautious on that.
Otherwise, this sweet is an easier affair in comparison to Uppu seedai, which can be revolutionary and exploding.
But, to reduce web-browsing time, I repeat the procedures below. Vella Seedai/Jaggery Rice Ball Crispies
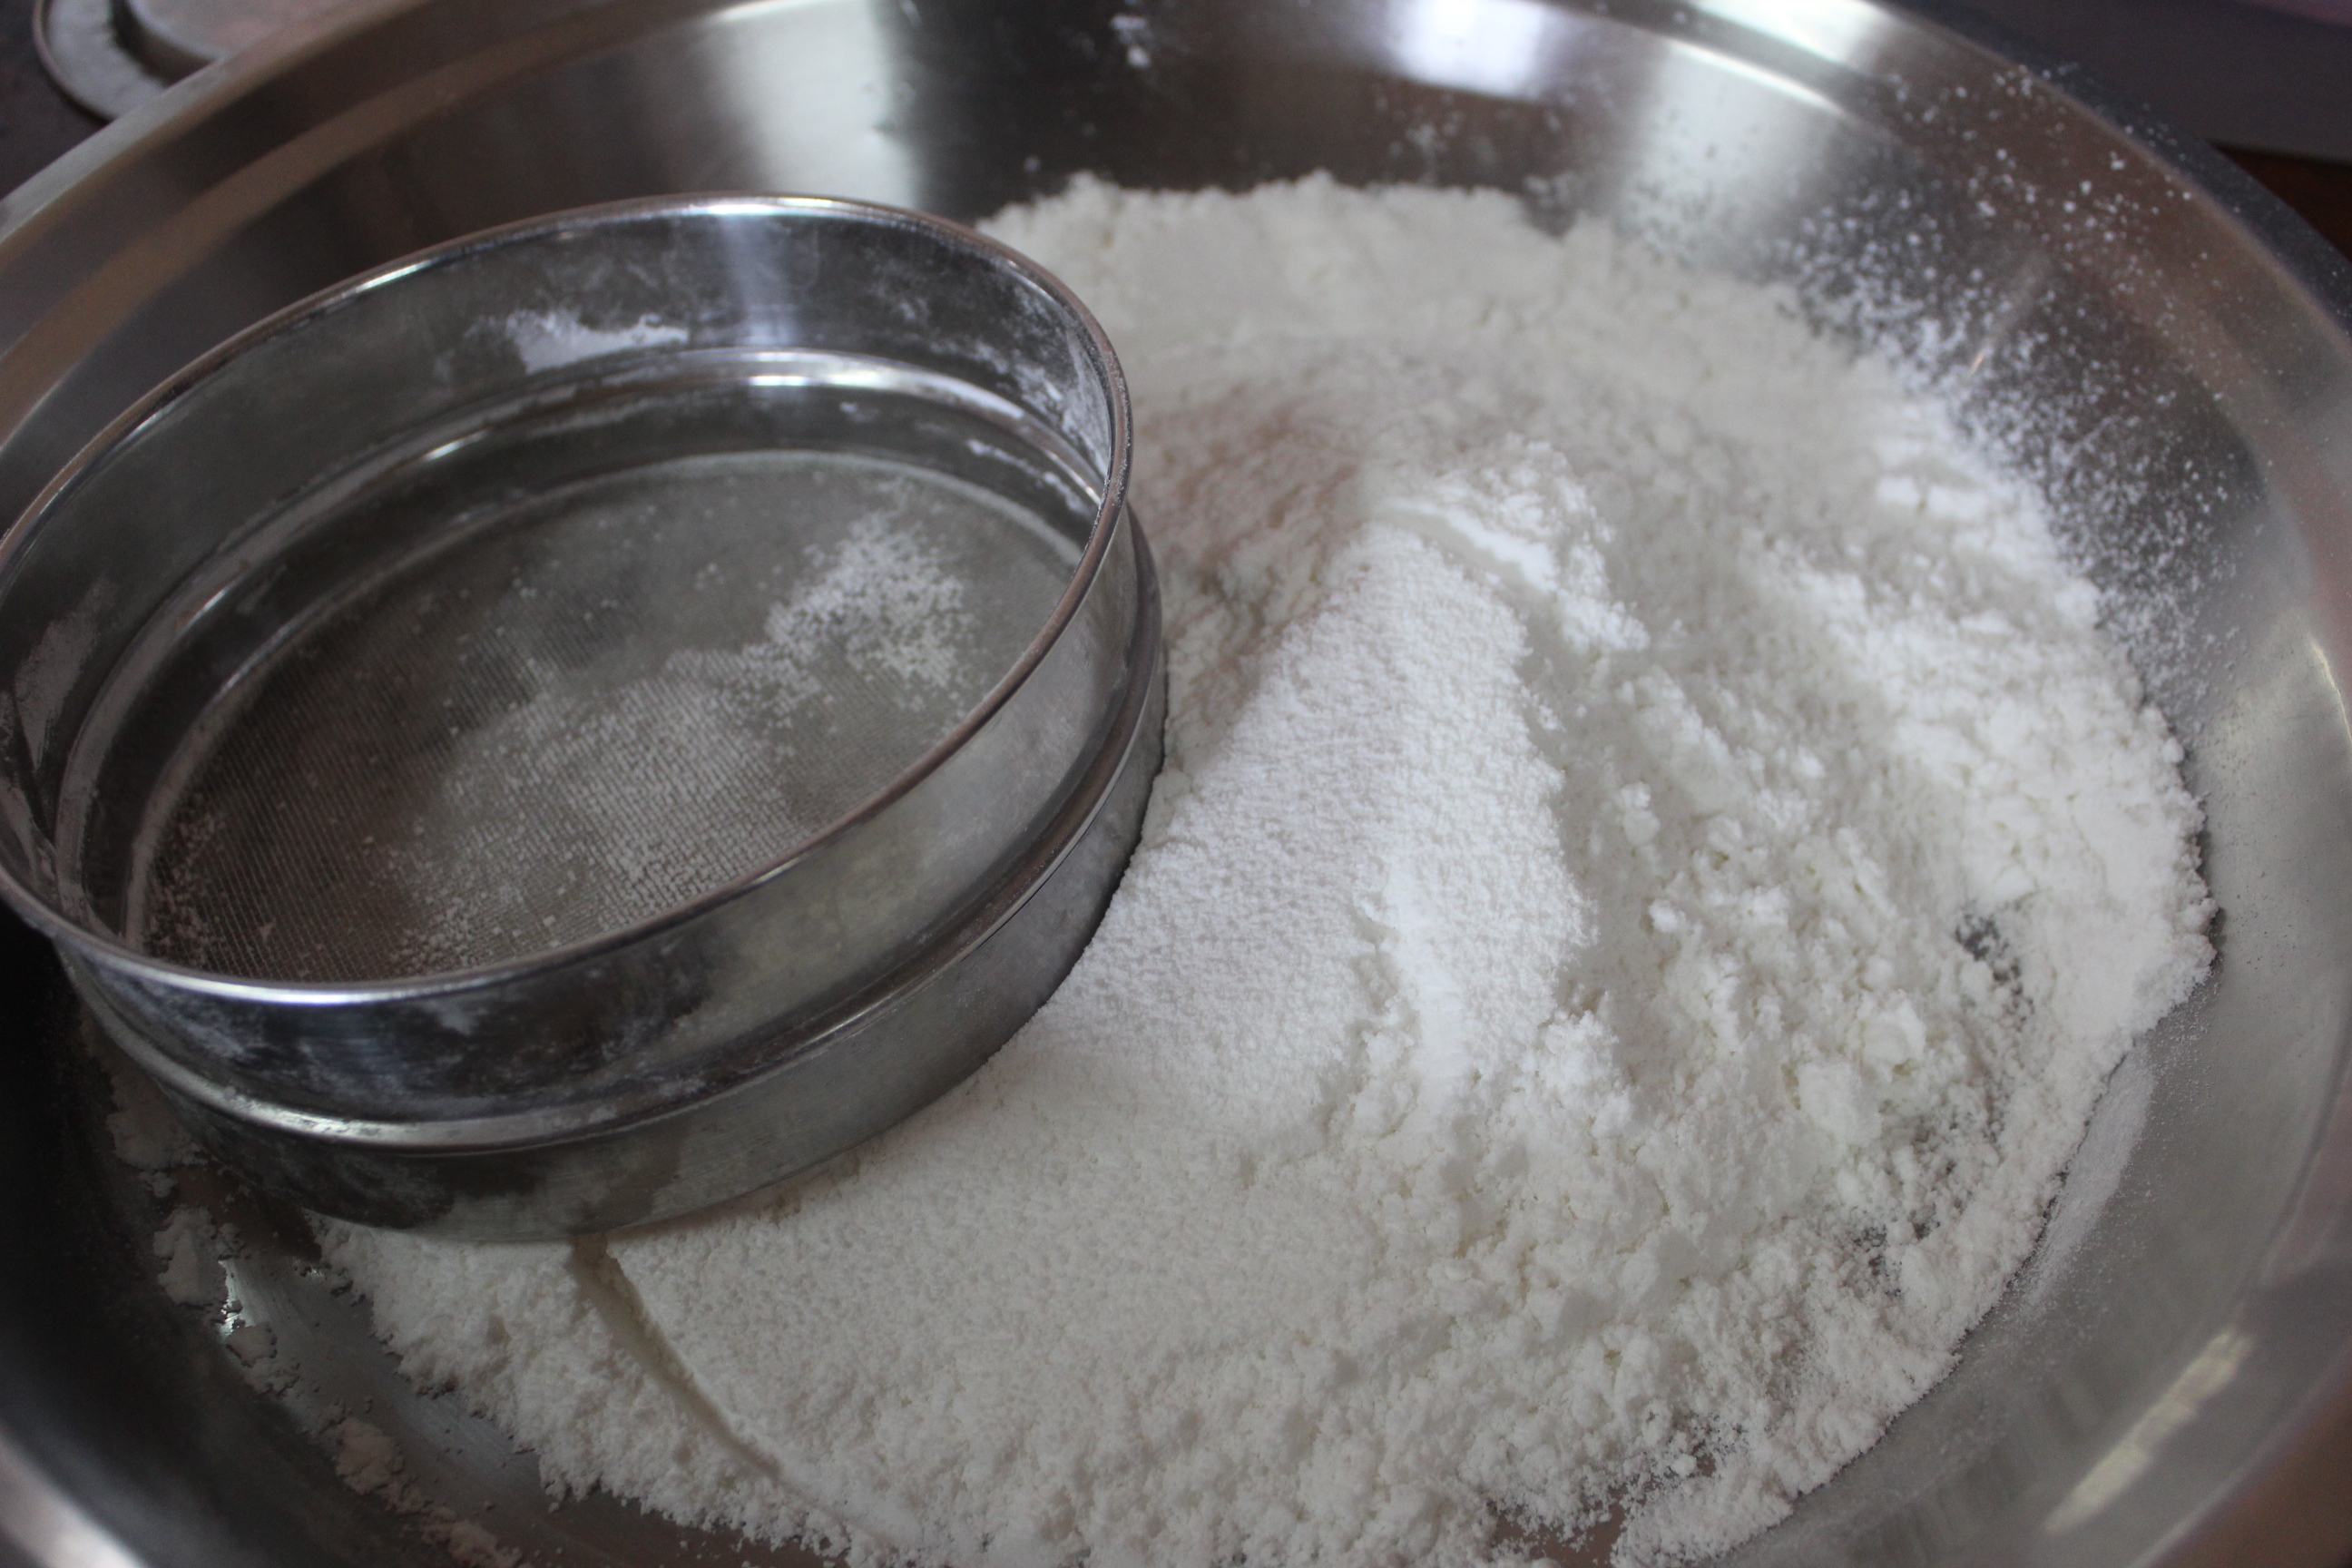
Before making seedai, we need home made, fine powdered rice flour, the core ingredient for both the salt and sweet version of seedai. Rice Flour
Wash well and soak 3 cups pacharisi/raw rice in enough water for 2 hours. Drain the water and spread in a clean cloth, preferably cotton towel which would absorb the excess water and dry the rice inside the room.
Never use paper, especially newspapers to dry rice or any kitchen purposes, as they contain highly dangerous ink which can cause illnesses.
The rice shouldn’t be dried too much. With a bit of moisture still in the rice, dry grind in a blender to a fine powder.
Sieve well and keep aside
Dehusked Black Gram Flour
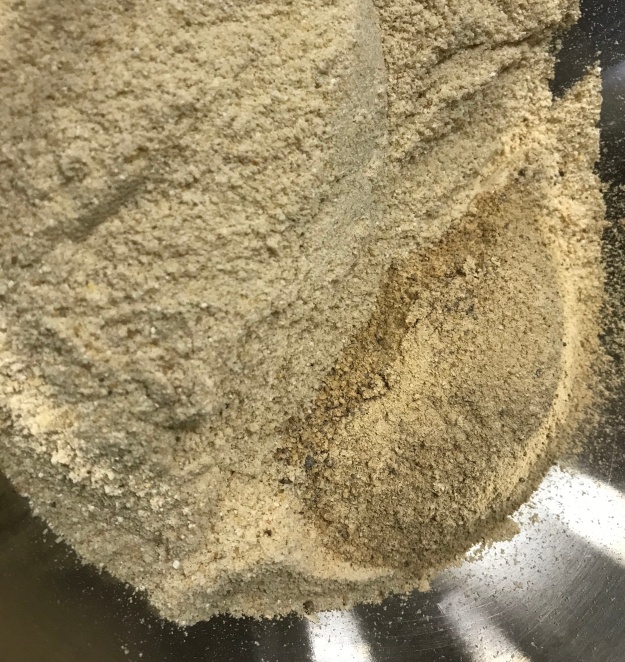
Also needed is black gram flour, which is dry roasted and powdered.
dry roasted…
and powdered…
Grind again the granules left over from the first sieve
Combine only very fine powder which is very important in the making of seedai.
Ingredients (makes 75-80 balls)
pacharisi maavu /rice flour – 2 cups
ulundhu maavu/dehusked black gram flour – 2 tbsp
varutha ellu/roasted sesame seeds – 2 tsp
nei/clarified butter – 2 tbsp
uppu/salt – a pinch
vellam/cane jaggery – grated – 1/2 cup
thanneer/water – to dissolve jaggery
thuruviya thengai/grated coconut – 2 tbsp
yennai/oil – for frying
Method of Preparation Part I
Dry roast rice flour till aroma comes out, but be careful not to over roast as it will change the colour of flour.
Take jaggery in enough water and heat slightly till it dissolves. We do not want a syrup here. So, be cautious.
Strain and keep aside.
Part II
Mix all the dry ingredients – rice flour, black gram flour, sesame seeds, salt and grated coconut with clarified butter.
Make a stiff dough with just enough jaggery water.
Always have extra flour (both rice and black gram) in hand. This might come handy when the dough becomes soft.
Part III
Heat oil for deep frying in a pan to start frying seedai. Keep in medium flame.
Make small balls of equal size.
Fry in medium hot oil till done – end product would be dark brownish in colour.
Drain excess oil in kitchen tissue and store in an air-tight container.