Aattukkal Paya or Mutton Paya has been a long awaited recipe to try. I was introduced to Aatukkal Paya when Appa was suffering from chronic pain of spondylitis. A vegetarian family where eggs were allowed once in a while in the name of health food, acclimatized itself to the smell of burnt goat’s leg – to be very blunt. A separate stove in the backyard, a separate pressure cooker and a few utensils for cooking and serving were all part of the new recipe to tackle the bone ailment of Appa. Every time ‘paya’ came home, it was a curious thing for me to see how it looked behind the goaty smell that it rendered. The burnt leg gave an additional intolerable smell while getting cooked….but all was tolerable in the name of spondylitis.
Our helper ‘N’ single handedly introduced all of us to the exclusive Paya. Awestruck, wide eyed and amused, me and Amma would watch her clean, wash and smash before dropping the stuff into the cooker. The done soup would enter the house through the back doors and then into appa’s tummy. But by the time appa would gulp it down, ‘N’ would clean the backyard with disinfectants and other necessary cleansers. Show over and the theatre would return next week.
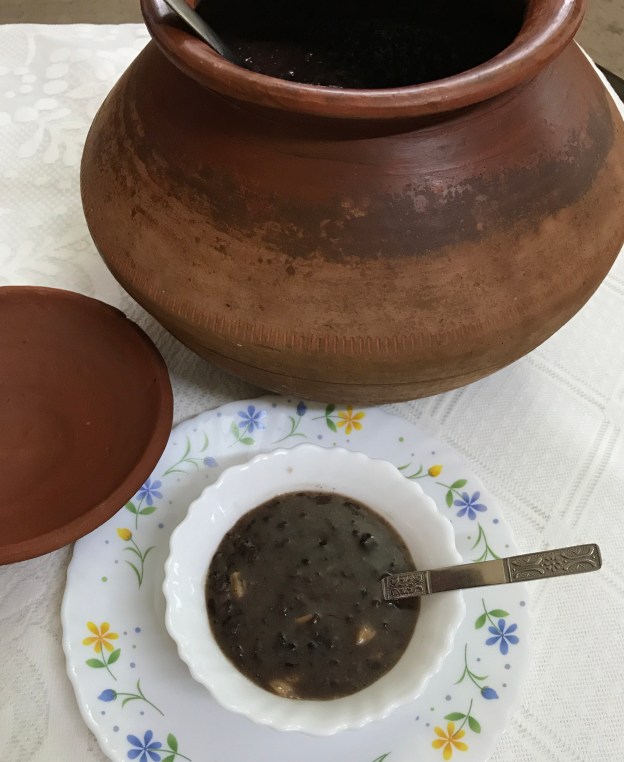
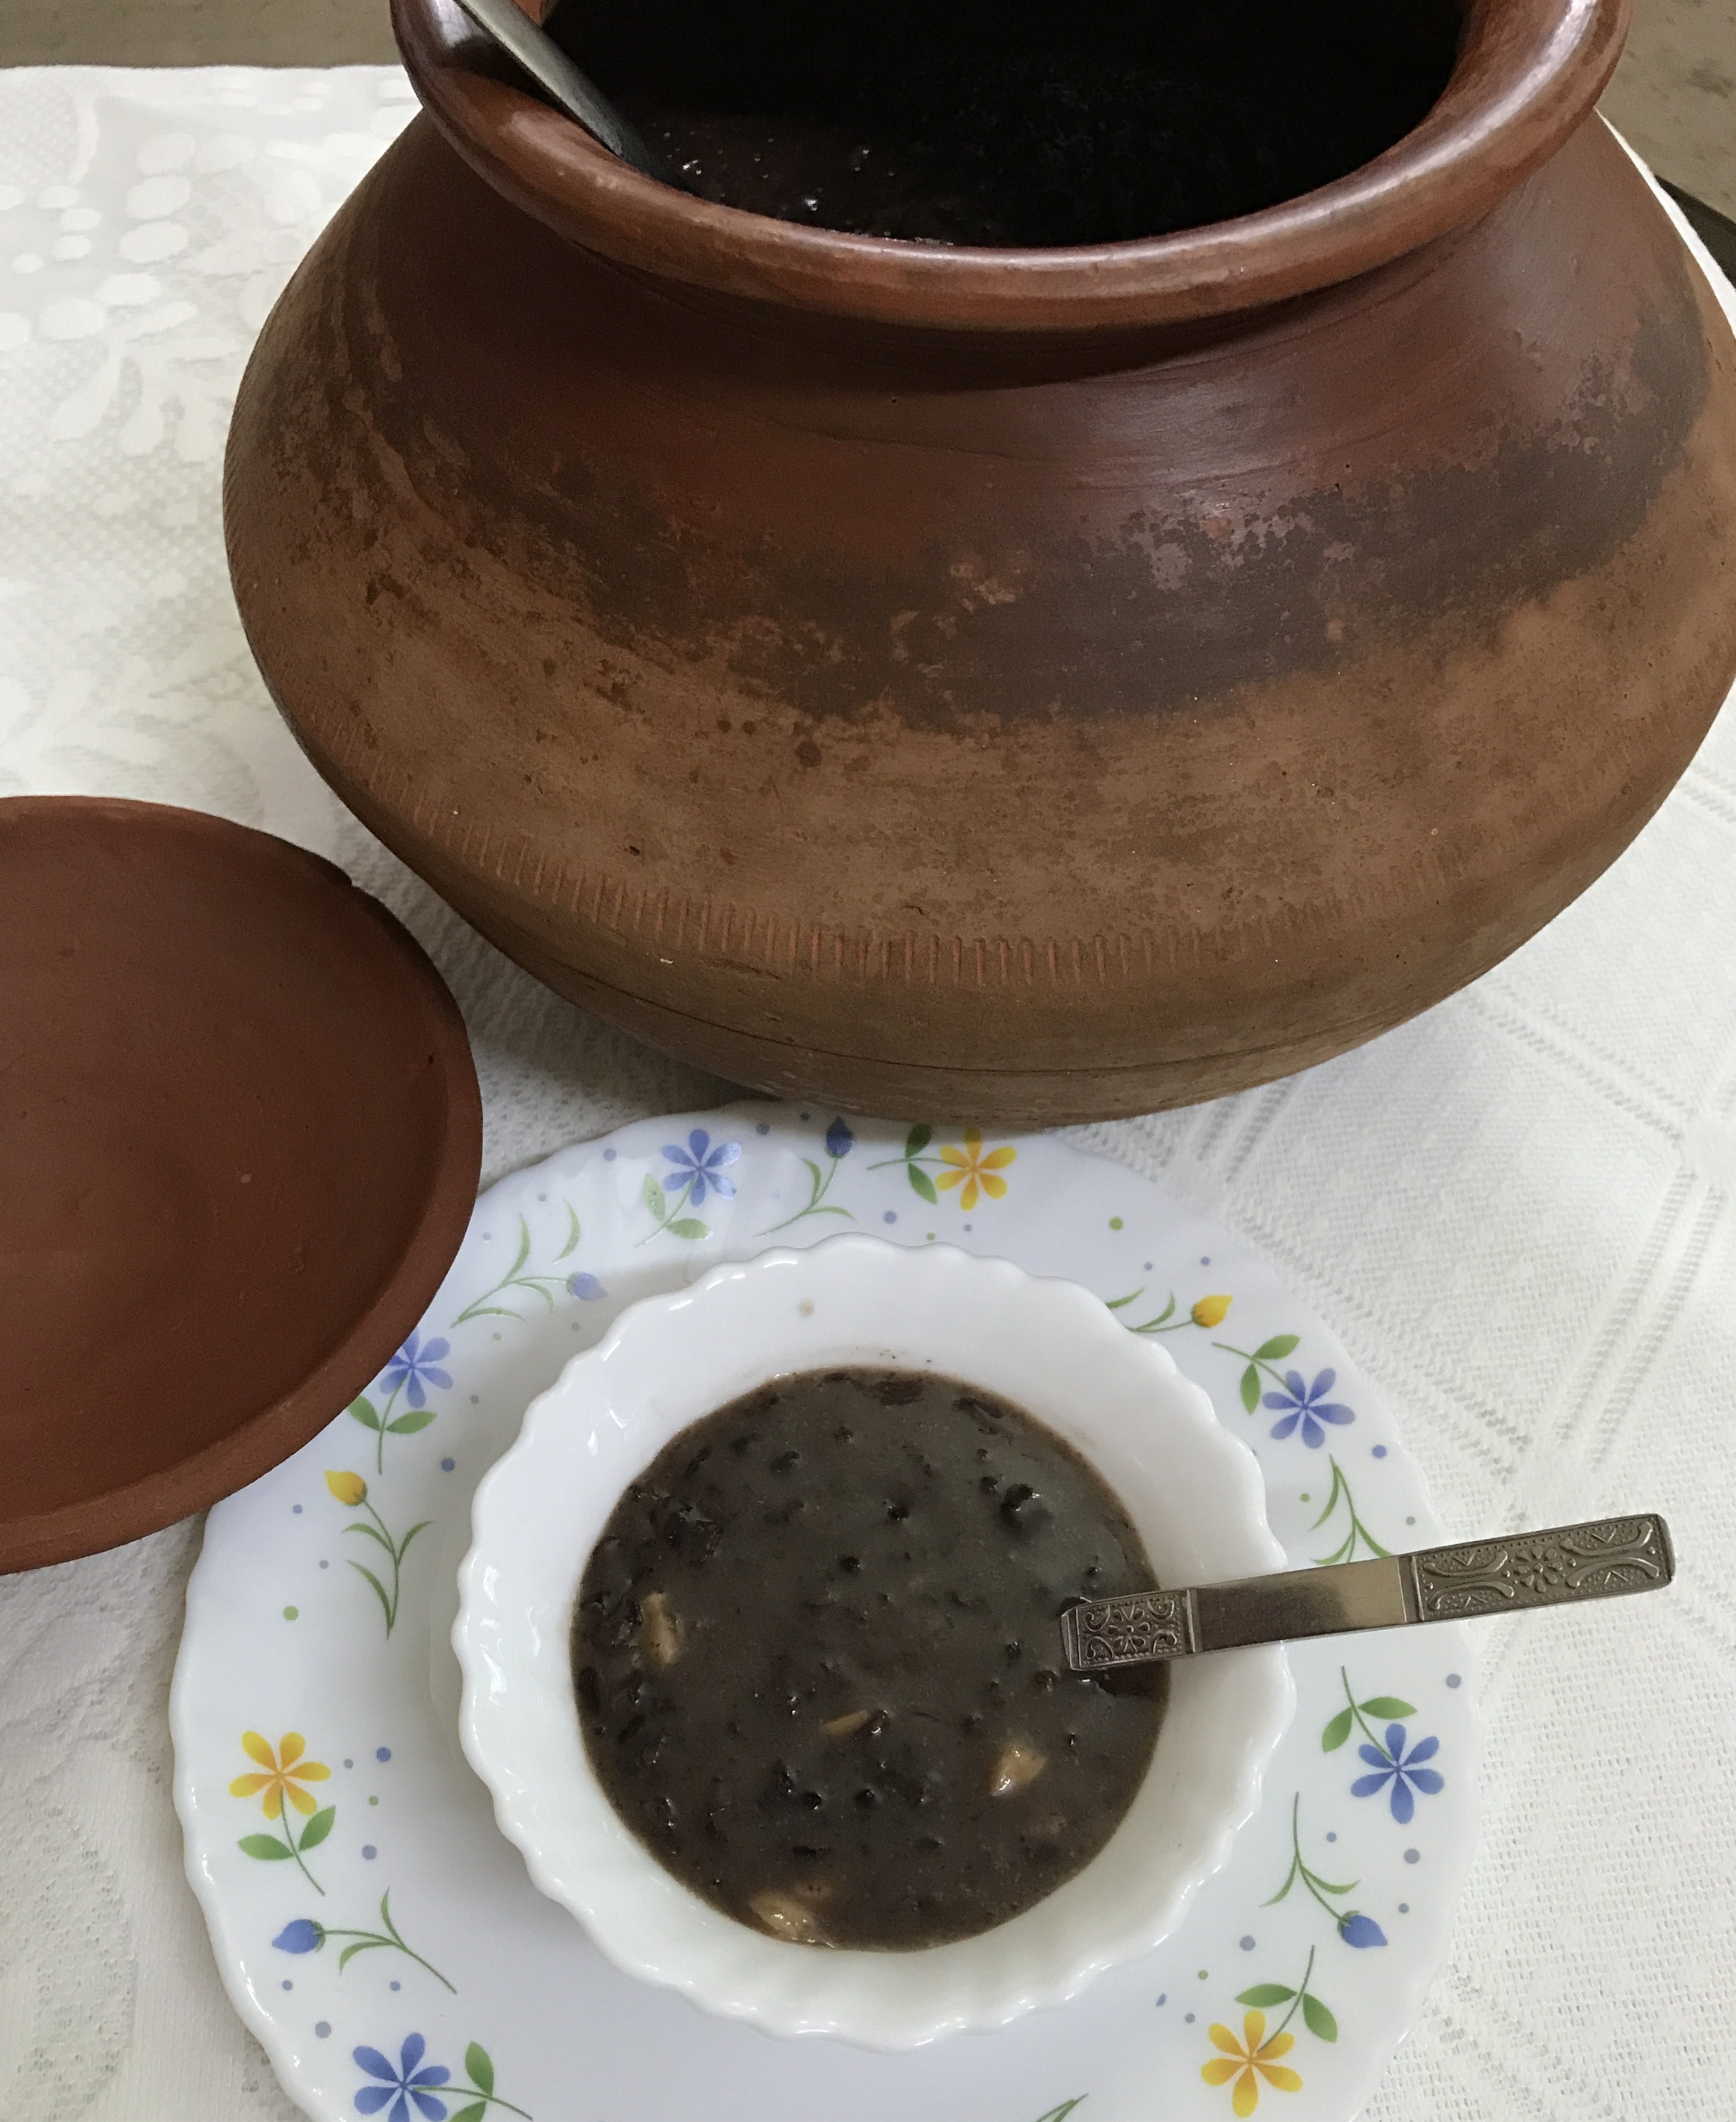
The done Aatukkal Soup or Paya soup was a beautiful one. It was truly a surprise how the smelly bone turned out to be a glowing aromatic soup with just the simplest of ingredients like ginger, pepper and salt. Generally, vegetarian Tamilnadu foods don’t glow so much like their non-vegetarian counterparts. Poriyal (dry vegetable curries), kootu (vegetables cooked in lentils) or sambar .. the day to day curries are certainly less oily. The other kuzhambus like the Vatral Kuzhambu or Puli Kuzhambu (tamarind based curries) are made more flavourful, if needed, with hot gingelly oil (cold pressed sesame seed oil) poured on top. Hence this wide eyed surprise for a food product which delivered so much of glow. Less did I know then that animal protein has more fat to cook itself without addition of extra oil.
But Paya is a different and exclusive one that provides healthy fat that is loaded with nutrients and helps avoid degeneration of bones and cartilage.

Cartilage found in animal joint areas such as chicken feet, beef or lamb knuckles, trachea and ribs, hooves and skin, tend to yield the most nutritious broth. It contains cartilage (gelatine), bone marrow, amino acids and minerals. The end ingredient is a broth that contains all the valuable nutrients that are found in animal bones.
Bone broth promotes strength and nourishes, specially in times of sickness, injury, rehabilitation, and helps to prevent bone and connective tissue disorders.
Bone broth contains a high quantity of calcium, phosphorous, magnesium, sulfur, fluoride, sodium and potassium. These minerals can promote not only bone health but also support intestinal healing, help in calcium- or- magnesium-deficiency-related insomnia, irritability, fatigue and anxiety.
http://indianexpress.com/article/india/india-others/drink-bone-broth-to-rejuvinate-the-sick-heal-injuries/
When I knew nothing of cooking and was used to chatting with Amma and aachi while they were cooking, this was a great introduction to non-vegetarian stuff. But what remained well embarked in my mind was the fact that, that particular glowing soup was providing enough lubrication to the joints and was helping in easy recuperation of bone ailments.
Life is a great tutor. It shows you various things at various stages of your life….. that you may make use at perfect situations. It introduces you to very many things you might need to adapt at very many junctions… Now, adaptation is the key to a happy life. It’s true and I’ve experienced it.
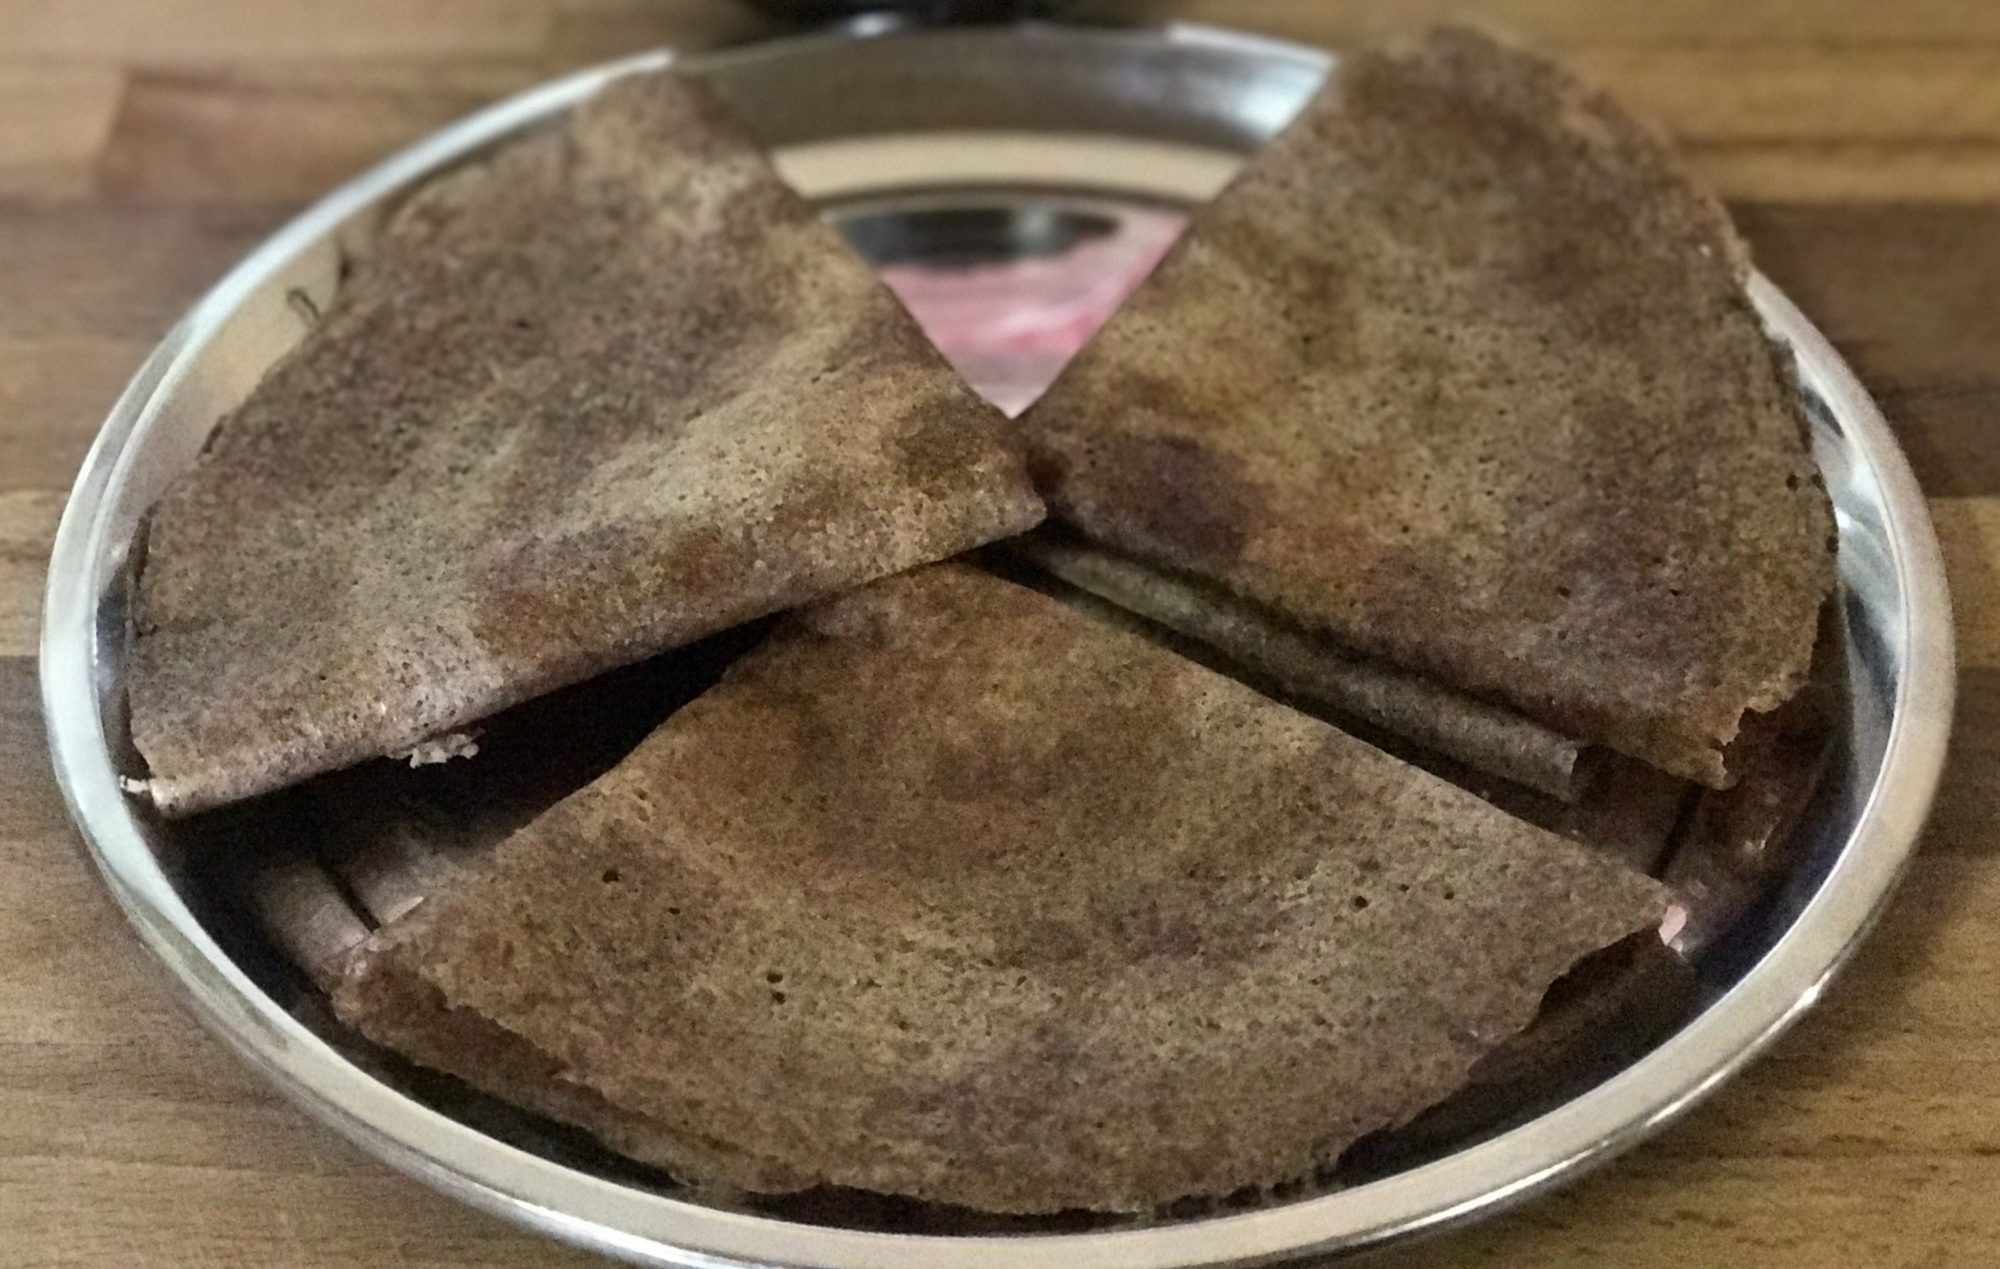
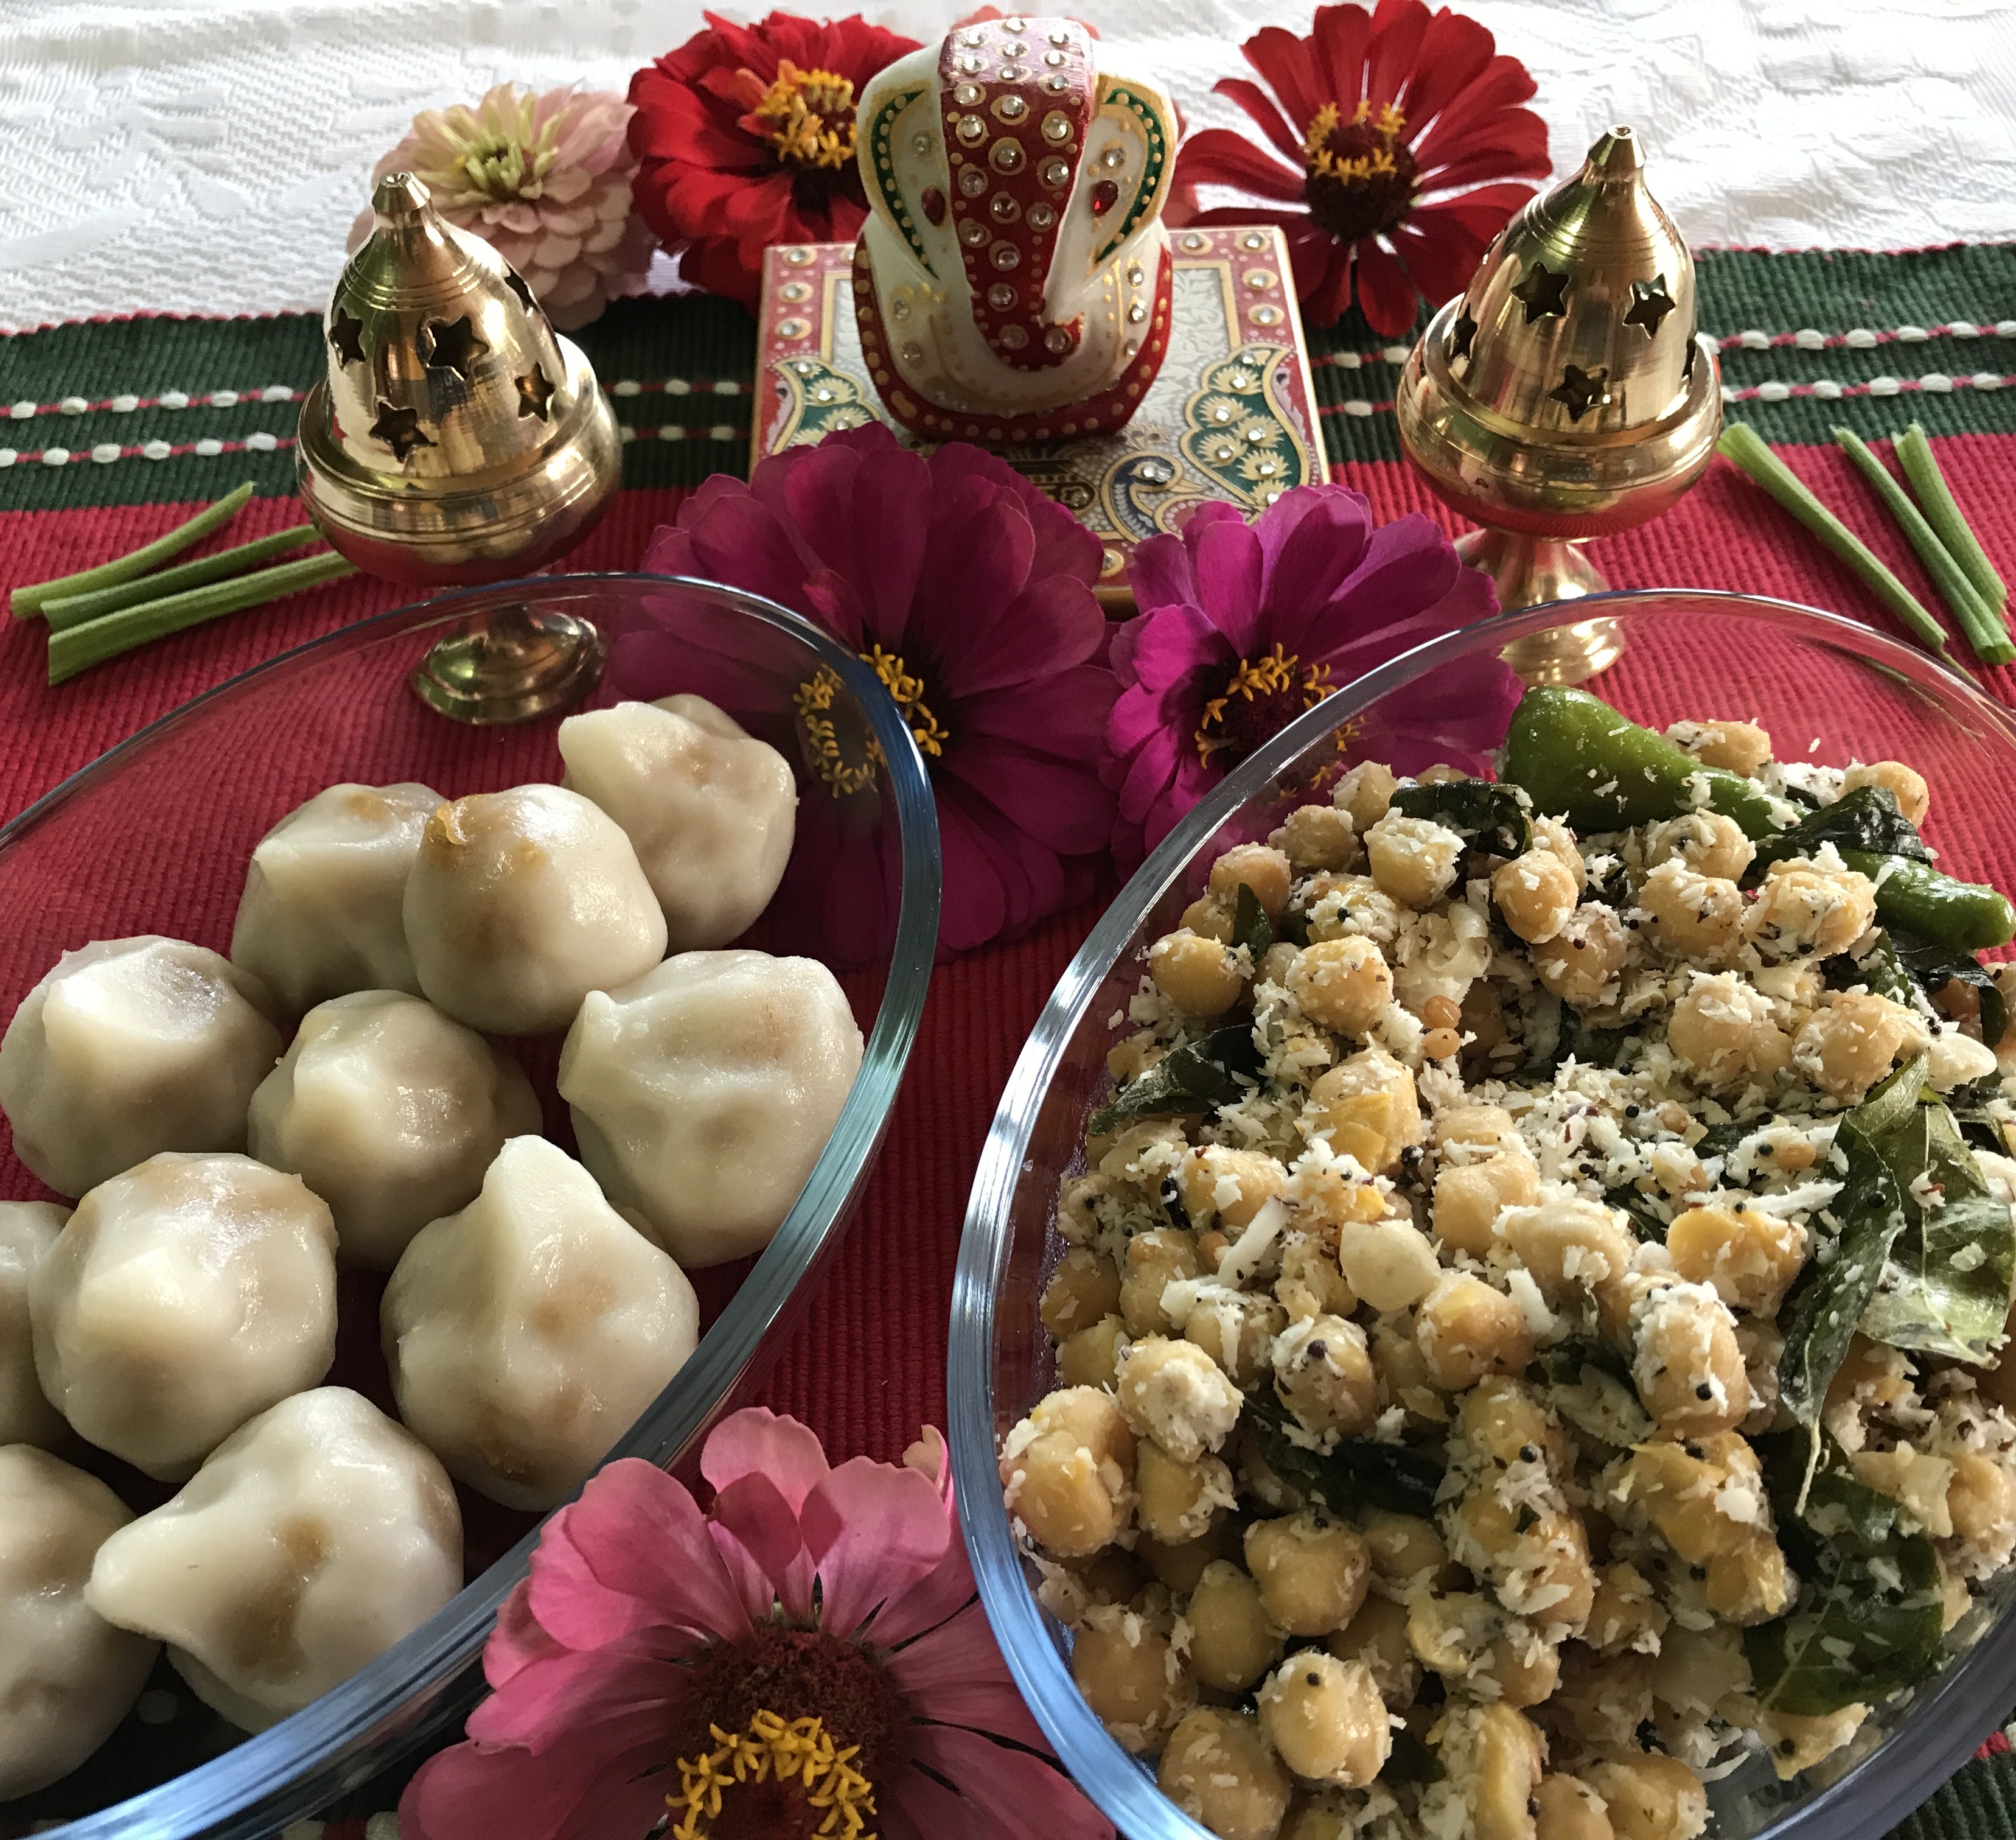
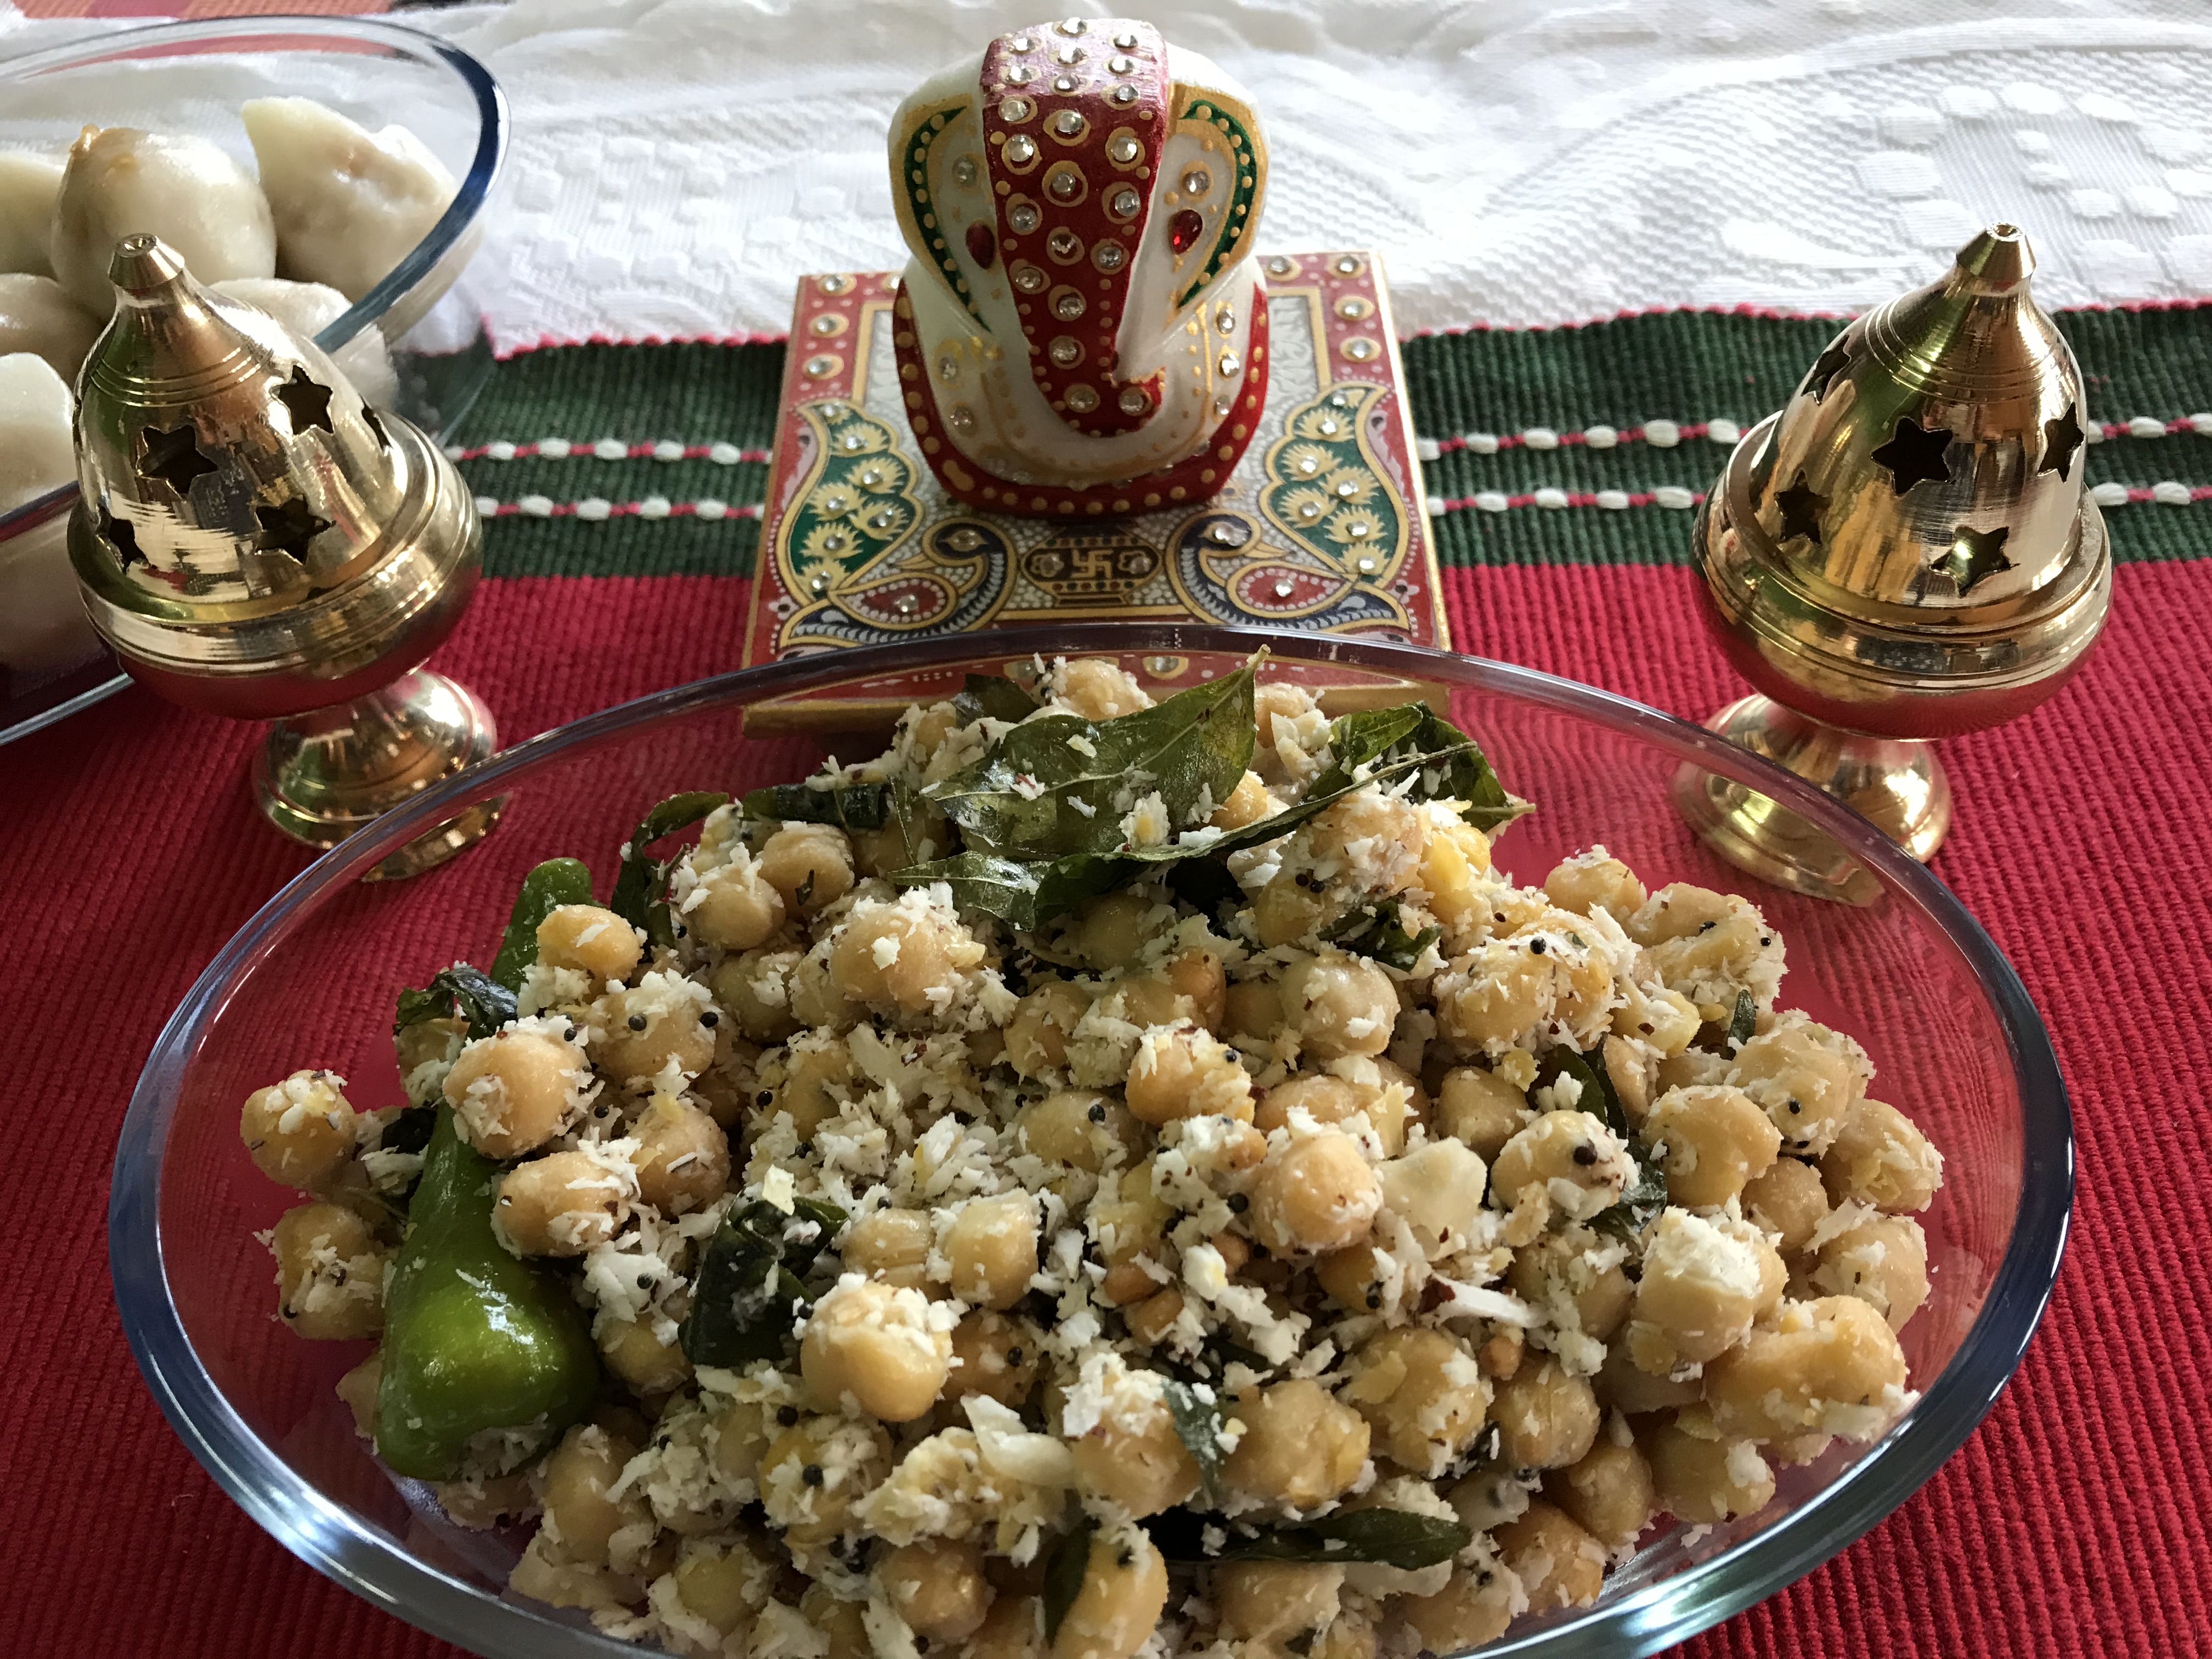
Athai, my mom-in-law always remembers and narrates her childhood memories of Aattukkal Paya. In certain pockets of Tamilnadu, Dosai and Paya are quintessential Diwali breakfast foods. She tells me how Paya would be slow cooked on a wood-burning stove in her house in a big vessel.. Almost everyone contributes to the cooking process of Paya, by stirring off and on, on the day before Diwali. After extensive cleaning, cutting and chopping of garlic, ginger and onion necessary for the curry, cooking begins by experienced elders of the household. With all siblings waiting to taste, Paya is ready to eat only the next morning. The aroma of Paya getting cooked in wooden based stove would fill the house, making the wait irresistible.
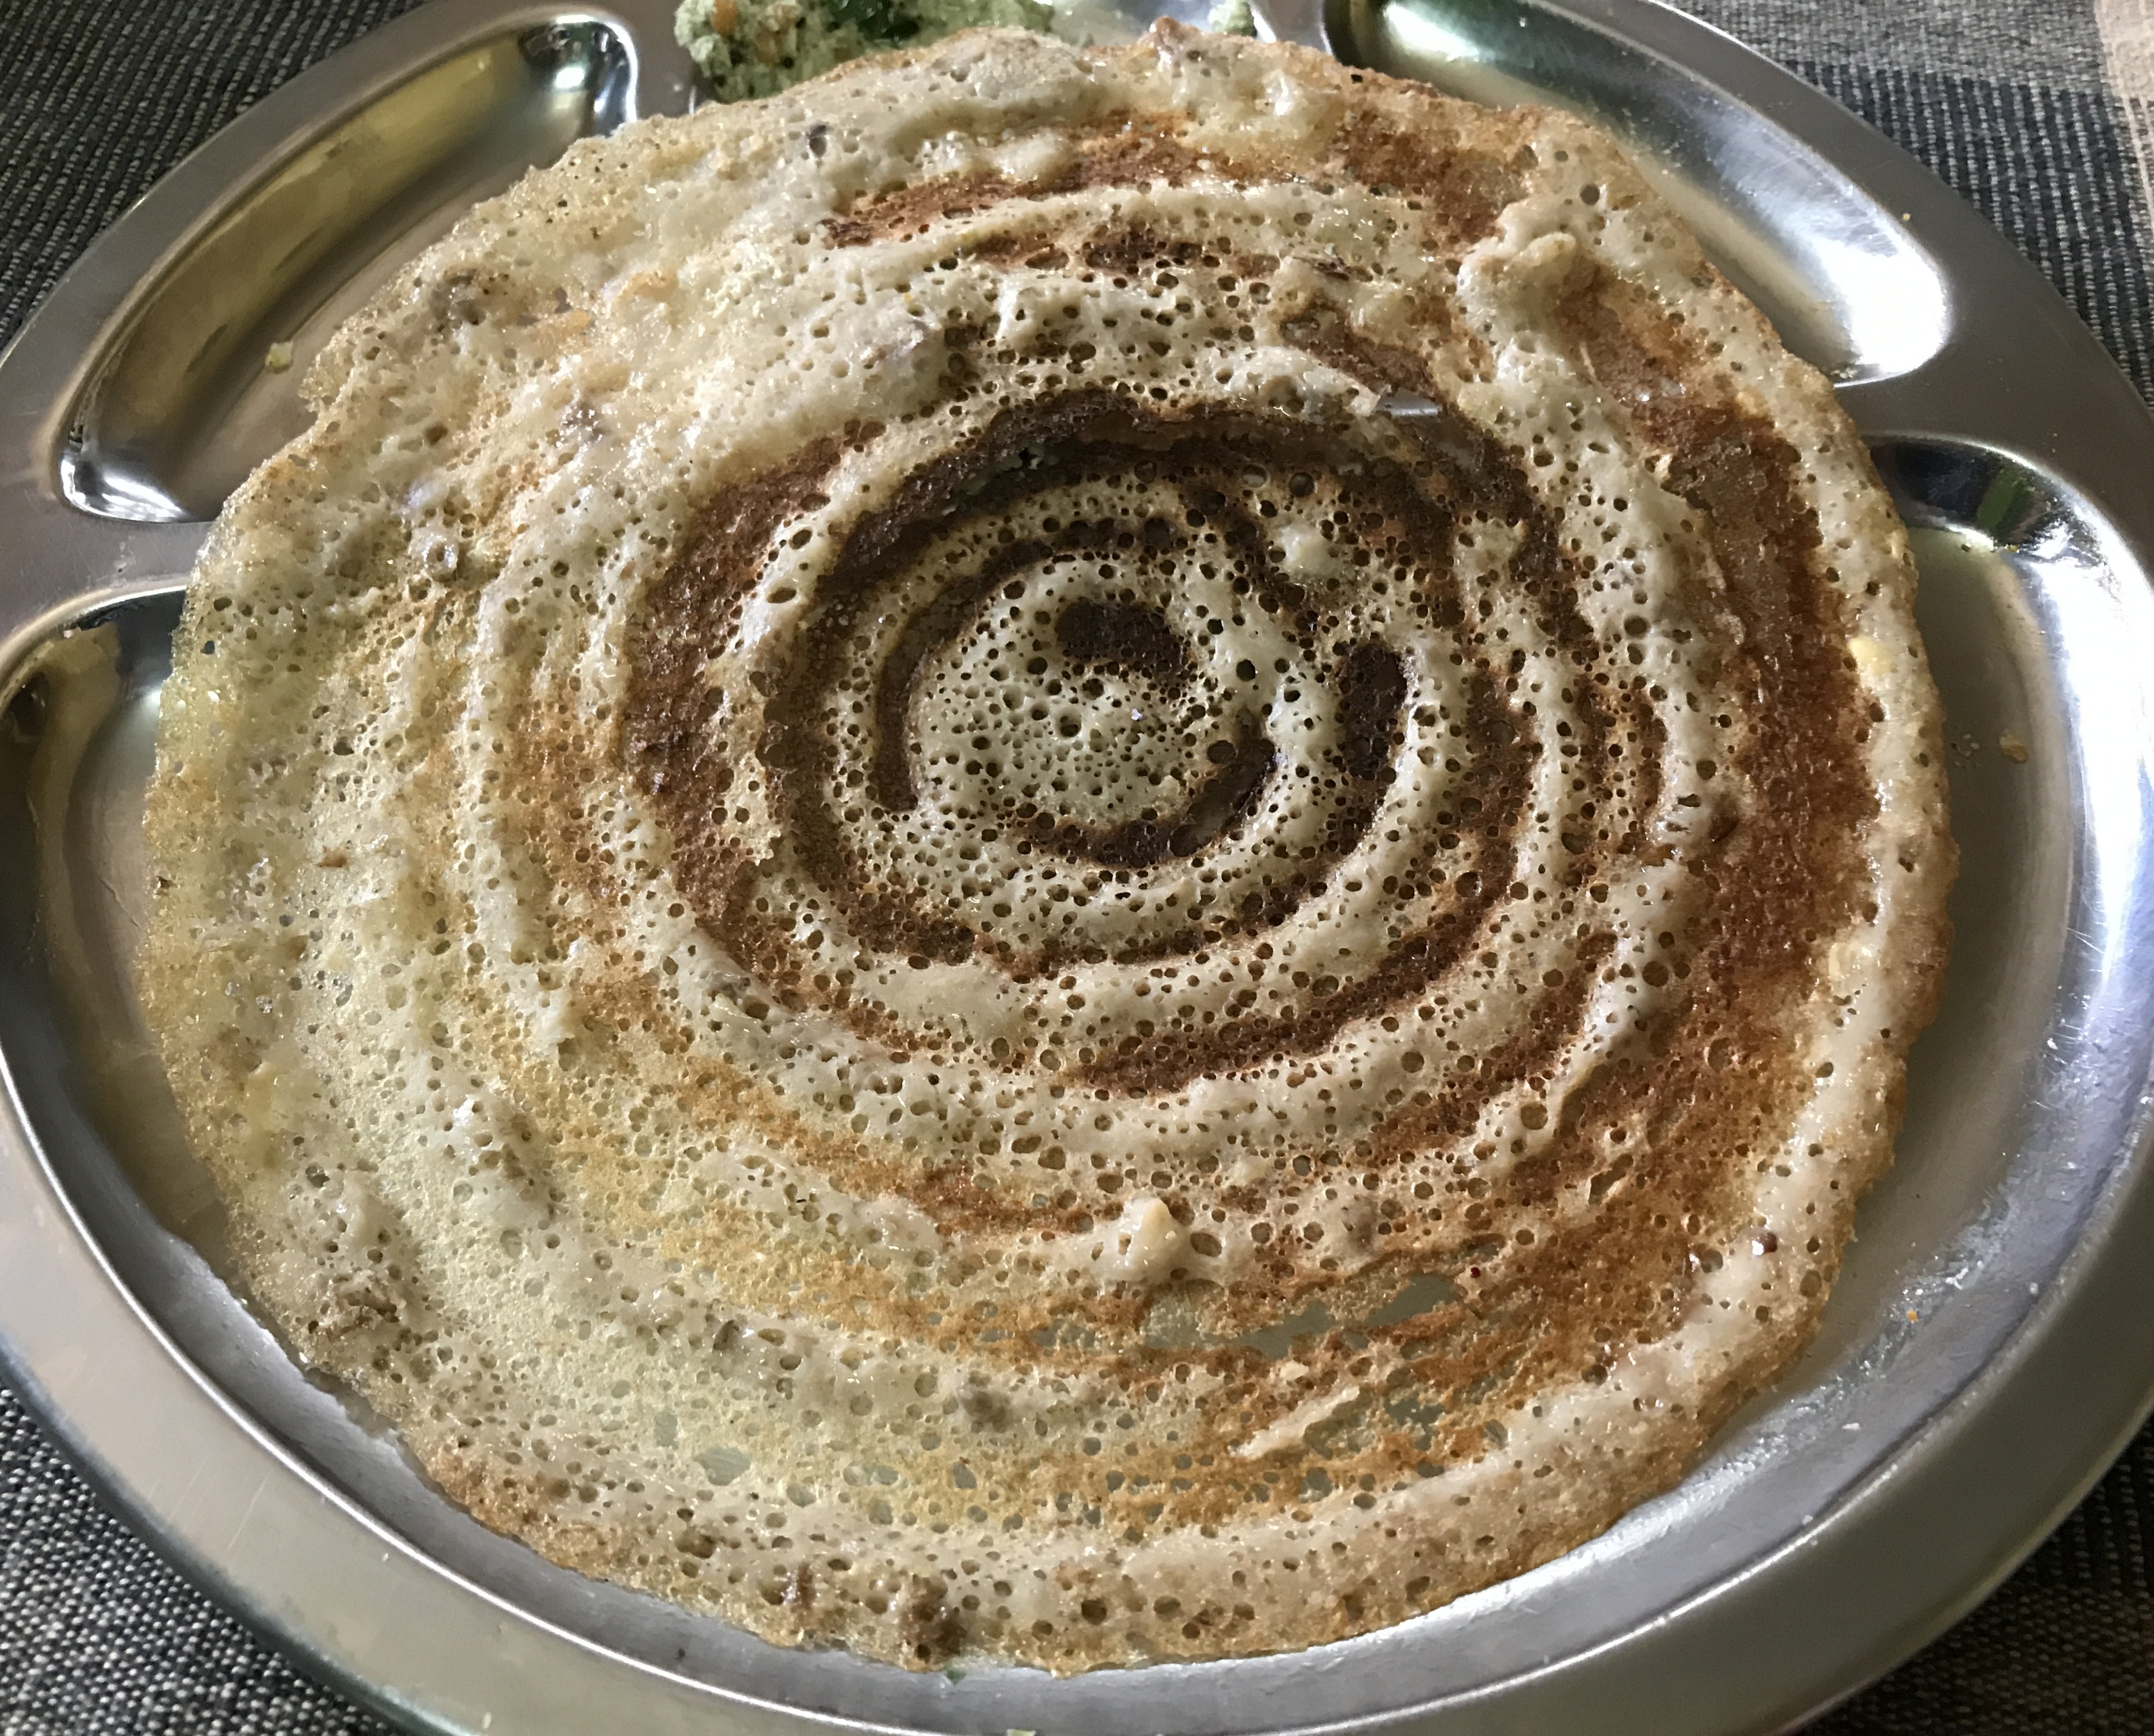
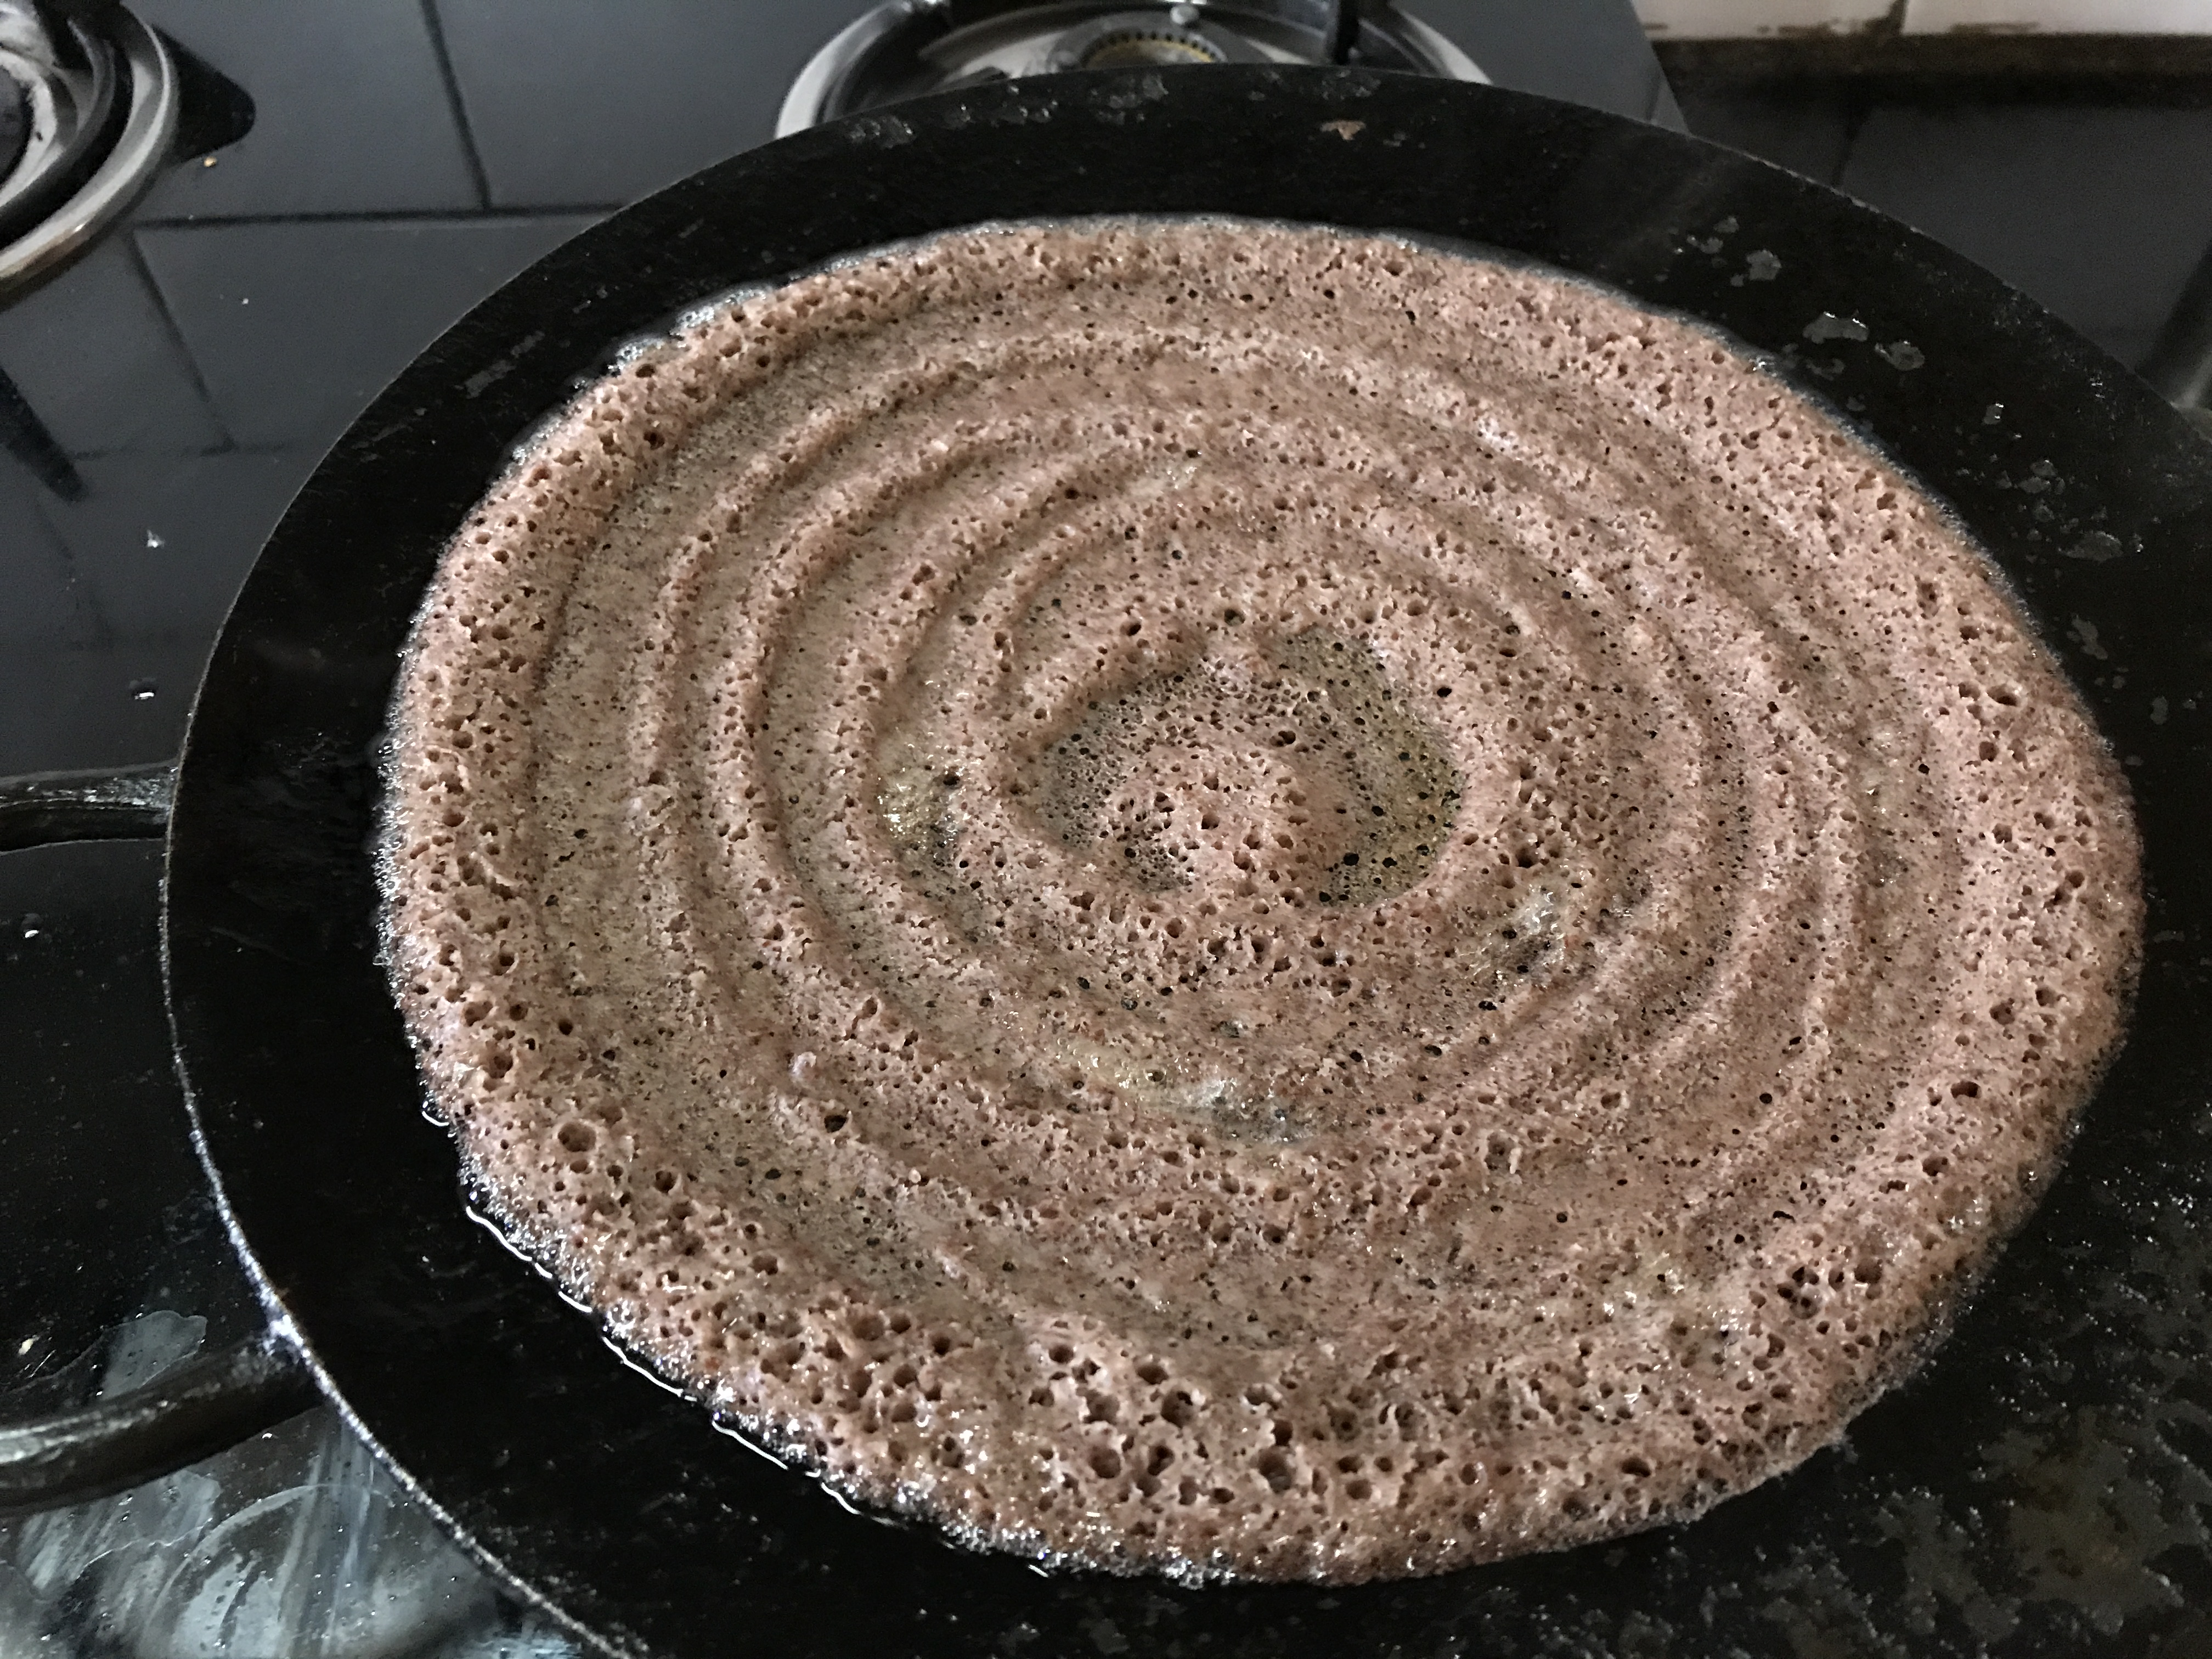
The Paya would be done by night and left on the stove, with firewood in sim throughout the night. The goats’ leg absorbs all the flavour of the spices and coconut milk while resting on the stove whole night. The next morning, when the world wakes up for sweets and celebrations of Diwali, soft Dosais are prepared. The wait is over and everyone gets the share of sumptuous Paya with Dosai.
This story from Athai that is always part of her childhood memories, and narrated several times to me, has acted as a catalyst in cultivating a special interest in Aatukkal Paya for a new comer to non-vegetarian cuisine, as a new daughter-in-law many years ago.
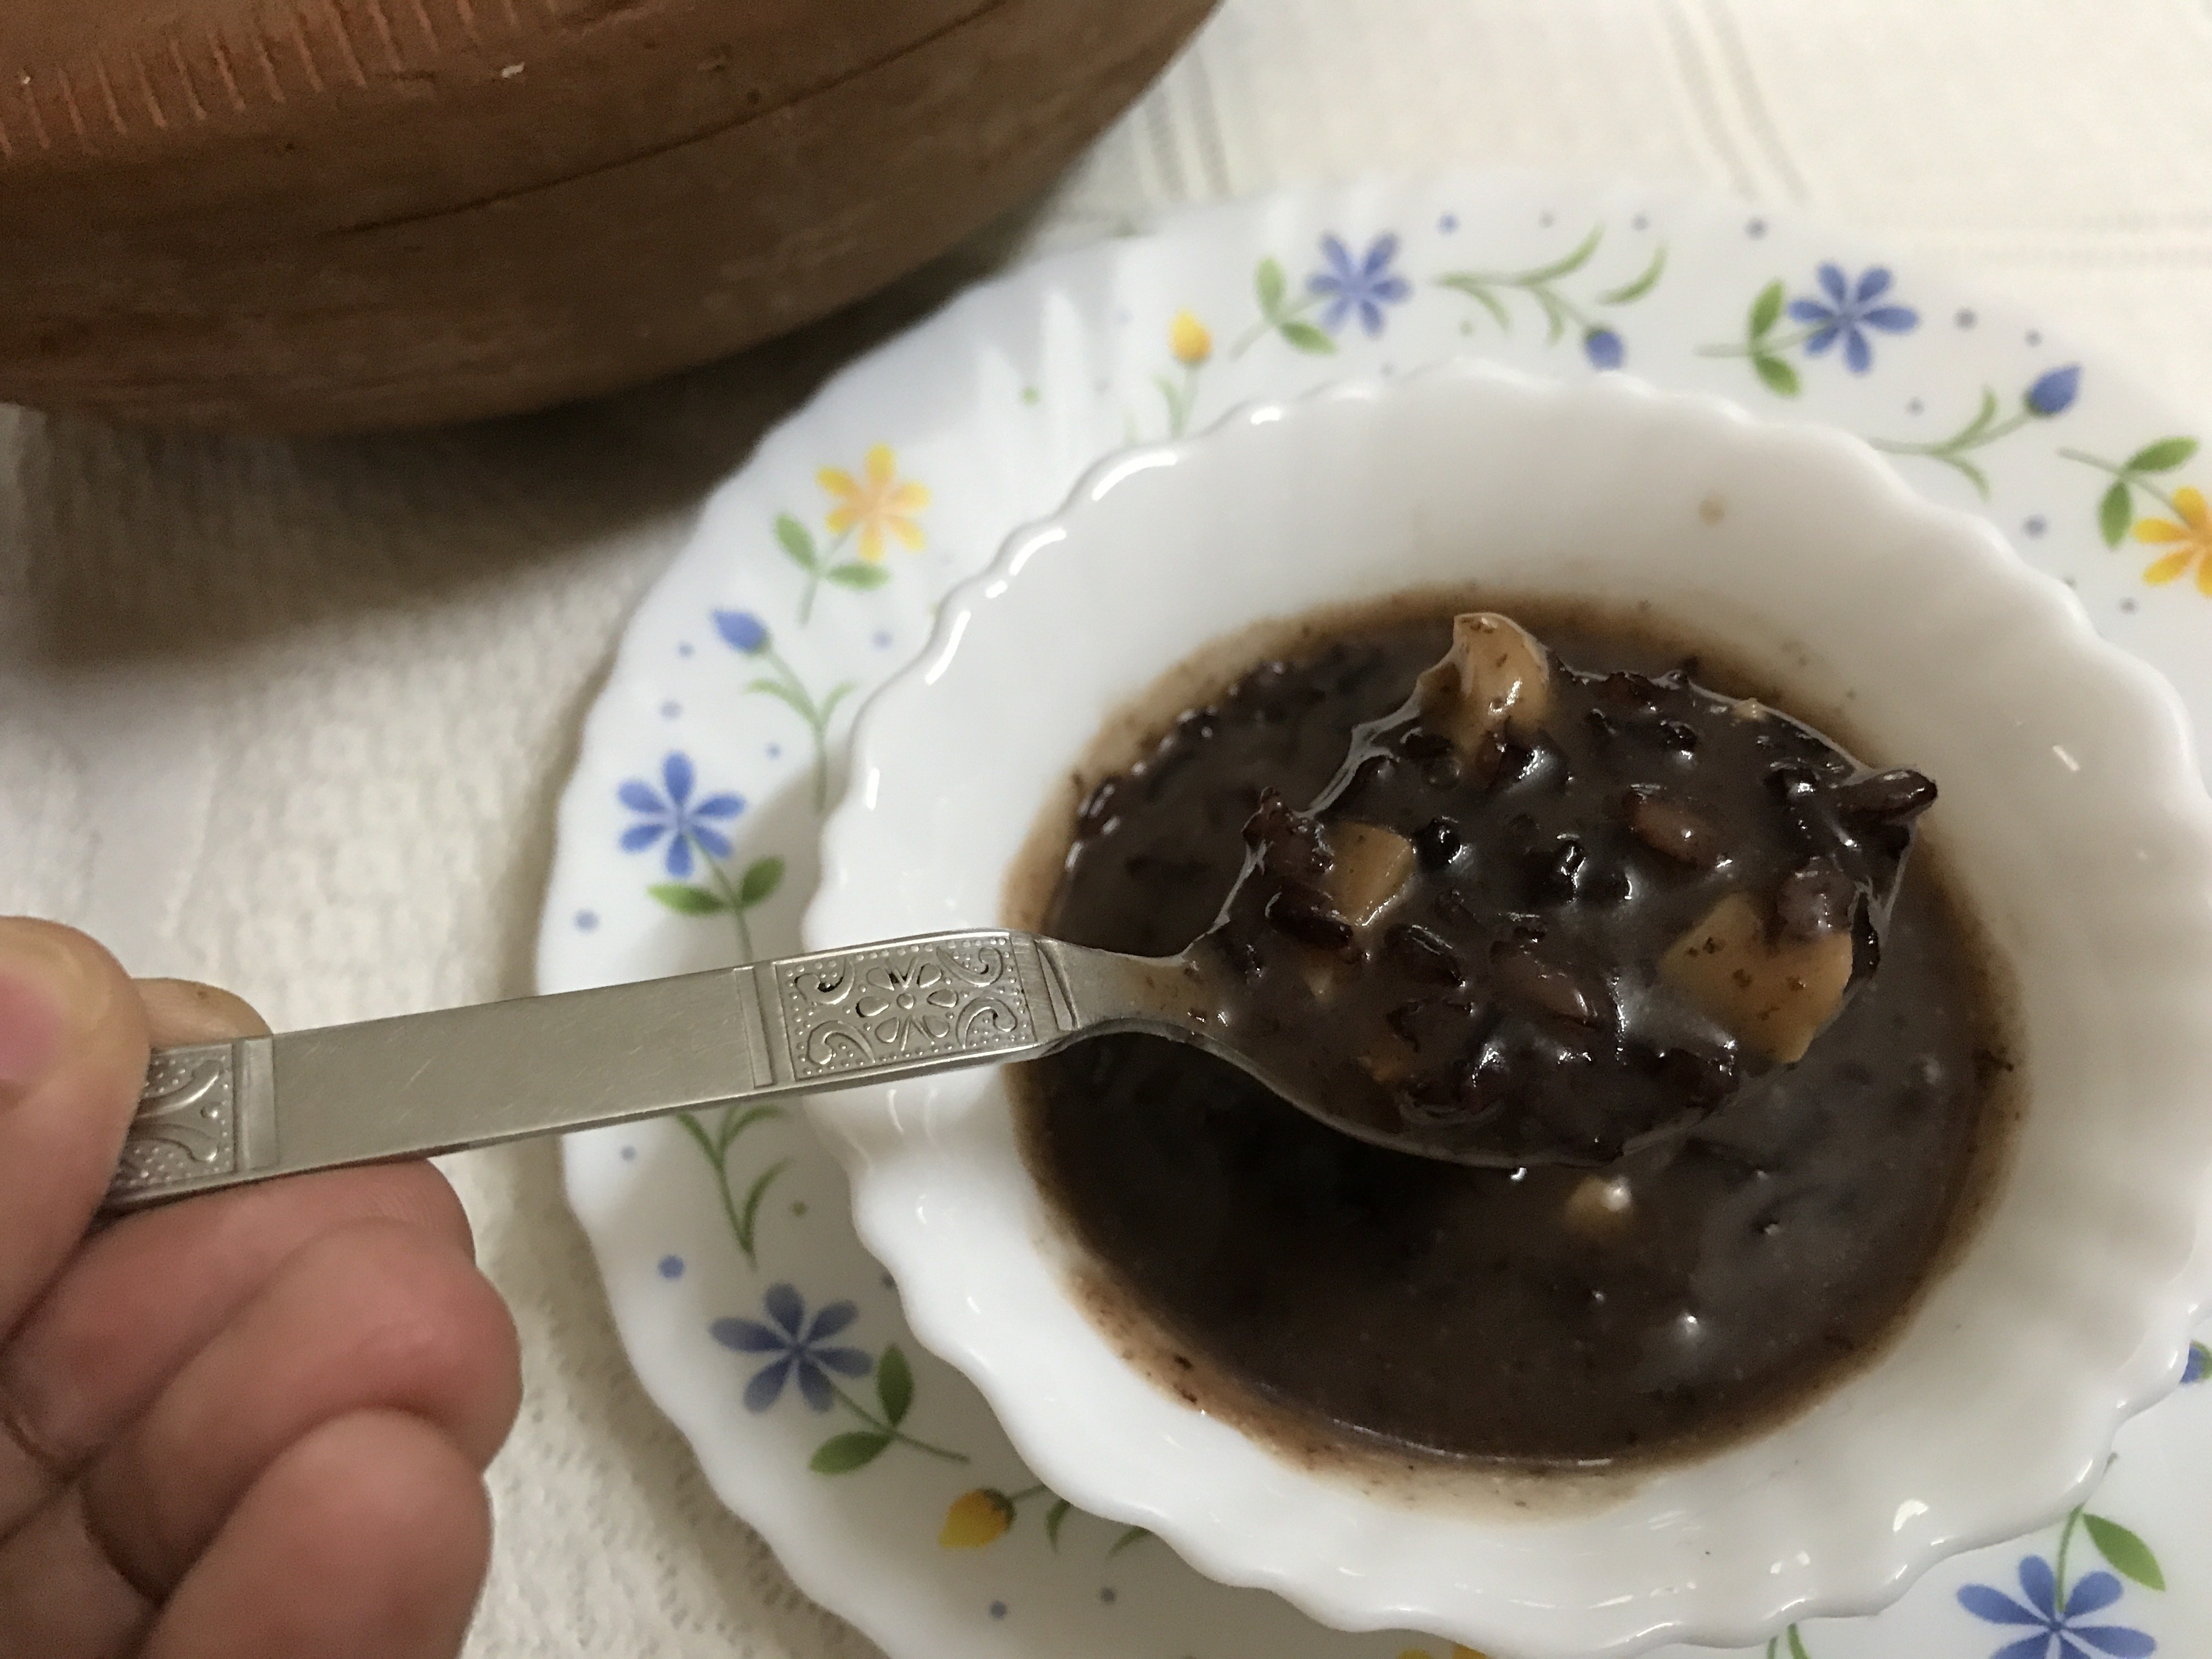
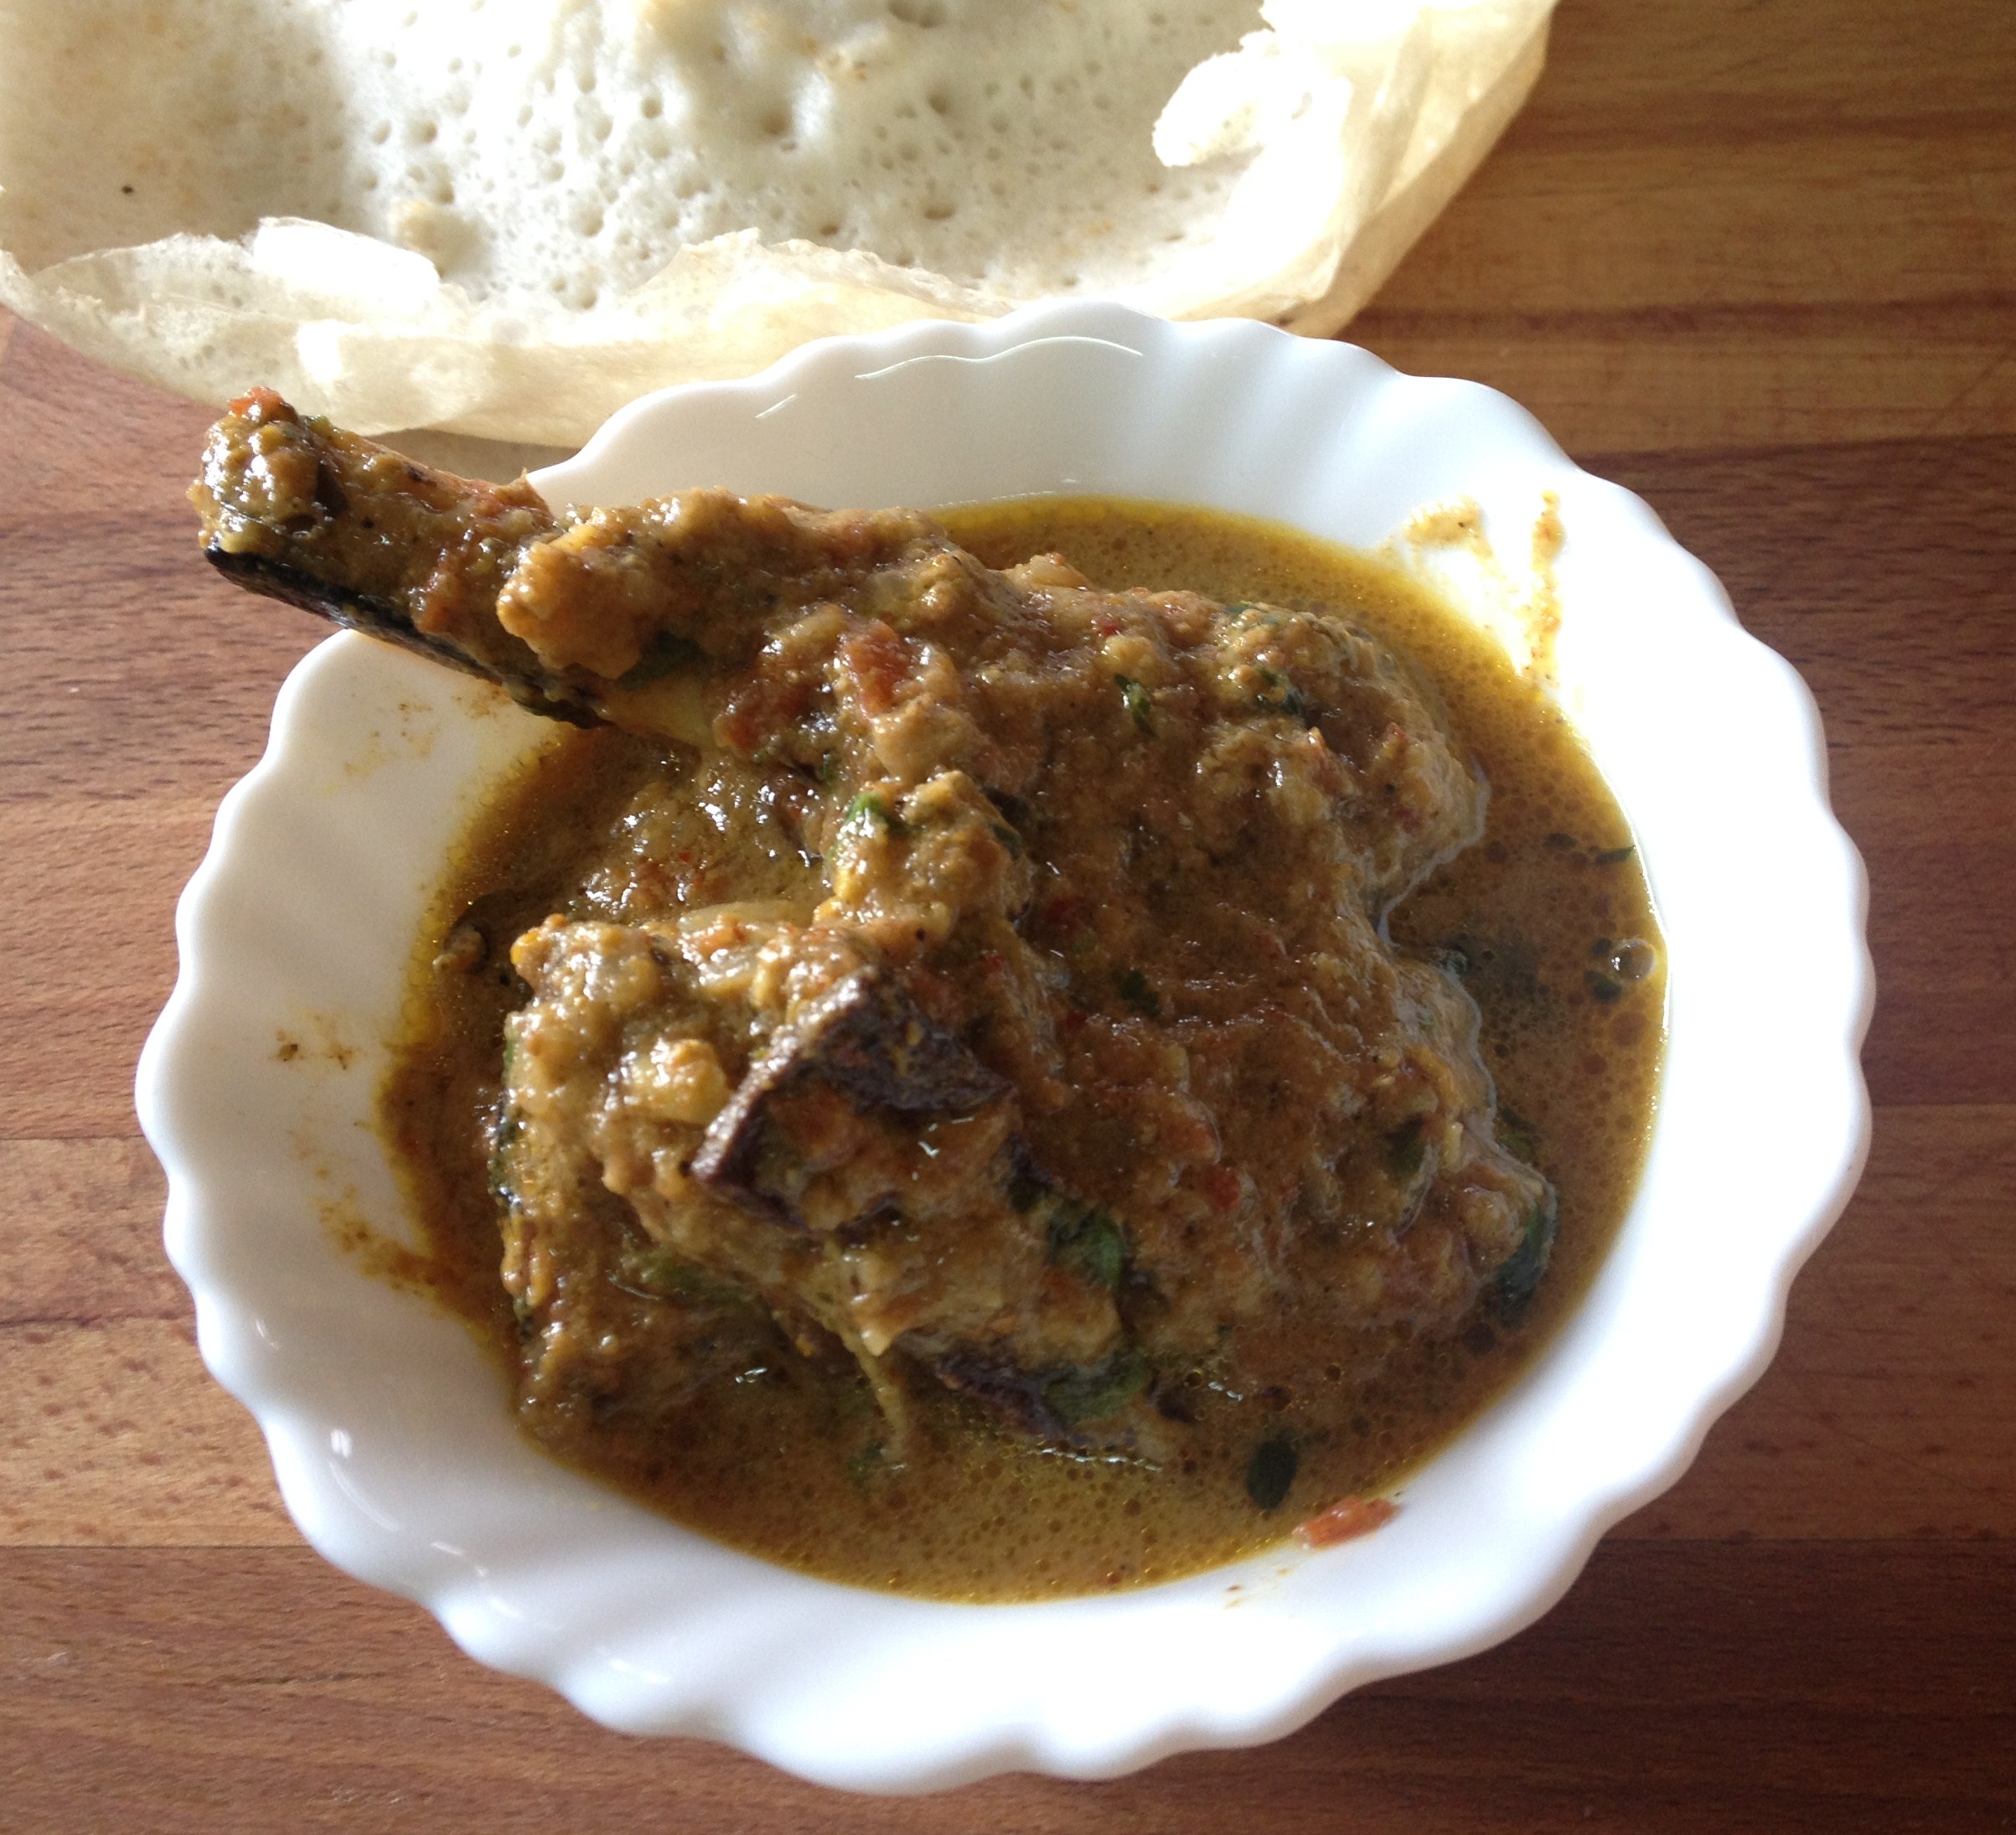
After the first Paya episode in childhood, almost 25 years ago, Paya holds a special place in my kitchen and in the freezer. I sit back with some statistics… Started Cooking non-vegetarian food 16 years ago, became non-vegetarian by chance and choice 10 years ago, started blogging 6 years ago, now I present Aattukkal Paya Curry (not soup that Appa (father) had but what Athai (mother-in-law had) that I think is truly a delicacy… Not because of my culinary skills, but because of the natural fatty agents stuffed inside the cartilage of the goat or sheep, and the exotic flavour of coconut milk in which the Paya is cooked. Truly, the combination is deadly.
To get a better idea of making Paya Curry or Lamb Trotter Curry, I got great tips and methods from these two bloggers:
Thanks so much guys. My work was made easy because of your posts.
Check out these posts and one gets a comprehensive idea of Paya, it’s usage, health benefits and above all two great curries.
http://www.kothiyavunu.com/2013/02/mutton-paya-aatukal-paya-goat-trotters.html
http://www.swapnaskitchen.com/2015/05/04/attukal-kulambu-paya/
I adapted the basic Paya making from these two curries and thought trotters initially cooked in thinner coconut milk would render better flavour as in my Tirunelveli Sodhi, where vegetables are cooked in the third or thinnest diluted coconut milk to render the coconut aroma throughout the dish. The double cooking of the trotters would somewhat compensate for the lack of slow cooking.
Recipe Aatukkal Paya Curry/Leg of Lamb (Trotter) Curry

Ingredients (serves 2-3)
- Any cooking oil – 2 tsp
- Aatukkal – 1/2 kg appr.
- turmeric powder – 1/4 tsp
- salt – to taste
Finely clean, burnt Lamb trotters with absolutely no hair. I always immerse the Paya in turmeric-salt water for at least 30 minutes to disinfect.
Dry whole spices
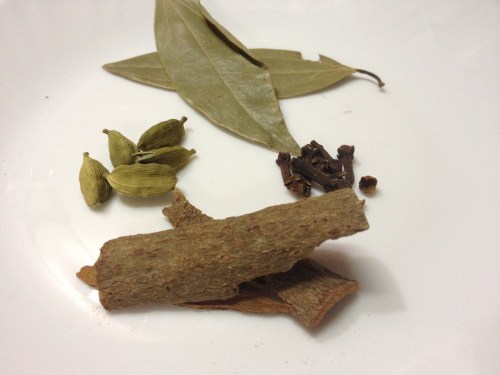
- Cardamom – 5 no.s
- Cloves – 5 no.s
- Cinnamon stick – 2-3 pieces
- Bay leaves- 2 no.s
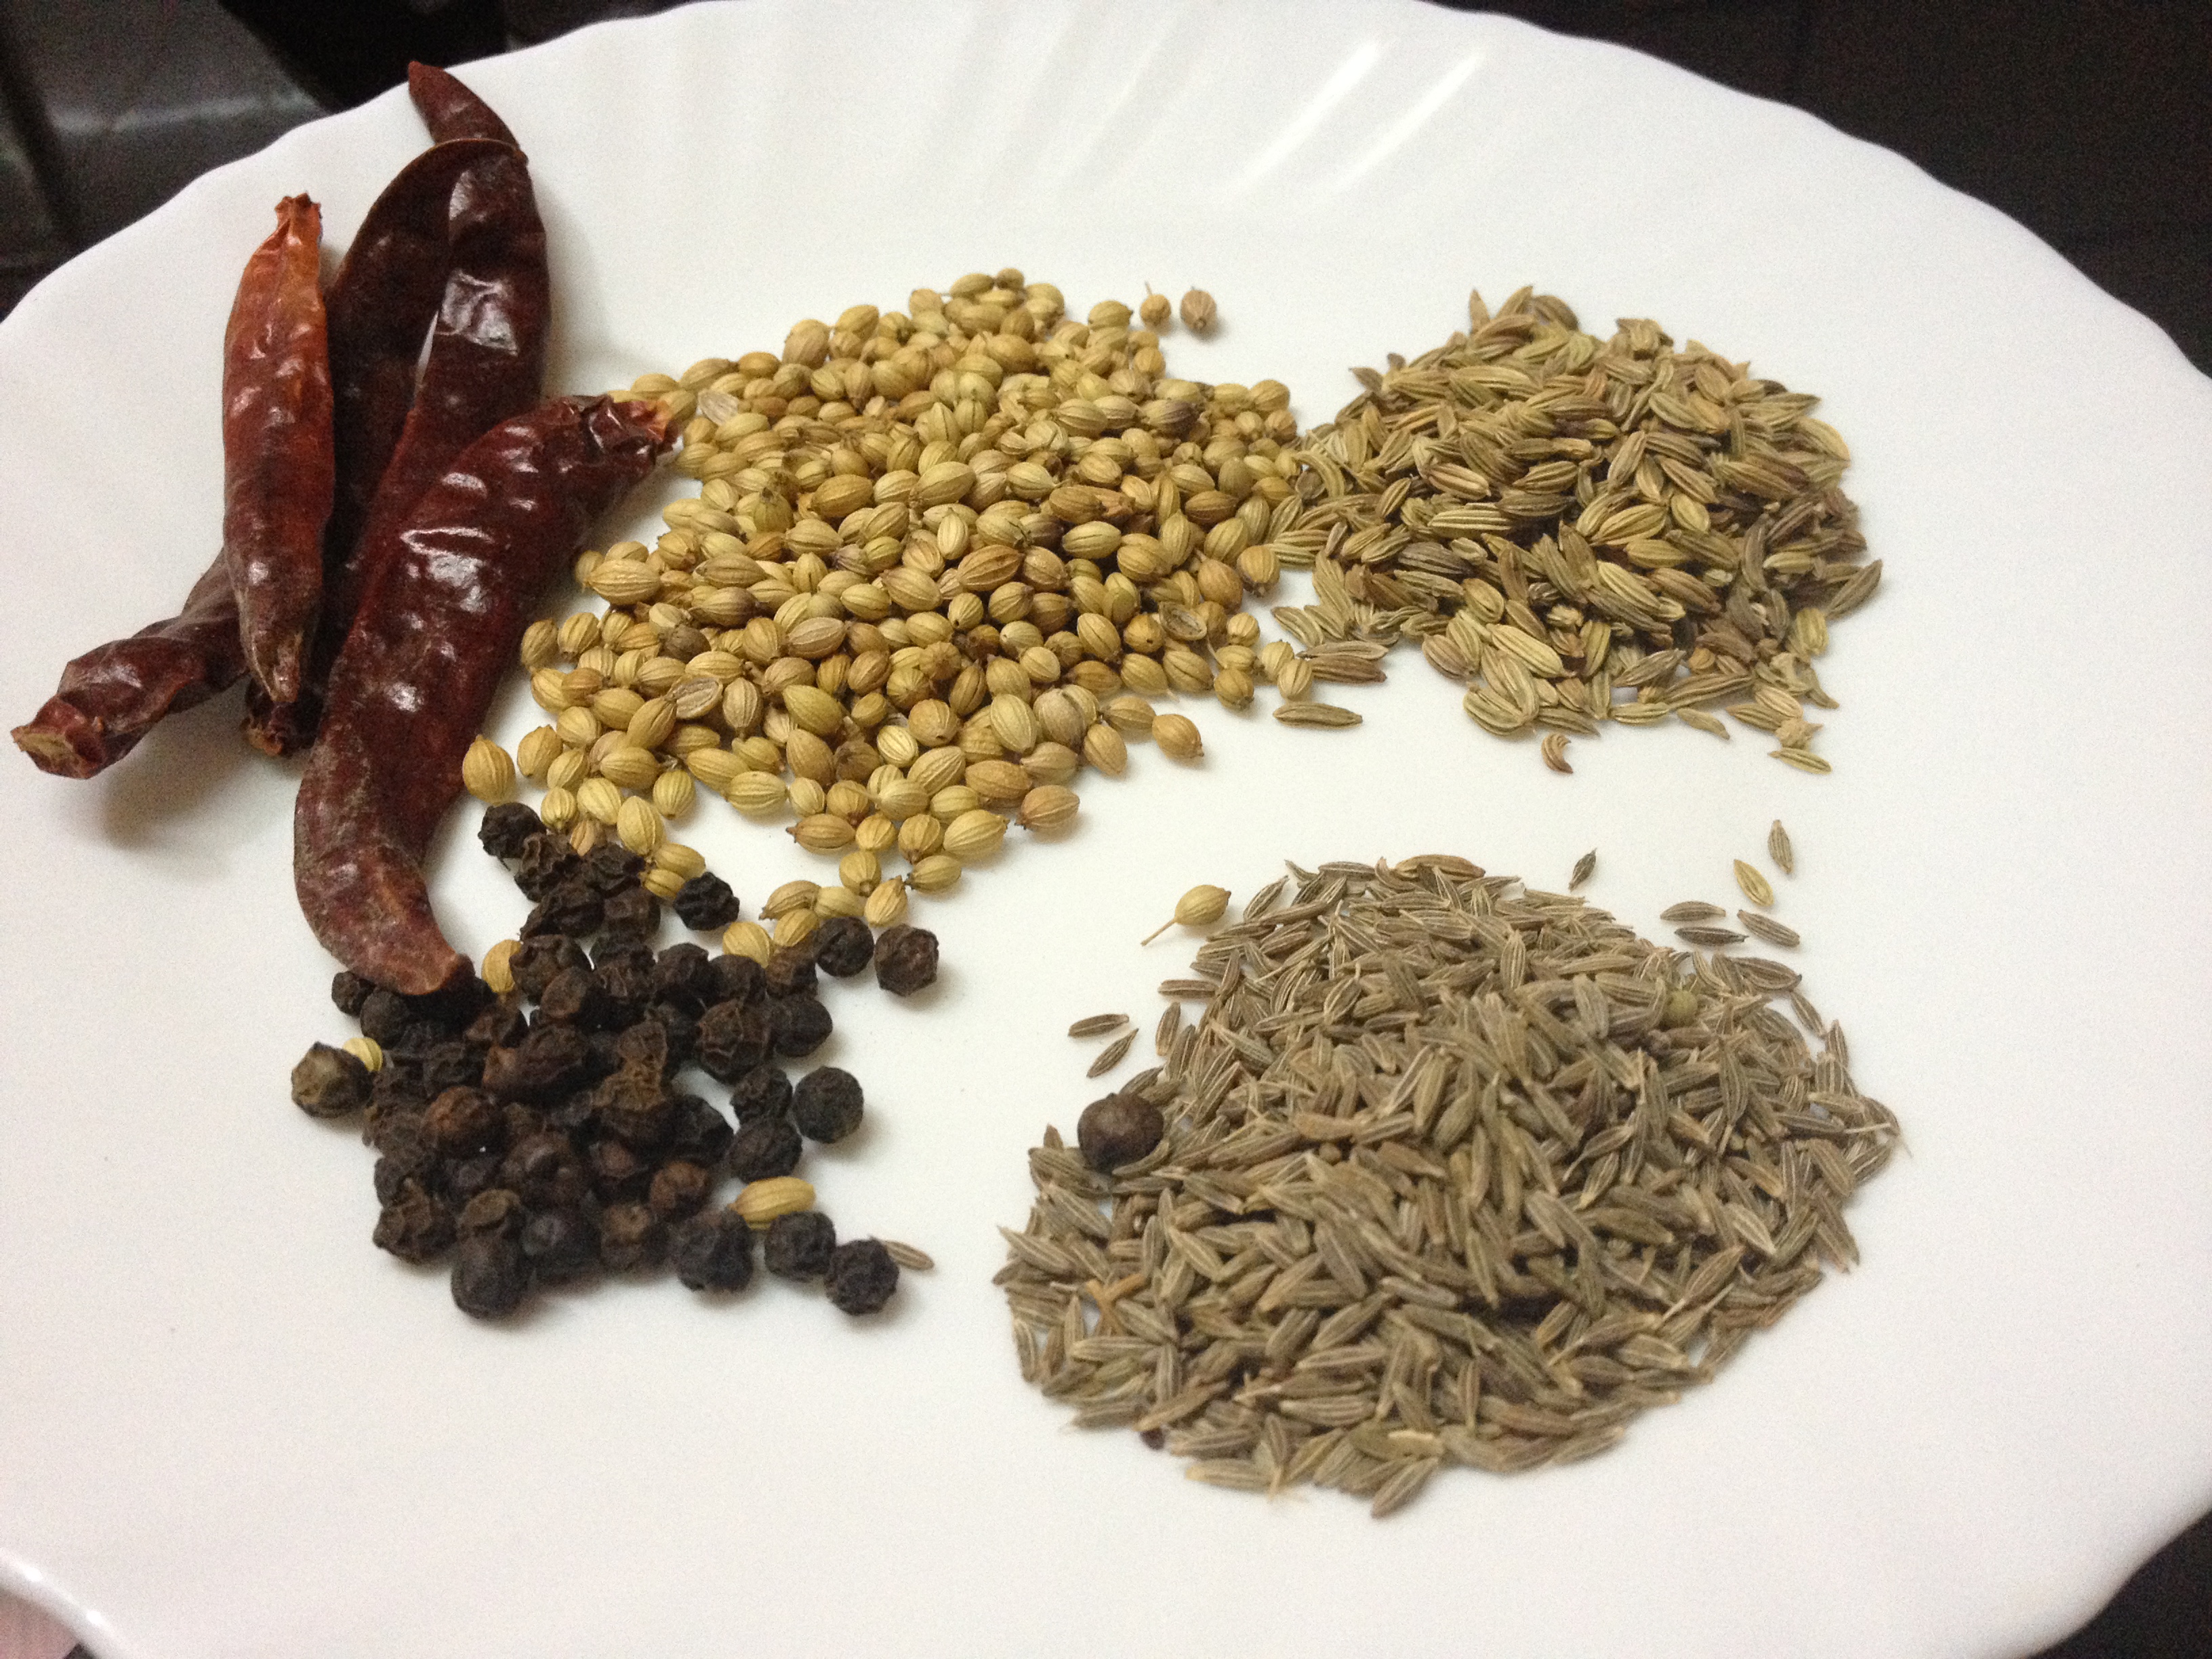
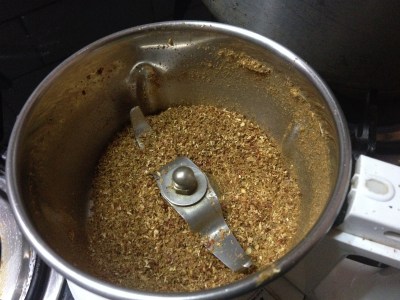
Dry Grind together
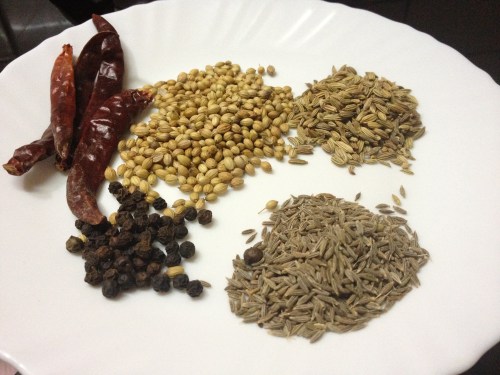
- red chilly- 5 no.s
- cumin seeds – 2 tsp
- coriander seeds- 2 tsp
- fennel seeds- 1 tsp
- black pepper- 1 tsp
To sauté

- Ginger- 2 inch piece
- Garlic- 10 cloves
- Onions – 2 no.s finely chopped
- Green chillies – 3 no.s slit
- Curry leaves – a few
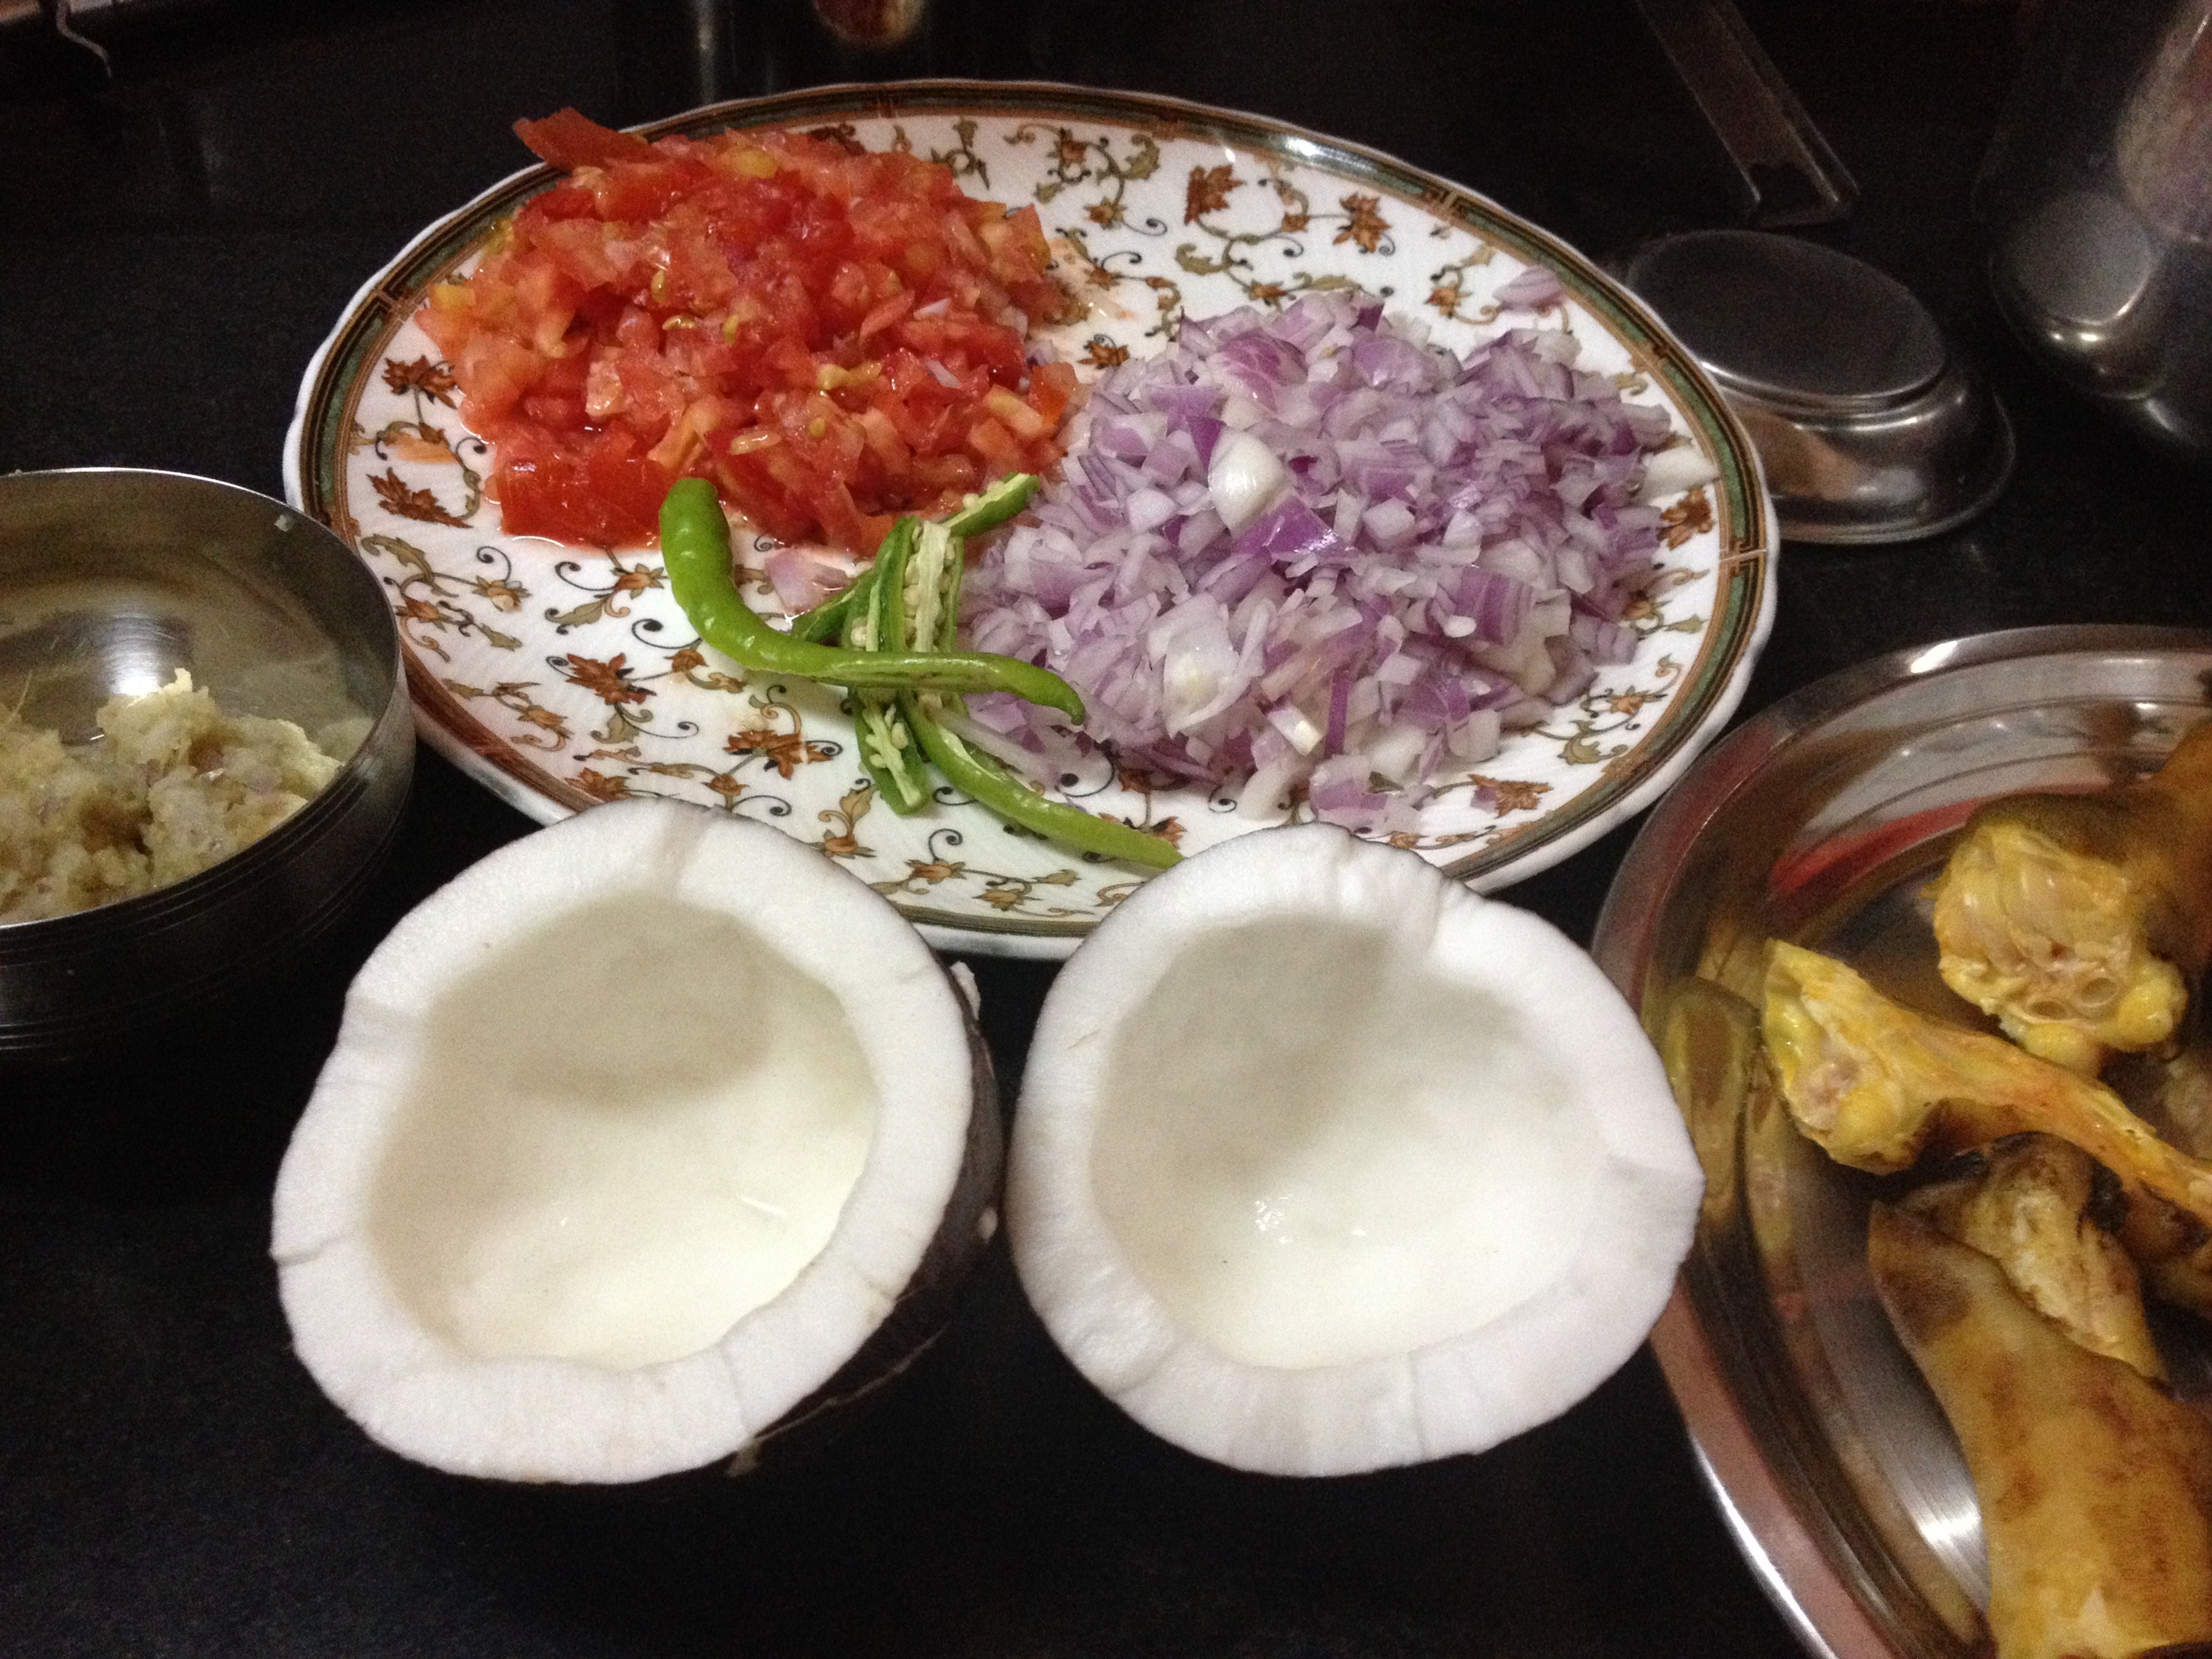
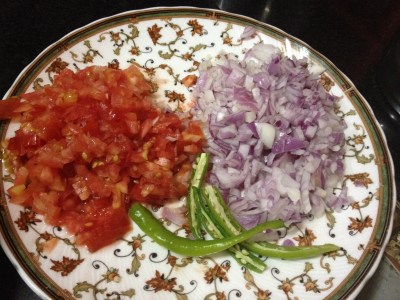
- Tomato – 2 no.s finely chopped
Extract

Milk from 1 fresh coconut – divided into two parts:
a. Thick first milk reserved for second time cooking trotters
b. Thinner second milk used for the first stage cooking with spices
Or
Store bought coconut milk (500ml) – 1 can divided into two parts:
a. Half can thick milk reserved for second time cooking
b. Other half can mixed with water used for the first stage cooking with spices
Method of Preparation
Getting ready
- Clean the well-burnt trotters and immerse in turmeric-salt water for at least 30 minutes.
- If using fresh coconut, keep aside the thick milk taken from the first squeeze; and grind the coconut again with more water to get thinner milk. Strain both milks in a strainer with thin pores as we need clear milk. Keep them ready.
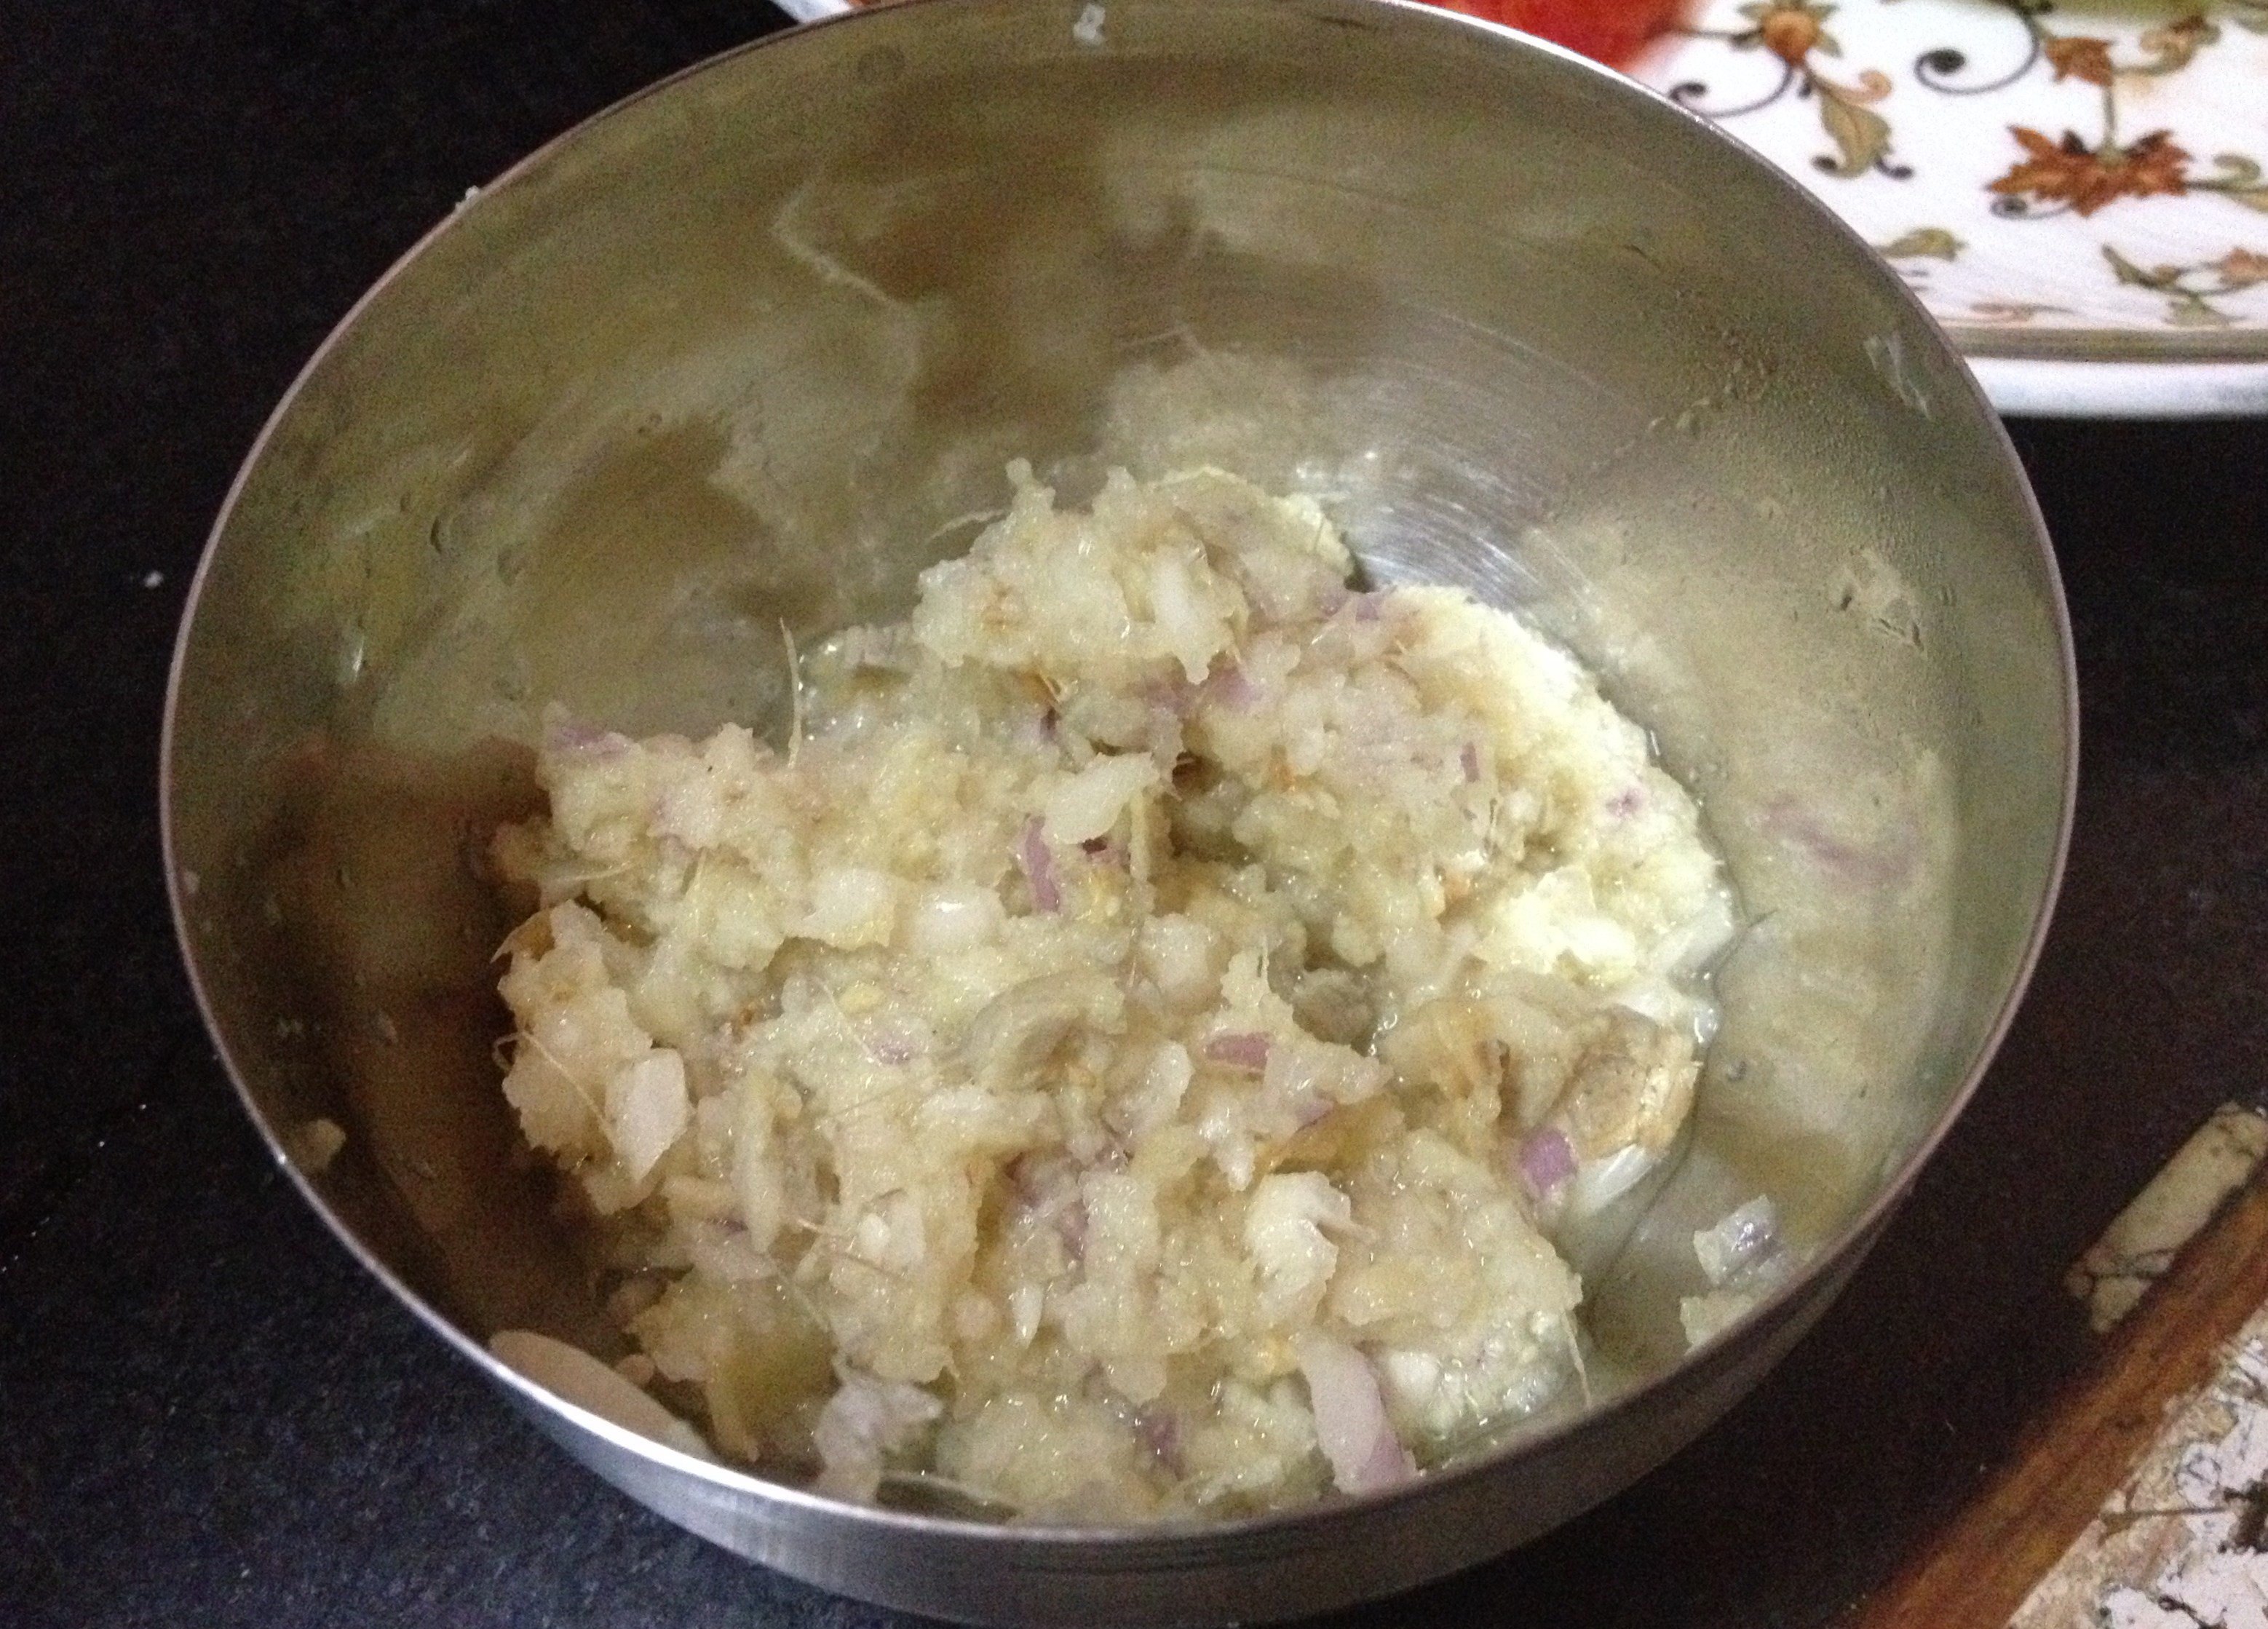
- Finely grind ginger and garlic.
- Finely chop onions and tomatoes and slit green chillies.
- Dry grind the above mentioned spices in a blender.
Cooking first time with thin milk
- In a pressure cooker, add oil and all dry whole spices and sauté.
- Add the slit green chillies, chopped onions and tomatoes one after another and fry. Need not wait for them to turn golden brown. Minimal sautéing is enough.
- Now, add the perfectly washed trotters and fry .
- Add the ginger-garlic paste and fry.
- Add the dry ground spices and mix well.
- Add turmeric powder and salt.
- Mix the thinner milk (appr. 2 cups); To avoid curry getting burnt- add more water if needed for the trotters to hold pressure in the cooker for at least half an hour, and pressure cook; After the first whistle, I reduced the burner and cooked for 20 minutes.
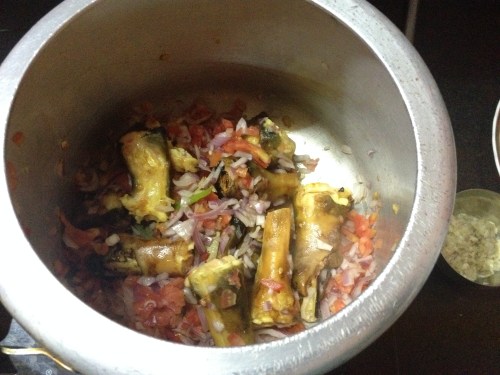
cooked once

Cooking second time with thicker milk

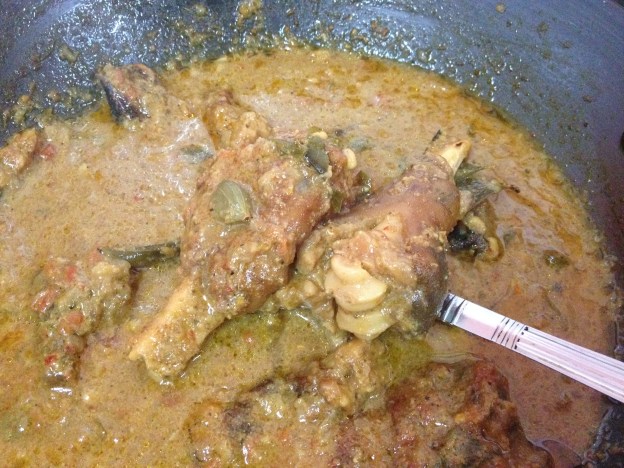
- Let the pressure release by itself, then open the cooker. The trotter curry would be almost done and would taste good if the Paya is cooked well. But we are not finished… The curry hasn’t reached its perfect consistency.
- Open the cooker, check salt and spices. This is the time one can add chillies or salt if needed. Add as per required.
- Heat the curry on hot stove again. Add the reserved thick milk and stir well. There shouldn’t be any need for water, unless the gravy is seriously thick.
- Close the lid and pressure cook again. I reduced flame to sim after the first whistle and cooked for 15 more minutes for the curry to absorb the flavour of coconut milk and spices.
- Once pressure releases fully, open and serve. Aattukkal Paya can be served with idli, dosai or appam.