Author Archives: dosaikal

Unknown's avatar

About dosaikal

A simple person who believes strong roots and values build up stronger generations; and good food and good food habits are one of the best gifts that one can give to their off springs.

Karuppu Kavuni Arisi Dosai/Black Kavuni Rice Dosai/Pancakes – Dosai with Native/Traditional Rice Varieties of Tamilnadu- 1

Karuppu Kavuni Arisi Dosai


After black rice pudding or Karuppu kavuni Arisi payasam, my next wish was to try Karuppu Kavuni Dosai.

Dosais or Dosas are more flexible than making those perfect soft rice/millet idlies or fluffy cakes . Any grain base and lentil is enough to produce soft pancakes. While the western pancakes can be made with ground grain or flour alone, the South Indian Dosai has a protein lentil combined for the extra magical crisp or the soft spongy texture.

Hence, give us a grain and we can produce Dosai. Surprisingly very true. This was how the series – ‘Power Packed Pancakes’ with high fibre, nutrient rich millets came up. I am always awe-struck by the innovative culinary minds of our ancestors, who explored the combination of blackgram for the fermentation process of idlies and dosais – which aids in natural bacterial growth, than the additional usage of other external baking or steaming agents. That has given us- the generational followers, a clear way to explore a few more. Now, it’s time to try Tamilnadu style pancakes – the heavenly Dosais with various rices, which also seem to be common in southeast Asian countries.

So, join me again in the Dosai Journey in making a few more healthy pancakes, rich in anti-oxidants with the traditional rice varieties of Tamilnadu. To know more on the health benefits and payasam with black rice see – dosaikal- karuppu kavuni arisi payasam
  

Karuppu Kavuni Arisi Dosai/Black Rice Pancakes


Ingredients (makes approximately 15 dosais)

  • karuppu kavuni Arisi/black rice – 1 ½ cups
  • karuppu ulundhu/black gram – ½ cup
  • vendhayam/fenugreek seeds – ½ tsp
  • kal Uppu/rock salt – ½ tsp


Method of Preparation

Making batter-


  1. Wash well black rice and black gram.
  2. Add fenugreek seeds and soak overnight or minimum 6 hours in water
  3. Grind well in a grinder or any blender
  4. Once ground into a fine batter add rock salt and mix well or grind the rock salt in the end.
  5. Leave the batter overnight or until fermented well.
  6. Dosai batter is ready for use.


Making Dosai-

1. Heat dosaikal or the pancake pan on stove

2. Pour a ladle of batter and spread into perfect round pancakes – preferably thin


3. Pour droplets of gingelly oil on the sides of the Dosai for easy lift of pancake

4. Turn the Dosai to the other side and let it cook


5. Take out once done- remember it would take just about 30-50 seconds to cook a side of thin Dosai. If one keeps it longer, the texture of pancake would be lost.

6. Make Karuppu Kavuni Dosai crisp or soft and enjoy with any Thuvayal/chutney.

7. A dollop of nei/clarified butter is an extravagant addition to the beautiful Dosai.
 

Karuppu Kavuni Arisi Payasam/Black Kavuni Rice Payasam (Southeast Asian Black Rice)


When I  posted  traditional rice varieties of tamilnadu  back in January 2017, I knew very little about these exclusive varieties. Used extensively in Chettinadu households and being part of their ceremonies, these rice varieties are less popular or even unknown in other parts of Tamilnadu. Apart from these, there are countless rice varieties that the ancient Tamils cultivated across centuries, those were high in nutrient value and unpolished. There is an urgent need for the revival of these species of rice, while we are moving forward as a junk food community in India as a whole.

Now, moving on to black rice –   I was introduced to black, red and brown rice almost four years ago in Cambodia.  After almost 8 years of life style change to brown rice of southern India, finding longer grains of unpolished rice in southeast Asia was a blissful event in my life.

Cambodian brown rice then became our staple lunch rice and Cambodian red rice was used in simple sweets (cooked rice with palm sugar and coconut). The local rice vendors sitting with gunny bags with their home made-hand milled red or brown rice was another nostalgic scene for me… What we used to see in the local markets of Tamilnadu.

Everything takes its own time in life, and now the time has come for this beautiful travel of the black, red and brown rice in my dosais and sweets. It is an educative travel with loads of nutrition. Come along!


The deep black or the purple hue of the black rice is a marker of its high antioxidant properties. Similar to blackberries and blueberries, that appear deeper in colour because of their high content of anti-oxidants. The outermost layer of the grain (the bran and the hull), contains immense amounts of the antioxidant-anthocyanin. In fact the amount of anthocyanin contained in black rice is higher than any other grain, including brown rice, red rice, red quinoa, or other colored whole grain varieties. http://food.ndtv.com/food-drinks/7-incredible-benefits-of-the-forbidden-rice-the-black-rice-1688420


When I took out the Karuppu Kavuni Arisi or the Black Kavuni Rice sent by friend ‘T’ (refer: dosaikal post), I found a container with glutinous black rice preserved from Cambodia, which looked almost the same. When I googled to learn more on the similarities of Karuppu kavuni and black rice of Southeast Asia, I knew they belonged to the same family.  The genetic ancestors of karuppu kavuni might be the chinese/southeast asian black rice, which migrated to the southern regions of India through the Maritime Trade Communities, thousands of years ago. That is why it is still among the traditional varieties used in Chettiar Community of Tamilnadu, who are among the elite overseas Tamil Traders even today. Or… Could the travel have been the other way round. Research needed. That’s for another post though.

In the below mentioned research article, the author mentions of Black, Red and White rice being mentioned Sangam Tamil Literature, which dates back to 3rd Century BCE to 3rd Century ACE. The root word of ‘Rice’ is also of Dravidian origin is a well known established fact.


The origin of black rice (karu nel; kalikalu nel; kar nel;  kayam pu nel;  irul samaththanna erungaru nel; maiirul nel; karunavarkaniyanna nel; mattrundu arikila manjur eyahtu nel; kallanvulamkandanna nel; )  white rice (thuvel arisi; thuppaianna velnagai nel; velli vilangu nel; manthur nagai mani nel; ullurai ueranna velmulai arisi;  paruthipoothanna pasum nel); Red rice (keliru kannan kudumsennel; kuruthivoonnna nel; ratha mani nel; rathinam pothithanna nel; murukkam poo nel; sivel nel)  have been abundantly mentioned in the Tamil Sangam literature.
http://tamilpaddycivilization.blogspot.in/2012/01/evolution-of-rice-in-tamil-nadu-ancient.html


While I decided to try out dosai/dosa with Karuppu kavuni arisi , my sweet teeth conquered in tempting me to make a payasam, Tirunelveli style with jaggery and coconut milk. My newly acquired clay pot made the recipe more exclusively traditional.

I am just a learner here, but there are mothers and grannies of chettinadu households who have provided enough recipes on the different brown, red and black rice varieties in the world wide web. I thank them all for making my quest more interesting with their authentic recipes transferred from generations. My dishes are only an adaption of their original recipes, with twists here and there.

A  few blogs that I referred for knowing more about karuppu kavuni arisi are mentioned here-

http://www.annamsrecipes.com/2013/11/kavuni-arisi-chettinad.html

https://www.kannammacooks.com/kavuni-arisi-chettinad-kavuni-arisi/

http://swarnaprashana.org/the-miracle-rice-karuppu-kavuni-arisi-black-kavuni-rice/

Now, to the Payasam or the Sweet Pudding.
  

Karuppu Kavuni Arisi Payasam/Black Kavuni Rice Pudding
  

Ingredients

  • karuppu kavuni arisi/black rice – 1 cup
  • water – to cook rice – 4 cups
  • vellam/jaggery – 3/4 cup grated to make syrup
  • elakkai podi/cardamom powder – 1/2 tsp
  • chukku podi/dry ginger powder – 1/2 tsp
  • thengaipal/coconut milk (thick milk) – 200 ml
  • nei/clarified butter – 2 tsp
  • mundhiri paruppu/cashewnut – 6 no.s chopped to medium sized pieces


Method of Preparation

Getting ready

a. Wash well and soak black rice overnight to be cooked soft; I soaked the rice for about 4 hours for a nutty crunchy texture.


b. Dissolve jaggery in hot water to dissolve and strain for impurities. Boil the strained jaggery for while into a pourable consistency syrup. One can pour the strained jaggery directly to cooked rice and cook for a while till the  pudding gets a bit thick, befoe adding coconut milk.  I have the syrup ready in fridge that makes it easier to mix in sweets.


Making Payasam

1. Use the soaked water and add more if needed to make it 4 cups to cook rice in pressure cooker. After the first whistle, simmer the stove and cook for 4 more whistles or approximately 20 minutes.


2. In a clay pot (any cooking pan), pour the clarified butter and fry cashewnuts till golden brown.


3. Not wasting any time, pour the cooked rice inside the pan. Otherwise the nuts would get burnt.

  
4. Add the jaggery syrup, cardamom powder and dry ginger powder, and bring to boil.


5. Pour in the coconut milk and bring to boil. Be cautious to keep the stove on medium flame.  Coconut milk with jaggery in high flame for more time might split the milk.


6. As soon as the payasam comes to a boil, switch off stove. Payasam is ready to relish.


Note:

  1. Alter quantity of jaggery and coconut milk as preference.
  2. One might use palm sugar too, but no white sugar here please.
  3. Do no think of replacing coconut milk with cow’s milk..No way.


Vellai Kondaikadalai Sundal/Stir fried Chick Pea for Pillayar Chathurthi


Sundal or stir fried lentils are not only part of Navaratri (dosaikal/navaratri and the sundal connection), but also a speciality on pillayar chathurthi or ganesh chathurthi. Starting from the day Lord Ganesha stays at every home immediately after the chathurthi day celebrations, extending till the day his clay idol is immersed in the nearby sea or river, the evenings are flavorful ones with different kinds of Sundals offered to him. This is the norm at home.  So, this Ganesh Chathurthi, I thought I would make white chick pea sundal with the ellu kozhukkattai/sesame seed dumplings.

The extra special artwork of the day was the creative kozhukkattais by the little one at home. The dumplings came out in various shapes and truly were a great treat.


So, straight to the Sundal or the healthy stir fried lentil recipe.
  
Vellai Kondaikadalai Sundal/Stir fried White Chickpeas


Ingredients (serves 3 to 4)

  • vellai kondaikadalai/white chick peas – 1 cup
  • thuruviya thengai/grated coconut – 1/2 cup
  • yennai/oil – 2 tsp
  • kadugu/mustard seeds – 1 tsp
  • ulundham paruppu/dehusked black gram – 1/2 tsp
  • pachai milagai/green chillies – 1 no.
  • kariveppilai/curry leaves – a few
  • perungayam/asafoetida powder – 1/4 tsp
  • salt – to taste

  
Method of Preparation


  1. Wash and soak white chick peas in enough water overnight or at least for 8 hours
  2. Pressure cook till soft – this might take at least 20 minutes in low-medium heat
  3. Heat oil in a pan and let the mustard seeds splutter and add black gram
  4. When dehusked black gram turns golden brown, add asoefetida, split green chillies and curry leaves and saute
  5. Strain the cooked chick peas and add to the pan
  6. Add salt to taste and stir fry well
  7. When all ingredients are combined well – this might take five minutes – turn off the stove
  8. Sprinkle freshly grated coconut to serve
  9. Coconut can be added while sundal is still getting stir fried. Then, the color of fresh coconut is lost but an excellent flavor of pan roasted coconut enhances the salad.
  10. My choice is non-roasted fresh coconut to be cautious of those extra calories due to roasting!


The Appam Remake: Sivapparisi Karuppatti Paniyaram/Banana Fritters with Red Rice and Palm Jaggery


The versatile deep fried Appam was posted a year ago with wheat flour and banana. The flexibility of this snack is its adaptability to a number of grains or milled powders of those grains- raw rice, rice powder, wheat flour, refined flour, millet powders and so on.. Here I have tried red rice powder in combination with wheat flour. The Appam batter here is not deep fried but gets a healthy makeover as Paniyaram – which is made with less oil in the Paniyara chatti.


Now, when does the true urge to make appam set in? Any guesses??

You buy bananas;
consume a few;
give away a few;
forget the following day about the bananas;
third day- the bananas have become extra ripe;
changed colour;
become softer inside;
the urge to make Appam arises!

Well ripe banana is synonymous to Appam in our household. Sometimes, we deliberately leave aside a banana or two to be transformed into Appam. I think the tempting factor is the addition of cane jaggery or palm sugar to bananas, that makes it a super special delicacy, yet it is a hard core simple recipe to handle.

Well ripe Banana here acts as a softener and the flour of your choice and sugar with water make it a beautiful batter.  In Tamilnadu cuisine, rice flour is added to deep fried snacks like vadai, bhajji, kara sevu and many more to enhance the crispiness. Karuppatti paniyaram  or sweet paniyaram in many places are made with raw rice and palm/cane jaggery alone.

I tried the appam as its healthier variant ‘paniyaram’ with the combination of red rice flour, wheat flour, ripe banana and palm sugar. This powdered Cambodian palm sugar was the last of the batch and I have no more of it, which I realized only after the batter was done and no photos clicked. Hence, the picture shows unrefined cane sugar instead of palm sugar.

The addition of equal quantity of red rice powder, made the paniyaram extra stronger to withhold its shape with the beautiful texture of crispiness than soft.
  

Sivapparisi Karuppatti Paniyaram/Banana Fritters with Red rice and Palm Sugar
  

Ingredients


the last batch of palm sugar powder


  • sivapparisi maavu/red rice flour – 3/4 cup
  • gothumai maavu/wheat flour – 3/4 cup
  • panai vellam/palm jaggery (powder)- 1 cup
  • elakkai podi/cardamom powder – 1/2 tsp
  • chukku podi/dry ginger powder – 1/2 tsp
  • baking soda – 1/2 tsp
  • well ripe soft banana – big – 1 no.s ; if small – 2 no.s
  • salt – a pinch
  • water – as needed to make a thick batter
  • oil – to fry in paniyara chatti/mould

  
Method of Preparation


  1. In a blender, add both flours, palm sugar,banana, cardamom powder, dry ginger powder, salt, baking soda with water and blend into a thick batter, almost like a cake batter.
  2. The only ingredient left out is oil
  3. Pour the batter in a bowl and adjust water if needed
  4. Heat the Paniyaram Pan and pour 1/2 tsp oil in each mould and let the oil heat up
  5. Pour 1 dinner spoon of batter in each and let it turn golden brown. Because of the palm sugar, the golden brown would be darker brown
  6. Flip the half done paniyaram, for the other side to cook
  7. When done, remove and place it first in an open container. Immediately closing the container would soften the paniyaram.
  8. Sivapparisi Paniyaram is ready.


Note


  1. One can replace palm sugar with cane jaggery. Dissolve jaggery in water and strain for impurities and make a thin syrup.
  2. The syrup can be used instead of water with all the above mentioned ingredients to make paniyaram batter.
  3. The flexibility of this appam/paniyaram is that one can even omit the banana, or replace the red rice with wheat flour with banana.
  4. If one doesn’t have paniyara chatti, feel free to deep fry or even make wonderful pancakes with the same batter.


Aattukkal Paya – Kuzhambu/ Leg of Lamb (Trotters) Curry


Aattukkal Paya or Mutton Paya has been a long awaited recipe to try. I was introduced to Aatukkal Paya when Appa was suffering from chronic pain of spondylitis. A vegetarian family where eggs were allowed once in a while in the name of health food, acclimatized itself to the smell of burnt goat’s leg – to be very blunt. A separate stove in the backyard, a separate pressure cooker and a few utensils for cooking and serving were all part of the new recipe to tackle the bone ailment of Appa. Every time ‘paya’ came home, it was a curious thing for me to see how it looked behind the goaty smell that it rendered. The burnt leg gave an additional intolerable smell while getting cooked….but all was tolerable in the name of spondylitis.

Our helper ‘N’ single handedly introduced all of us to the exclusive Paya. Awestruck, wide eyed and amused, me and Amma would watch her clean, wash and smash before dropping the stuff into the cooker. The done soup would enter the house through the back doors and then into appa’s tummy. But by the time appa would gulp it down, ‘N’ would clean the backyard with disinfectants and other necessary cleansers. Show over and the theatre would return next week.

The done Aatukkal Soup or Paya soup was a beautiful one. It was truly a surprise how the smelly bone turned out to be a glowing aromatic soup with just the simplest of ingredients like ginger, pepper and salt. Generally, vegetarian Tamilnadu foods don’t glow so much like their non-vegetarian counterparts. Poriyal (dry vegetable curries), kootu (vegetables cooked in lentils) or sambar .. the day to day curries are certainly less oily. The other kuzhambus like the Vatral Kuzhambu or Puli Kuzhambu (tamarind based curries) are made more flavourful, if needed, with hot gingelly oil (cold pressed sesame seed oil) poured on top. Hence this wide eyed surprise for a food product which delivered so much of glow. Less did I know then that animal protein has more fat to cook itself without addition of extra oil.

But Paya is a different and exclusive one that provides healthy fat that is loaded with nutrients and helps avoid degeneration of bones and cartilage.


Cartilage found in animal joint areas such as chicken feet, beef or lamb knuckles, trachea and ribs, hooves and skin, tend to yield the most nutritious broth. It contains cartilage (gelatine), bone marrow, amino acids and minerals. The end ingredient is a broth that contains all the valuable nutrients that are found in animal bones.

Bone broth promotes strength and nourishes, specially in times of sickness, injury, rehabilitation, and helps to prevent bone and connective tissue disorders.
Bone broth contains a high quantity of calcium, phosphorous, magnesium, sulfur, fluoride, sodium and potassium. These minerals can promote not only bone health but also support intestinal healing, help in calcium- or- magnesium-deficiency-related insomnia, irritability, fatigue and anxiety.
http://indianexpress.com/article/india/india-others/drink-bone-broth-to-rejuvinate-the-sick-heal-injuries/


When I knew nothing of cooking and was used to chatting with Amma and aachi while they were cooking, this was a great introduction to non-vegetarian stuff. But what remained well embarked in my mind was the fact that, that particular glowing soup was providing enough lubrication to the joints and was helping in easy recuperation of bone ailments.

Life is a great tutor. It shows you various things at various stages of your life….. that you may make use at perfect situations. It introduces you to very many things you might need to adapt at very many junctions… Now, adaptation is the key to a happy life. It’s true and I’ve experienced it.

Athai, my mom-in-law always remembers and narrates her childhood memories of Aattukkal Paya. In certain pockets of Tamilnadu, Dosai and Paya are quintessential Diwali breakfast foods. She tells me how Paya would be slow cooked on a wood-burning stove in her house in a big vessel..  Almost everyone contributes to the cooking process of Paya,  by stirring off and on, on the day before Diwali. After extensive cleaning, cutting and chopping of garlic, ginger and onion necessary for the curry, cooking begins by experienced elders of the household. With all siblings waiting to taste, Paya is ready to eat only the next morning. The aroma of Paya getting cooked in wooden based stove would fill the house, making the wait irresistible.

The Paya would be done by night and left on the stove, with firewood in sim throughout the night. The goats’ leg absorbs all the flavour of the spices and coconut milk while resting on the stove whole night. The next morning, when the world wakes up for sweets and celebrations of Diwali, soft Dosais are prepared. The wait is over and everyone gets the share of sumptuous Paya with Dosai.

This story from Athai that is always part of her childhood memories, and narrated several times to me, has acted as a catalyst in cultivating a special interest in Aatukkal Paya for a new comer to non-vegetarian cuisine, as a new daughter-in-law many years ago.

After the first Paya episode in childhood, almost 25 years ago, Paya holds a special place in my kitchen and in the freezer. I sit back with some statistics… Started Cooking non-vegetarian food 16 years ago, became non-vegetarian by chance and choice 10 years ago, started blogging 6 years ago, now I present Aattukkal Paya Curry (not soup that Appa (father) had but what Athai (mother-in-law had) that I think is truly a delicacy… Not because of my culinary skills, but because of the natural fatty agents stuffed inside the cartilage of the goat or sheep, and the exotic flavour of coconut milk in which the Paya is cooked. Truly, the combination is deadly.

To get a better idea of making Paya Curry or Lamb Trotter Curry, I got great tips and methods from these two bloggers:

Thanks so much guys. My work was made easy because of your posts.

Check out these posts and one gets a comprehensive idea of Paya, it’s usage, health benefits and above all two great curries.

http://www.kothiyavunu.com/2013/02/mutton-paya-aatukal-paya-goat-trotters.html

http://www.swapnaskitchen.com/2015/05/04/attukal-kulambu-paya/

I adapted the basic Paya making from these two curries and thought trotters initially cooked in thinner coconut milk would render better flavour as in my Tirunelveli Sodhi, where vegetables are cooked in the third or thinnest diluted coconut milk to render the coconut aroma throughout the dish. The double cooking of the trotters would somewhat compensate for the lack of slow cooking.
  

Recipe Aatukkal Paya Curry/Leg of Lamb (Trotter) Curry


Ingredients (serves 2-3)

  • Any cooking oil – 2 tsp
  • Aatukkal – 1/2 kg appr.
  • turmeric powder – 1/4 tsp
  • salt – to taste

  
Finely clean, burnt Lamb trotters with absolutely no hair. I always immerse the Paya in turmeric-salt water for at least 30 minutes to disinfect.

Dry whole spices


  • Cardamom – 5 no.s
  • Cloves – 5 no.s
  • Cinnamon stick – 2-3 pieces
  • Bay leaves- 2 no.s

  
Dry Grind together


  • red chilly-  5 no.s
  • cumin seeds – 2 tsp
  • coriander seeds- 2 tsp
  • fennel seeds-  1 tsp
  • black pepper- 1 tsp

  
To sauté


  • Ginger- 2 inch piece
  • Garlic- 10 cloves
  • Onions – 2 no.s finely chopped
  • Green chillies – 3 no.s slit
  • Curry leaves – a few
  • Tomato – 2 no.s finely chopped


Extract


Milk from 1 fresh coconut – divided into two parts:
a. Thick first milk reserved for second time cooking trotters
b. Thinner second milk used for the first stage cooking with spices
Or
Store bought coconut milk (500ml) – 1 can divided into two parts:
a. Half can thick milk reserved for second time cooking
b. Other half can mixed with water used for the first stage cooking with spices
  
Method of Preparation
 
Getting ready

  1. Clean the well-burnt trotters and immerse in turmeric-salt water for at least 30 minutes.
  2. If using fresh coconut, keep aside the thick milk taken from the first squeeze; and grind the coconut again with more water to get thinner milk. Strain both milks in a strainer with thin pores as we need clear milk. Keep them ready.
  3. Finely grind ginger and garlic.
  4. Finely chop onions and tomatoes and slit green chillies.
  5. Dry grind the above mentioned spices in a blender.


Cooking first time with thin milk


  1. In a pressure cooker, add oil and all dry whole spices and sauté.
  2. Add the slit green chillies, chopped onions and tomatoes one after another and fry. Need not wait for them to turn golden brown. Minimal sautéing is enough.
  3. Now, add the perfectly washed trotters and fry .
  4. Add the ginger-garlic paste and fry.
  5. Add the dry ground spices and mix well.
  6. Add turmeric powder and salt.
  7. Mix the thinner milk (appr. 2 cups); To avoid curry getting burnt- add more water if needed for the trotters to hold pressure in the cooker for at least half an hour, and pressure cook; After the first whistle, I reduced the burner and cooked for 20 minutes.


cooked once


Cooking second time with thicker milk


  1. Let the pressure release by itself, then open the cooker. The trotter curry would be almost done and would taste good if the Paya is cooked well. But we are not finished… The curry hasn’t reached its perfect consistency.
  2. Open the cooker, check salt and spices. This is the time one can add chillies or salt if needed. Add as per required.
  3. Heat the curry on hot stove again. Add the reserved thick milk and stir well. There shouldn’t be any need for water, unless the gravy is seriously thick.
  4. Close the lid and pressure cook again. I reduced flame to sim after the first whistle and cooked for 15 more minutes for the curry to absorb the flavour of coconut milk and spices.
  5. Once pressure releases fully, open and serve. Aattukkal Paya can be served with idli, dosai or appam.


Cake in an hour – Whole Wheat Walnut Cake with Chocolate Ganache and Walnuts

  
That was a busy afternoon, with normal after school snack, home work and other activities of the young one at home. When there was news of sudden guests, I started thinking of quick and easy sweets to serve them. With just a couple of hours in hand and a desire to serve something good, if not exotic, I started surfing my brain for quick goodies. I opened the fridge to find a box full of walnuts and decided to bake a walnut cake. What started as a quick bake, turned out to be a perfect cake with additional chocolate ganache and walnut topping too.  As always, the cake is 100% whole wheat with olive oil and no butter. To reduce more, I mixed the whole batter in a blender, without any stress on hands.

Quick recipe for the quick cake…..

  
Whole Wheat Walnut Cake with Walnut Coated Chocolate Ganache


Ingredients

  • whole wheat flour – 2 cups
  • sugar – 1 1/2 cups
  • olive oil – 1 cup
  • eggs – 3 no.s
  • baking powder – 1/2 tsp
  • baking soda – 1/2 tsp
  • milk – 1 cup
  • vanilla essence – 1 tsp
  • walnuts (finely chopped) – 1 cup


Method of Preparation


  1. In a blender, beat 3 eggs – white and yolks combined
  2. Add sugar, olive oil and blend. You would arrive at a mayonnaise consistency
  3. Add 1 cup whole wheat flour and beat well in the blender
  4. Add baking powder and the rest 1 cup flour and blend well. Now, the mixture would be quite thick
  5. Boil milk in a pan and pour into a bowl with baking soda. The soda added milk would bubble-up into a frothy fluid
  6. Pour this frothy milk into the mixer jar and blend till well incorporated
  7. If one feels the mixture is still thick, add little water to make the batter a bit thinner
  8. At this point, preheat oven at 180 deg. C.
  9. While oven is getting heated up, transfer the batter into a wide jar and fold in the finely chopped walnuts
  10. Pour into greased tin. I used small loaf tins to bake tea cakes. One can bake a whole round or rectangular cake as preferred
  11. Bake the batter for 25-30 minutes or till a tooth pick comes out clean.


Chocolate Ganache with walnut topping

  • 70% dark chocolate – 150 gms
  • full cream – 150 gms
  • hersheys unsweetened cocoa powder – 2 tbsp
  • walnuts – 1 1/2 cups – little more or less – very finely chopped


  1. For the ganache, keep a double boiler on stove and place any good quality dark chocolate, preferably 70% cocoa. I prefer 70% here as there is no extra sugar needed and it is not too bitter.
  2. 70%-80% also gives me the freedom to use unsweetened cocoa powder to make it more chocolatty and slightly bitter as per my taste buds. 90% is truly bitter and adding sugar solidifies it more and that ends up in more cream for the texture of ganache.
  3. So go in for your own favorite good quality dark chocolate and combine with unsweetened cocoa powder and cream, and make your own very bitter/moderately bitter/less bitter ganache as preferred.
  4. Once the chocolate starts to melt, add cream and cocoa powder and stir well till it becomes thick enough to spread with ease. We don’t need pourable consistency here nor a thicker version to apply over the cake.
  5. Spread the ganache on the cake with ease and sprinkle the very finely chopped walnuts on top.
  6. Keep in freezer for 10 minutes to set.
  7. Cut and serve.
  8. The cake is equally good without the ganache too.


Super Easy Mixed Fruit Jam – Preservative Free


This is a mixed fruit jam that came out perfect, almost a look alike and taste alike store bought bottled jam.. the X factor here being the non-addition of preservatives. The brightcolor, smooth texture, citrussy flavor and awesome taste has made us yearn for more and more. The fruits that I added for color were black grapes (the seeded variety this time) and pomegranate; fruits added for the pulpy texture were apples and banana. This was the first time I laid my hands on a multi fruit jam and the success lead me try more variants, that came out absolutely perfect too. So, choice of fruits is your forte. Just combine citrus fruits like grapes or berries for tangi flavor and fleshy fruits or vegetables like apple, banana, beetroot and pumpkins respectively for pulpy consistency.
  
Home made Super easy Mixed Fruit Jam – Preservative Free


Ingredients

  •  pomegranates – 3 no.s
  •  seeded black grapes (one can also use seedless) – 1/2 kg
  •  apples – 2 no.s
  • bananas – 2 no.s medium sized (I used red bananas)
  • sugar – 2 cups approximately (1 cups sugar for 4 cups of total pulp put together)
  • lemons – 2 no.s


These are the basic 3 steps in Jam Making; Do let me know if there are more please.
  
The Basic 3

Part I

  1. To disinfect the grapes and apples, take separate bowls of water with turmeric and salt. Leave them in the water for 1/2 an hour.
  2. Pomegranates and Bananas have their natural protective skins.

  
Part II

Place a plate in the freezer and a few spoons- we need to check for consistency later by placing the jam in the chilled plate.


Part III

Sterilize bottles with lid

  1. Wash the bottles and lids to store jam very well with no food particles sticking to it.
  2. Take a big bowl and place the washed bottles and lids on sides.
  3. Fill water in the bowl immersing the bottles.
  4. Let the water come to a full boil.
  5. Close with lid and let it stay till the jam is done.


Method of Preparation-


1. Blend pomegranate seeds and strain the juice

2. For grape juice/pulp

  • Cautiously remove grapes that are spoiled or with grey fungus
  • Thoroughly clean and wash the perfect grapes
  • In a pan, cook grapes with 1/2 cup water in medium flame till they are softened and easy to mash with spatula
  • Juice it in a blender and strain the thick pulp or don’t bother if it is thin.

  
3.  Wash and peel apples and blend with banana to a smooth pulp

4. Mix pomegranate and grape juice, apple and banana pulp together in a bowl

5. Take a heavy bottomed pan on stove; measure and pour the above fruity mixture into it

6. Add 1 cup of sugar for every 4 cups of pulp

7.  Add the juice of lemons

8. After the first boil, simmer stove and let it boil

9. Adjust burner of stove to medium and back to sim position till the liquid starts thickening

10. At this stage, check with the plate in the freezer- swipe a spoon of jam on the plate and cut into two halves. If it sets well and isn’t flowing on the plate when tilted, jam is done. Else, cook for some more time.

11. If it seems too thick, add little water and let it boil for some time, until it reaches right consistency

12. Pour into sterilized hot bottles directly from stove and close lid tightly.

13. Enjoy with home made bread or bun. Also try as a filling in tarts or pies.

Dosaikal after six years …

After almost six years of blogging, this is my first layout makeover for dosaikal.com. Hope this new makeover that I’ve tried to give Dosaikal enthuses you all as much as me. This is an attempt to make this blog more colorful and show facets of growing better. Whether I’ve been successful in the latter…. I leave the decision to my readers.

Good practice or bad, I’ve always been in search of logical reasons in whatever I do or whatever happens to me. So, how did I let the ‘Change Bug’ enter my courtyard??

That needs a brief flash back…..

This is how I introduced myself to the wide world of readers when Dosaikal started.


“A simple person who believes strong roots and values build up stronger generations; and good food and good food habits are one of the best gifts that one can give to their off springs.”


Now, I look at my daughter. Those delicate hands that helped me mix eggs, then tried to bake the basic cakes – has started making ably stuffed whole wheat pies, healthy vegetable omelettes, chocolate coated popcorns, and also chopping vegetables and fruits with great accuracy and more. This I think has been the most prominent of all signs of positive growth that has happened through Dosaikal and to Dosaikal, the blog. And not to miss – the additional signs of me growing physically older I suppose. Fact is Fact, accepted.

I am partly happy to have introduced her to the wonderful world of good food and good food habits.


“To Provide is in the nature of the Soil and to Absorb and Bear Fruit is in the Nature of the Seed; I leave it to the child to hold responsible for her understanding of Good Food, from what has been provided through me.”


Thank you very much for having traveled with me in my pursuit towards providing good values through good food, and thereby strong roots to the generations to come.

Let’s continue our journey together…


The Traditional Rice Varieties of Tamilnadu

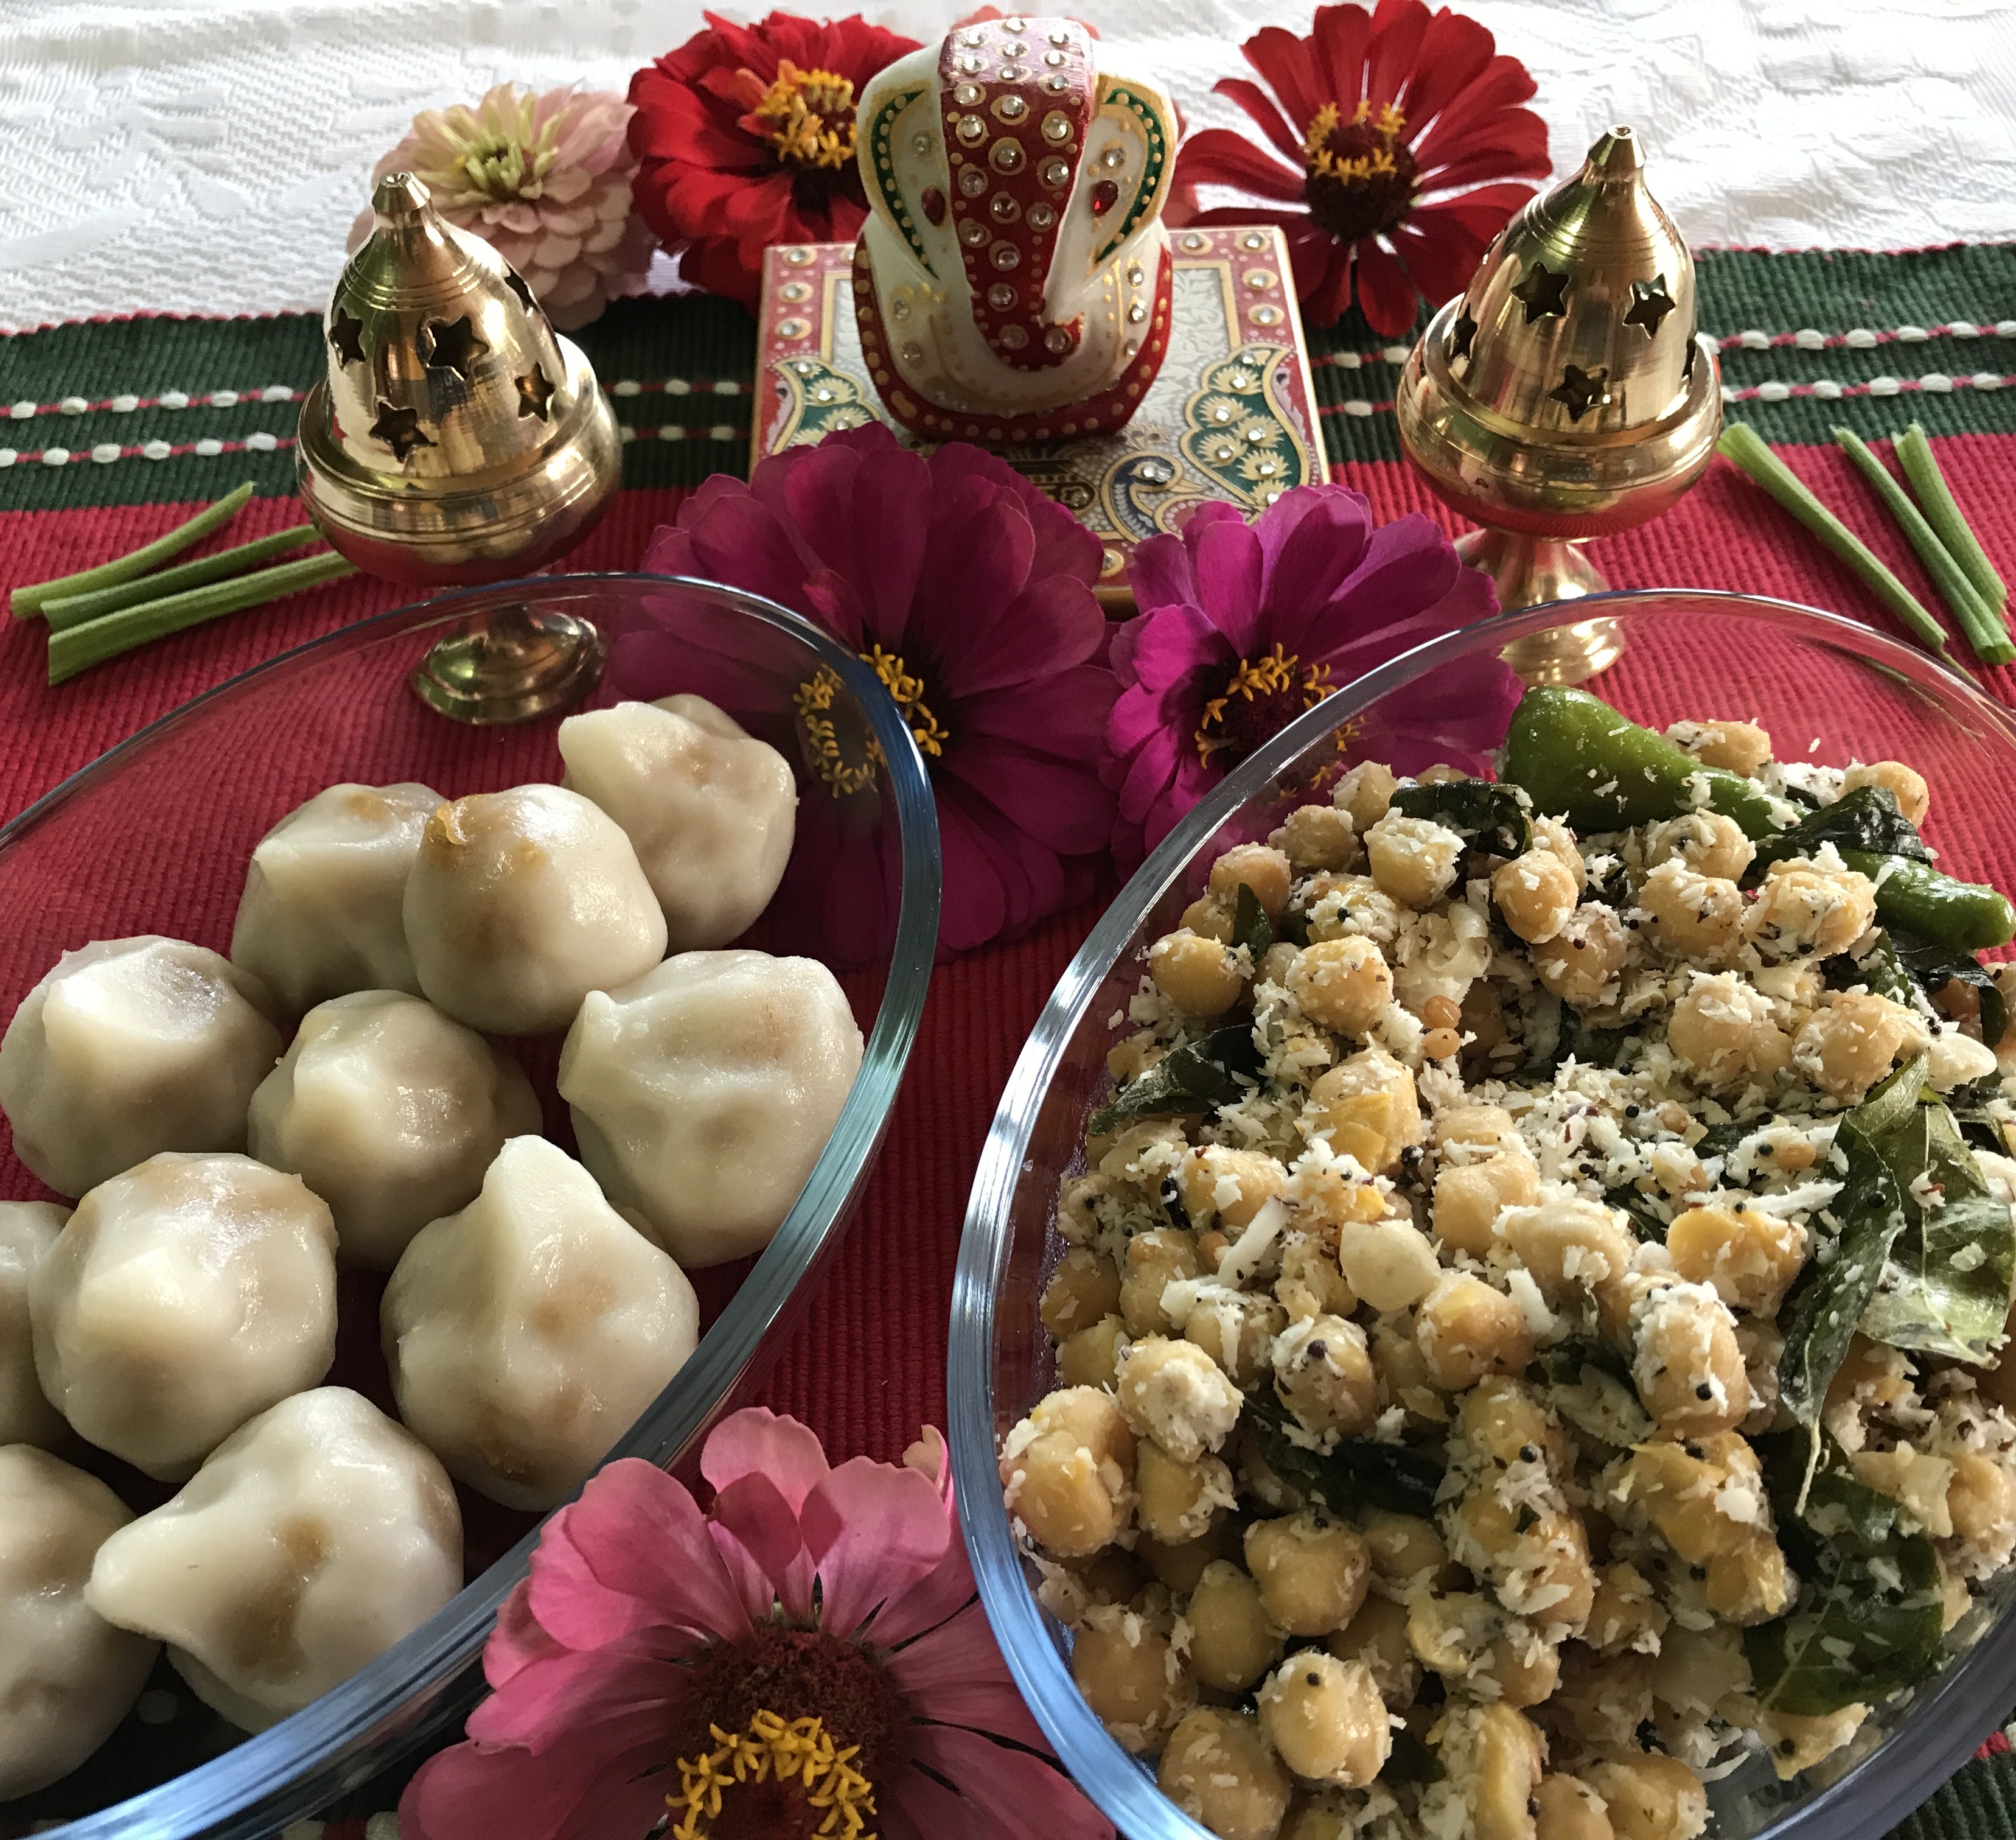
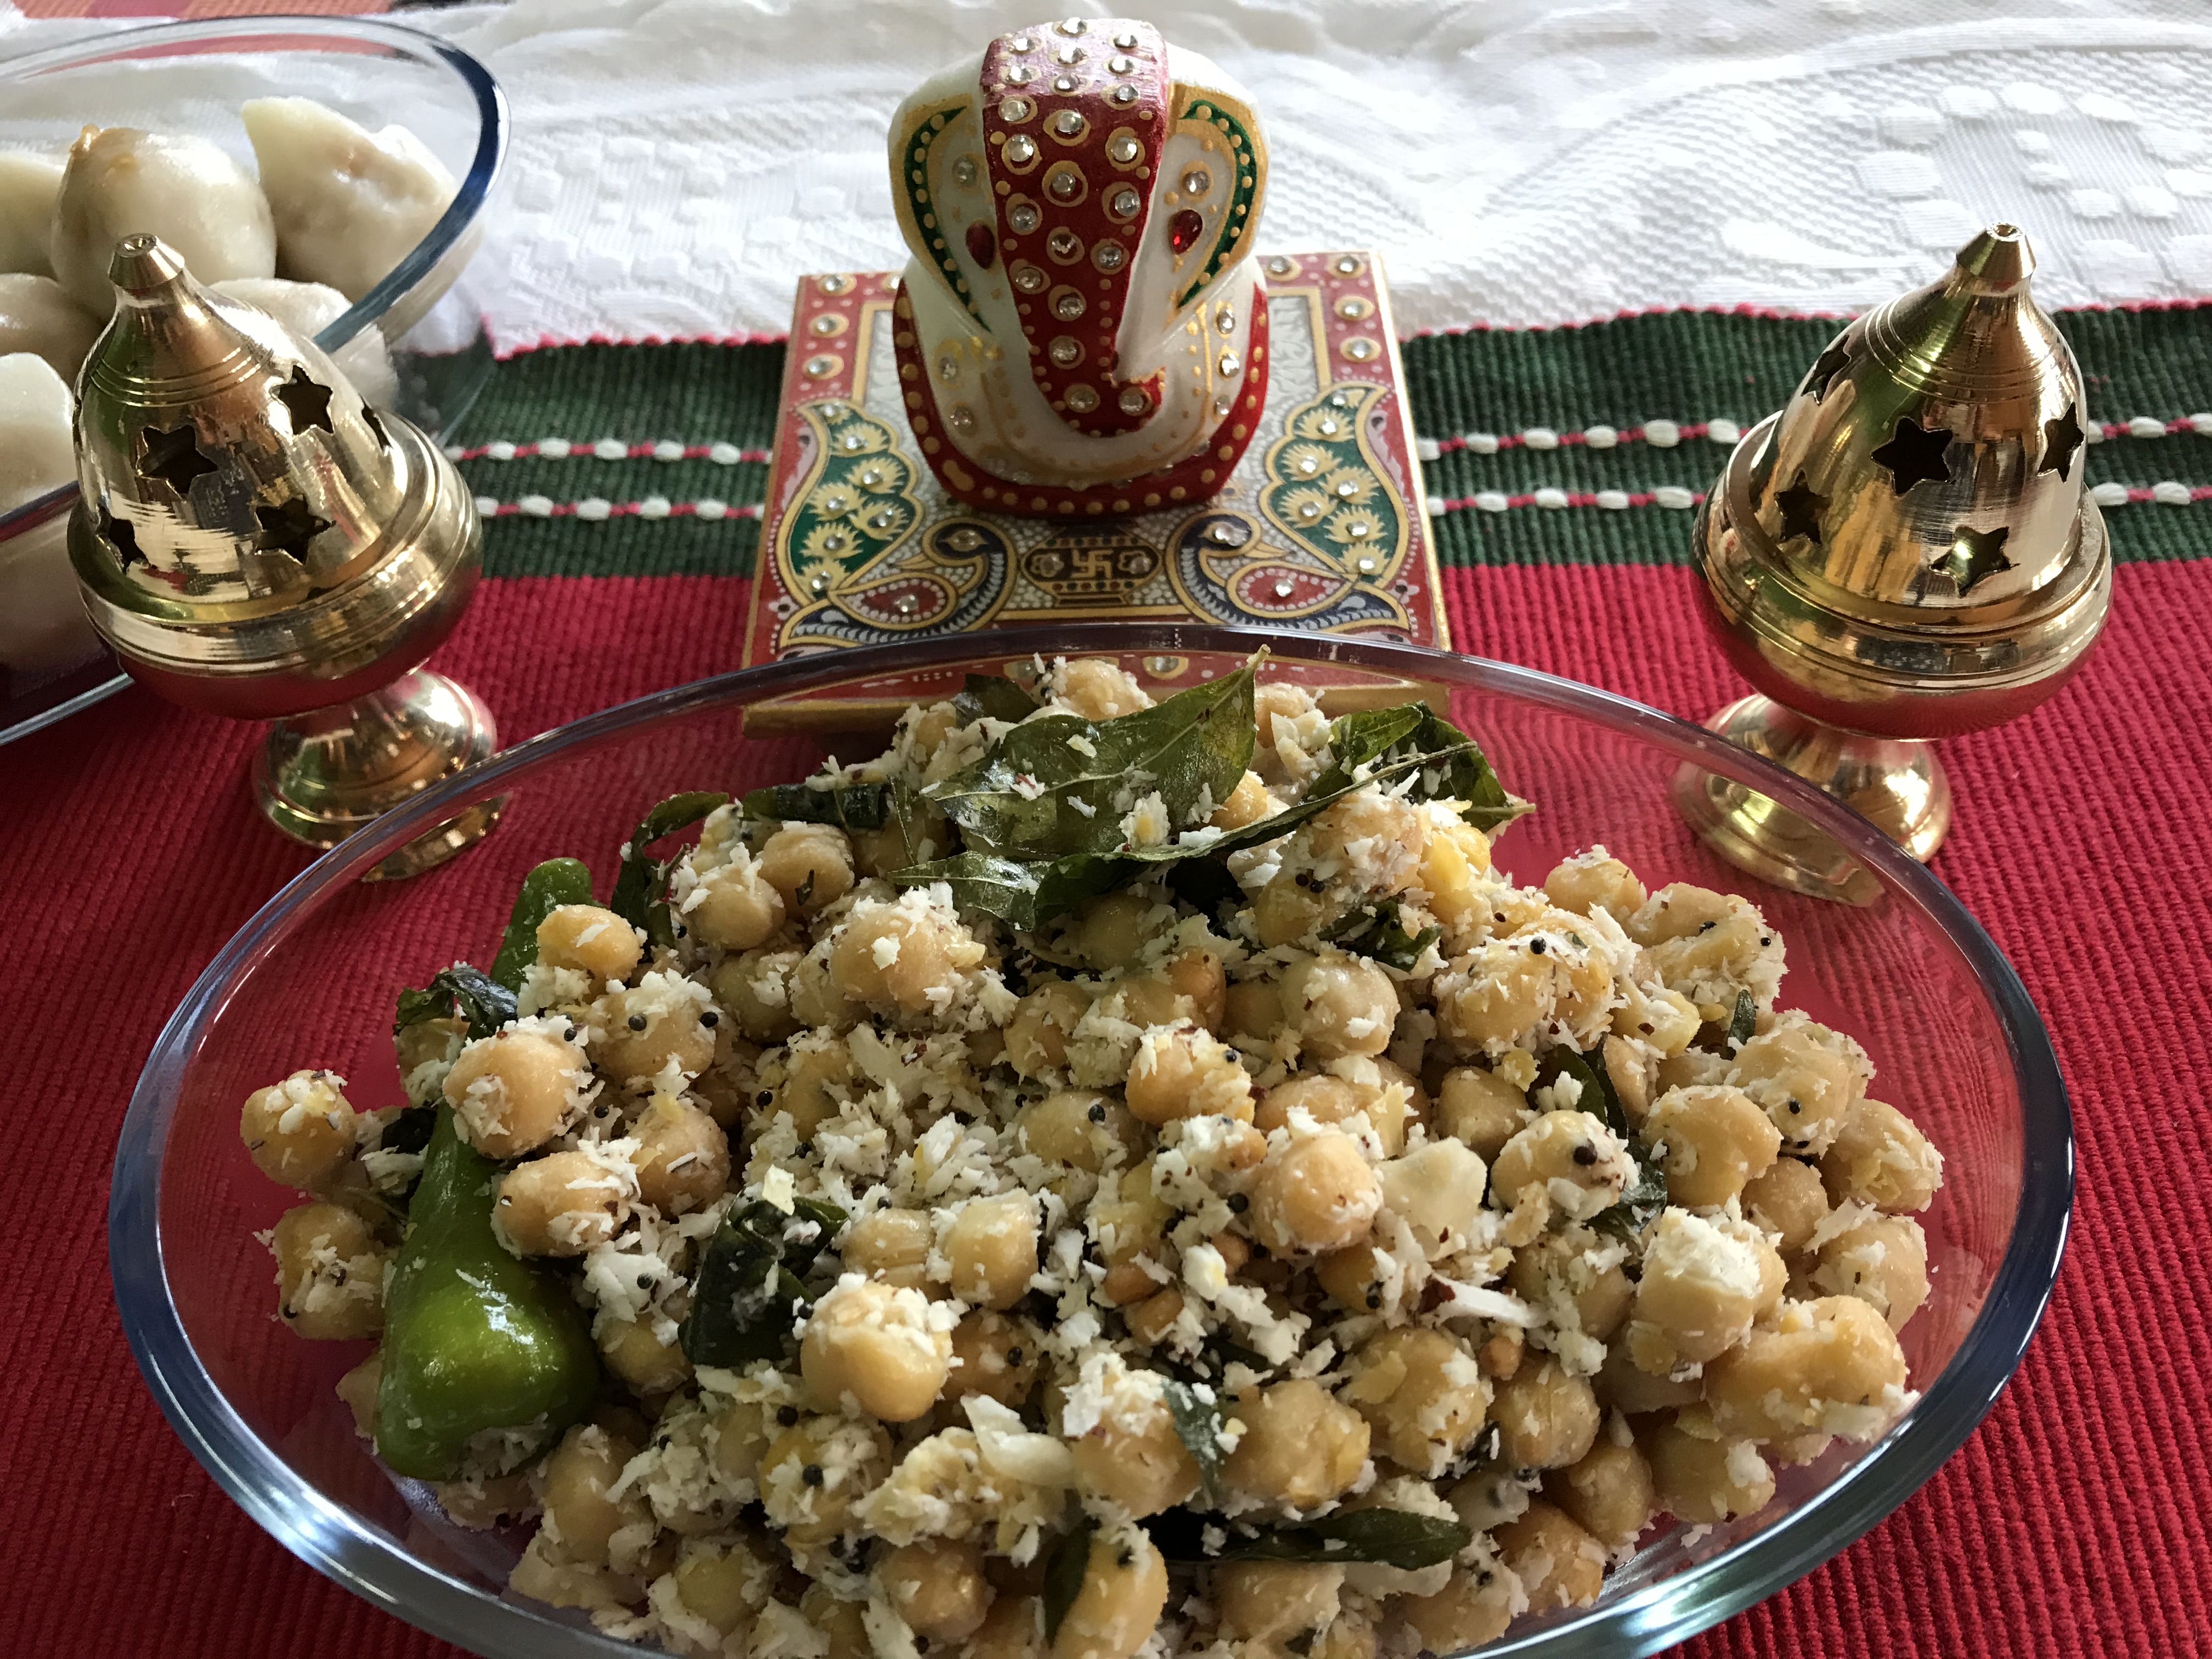
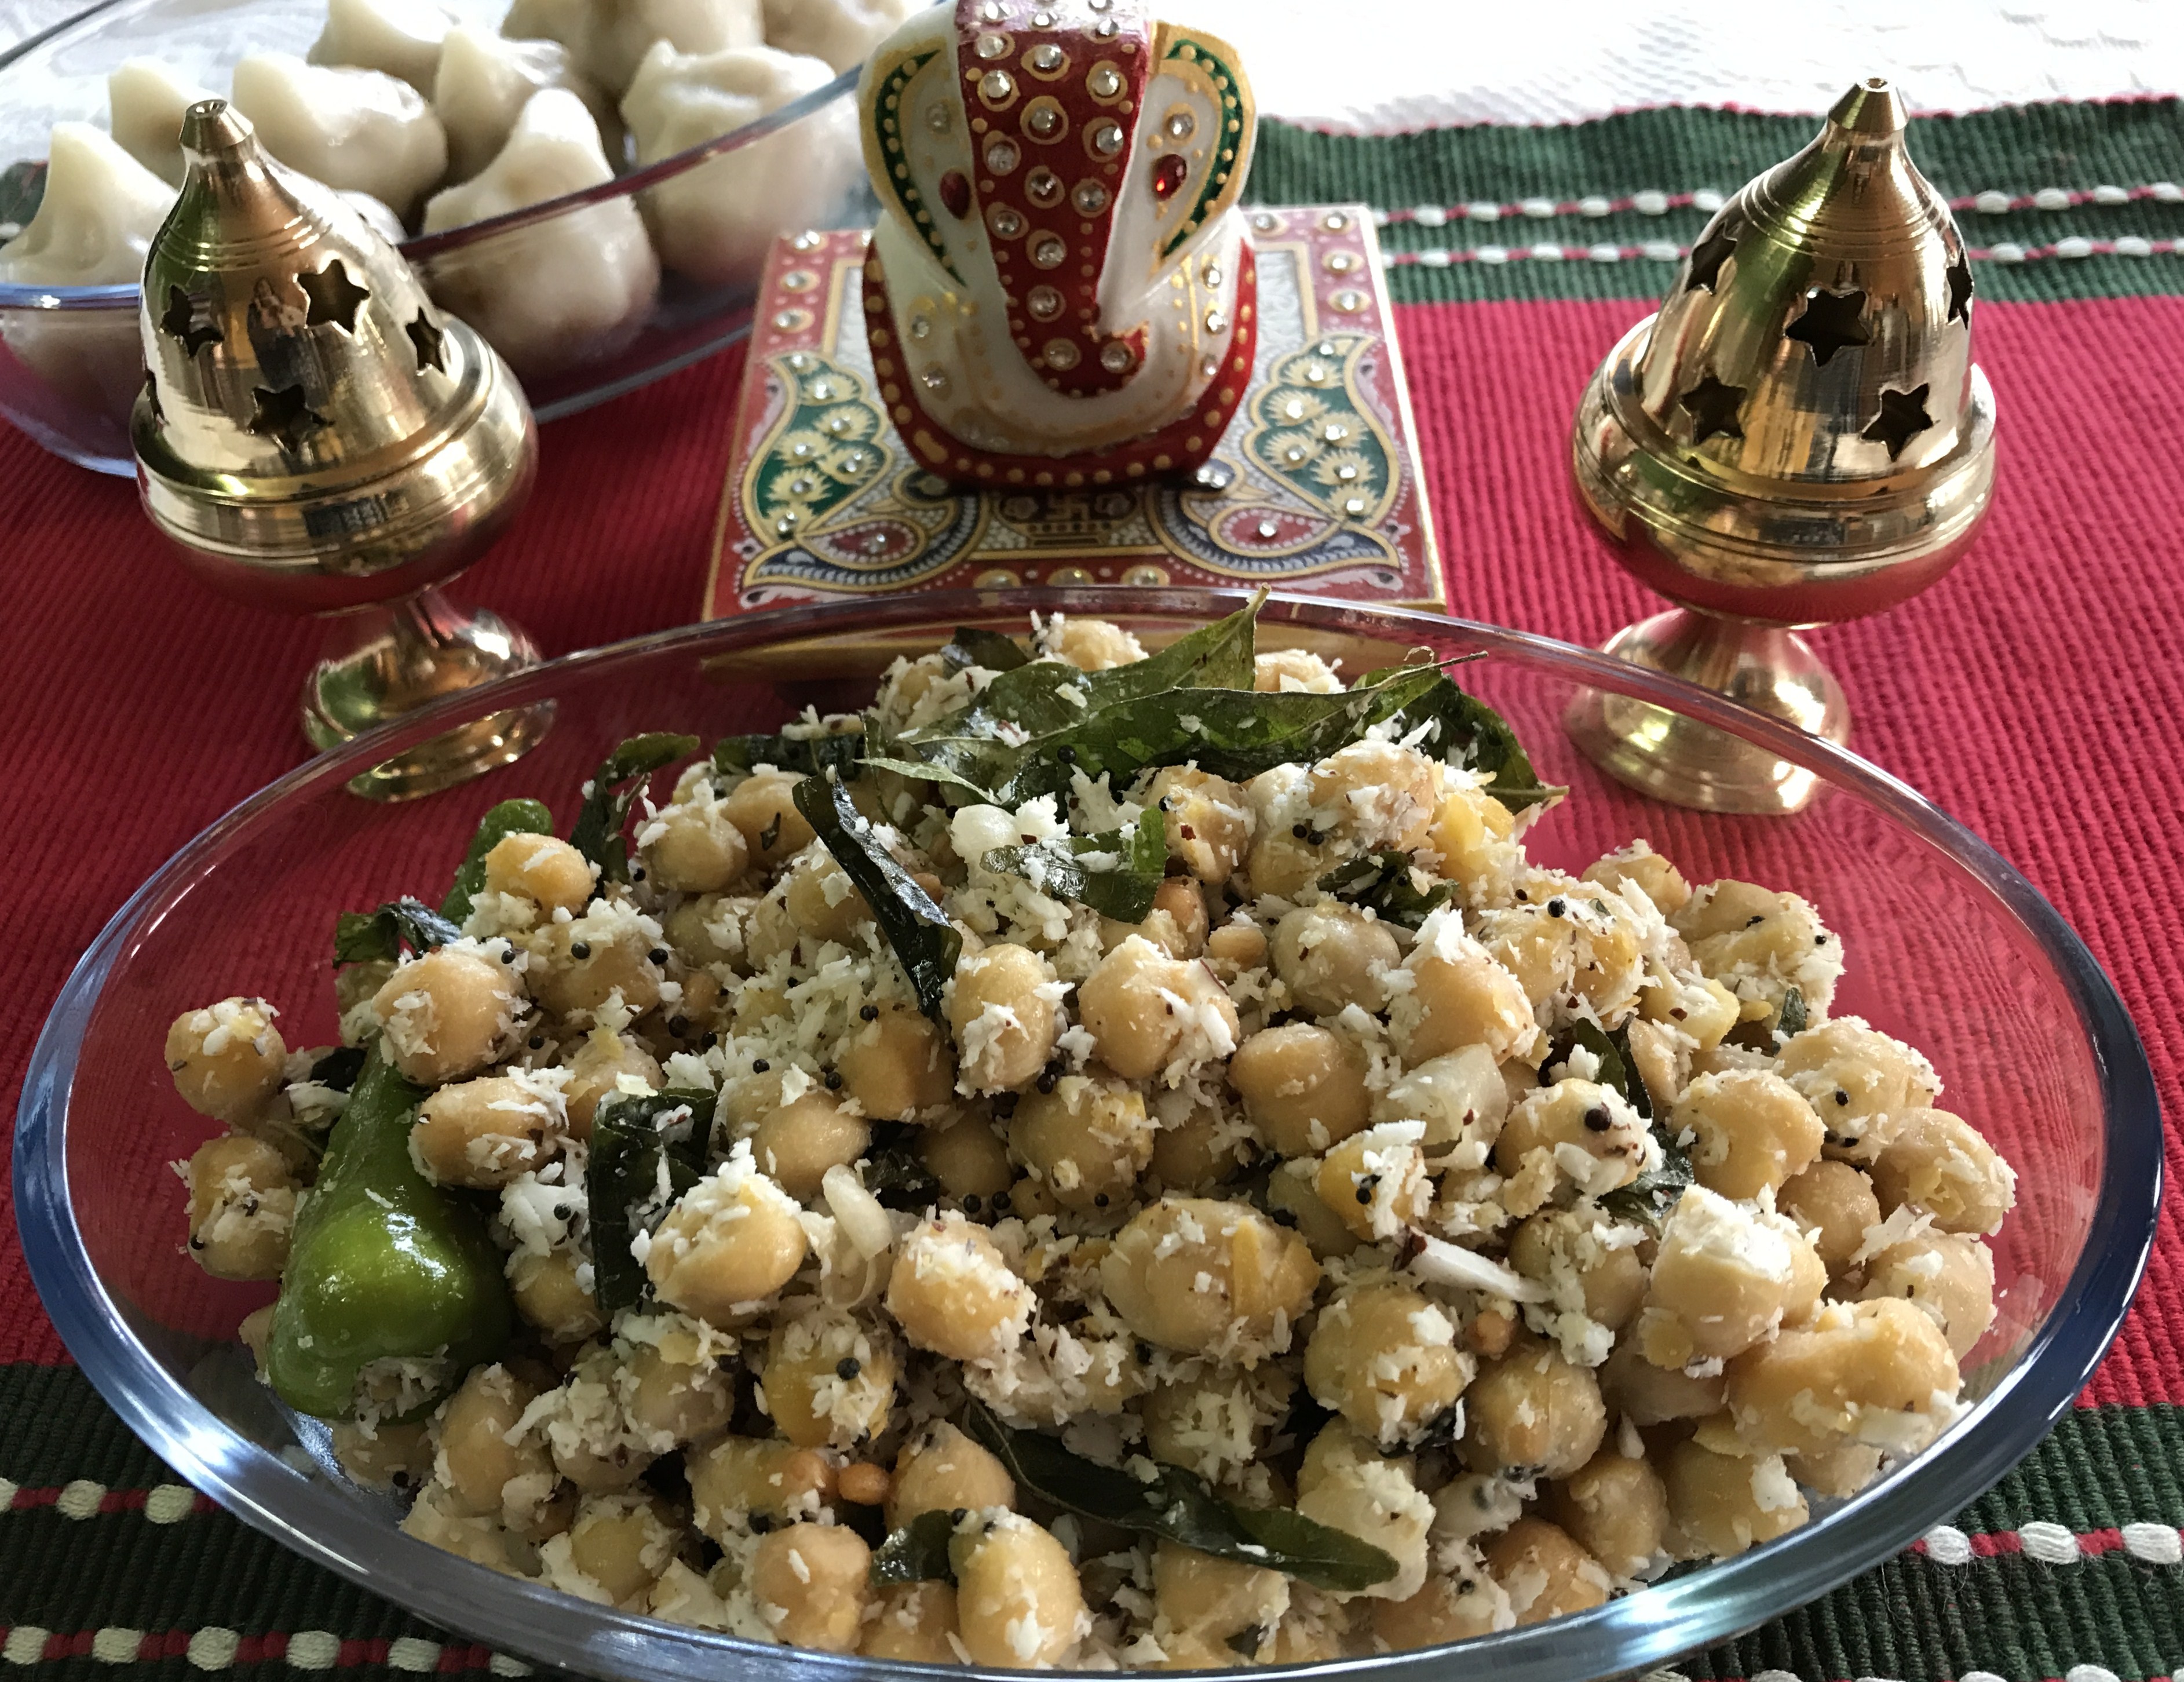
The traditional harvest festival of the Tamils –  ‘Pongal’ is almost here. It falls on the 14th of January, 2017. Wishing everyone ‘Happy Pongal’ is the easiest way to wish on any occasion with a ‘Happy’ prefixed. But Pongal is the Day of the Farmer. It is the festival to respect the Farmer and his Cattle, for the relentless service in providing staple grains and millets to the society. It can also be the ‘Thanks Giving Festival of the Tamils’. We call it ‘UZHAVAR THIRUNAL’  in Tamil or ‘THE SPECIAL DAY OF THE FARMER’.

When one of our friends introduced us to a wide range of traditional rice varieties of Tamilnadu, what more special an occasion could I wait for, than a post on the Harvest Festival. Hence, I reserved it for Uzhavar Thirunal/Pongal. Though I have become a better user of millets of my state, and those special millets have become a regular feature of the breakfast table, these rice varieties were only reading material till date to me. Or more, a topic of discussion in Farmer’s Programmes across national channels.

Unfortunately, not much historical or research information could be found in the net. But fortunately, much has been written recently and much more information could be found through videos of specialized farmers and practitioners of traditional Tamil medicine. I could feel a sudden urge among media enthusiasts, to popularize these traditional grains – in a genuine interest to protect the grains from getting lost in the huge piles of junk/fast and processed foods in the super market and to protect those farmers whose livelihood has never been appreciated as the Farmers of the West.

As two sides of every coin…the ever rising health issues is truly the factor of concern. To protect the elite class and the section of the people who urge to reach the elite class from Obesity, Diabetes, Blood Pressure and a wide range of Life Style oriented diseases, there is this new rise in the introduction of traditional grains and millets.  What is sown by the simple farmer is reaped as benefit by the trendy super markets with trendier gunny bags to store tradition at its grandest.

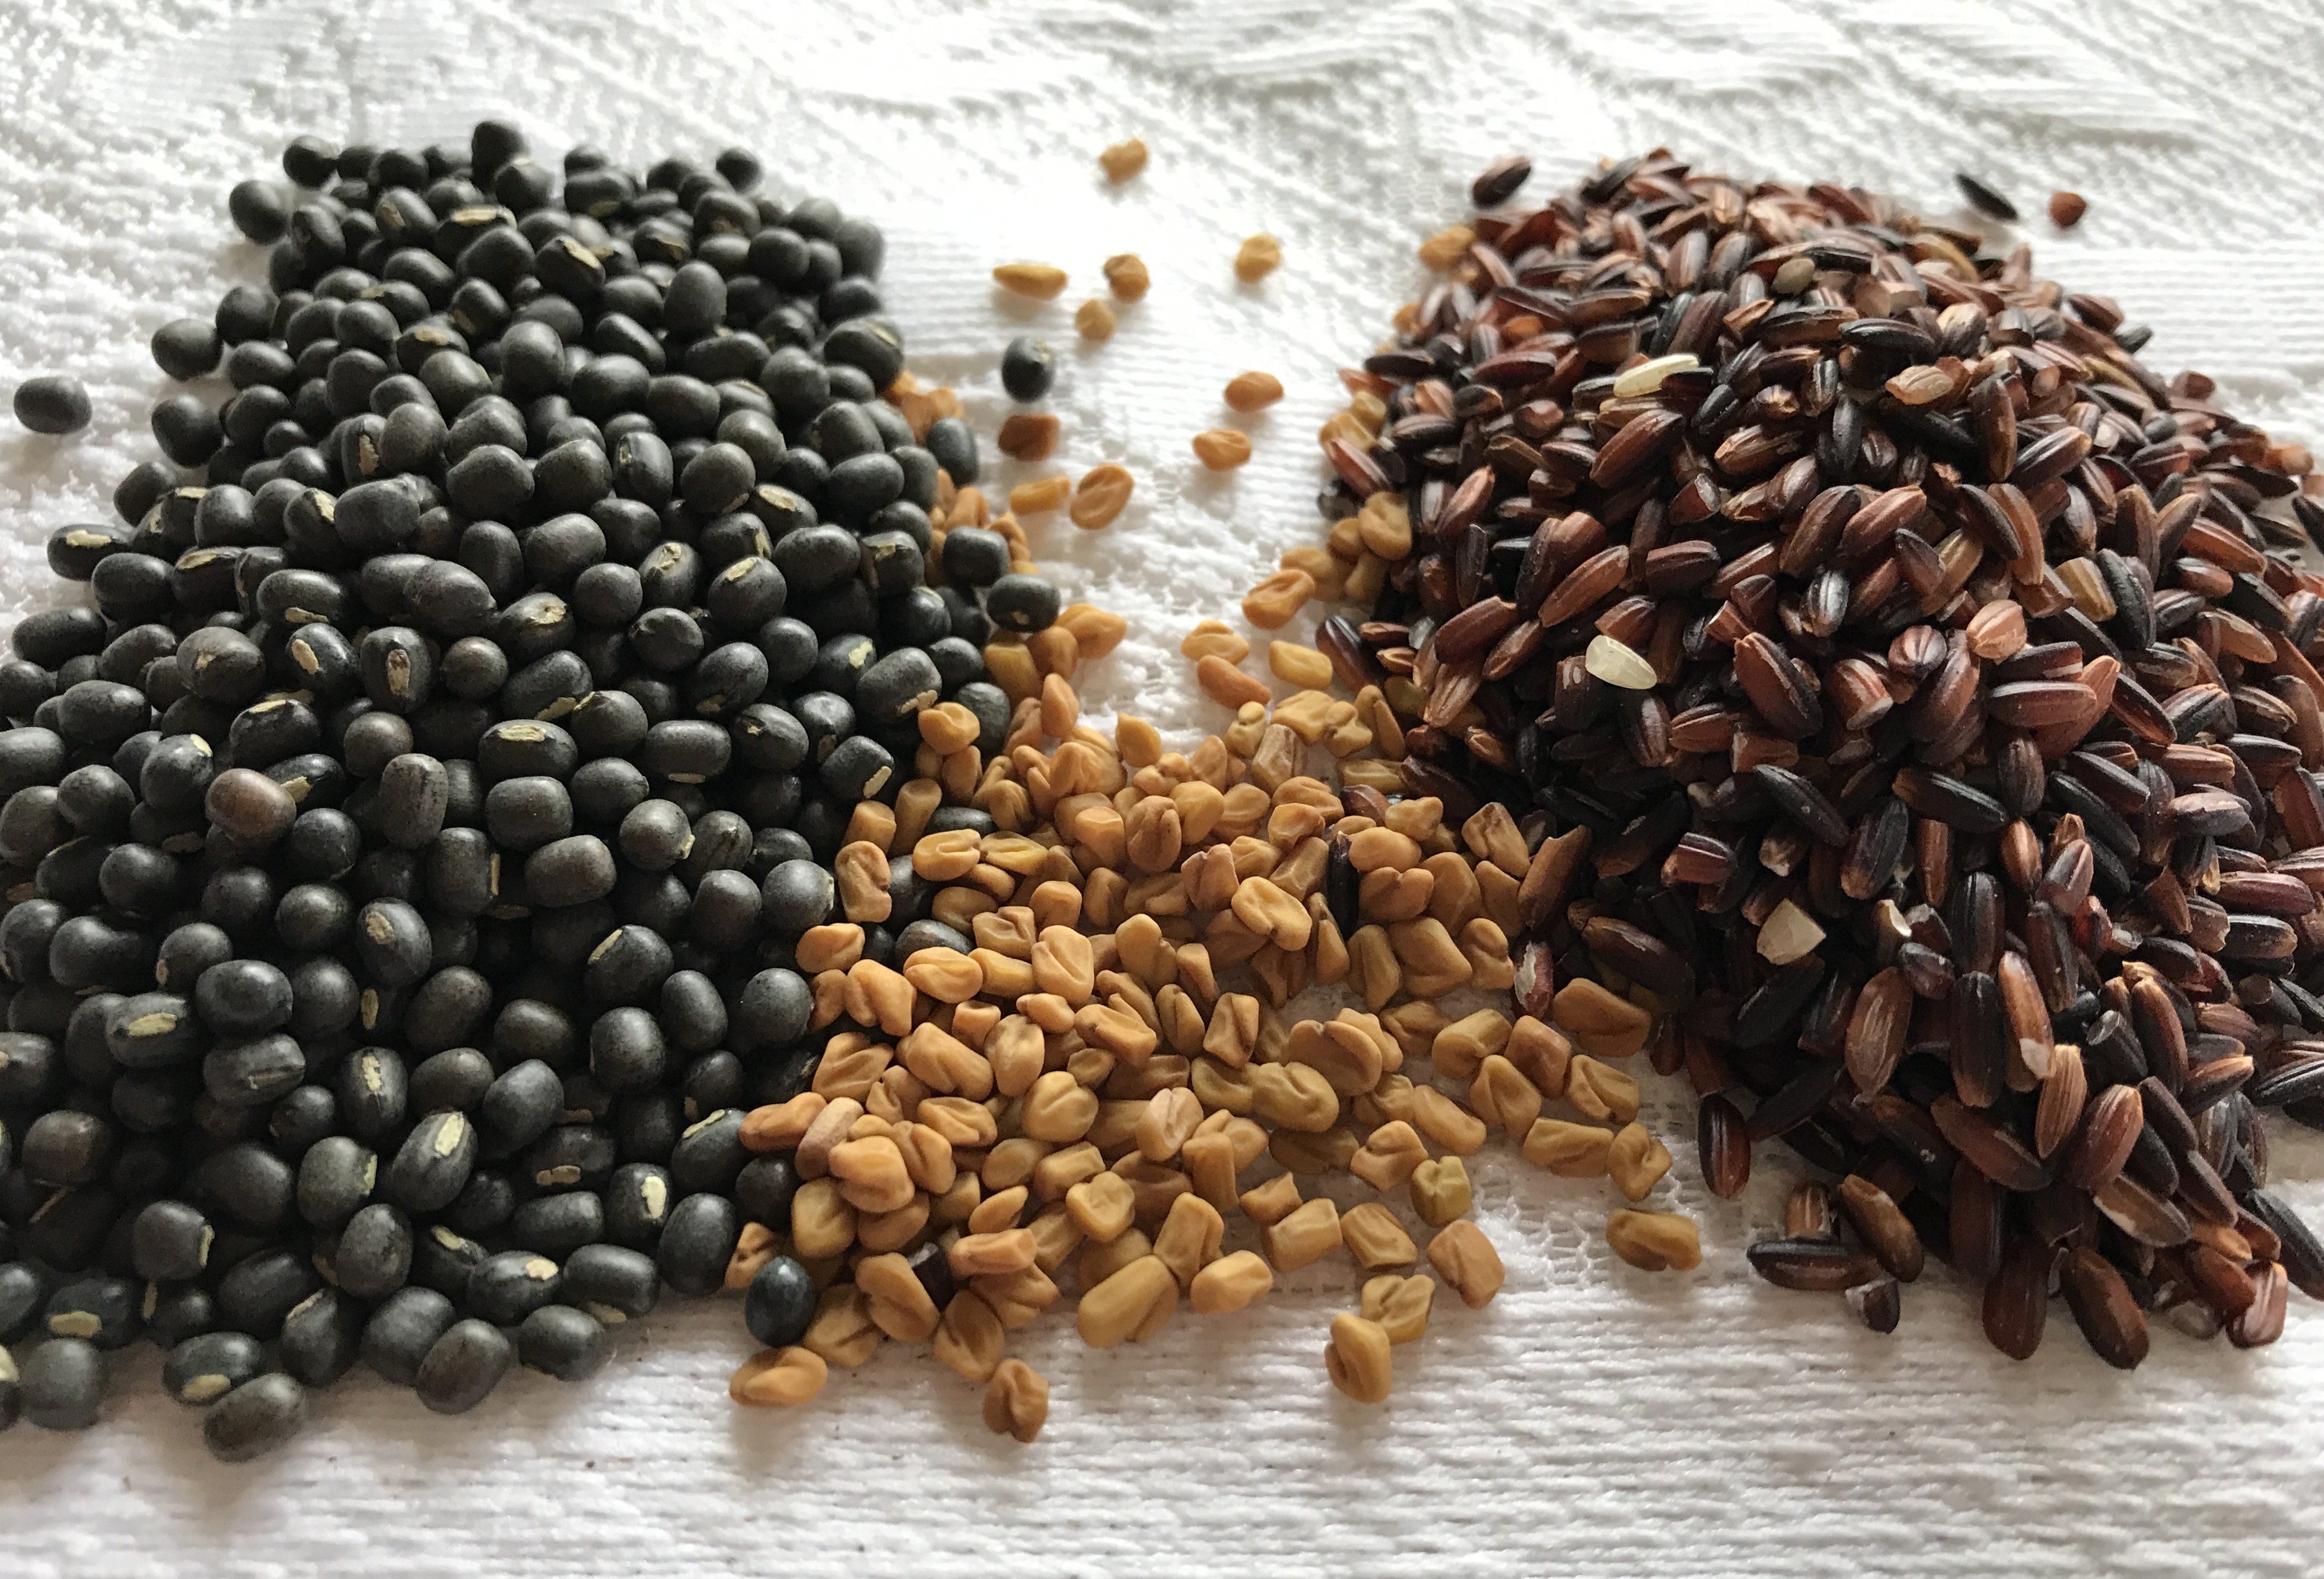
Coming to the grains that I was introduced to – A very special thanks to Mrs. and Mr. T.

Here are a few grains that have been part of the traditional rice eating habit of the Tamils across centuries and more. I have tried to present the nutritional facts of the specific rice variety with the link from which I could gather the information. For any interested reader – Just type the name of the rice, and one would come across the very few websites which explain the benefits.

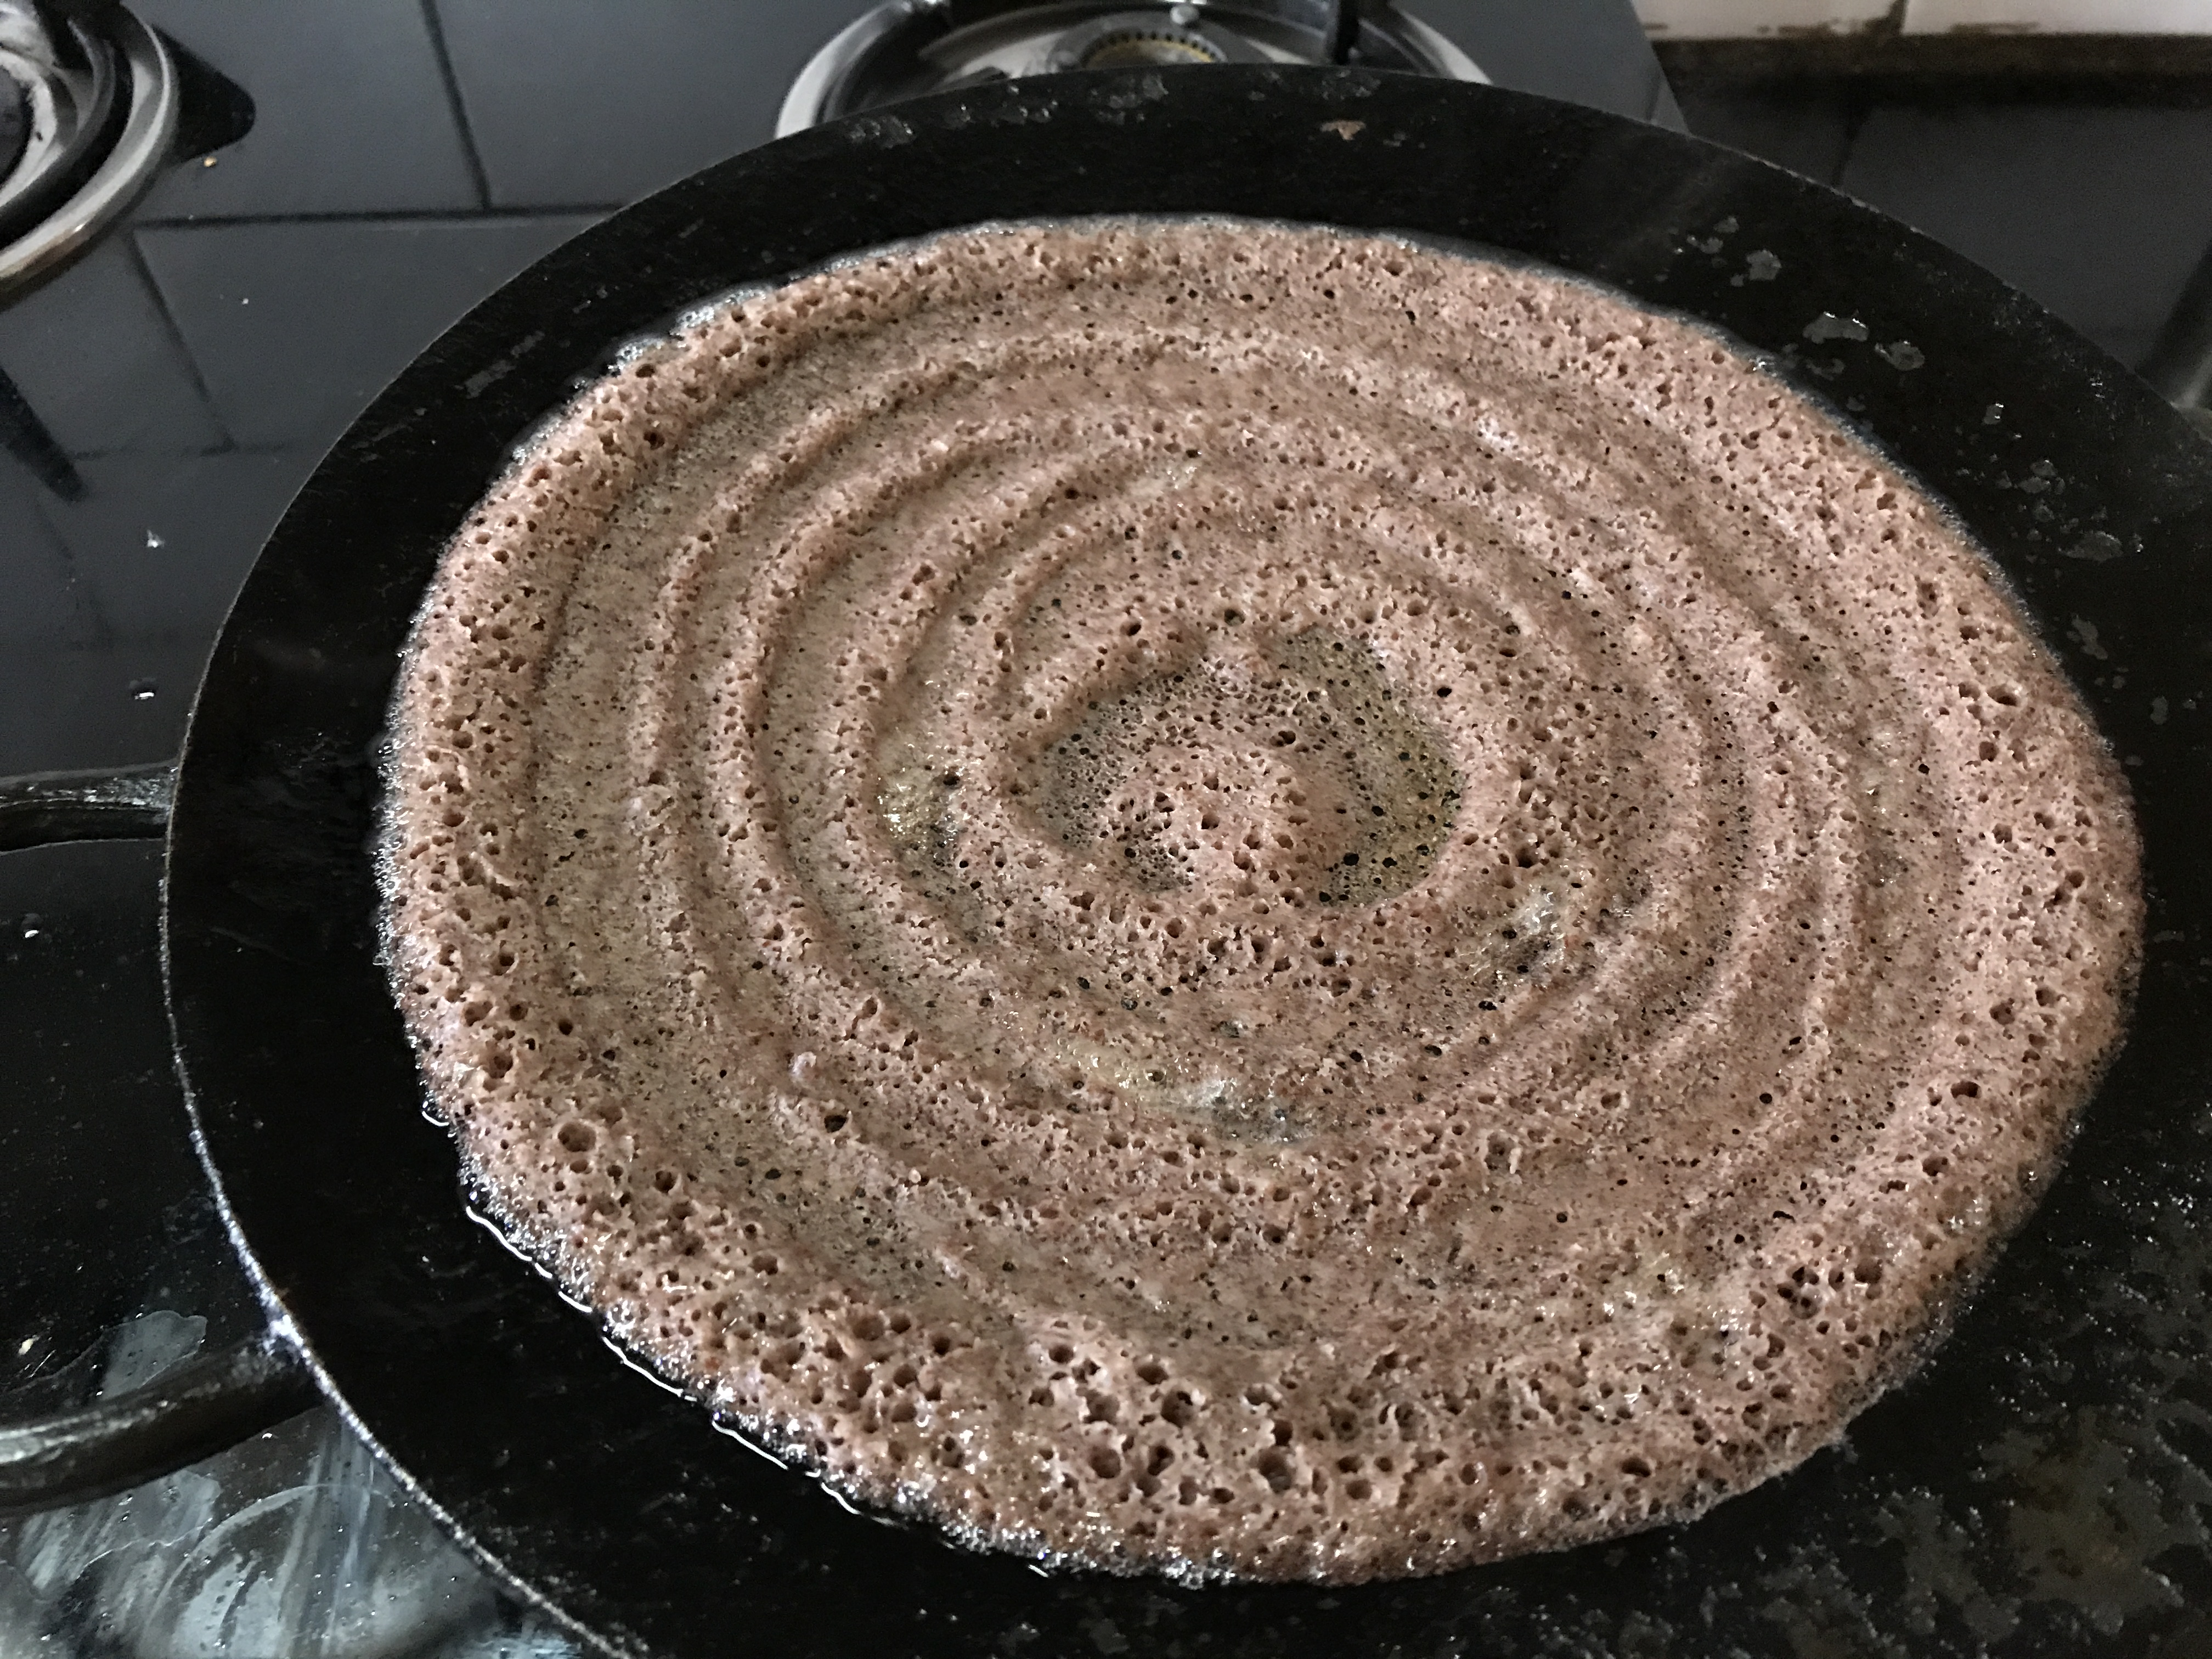
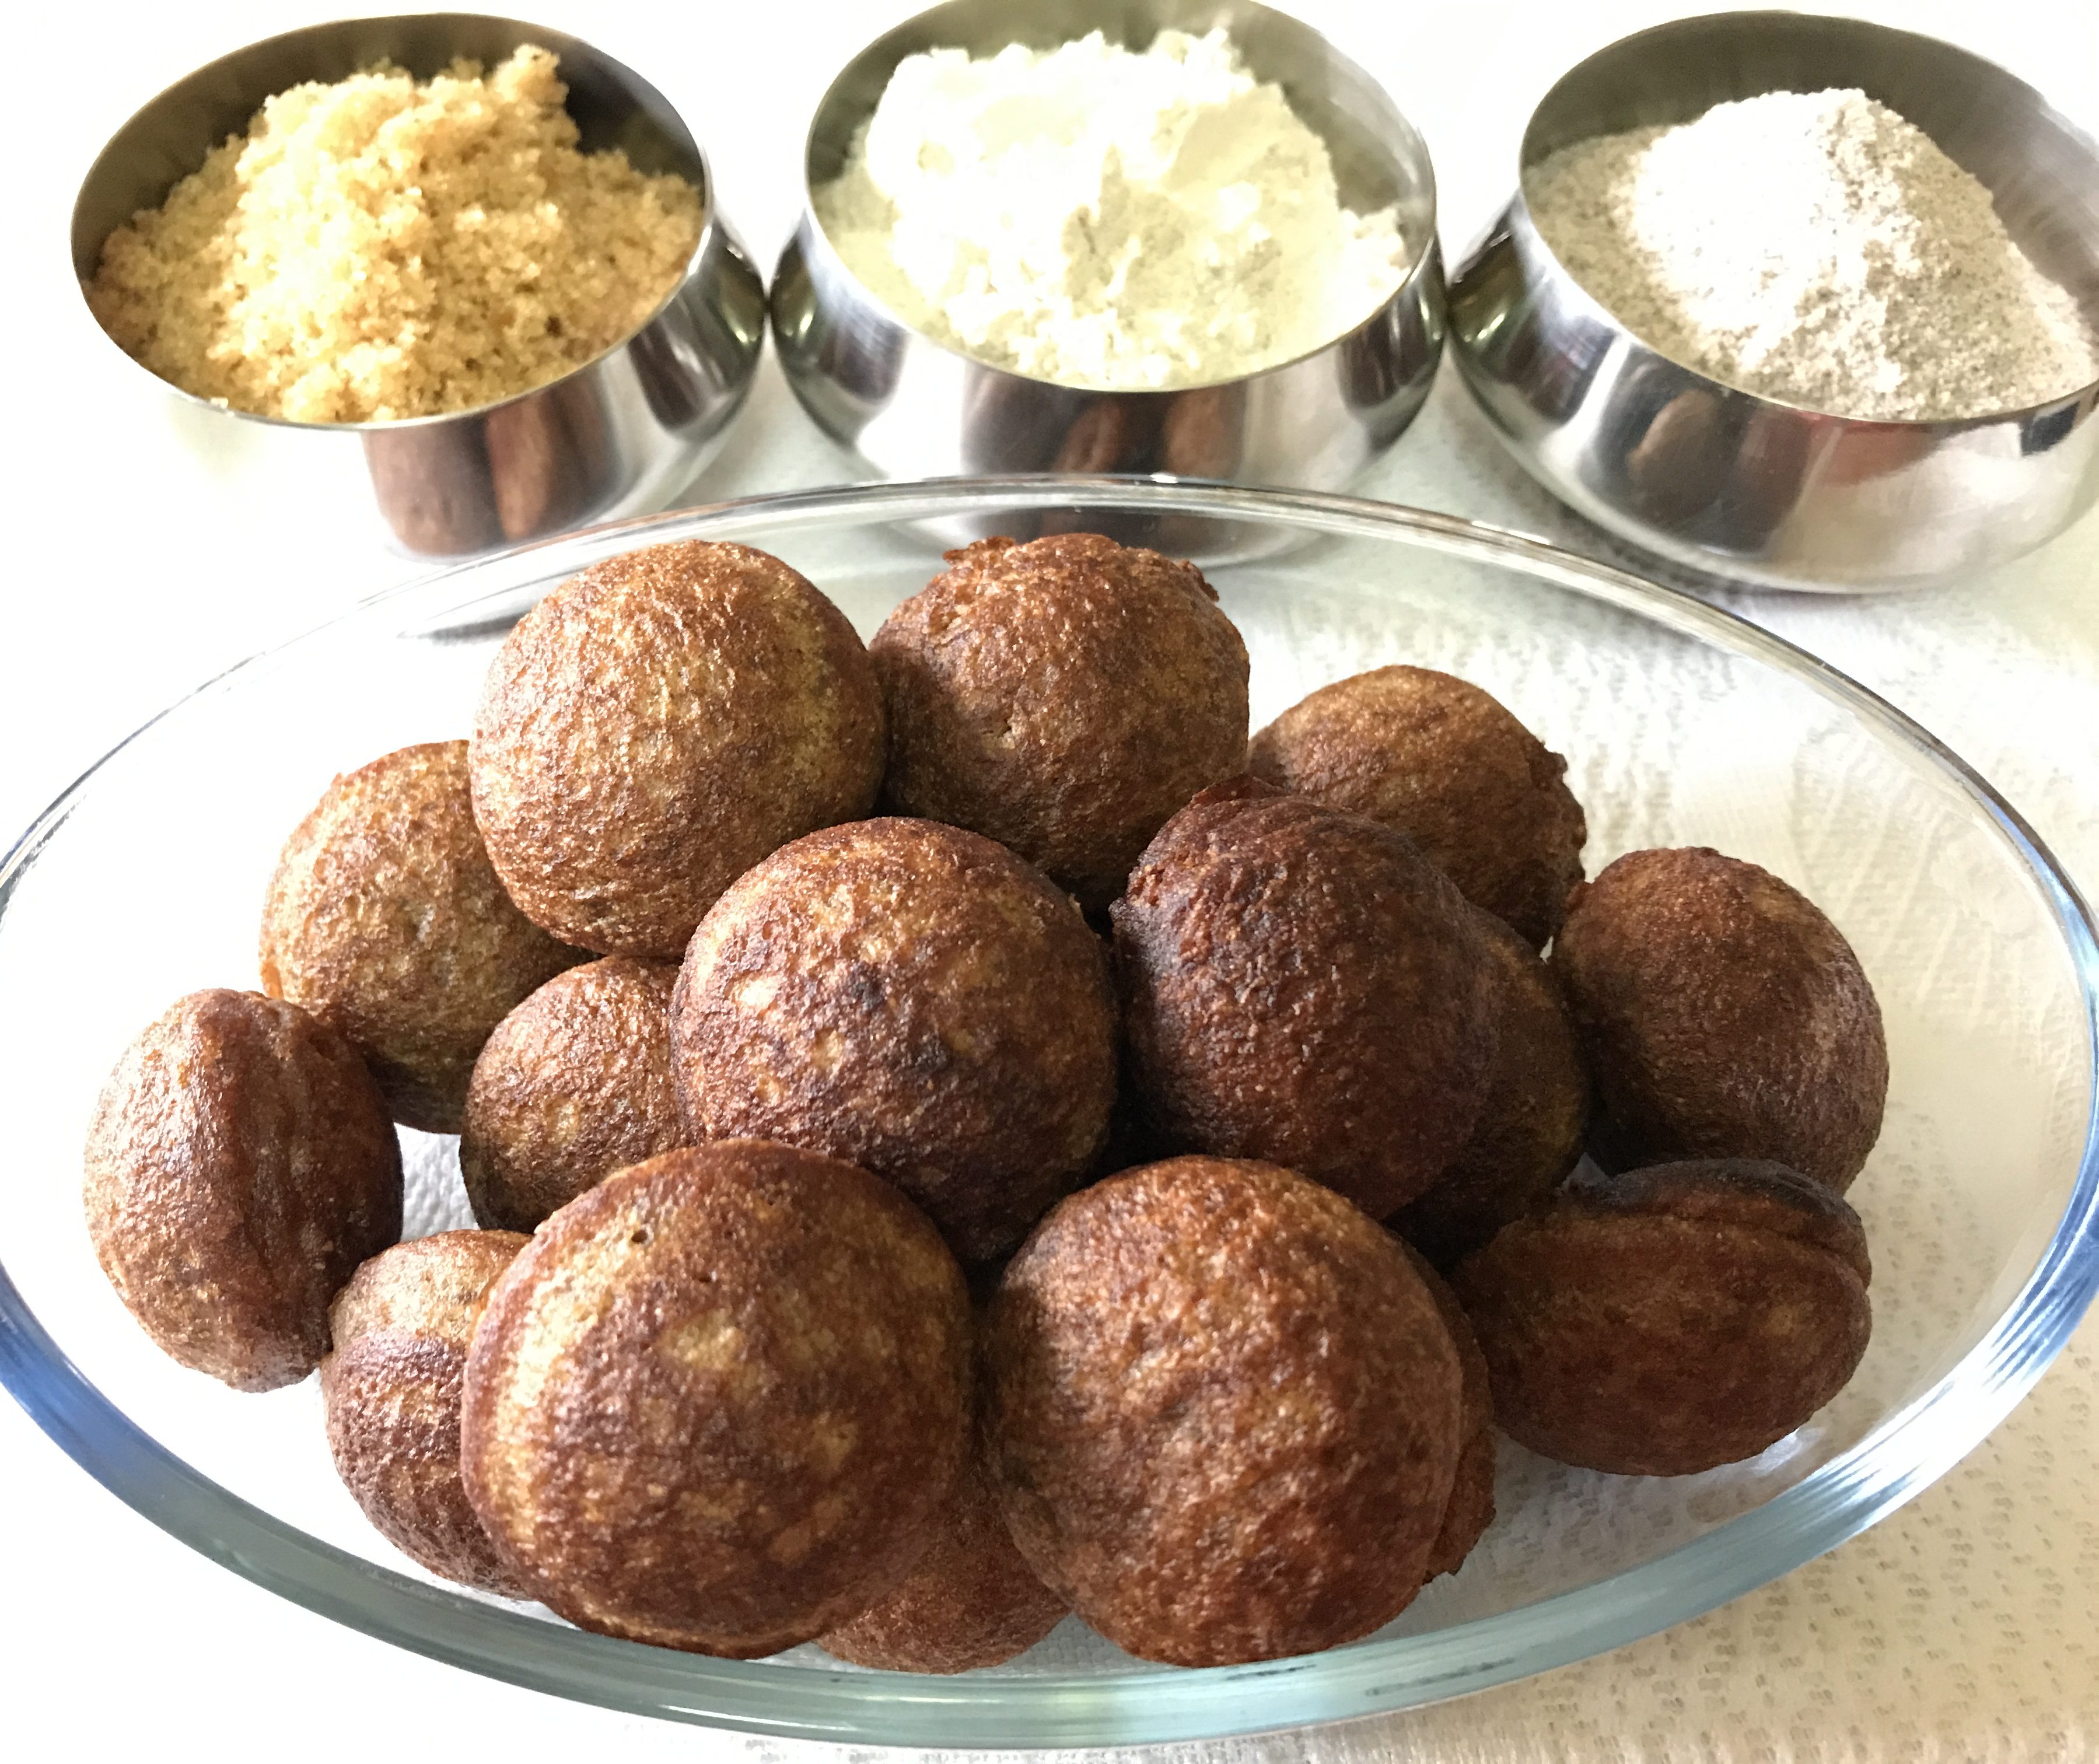
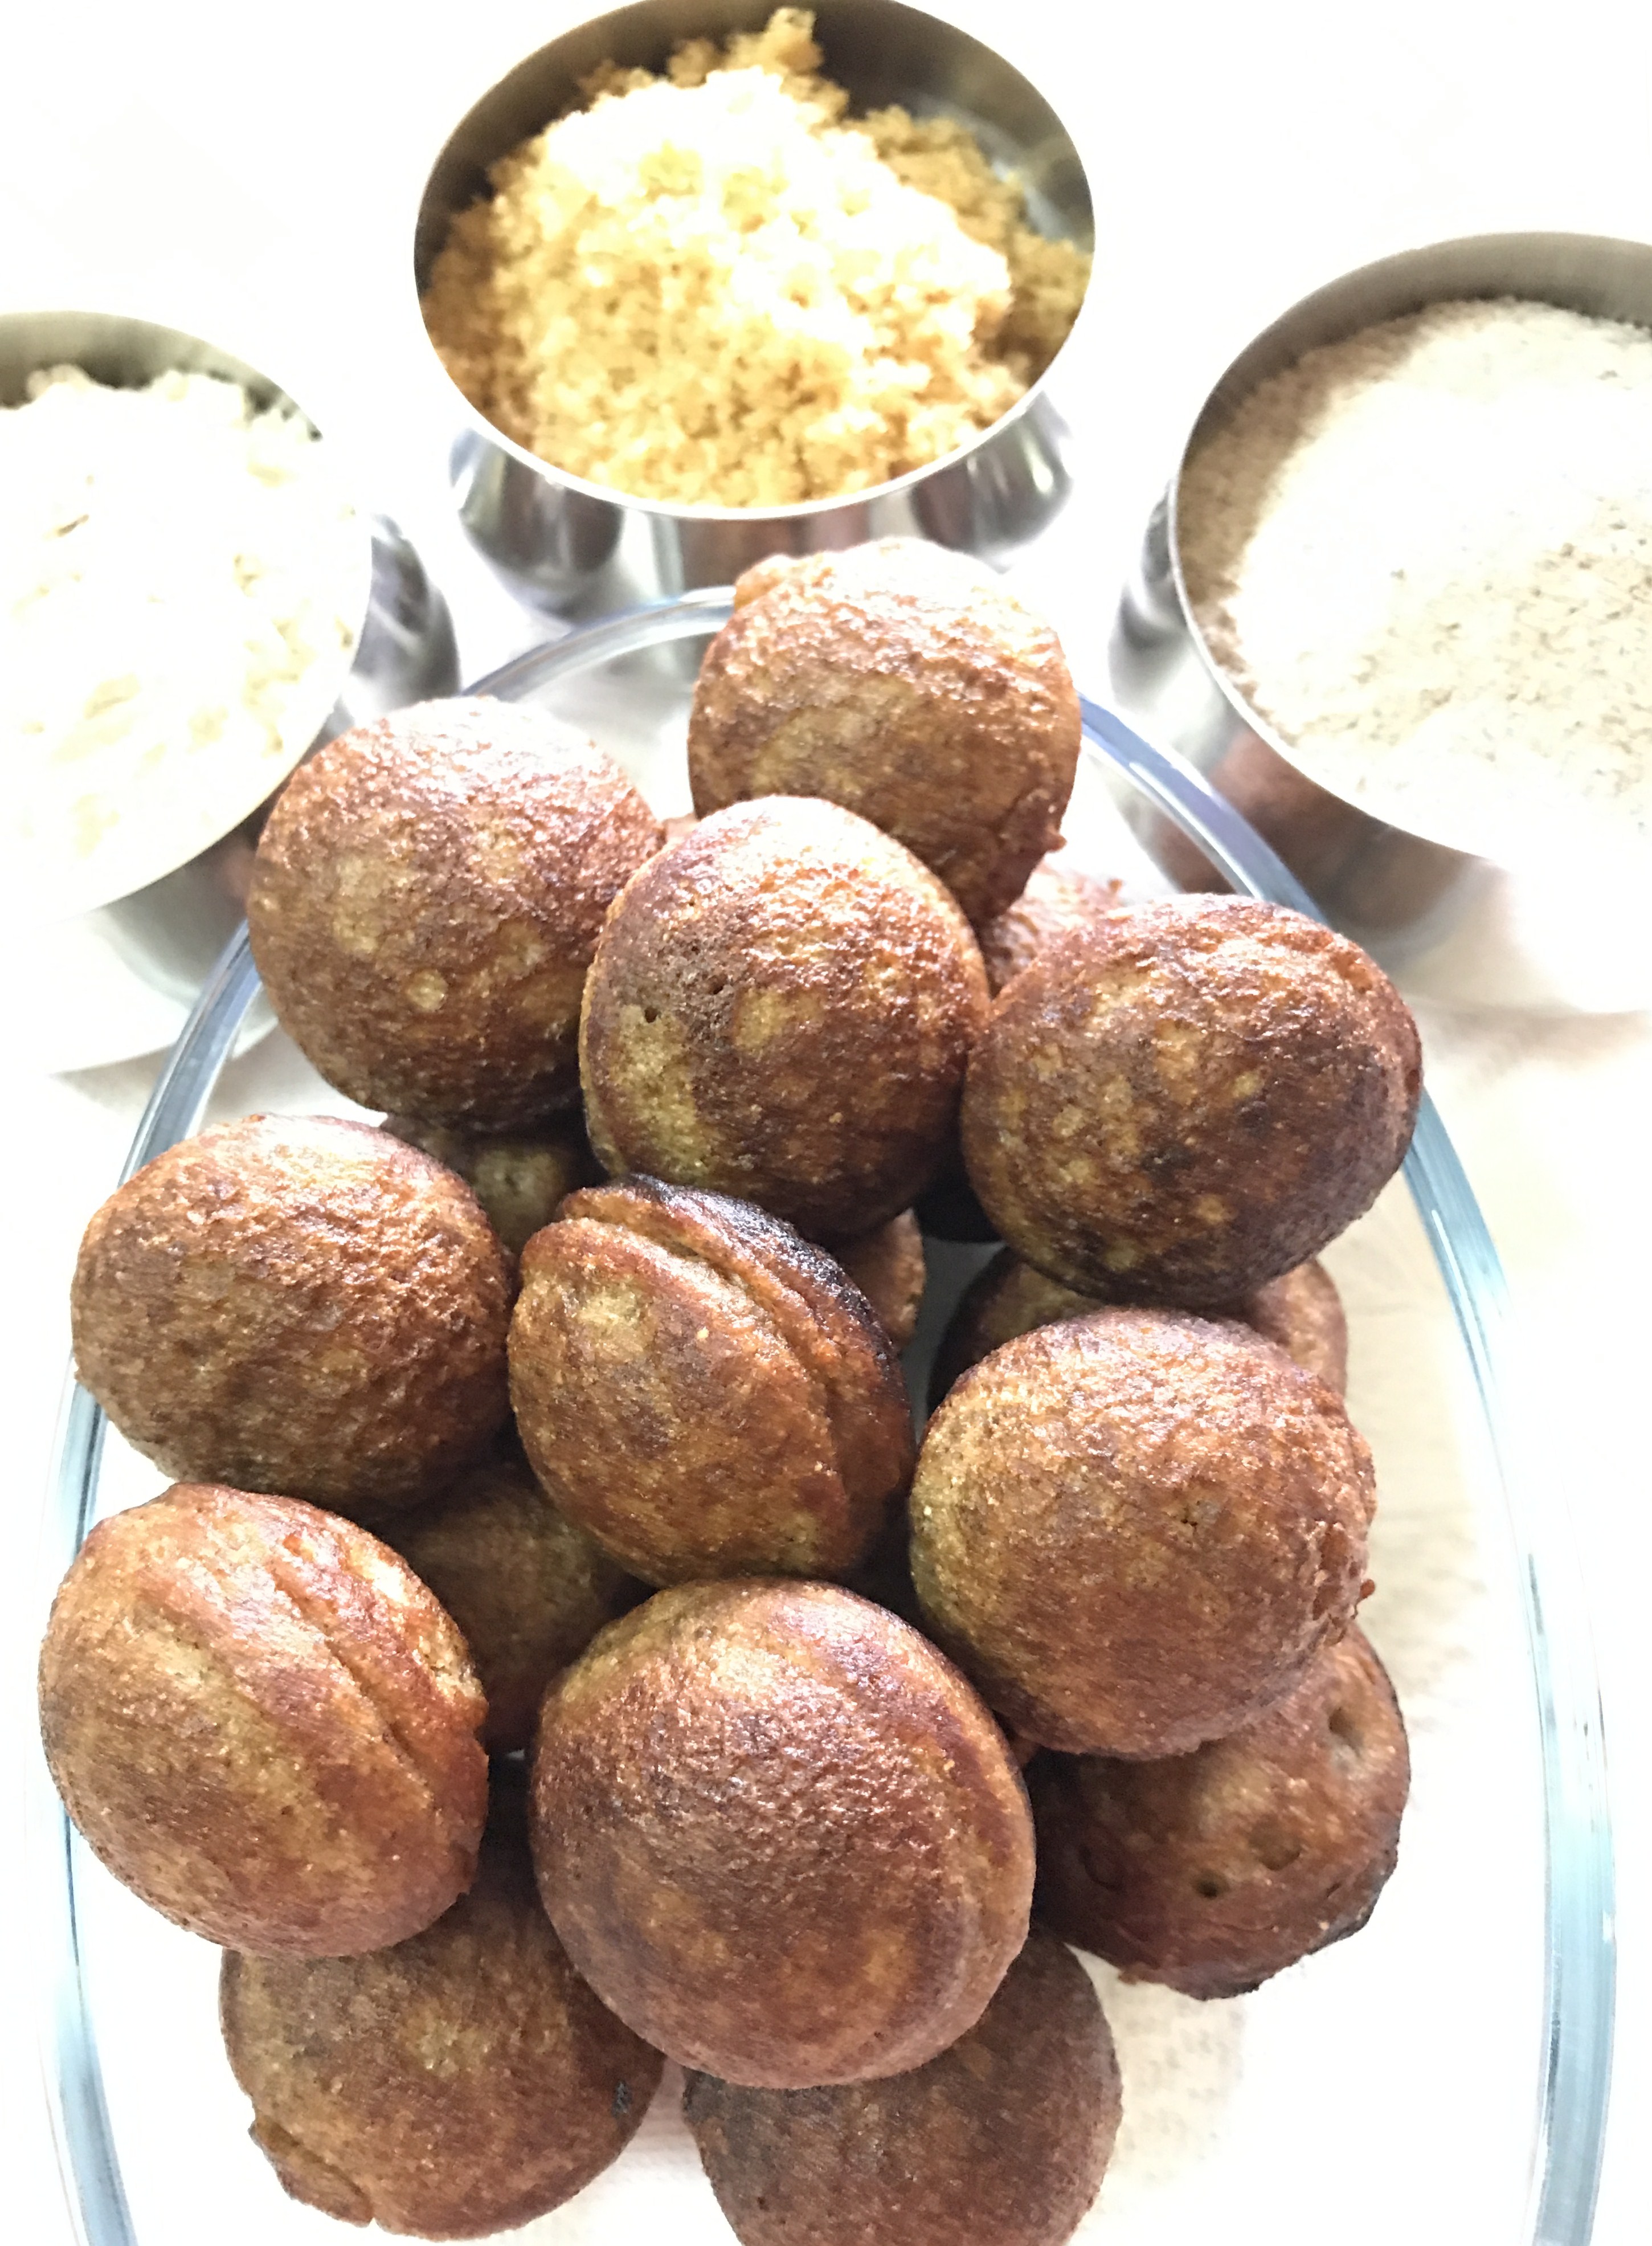
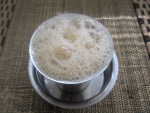
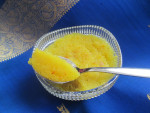
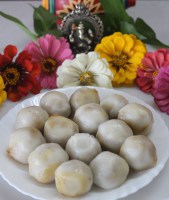
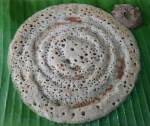
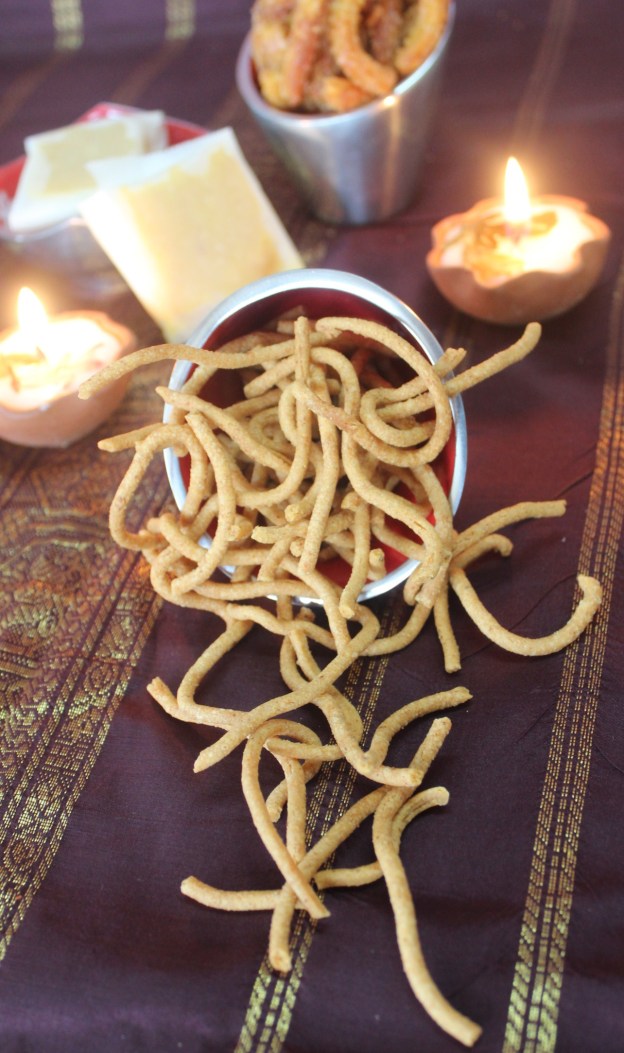
I wish to post the different foods that can be prepared from these grains in the near future… may be Paniyaram, Pongal, Idly or Dosai.


These are the different varieties of rice presently with me.  ARISI is rice in Tamil language.

  1. Karuppu Kavuni Arisi
  2. Sivappu Kavuni Arisi
  3. Karunkuruvai Arisi
  4. Moongil Arisi
  5. Kullankar Arisi
  6. Kudavazhai Arisi
  7. Kaatuyaanam Arisi
  8. Maappillai Arisi


img_7841


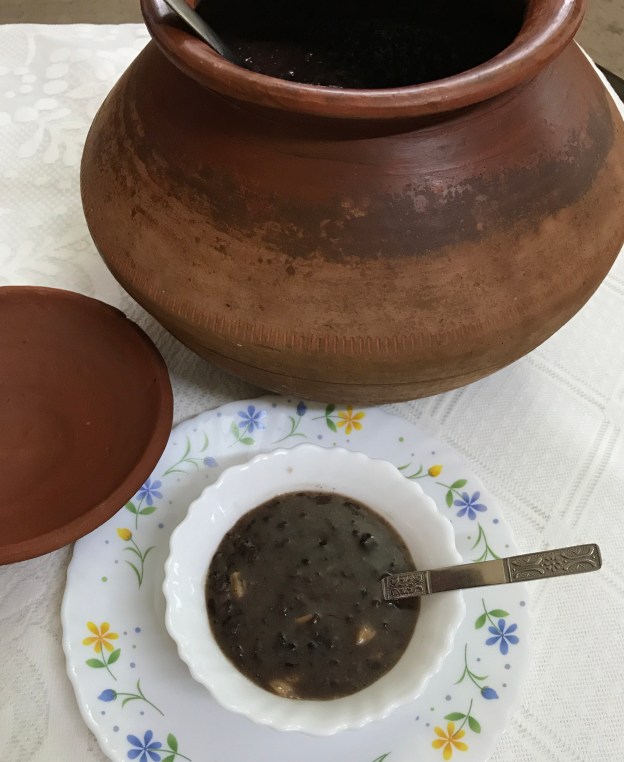
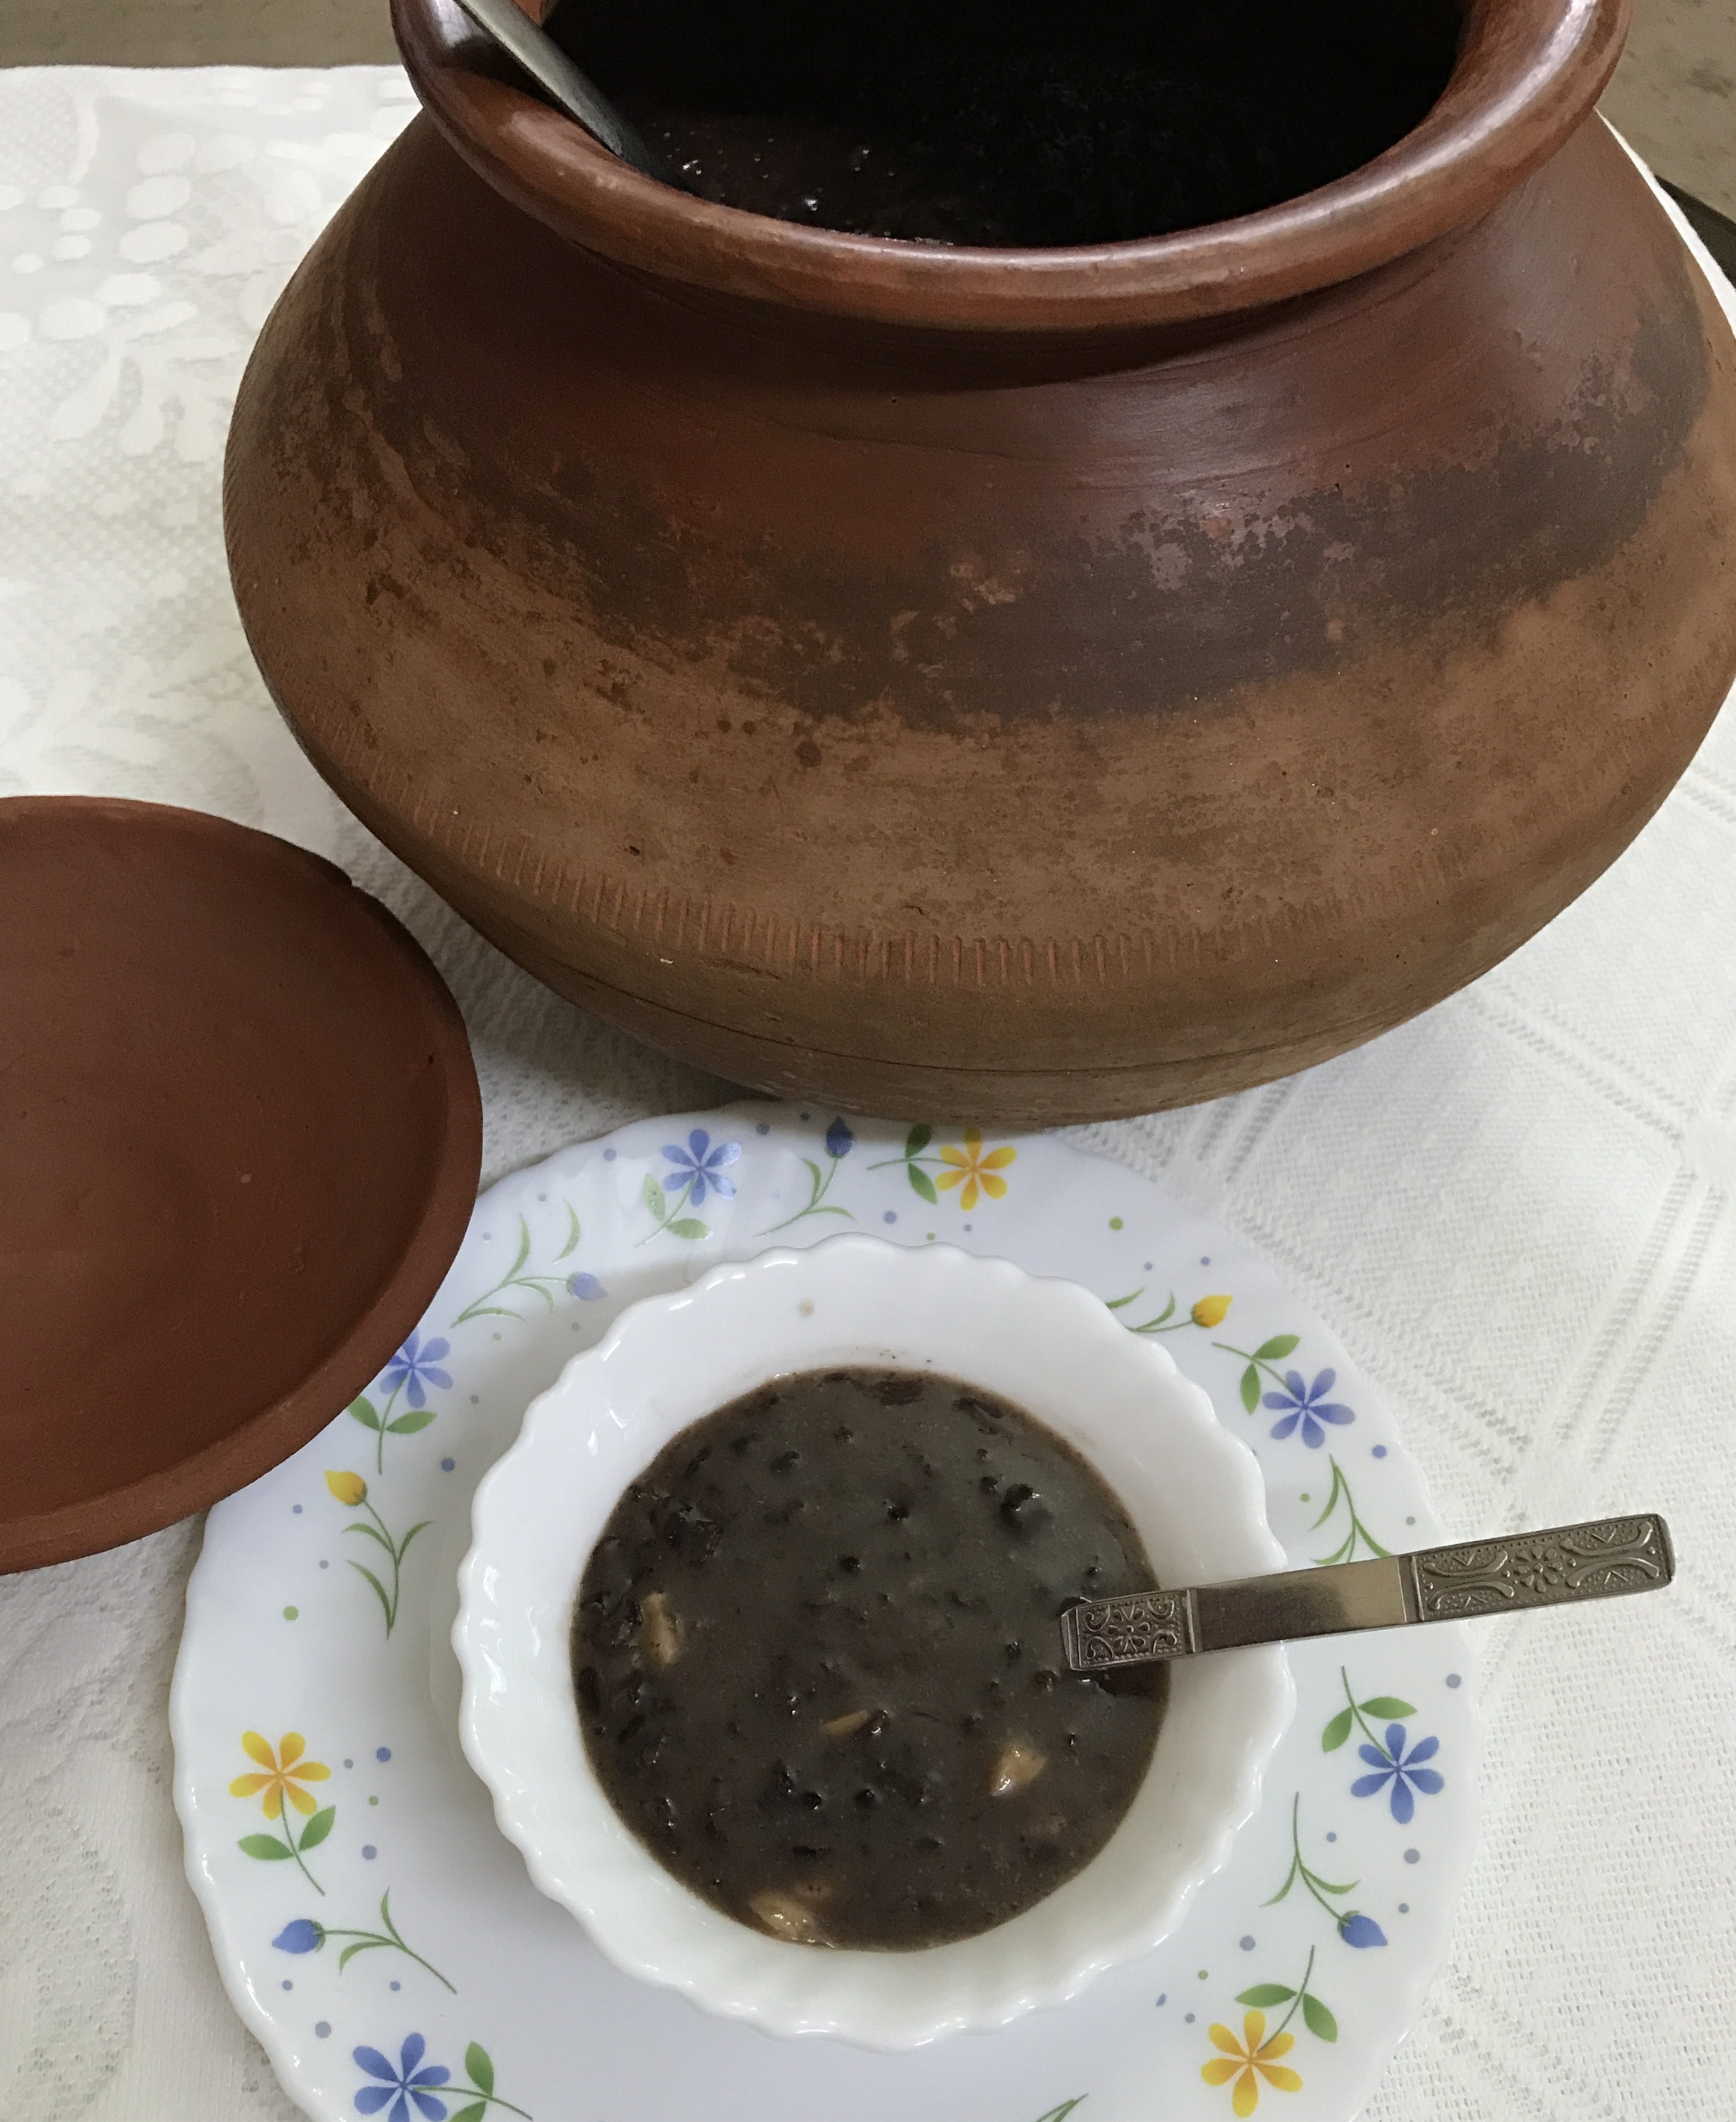
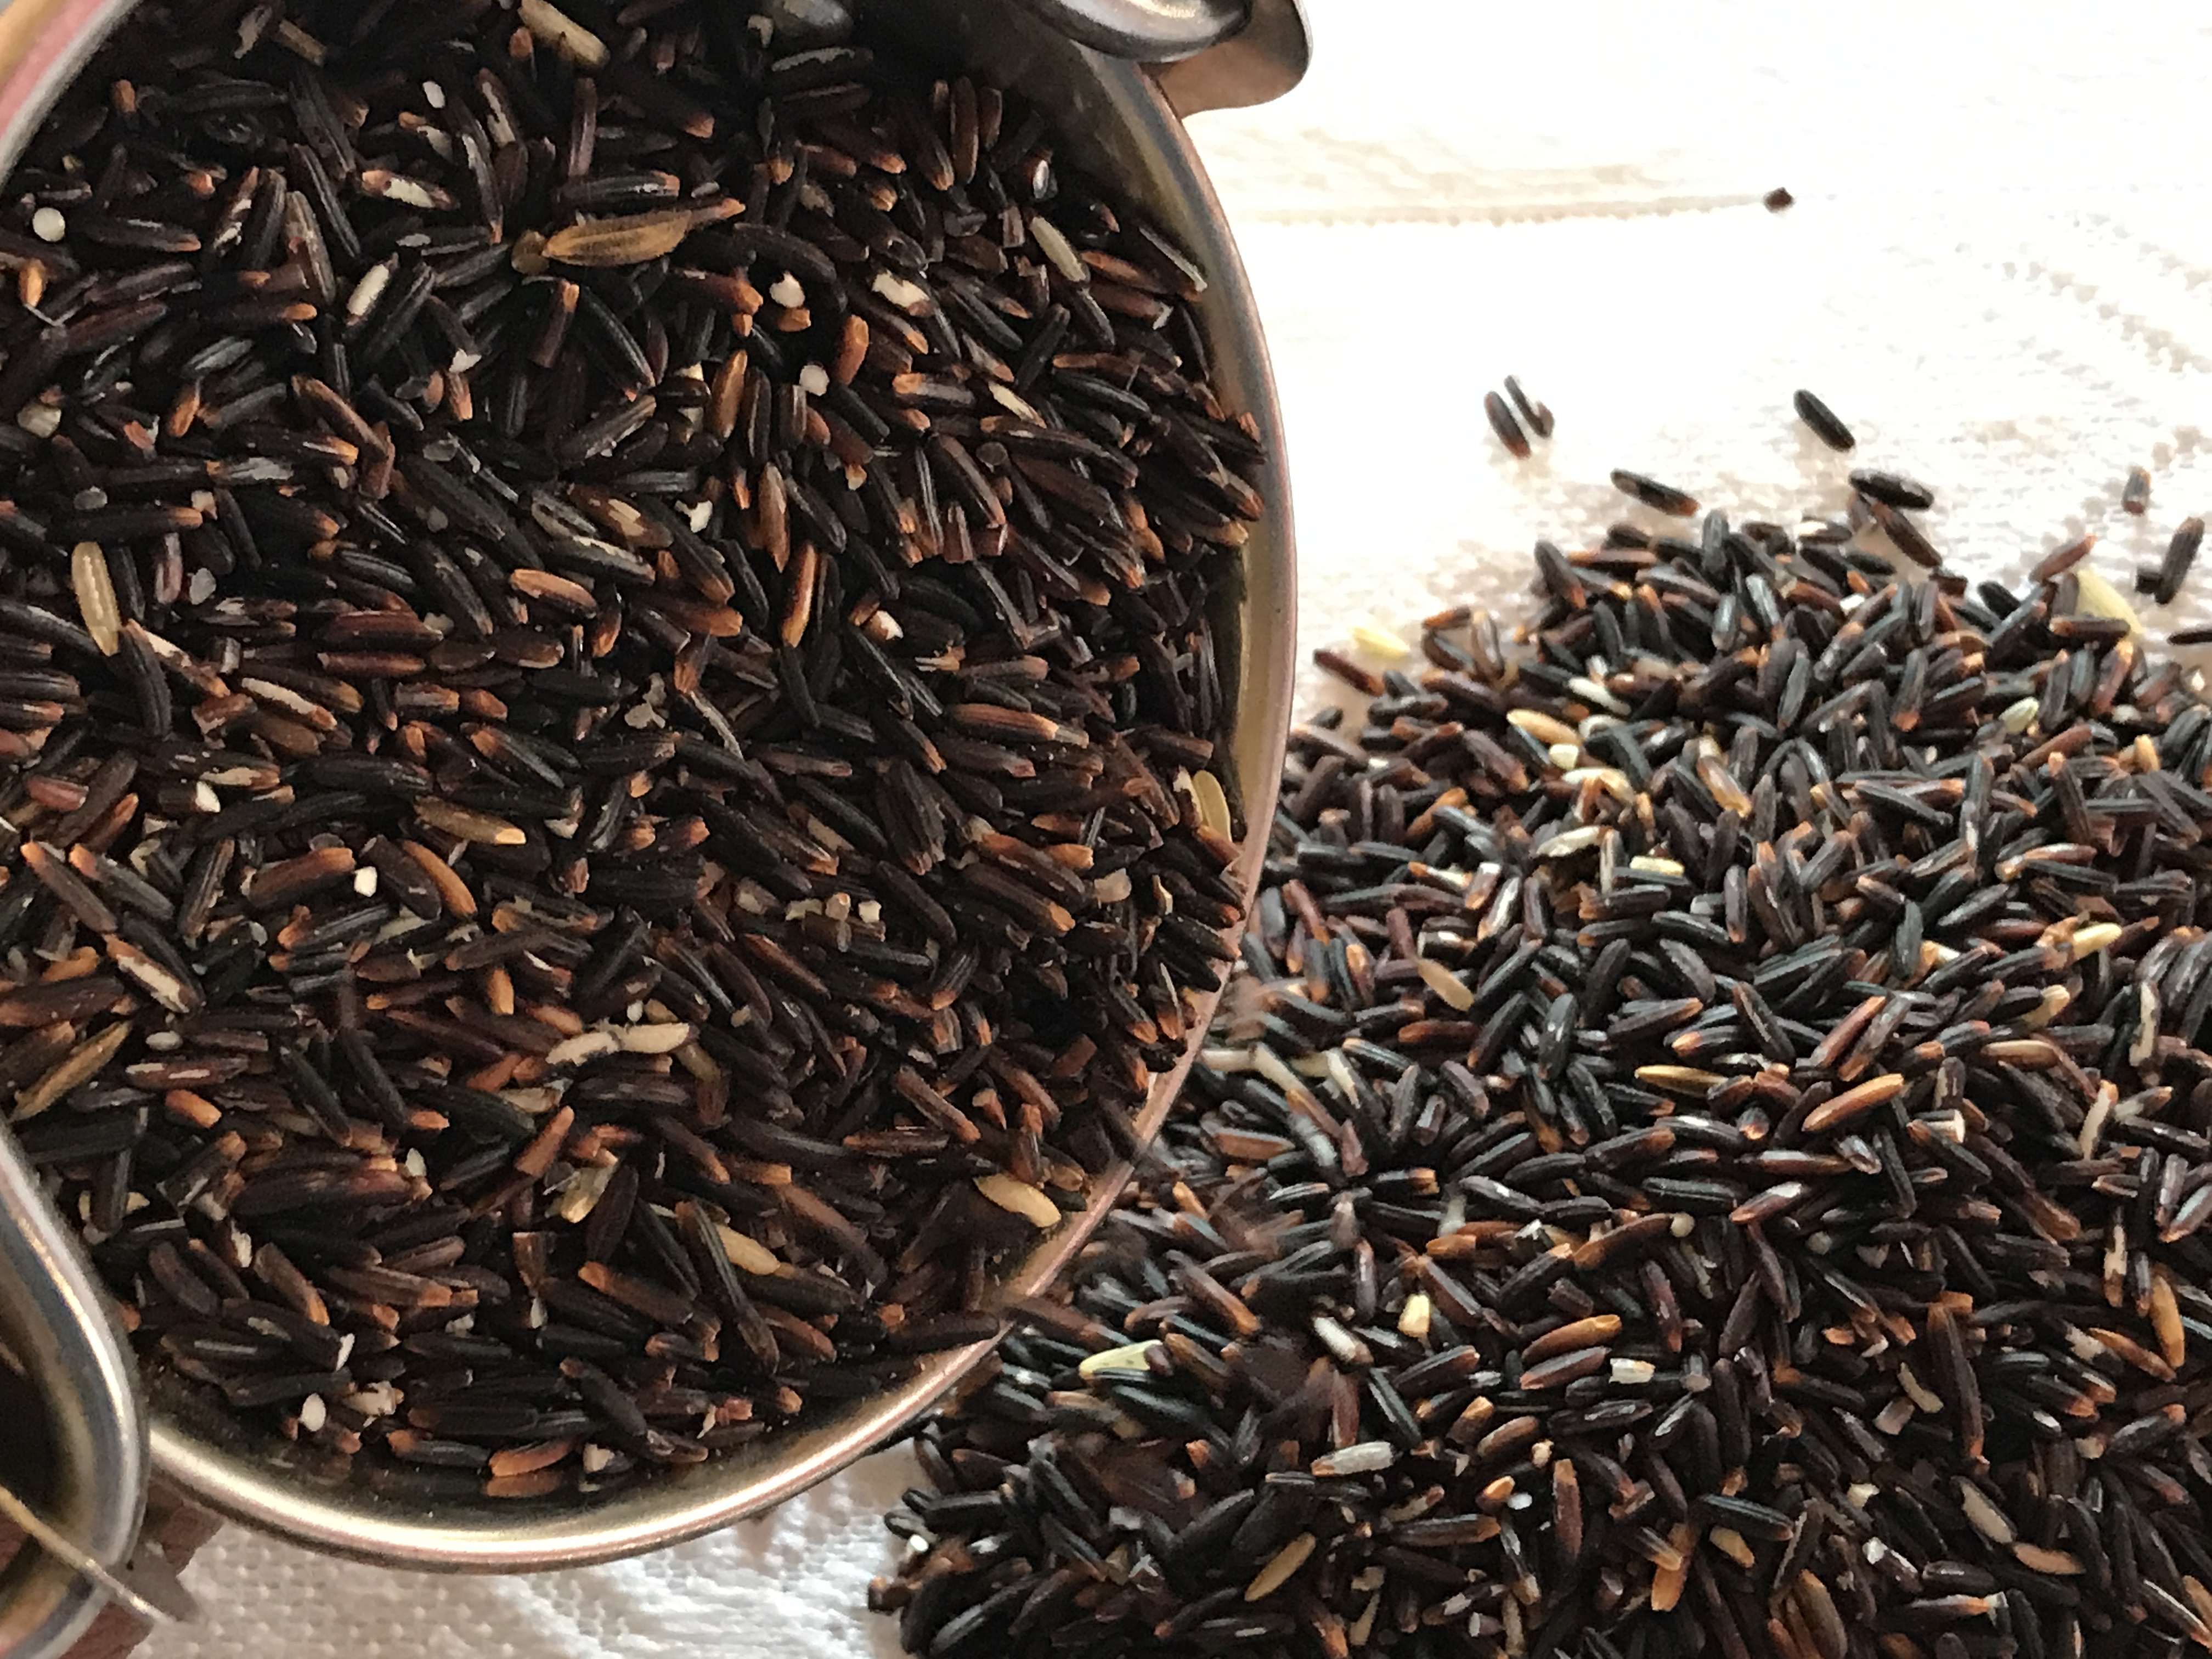
  1. Karuppu Kavuni Arisi – Black variety


img_7829


img_7868


This rice is believed to increase bone strength and prevent bone related ailments. It contains anti-oxidants equivalent to blue berries. It cures the problem of loss of appetite in children and also rectifies nutritional deficiencies.

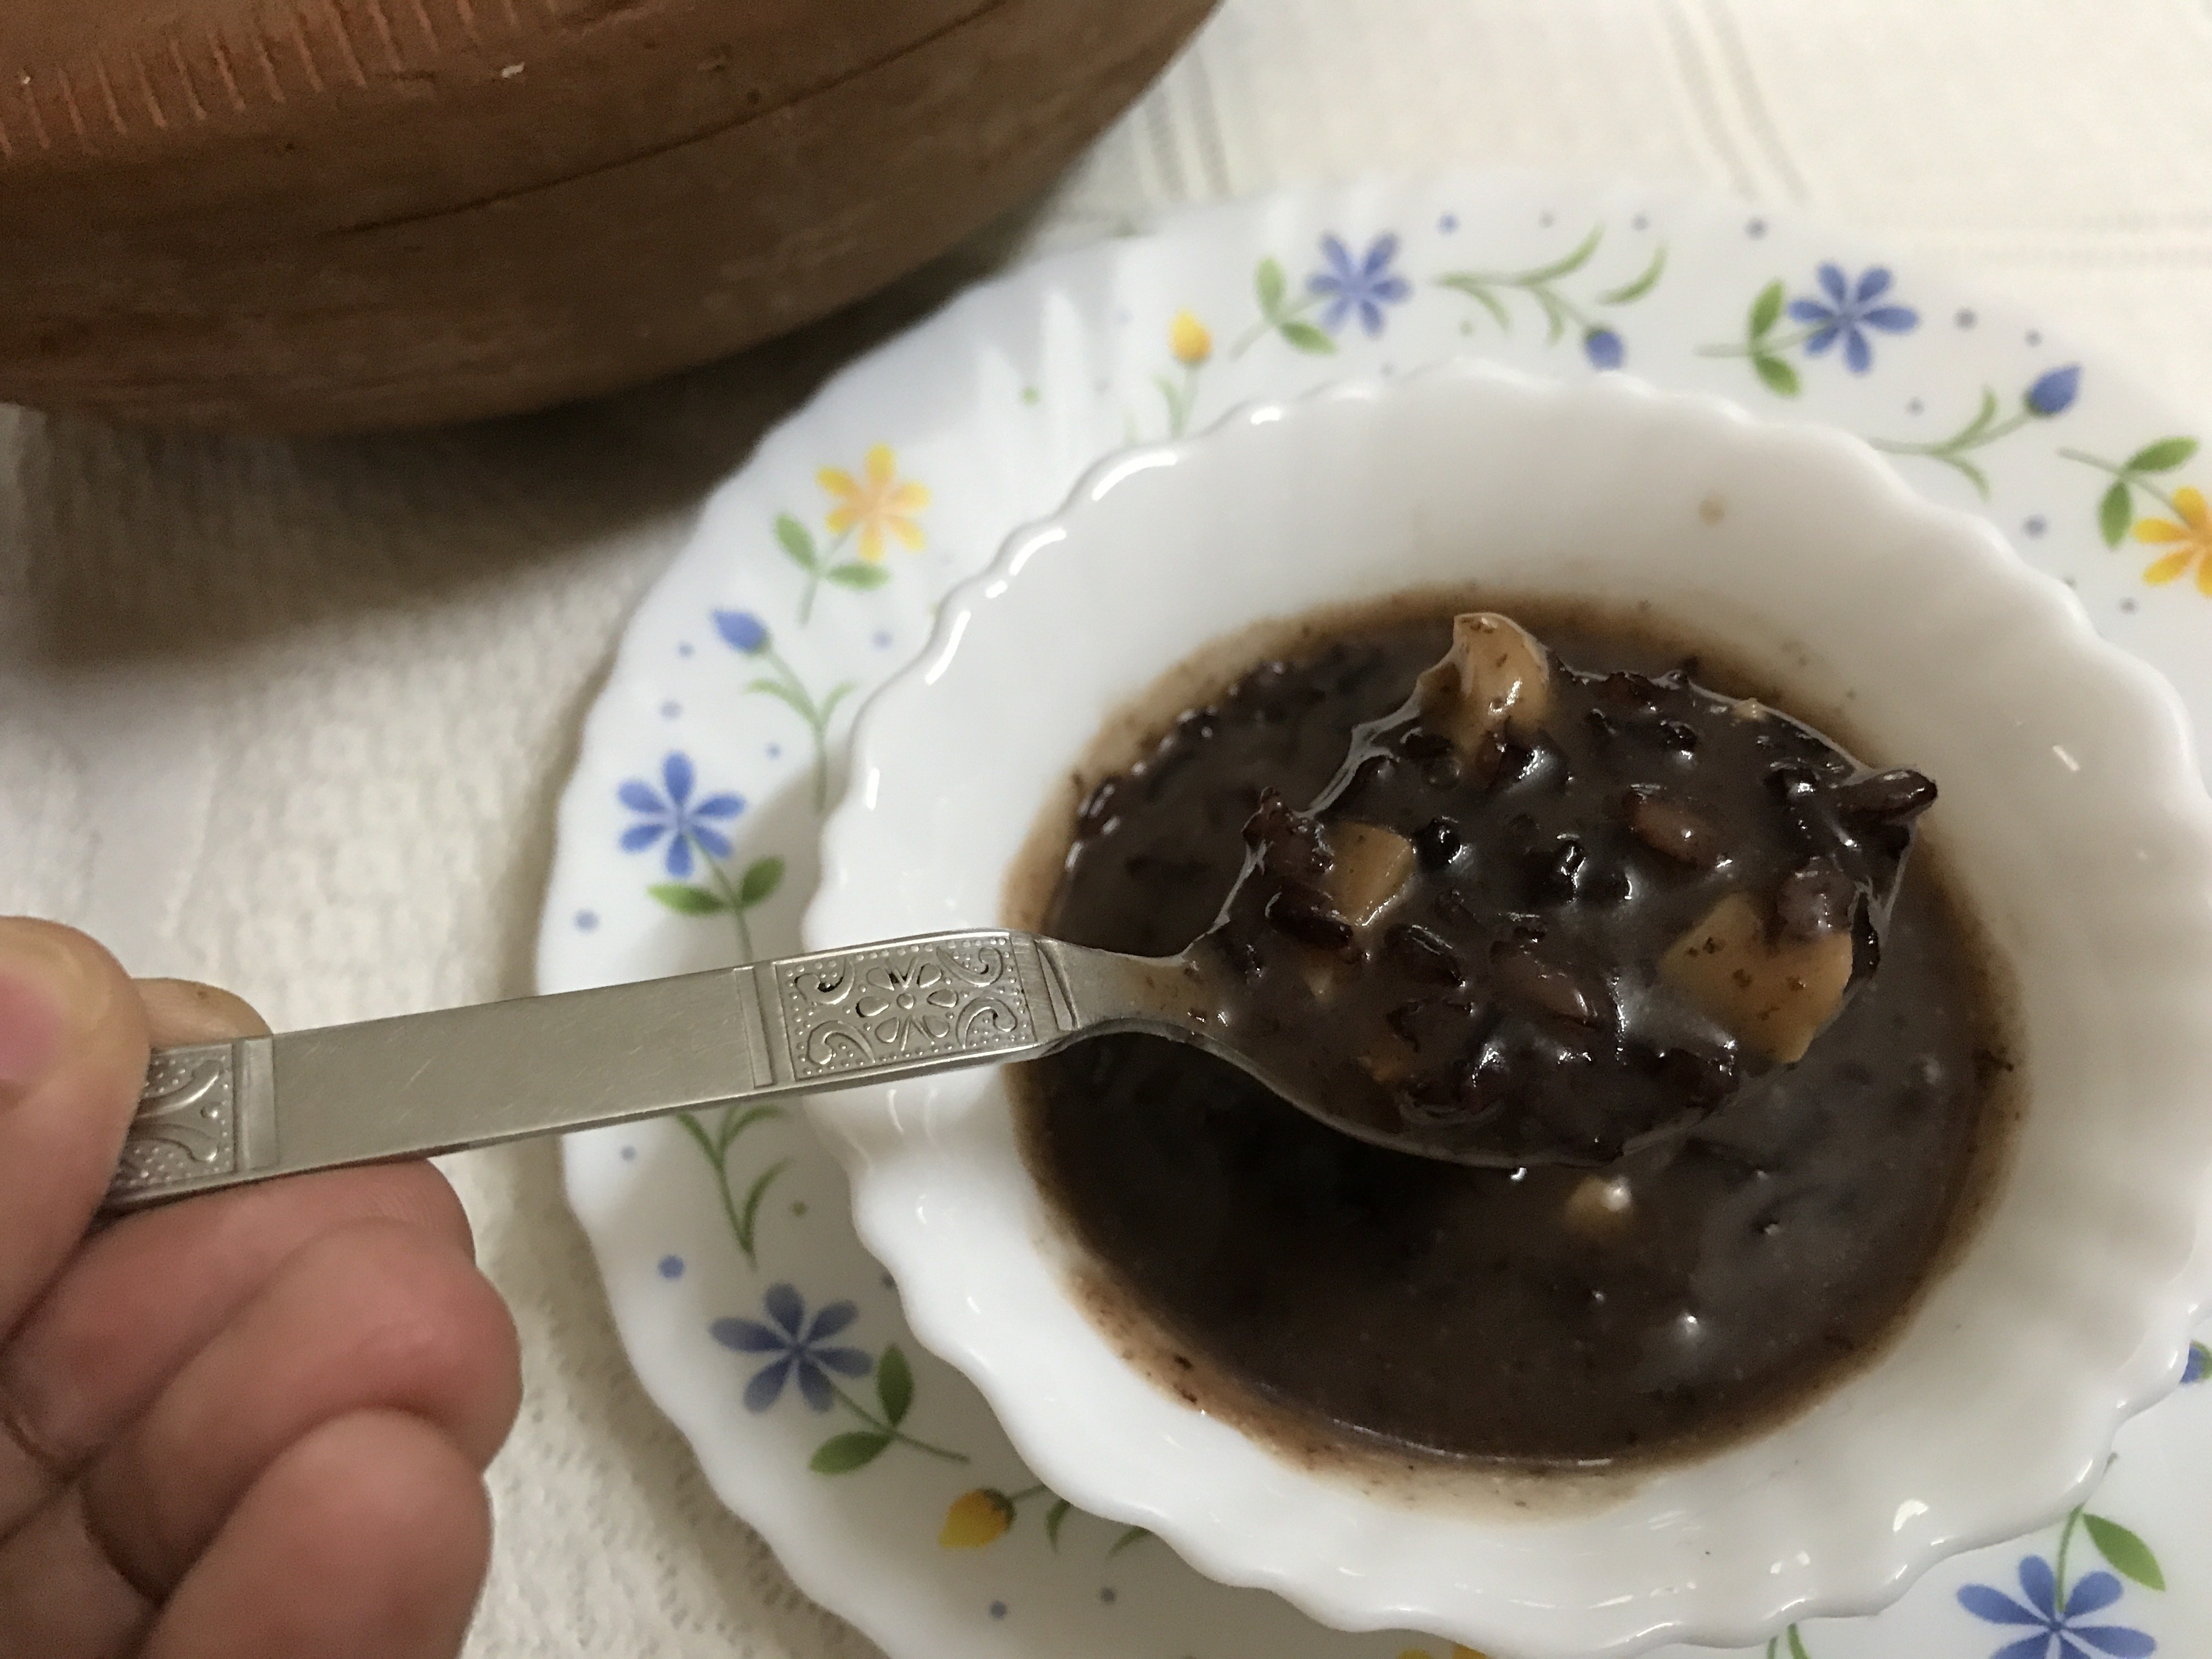
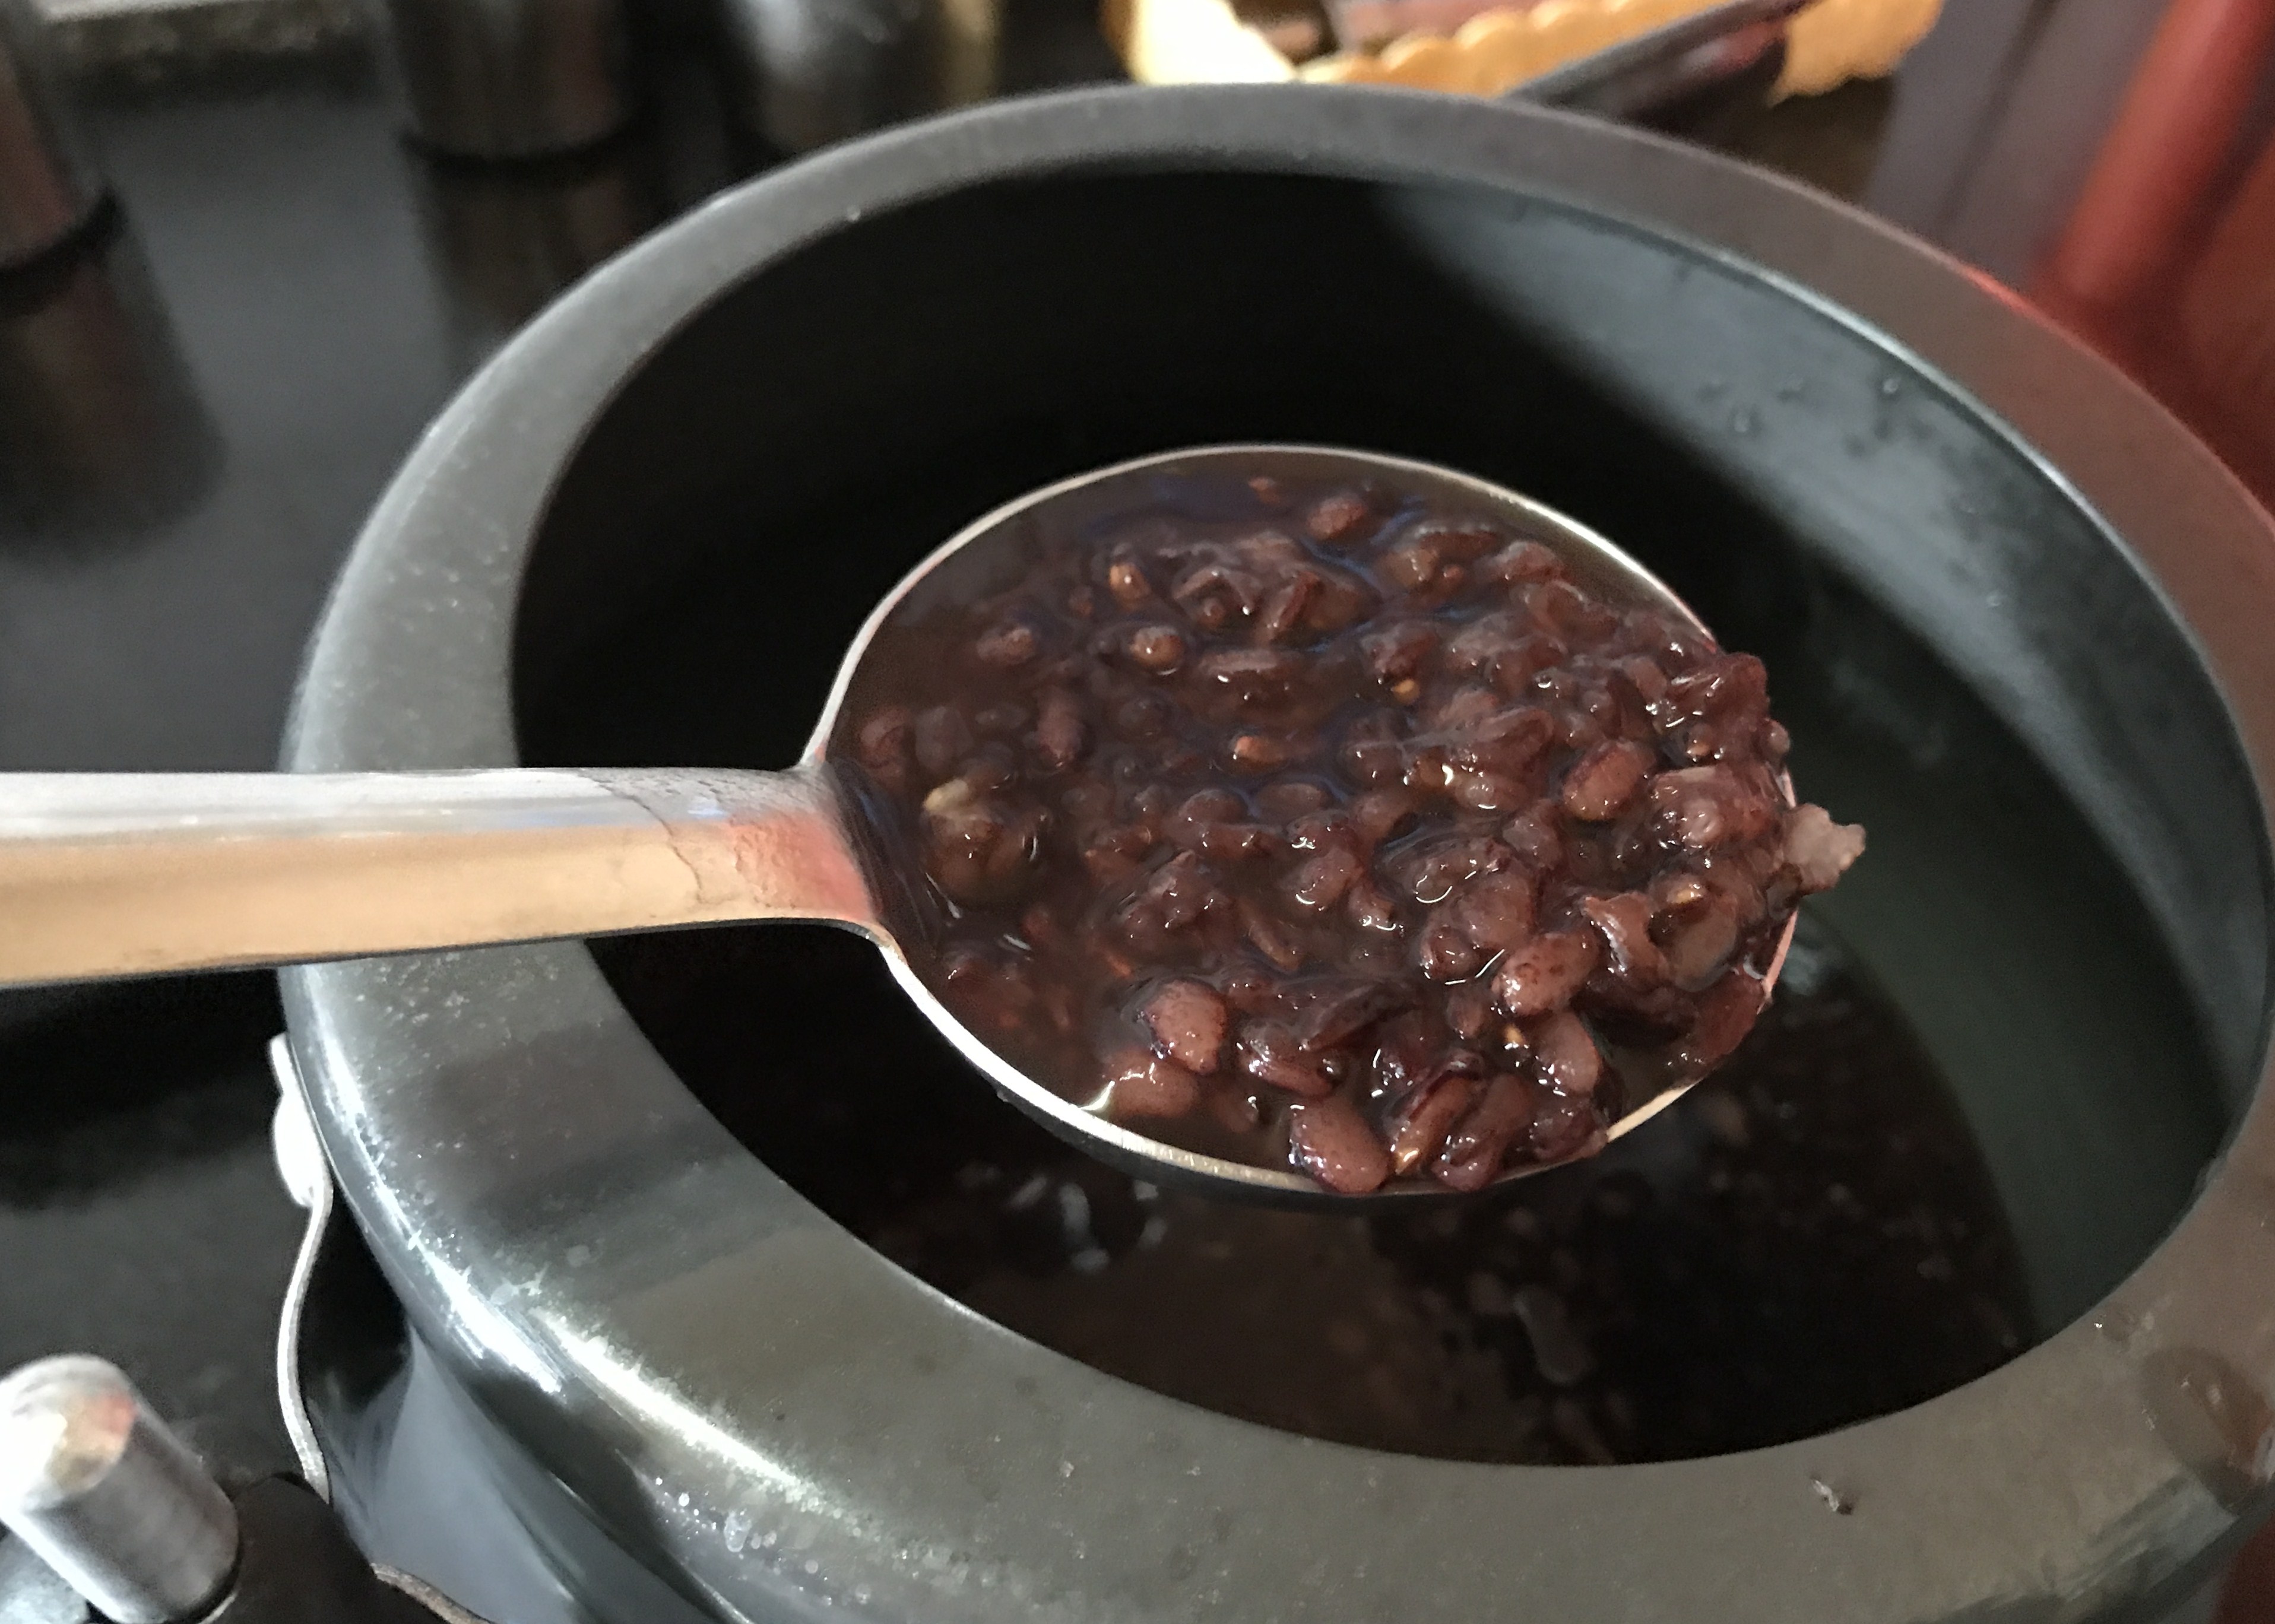
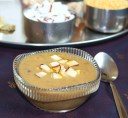
Different foods that can be made from kavuni arisi are – paniyaram –sweet and spicy, payasam, pongal, dosai, puttu etc

http://swarnaprashana.org/the-miracle-rice-karuppu-kavuni-arisi-black-kavuni-rice/


2. Sivappu Kavuni Arisi – Red variety

This is the red variant of the black kavuni rice.


img_7832


img_7862


3. Karunkuruvai Arisi


img_7827


img_7840


Karunkuruvai arisi is believed to control Diabetes and Cholesterol levels and is also a Blood Pressure regulator. It also improves the strength of the body.

https://www.youtube.com/watch?v=A6tM2_tQrbc 

https://www.youtube.com/watch?v=ghDyu-p0iqw

-are video links in Tamil that talk of the benefits of the grain.


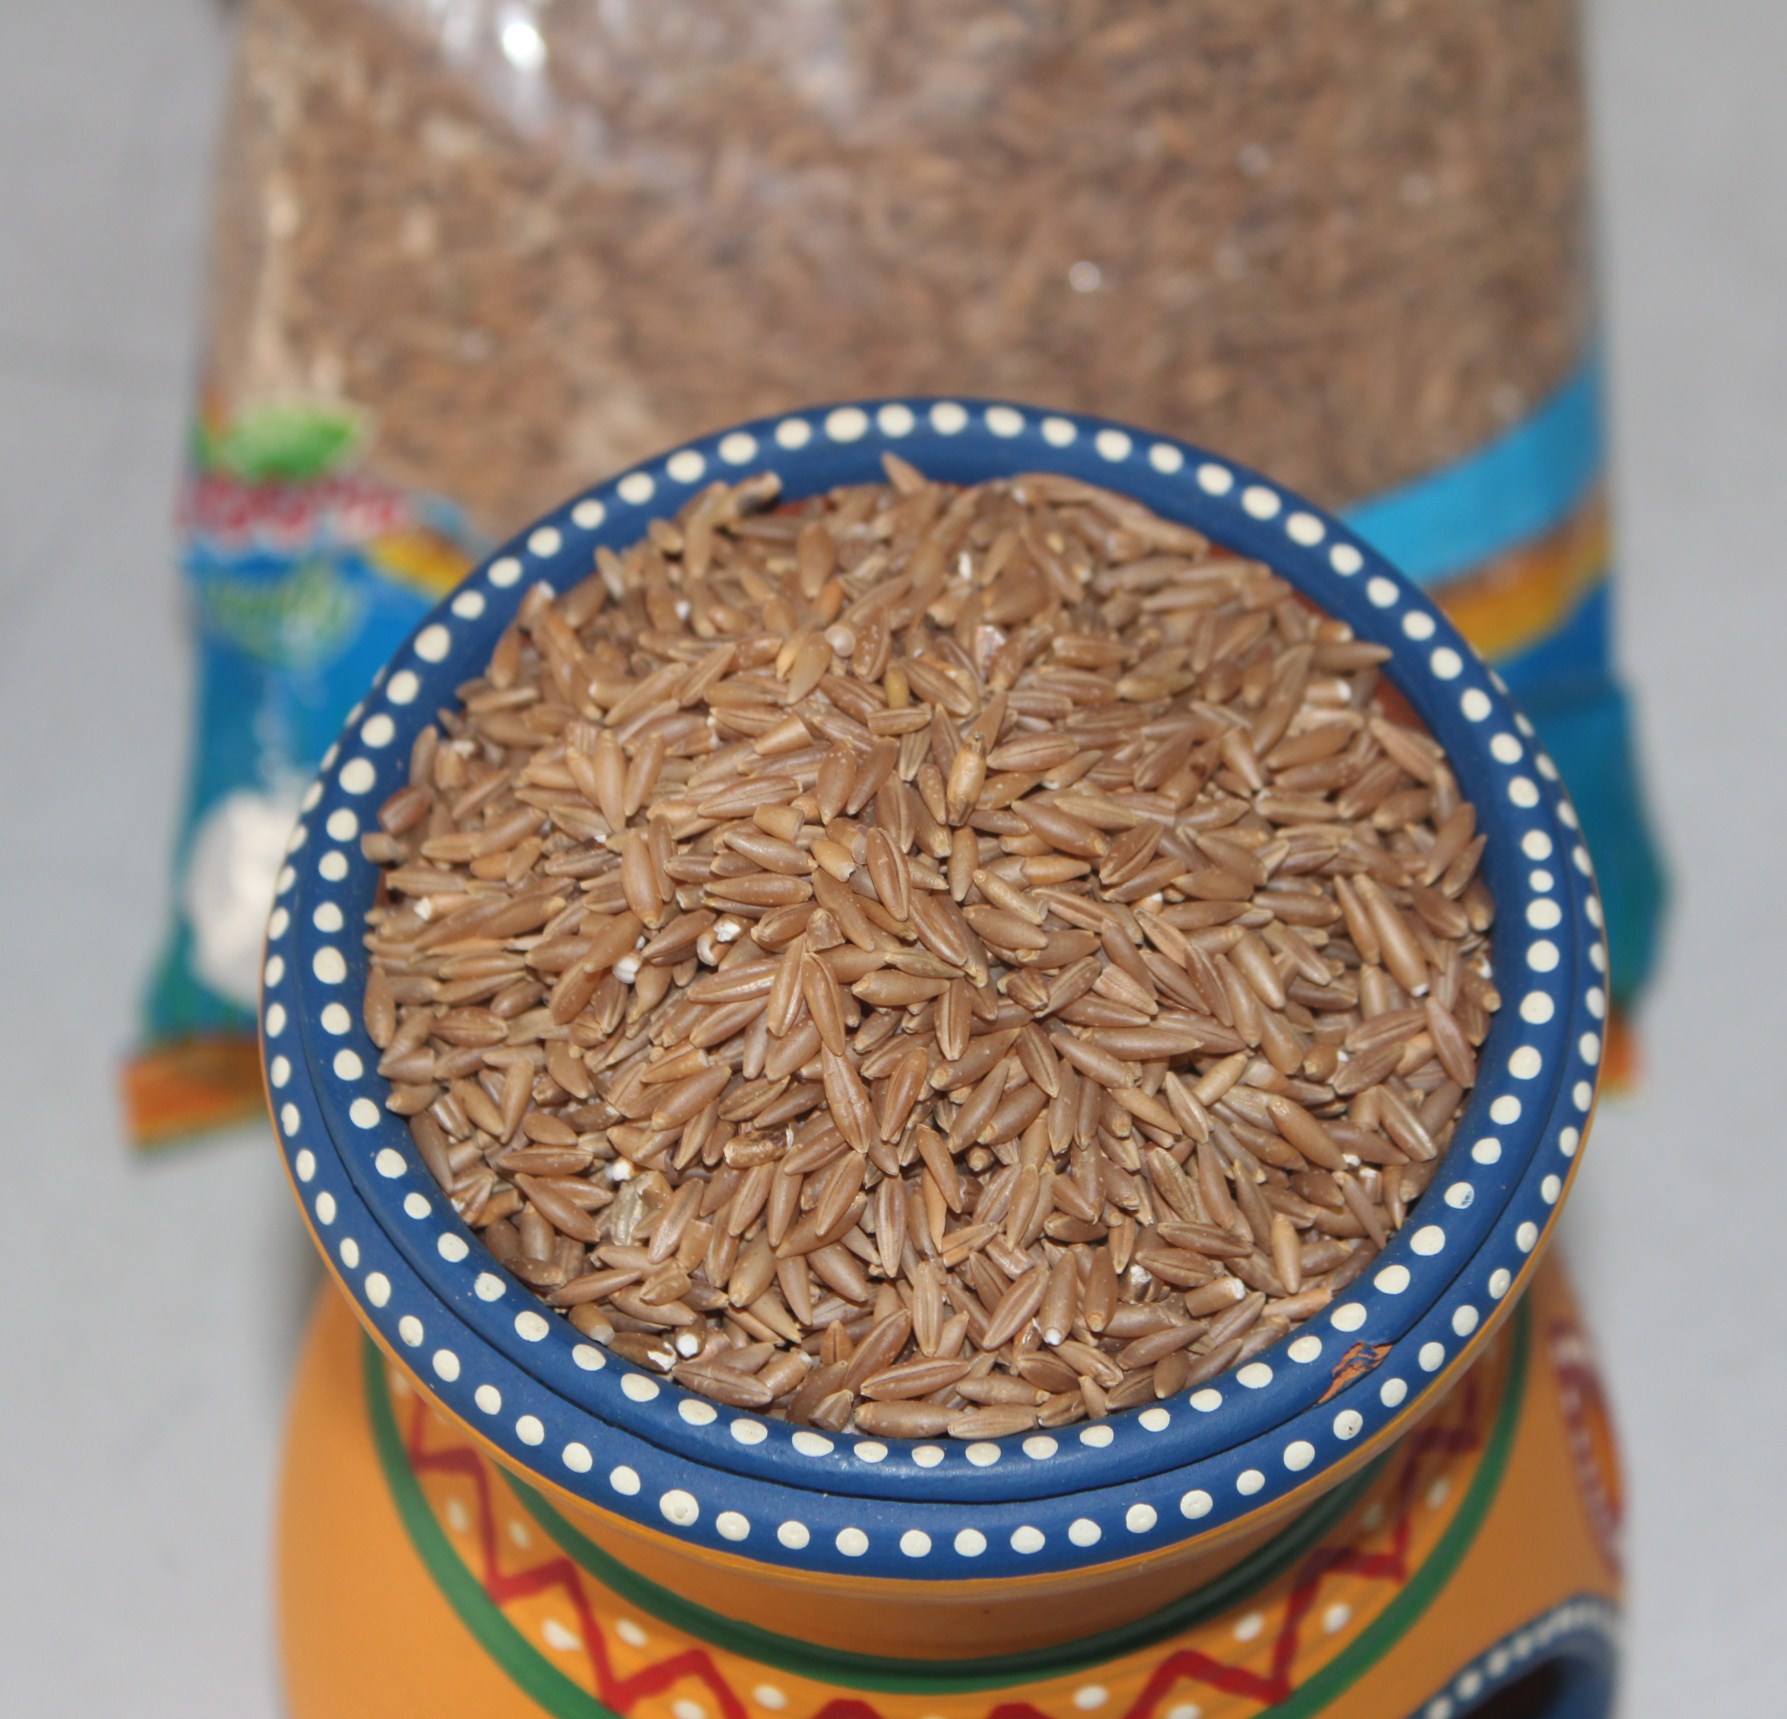
4. Moongil Arisi/Bamboo Rice


img_7830


img_7884


It is popular among the people of Kerala and is called Mulayari in Malayalam.  Bamboo Rice is collected from the seeds of the Bamboo flower. Some species of bamboos only bloom with flowers once in 40-60 years and often die after flowering. They compensate this by releasing huge amounts of flowers and seeds.

http://healthyliving.natureloc.com/bamboo-rice-mulayari-hidden-tribal-secret-revealed/

These key points specify the health benefits of the grain.

  1. Studies conducted on the Kani tribes in Kanyakumari forests have shown that they consume Bamboo rice for its fertility enhancing properties.
  2. Higher protein content than both rice and wheat.
  3. Controls Joints pain, back pain and rheumatic pain.
  4. Lowers cholesterol levels
  5. Good source of vitamin B6
  6. Has anti-diabetic properties

https://blog.naturallyyours.in/2016/02/26/6-reasons-why-you-should-have-bamboo-rice/

One can also learn a few facts in Tamil from the below mentioned link-

http://www.valaitamil.com/moongil-arisi-benefits_12692.html


5. Kullankar Arisi


img_7837


img_7873

This rice possesses antioxidental properties, and has higher zinc and iron content than white rices. They also strengthen, regenerate, and energize the body, regulate blood pressure, and prevent skin diseases and premature aging. Kullakkar rice contains complex carbohydrates that are good for health.

This rice is suitable to make idly, dosai and kanji /porridge.

https://en.wikipedia.org/wiki/Kullakar_rice


6. Kudavaazhai Arisi


img_7831

img_7851

http://thanal.co.in/resource/view/save-our-rice-tamilnadu–part-11–seeraga-samba-sivappu-kudavazhai-an-indigenous-rice-varieties-by-rjayaraman-70181242

The link above shows a short interview with Farmer R. Jayaraman, who specializes in indigenous rice varieties of Tamilnadu.

He says this rice plays an important role in the health of pregnant women and aids in easy child birth.


7. Kattuyanam Arisi


img_7825

img_7844


The name has two parts – kadu meaning forest and yanai meaning elephant. As Sidha Maruthuvar (Doctor of Traditional Tamil Medicine) Dr. Rajamanickam says, the grain in the field grows more than 7 foot tall and even an elephant can disappear amidst the crop. Hence the name to this indigenous healthy rice variety is Kattuyaanam.

It controls Diabetes, improves over all health of children, boosts immunity and protects against skin problems

https://www.youtube.com/watch?v=ODSWQ9XJt5c


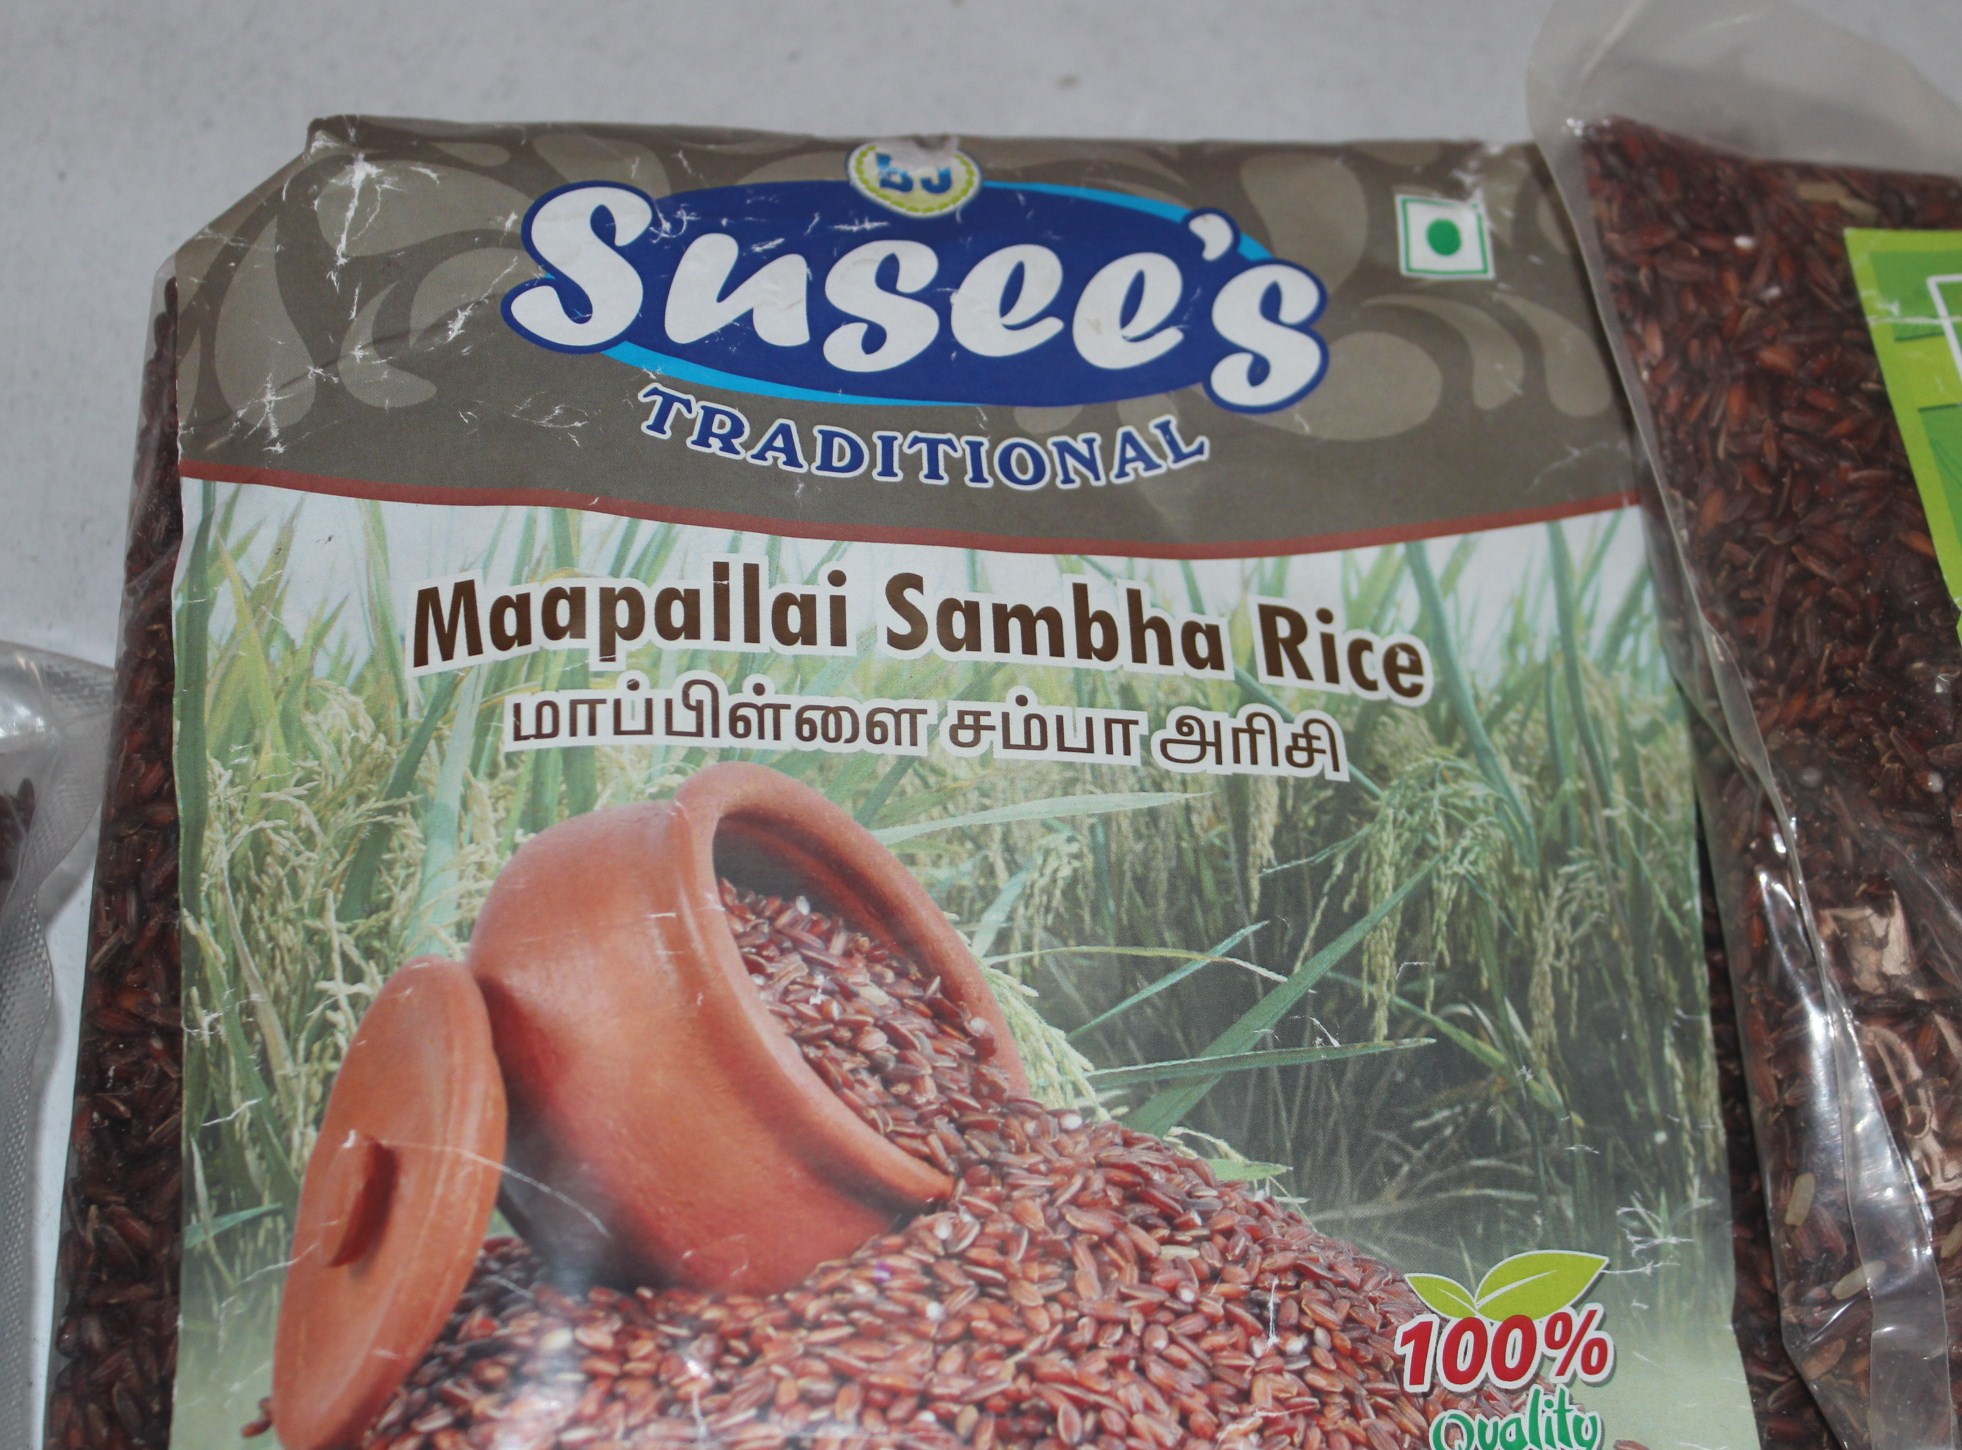
 8. Mappillai Samba Arisi


img_7826

img_7892

Mappillai Samba Rice variety increases stamina, provides energy especially for school going/studying children.  It specifically aids helps build a healthy body and an alert mind

Idly, Dosai, Pongal or Kanji/Porridge can be made from this rice.

https://www.youtube.com/watch?v=qSEUZimXm18


Farmer’s Day Wishes to everyone. Uzhavar Thirunal Nalvazhthukkal.

Poondu Kara Sevu – Spicy Fritters with a Garlic Twist


432


Kara Sevu is a very popular spicy fritter, which is not only a festive snack but an all time crunch partner, specially to serve guests and while travel. The spice note delivered from red chilli powder and/or black pepper can be enhanced with the addition of garlic that makes kara sevu more flavorful.


Kara Sevu/Spicy Gram Flour Fritters with a Garlic Twist


444
Ingredients


  • kadalai maavu/bengal gram flour – 1 cup
  • arisi maavu/rice flour – 1/2 cup
  • poondu/garlic – 10 cloves
  • milagai vatral podi/red chilli powder – 1 tsp
  • perungaayam/asafoetida powder – 1/4 tsp
  • omam/bishop’s weed or carom seeds – 1/4 tsp
  • uppu/salt – 1/2 tsp
  • yennai/oil – 2 tbsp
  • nei/clarified butter – 1 tbsp
  • thanner/water – as required
  • oil – for deep frying

Method of Preparation


  1. Sieve gram flour and rice flour

358

2. Make a coarse paste of garlic


392

3. Keep the carom seeds in enough warm water
4. Mix sieved gram flour, rice flour, garlic paste, red chilli powder, asafoetida powder, carom seeds with water, salt, oil and clarified butter with enough water into a tight dough


401


5. Heat oil for deep frying

6. Take the kara sev disc in the murukku maker – disc 3 from left is the kara sevu disc

IMG_1334
7. Keep enough dough into the cylindrical container and close with the kara sevu disc

8. Press Sev directly inside oil into single circular murukku/fritter


421

9. Fry both sides till golden

10. Take out in kitchen tissue to absorb excess oil

11. Split the circular sev murukku into small pieces

12. Store in an air tight container.


img_5181