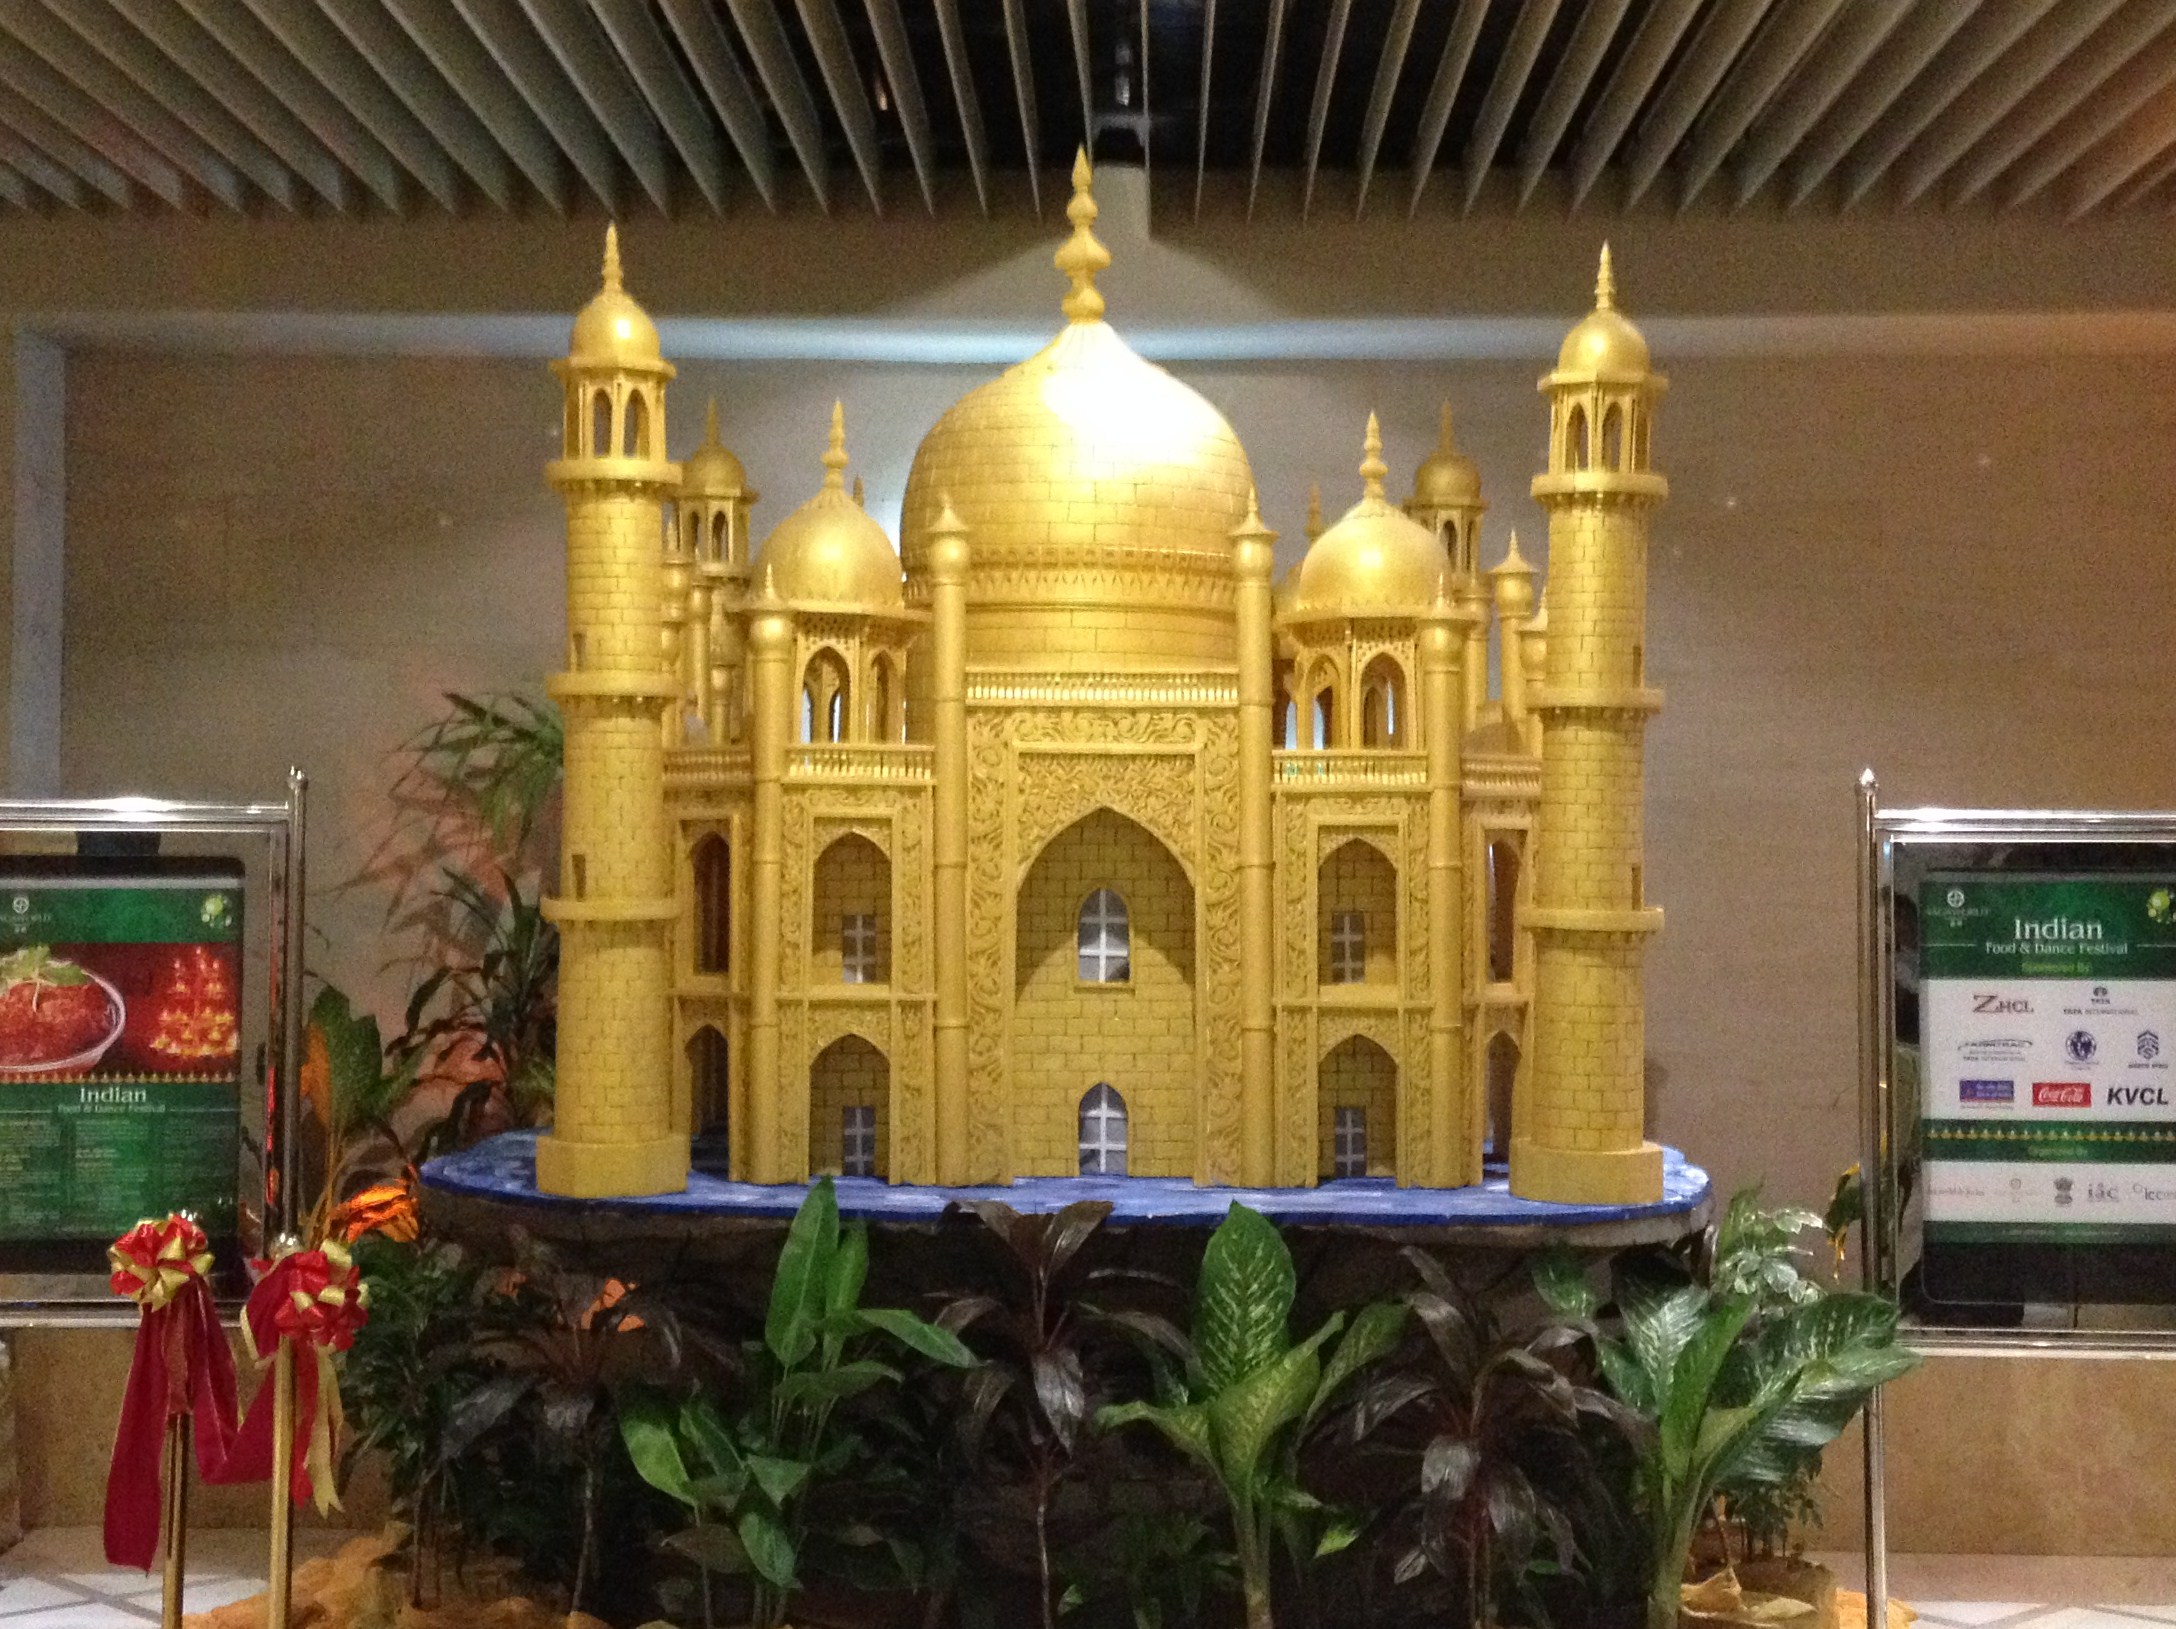
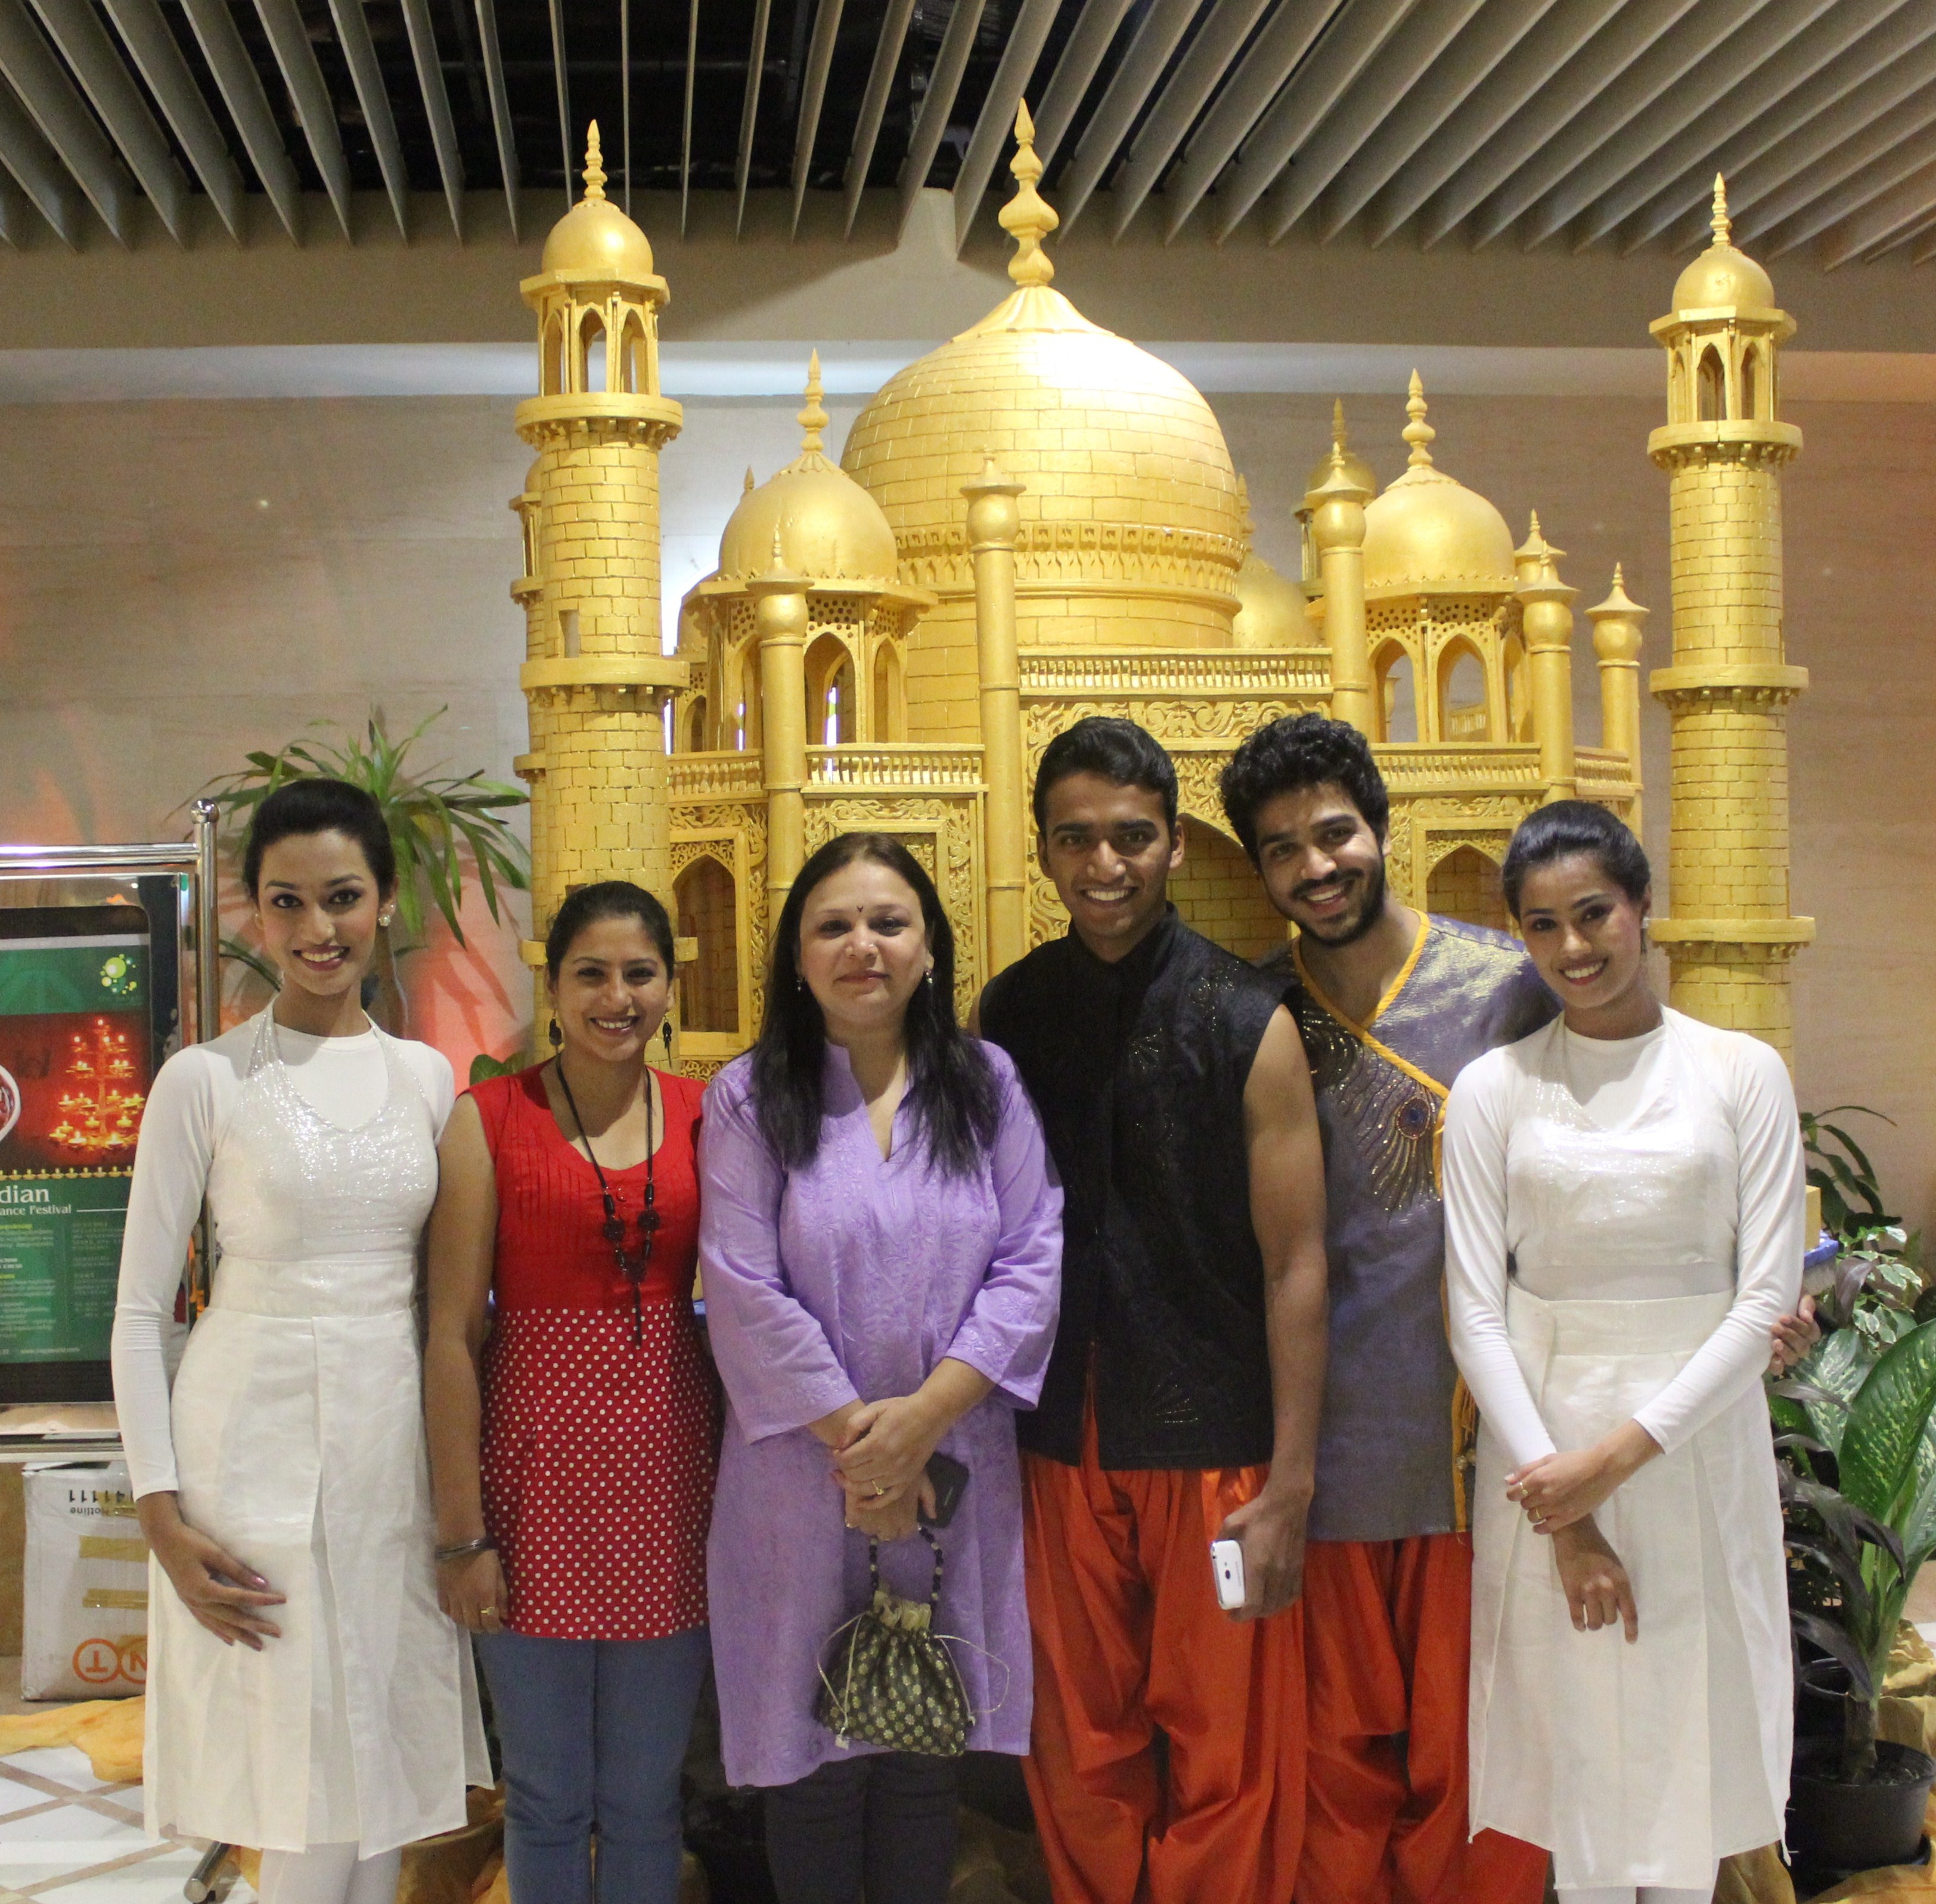
Author Archives: dosaikal

Unknown's avatar

About dosaikal

A simple person who believes strong roots and values build up stronger generations; and good food and good food habits are one of the best gifts that one can give to their off springs.

Eggless Whole Wheat Date and Walnut Cake


IMG_4757

Merry Christmas to one and all!!

Next on the list is an eggless date and walnut cake. This was requested by one of my readers quite some time back. I know this is a very late response, my heartfelt regrets on that… yet better late than never!

This can also be an excellent substitute to a fruity Christmas Cake. There is no need for the caramel syrup in the Christmas Cake, this cake has the true goodness and color of dates. With no empty calories, it is surely a healthy snack or dessert for kids and adults alike.
100% Whole Wheat Eggless (No Butter) Dates and Walnut Cake


IMG_4752


Ingredients


heaped cup of flour

IMG_4733


dates and walnuts

IMG_4738


  • whole wheat flour – 1 heaped cup – 175 gms
  • brown cane sugar – packed 1/2 cup – 90 gms
  • refined oil – little more than 1/2 cup – 90 ml
  • yoghurt – 4 tsp
  • baking soda – 1 1/2 tsp
  • chopped dates – 1 cup – 175 gms
  • chopped walnuts – 1/2 cup – 50 gms
  • boiling hot water – 3/4 cup – 120 ml extra water – 1/2 cup (if needed to add in the end to make the batter thinner)


soaked dates in water

IMG_4732


Method of Preparation

  1. Preheat oven at 160 degrees C
  2. Grease a baking tray and keep ready
  3. In a wide bowl, place chopped dates, sugar and hot water; Close and let it soften for 10 minutes
  4. In another bowl, add baking soda and chopped walnuts to the whole wheat flour
  5. After 10 minutes, the dates would have become soft; add refined oil to the date, water, sugar mixture
  6. To this liquid mixture, add flour – walnut mixture little by little
  7. Now, the batter would be a thick one, add 4 tsp yoghurt and mix well
  8. Use the reserved 1/2 cup water if the cake batter is very thick or use as little water as possible to bring the batter to spoonable consistency
  9. Bake for 50 mins to an hour till a tooth pick comes out clean
  10. Cool and serve the cake.


IMG_4788

Eggless Whole Wheat (No Butter) Carrot Cake with Cream Cheese Frosting


IMG_3777


Carrot Cake is something special for various reasons-  it is a healthy one as it has carrots and has a distinct spicy flavor with cinnamon and nutmeg. I remember baking carrot cake once or twice when I was young, when I didn’t know it was a winter cake. I also firmly believe climate and craving can be diagonally opposite to each other.

Now, how can I bring in winter/snow to Chennai to bake my carrot cake… then I would never have tried this wonderful cake. Remember, I come from Tamilnadu,a state where thaathas (grandpas) and aachis (grandmas) use their mufflers and pull overs for their early morning walks or temple walks, only in Maargazhi Maatham (the tamil month of Maargazhi) – mid December to mid January, when the early morning temp. would be just below 20 degrees.

This report a couple of years might summarise the actual climatic condition of Chennai, Tamilnadu –


A report recently released by the Regional Meteorological Centre, Chennai, said the actual minimum temperatures fall below 20 degrees Celsius during January and February. At times, the actual minimum temperatures varies 2 to 4 degrees Celsius below normal values. Records of the past 25 years show there is a gradual rise in minimum temperatures over Chennai ranging between 17 and 20 degrees Celsius.

The Met office recorded the lowest temperature in the last 28 years on January 27, 1982 (15.6 degrees Celsius), followed by 16.2 degrees Celsius on February 3, 1982. In 2010, the minimum temperature range went up to 17.5-23.4 degrees Celsius, with a monthly mean temperature of 21.2 degrees Celsius. http://articles.timesofindia.indiatimes.com/2011-01-19/chennai/28356276_1_lowest-temperature-degrees-celsius


This is what winter means to us the Tamils! For more on our seasons – see dosaikal.com/thai-pongal-the-harvest-festival/.

Now, with global warming there is a decrease in temperature levels – where aachi has to stay with her sweater for the whole night. Now, Phnom Penh –
‘Citizens Warned to Wrap Up Against Cold Snap’

read the headlines of Cambodia Daily.


While the ministry’s website put temperatures in Phnom Penh at 21 degrees last night, Oum Ryna, director of the ministry’s meteorology department, said in some areas of the country temperatures could drop as low as 14. degrees.  http://www.cambodiadaily.com/news/citizens-warned-to-wrap-up-against-cold-snap-48739/


So, Carrot Cake justified!!
The FLOP STORY and The JOY OF SUCCESS


too watery… not good

IMG_4437


When I tried as usual to make this cake a 100% whole wheat, eggless, butterless cake, it was a heart breaking flop consecutively 4 times. My desperation has no words to express that I even tried baking twice a day the same cake (of-course wasting nearly 200 gms of flour and other things twice in the same day . Thanks to my better half who never mentioned a word on wastage!). And that I tried converting the flop carrot cake into carrot cookies is another story.

The cake looked great from the outside – but was pudding like in the inside. Tried with crushed pineapple and once without the pineapple. One thing became sure – the cake was becoming too moist with yoghurt as substitute to eggs. Mixing all the wet ingredients – oil and yoghurt to sugar as first stage was making the mix more watery. So, adding pineapple created more problems.

Then I came across a few recipes – some vegan, some with all purpose flour and a few egg-less but with butter. A very few had a difference – where the dry ingredients were taken first and then the wet ingredients were added one by one to be immediately spooned into the cake tray and baked in the oven. By this the batter remained intact and didn’t let sugar and yoghurt and oil to become watery. I decided to give this a last try. Hurray!! This method worked well and my long awaited Carrot Cake was delivered in great shape!

Because of the continuous flops, I went in for a smaller cup size.
100% Whole Wheat Egg-less (No Butter) Carrot Cake


IMG_3745


Ingredients

dry ingredients

  • whole wheat flour – 1 heaped cup – 125 gms
  • brown cane sugar – 3/4 cup – 100gms
  • salt – a pinch
  • cinnamon powder – 3/4 tsp
  • nutmeg powder – 1/2 tsp
  • baking powder – 1 tsp – 4 gms
  • baking soda – 1 tsp – 4 gms
  • chopped walnuts – 1/4 – 1/2 cup

wet ingredients

  • grated carrots – 1 cup – 125 gms
  • refined oil – 1/2 cup – 75 ml
  • thick curds – 1/2 cup – 100 gms
  • grated ginger – 1/2 tsp
  • vanilla essence – 1 tsp


Method of Preparation

  1. Preheat oven at 175 degrees Celsius
  2. Grease a baking tray or place greased baking sheet, ready for the batter to be spooned in
  3. In a large bowl, take all the dry ingredients – flour, sugar, salt, cinnamon powder, nutmeg powder, baking powder and baking soda one by one except chopped walnuts
  4. Start adding the wet ingredients one by one  – carrots and ginger first
  5. Next, add oil and last thick curds/yoghurt and mix well
  6. Incorporate well as the baking powder and baking soda with the flour should dissolve completely, yet make it quick as the yoghurt and sugar doesn’t make the batter watery
  7. Fold in the chopped walnuts
  8. Spoon the batter into the baking tray
  9. Bake for 40 to 50 minutes or till a tooth pick comes out clean.


IMG_4705


Carrot Cakes look great with Cream Cheese Frosting – as a family we would prefer a plain carrot cake and avoid the sweet frosting. Still for the great experience of making a frosting and my latest culinary interest – please do bear with me.. my dear friends!
Cream Cheese Frosting


IMG_3795

Ingredients (Less quantity for the above small cake – I had some left over frosting too)

  • cream cheese (I used Philadelphia cream cheese) – 115 gms
  • unsalted butter – 60 gms
  • icing sugar or confectioners sugar – 110 gms
  • vanilla essence – 3/4 tsp
  • chopped almonds for topping

Method of Preparation

  1. Keep the cream cheese and butter out of refrigerator and bring to room temperature
  2. Mix cream cheese and butter until smooth
  3. Add vanilla essence
  4. Spoon in sugar and mix well till a spreadable texture is achieved
  5. Amount of sugar can be altered to individual preference – (this was a bit too sweet for us)
  6. Spread on the cake with a blunt knife or spatula
  7. Arrange chopped almonds or any other nuts of your choice or decorate as you wish.

Egg-less Whole Wheat Carrot Cake with Cream Cheese Frosting is ready!

Whole Wheat-Oatmeal Chocochip Cupcake


IMG_4602

I truly loved this cake. Raised well and fluffy and very light too, might be because of oatmeal! As a cup cake, this was also easier to pack as a break time snack for my daughter. The most delightful thing about the cake – my little princess made it herself. Most of the cakes posted in dosaikal are child-friendly in making- tested and trialled at home with my 6 year old. I give her the ingredients one after the other, while I preheat the oven; She never allows me to grease the cake tray too! So, I can bet on this, this is the best way to engage those little minds of constant energy.

I made this in a small cup measurement. Reason – with the cake series to keep going – baking a cake once a week, is too much for a small family and surely I do not want to put on those extra calories. As a kid’s snack, my kid loves to bake than to have her share.

Whole Wheat-Oatmeal Chocochip Cupcake (makes 6 cupcakes)


IMG_4609


Ingredients

  • whole wheat flour – 1 cup – 75 gms
  • oatmeal – 1/2 cup – 30-40 gms
  • brown cane sugar – 1 cup – 100 gms
  • oil (used refined sunflower oil)- 1/2 cup – 50 gms
  • egg – 1 no.
  • baking powder – 3/4 tsp
  • baking soda – 3/4 tsp
  • hot milk – 1/4 cup (more or less as per consistency of cake)
  • vanilla essence – 1 tsp
  • chocochip – 1 handful
  • chopped walnuts (optional) – 1/4 cup

*substitute 1/2 cup yoghurt in place of egg
*if yoghurt is used, quantity of milk needed might be less – adjust accordingly
*double the quantity of ingredients for more cupcakes

Method of Preparation

  1. Preheat oven at 175 degrees C
  2. cupcake tray or moulds
  3. Mix/Sift whole wheat flour and baking powder and keep aside
  4. Measure the oatmeal and mix with wheat and baking powder and keep ready
  5. In a wide bowl, beat the egg and mix sugar and oil
  6. Add vanilla essence
  7. To this mixture, add the dry ingredients (wheat flour, oatmeal and baking powder) in batches
  8. Heat milk and add to baking soda and it would turn foamy
  9. Pour into the cake batter immediately
  10. If consistency of the batter is too thick, add little more milk; the batter is good if it is spoon-able and need not be pourable
  11. Mix in the chocochips
  12. If adding walnuts, mix in little flour and then add to the batter; this would avoid walnuts settling in the bottom of the cake
  13. Spoon the batter into moulds
  14. Bake for 20-30 minutes or till tooth pick/skewer comes out clean


IMG_4626

Remember the Chocolate Ganache that I had kept in fridge? That made a good topping on the cupcake! Slightly microwaved the thickened ganache and poured over the cupcakes and decorated as per my daughter’s wish!!


IMG_3700

Enjoy.

(100% Whole Wheat, Condensed Milk) Eggless Choco Walnut Cake with (trial attempted) Dark Chocolate Ganache


IMG_4551

I have already posted a basic eggless chocolate cake previously with yoghurt (dosaikal.com/eggless-chocolate-cake/). This one is also 100% whole wheat, no butter and no eggs – but with condensed milk for a richer, more moist texture.  I wouldn’t term it as a very healthy cake – this time I give it up for a little indulgence. Of course, helps my daughter not to be tempted to the best bakery in town for white flour buttery chocolate cake.

Except for a few alien souls on this earth, most of us would relish chocolate cakes or even more chocolate frosted/iced cakes and pastries. With home made vanilla, banana, carrot or chocolate cakes – such cakes from the baker have not been really a hit at home these days – thanks to my little one’s magnanimity accepting my version of cakes! Now, what next when you go to a coffee shop for a break for Ice Chocolade,  the choice is from donuts, croissants or choco frosted cakes or pastries. Donuts are a big NO and Croissants are once in a while alright – but with Choco Frosted Cakes – I am lost myself!! Then, the little one has the best company of the mother and we indulge together – then the guilt is only mine. The little one’s inbuilt innocent mechanism digests it so well!


IMG_3650

That’s what happened last week – A break with Ice Chocolade and Chocolate Cake with Chocolate Ganache! Then, I promised her I shall try at home. I strongly believe icing is for those ‘yogic souls’ with great concentration. Icing is not my cup of tea or my piece of cake – though the piece of whole wheat cake is mine. But melting chocolate blocks and pouring on top of a cake is easier, the only problem being the finishing touch of perfection. I have tried more than a couple of times with melted chocolate topping on my cakes – tasted wonderful but not good with its looks.

Well, to achieve something you need to sacrifice something is a common phrase in Indian films and soaps since decades and no doubt that can be one of the heaviest truths of life too! So, I chose to achieve the goodness of chocolate icing not bothering about the looks of the finished product. I have also vowed to learn frosting swirls for my cup cakes. The warning signal has already been passed over to the ‘Tasting Duo of my Home’ – Father and Daughter Combo!

First the Cake.
EGGLESS CHOCO WALNUT CAKE (100% whole wheat, no butter) WITH CONDENSED MILK


IMG_4524


Thanks to these websites from which I could get an idea of the quantity of condensed milk – but I have altered the ingredients to make the cake with whole wheat – butterless and less sweeter too-

http://www.thatslife.com.au/Article/Food/Reader-Recipes/Condensed-Milk-Chocolate-Cake

http://www.love2cook-malaysia.com/2012/03/eggless-condensed-milk-chocolate-cake.html


Ingredients

  • whole wheat flour – 1 cup – 150 gms
  • cocoa powder – 3 heaped tbsp – 50 gms
  • baking powder – 1 tsp – 4gms
  • baking soda – 1 tsp – 4 gms
  • hot milk (diluted if full cream)  – 1/4 cup – 50 ml
  • refined oil (sunflower oil) – 1/2 cup – 75 – 80gms
  • condensed milk – 1/2 cup – 150 gms
  • chopped walnuts – 1/4 cup – 30 gms
  • vanilla essence – 1 tsp
  • extra warm milk – 1/4 cup – 50 ml (only to be used if batter is too thick)


the dry ingredients

IMG_4508

Method of Preparation

  1. Preheat oven at 175 degrees C and grease a round baking tray or place greased parchment paper in the dish as you wish
  2. Mix the chopped walnuts in very little flour so that the nuts do not settle in the bottom of the cake; Keep aside
  3. Combine whole wheat flour, baking powder and cocoa powder and keep aside
  4. Combine condensed milk, oil and vanilla essence in a wide bowl
  5. Mix baking soda and hot milk and it would become frothy, add this to the wet contents
  6. Fold in the flour, baking powder and cocoa powder into the wet batter
  7. If the batter is too thick, add the extra milk that is kept;  the batter need not be pourable consistency – it is right if it is a spoonable consistency
  8. Mix the floured walnuts to the cake batter
  9. Spoon the batter into the cake tray/dish
  10. Bake for 30-40 minutes (mine took even more) depending upon the oven, till a tooth pick comes out clean


IMG_4514


For the Ganache –

Now, what I learnt about Ganache –


Ganache is a French term referring to a smooth and velvety mixture of chocolate and cream. Its origin is a little unclear, but it is believed to have been invented around 1850. Some say it originated in Switzerland where it was used as a base for truffles. Others say it was invented in Paris at the Patisserie Siravdin.

To make Ganache, hot cream (cream with a 35-40% butterfat content) is poured over chopped semi sweet or bittersweet chocolate, and the mixture is stirred until smooth. The proportions of chocolate to cream can vary depending on its use, but the basic form is equal weights of chocolate and cream. Dark, milk, or white chocolate can be used to make ganache and different flavorings can be added such as liqueurs and extracts. Butter, oil, or corn syrup can also be added when a dark shiny glaze is desired. http://www.joyofbaking.com/ganache.html


I went in search for the basic dark chocolate ganache recipe with butter and framed these two..

http://savorysweetlife.com/2009/08/simply-glorious-chocolate-ganache-recipe-3-ways/ and

http://www.chow.com/recipes/28649-basic-chocolate-ganache

and chose to stick to the second but learnt from the pictures of the first!

I took the 1:1 ratio for chocolate and cream and added butter for the extra shine and glaze of the icing.
CHOCOLATE GANACHE


IMG_4537

Ingredients

  • Chocolate Bar (used 52% cocoa which is not bitter) – 200 gms
  • whipping cream – 200 gms (mine was 30% milk fat)
  • unsalted butter – 100 gms

Method of Preparation

  1. If your chocolate bar is in the freezer as mine, place it outside and bring it to normal temperature or atleast less cold to cut into small pieces and keep in a heat proof dish
  2. Bring the butter to room temperature
  3. Heat the cream in medium stove position and bring to boil
  4. Pour the cream over the chocolate pieces and let it melt – this might take 5 minutes
  5. Stir well so that the pieces are completely melted
  6. Mix the butter to choco-cream mixture
  7. Chocolate Ganache is ready to be poured and spread on the cake.

cut chocolate and pour hot cream into it

IMG_4529IMG_4530

add butter and the ganache is ready to be poured

IMG_4540IMG_4537

NOTE:

  1. This quantity of ingredients for ganache gives about 3 to 4 cups of pourable consistency.
  2. It took less than half for the above chocolate cake.
  3. The rest that I have stored – can be stored for months.
  4. I plan to make choco-swirl icing or choco truffles too!  I might try the swirls on a choco-chip vanilla cup cake!!


thickened ganache in fridge

IMG_3672


Now, I forgot to take a picture when the ganache was ready on the cake. Then, I started thinking of ways to decorate it – which as I said earlier – not my cup of tea still. I decided on chocolate curls and tried but turned out to be grated chocolate!

So, I spread the grated chocolate on top of the ganache… not really pleasing- but truly tasted good.


IMG_4542


Then I thought again of any other means of making my daughter happy –

I had already kept the ganache in the fridge and it was set well. I took it out and spread it on the cake pieces and ended it like this!!


IMG_3602


with sprinkles

IMG_3652

Believe me, the taste of Ganache was truly awesome.. just like the ones in those glass doored -wi-fied  pastry shops!!

100% Whole Wheat Banana Cake (Butterless, Eggless)


100% whole wheat cake
IMG_3599

A long line of festivities and longer line of sweets and snacks have been in display at homes. Why not start a CAKE SERIES… while Santa is on his way!

I have always wanted to increase the list of cakes in dosaikal. The main reason is not simply a passion to bake – but to bake HEALTHY as much as possible. So, how about having a favorite snack without the guilt of adding more empty calories?!

And especially for those little ones who are always tempted towards donuts, pastries, french fries and many more in the same category of junk with white flour – why not let them have their share with fewer restrictions – with these cakes made of 100% whole wheat, without butter and mostly without eggs too!


IMG_4454

And for adults too – these butterless delicacies can certainly help reduce those extra calories! So, don’t control your cravings.. just indulge!!

The recipes have reached this stage after a series of trial and error experimentation and I have also tried to follow a few recipes from fellow bloggers and converted the butter, egg and flour into oil, yoghurt and wheat as the previous cake recipes.

Let’s start with Whole Wheat Banana Cake, adapted from the recipe of one of my friends. The cake she had made was made to ‘Bakery Perfection’, with the flavor and aroma of banana. For me, after a few flops, this combination of ingredients turned out to be good and almost perfect for an experimentation.
100% Whole Wheat Banana Cake (Butterless and Eggless)


IMG_4456

Due to continuous flops, I preferred to experiment with a very small cup measurement. The cup I chose was a small bowl which measures 75gms of wheat flour, equivalent to a small tea-cup.  The proportions of flour, sugar and oil can be done with any cup measurement, but calculating the quantity of baking powder and baking soda might be difficult with cup measurements. Hence, the weight in grams is also given for perfect ratios.
Ingredients

  • whole wheat flour/gothumai maavu/atta – 2  cups/150 gms
  • brown cane sugar – 1 cup/100 gms
  • refined oil (I always use sunflower oil) – 3/4 cup/75 gms
  • yoghurt – 1 cup levelled – appr. 80-90 gms
  • well ripen bananas – 4 no.s small – 1 cup/125 gms when mashed
  • baking powder – 1 tsp/4 gms
  • baking soda – 1 tsp/4 gms
  • hot milk – 1/2 cup
  • banana essence – 1 tsp (can also use vanilla essence)


had a lovely brown colour in the bottom – thanks to the gas oven

IMG_3555

Method of Preparation
Keeping things ready

  1. Preheat oven at 170 degrees C or if gas oven keep the knob at 4
  2. Grease the required cake tin
  3. Sift wheat flour and baking powder and keep aside
  4. Mash the bananas with spoon (original recipe); I blended in a blender

Preparing the Batter

  1. In a wide bowl, mix oil, sugar and yoghurt
  2. Then, add banana essence and mashed bananas and mix well
  3. Dissolve baking soda in hot milk – this will form into a foamy white mixture and add this to the above batter
  4. Fold in the sieved flour-baking powder
  5. Spoon the batter in the cake tin. Smooth top with a spatula
  6. Bake for 25 to 30 minutes, depending upon the oven – till skewer comes out clean. A bigger cake would need more time.


and the upper crust soft and lighter in colour

IMG_3580

Indian Food and Dance Festival in Phnom Penh!


the Taj Mahal

IMG_3775

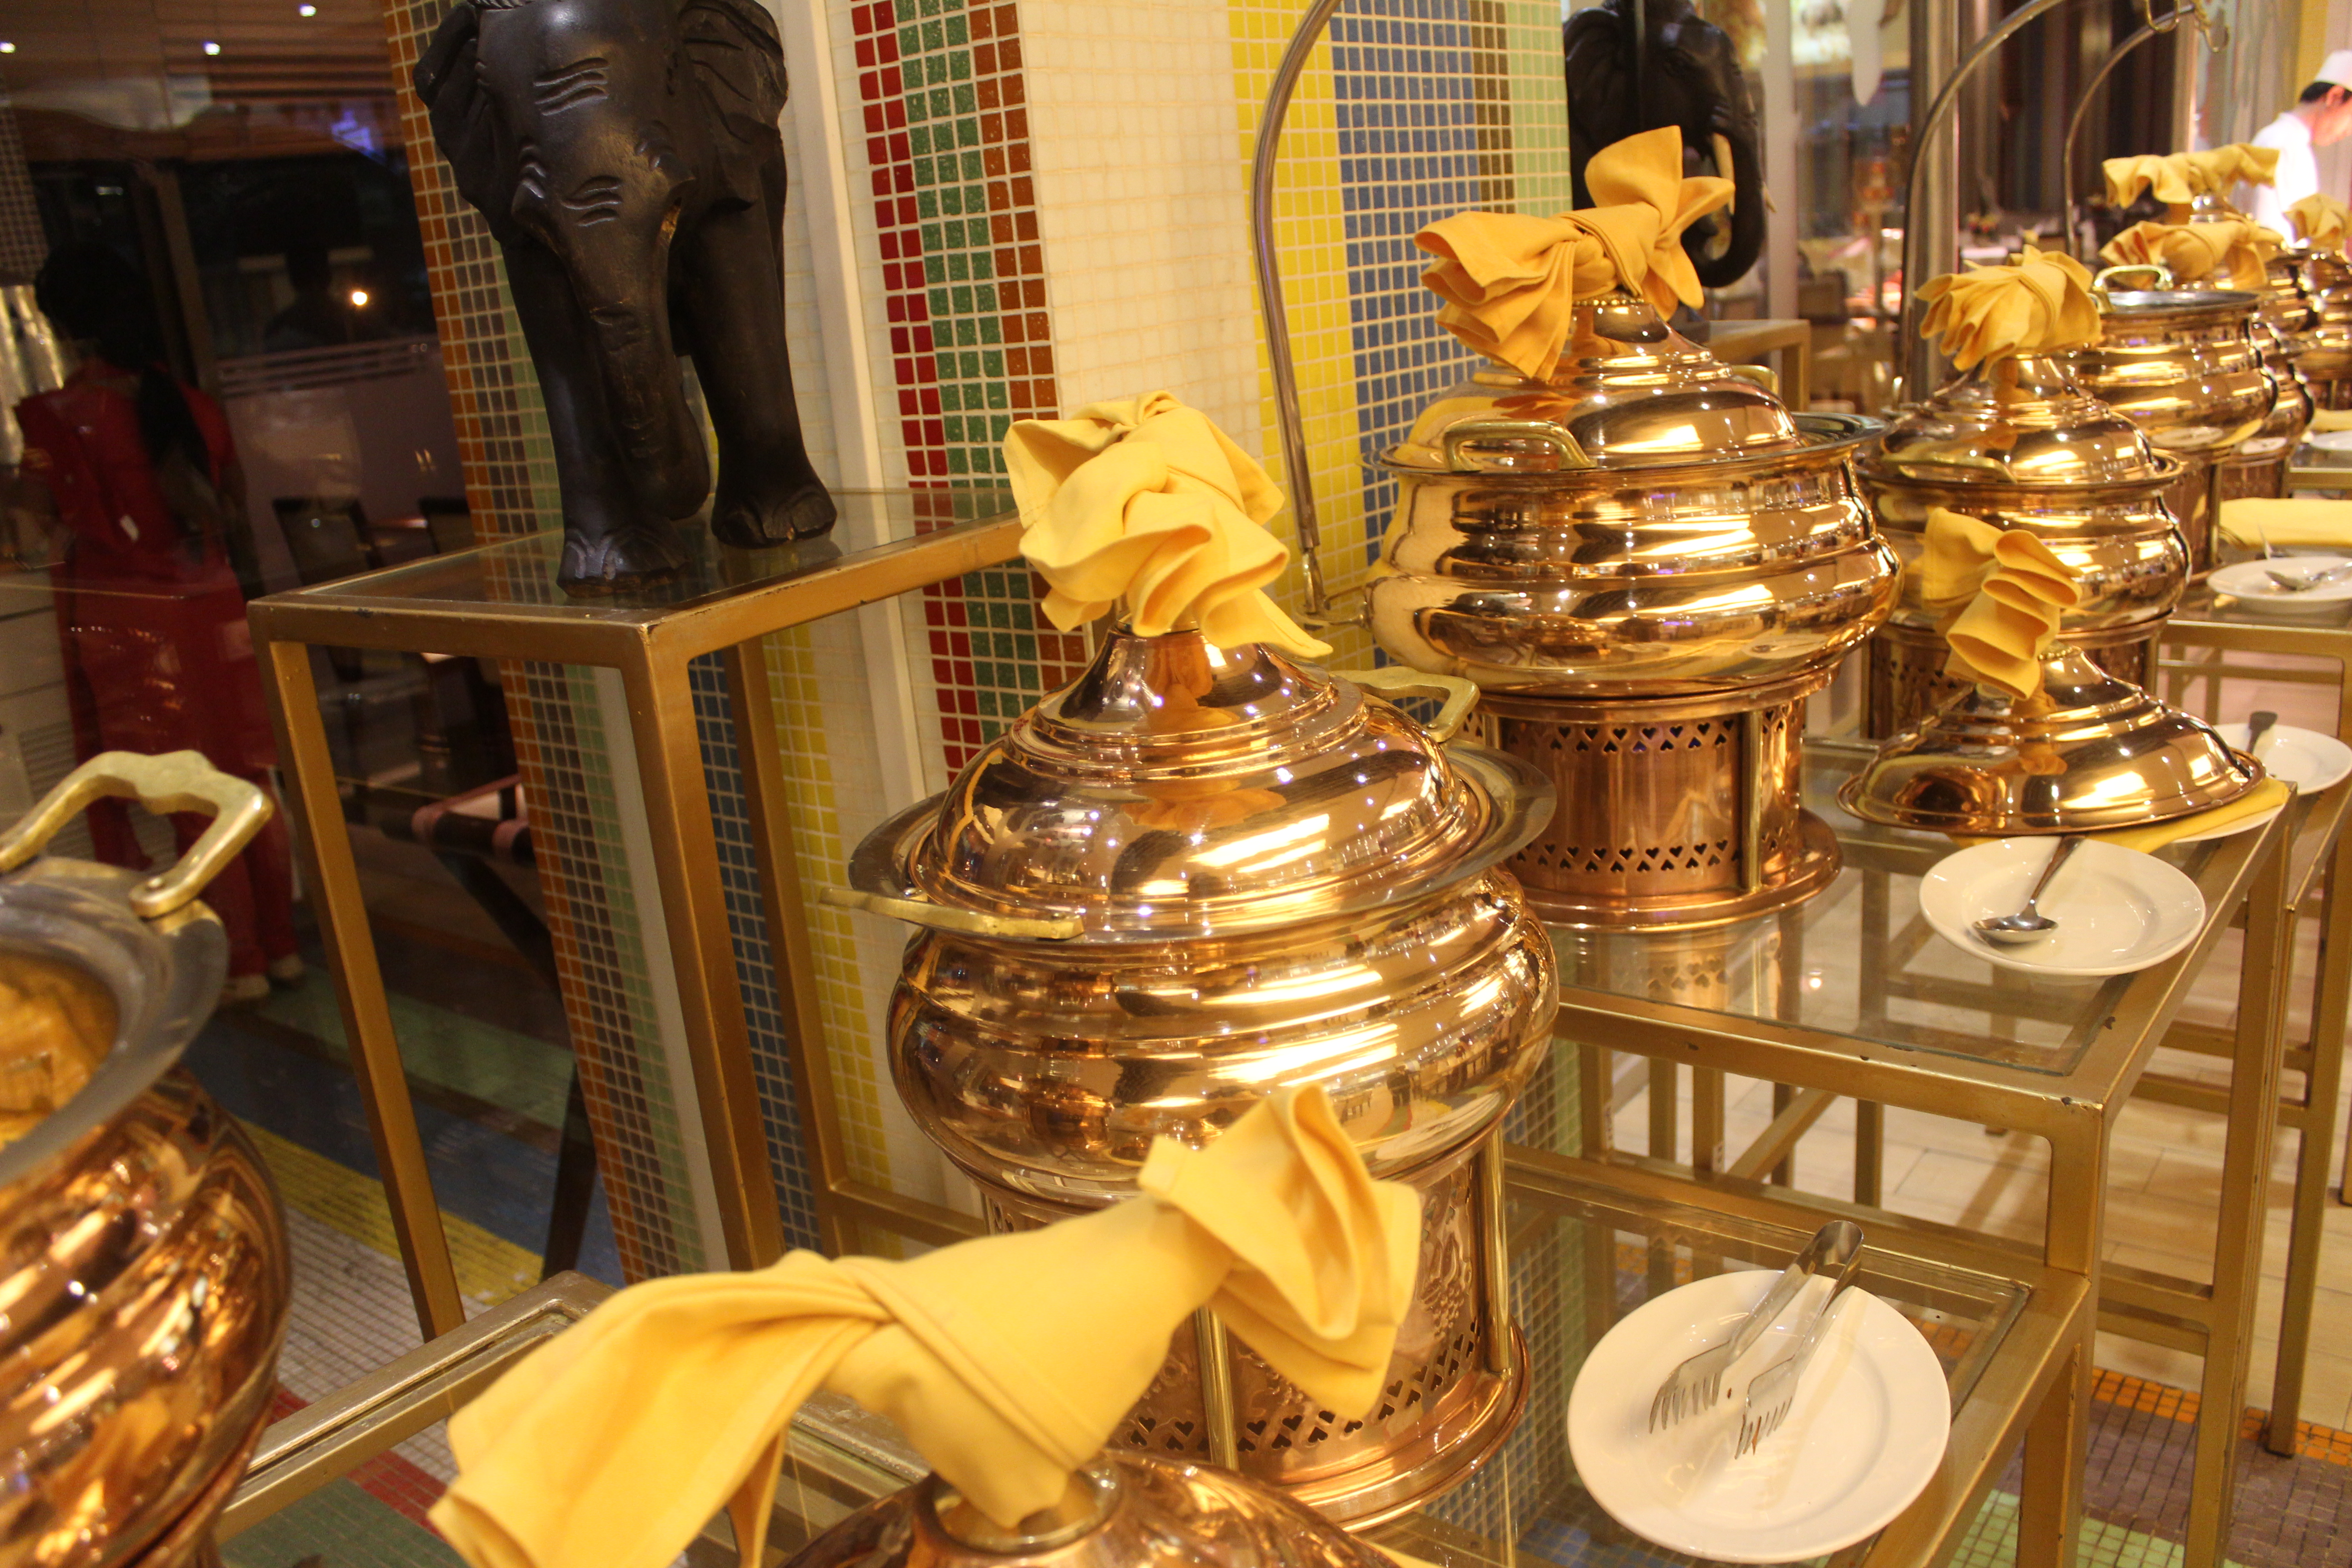
Here in Phnom Penh, the Capital City of the Kingdom of Cambodia, The Indian Food and Dance Festival was organized by The Embassy of India along with India Tourism and India Tourism Development Corporation, in coordination with one of the best Hotels in Cambodia, Naga World Hotel, at their Pangea Fusion Restaurant. The much awaited event was actively supported by the local Indian Chamber of Commerce (ICC) and the Indian Association Cambodia (IAC). The festival was held from October 30-November 9, 2013. The Cambodian, Indian and the MNCs -(Multi-National Connoisseurs) of Exotic Food, got to relish the culinary talents of experienced Indian Chefs including Mr. Sanjay Dasari and Mr. M.C.Pal of Ashoka Hotel, New Delhi.


vilakku/lamp and pookkolam/flower arrangement

IMG_3774


In India, Traditions vary from clan to clan – astonishingly they might vary from family to family too! Although,the overall festive nature can be the same. Here comes the importance of celebrating a festival, if not keeping track with the traditions. That is how, the celebration of Diwali with Indian Food and Indian Dance played a very significant part in rekindling the values and festive atmosphere at a home away from home!


vaazhai maram/banana tree at the entrance

IMG_3776


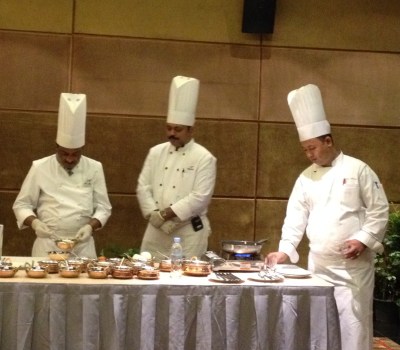
The Chefs – Chef Pal and Chef Dasari from India and Chef Rana from Hotel Naga World

at work

IMG_3806

Why call it a festival?

All festivals in India are marked by good music and very good food. The diverse nature of the nation, might be the result of the British, mapping the then different kingdoms, cultures, languages, cuisines and above all different races (Aryan, Dravidian and the Mongoloid) to one country! Not only did the 10 day program bring to true form the multi-ethnical cuisines from various parts of India, but also presented some enchanting classical dance performances from different regions of the country and the much adored Bollywood numbers by renowned dancers from Mumbai, India. Surely a memorable family event!


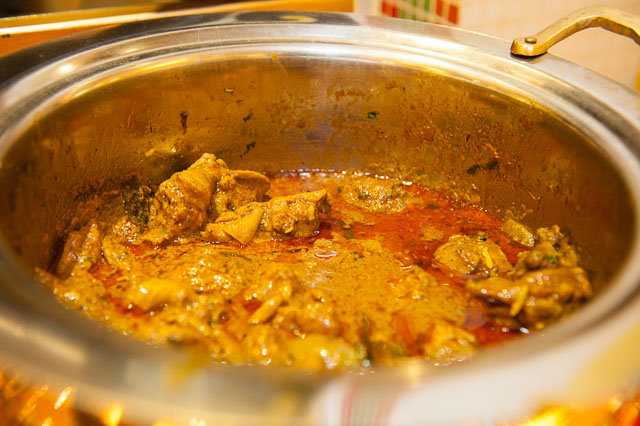
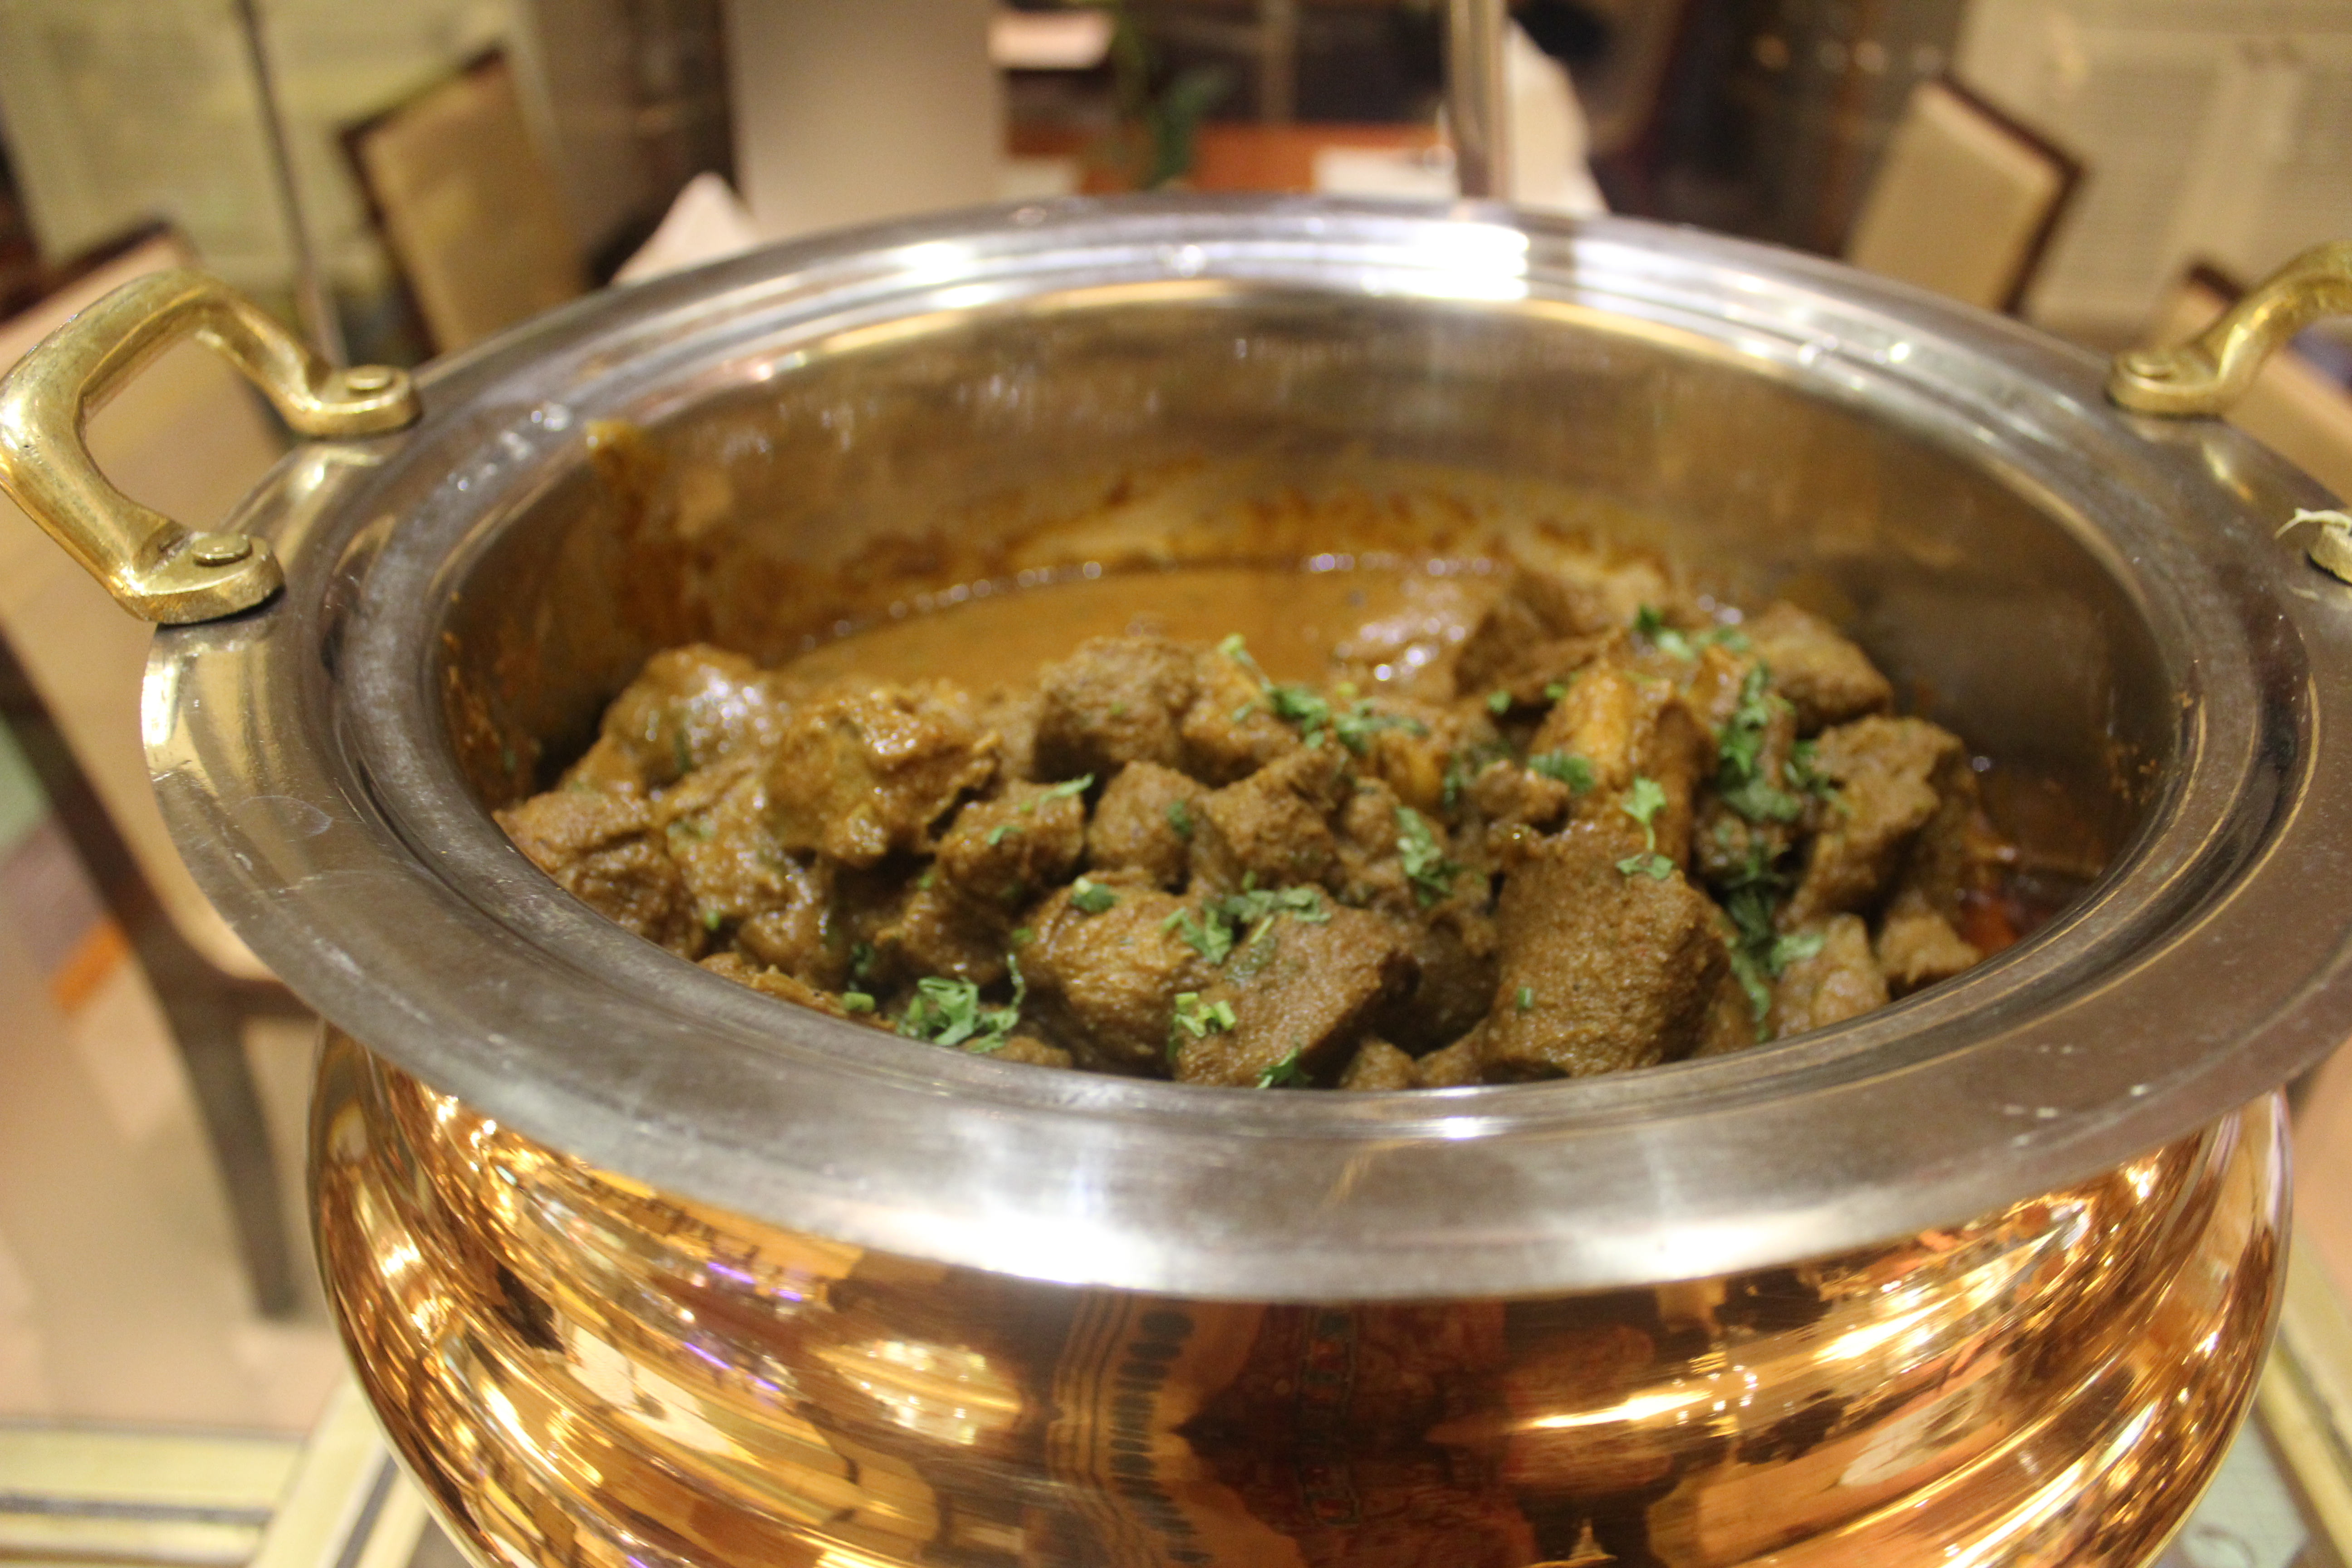
the main course -ready to be revealed!
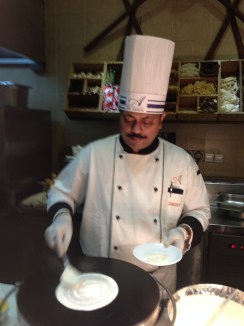
IMG_3458


 dosai from the chef

IMG_3770

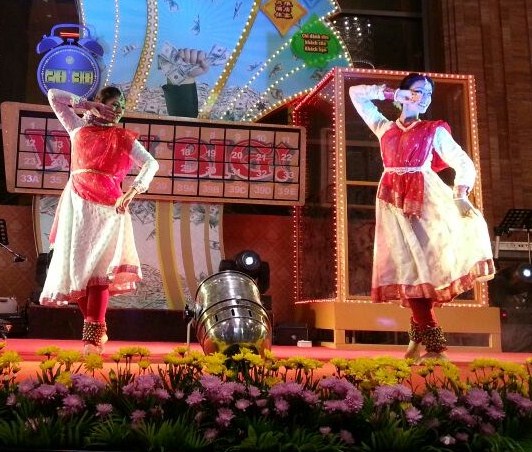
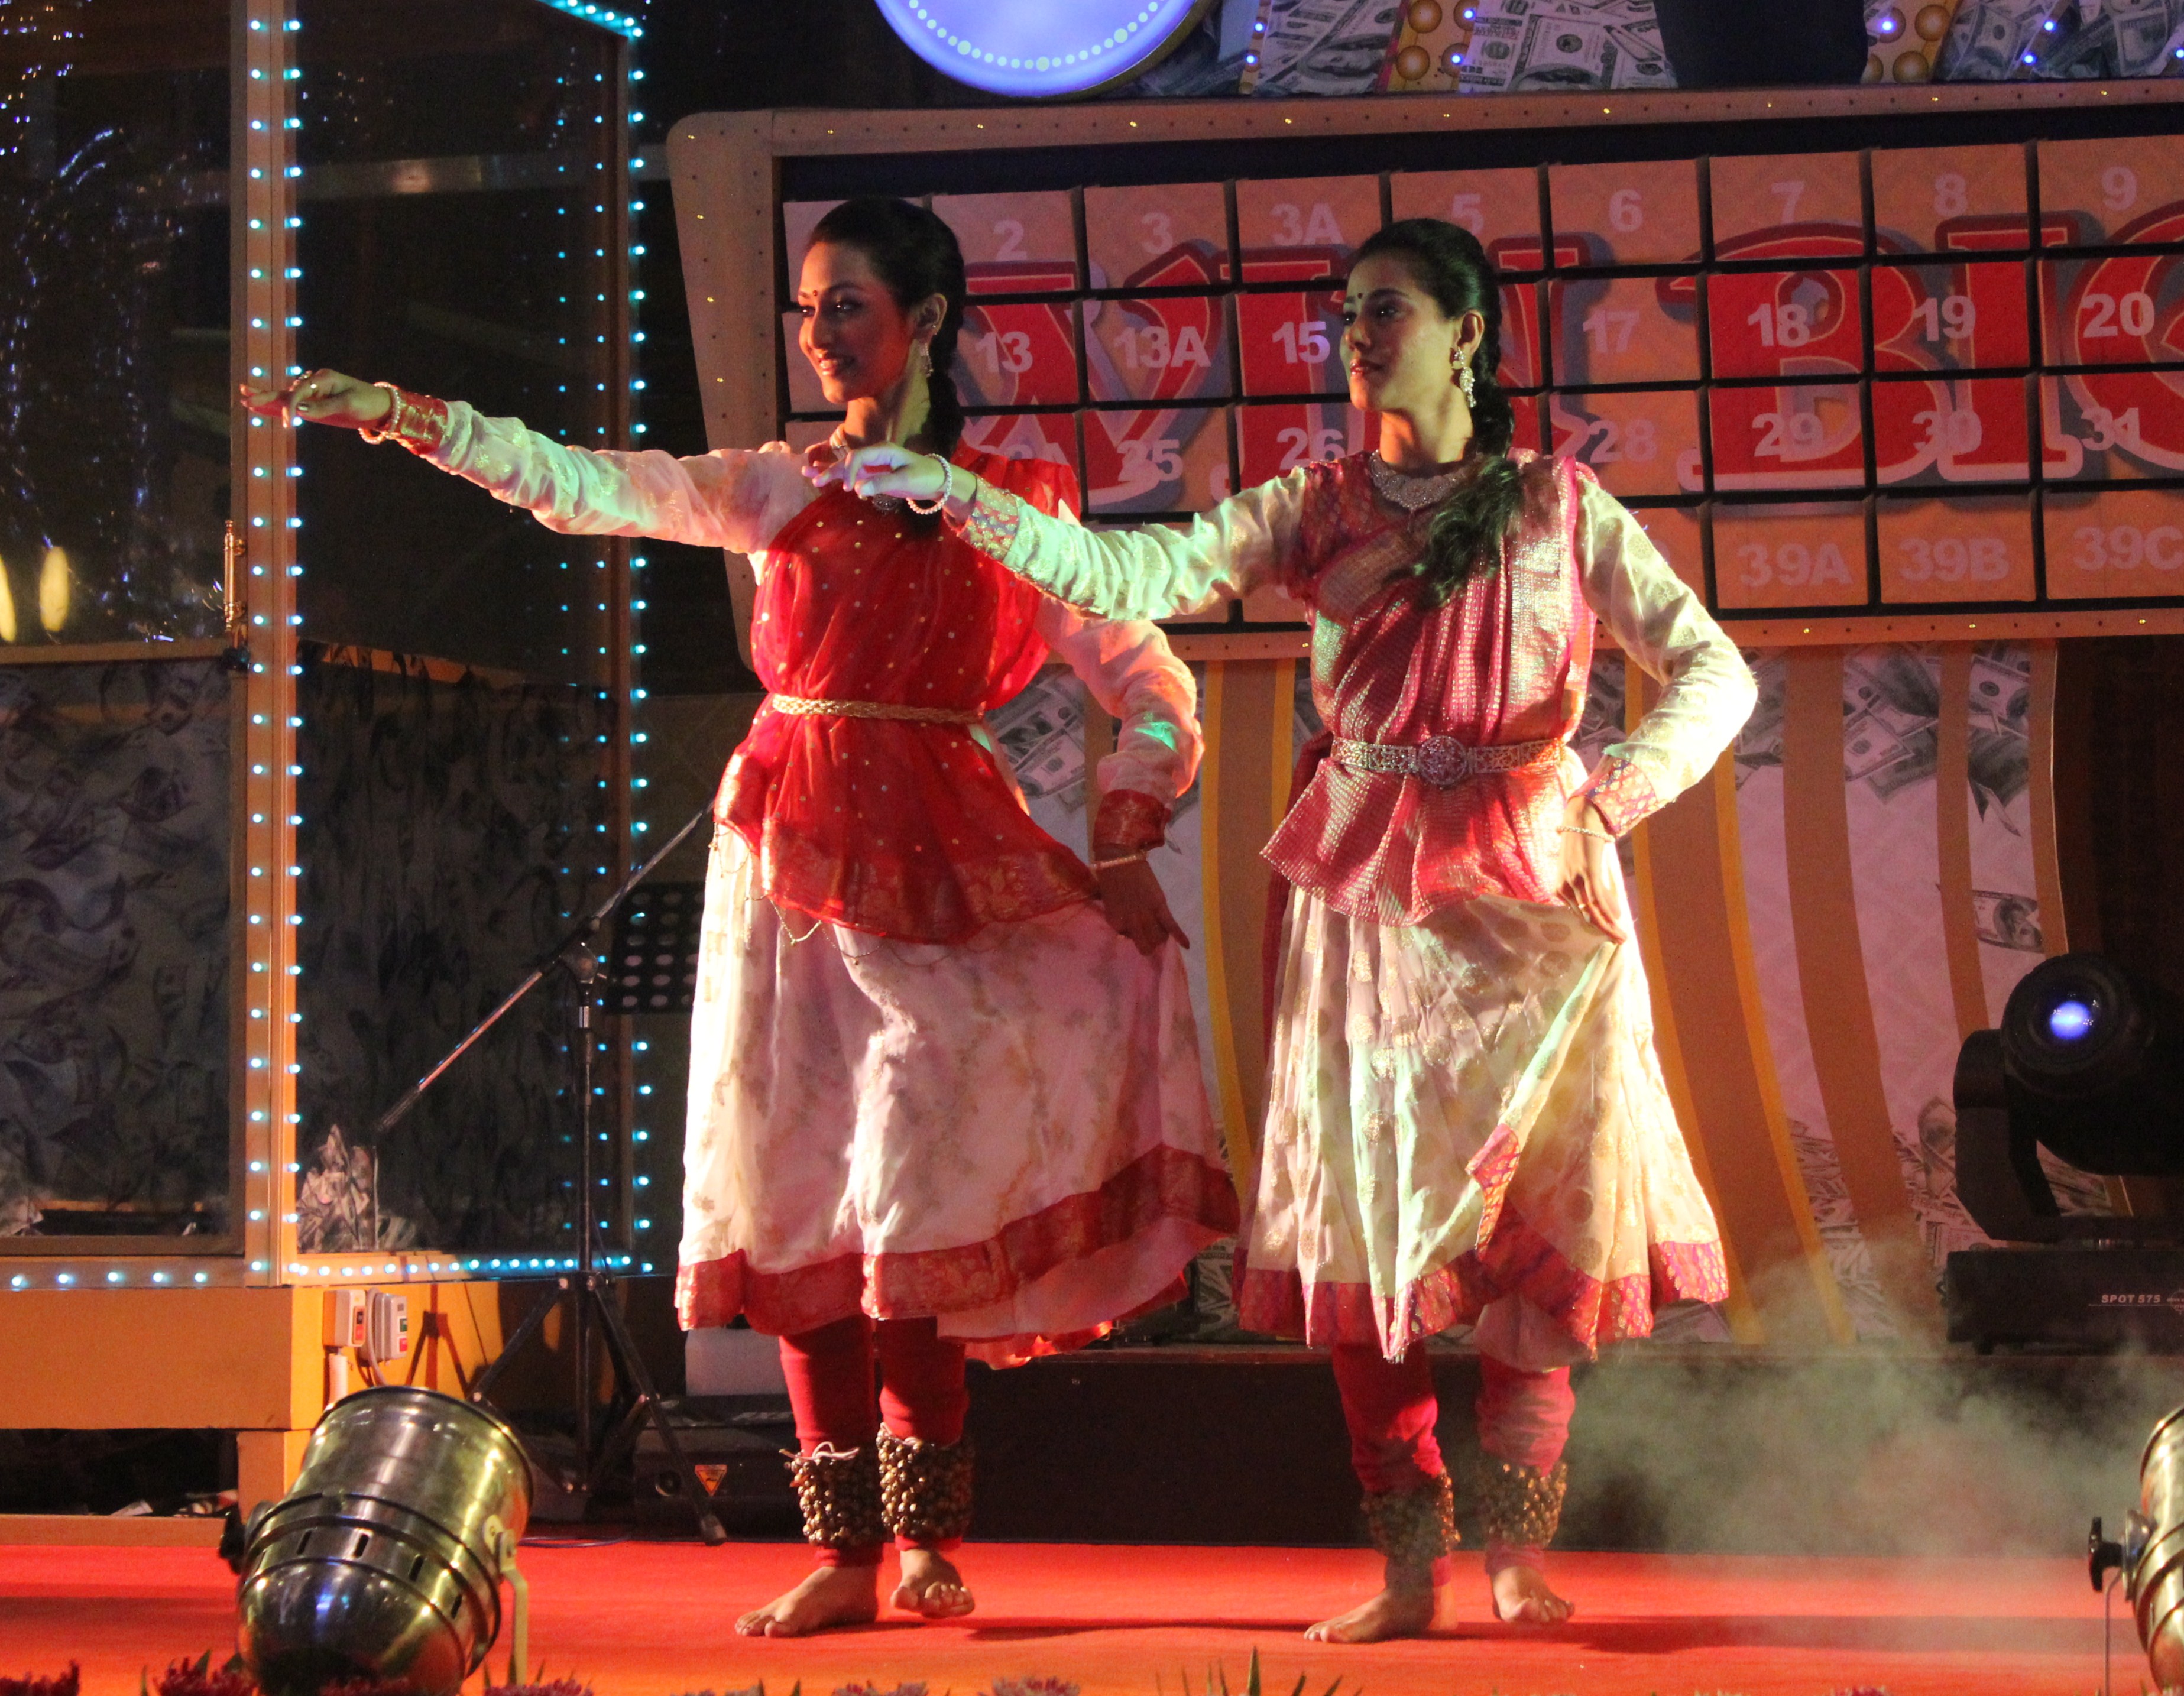
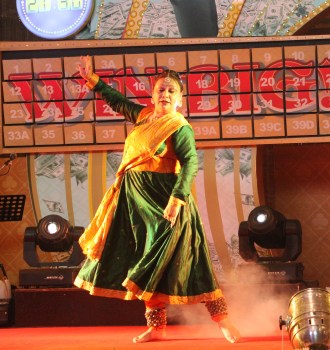
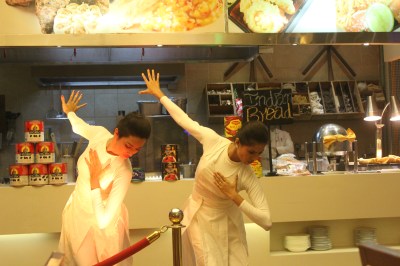
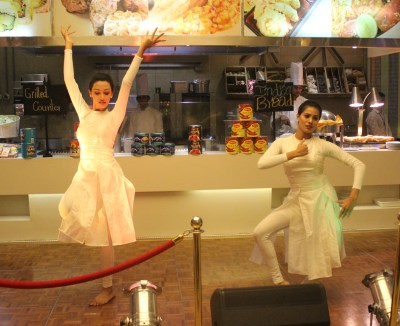
The Dancers specially arrived from India, solely for this event. The Madhurita Sarang School of Kathak is a renowned Arts school in Pune, Maharashtra. Under the able guidance of their Principal and Guru Ms. Archana Sunjay, a group of five of her students – wonderful, experienced artists gave one of the best ever Indian classical, Folk and Bollywood numbers that the city had ever seen.
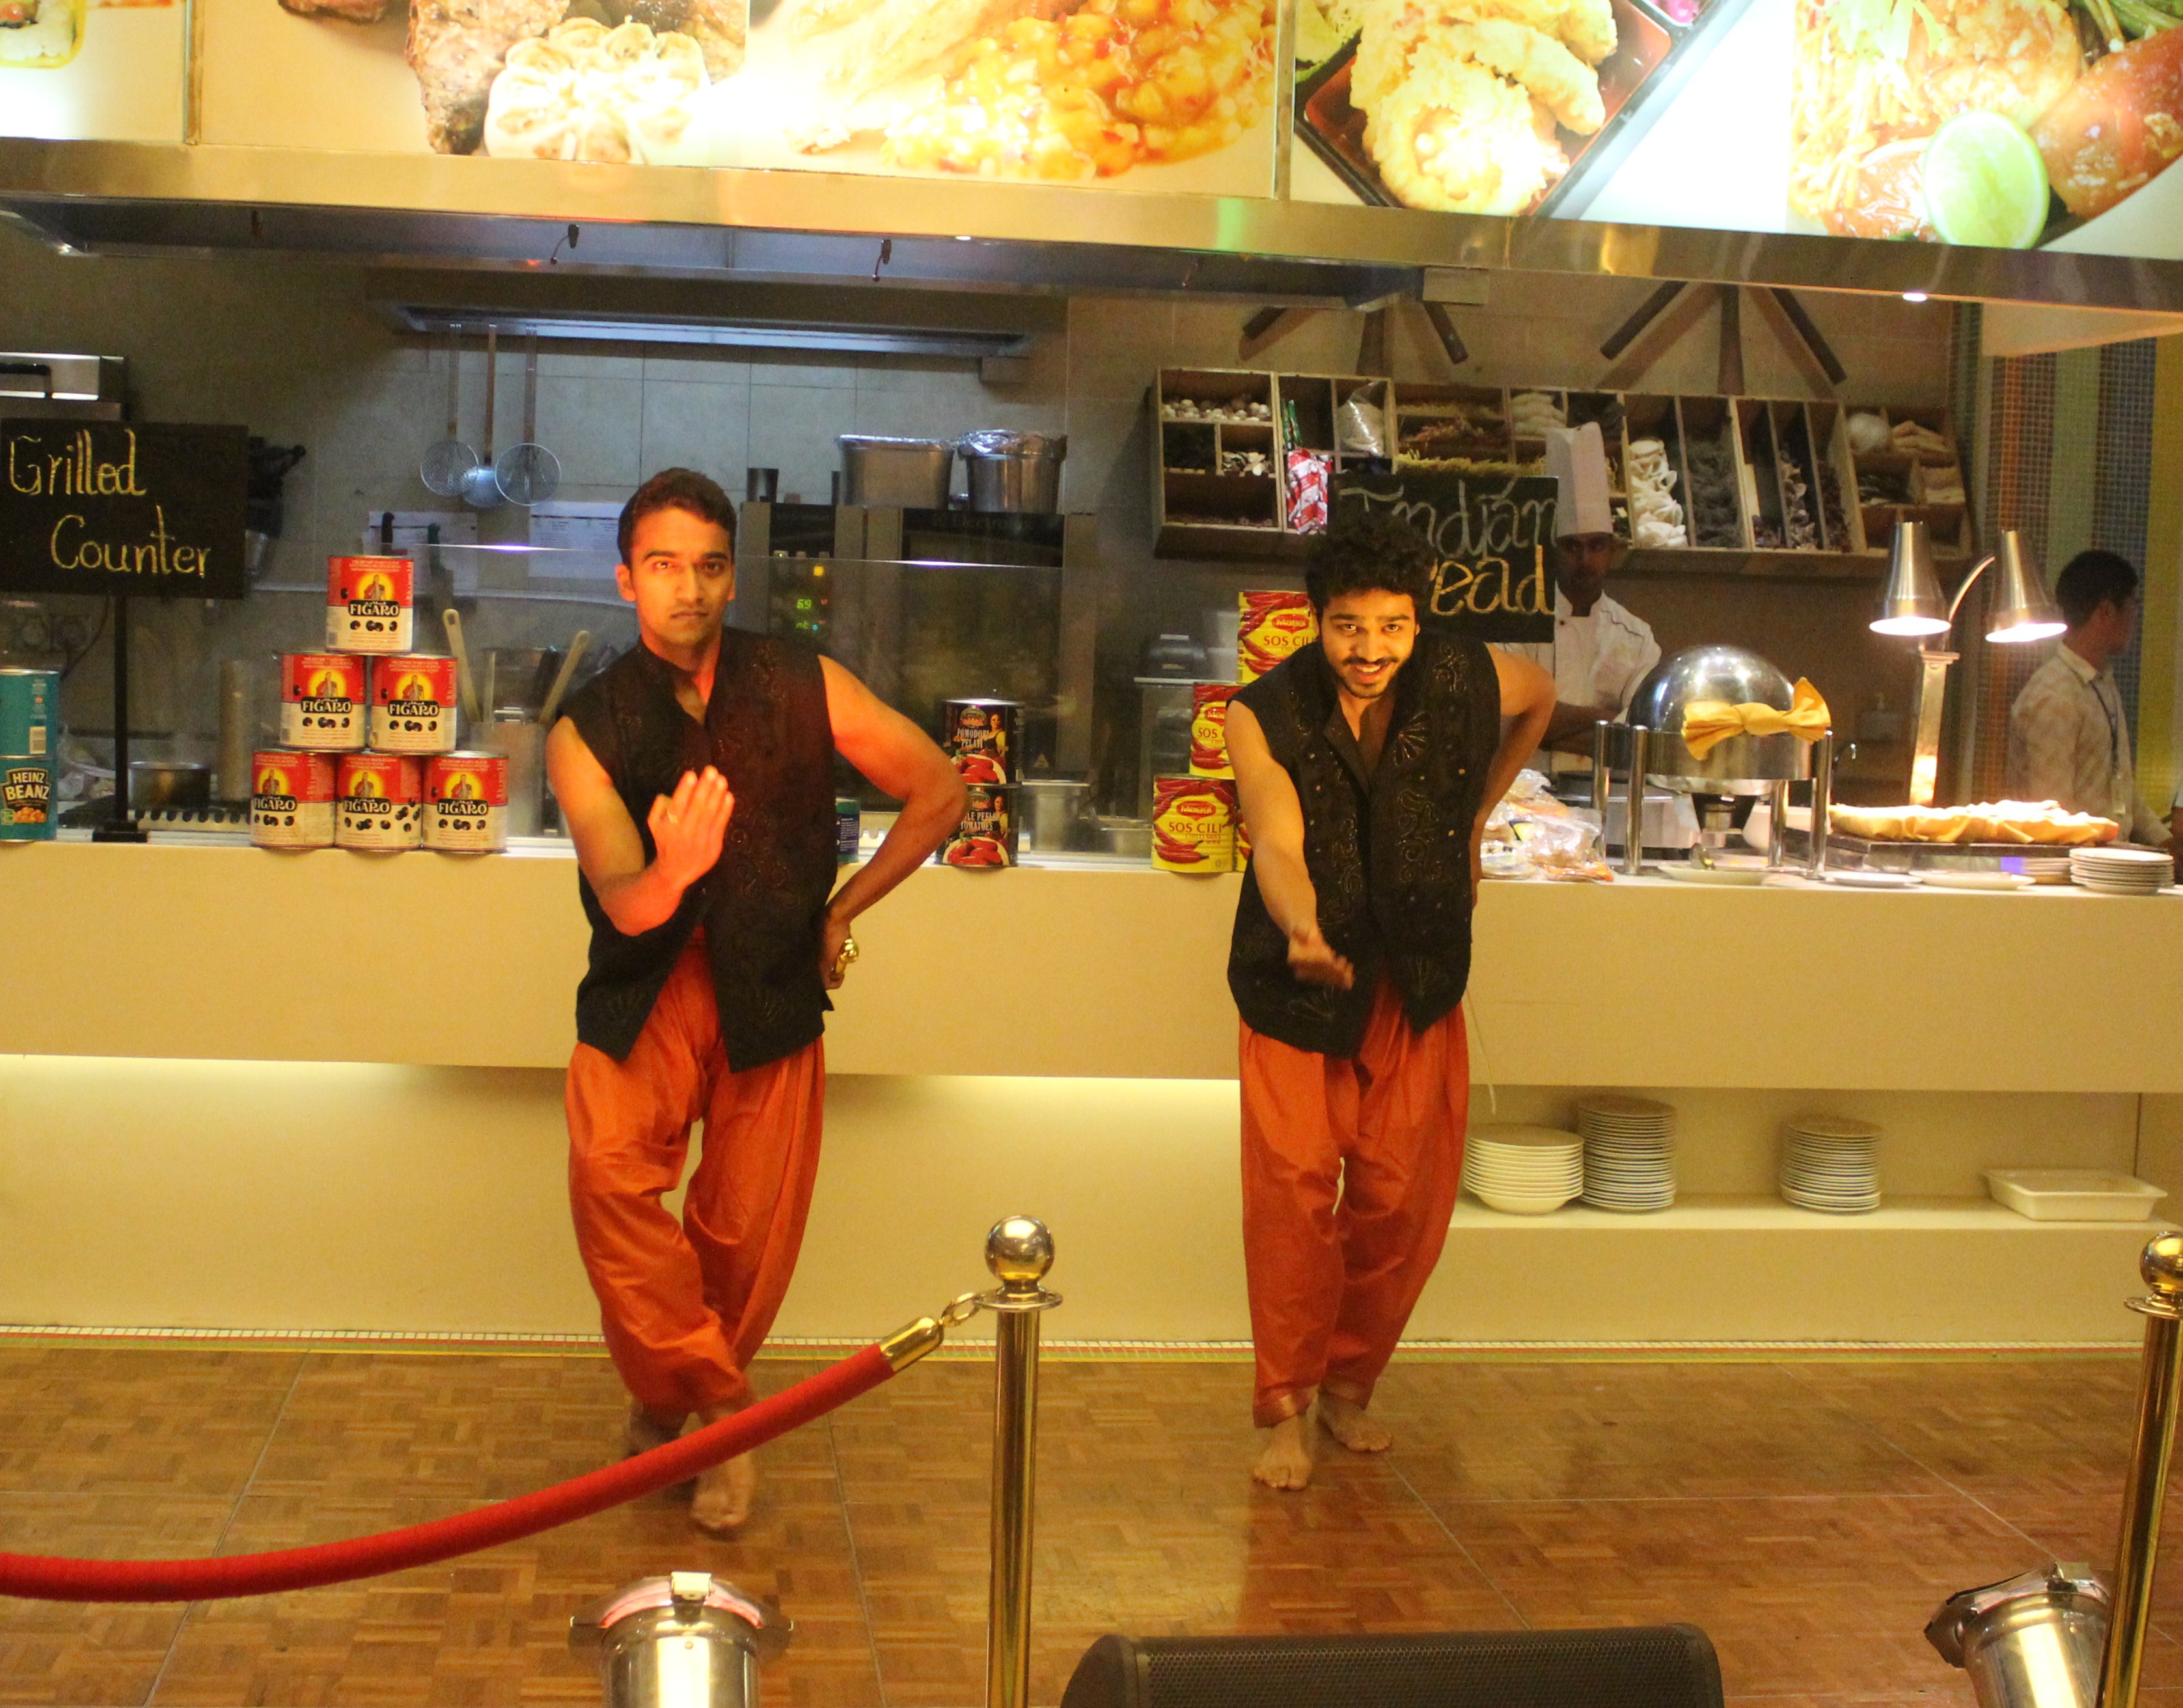
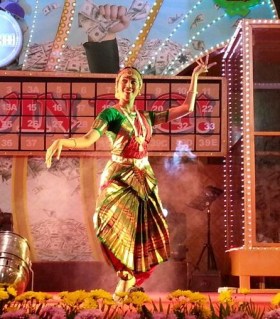
 

the performers

IMG_3522

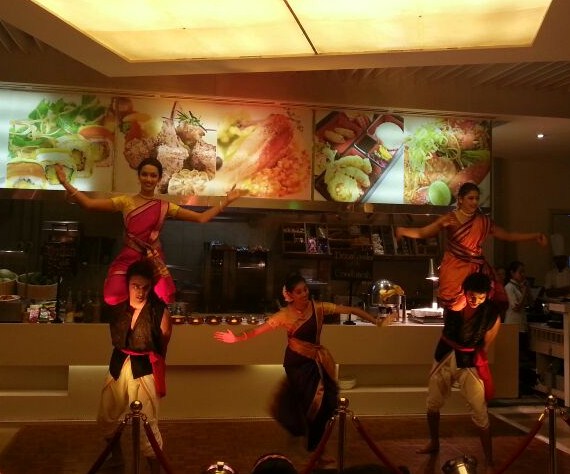
The versatile performances made the event a huge success. Bharat Natyam, Kathak, Folk, Contemporary and Bollywood dances kept the spectators enthralled. The performances were not limited to the stage alone; the dancers also performed while the guests enjoyed variety Indian cuisine at the restaurant! While on stage it was a more classical affair…. at the restaurant the floor was open to folk and peppy bollywood beats.


A few clicks –


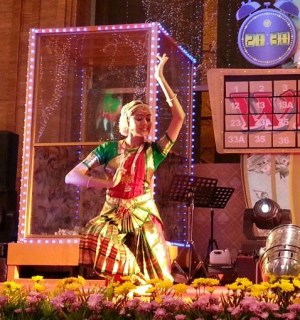
Kathak – (classical dance form of northern India)


the Guru

IMG_3436


and her students

IMG_3996


IMG_3446

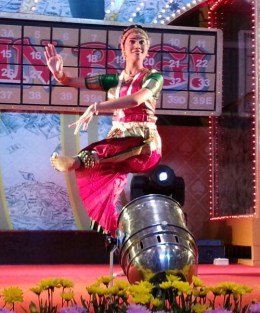
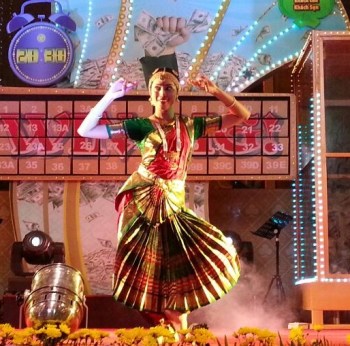
Bharata Natyam (classical dance form of Tamilnadu, southern state of India)


IMG_4006


IMG_3959


IMG_3963


IMG_3968


There are numerous festivals exclusive to individual states or some festivals celebrated with different names in most of the states. Diwali is one festival which is celebrated with different reasons in the same name throughout the country.


Diwali need not be the festival of lights throughout India (see https://dosaikal.com/2011/12/09/thirukkaarthigai-ancient-festival-of-the-tamils/). In Tamilnadu, Karthigai Deepam is called the festival of lights. It is celebrated in the Tamil month of Karthigai which falls in November-December. Kaarthigai Deepam or Thirukkaarthigai is celebrated in all Shiva temples throughout Tamilnadu. But Thiruvannamalai temple holds a special place. Lord Shiva is worshipped in the form of fire – Agni Lingam in Thiruvannamalai.


The common feature of Diwali can be celebration of the victory of good over evil.

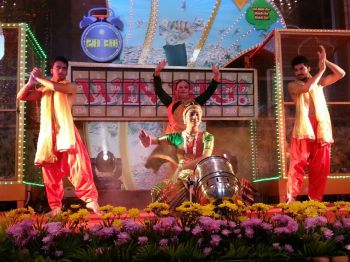
India is undoubtedly a country of Fusions – culture, cuisine, language and so on… Dance Performance without Fusion? There was some fusion dance too!
Fusion


IMG_4009

The essence of any festival depends on individual views – but none can deny the foremost -that’s Happiness. This year’s Diwali was certainly a true happy affair with the younger generation enjoying the fun loaded events and the older generation nurturing the festive emotion with the Indian touch of food, music and dance! The folk, contemporary and bollywood numbers brought in, the vigor of young India and true India.
Folk Dance – too fast for good clicks… I need to learn more on this (the clicks).


IMG_3965


IMG_3542


IMG_3531


There was always an aura of freshness and unexpected turns in the numbers that were performed –


The Contemporary Dance sent everyone mesmerized –


IMG_3494


IMG_3483


The Food Festival


When it came to food – the chefs had brought most of India in their pockets. Chef Sanjay Dasari, a prominent chef in successfully leading various Indian Food Festivals around the world and Chef M.C.Pal, a specialist in authentic Indian desserts showcased Indian cuisine at its best.


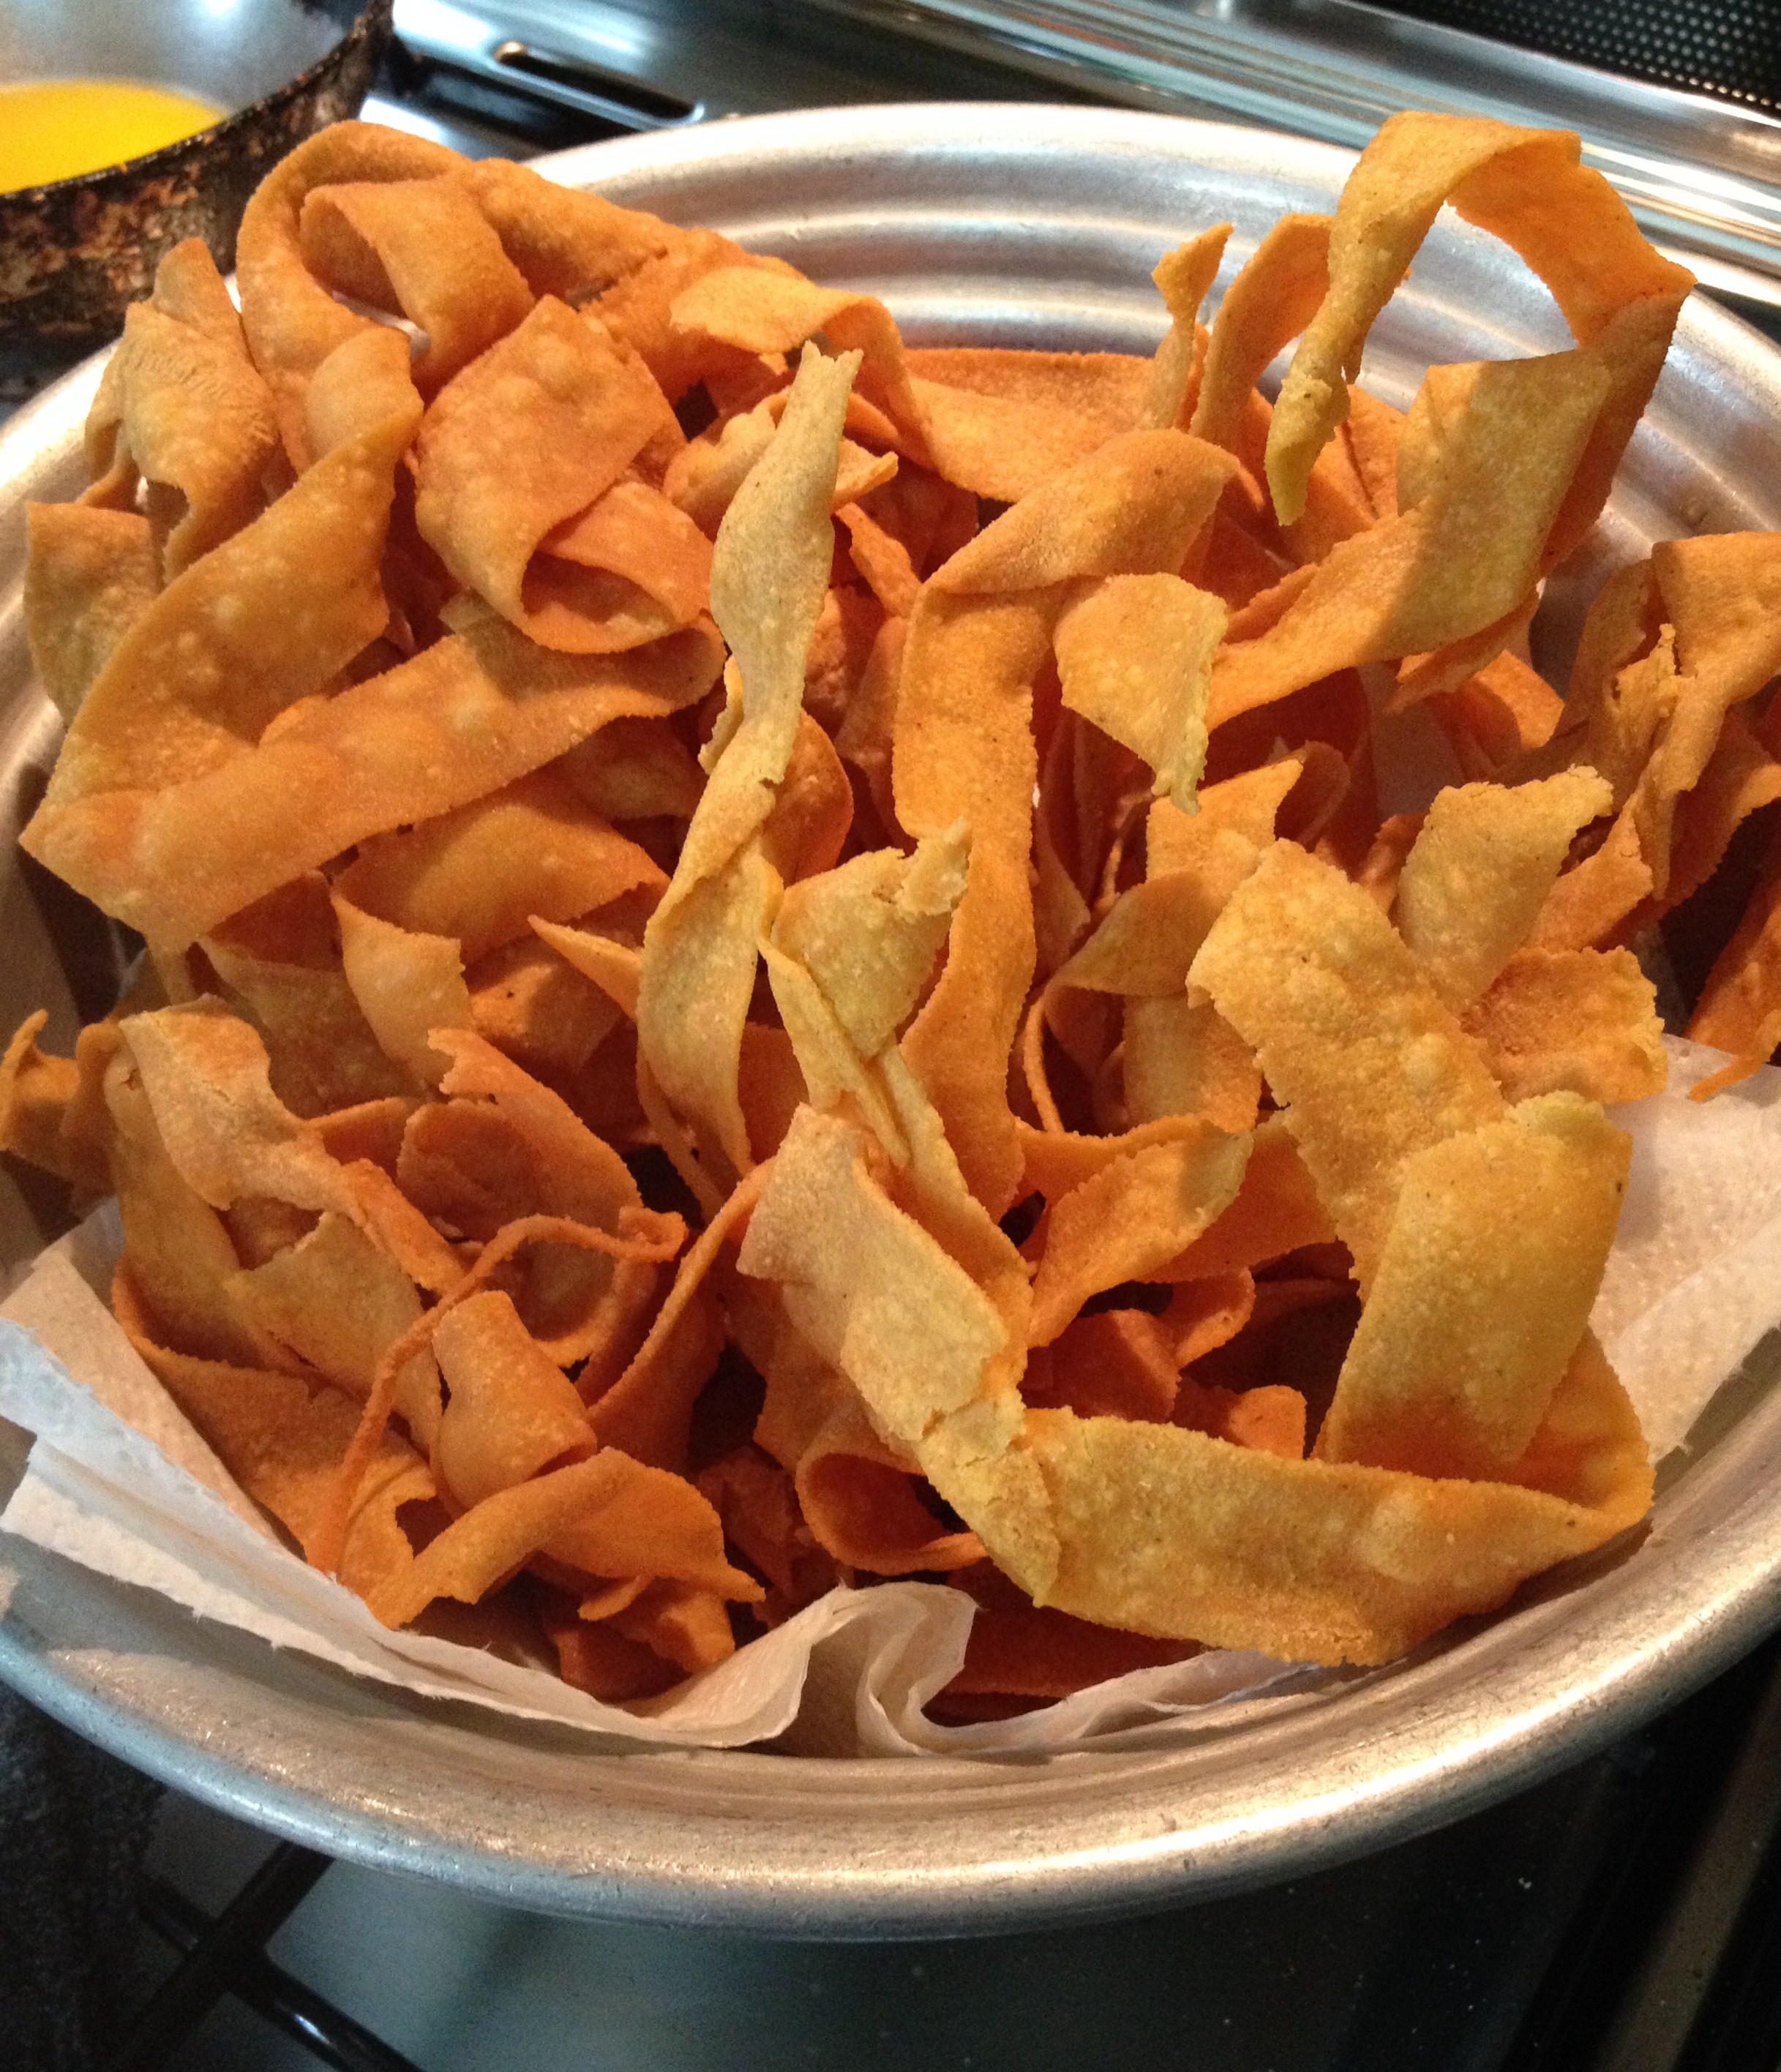
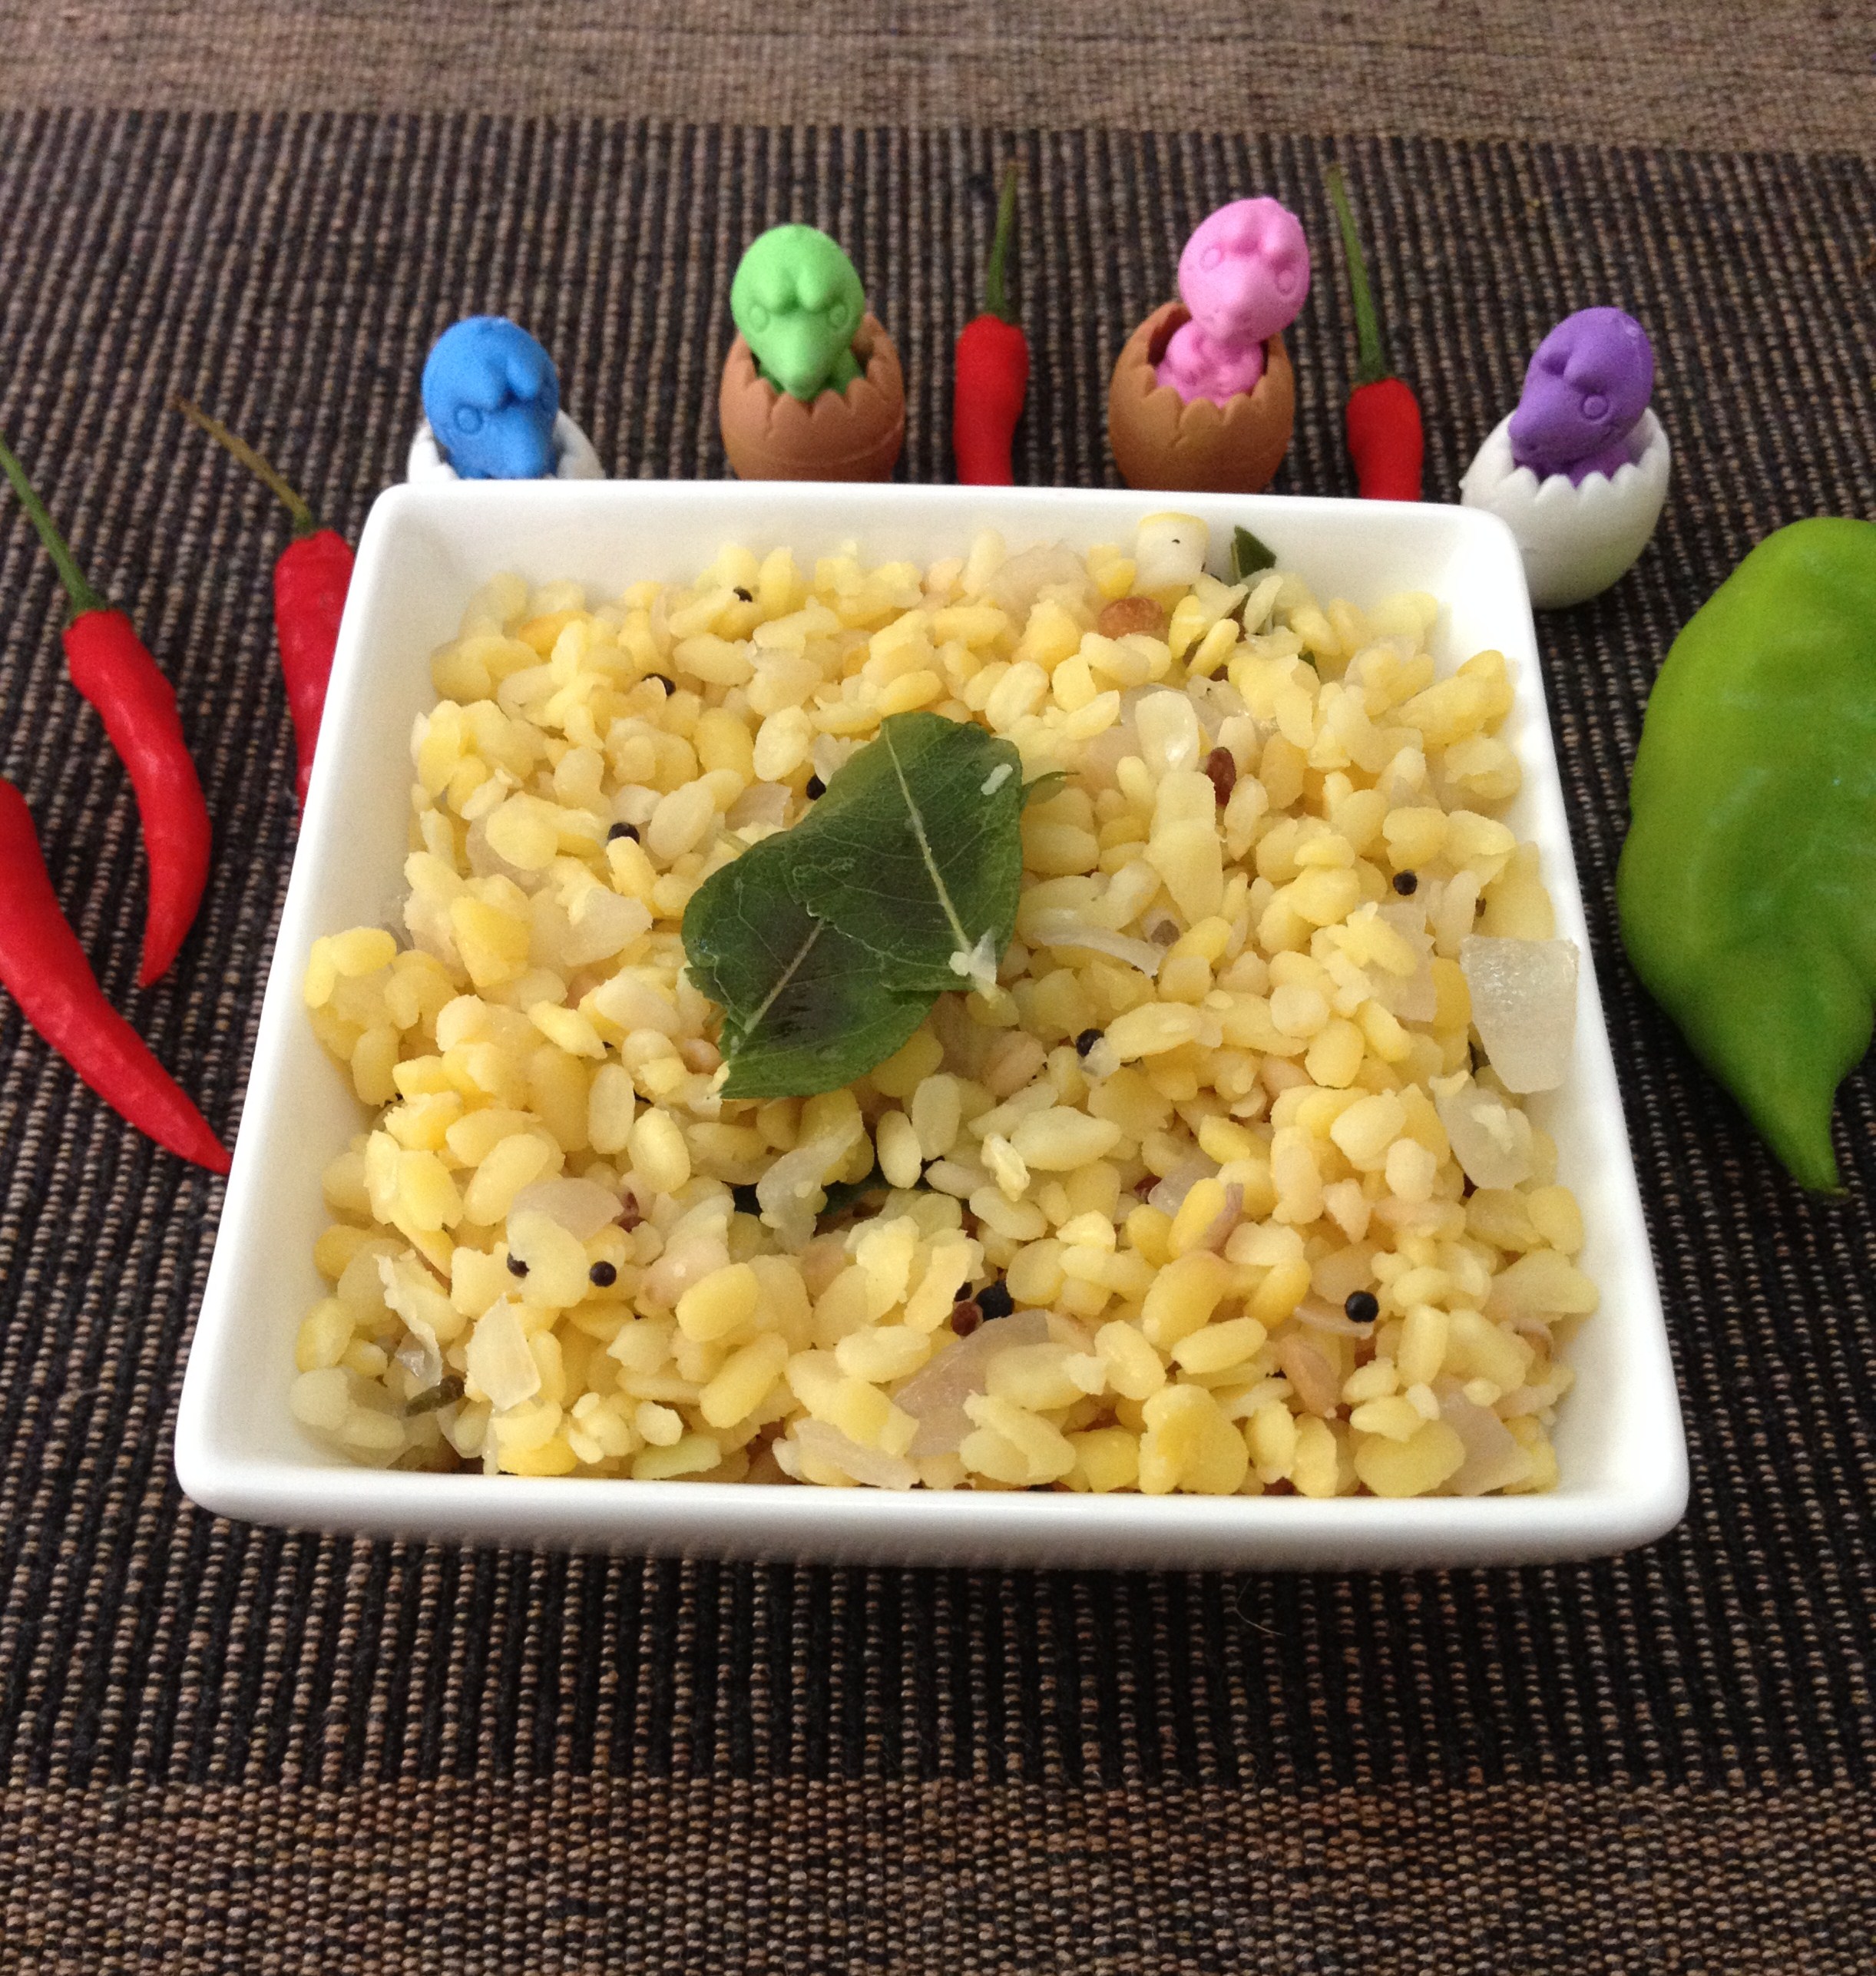
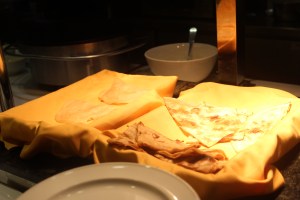
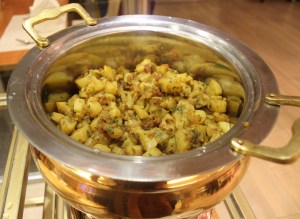
Rasam and Soups; Appalams and Papads; Tandoori Rotis, Naans, Dosais, Aapams and Pulavs;  Plain Dal, Dal Makhani and a huge authentic variety of vegetarian and non-vegetarian main courses; Grill corner – with prawns, chicken, fish and vegetables and a wide selection to Indian and Western desserts to choose from – I might have left out some more too that went uncounted yet digested well!


dosai, naan and potato dry curry…

IMG_3467IMG_3464


dal and paneer..

DSC_4559_640pxIMG_3455

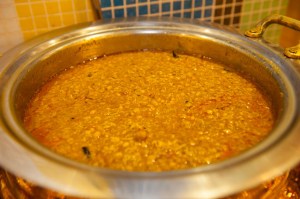
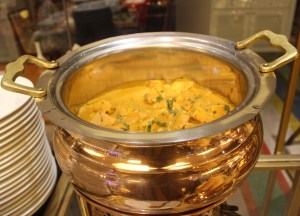
photo courtesy (dal):keonila of blueladyblog.com
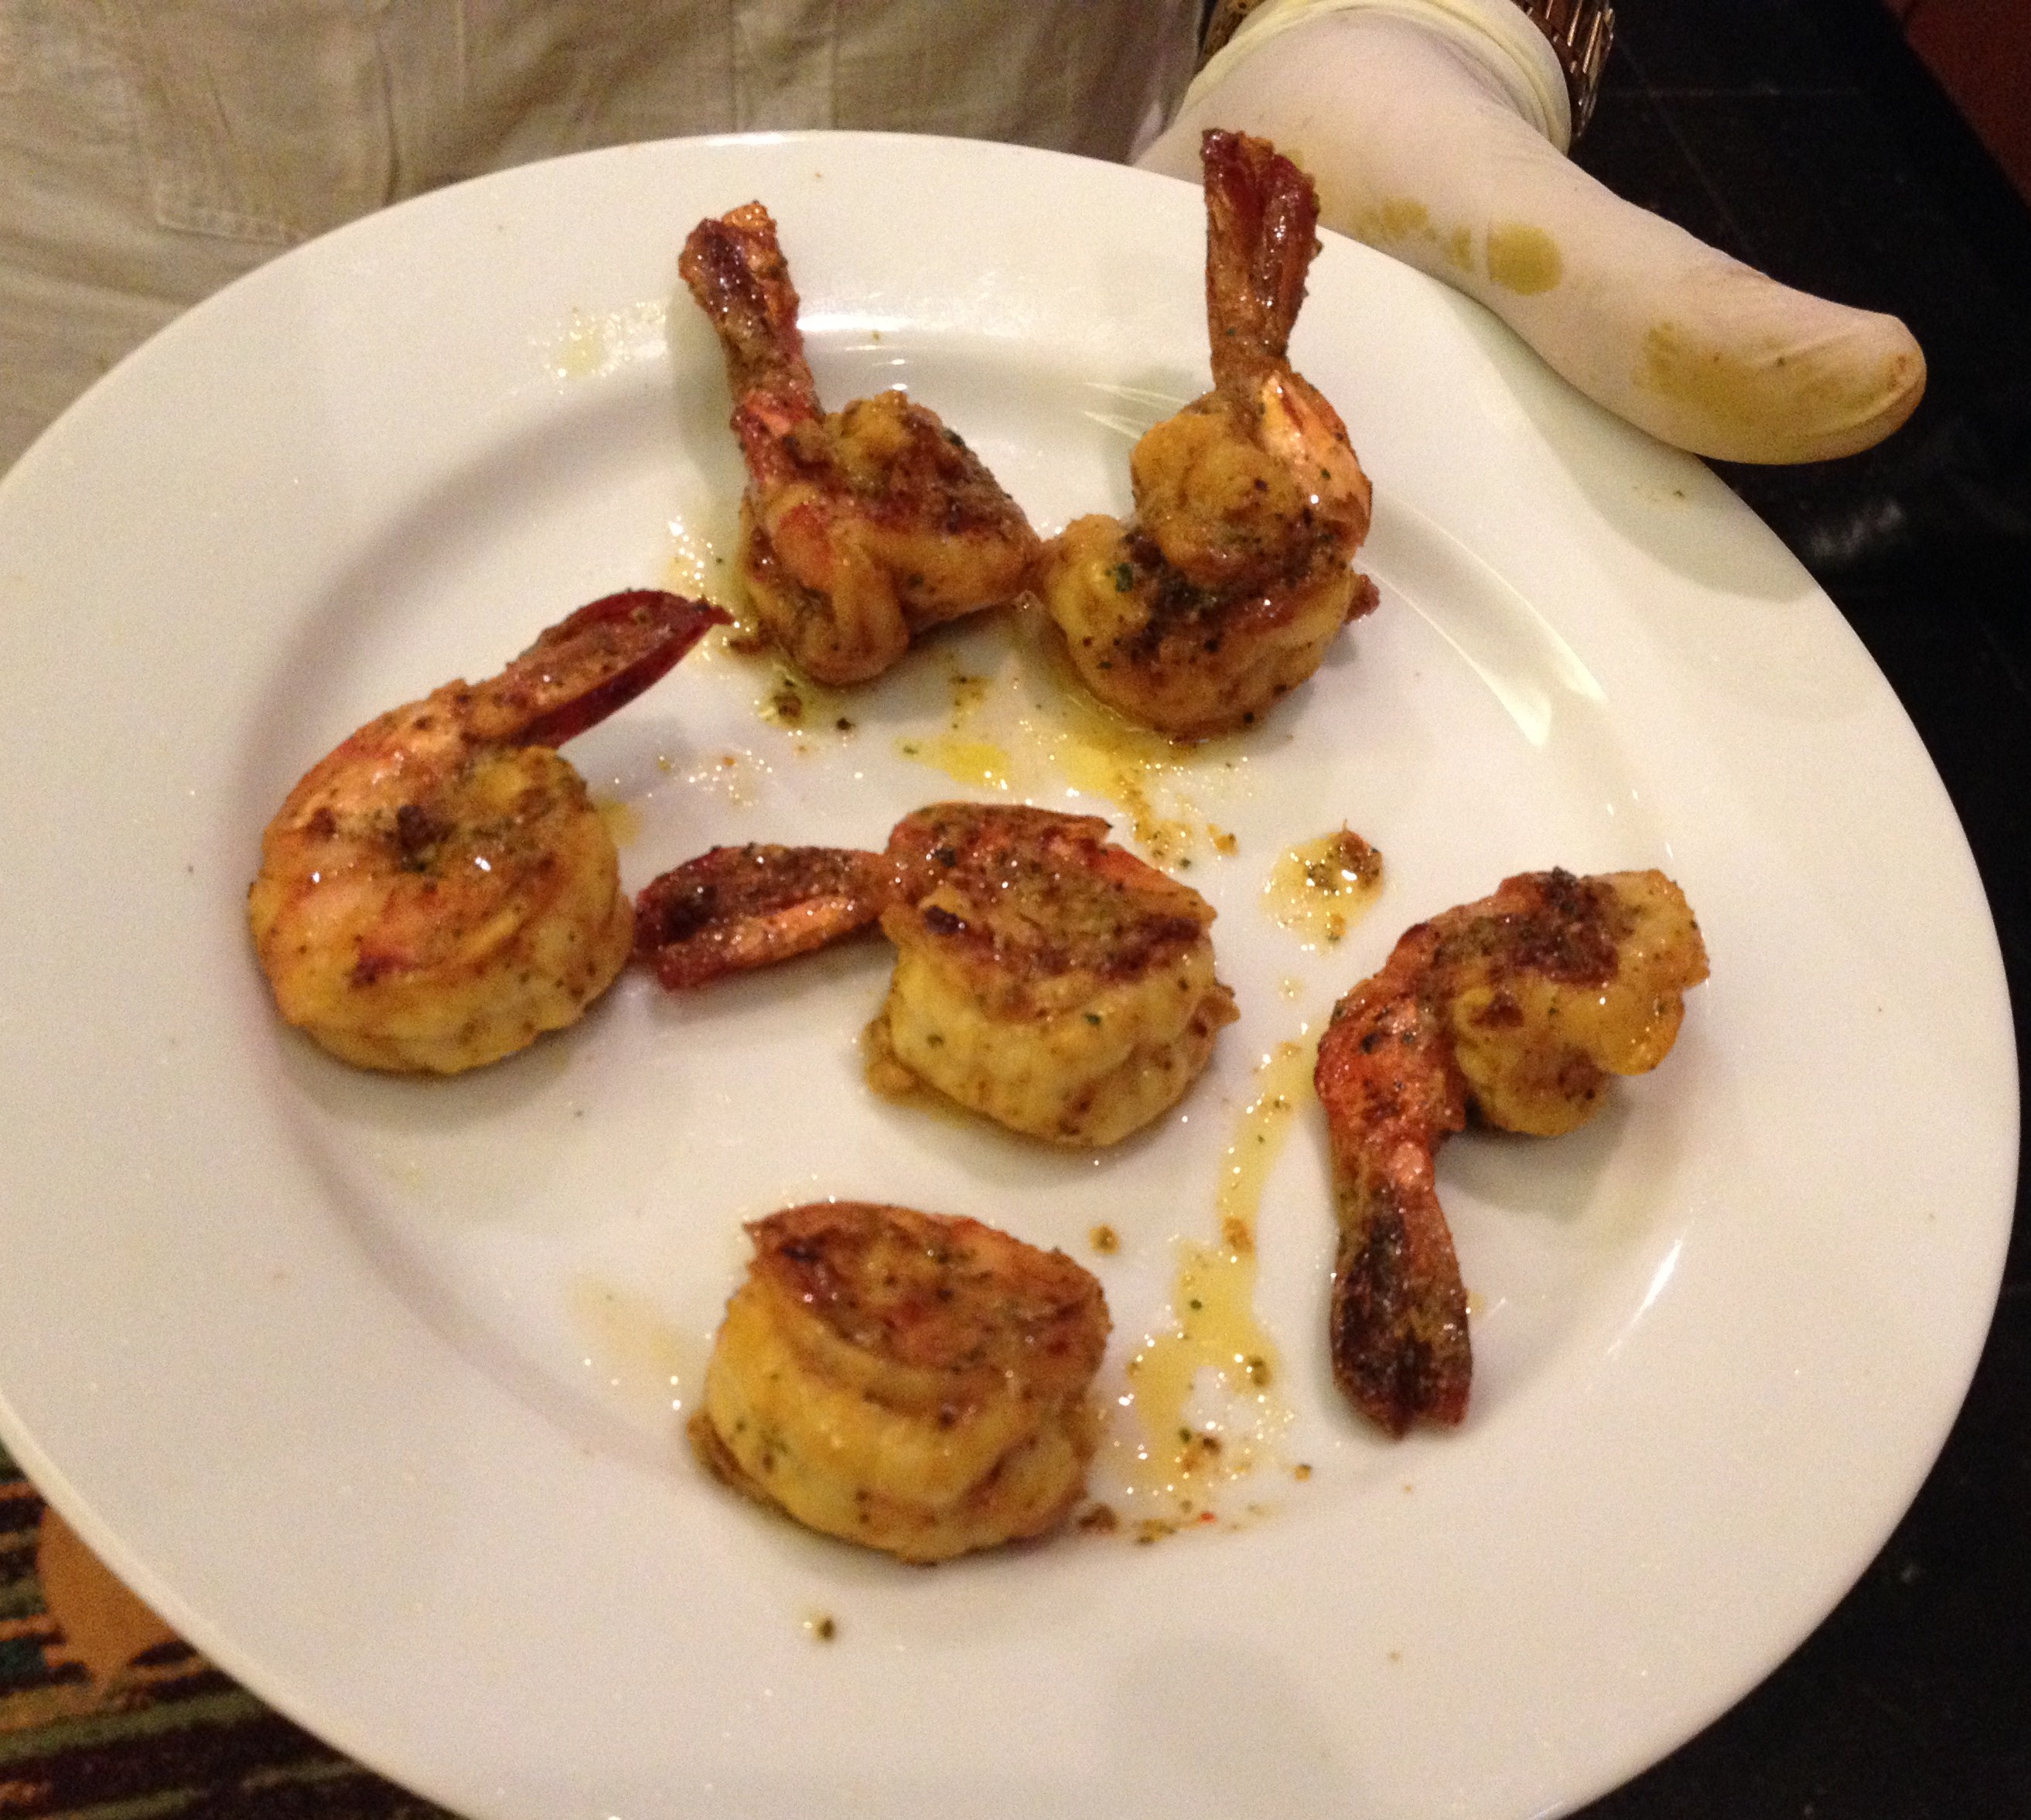
 

chicken and lamb..

DSC_4558_640pxIMG_3463photo courtesy (chicken):keonila of blueladyblog.com


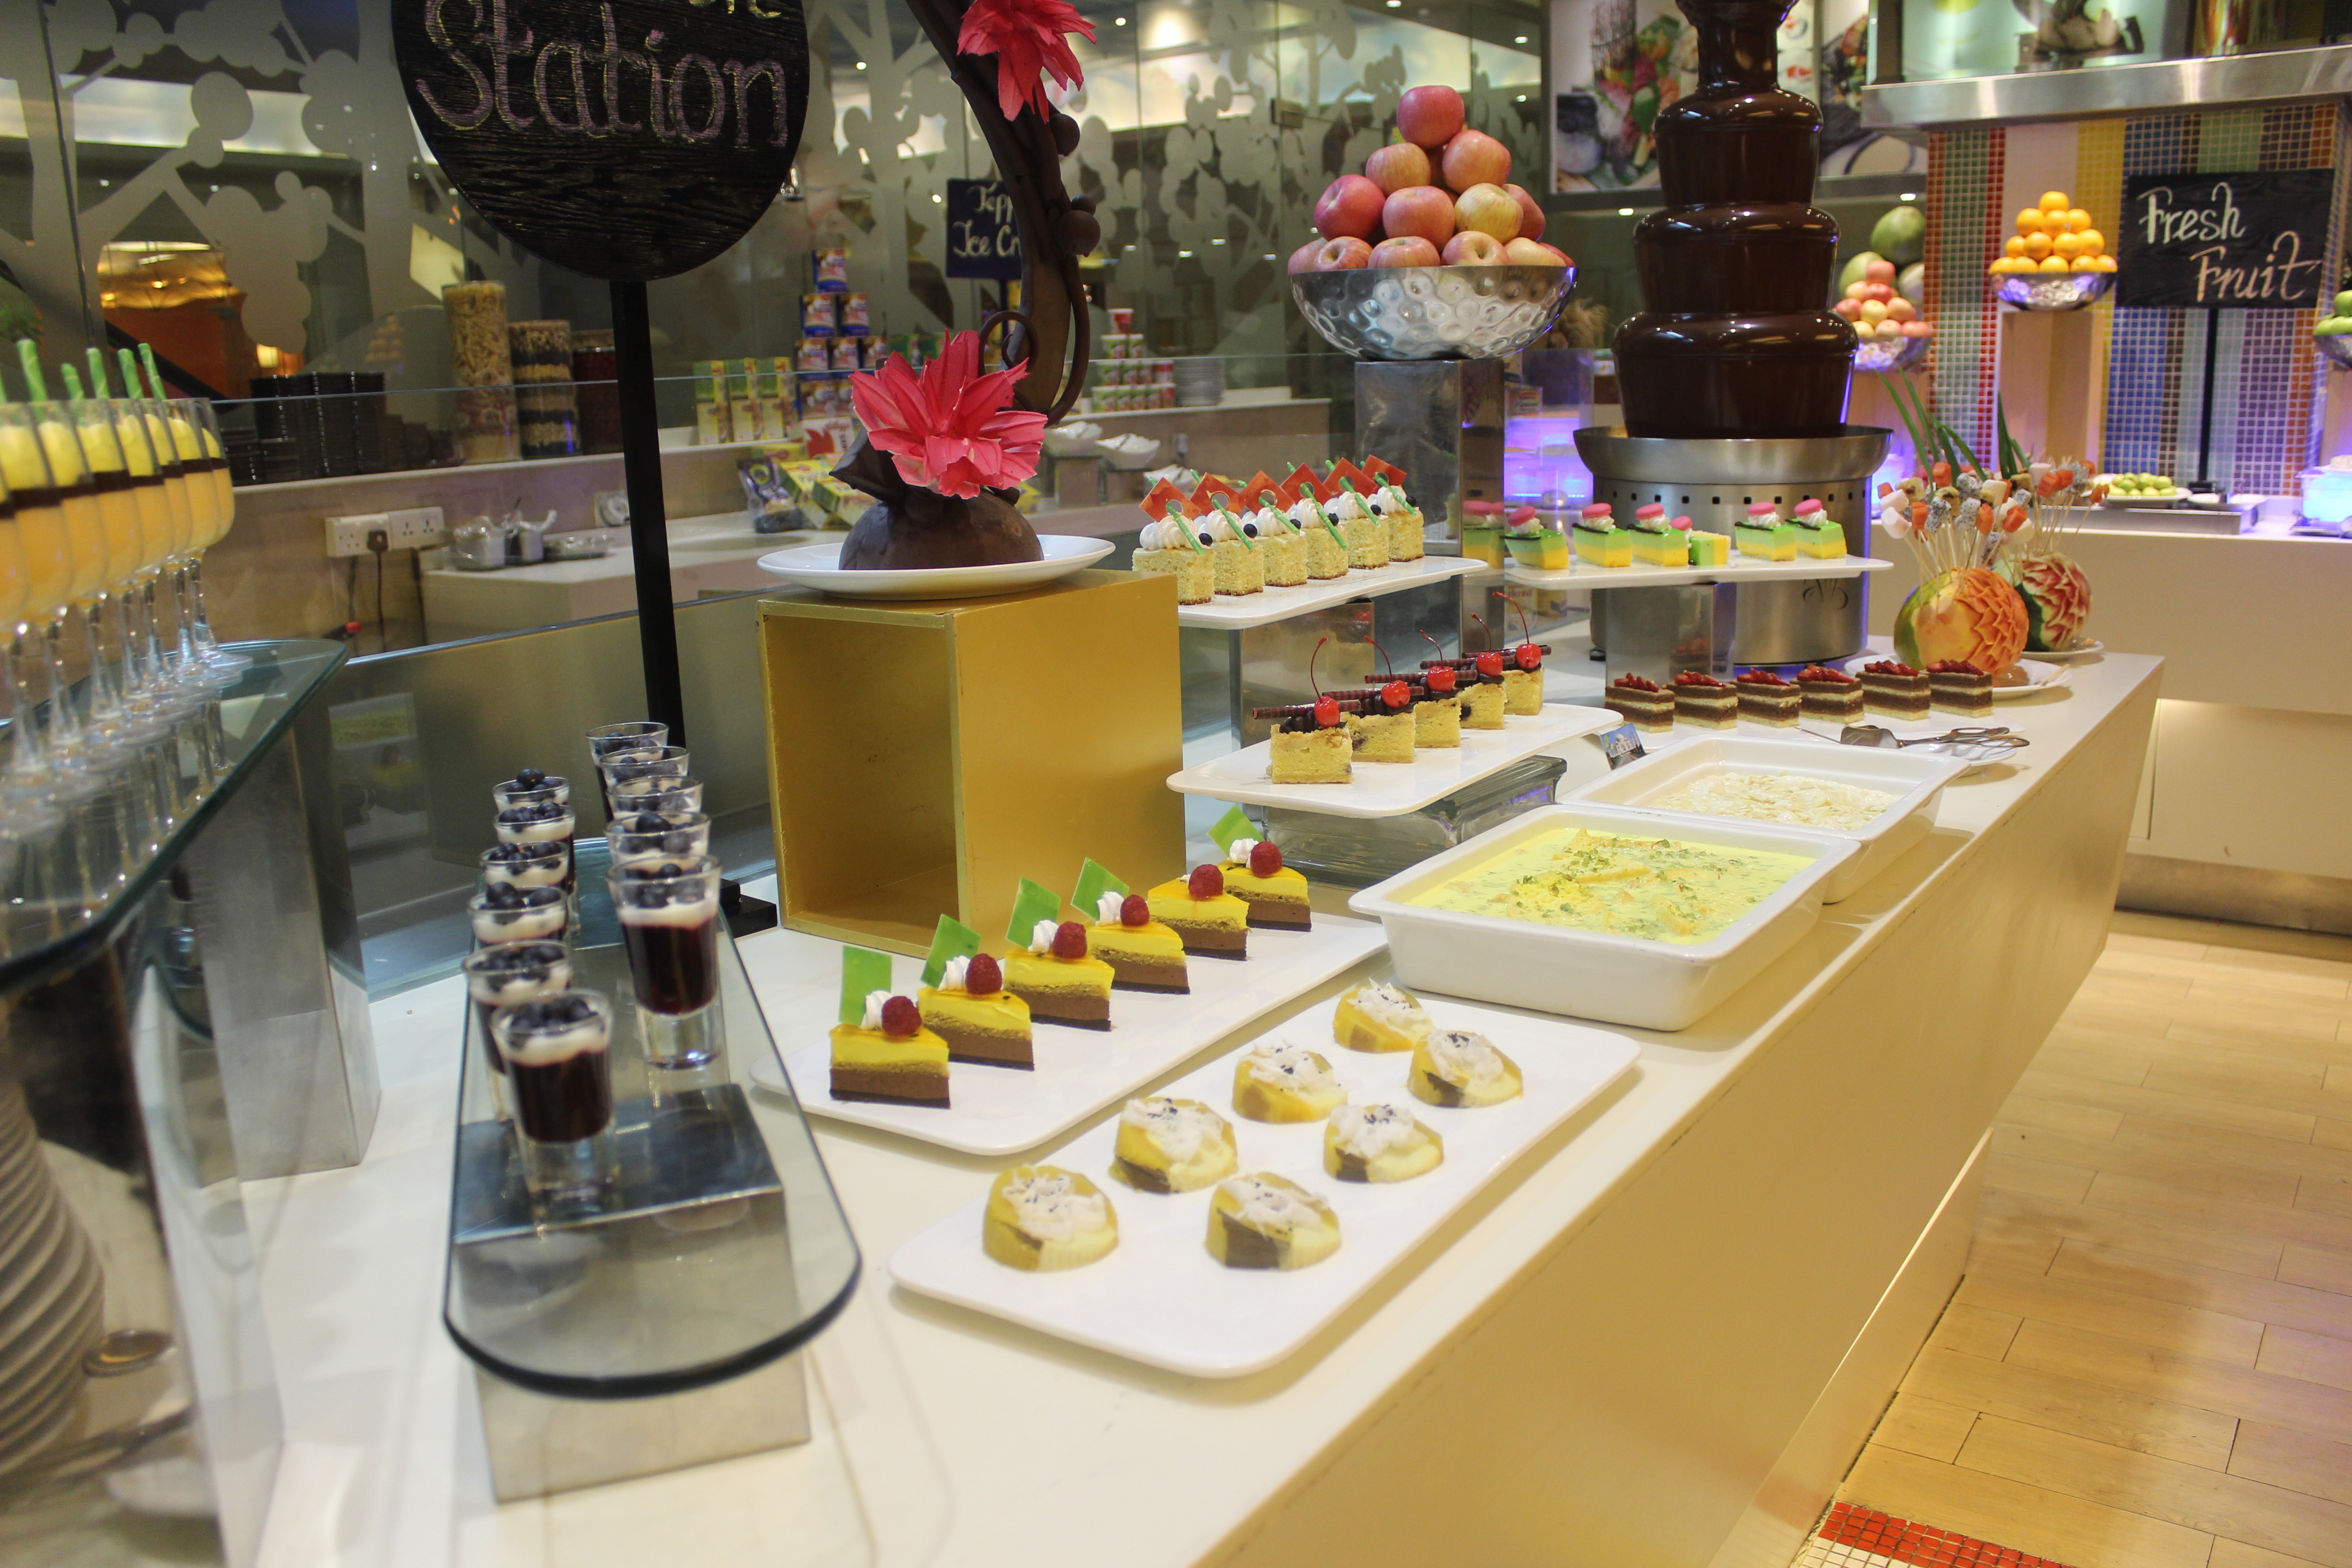
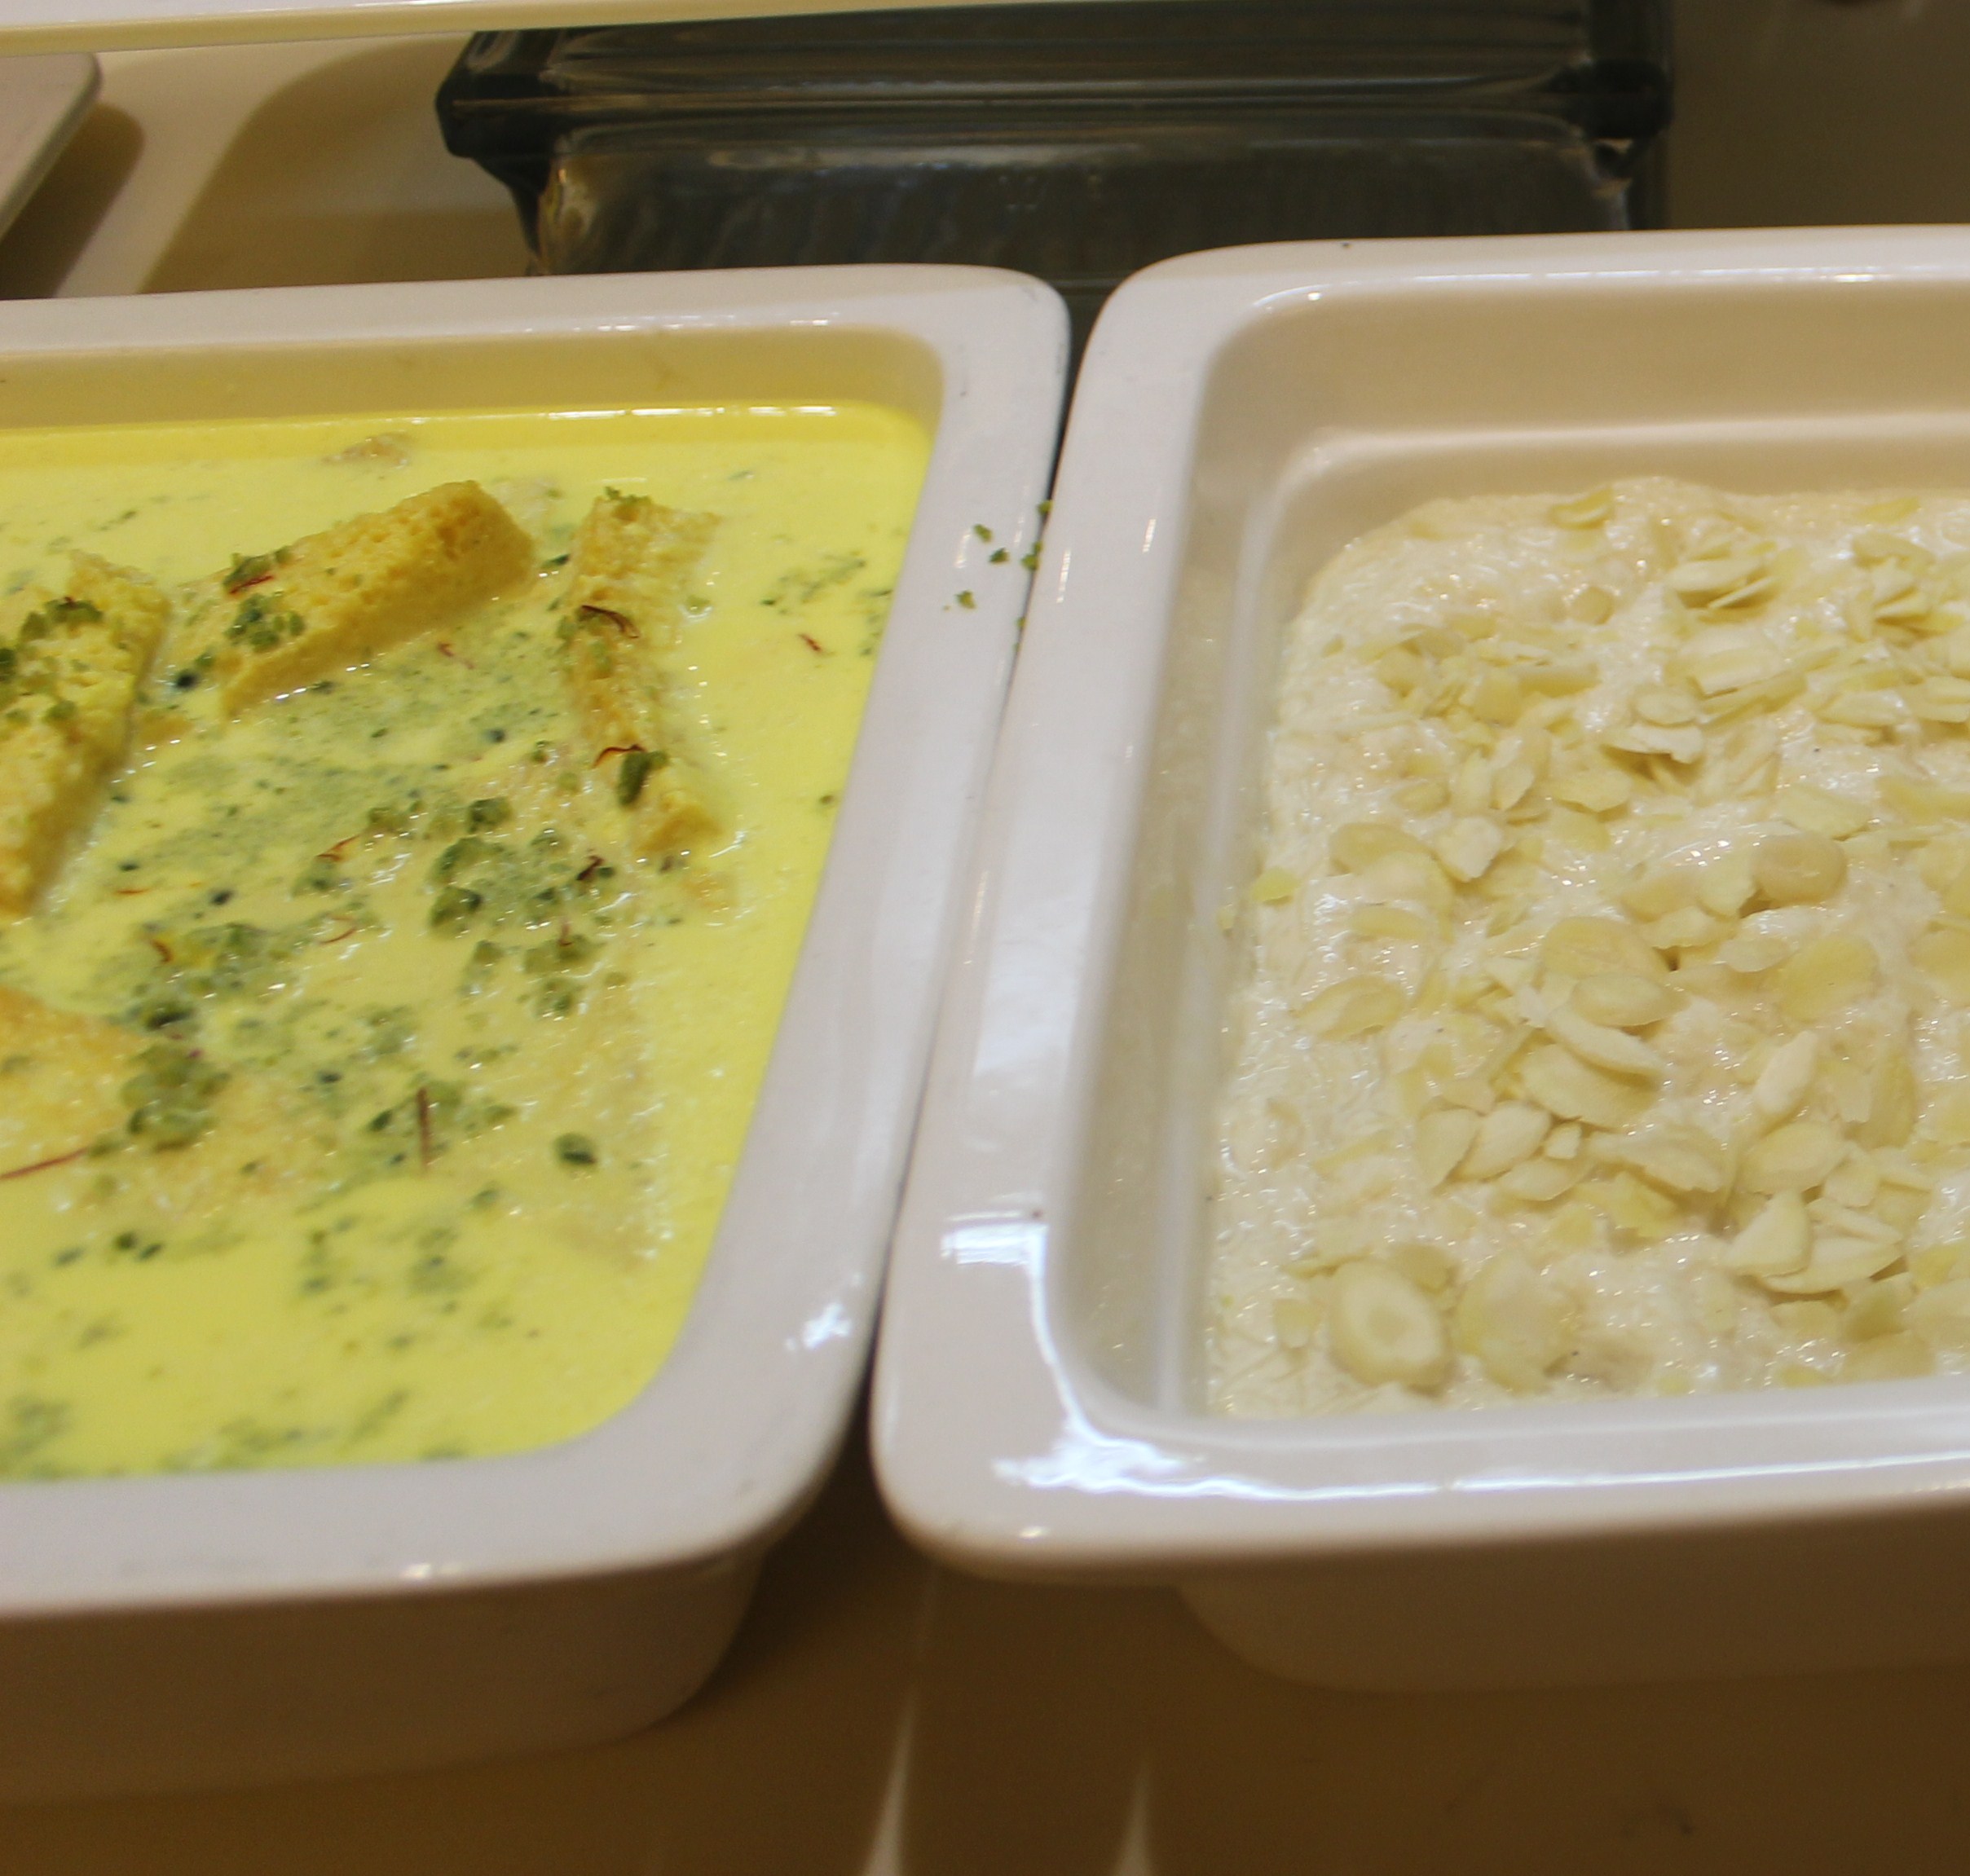
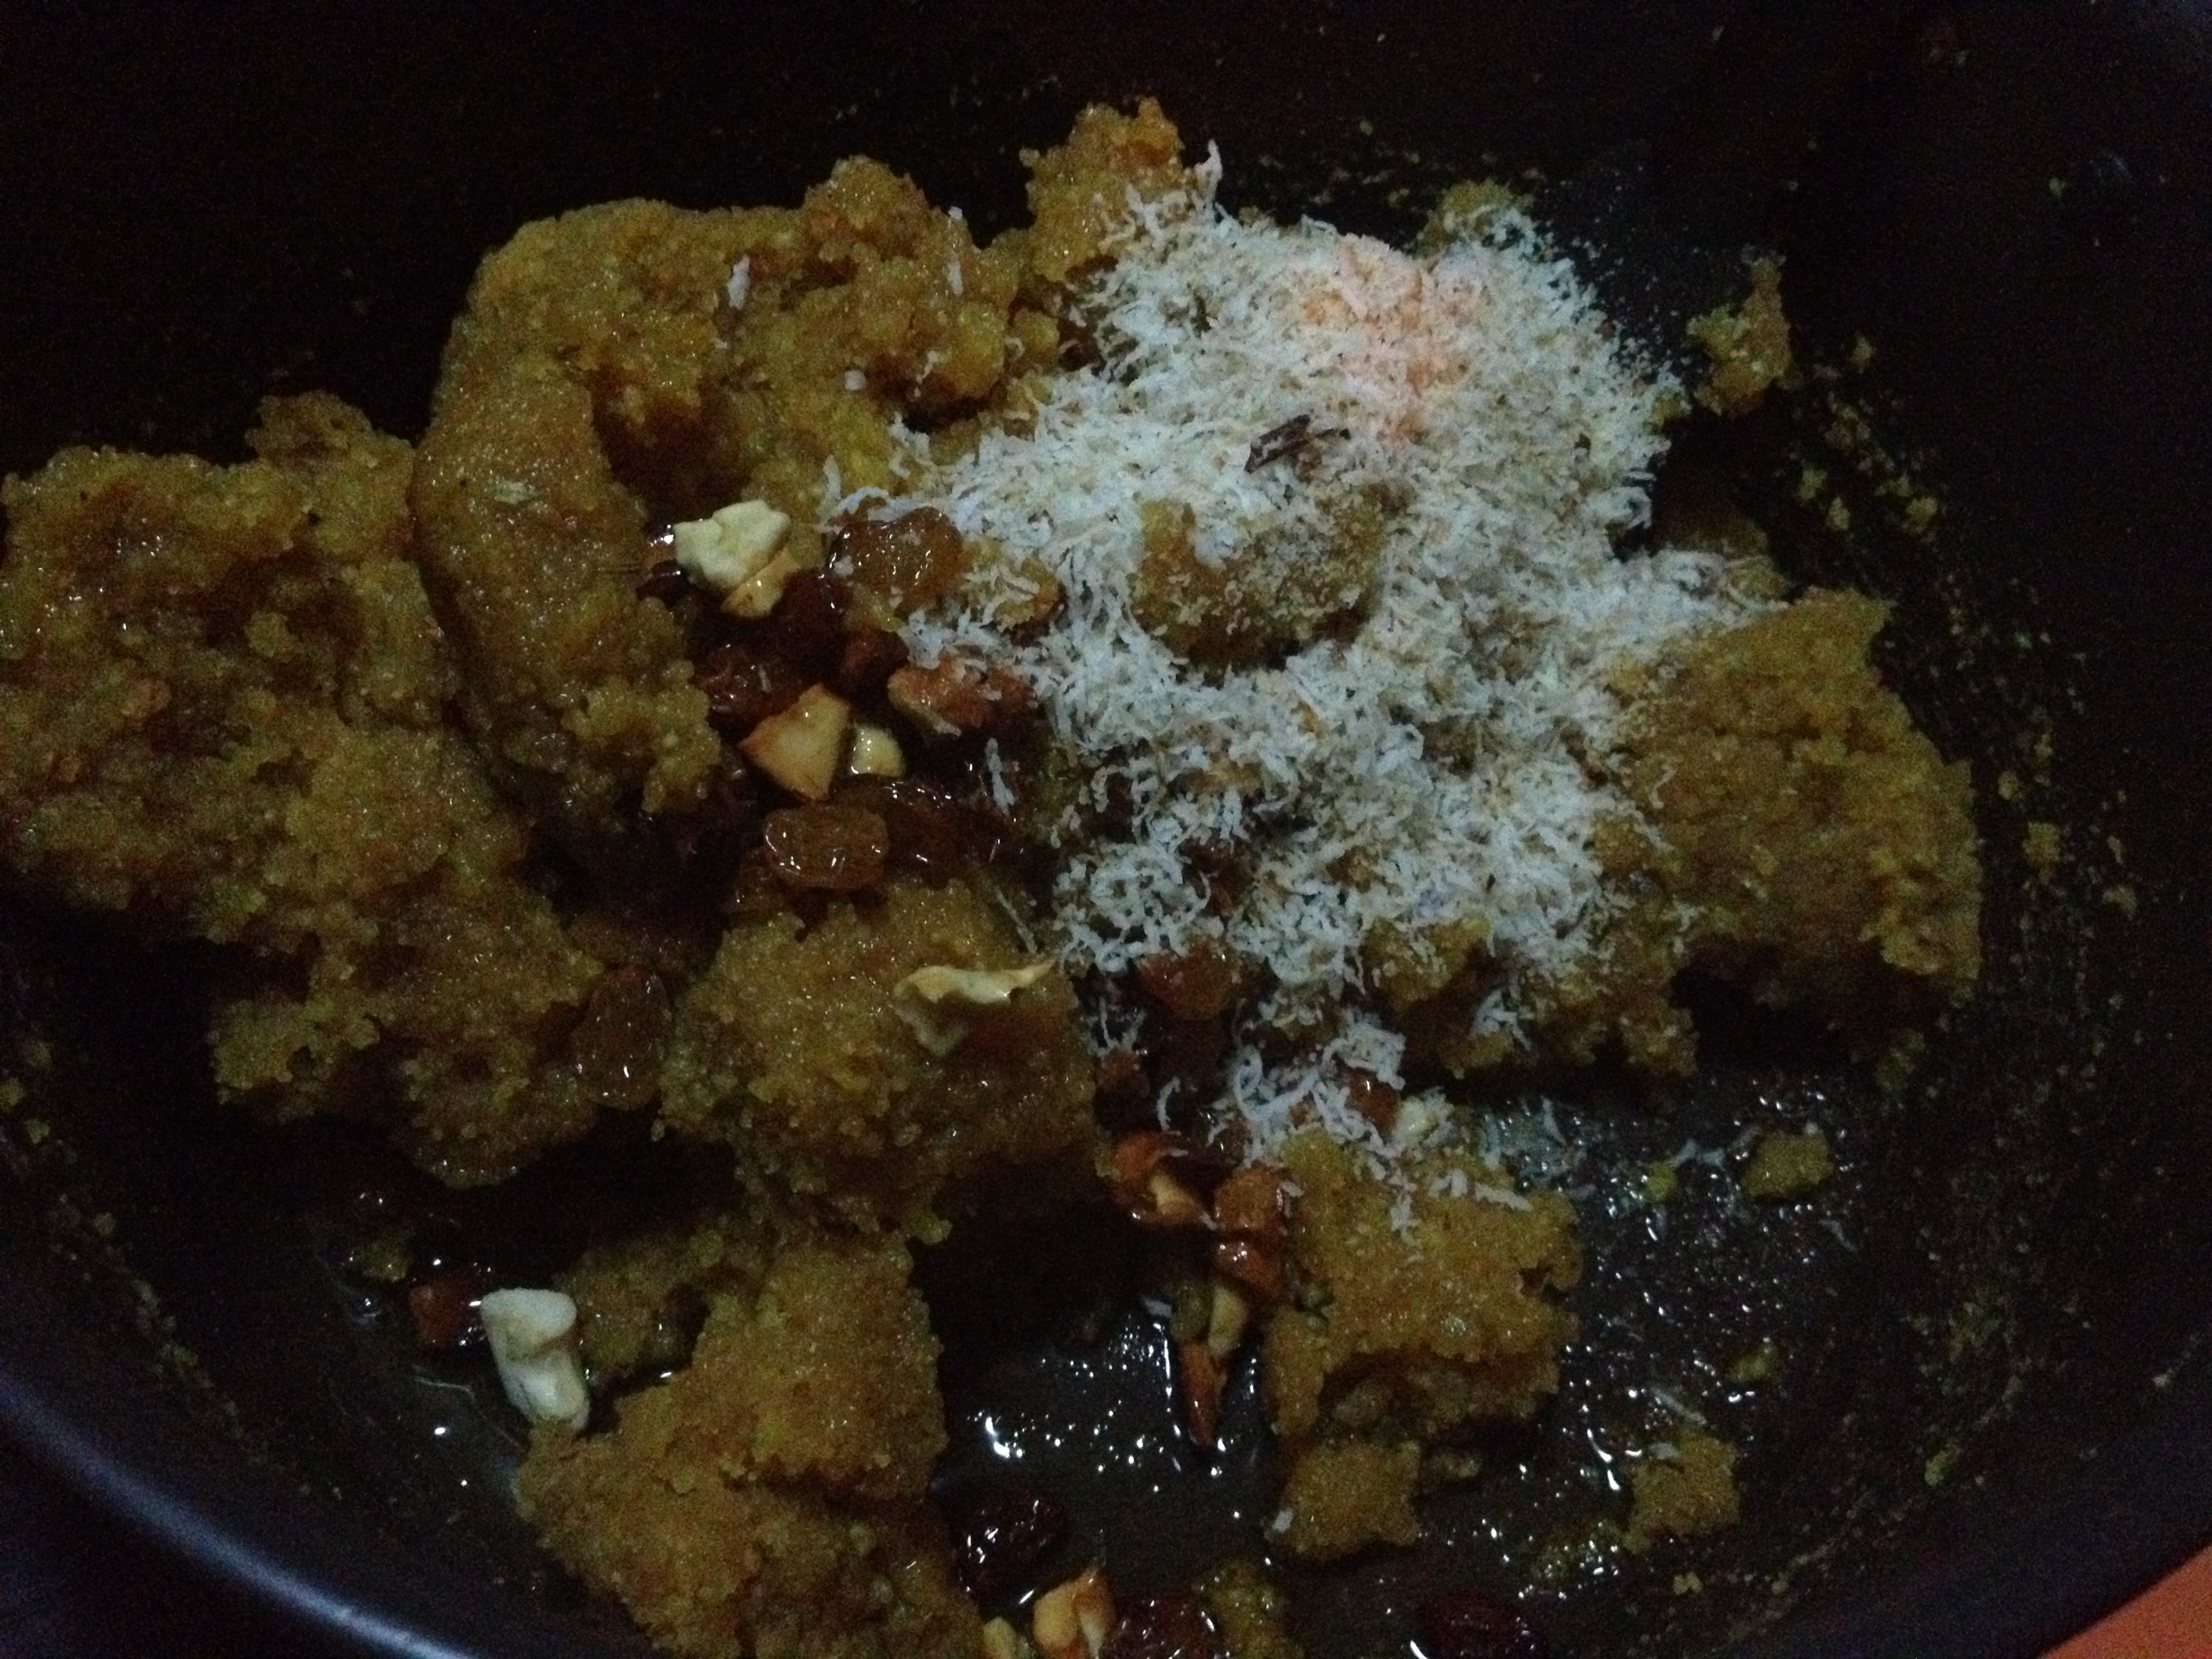
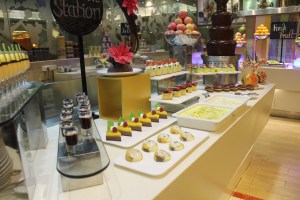
the wide variety of desserts –

IMG_3448IMG_3450


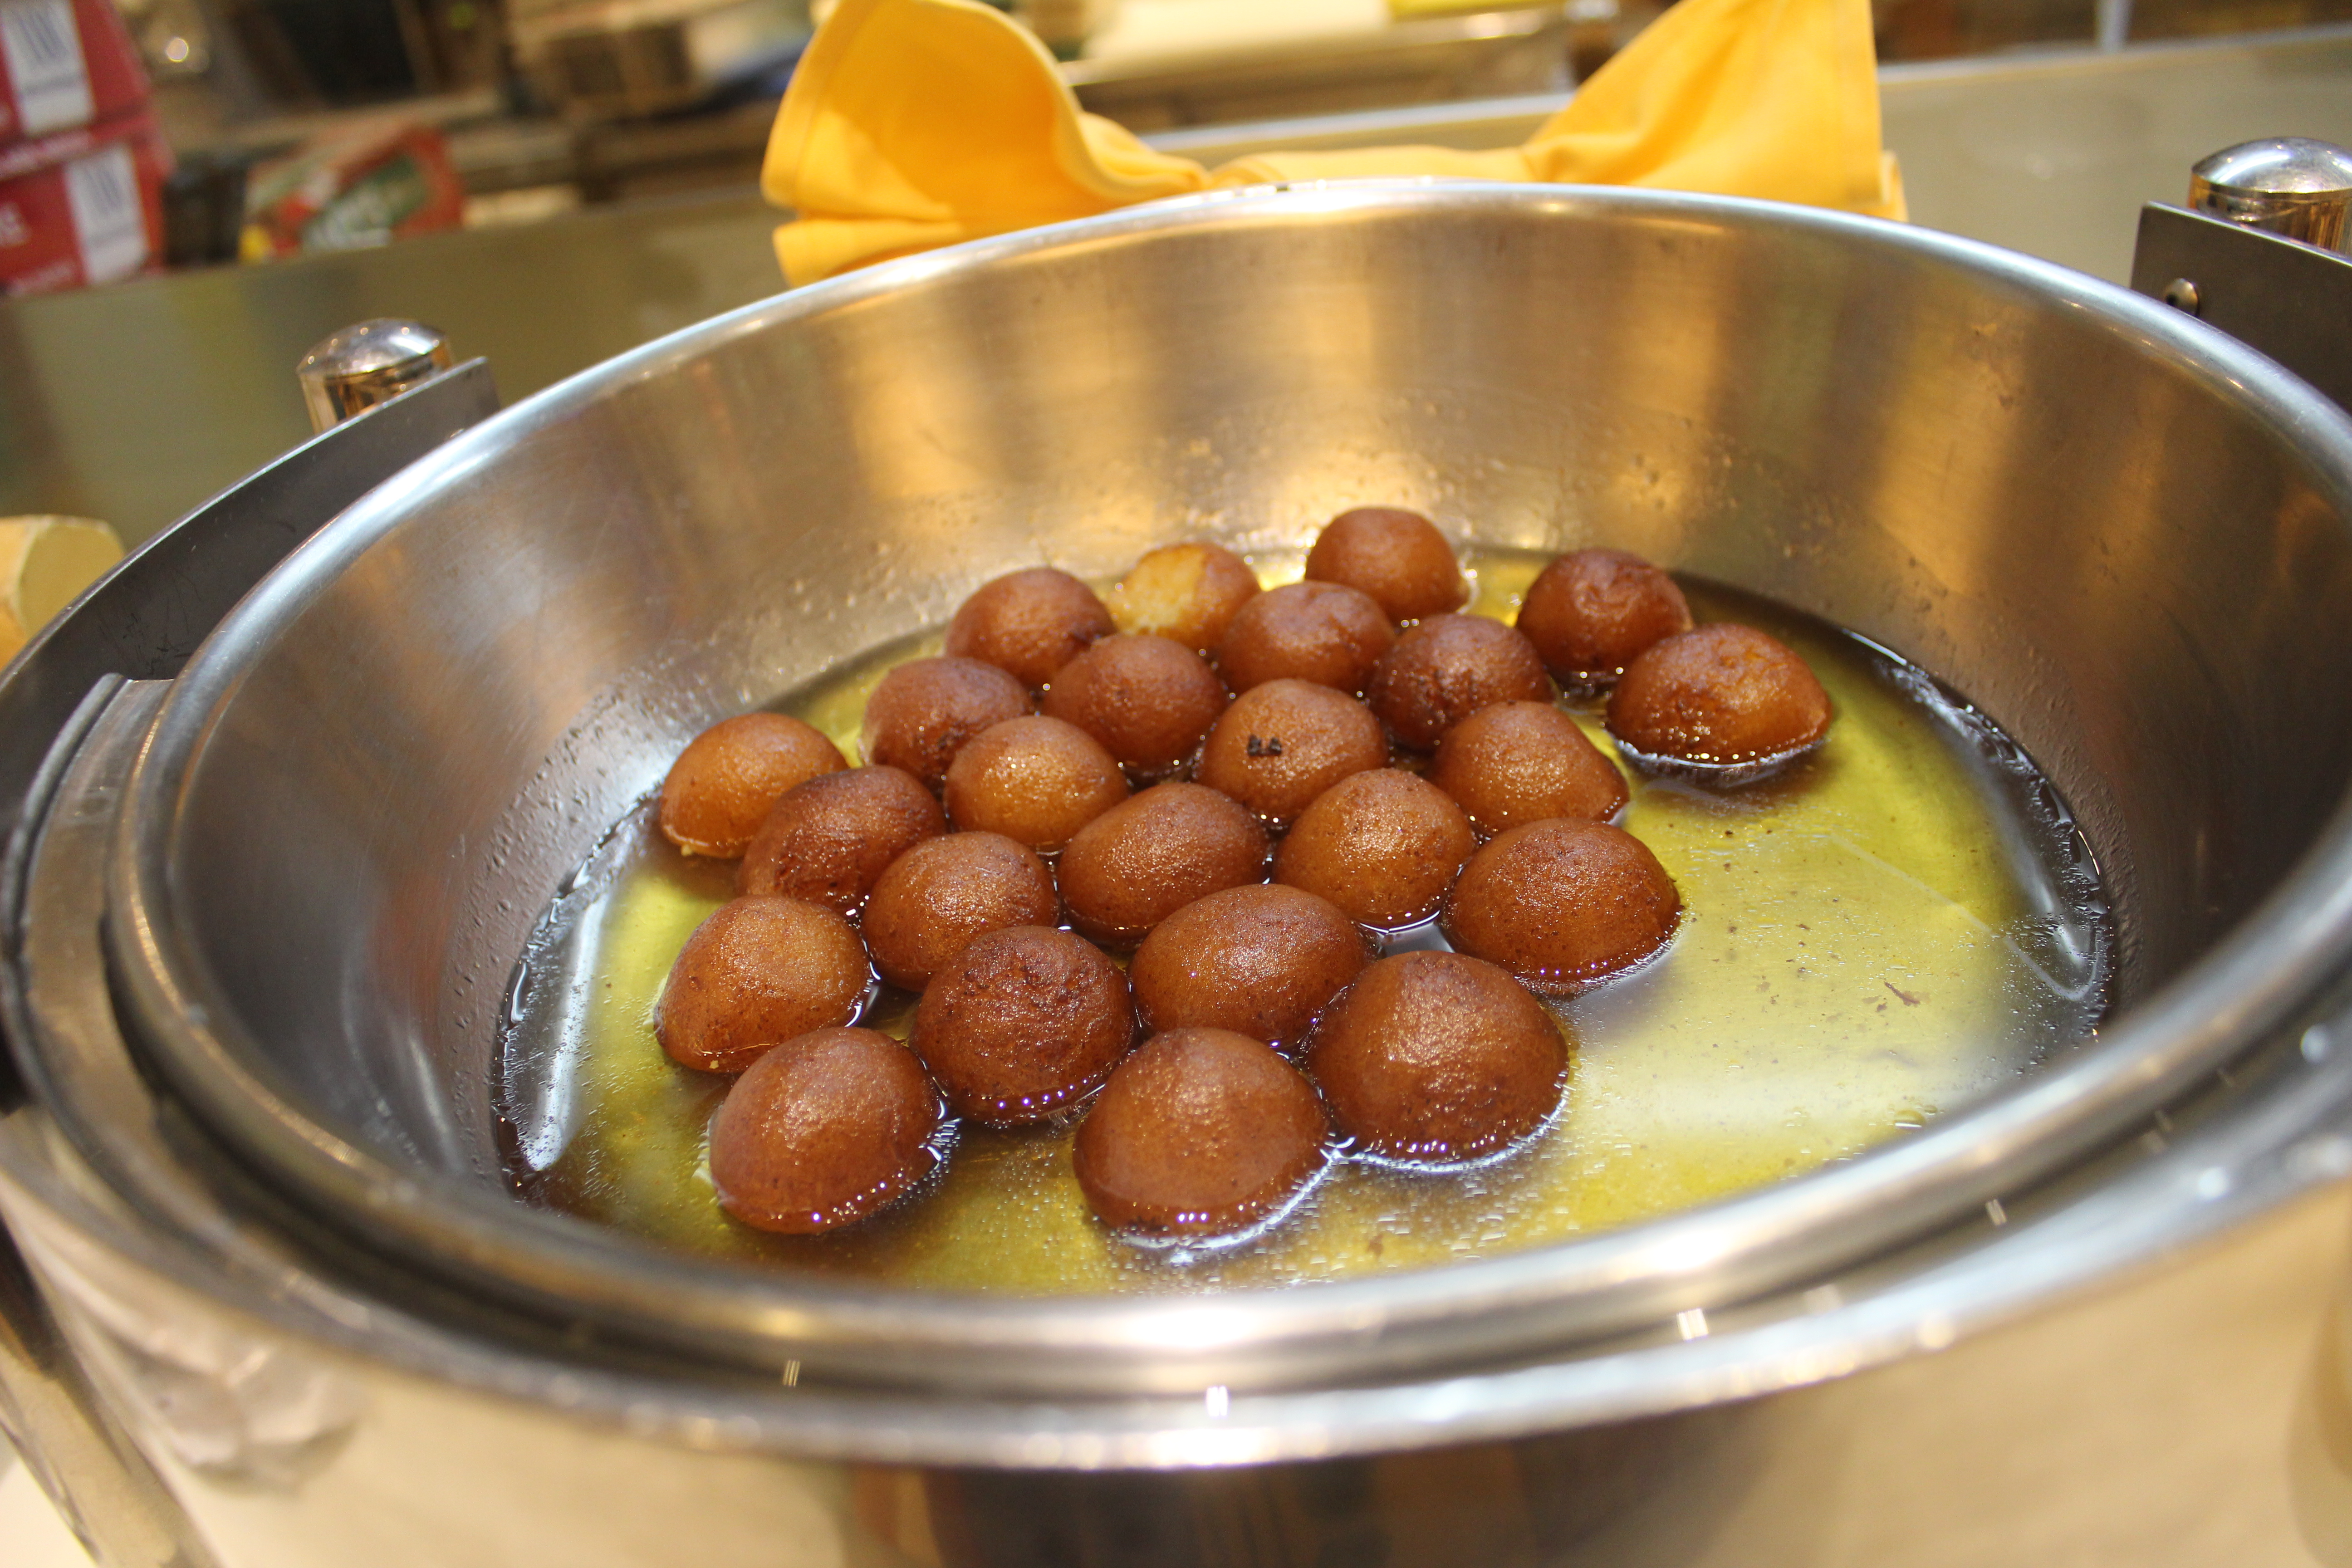
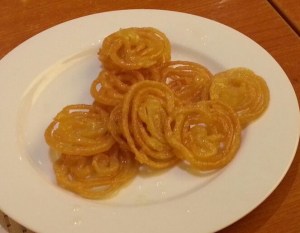
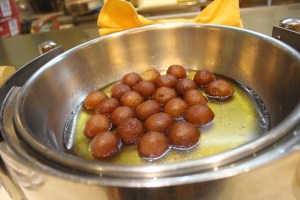
the unavoidable jilebi and gulab jamun…
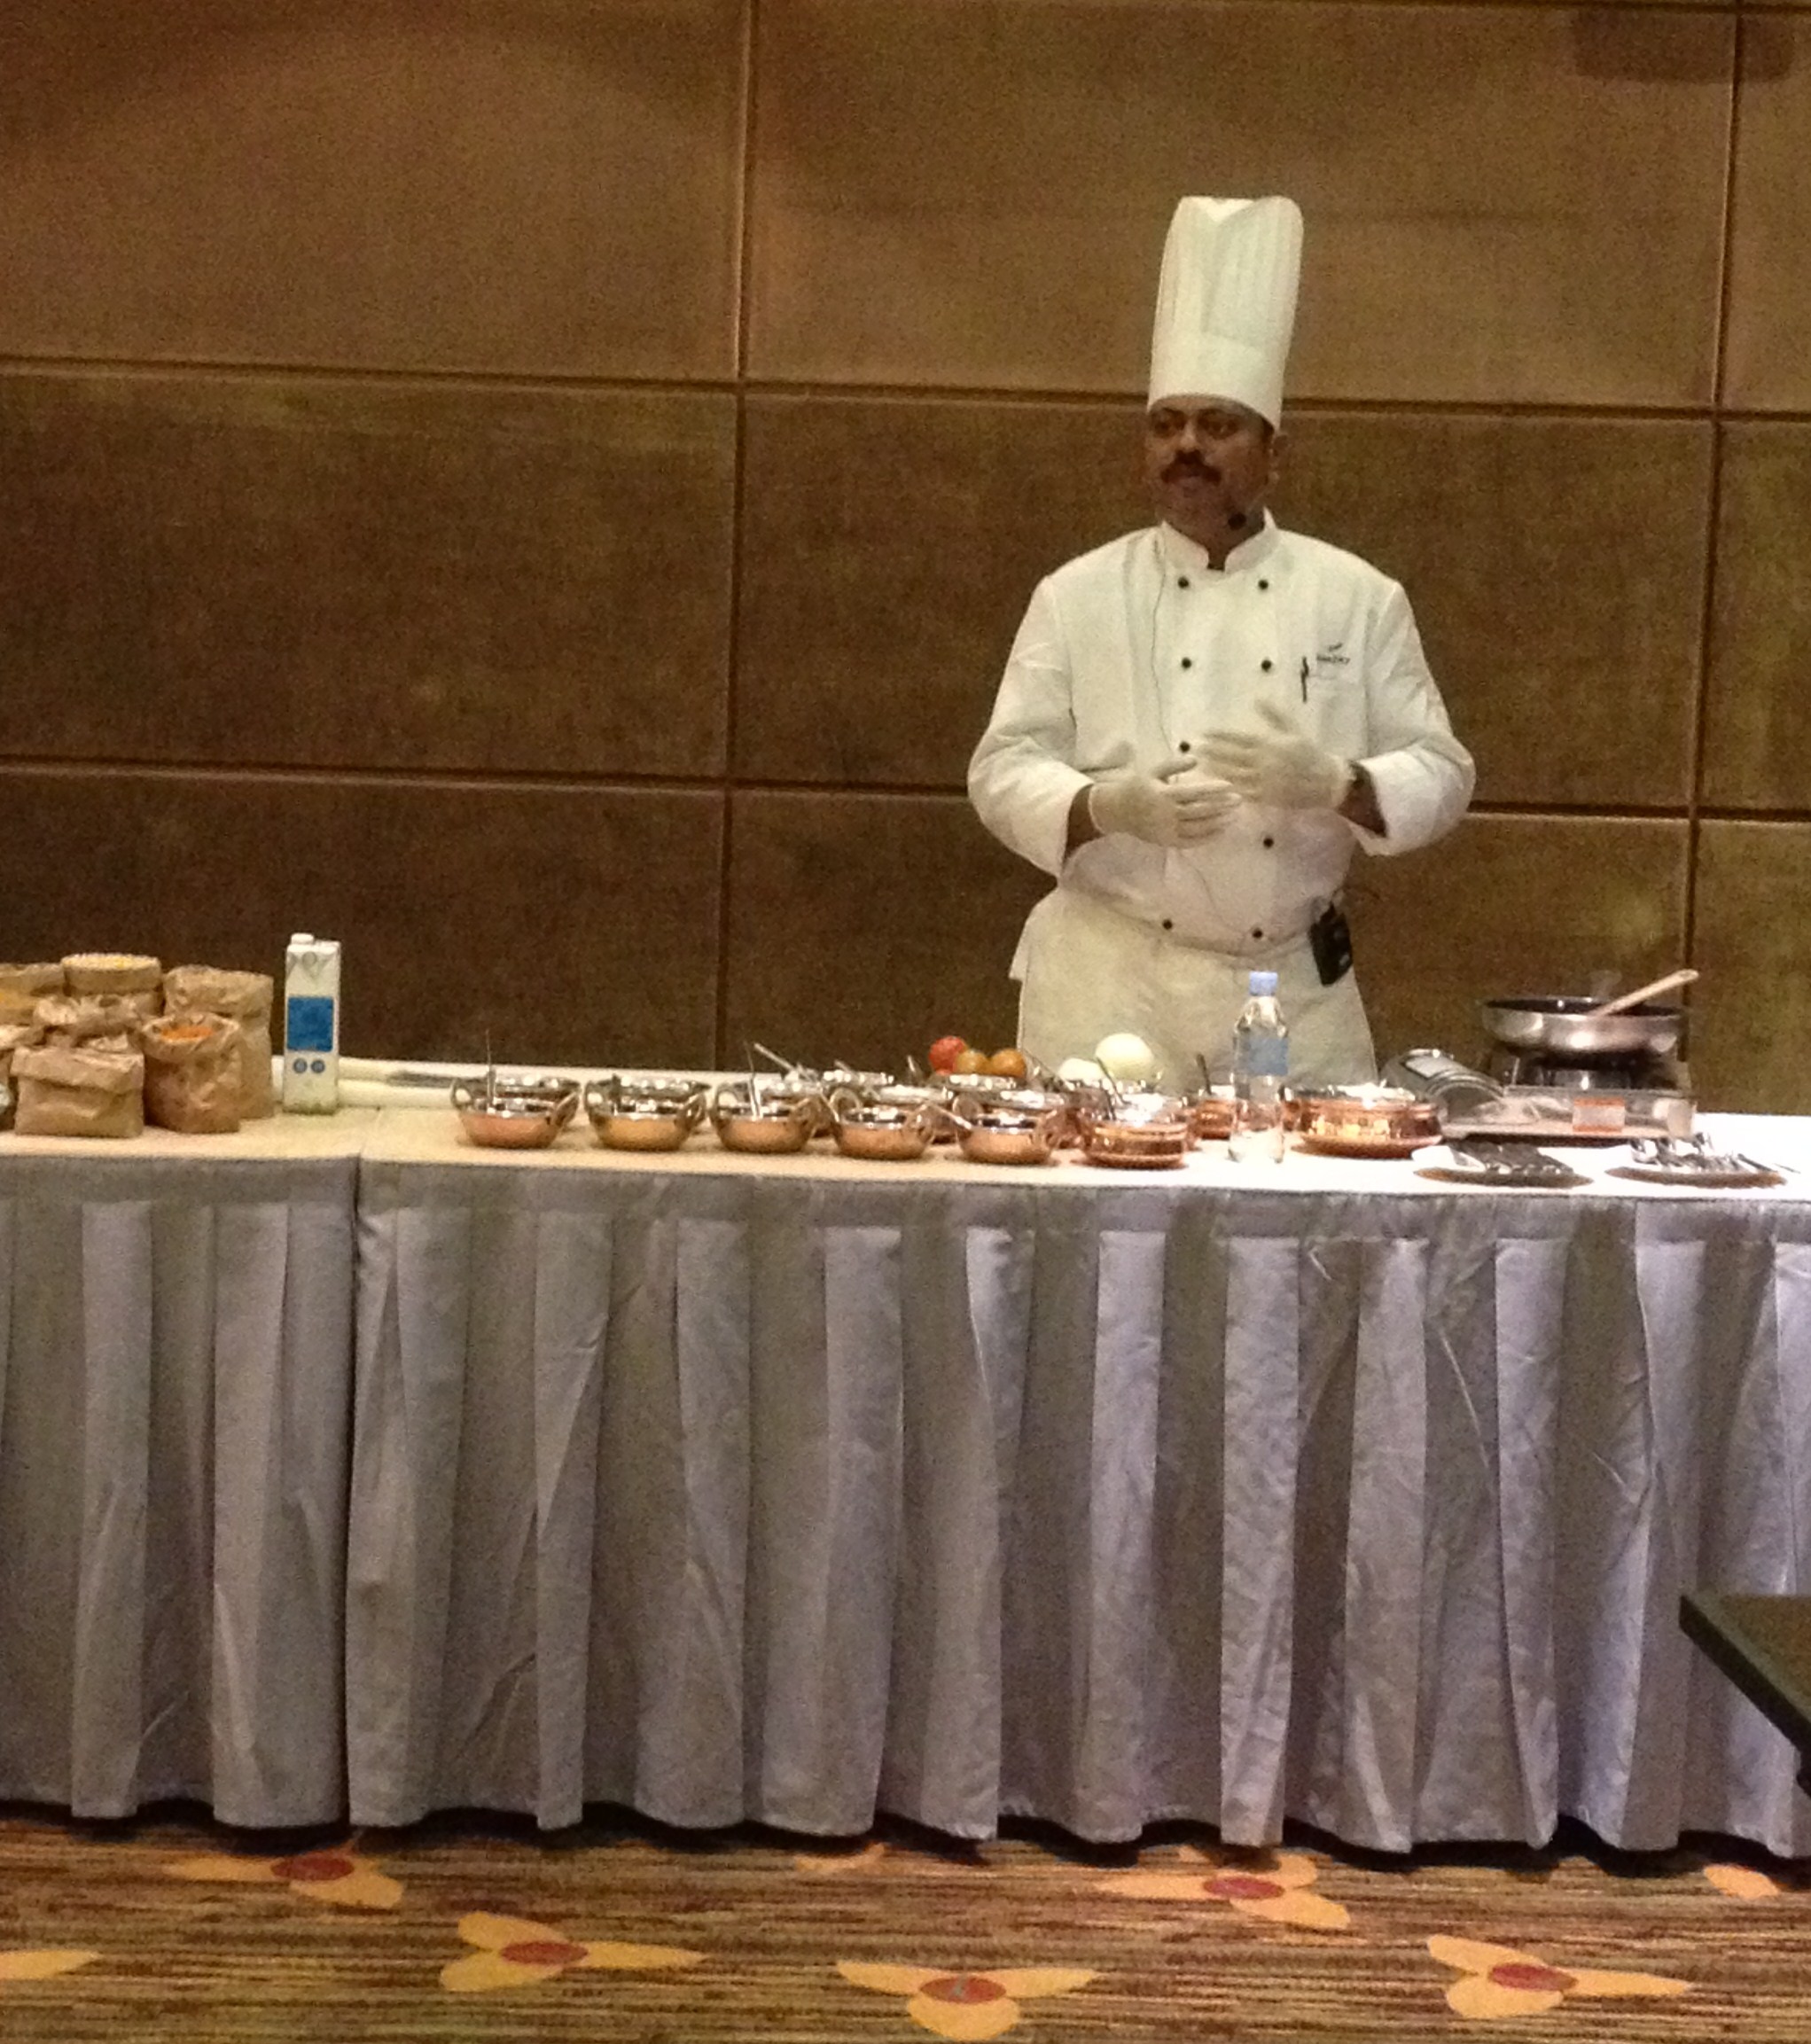
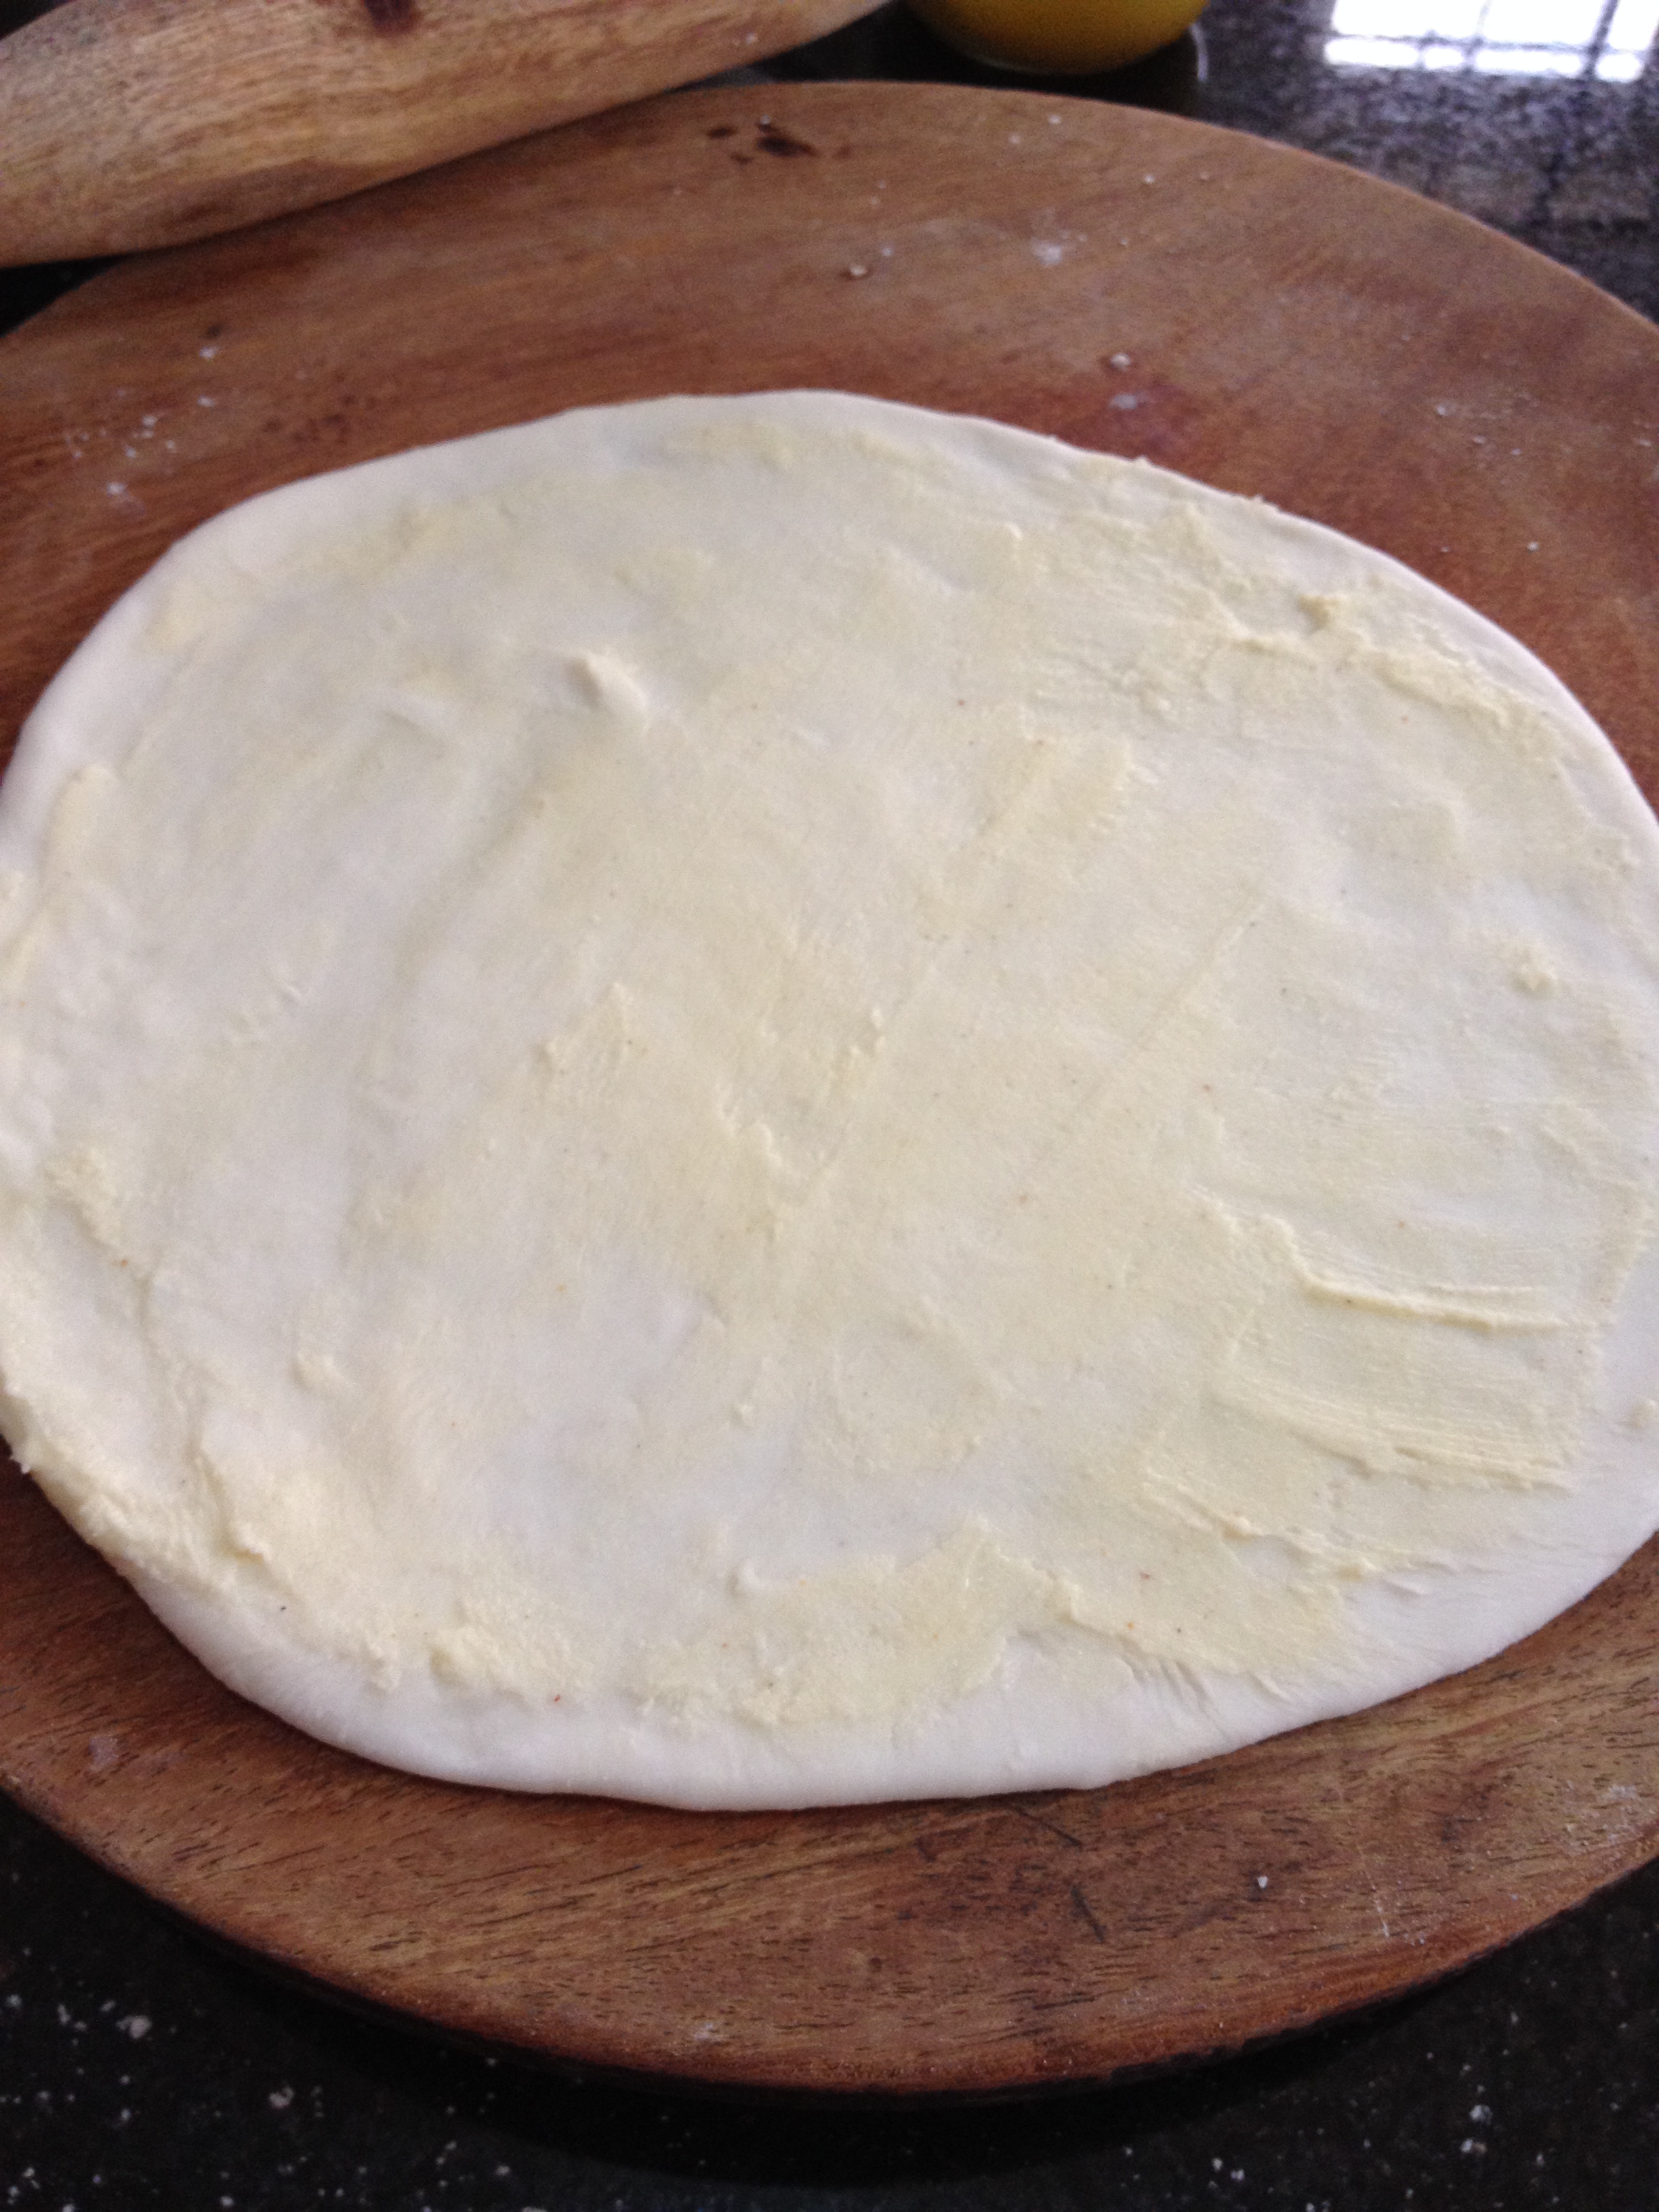
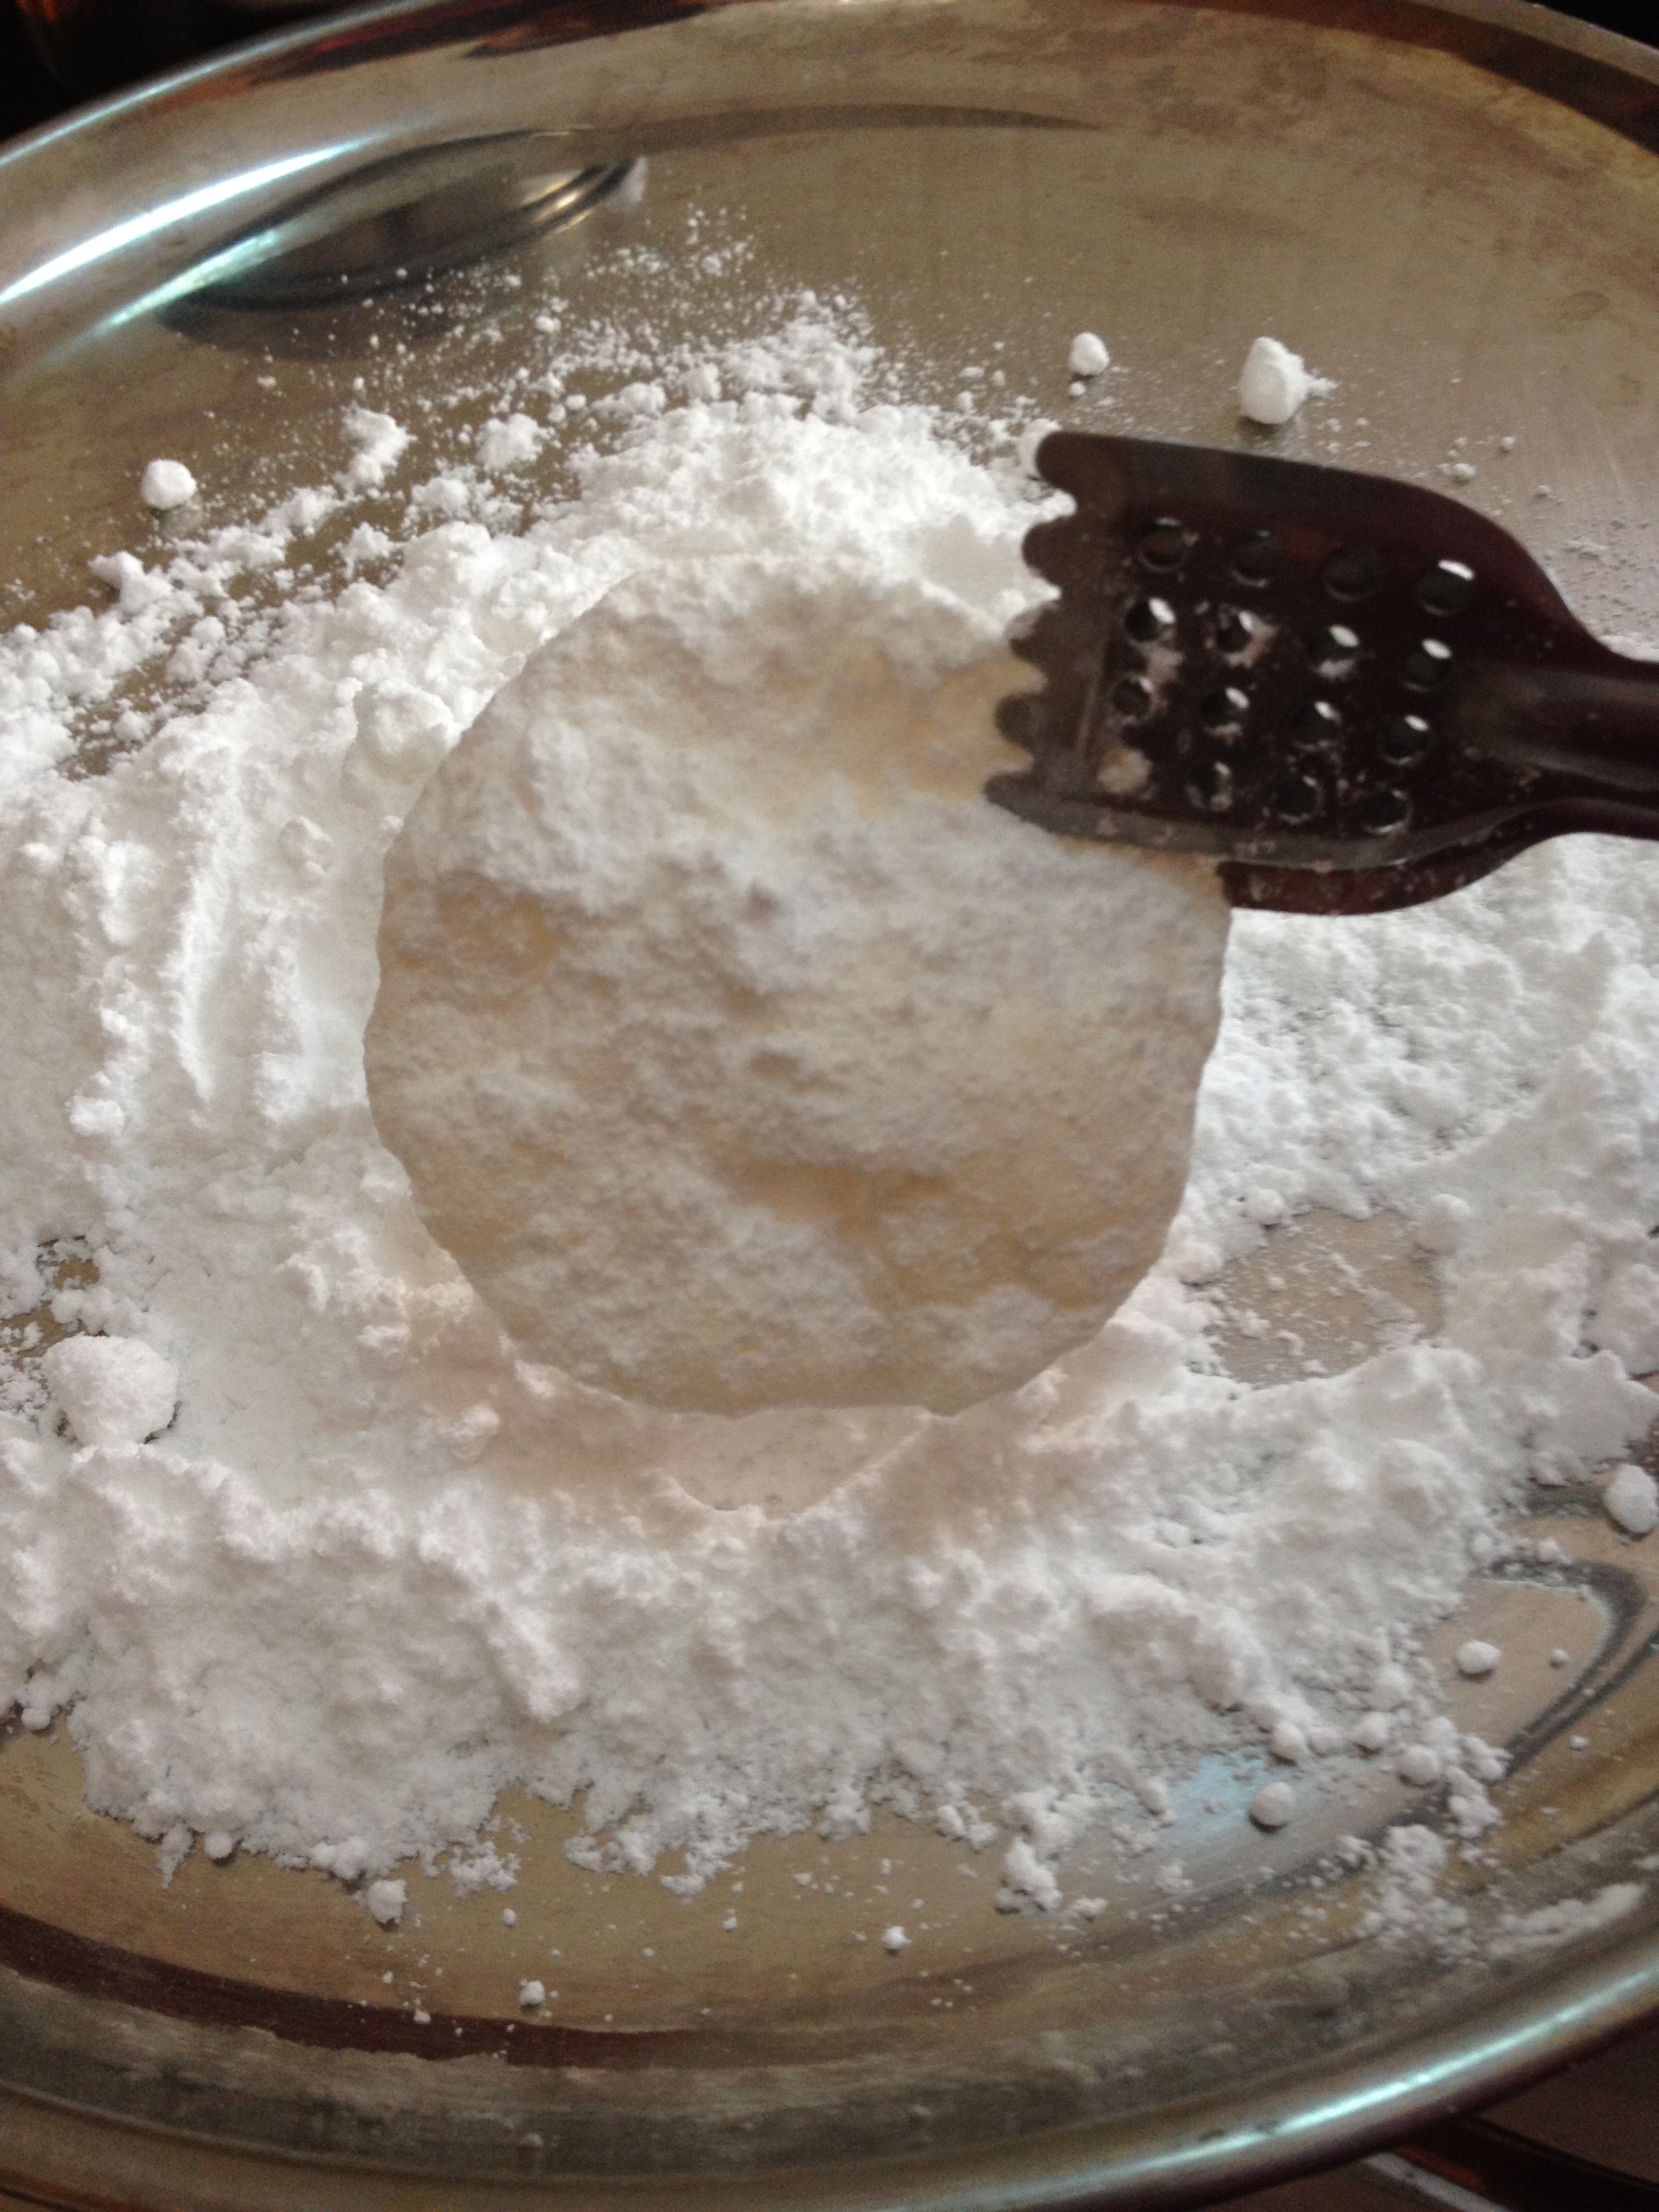
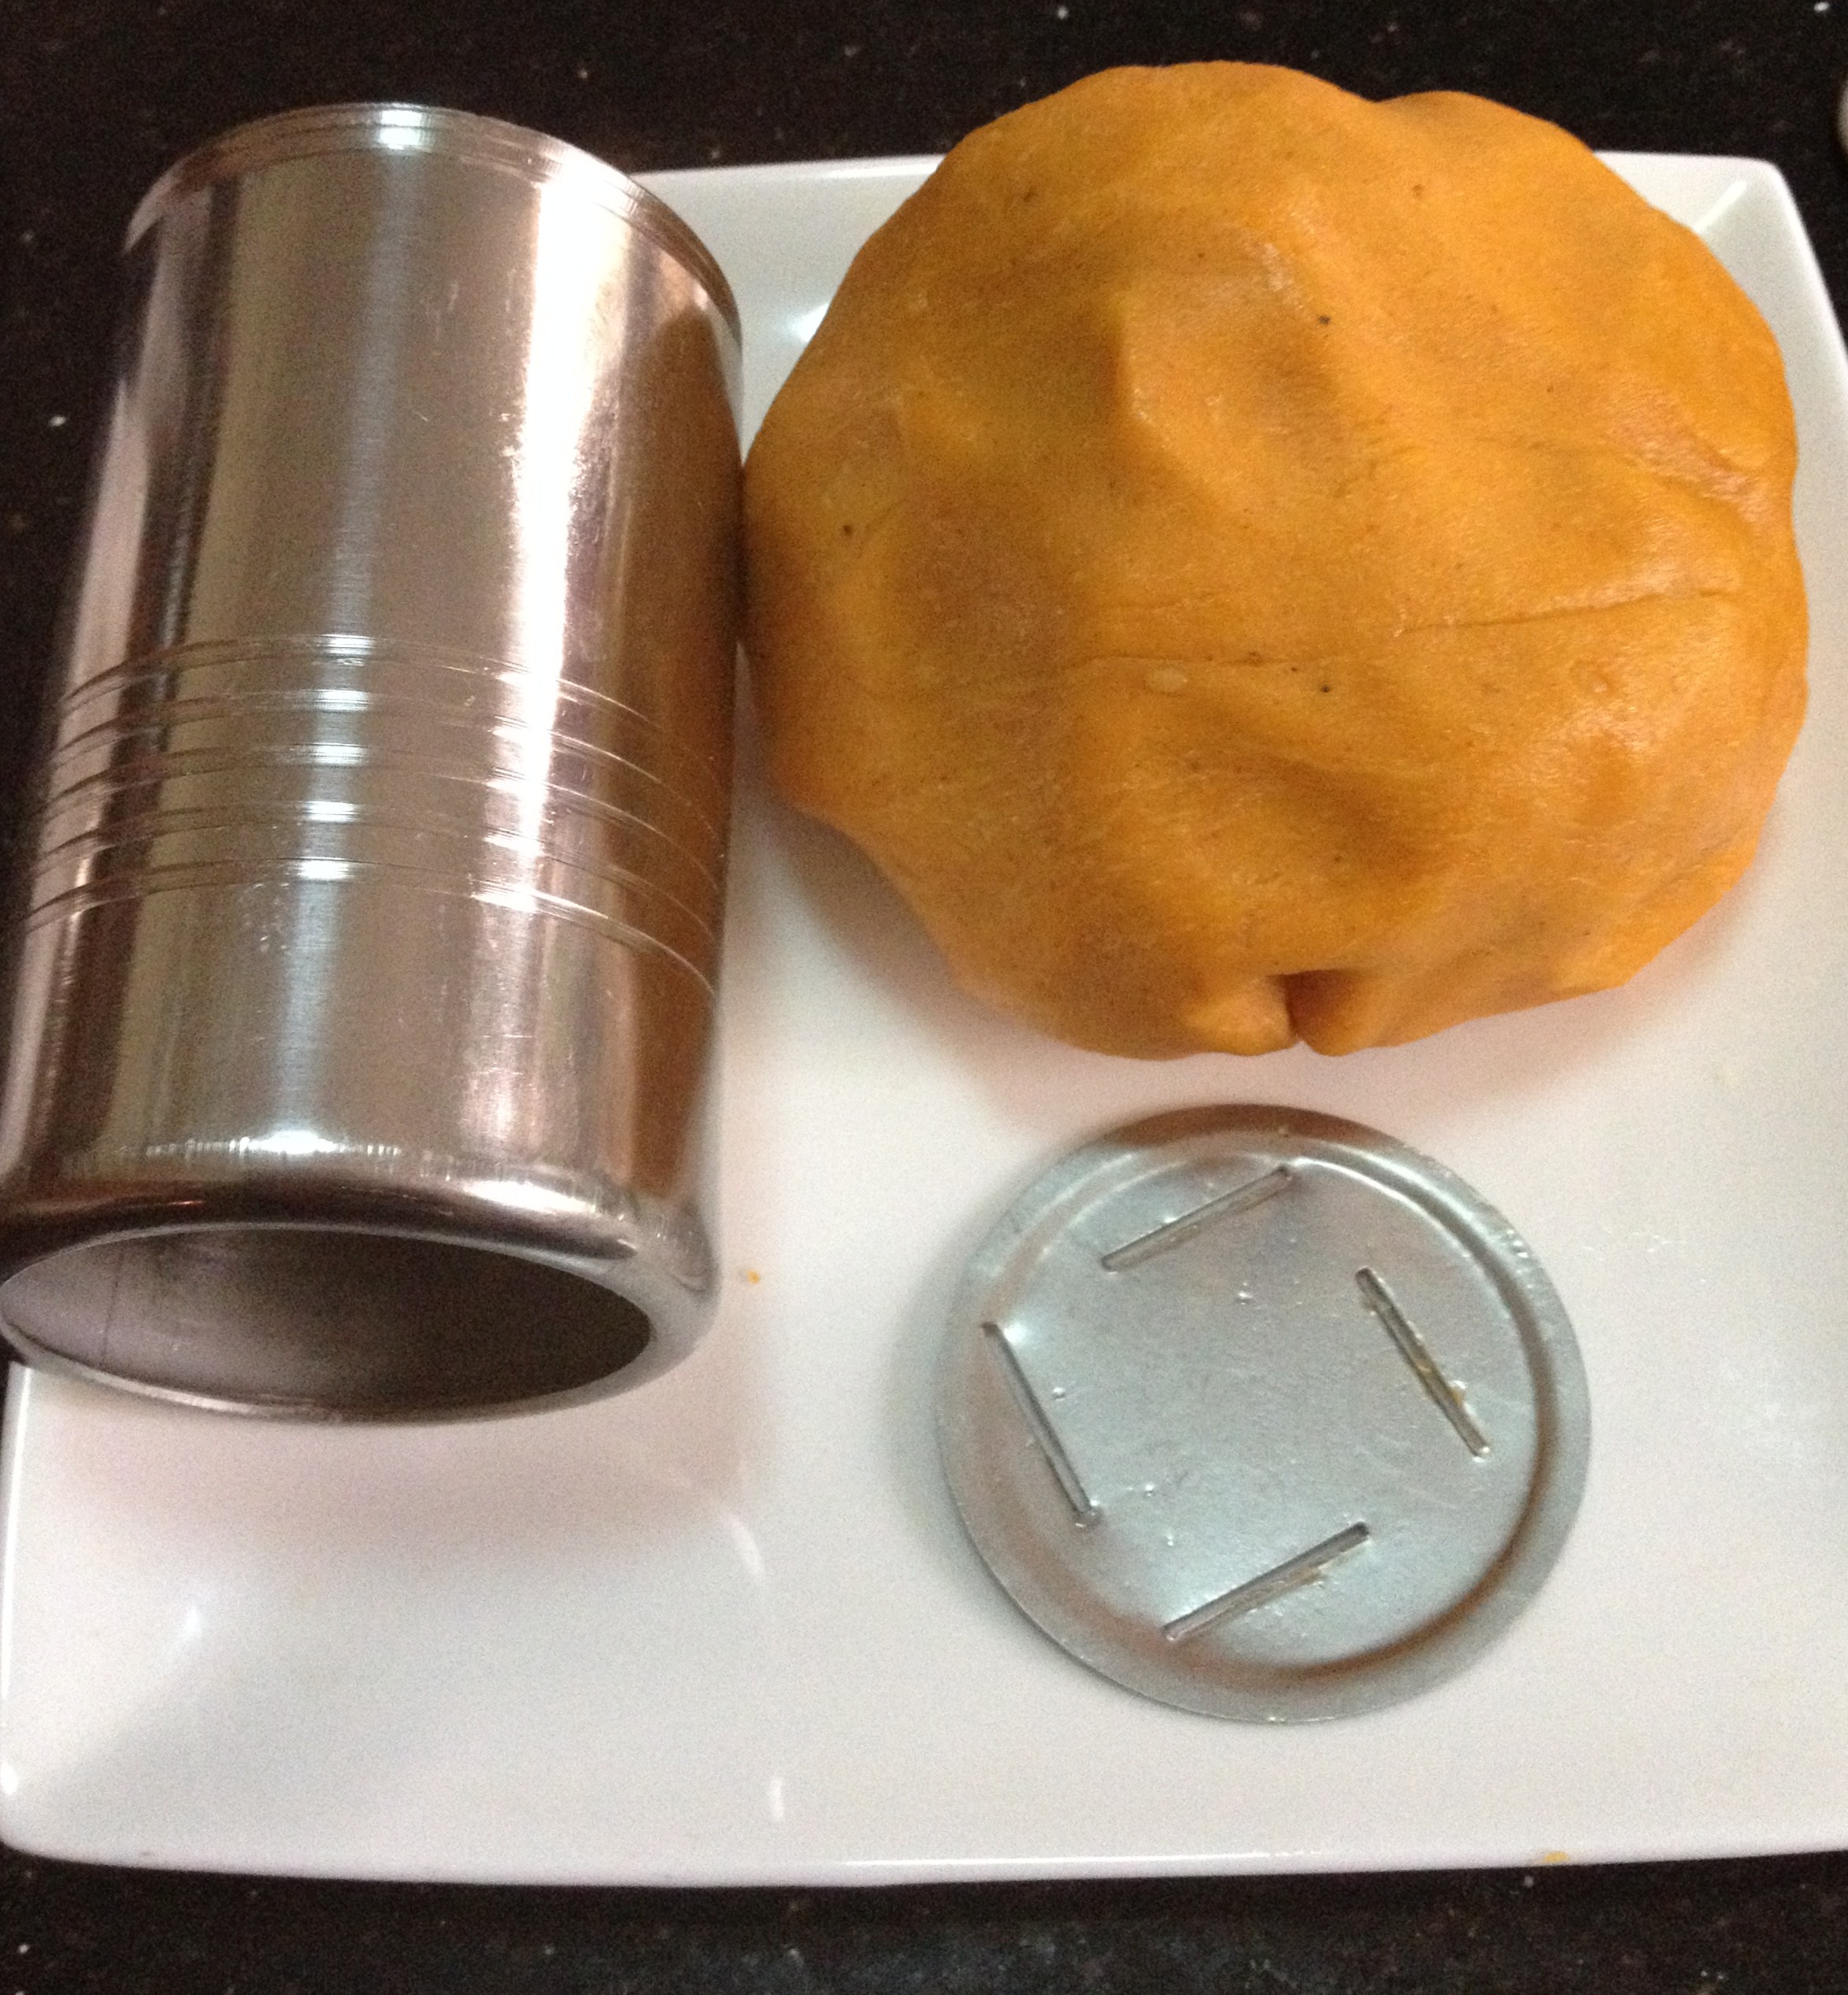
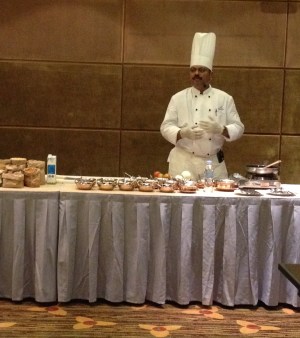
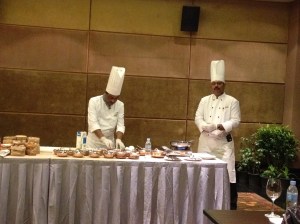
IMG_3976IMG_3454


Food Demonstration


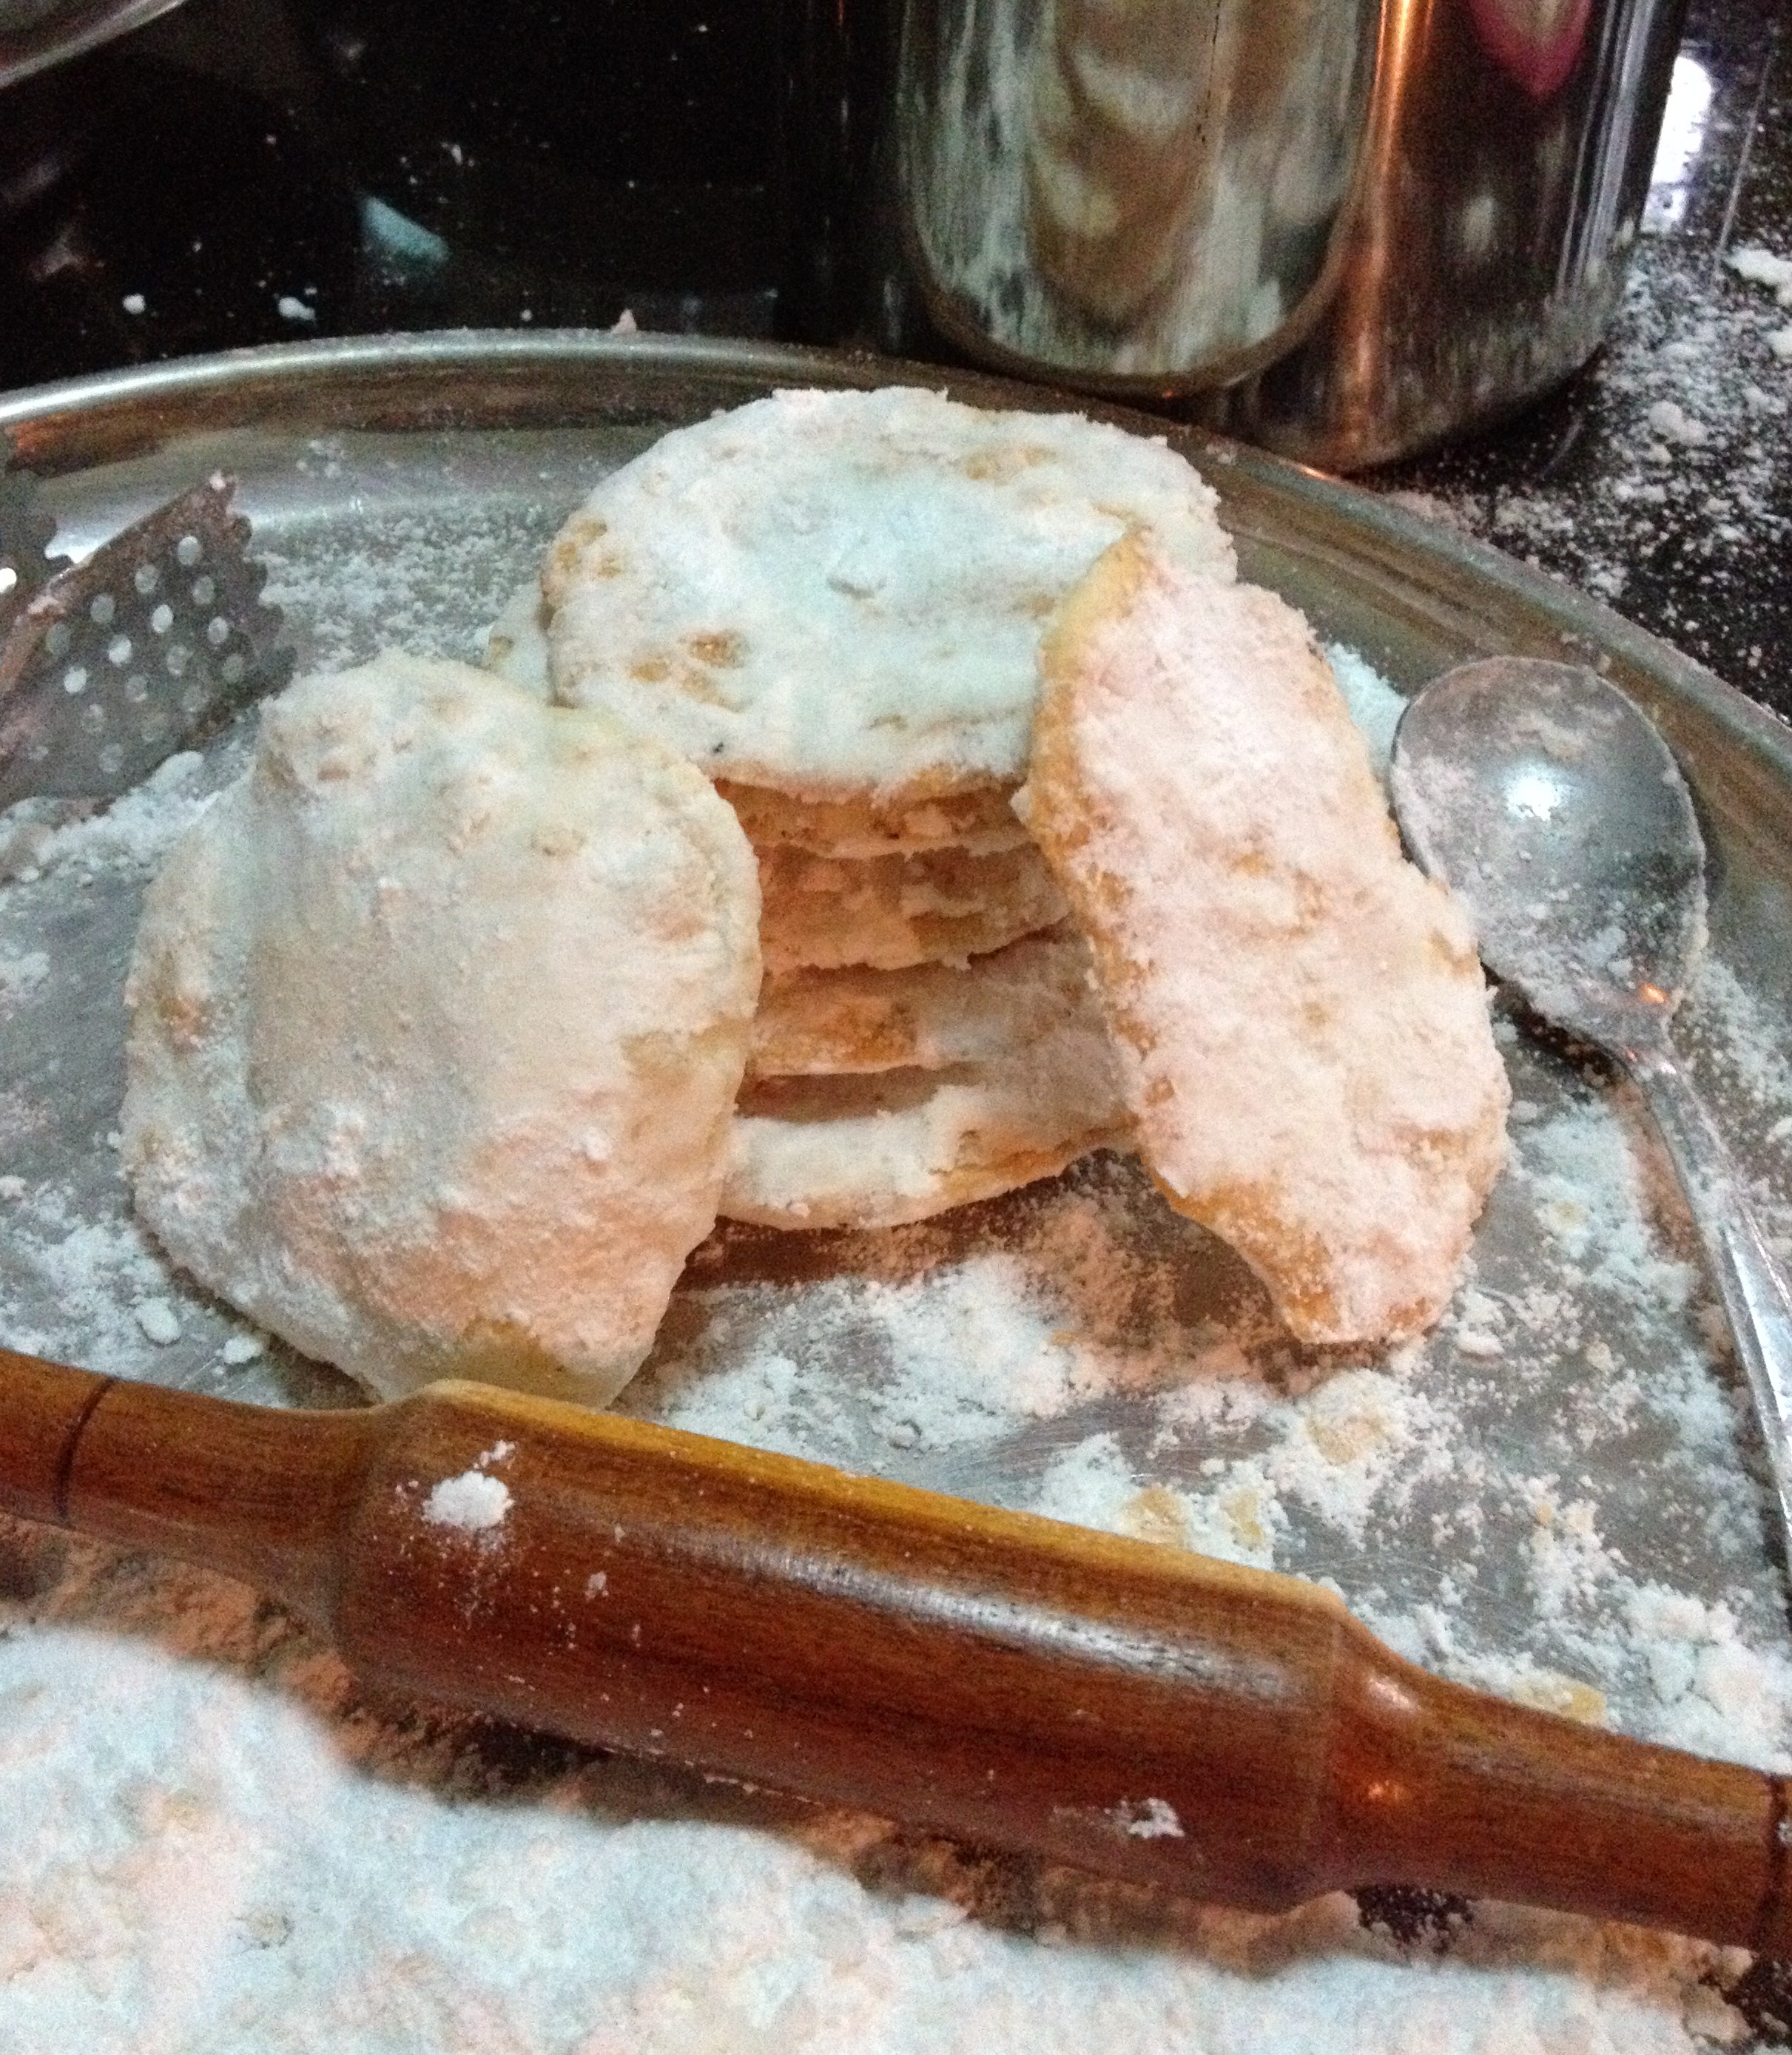
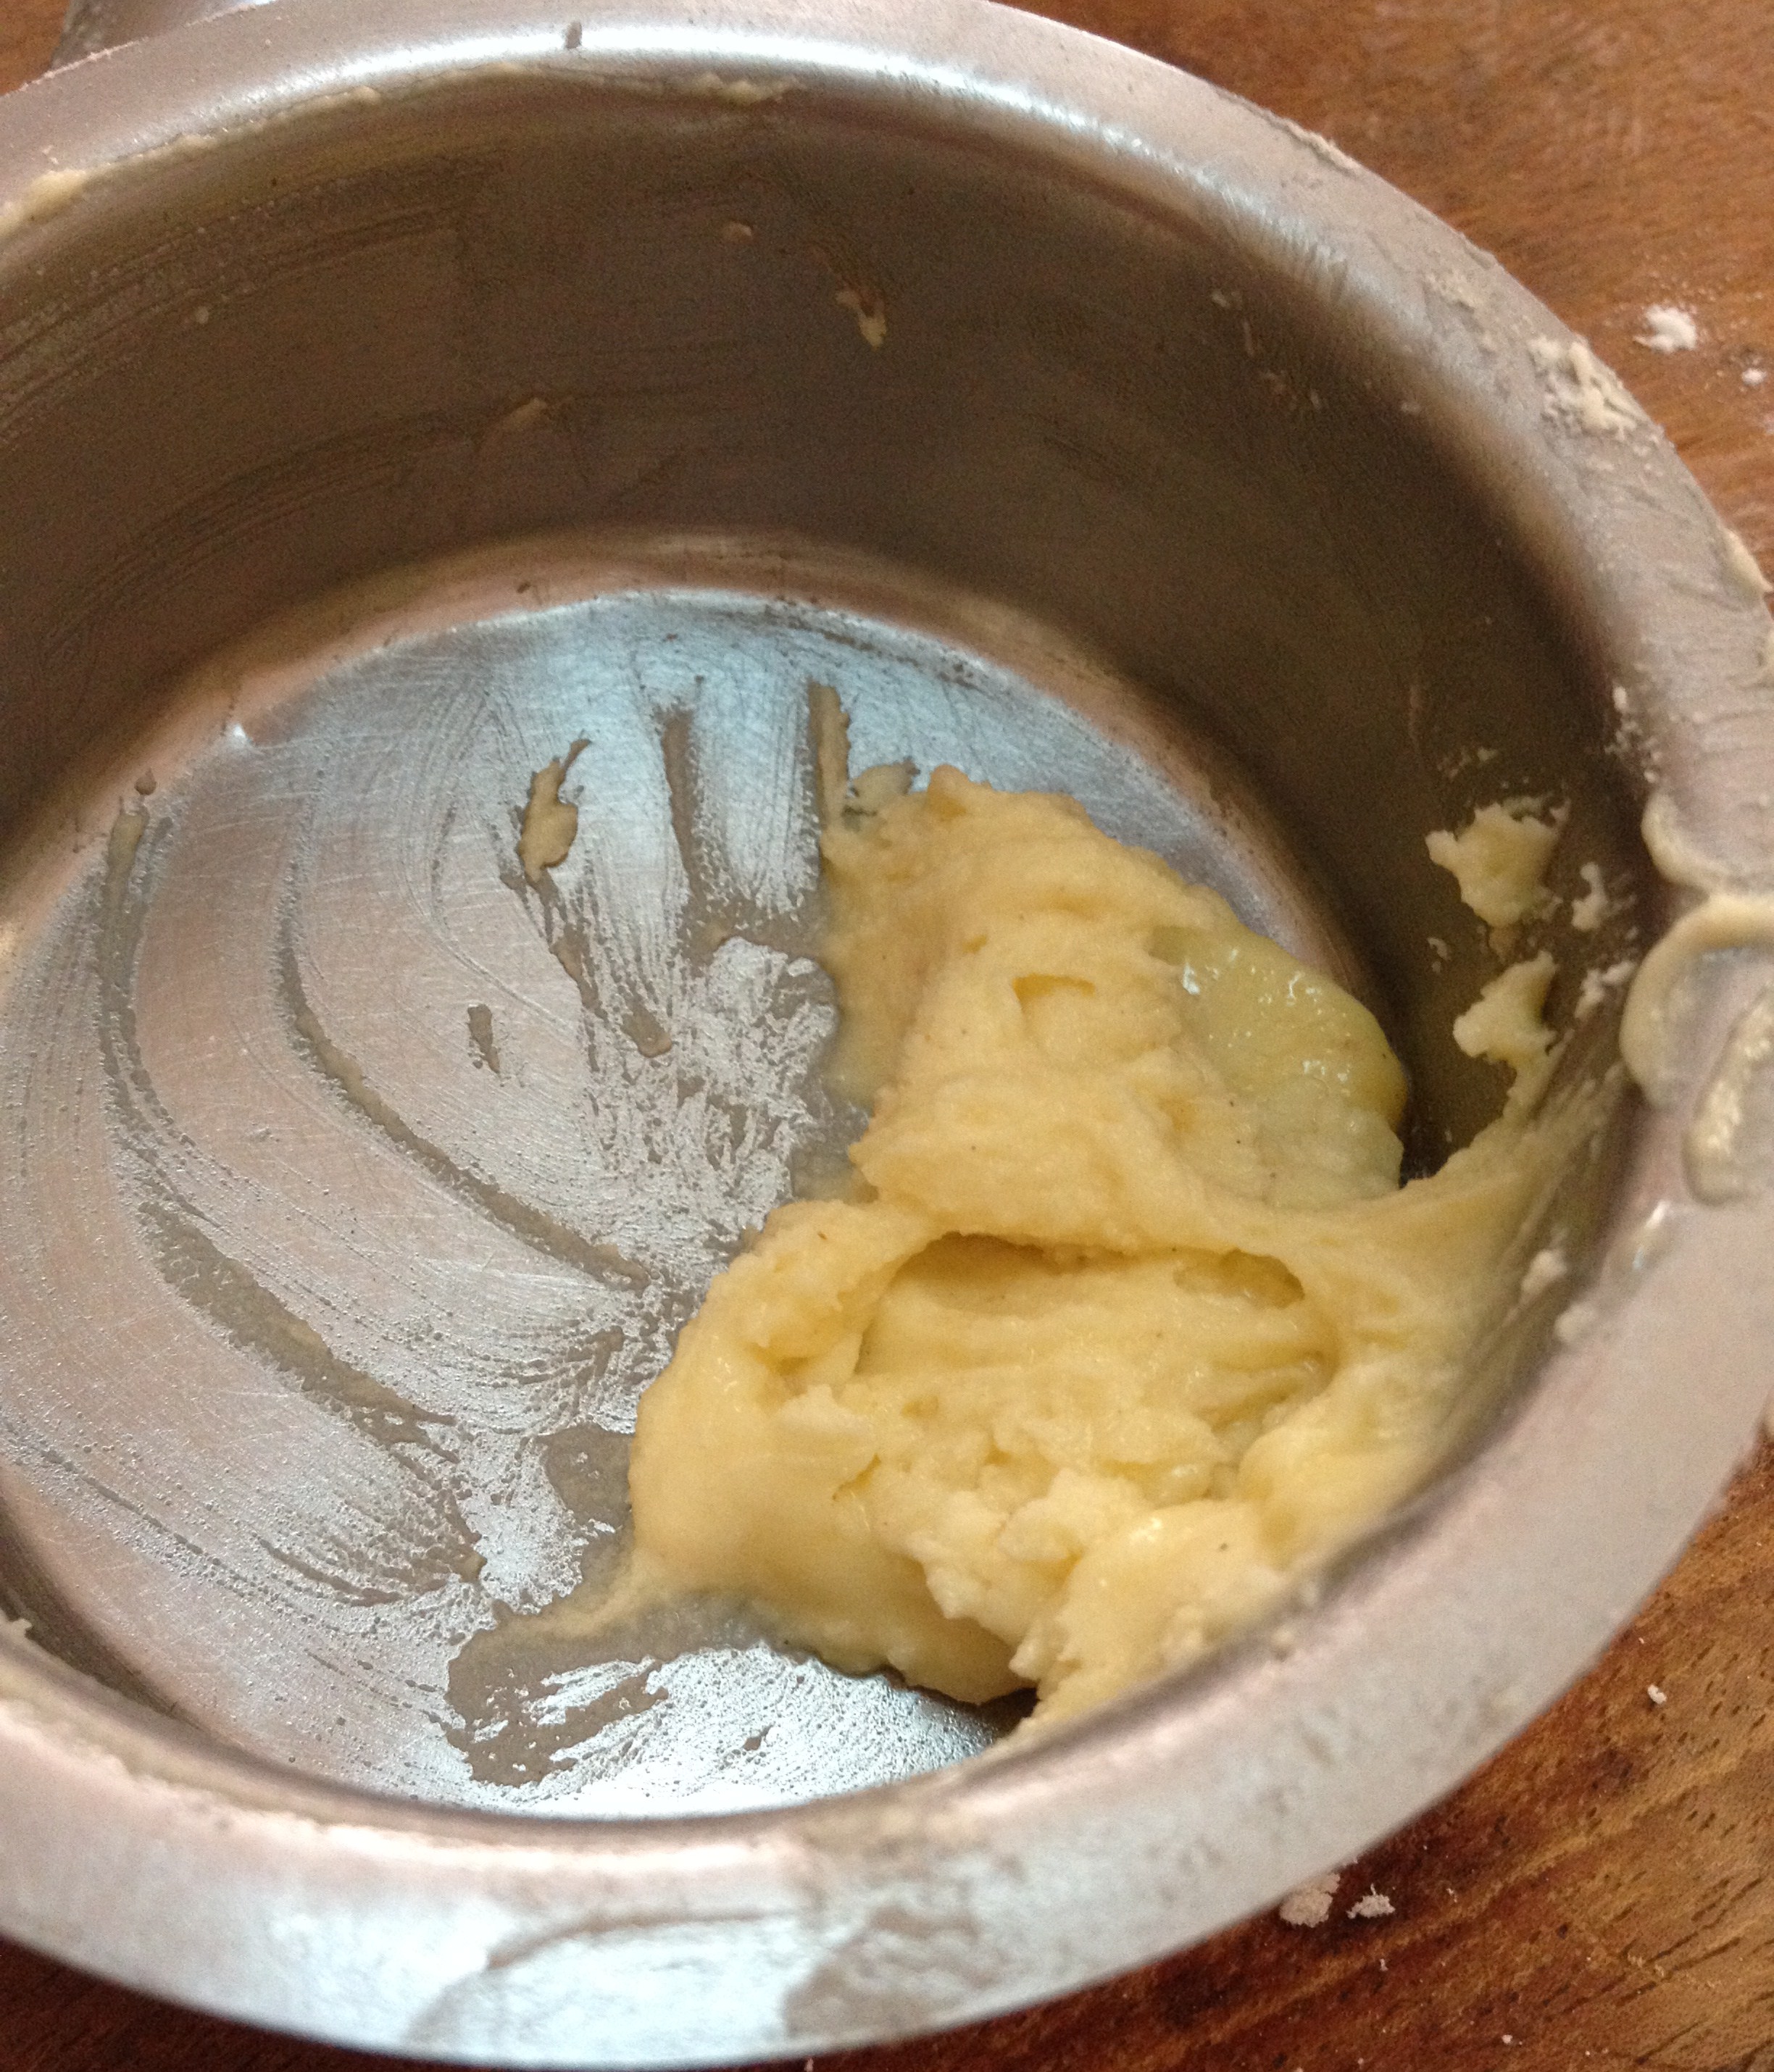
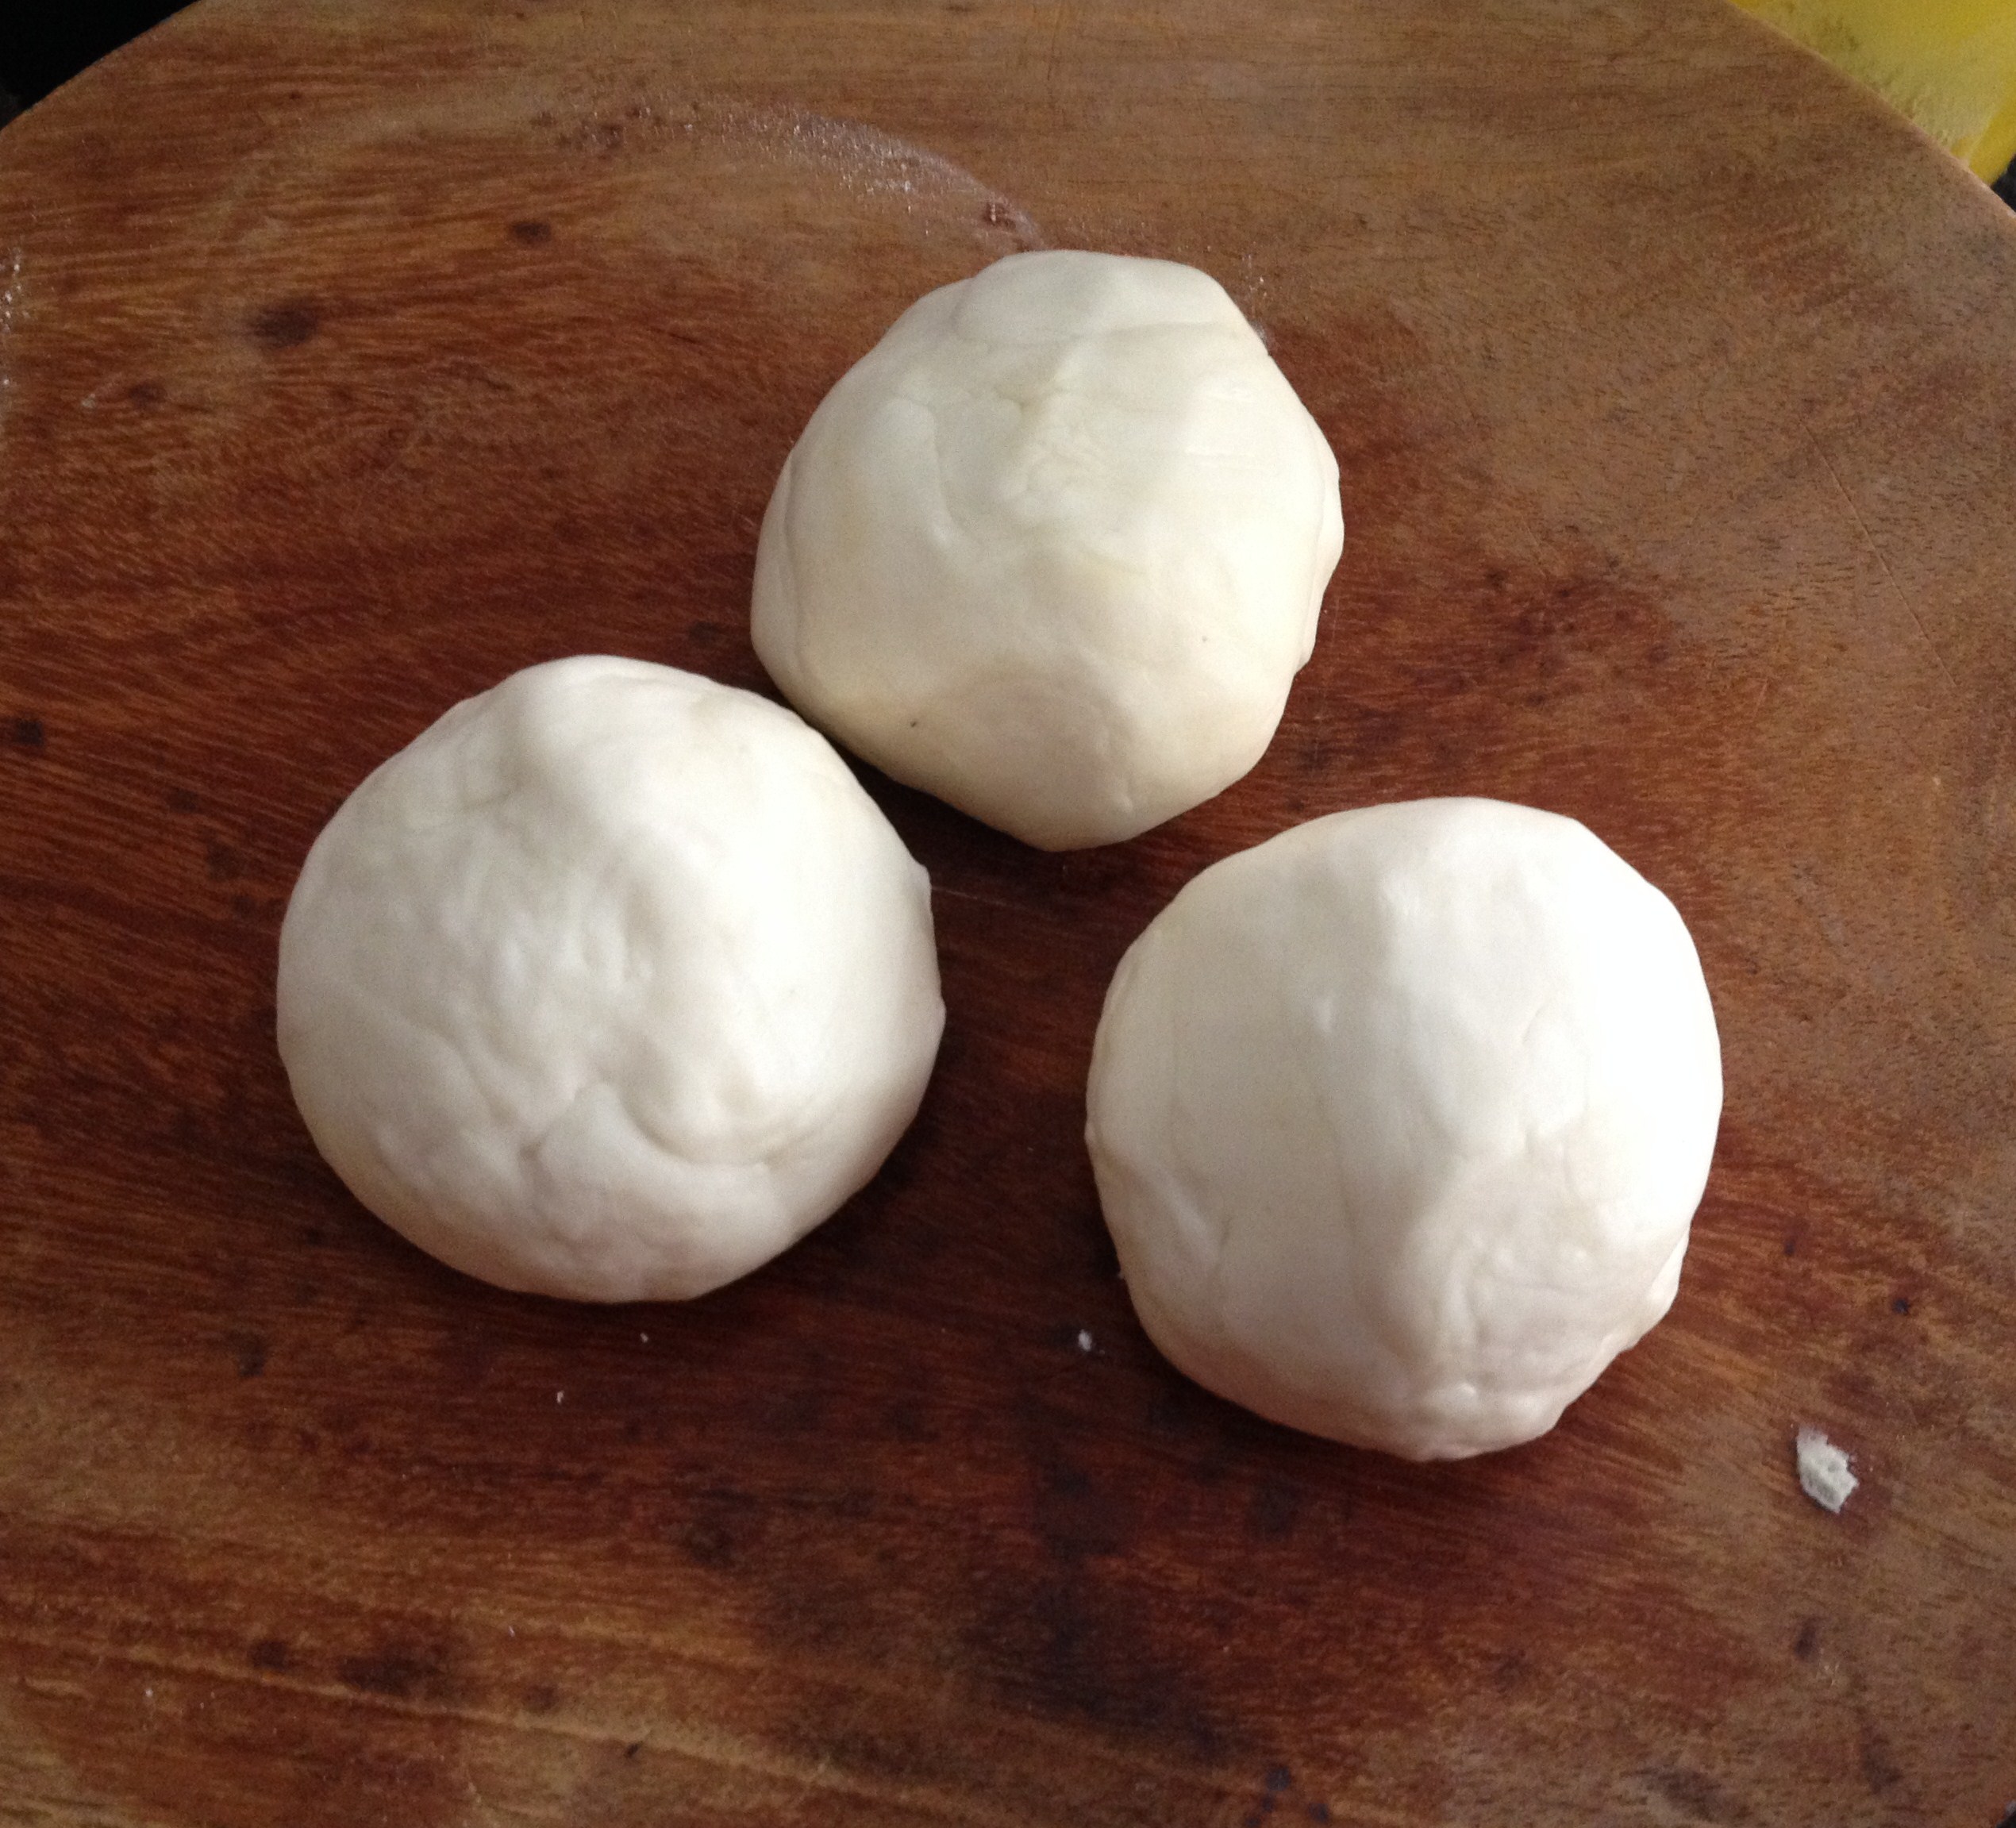
The food festival was not restricted to the spread in the restaurant, it was an extended affair of learning from the chefs – a demonstration of easy yet authentic recipes was organized.

IMG_3790


Three recipes –

1. kariveppilai era – marinated prawns with the flavour of curry leaves

2. meen moili – fish curry in coconut milk

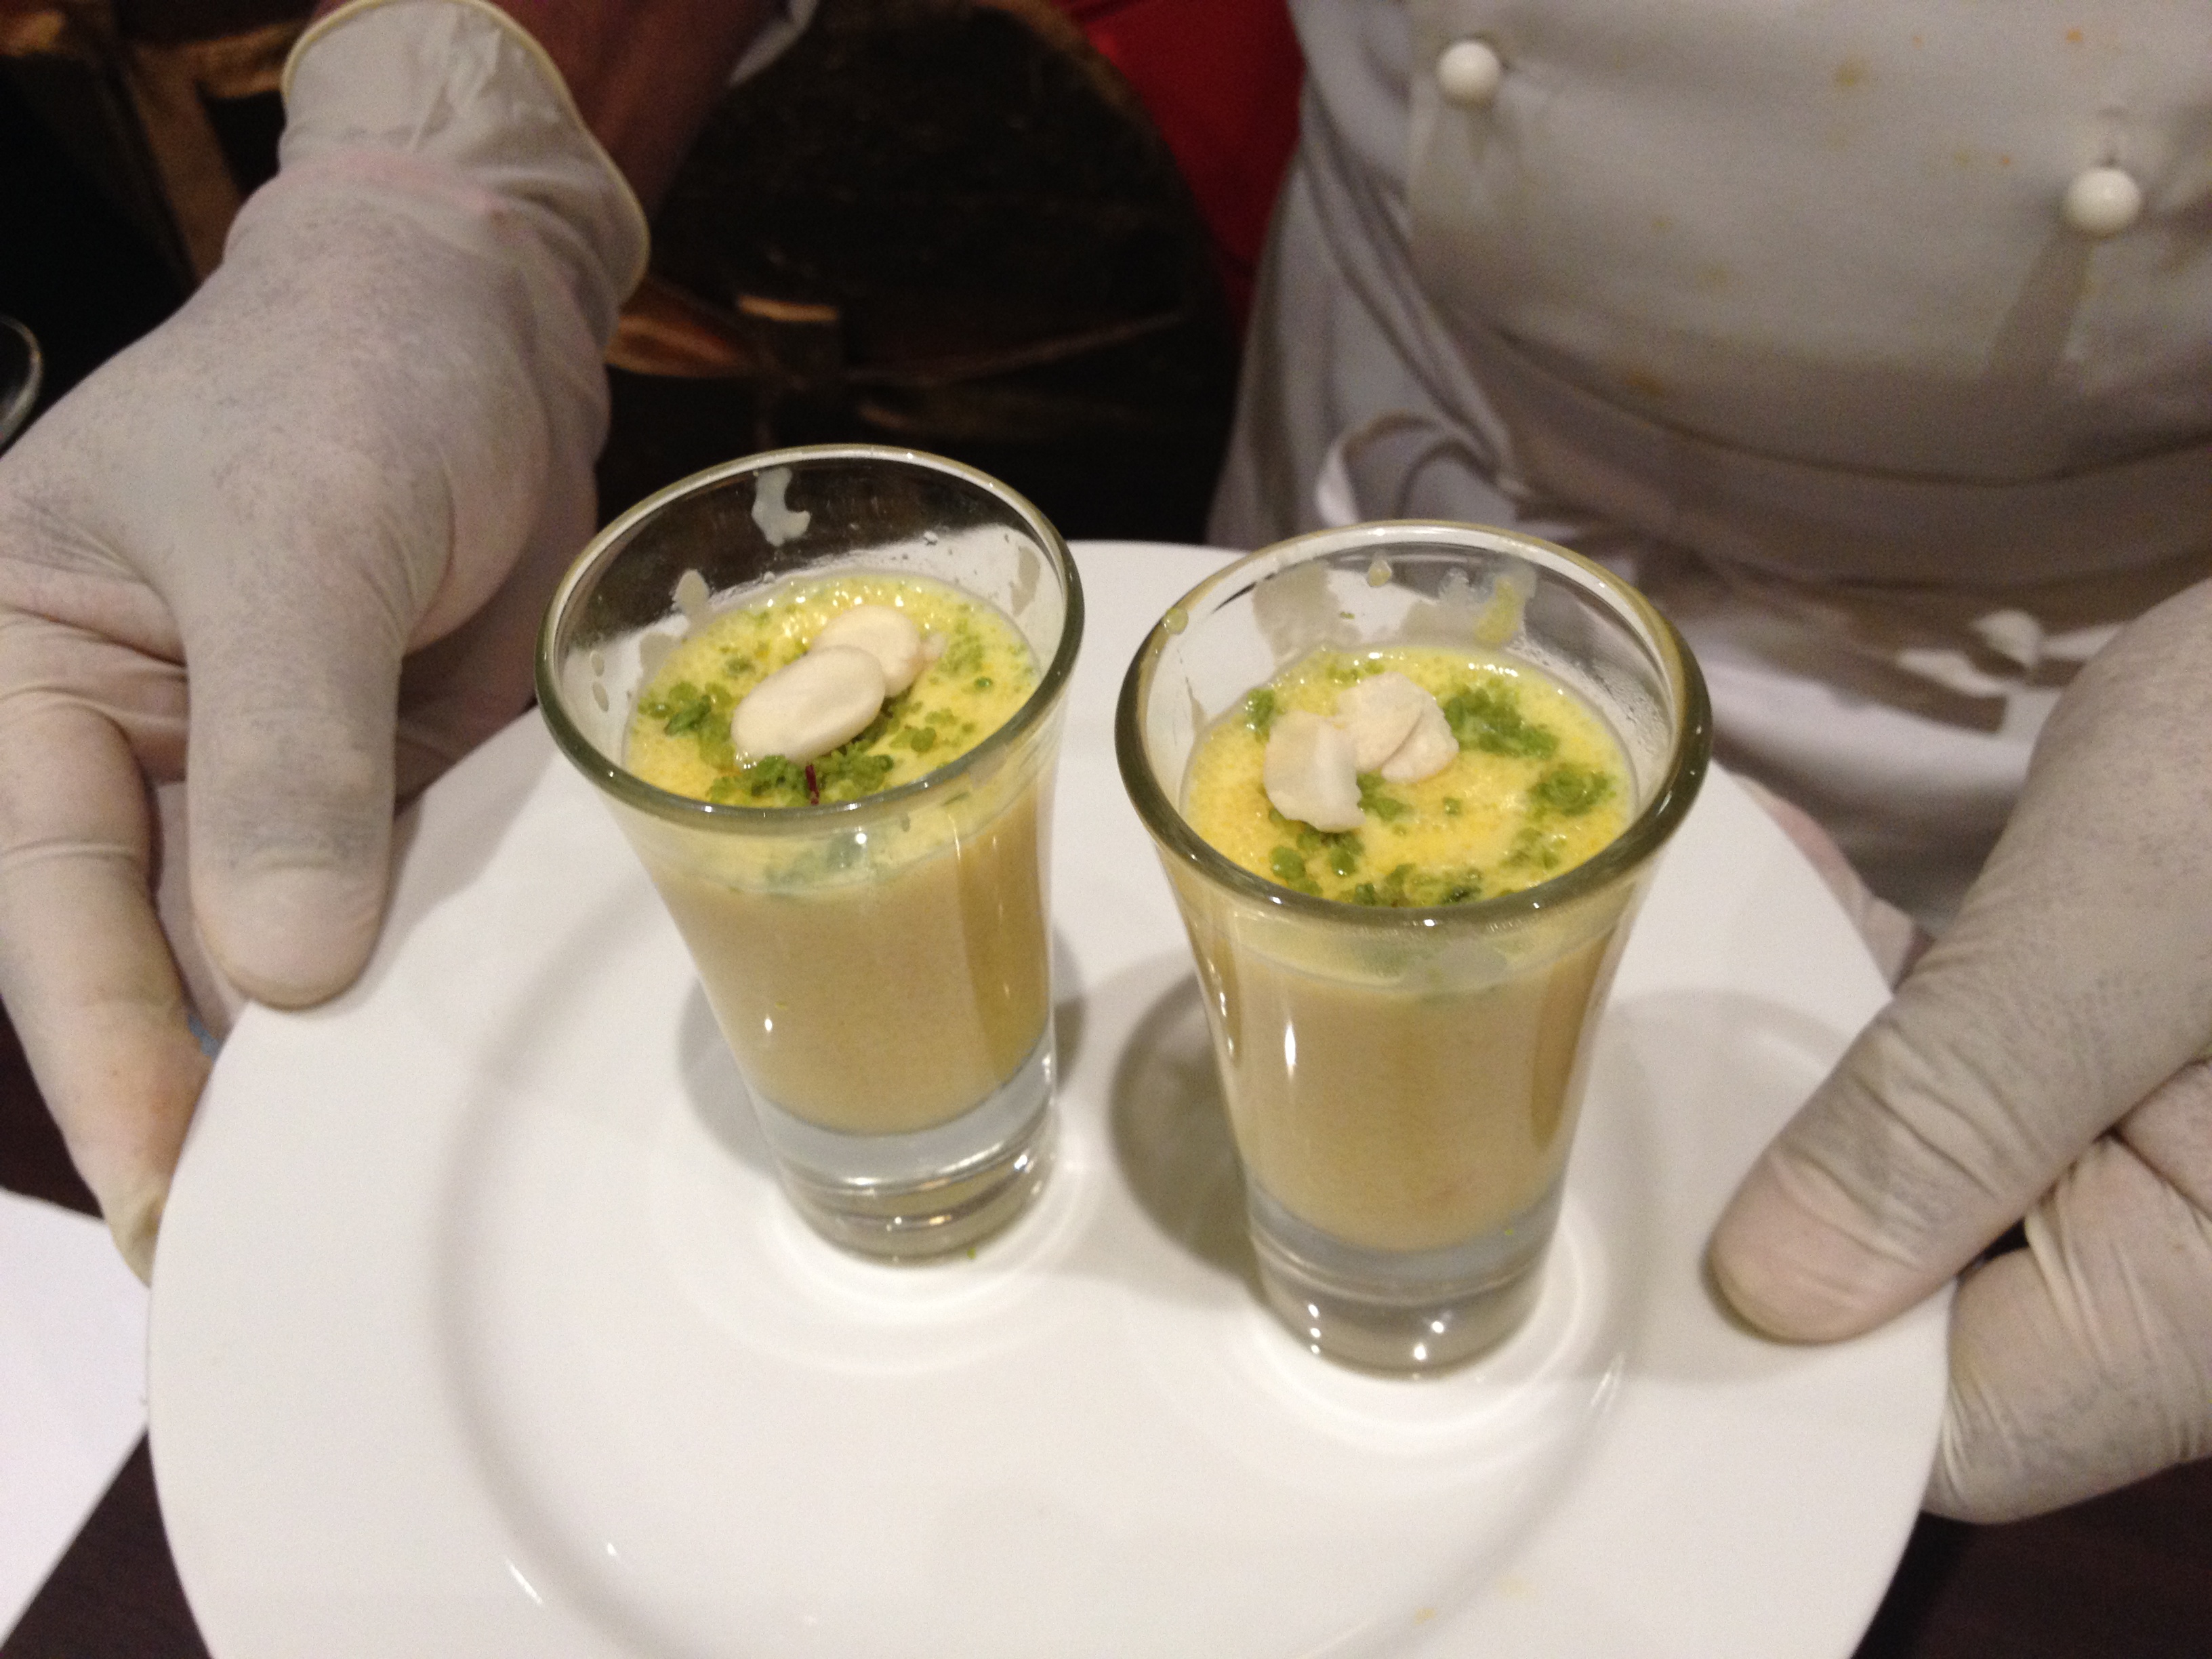
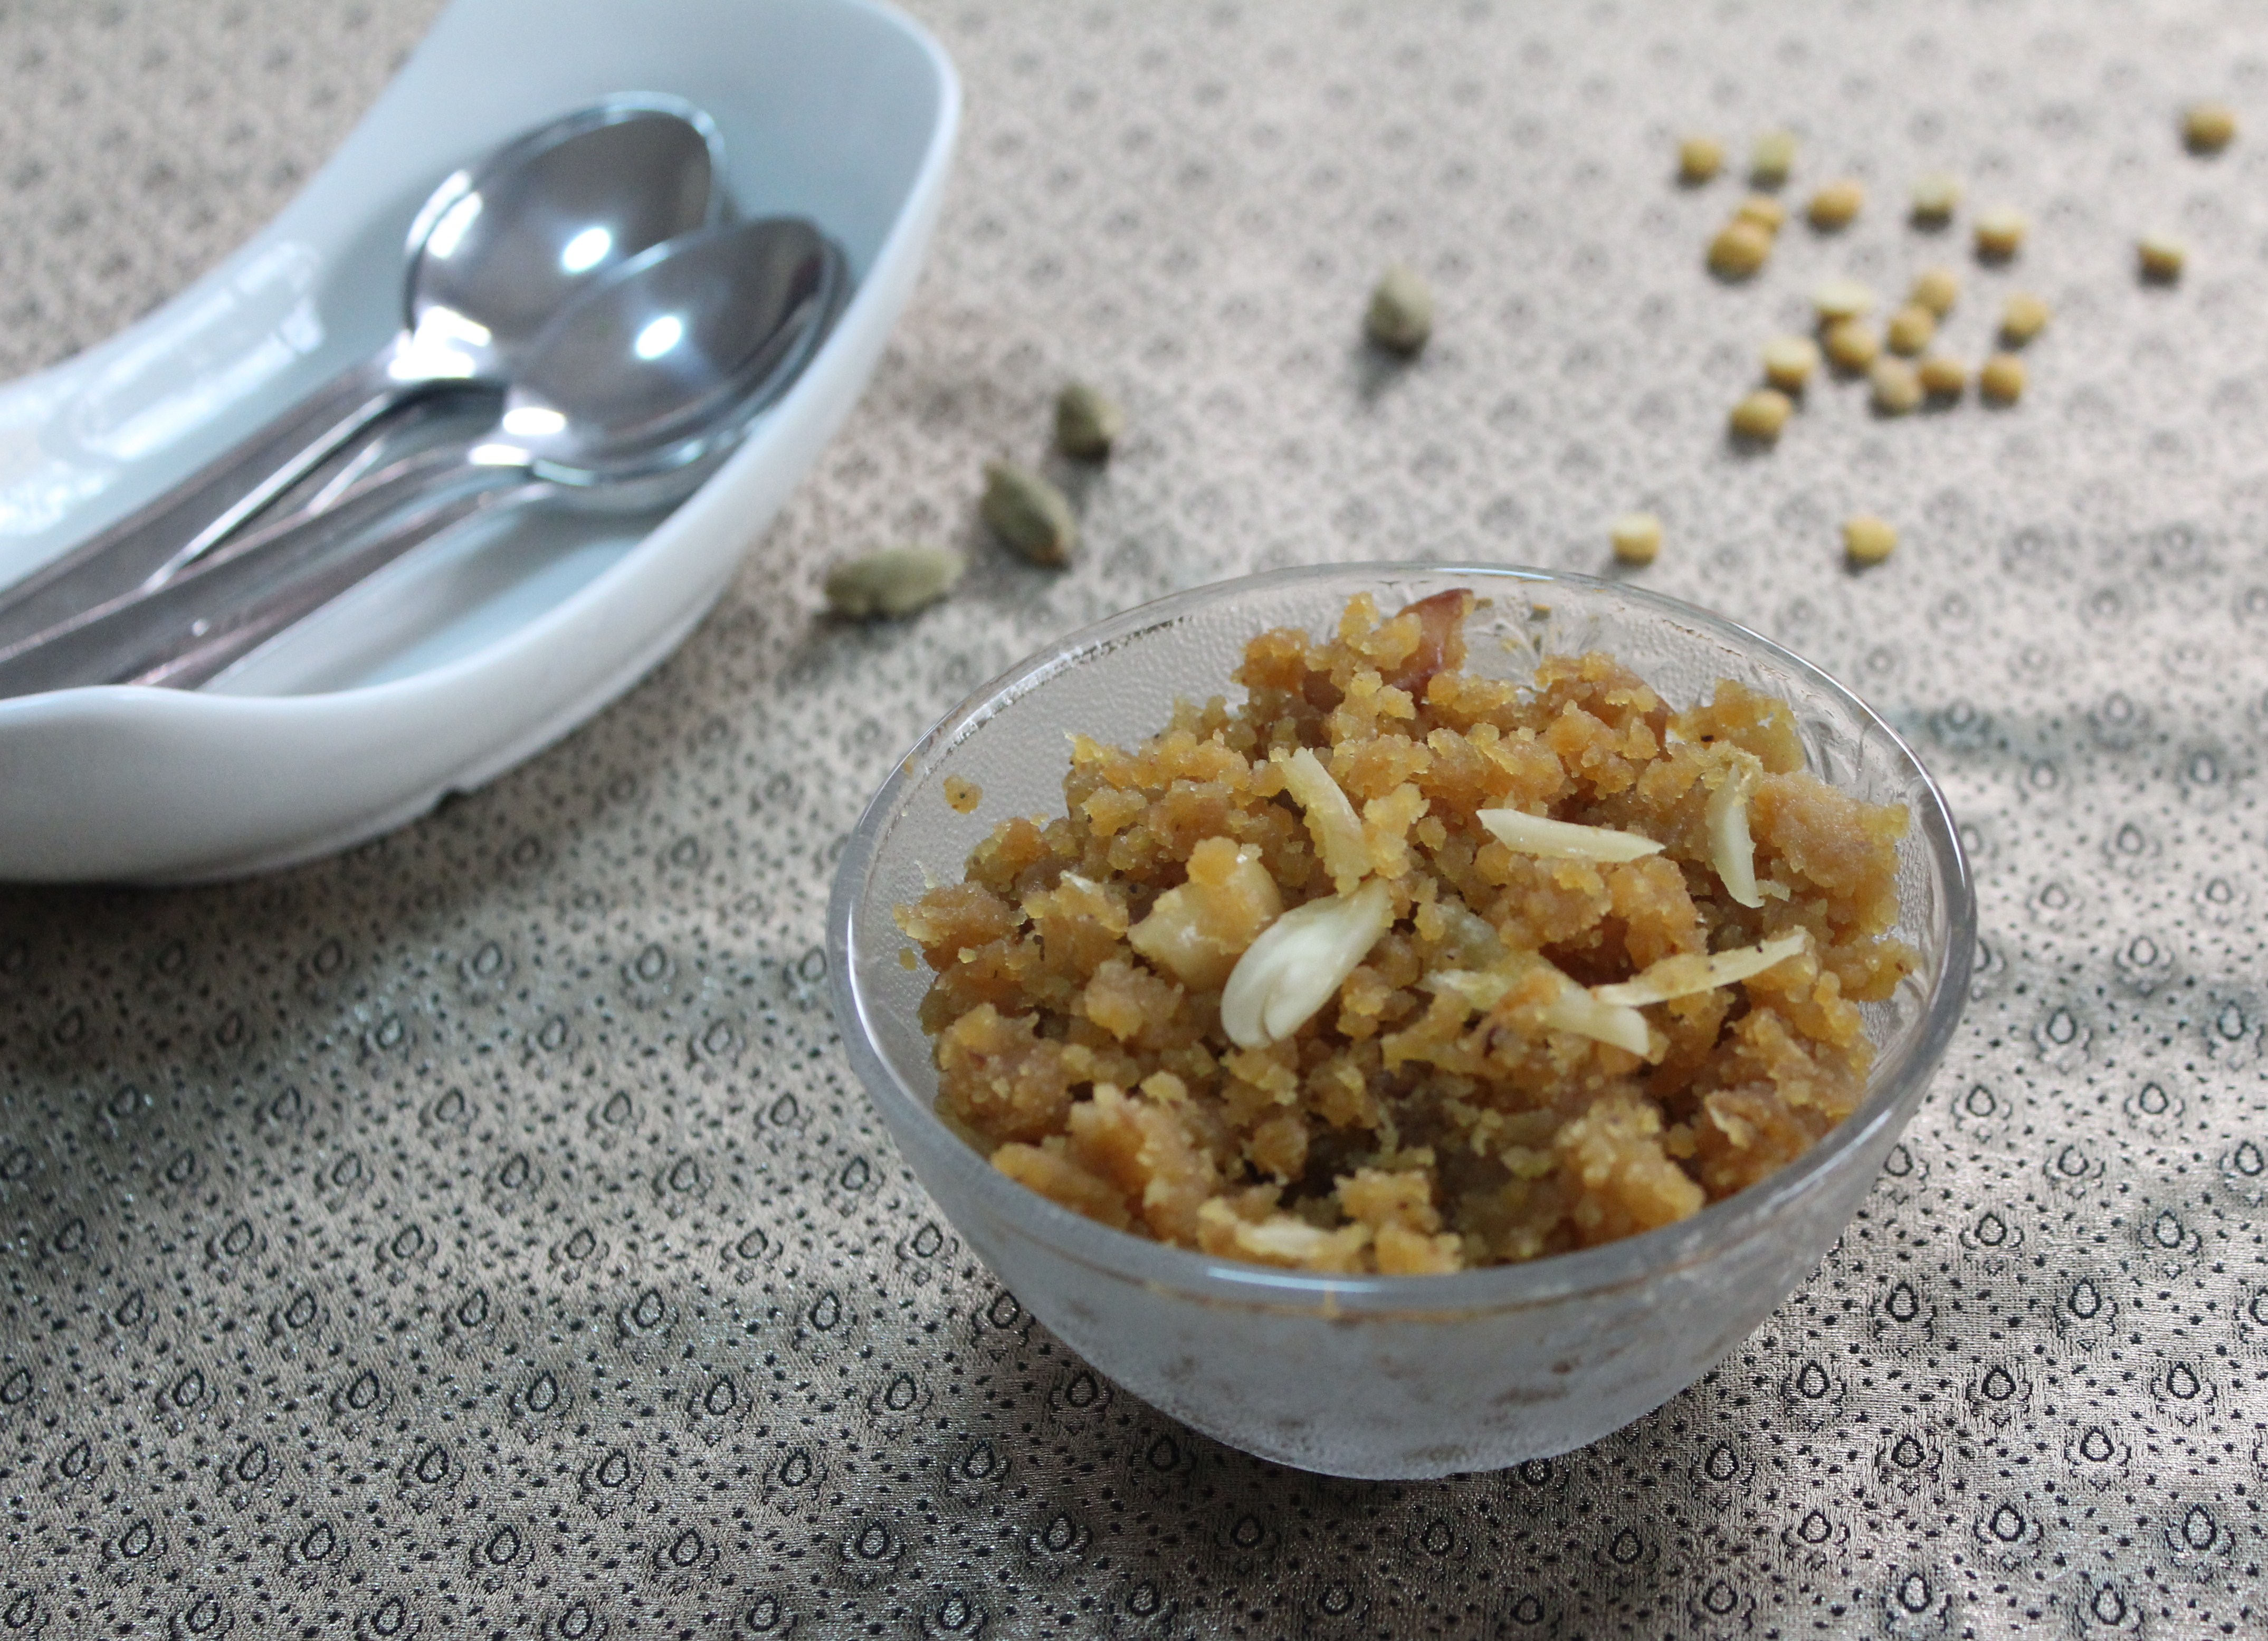
3. sooji phirni set in glasses- semolina pudding

were demonstrated by Chefs Sanjay Dasari and Madhab Chandra Pal.
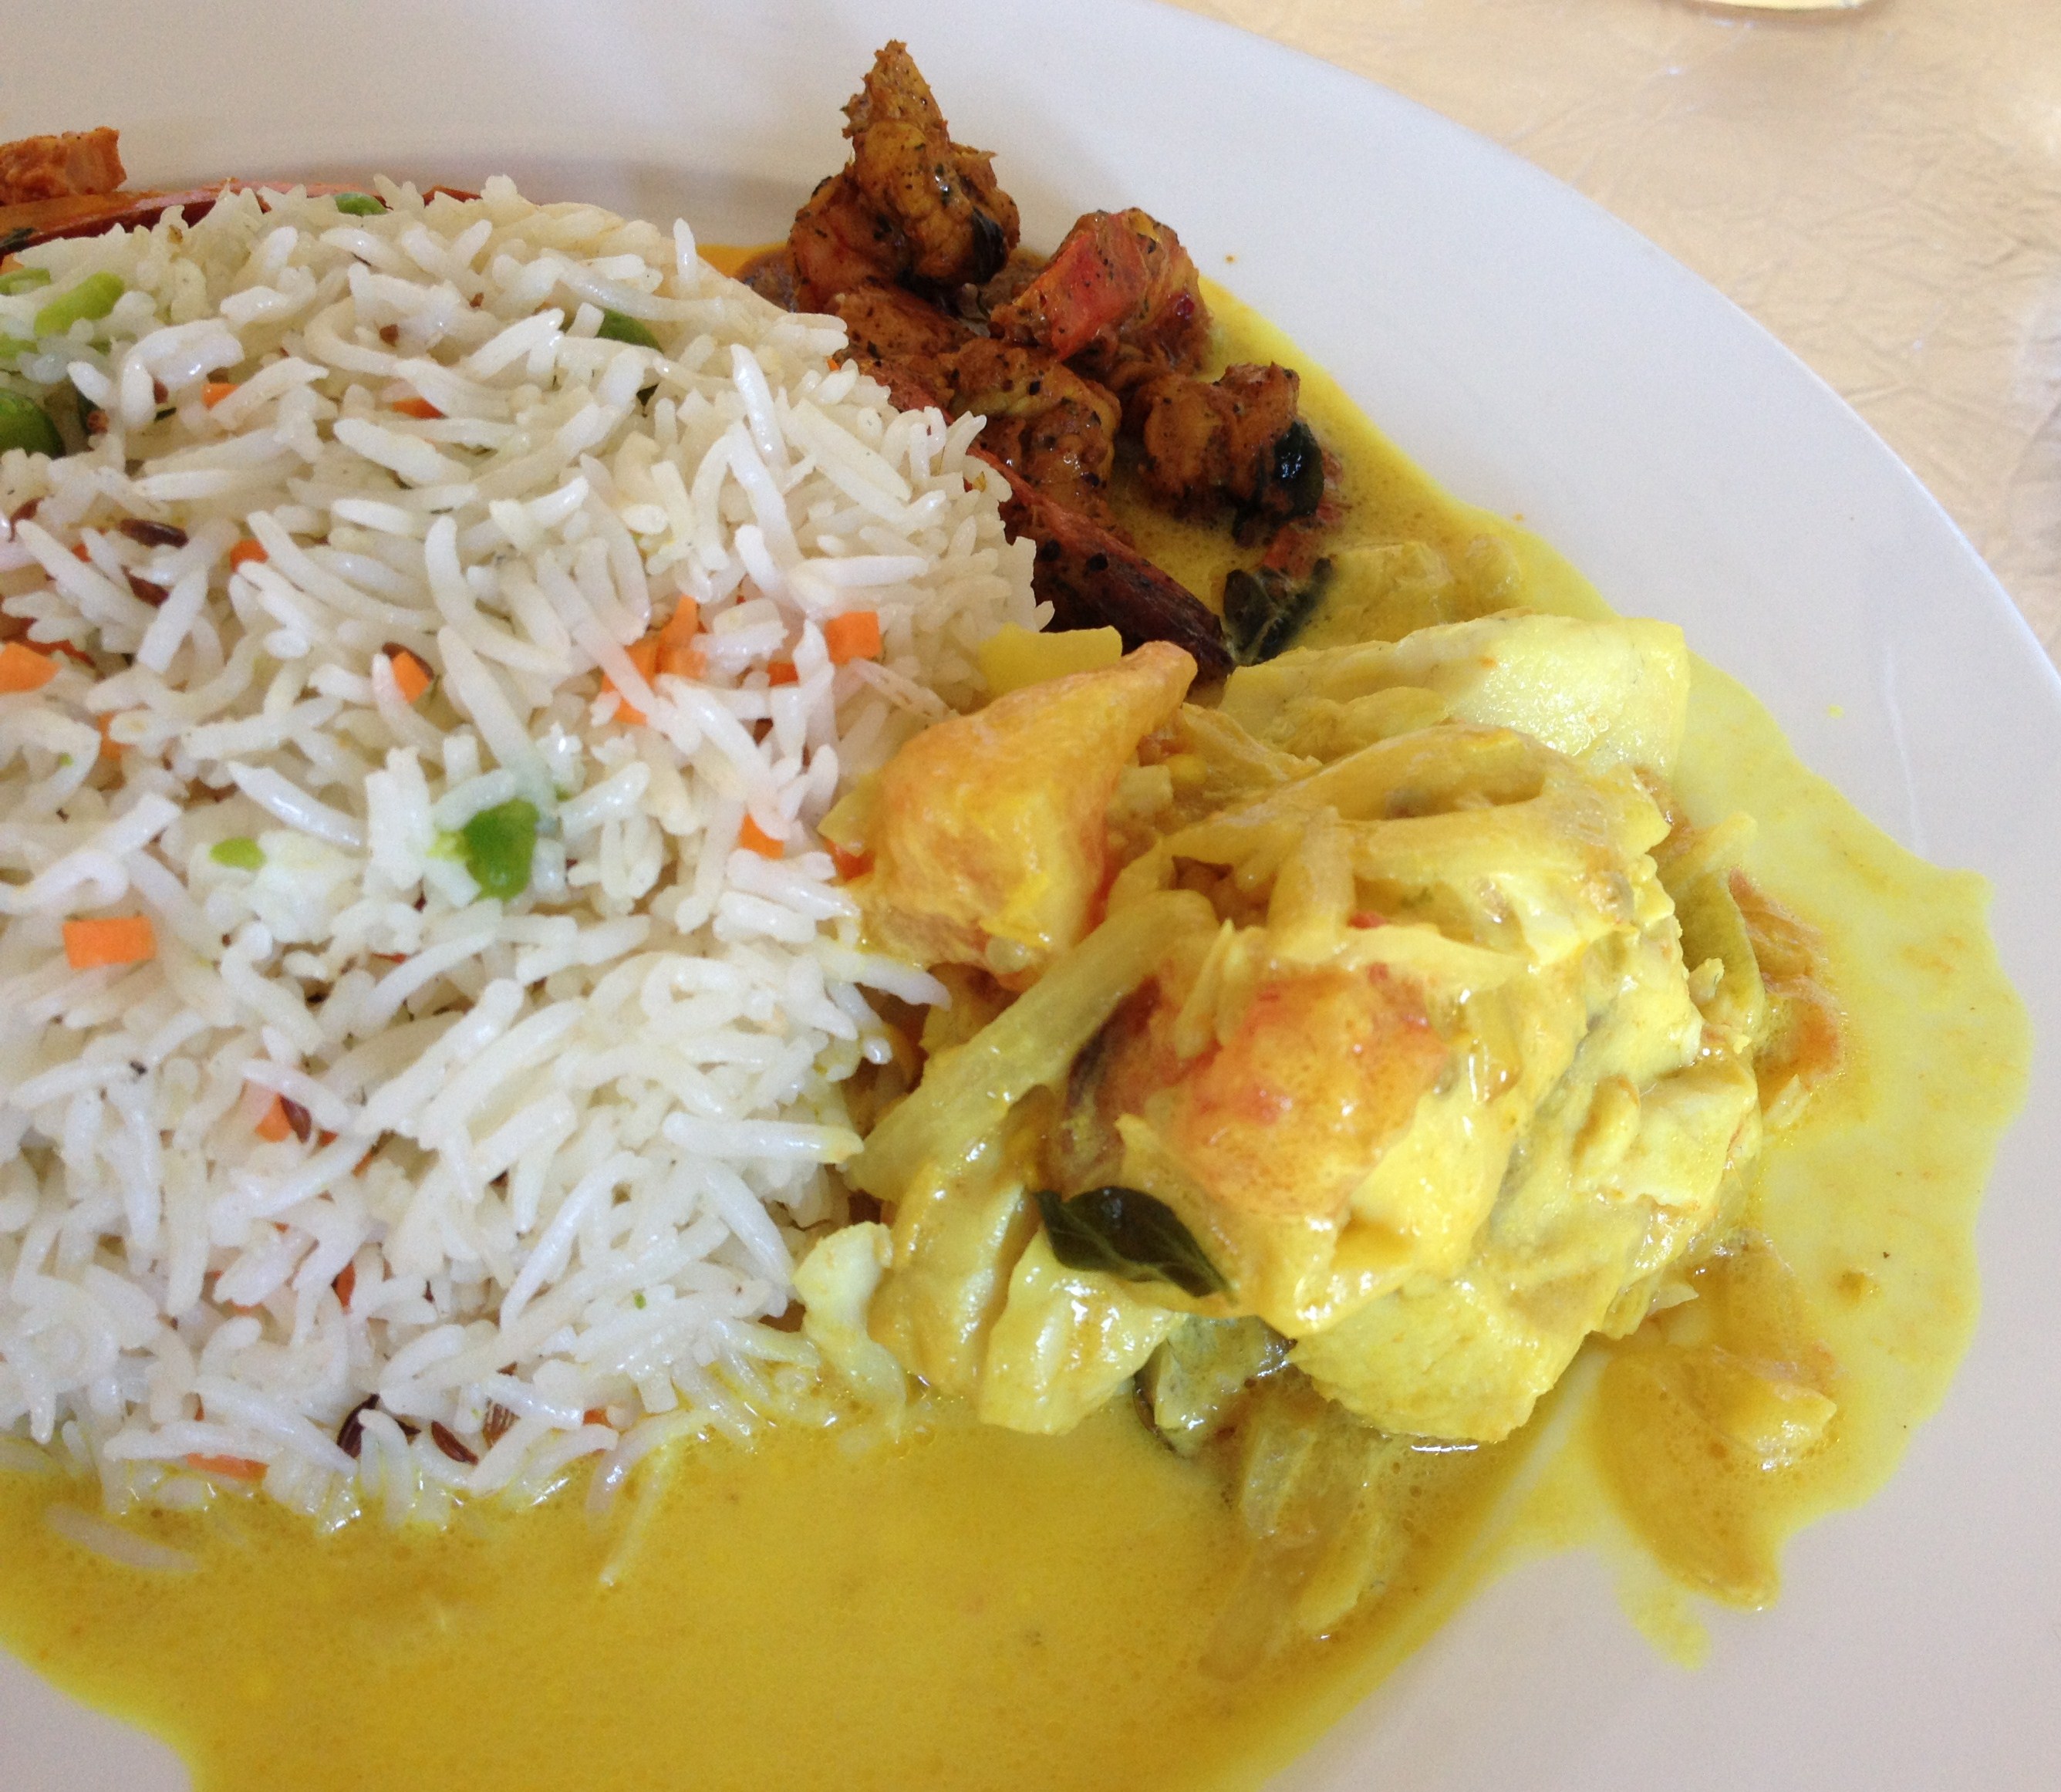
 

the chef –

IMG_3795


and the platter – kariveppilai era and meen moili with pulav

IMG_3802IMG_3812


the chef and the dessert – semolina pudding –

IMG_3805IMG_3810


This was some mind blowing team effort transformed into a success story. The Indian Food and Dance Festival is over and the Chefs and Dancers have already left for India, yet the music and dance still lingers in the air and the taste of food is remembered during every meal. I think this would go on for a few days from now.. atleast till the next festivity steps in!


Recipes learnt – Kariveppilai Era, Meen Moili and Semolina Pudding in the next post.

Pathirpeni/Sugary Snow White Crisps


IMG_3397

Pathirpeni is a very special sweet to me and to my brother! It was and is still a speciality signature sweet of Aachi  my paternal grandmother. I do not remember having pathirpeni in any other house in the big clan that we belong to. The sole supplier to all near and dear ones was Aachi – helped meticulously by Amma – my mother.

I had my miniature ‘Puri kattai’ or the spherical puri maker in wood to specially make pathirpeni and also puris. This was handed over to my daughter who used to help me make rotis, but feels she is a grown up and uses my bigger puri kattai. She painted my dear little puri kattai though the newer roller is intact.


IMG_3744

Pathirpeni is for those with that extra sweet tooth – which might be god sent genetically or amma fed affectionately… We siblings have both – hence not one but two extras to successfully acquire that ‘happier the healthier’ plump look!

These are deep-fried crisps dipped/rubbed immediately in powdered sugar to get the snowy white finish. It is a simple sweet with minimal ingredients but one should be ready for some interesting variety of work. The sugar that melts in the mouth first is followed by the crispy crunch of the deep-fried discs.

These also involve an efficient team work. Since the count was always in hundreds, amma or aachi would knead the dough; they would take turns in pressing the spheres and frying in oil – the last quintessential part of rubbing the powdered sugar would be ours – mine and my brother… I think I did the rubbing and he contributed more into something which can also be decently termed as tasting!

So I did the rolling and frying and my 6-year-old did the sugar-coating! She wanted to make her own pathirpeni and then I was a proud mother!!


she started off like this….

IMG_3725


and then graduated with flying colours!! – special seven that the little hands made!

IMG_3722

These can be stored in air tight containers after cooled for a week – that’s not a concern as its life ends too quickly! Yet the tastiest crisps are those which directly come out of the oil and are delicately transferred for one’s taste buds to relish, sprinkled/rubbed very quickly with powdered sugar.

One cup of flour (about 150 gms), would yield 20-25 crisps. After a no maida/all-purpose flour and no white sugar life for many years now, this one has been an exception. Might be I try next time with whole wheat flour and brown sugar – but have to sacrifice on the colour as wheat flour would result in brown crisps and then we might call it brownie crisps!

Now to the recipe –
Pathirpeni/Sugary Snow White Crisps


IMG_3385

Ingredients (makes 30-35)


IMG_3426


  • maida maavu/all-purpose flour – 1 1/4 cup (200 gms)
  • cheeni/sugar – 1 1/4 cup (200 gms)
  • thanneer/water – as needed
  • uppu/salt – a pinch
  • nei/clarified butter – 1 tsp
  • arisi maavu/rice powder – 1 tsp
  • yennai/oil – for deep frying

Method of Preparation
1. Sieve all-purpose flour, add a pinch of salt and mix enough water to make a tight dough


IMG_3670

2. Finely powder the sugar and keep in a wide bowl or plate; the deep fried crisps would directly land inside this bowl to have a sugar bath
3. Heat oil in a pan, keep in sim position
4. In a small bowl, mix clarified butter and rice powder
IMG_3673
5. Make three even balls of the dough


IMG_3681

6. Spread into flat breads – chappatis/indian roti size – not too thin, not too thick


IMG_3683

7. Do not place rotis one on top of the other before spreading the mixture as they would stick to each other and one would have to make the three flat breads again. Make one and place on a plate; spread the butter rice powder mixture, make the second one and place on top of the first; spread the mixture and make the third; now place the third on top of the second. It had become messy as I had placed before spreading – I had to do it all over again. So be cautious on this


IMG_3684

8. Roll this triple layered roti . Now it is time to pull the rolled roti as long as possible without spoiling or breaking the texture


IMG_3685


pulled long

IMG_3687

9. Then cut into very small bits, size enough to make small circular crisps

these are little big, i had to make them smaller

IMG_3694

10. Roll into thin crisps – while rolling, see the side which was cut by knife – make thin puris/crisps pressing the knife cut edge into a circle. This helps the butter mixture to stay intact. Otherwise it would ooze out from the puris.


IMG_3688

11. When the oil is ready, roll one by one and fry till crisp. We do not want a fluffy soft puri – make really thin and flat ones that come out crisp
12. Immediately drop it inside the sugar bed and apply well; the powdered sugar must have coated evenly


IMG_3692

13. Tap the crisps slightly to reduce the excess sugar
14. Taste one to enjoy the true taste of pathirpeni – this is the most important step in my opinion; having identified the flaws (making thinner or thicker; right shape; less sugar coating; more sugar coating and so on), proceed with the next
15. Make all the crisps and let them cool
16. Store in an air tight container and enjoy.
17. Do not hesitate to help yourself with more – you won’t get those hot crisps after they are cooled – cannot be microwaved or reheated by any means!
Note:

  1. This is a simple one – yet, some caution on important steps would make it easier
  2. Try one and feel the crispness of it and accordingly try to make corrections on the thinness and crispness of the pathirpeni
  3. Each time, tap a little to take away the sugar if one doesn’t prefer so much sugar
  4. Adding cardamom powder to the powdered sugar might add some aroma and flavor though it is not added normally.


IMG_3367


Ribbon Pakoda/Gram flour Fritters (ribbon shaped)


IMG_3299

Ribbon Pakoda gets it name from its shape I suppose! The fritters look like ribbons – so when did the name come – after the Britishers came in, then what would have been its name before?

Ofcourse, there are a few tamil names to these fritters-
1. ‘Naadaa Thenkuzhal’ – fritters in the shape of string or rope
2. ‘Olai Pakoda’ – Olai is the name given to leaves of coconut and palm – especially dried leaves – Olai Chuvadi means Palm script written centuries ago. Ilai is the word for leaves in general – Maavilai – mango leaf; vaazhai ilai – banana leaf and so on…
Panai Olai for Palm leaf and Thennai Olai for coconut leaf – the dried version. The young leaves of these are called panang-kuruthu and thennang-kuruthu – so ‘kuruthu’ is fresh leaf here. Olai is the dried leaf. These fritters might look like the dried leaves too!!

There needs more exploration into the reasoning of names.

Now, to Diwali and the savouries stored for days, but the storage attempt always invariably fails – as they wouldn’t last a couple of days. All passers by in the family would open the ‘thooku chatti’ or the vessel in which the savouries are stored and then – not to worry – life moves on – to the next savoury or sweet.


Ribbon Pakoda


IMG_3327


Ingredients

  • kadalai maavu/gram flour – 2 cups
  • arisi maavu/rice powder – 1 cup
  • milagai vatral podi/red chilli powder – 1/2 tsp – 1 tsp
  • salt – to taste
  • perungayam/asafoetida powder – 1/4 tsp
  • vennai/butter or nei/clarified butter – 3 tsp
  • yennai/oil – to deep fry
  • thanneer/water – as needed

optional additions

  • poondu/garlic – 4 cloves (make a paste)
  • seeragam/cumin seeds – 1 tsp


dough and the mould

IMG_3618

Method of Preparation

  1. Sieve both the powders together
  2. Mix chilli powder, salt, asafoetida powder and butter/clarified butter to the dry powders
  3. Add enough water to make a stiff dough
  4. Heat oil in a pan for deep frying
  5. Grease the inner cylinder of the murukku kuzhal/maker and place a part of the dough and close with ribbon pakoda disc
  6. When the oil is hot, turn down the stove to medium and press the dough into the oil into circular basket like fritters
  7. Fry till golden brown and crisp
  8. Remove in absorbant tissue and store after cooled. Break the fritters for easy storage (also to avoid over-eating).


IMG_3627

Note:

  1. This is a quick and easy version with red chilli powder. A ground paste of red chillies and garlic tastes better. Garlic aids in digestion.
  2. Cumin seeds are sprinkled for digestion as well as better looks of the fritters.
  3. Butter helps in the softly crisp texture of the fritters. Hot oil can also be poured into the powder with butter.
  4. Do not fry in very high oil temperature. The pakodas would turn dark very quickly. Keep in medium and adjust the heat accordingly for the perfect colour and crispness.
  5. For those who are searching for asafoetida in ingredient picture, sorry the box got over and I threw it away. The other new one would arrive tomorrow from the Indian shop.
    If you do not have the disc – that’s something to worry at the moment… please buy one now!


IMG_3630

Ukkarai/Okkarai – Lentil Halwa for Diwali


IMG_2921


The festival of lights is back again! No need for long paragraphs saying Diwali brings in joy and happiness and teaches the traditional values to the younger generation….. Whatever said and done, not said and not done – Diwali or Deepavali in Tamil, brings in loads of sweets and tonnes of savouries – to relish and eat and ofcourse over eat!

So, let’s plunge into some special sweets and savouries one after the other in the coming week. Today it is Okkarai or Ukkarai – a Halwa with two/three lentils and jaggery.

Some make it with all the three basic lentils of an Indian kitchen – red lentil, dehusked green gram and bengal gram or a combination of two of these or just bengal gram. Though amma does not make okkarai, I was re-introduced to this exquisite sweet by my friend Lakshmi in Chennai. When my daughter was very small and we lived in the same locality as theirs, we used to be treated with Okkarai very often and it became one of my daughter’s favourites. The beautiful brown colour, the aroma of clarified butter with the fried nuts added and the flavour of lentils mixed jaggery is just exotic with no words to explain.

Lakshmi, I never knew the effort that was involved in Okkarai until I made it now. So, it is a rekindled, more respectful thanks for the strain you put yourself to!
Recipe adopted from-

In Rajasthani cuisine, Moong Dhal Halwa occupies a special place. To me, it is one of best desserts of Indian Cuisine. I should confess, anyone can swap their home made moong dhal halwa/dehusked green gram halwa – rajasthani style – with the best of my pattu/silk sarees (or my husband’s favourite suits)!!
Okkarai/Ukkarai – Lentil Halwa


IMG_3051

Ingredients (serves 4)

  • kadalai paruppu/bengal gram – 1/2 cup
  • paasi paruppu/dehusked green gram – 1/2 cup
  • thuruviya thengai/grated coconut – 1/2 cup
  • vellam/jaggery – 3/4 cup
  • elakkai podi/cardamom powder – 1/2 tsp
  • nei/clarified butter – 1/2 cup
  • mundhiri paruppu/cashew nuts – 4tsp
  • ular thiratchai/raisins – 4tsp


Method of Preparation

  1. Dry roast kadalai paruppu and paasi paruppu till golden brown
  2. Wash and soak for two hours
  3. Grind into a coarse paste with no water – the same as dry grinding but the lentils are wet as they were soaked – but no water please
  4. Make small balls and flat discs and steam in a greased tray/mould for about 15 minutes
  5. Dry grind the balls again for an even end product of halwa without lumps
  6. Keep aside the lentil powder
  7. Grate the coconut and keep aside
  8. Heat a little clarified butter in a pan and fry the cut cashewnuts and raisins and keep aside
  9. In a pan slightly heat jaggery in little water until jaggery dissolves completely
  10. Strain it well and place in low heat for a thick syrup  – Even if the syrup is not too sticky like a single string consistence, do not bother. There is enough time while the jaggery gets mixed with lentil powder- but just be careful not to get it burnt
  11. In the same pan, when the jaggery is ready, add the lentil powder to it and start stirring well
  12. Heat the clarified butter into a pourable consistency and add to the jaggery, lentil mixture while getting cooked. This helps the mixture from sticking to the bottom of the pan
  13. Add the fried cashews and raisins
  14. Stir well till jaggery is completely absorbed by the lentils and a smooth halwa consistency is arrived
  15. In the end add the grated coconut and mix well till the raw smell and juiciness of coconut is gone
  16. Tastes best when served hot.


roast the lentils together

IMG_3209


after soaking, grind and steam the mixture

IMG_3211


then, dry blend to avoid lumps

IMG_3214


mix well with fried nuts and grated coconut

IMG_3234


Notes:

  1. Quantity of jaggery depends on each family
  2. As mentioned above, addition of red lentils is another option
  3. I used banana leaves to steam the lentil mixture for some extra aroma
  4. Add the lentil powder to syrup jaggery or pour in the jaggery syrup into the pan of lentil powder – either way the halwa would come out the same
  5. Quantity of nei/clarified butter can be altered. I love nei in my sweets – hence this quantity. If one prefers lesser clarified butter  -feel free to reduce it. The texture of ukkarai would be slightly powdery – like Puttu (steamed rice cylinders) and hence, okkarai is also called ‘Paruppu Puttu’, I learnt it now.


IMG_2941

Paasi Paruppu Sundal/Stir fried Dehusked Green Gram Salad


IMG_3461

Here comes another Sundal/stir fried lentil to end the navaratri season. But sundals are not the sole speciality foods of Navaratri alone. They are very simple recipes yet highly potential protein foods providing essential nutrients to the body, both children and elders alike.

As I had mentioned in earlier posts, sundals can be a substitute to fried starters in parties; nutritious snack than junk food during relaxing times. Especially for kids returning from school, sundal can be an excellent source of nutritious energy – now stop them grab their white flour butter cookies out of tiredness and hunger!

Call Sundal, Stir Fried Lentil as well as Salad – is this right?- Omit the seasoning, add carrots, cucumbers, tomatoes, onions and don’t hesitate to choose from your favourite salad veggies to the boiled lentil to make it a healthy salad.
Paasi Paurppu Sundal/Stir Fried Dehusked Green Gram Salad


IMG_3496


Mung dal is high in fiber, low in saturated fat, low in sodium, and contains no cholesterol. Because of the wide range of nutrients contained in mung dal, these legumes offer a whole host of health benefits for the immune system, the metabolism, the heart and other organs, cell growth, protection against free radicals, and diseases such as cancer and diabetes.

Here is a list of the nutrients that mung dal provides:

· Protein

· Vitamin C

· Folic acid or folate

· Iron

· Zinc

· Potassium

· Magnesium

· Copper

· Manganese

· Phosphorus

· Thiamine

https://www.doctorblossom.com/index.php/nutrition-a-recipes/155


Ingredients (serves 4)

  • paasi paruppu/dehusked green gram – 1 cup
  • yennai/oil – 2 tsp
  • kadugu/mustard seeds – 1/2 tsp
  • ulundham paruppu/dehusked black gram – 1/2 tsp
  • vengayam/onions – 1 no. or chinna vengayam/shallots – 4 no.s
  • kariveppilai/curry leaves – a few
  • pachai milagai/green chillies – 2 no.suppu/salt – to taste
  • perungayam/asafoetida – 1/4 tsp


Method of Preparation

  1. Chop onions finely and slit the green chillies; red chillies can also be added or substituted
  2. Wash and soak dehusked green gram in enough water for 2 hrs
  3. By 2 hrs, the lentil would have become softer and bigger in size – cook the lentil in a pan with the same soaked water
  4. Do not cook this lentil in a pressure cooker as it would mash very fast
  5. Keep checking for water and be alert not to overcook; If water is evaporated, the lentil might be burnt or if it is overcooked, it might be mashed while seasoning
  6. Once the lentil is cooked, switch off stove and keep aside
  7. If there is excess water after cooking, drain away
  8. Heat oil in a pan, let mustard seeds splutter and add dehusked black gram
  9. Add chopped onions, curry leaves and green chillies and saute for a couple of minutes
  10. Then add cooked lentil and salt and mix well
  11. Mix carefully that the lentil remains in perfect shape
  12. Sprinkle asafoetida powder and switch off stove
  13. Sundal is ready.


IMG_3460