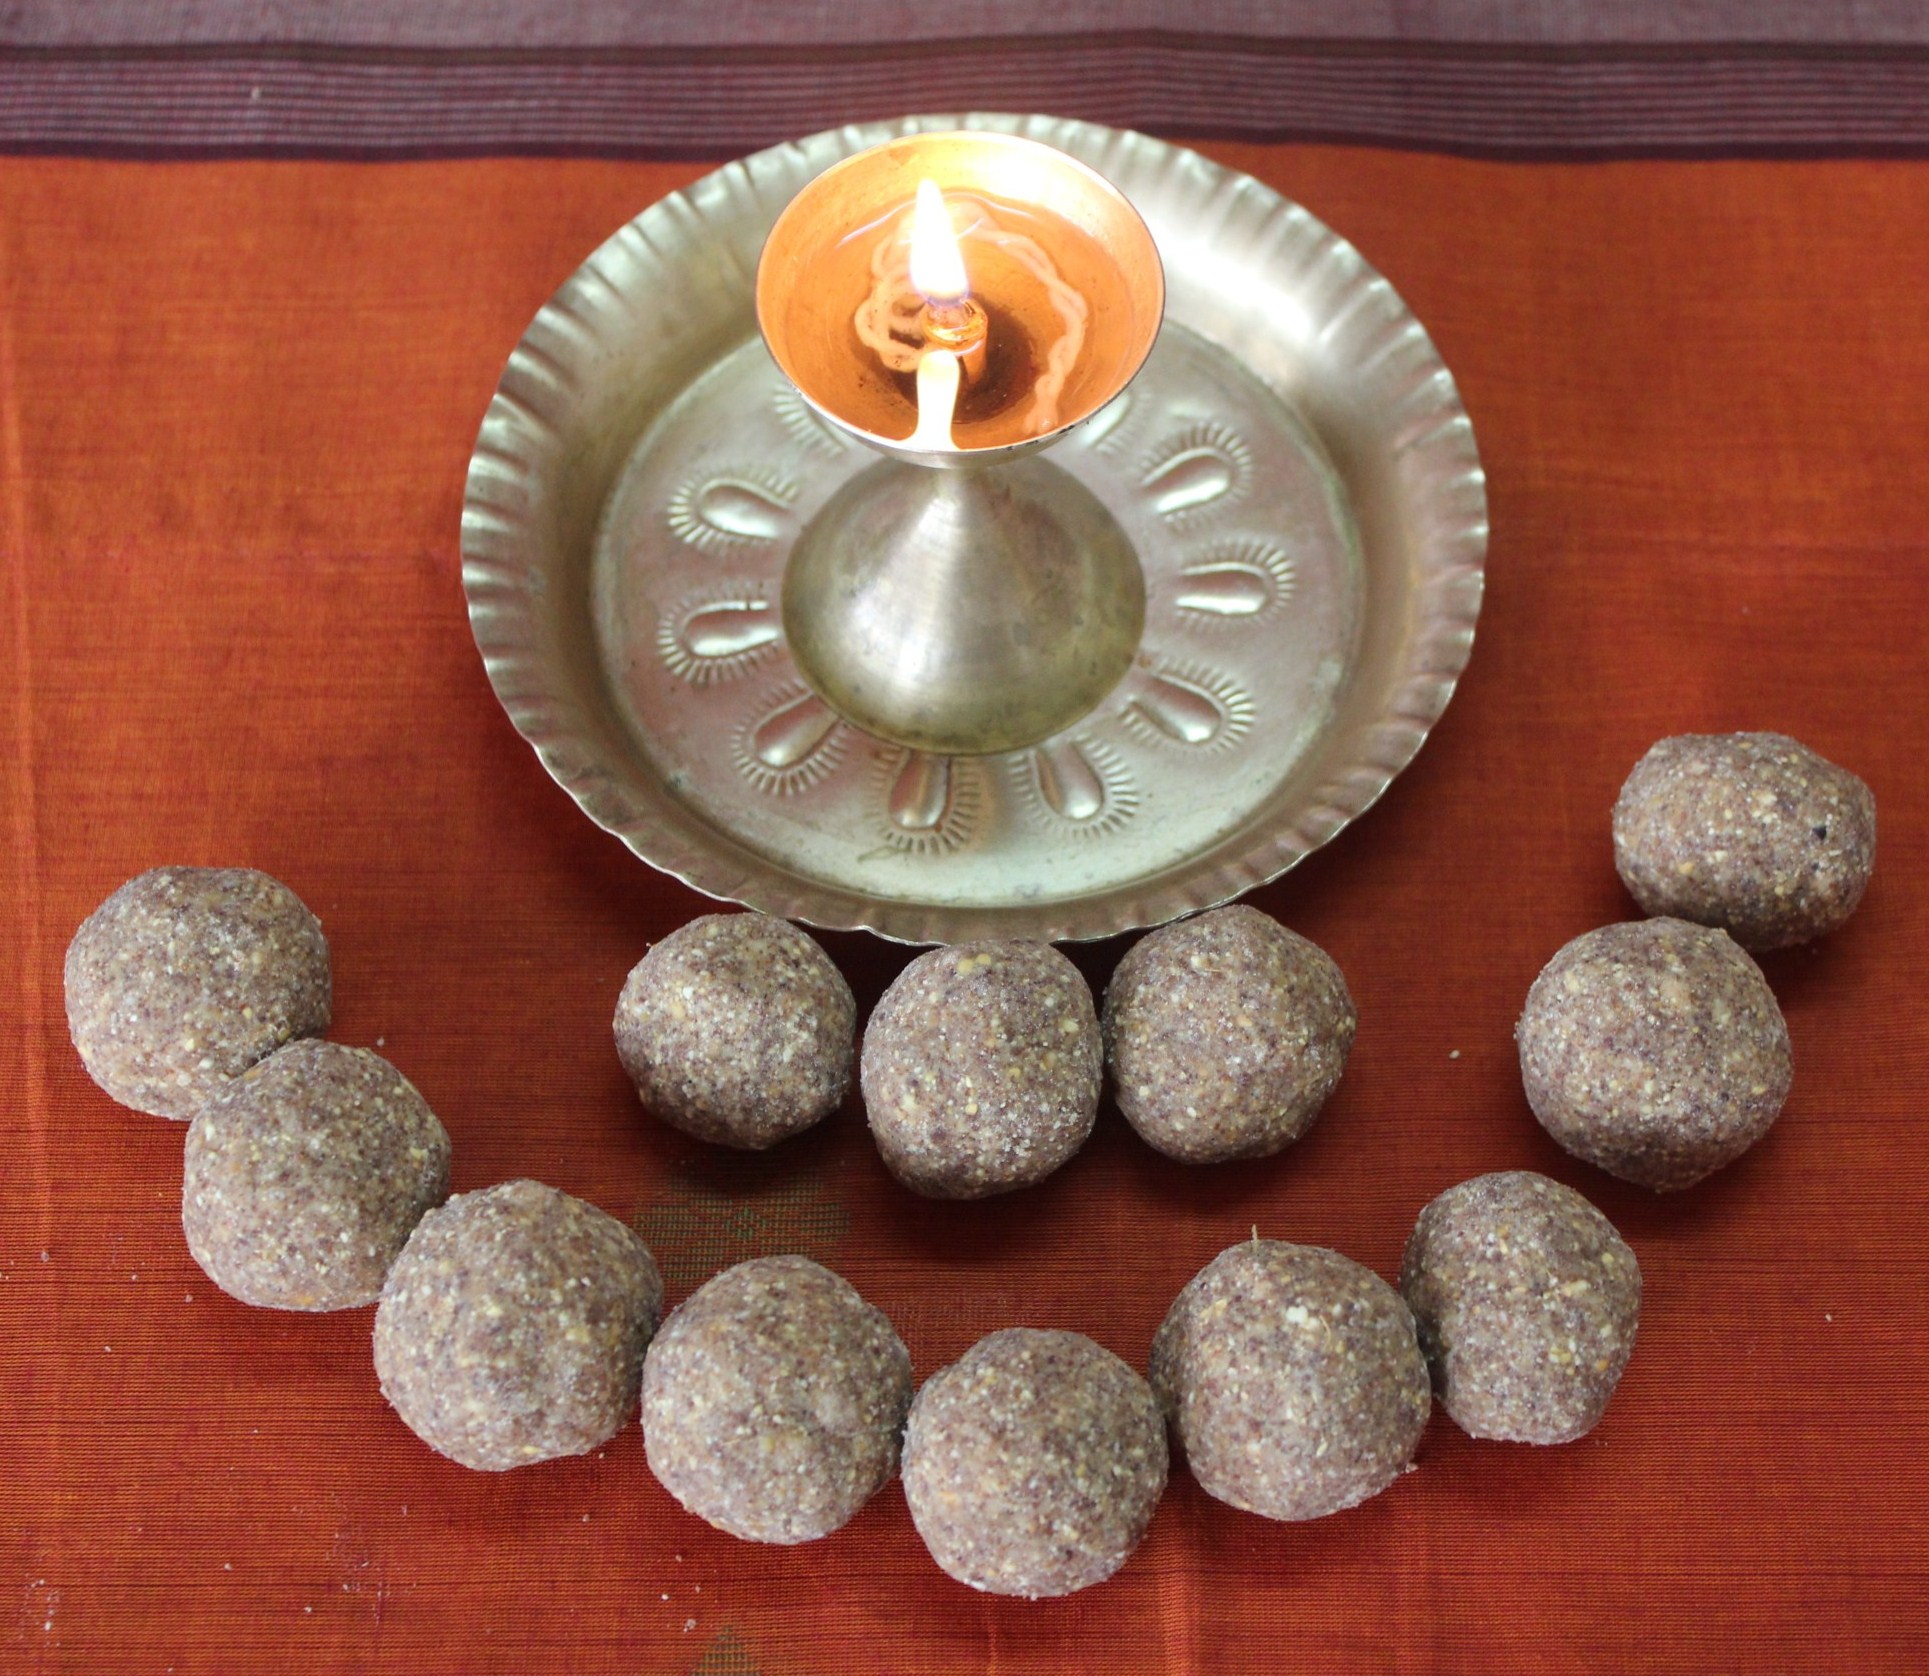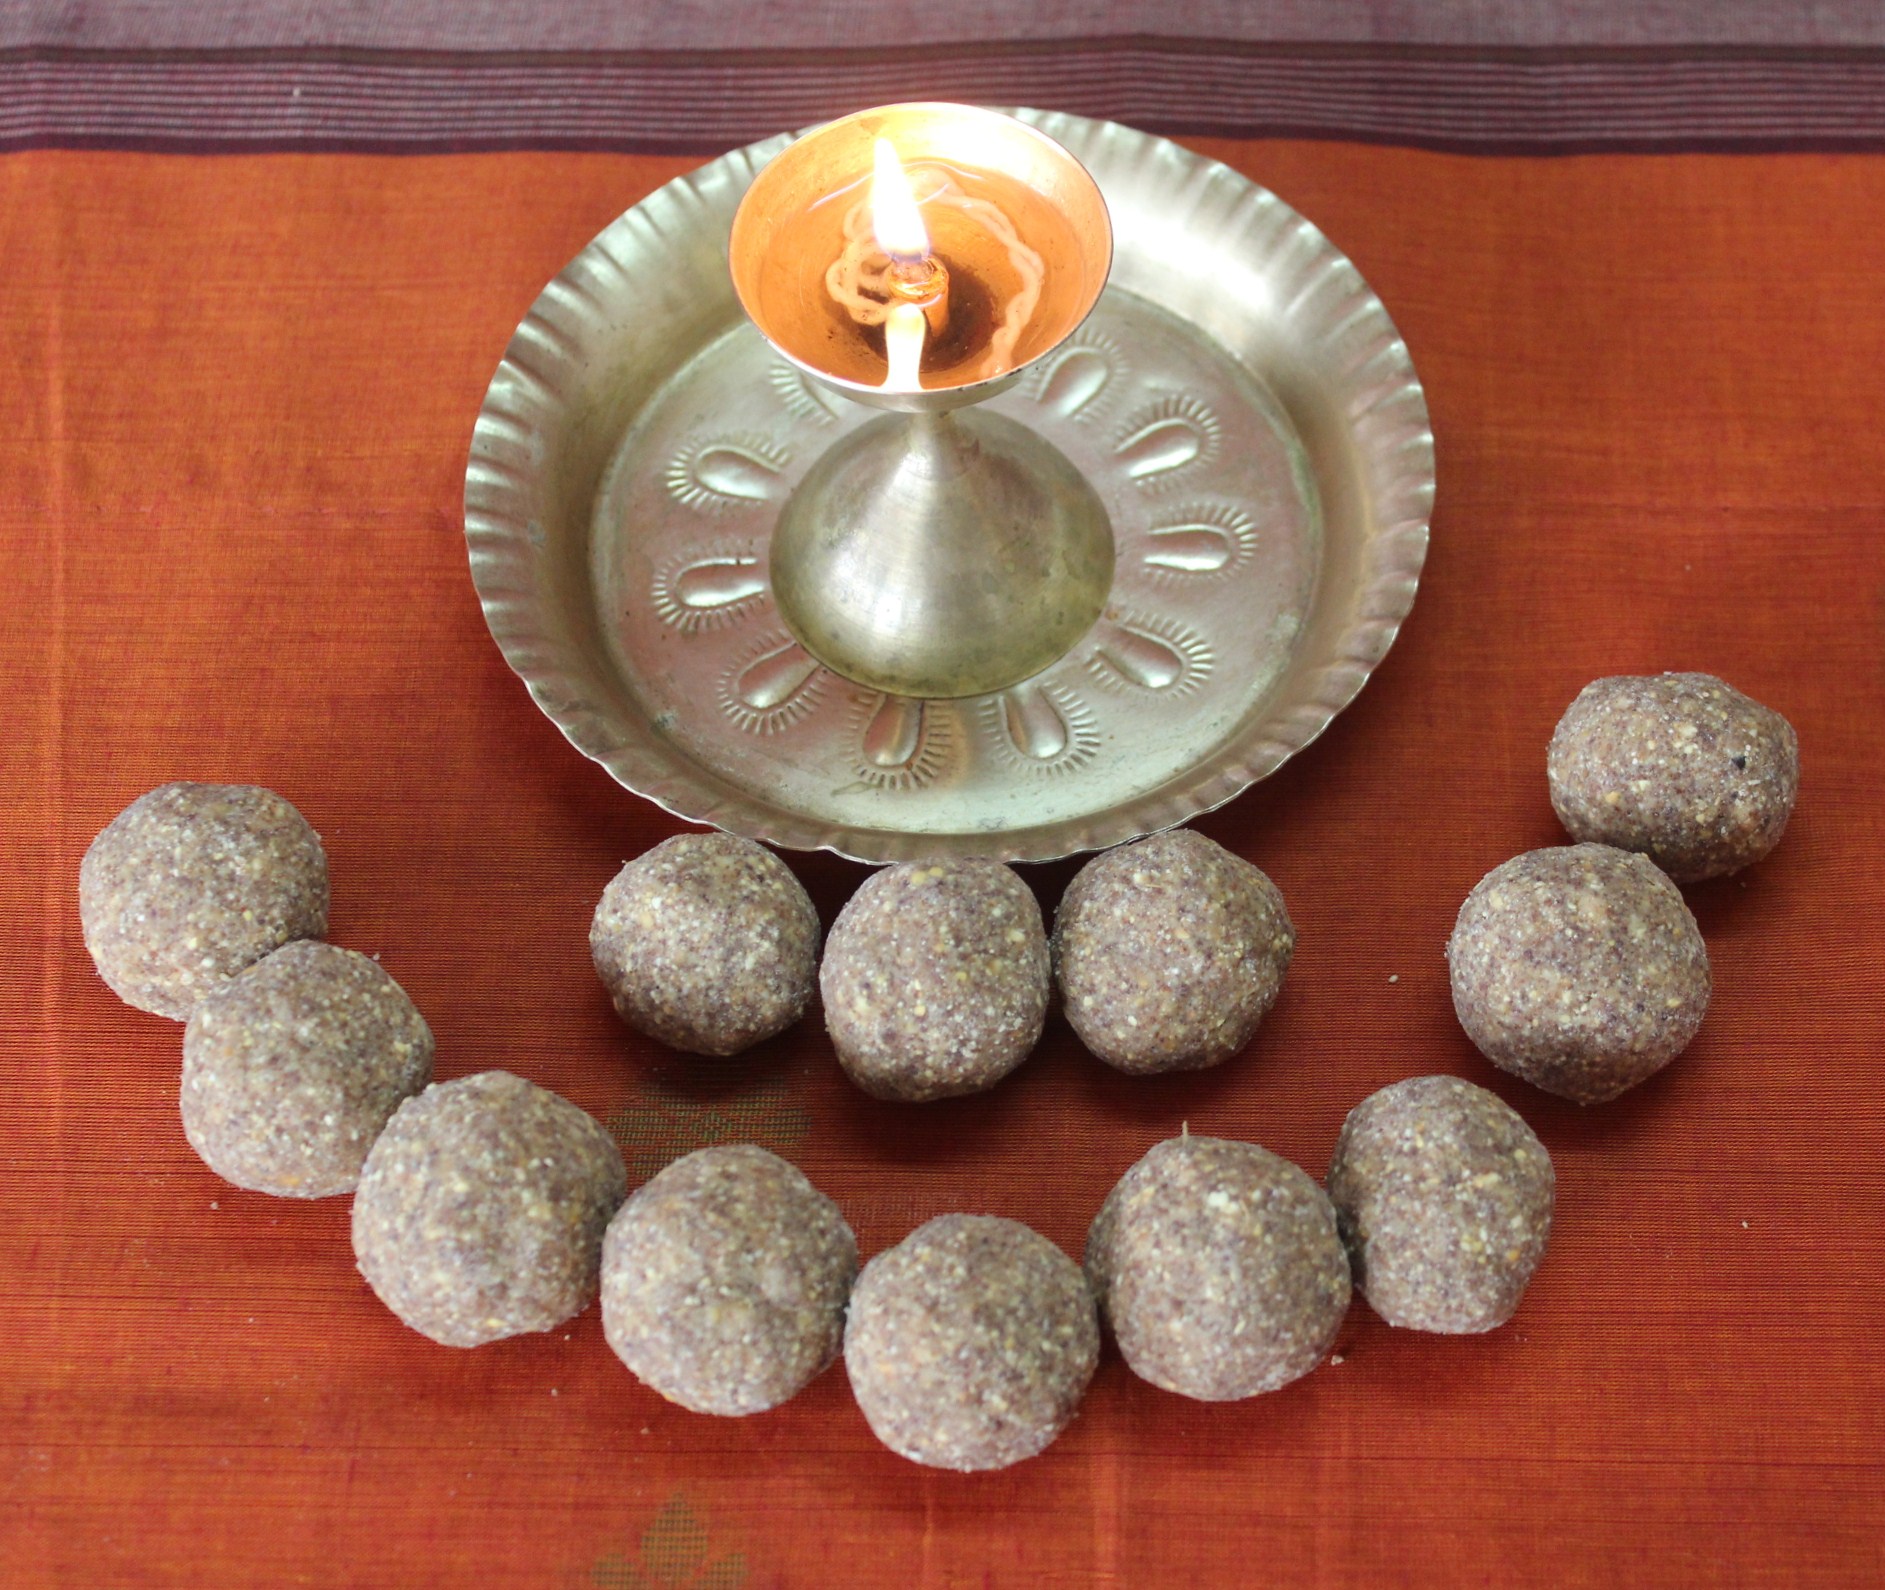


Thirukkarthigai was celebrated yesterday – 25.11.15. This is one of the ancient festivals of Tamilnadu and originally the Festival of Lights. It calls for decorating the house with lamps. A detail post on thirukkarthigai was written in 2011. Refer – dosaikal.com/thirukkaarthigai
There are various sweets prepared for different festive occasions- it can be a mix and match affair as far as the sweets are concerned. But there are certain specific delicacies for specific festivals. ‘Pori’ or Puffed Rice forms a basic part of Thirukkaarthigai. It takes the name of the festival and is called ‘Kaarthigai Pori’.

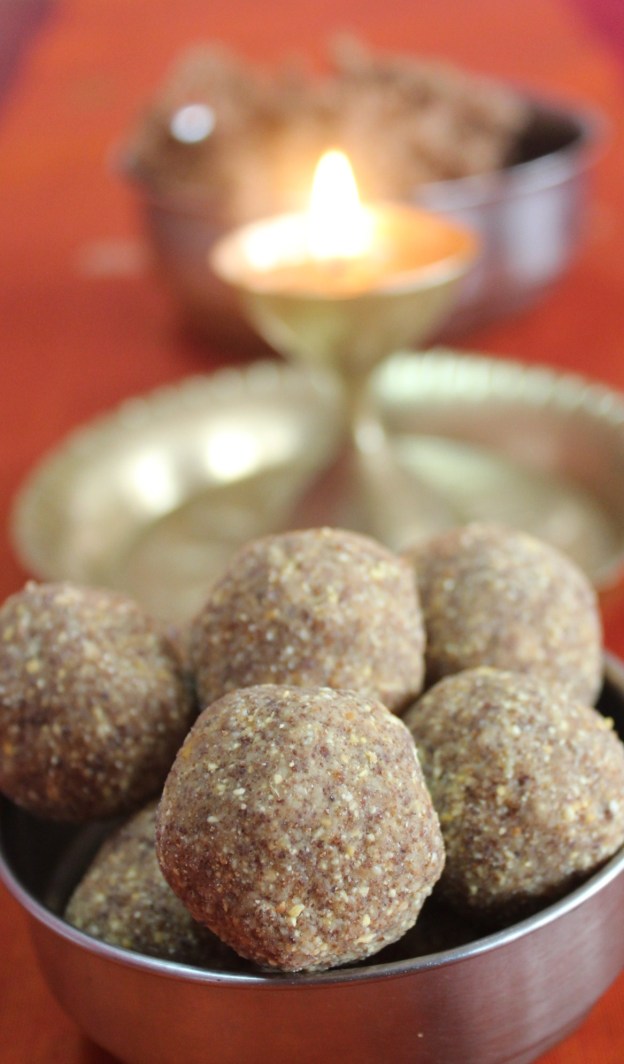
In the previous post on Thirukkaaarthigai or Kaarthigai Deepam, I had tried Pori Urundai or Puffed Rice Jaggery Balls but had not been successful. Hence, it was converted into uthiri pori or sweetened puffed rice.
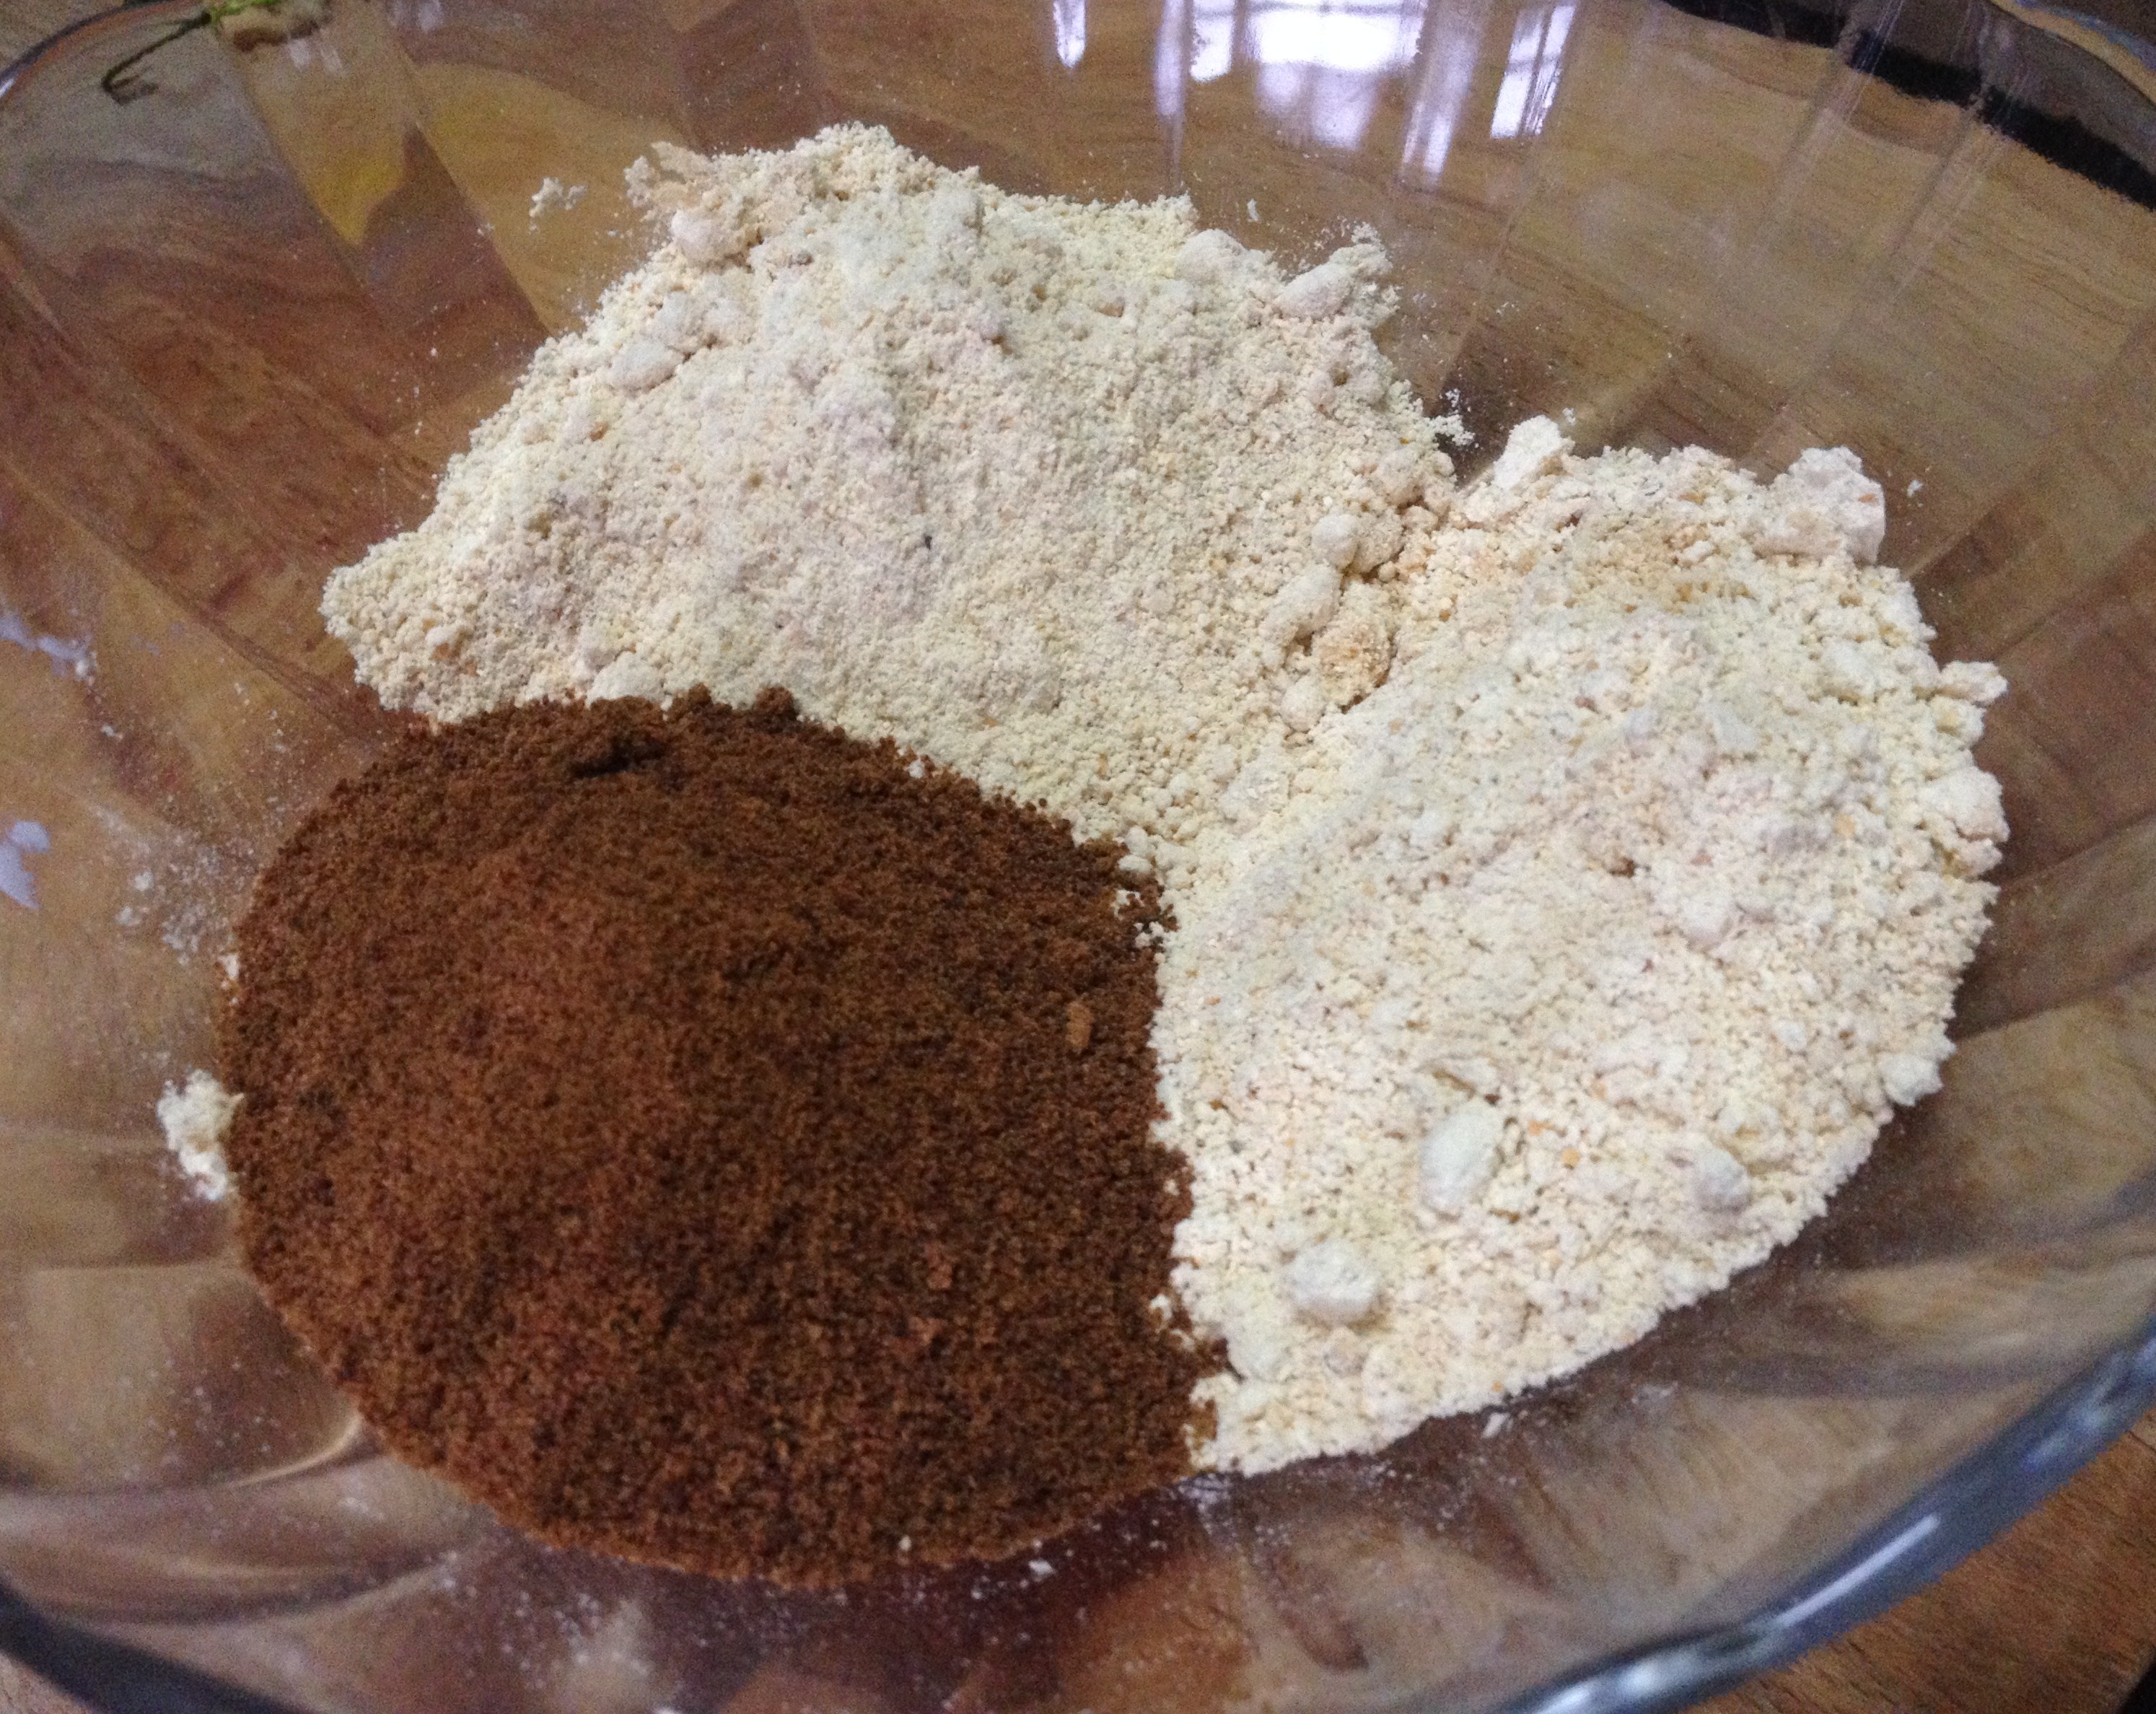
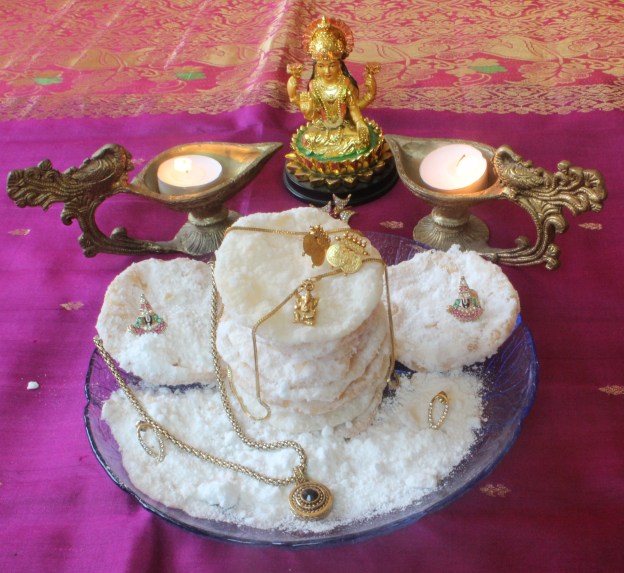
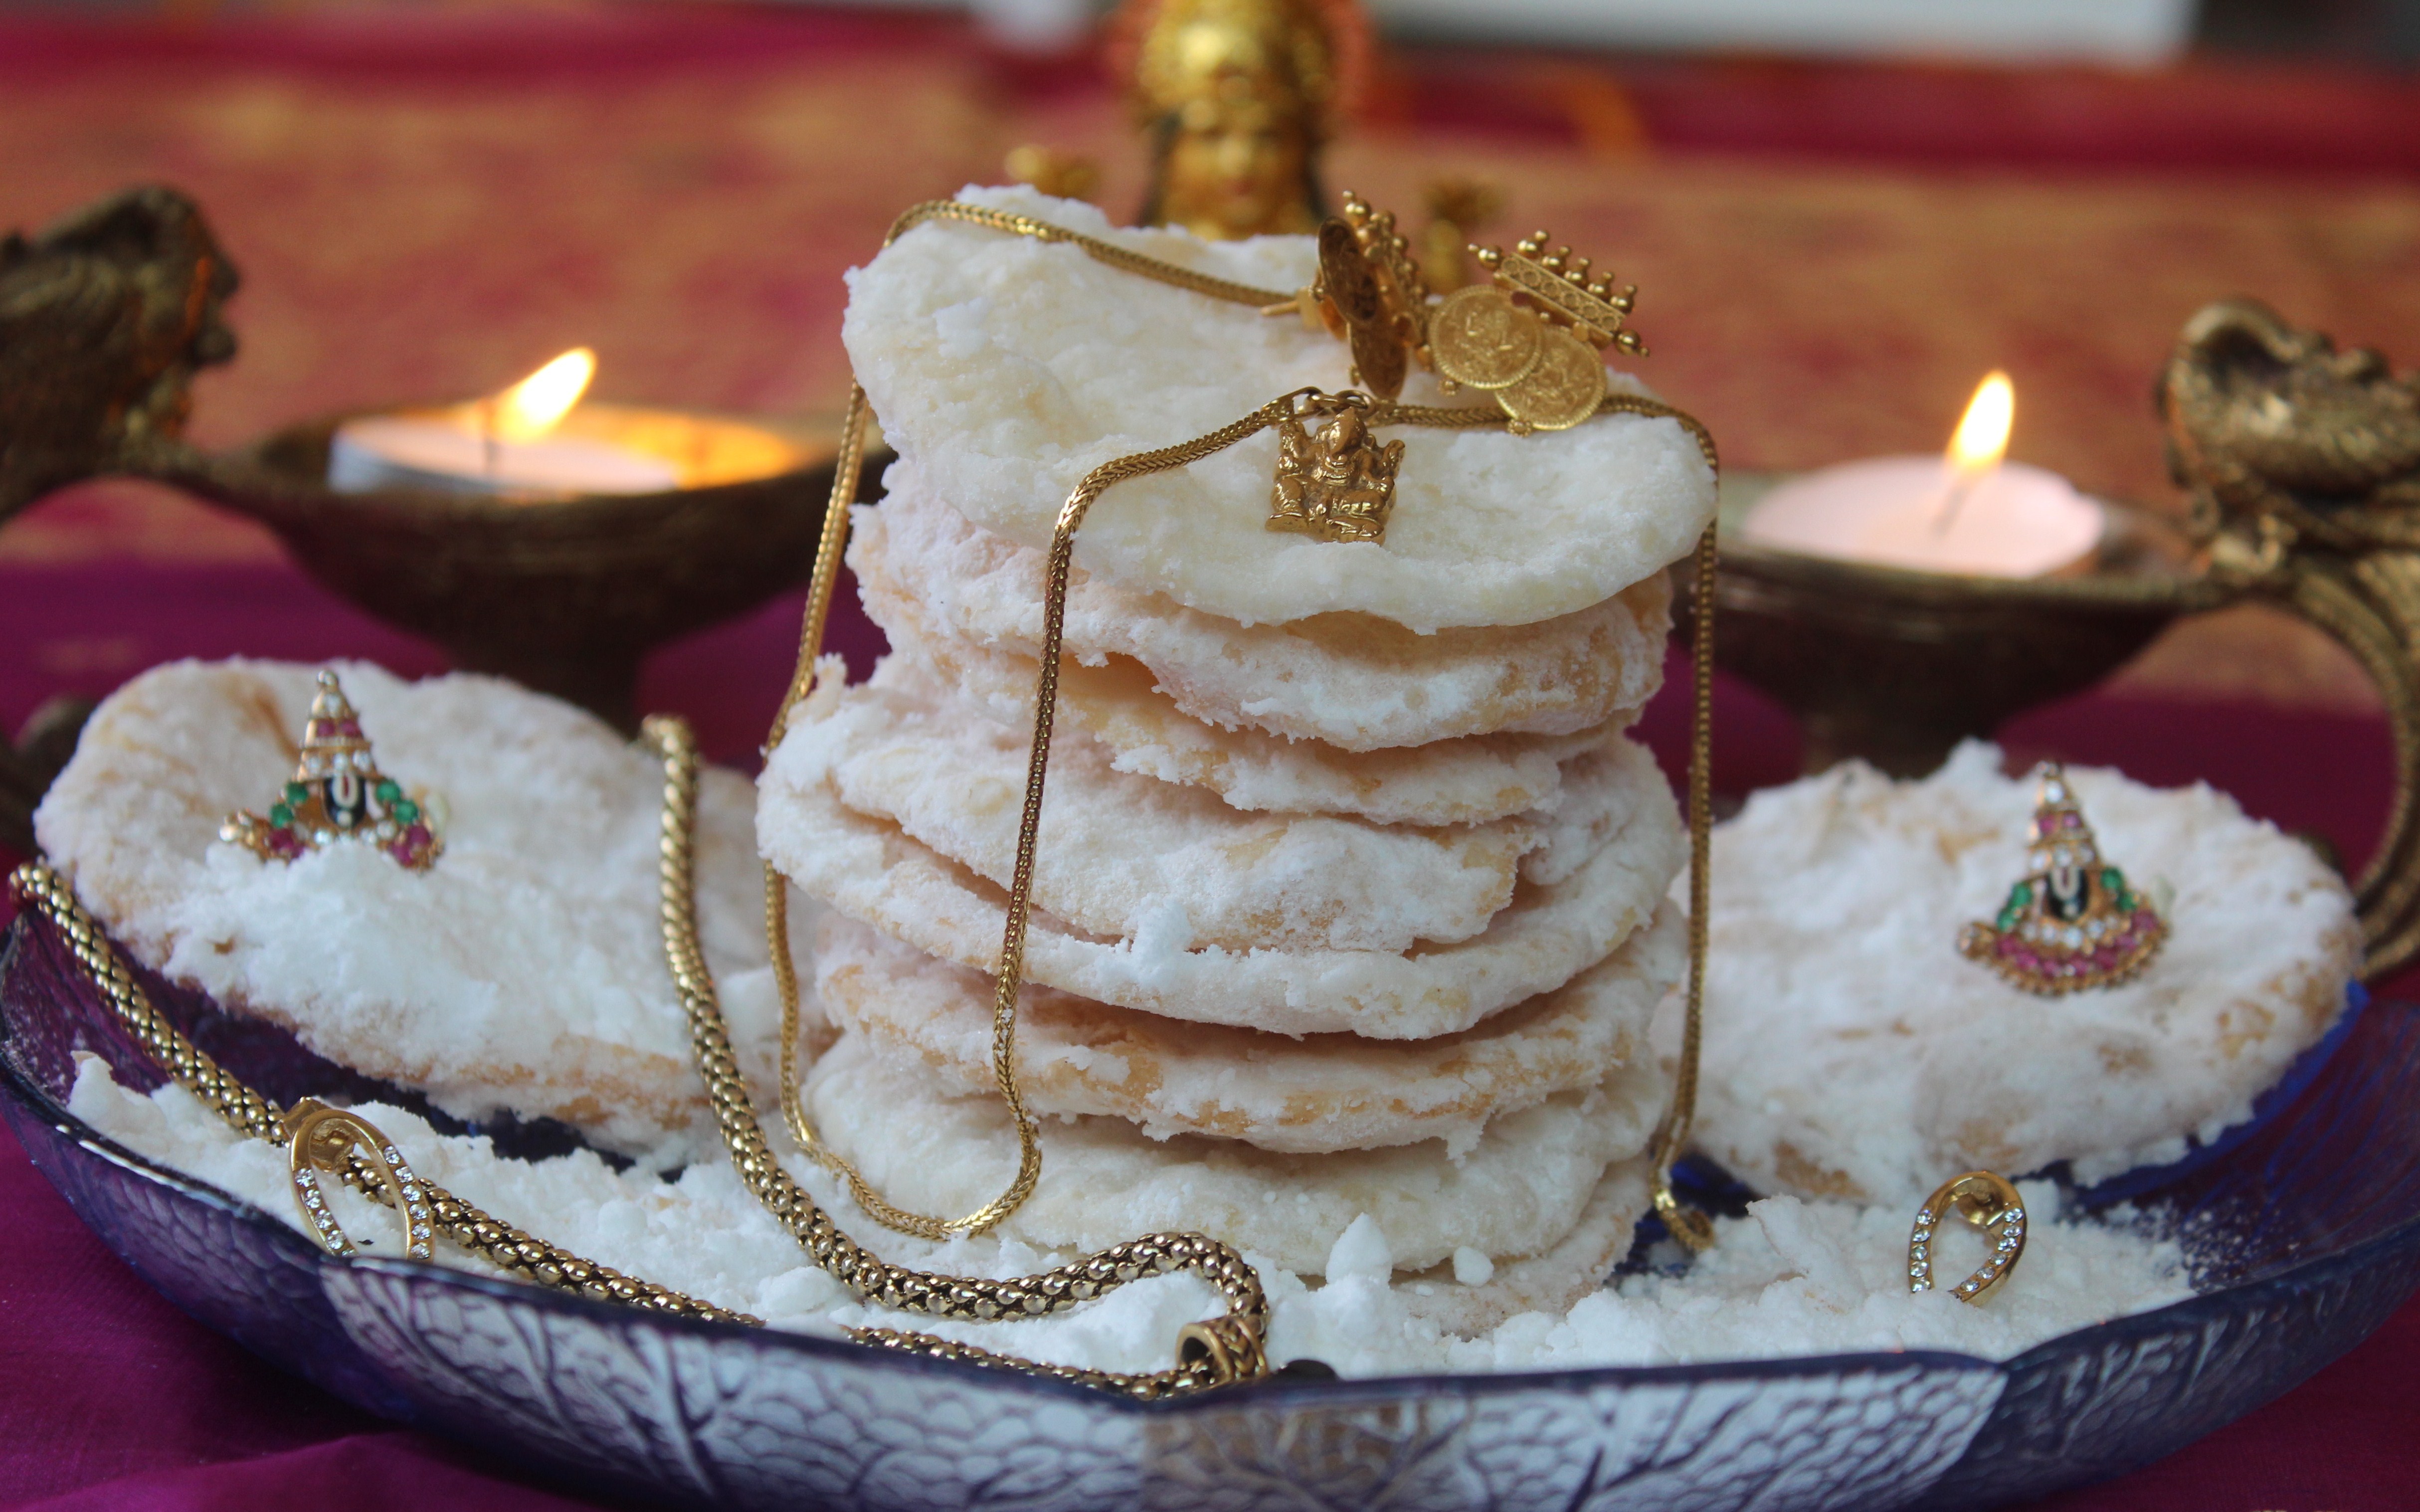
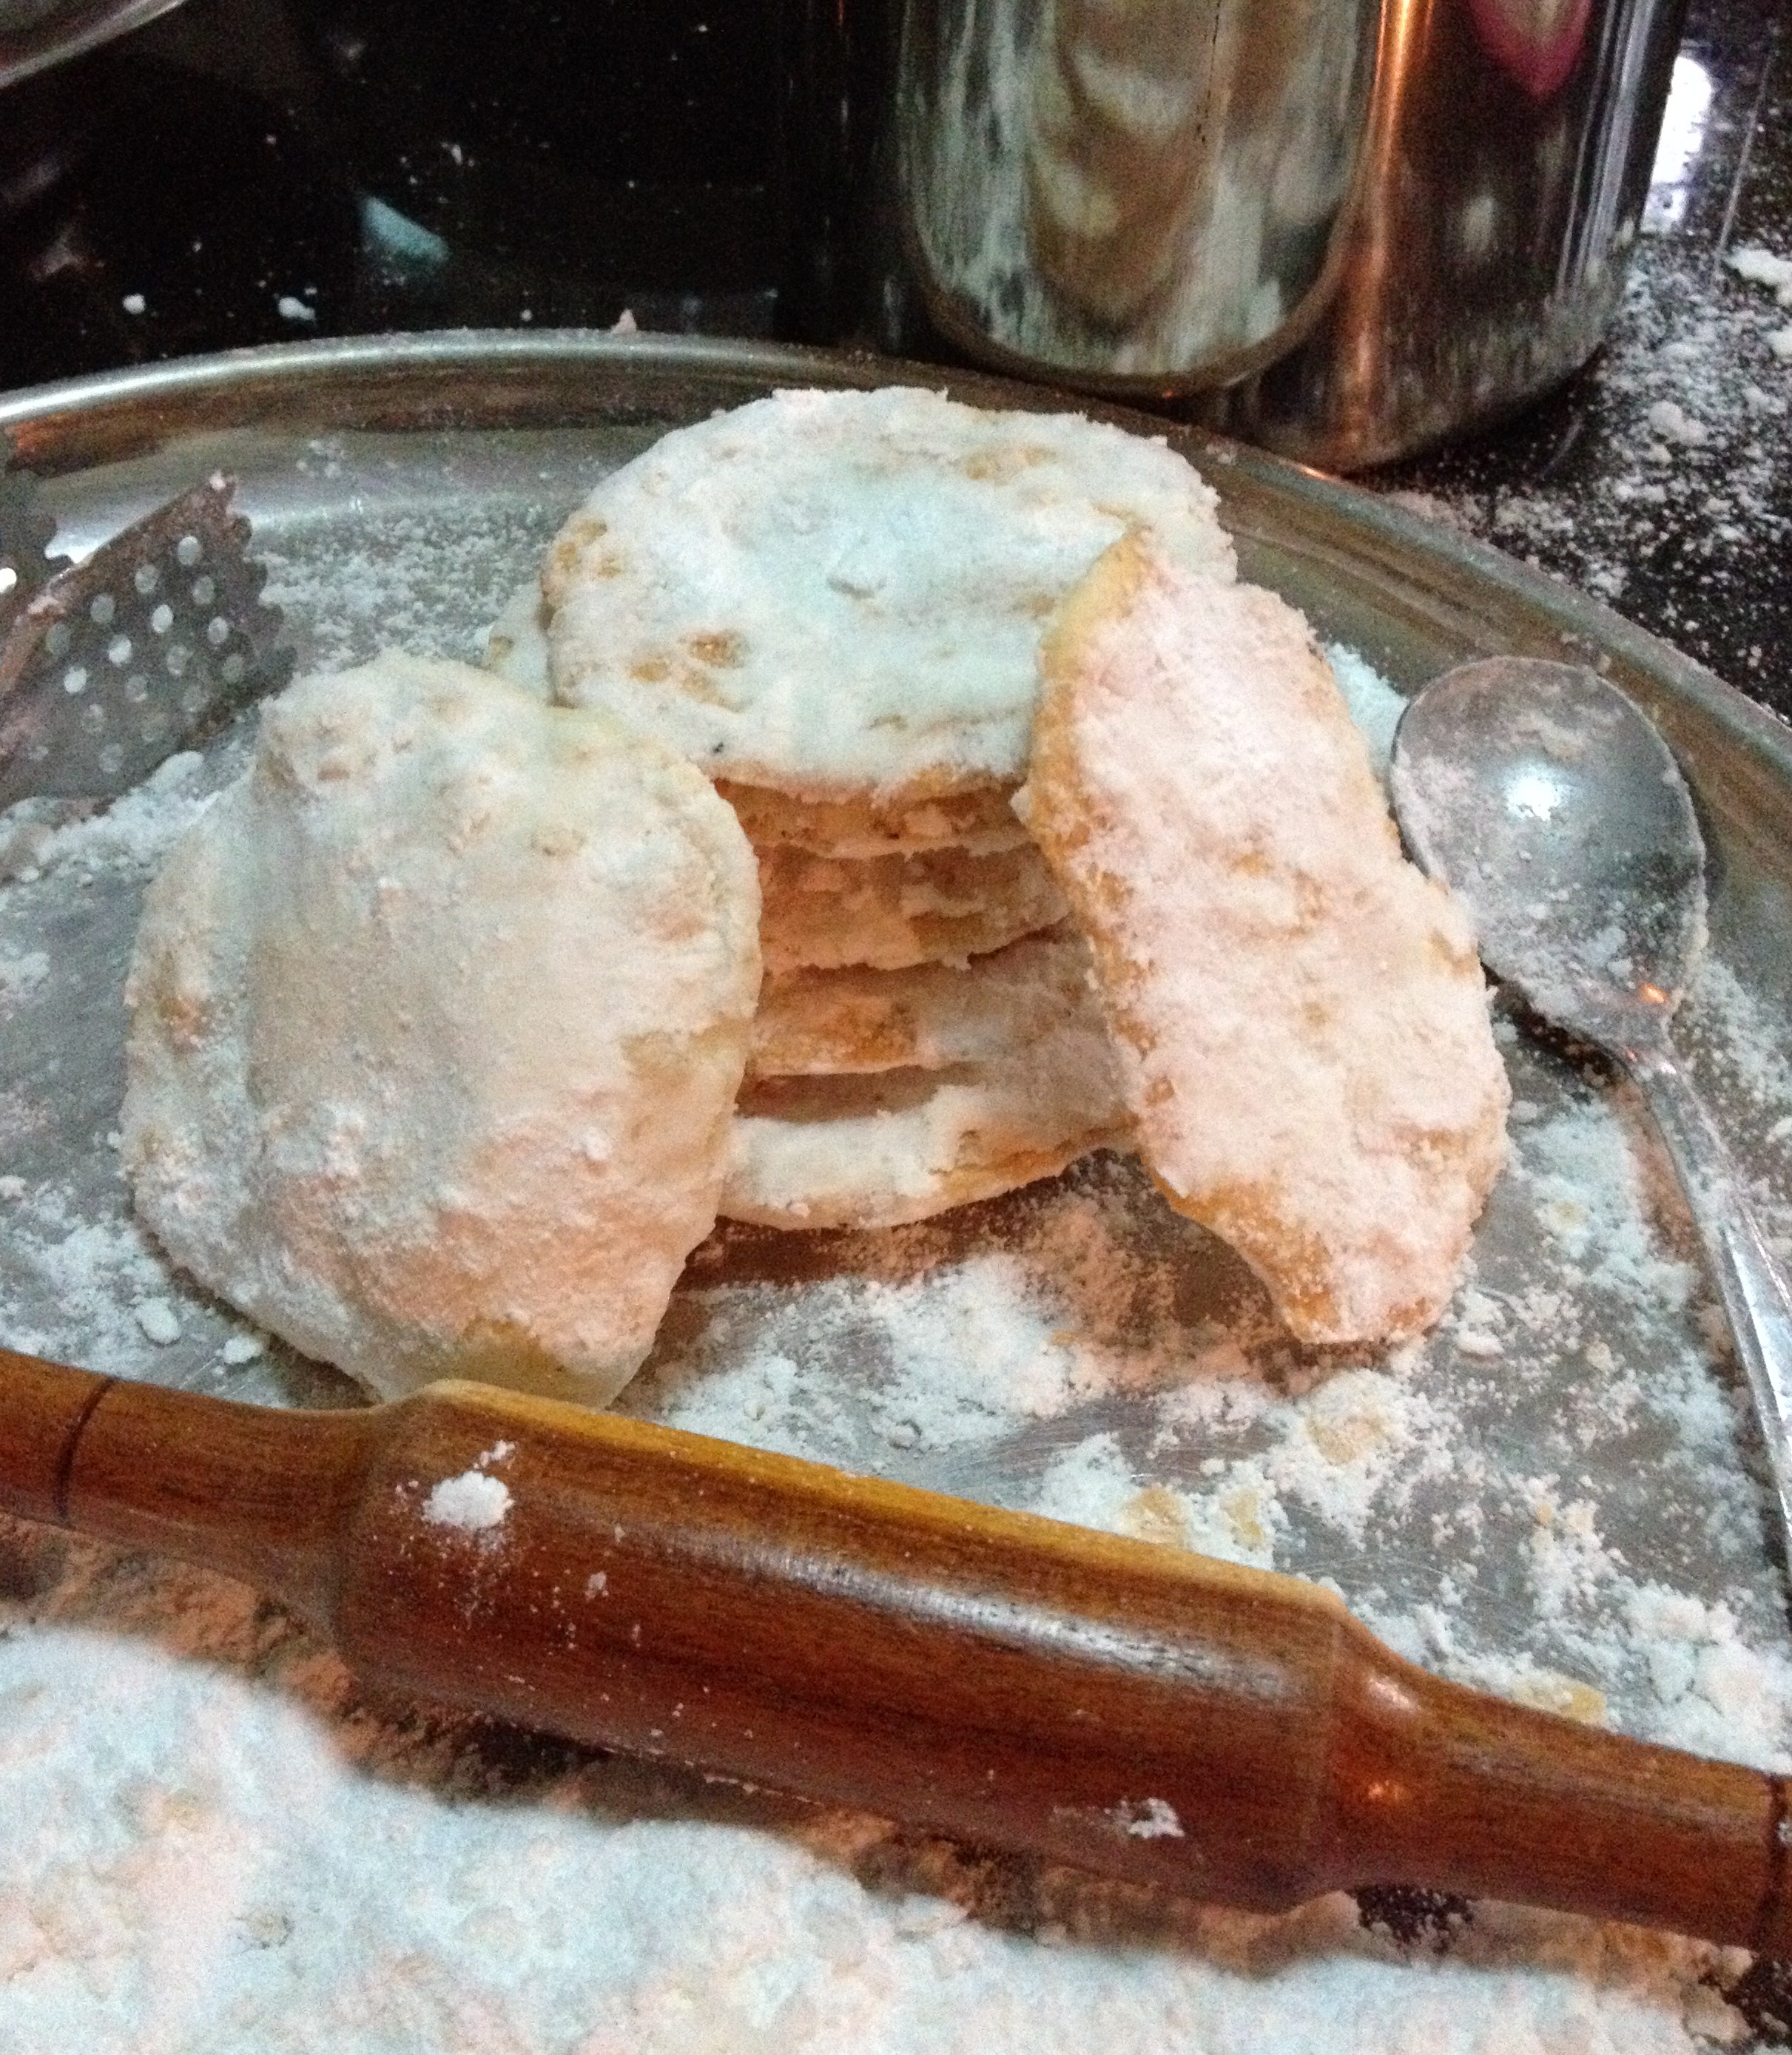
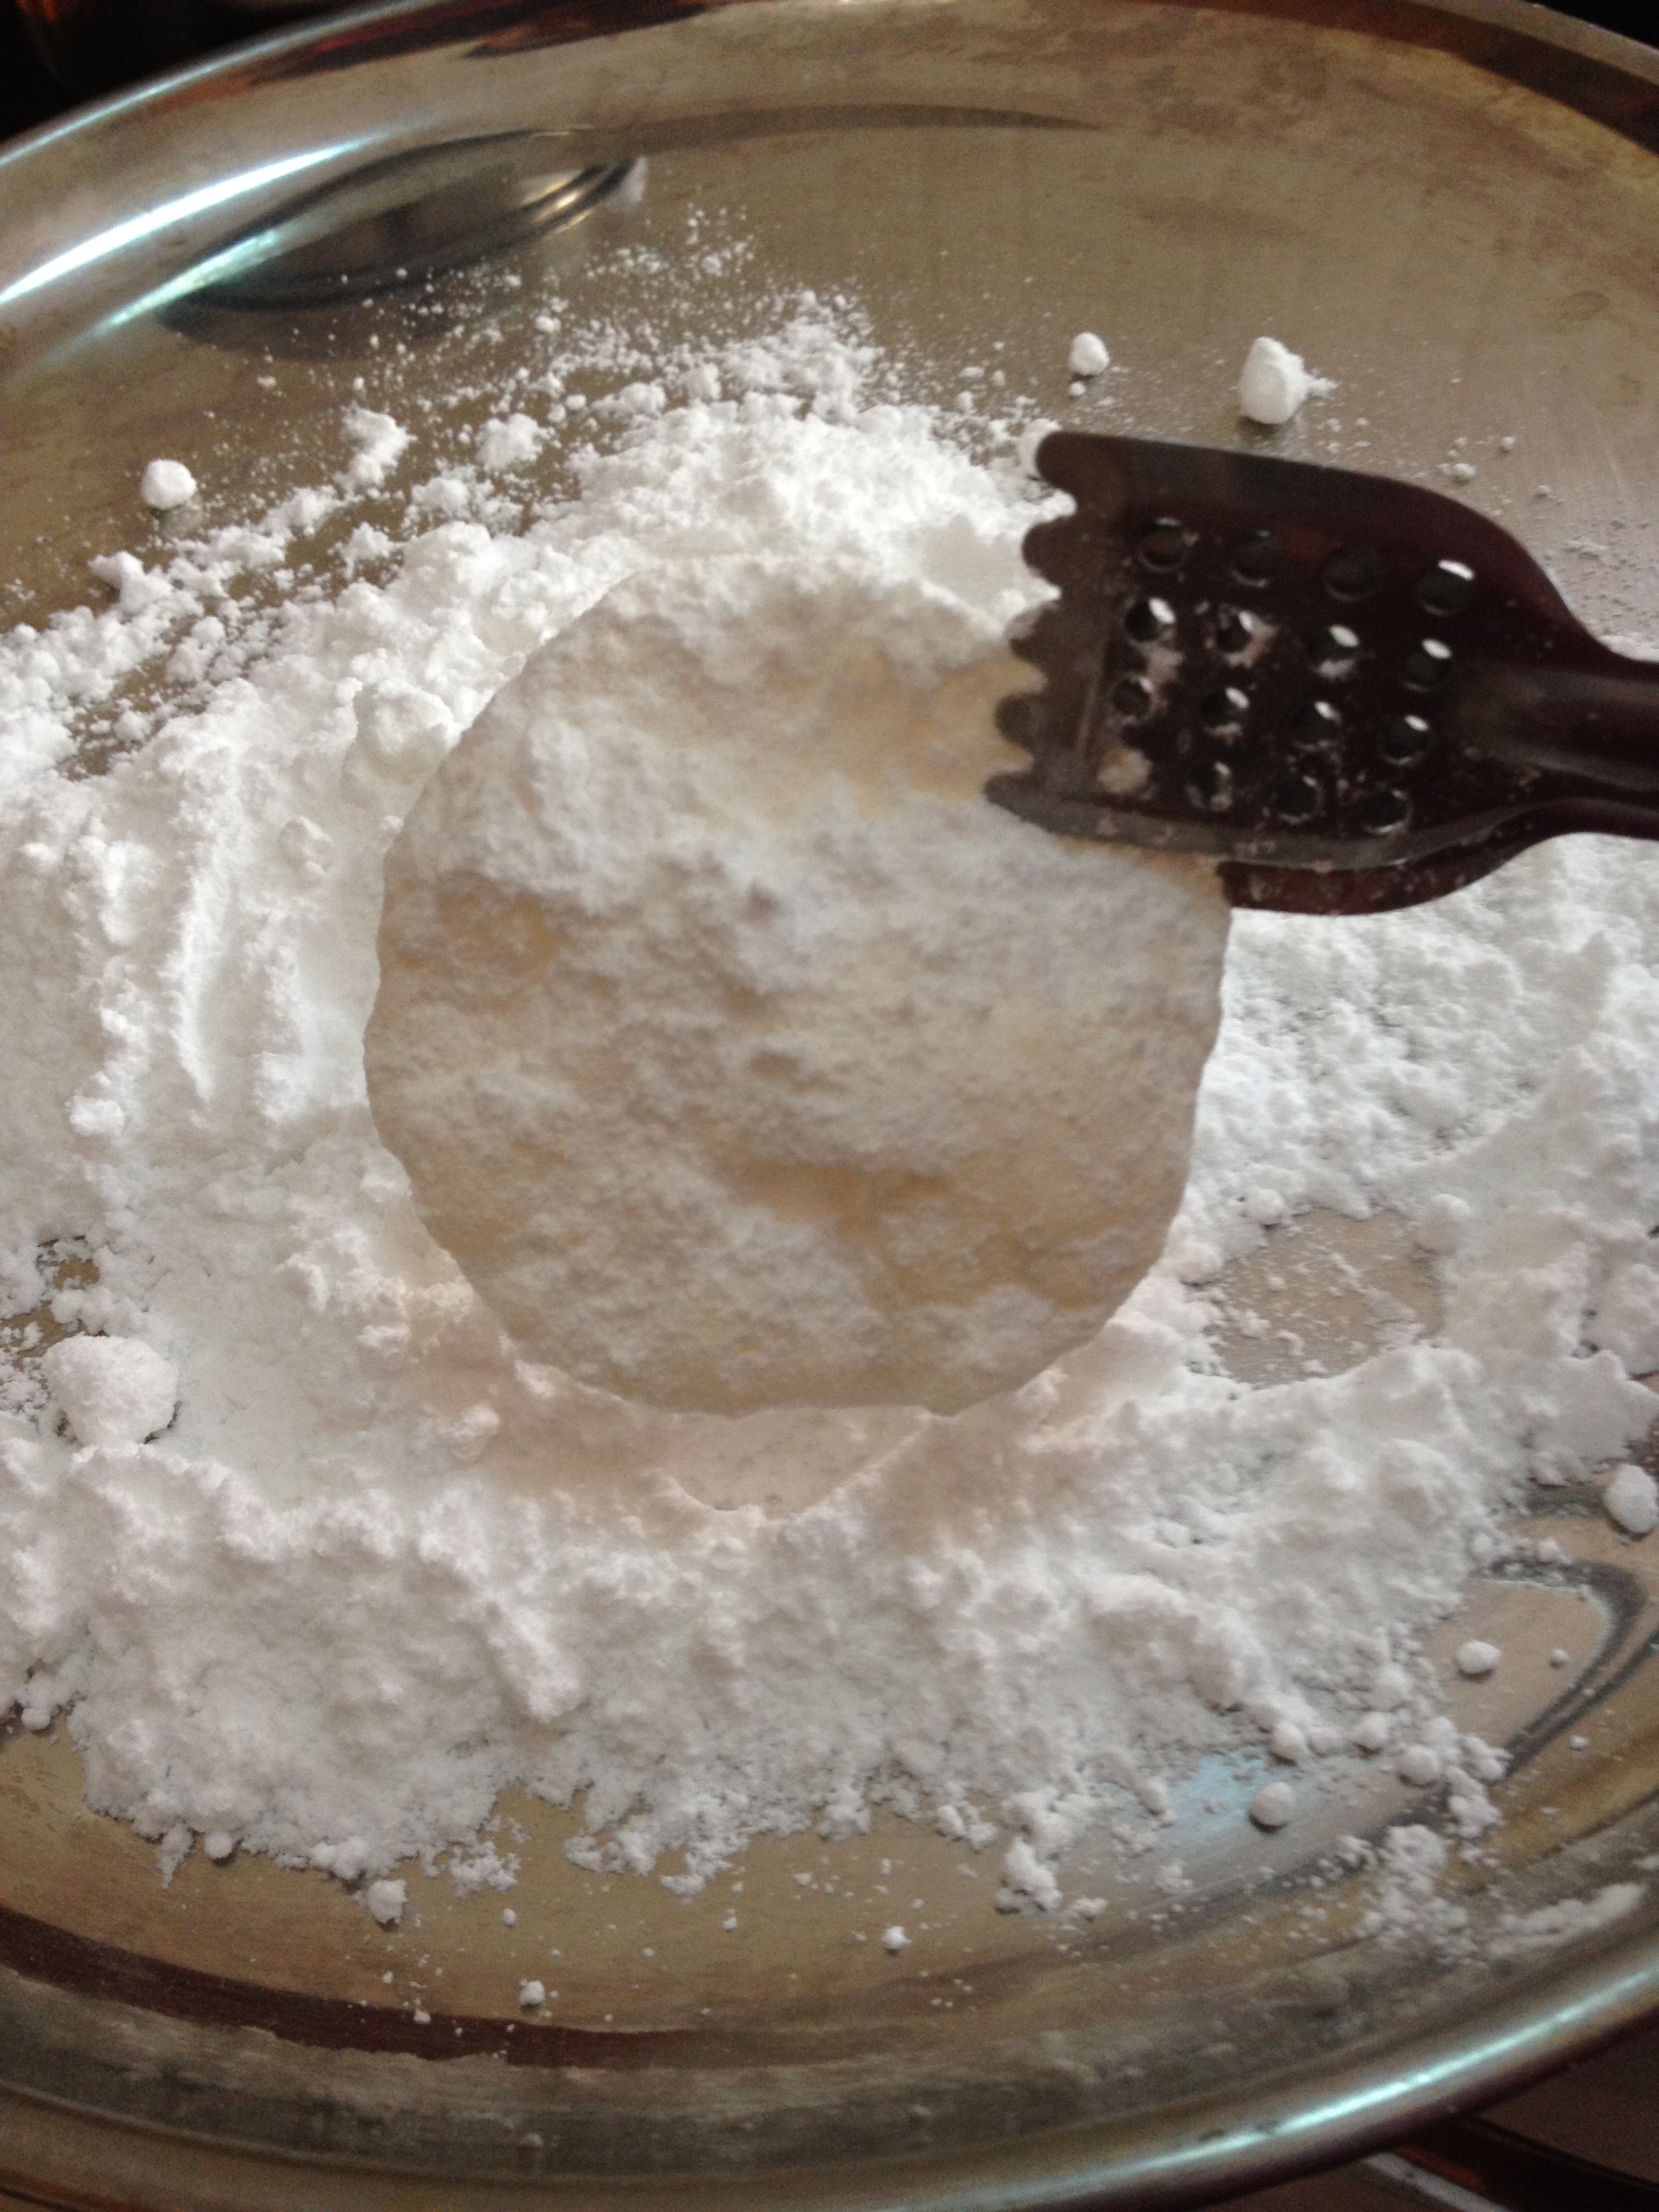
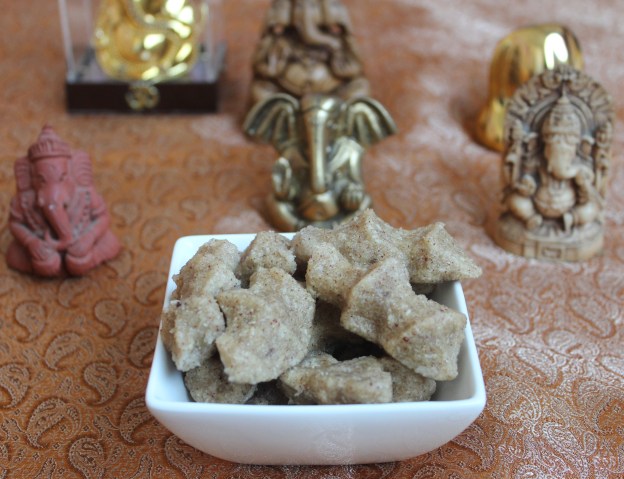
This time I was successful and could make Pori Urundais because of the right consistency of jaggery syrup.Graduating from a learner to a better learner, this time ‘Maavilakku’ or the lamp made with rice flour also came out better shaped, certified ‘good’ by my daughter. What else one needs as good marks from your child!
To the recipe-
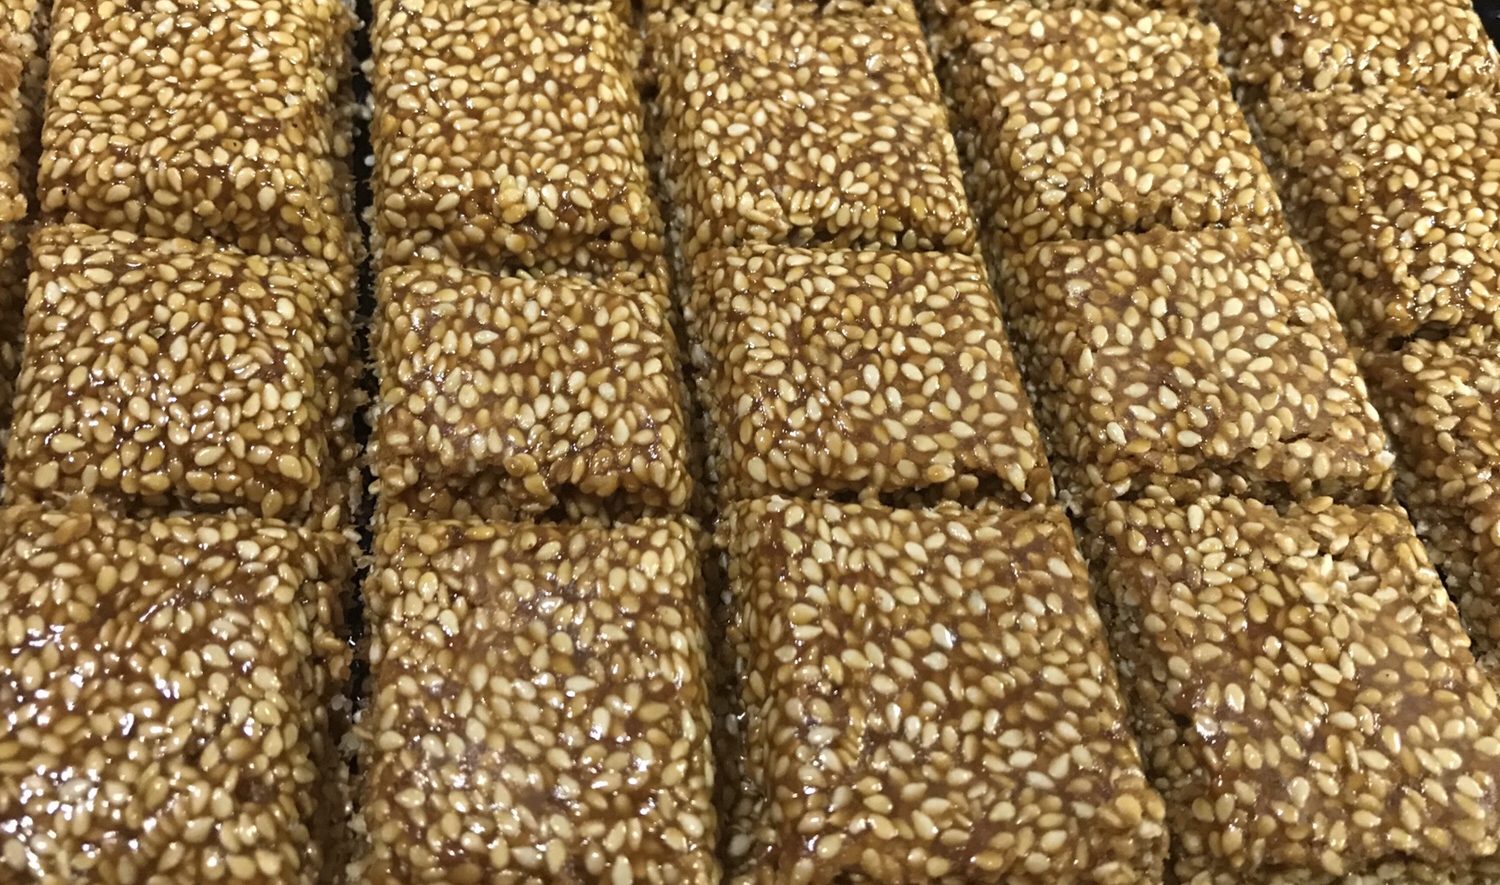
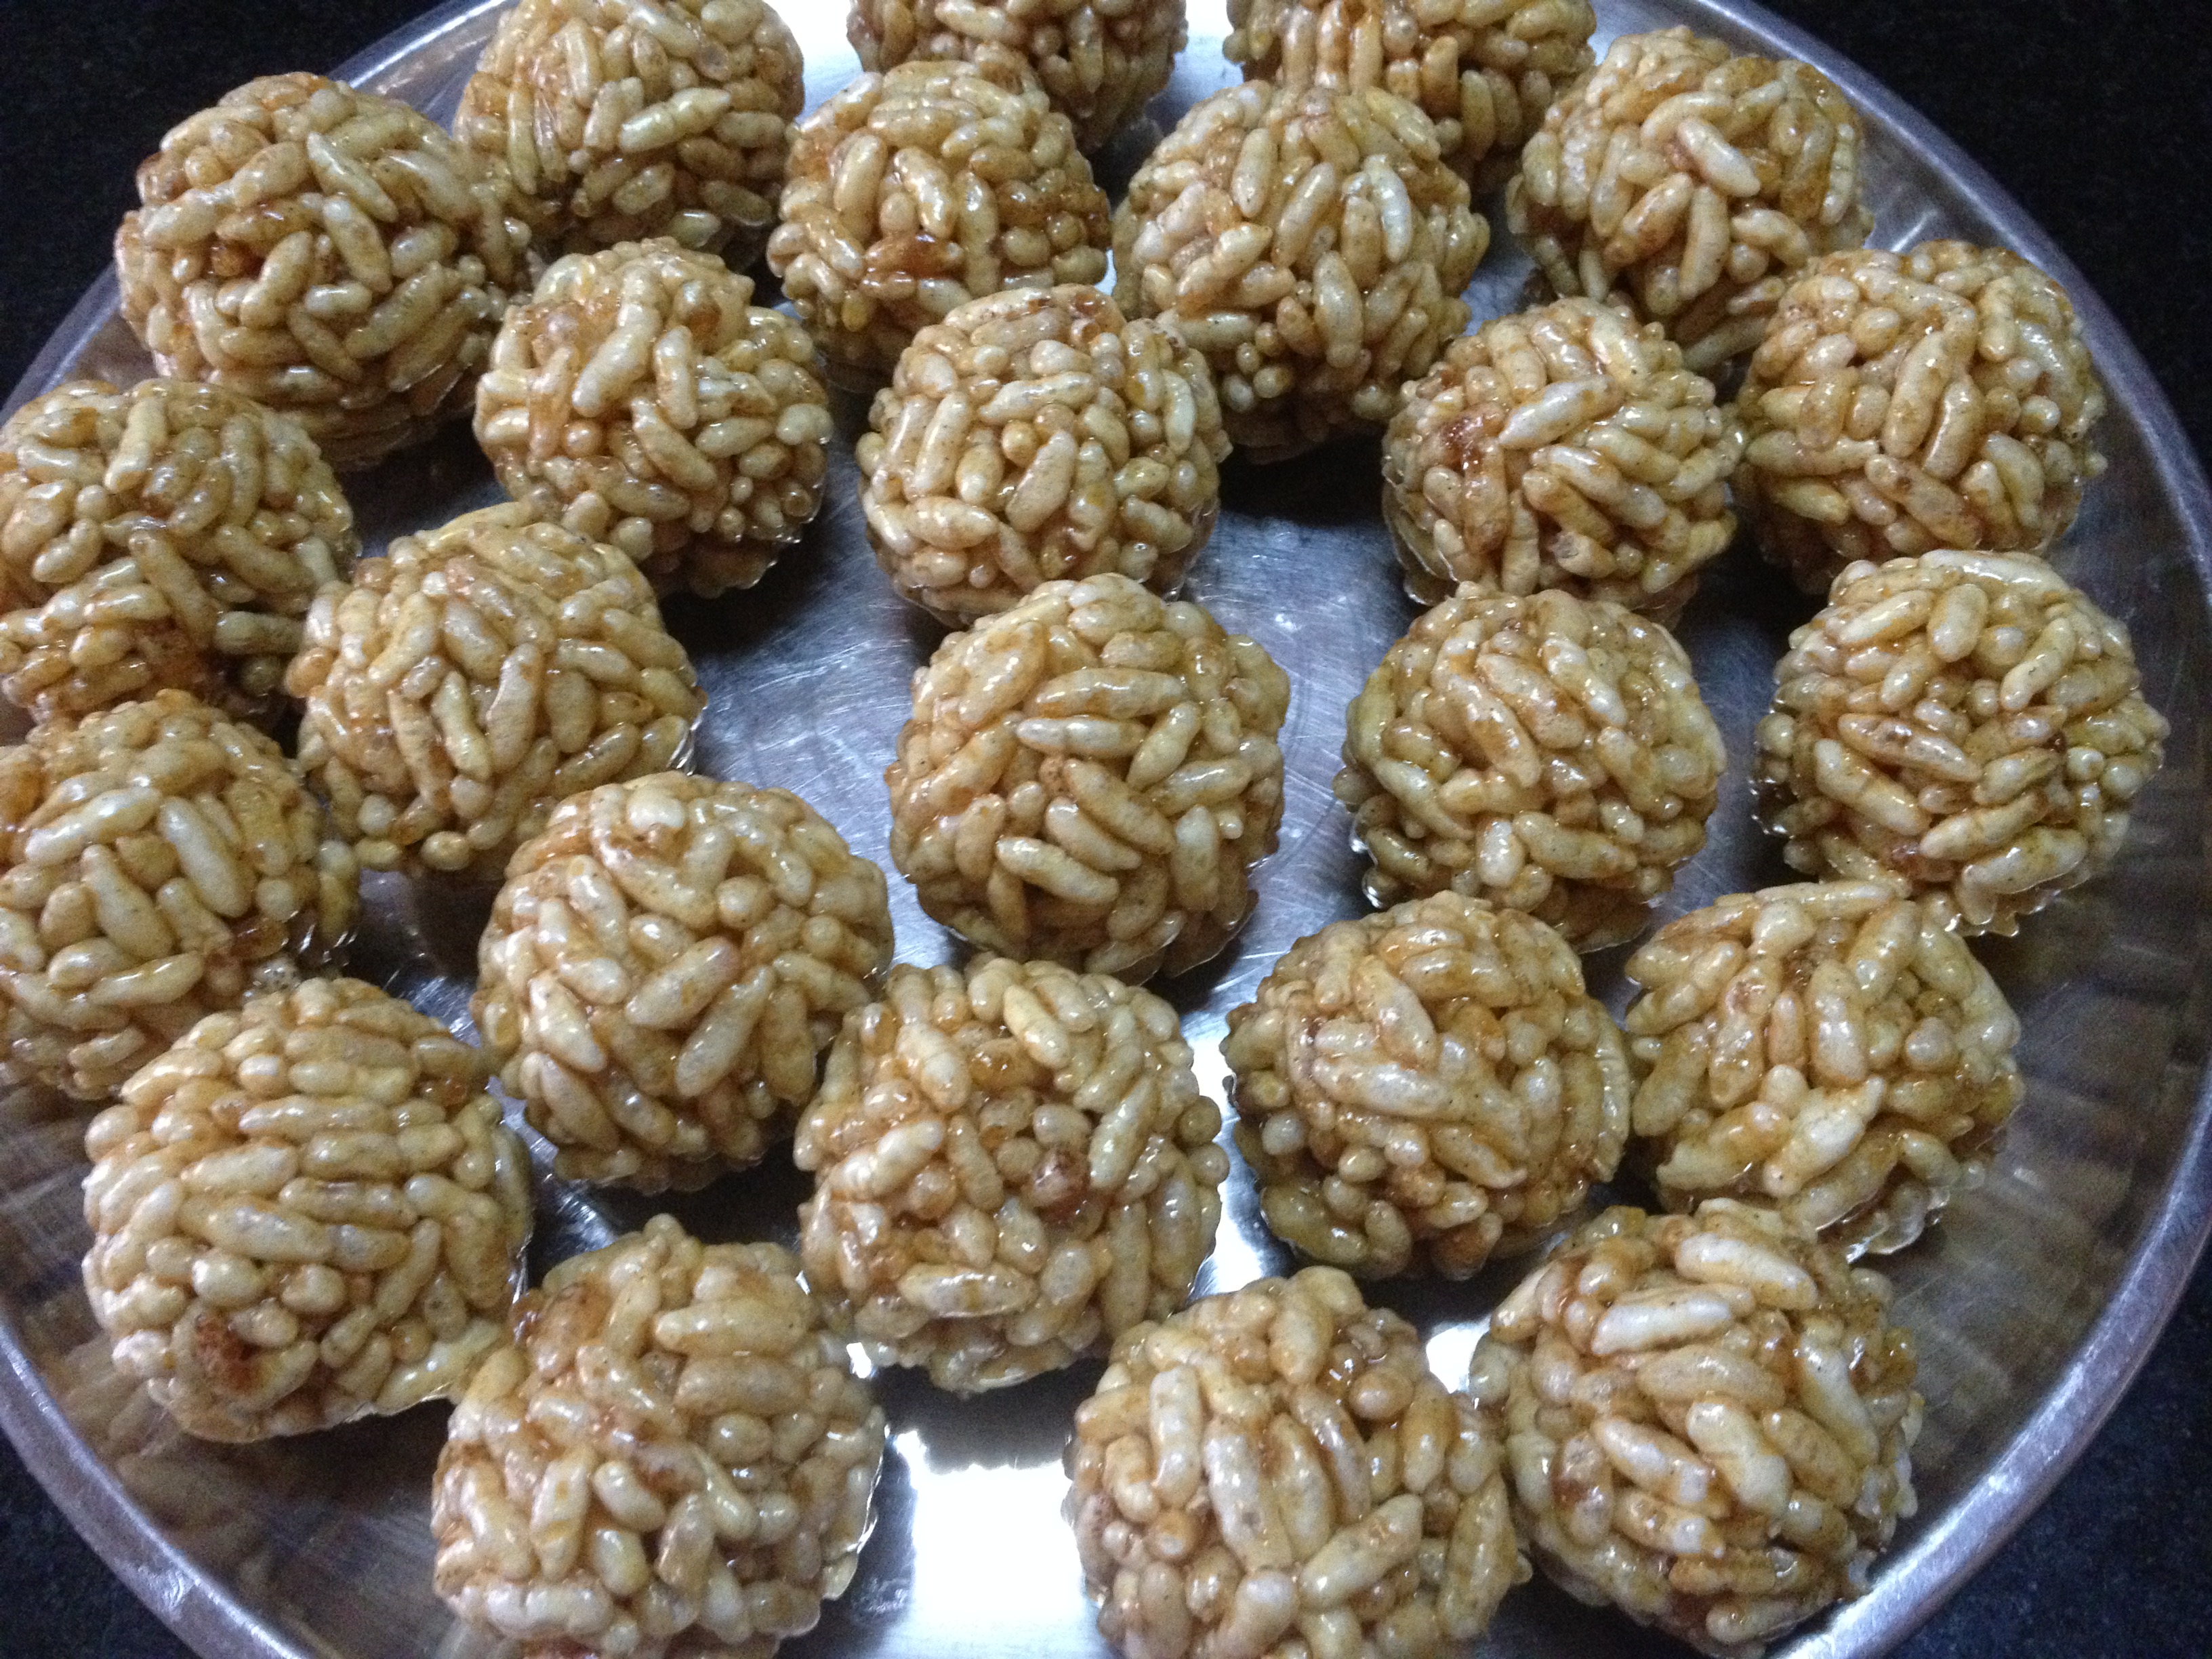
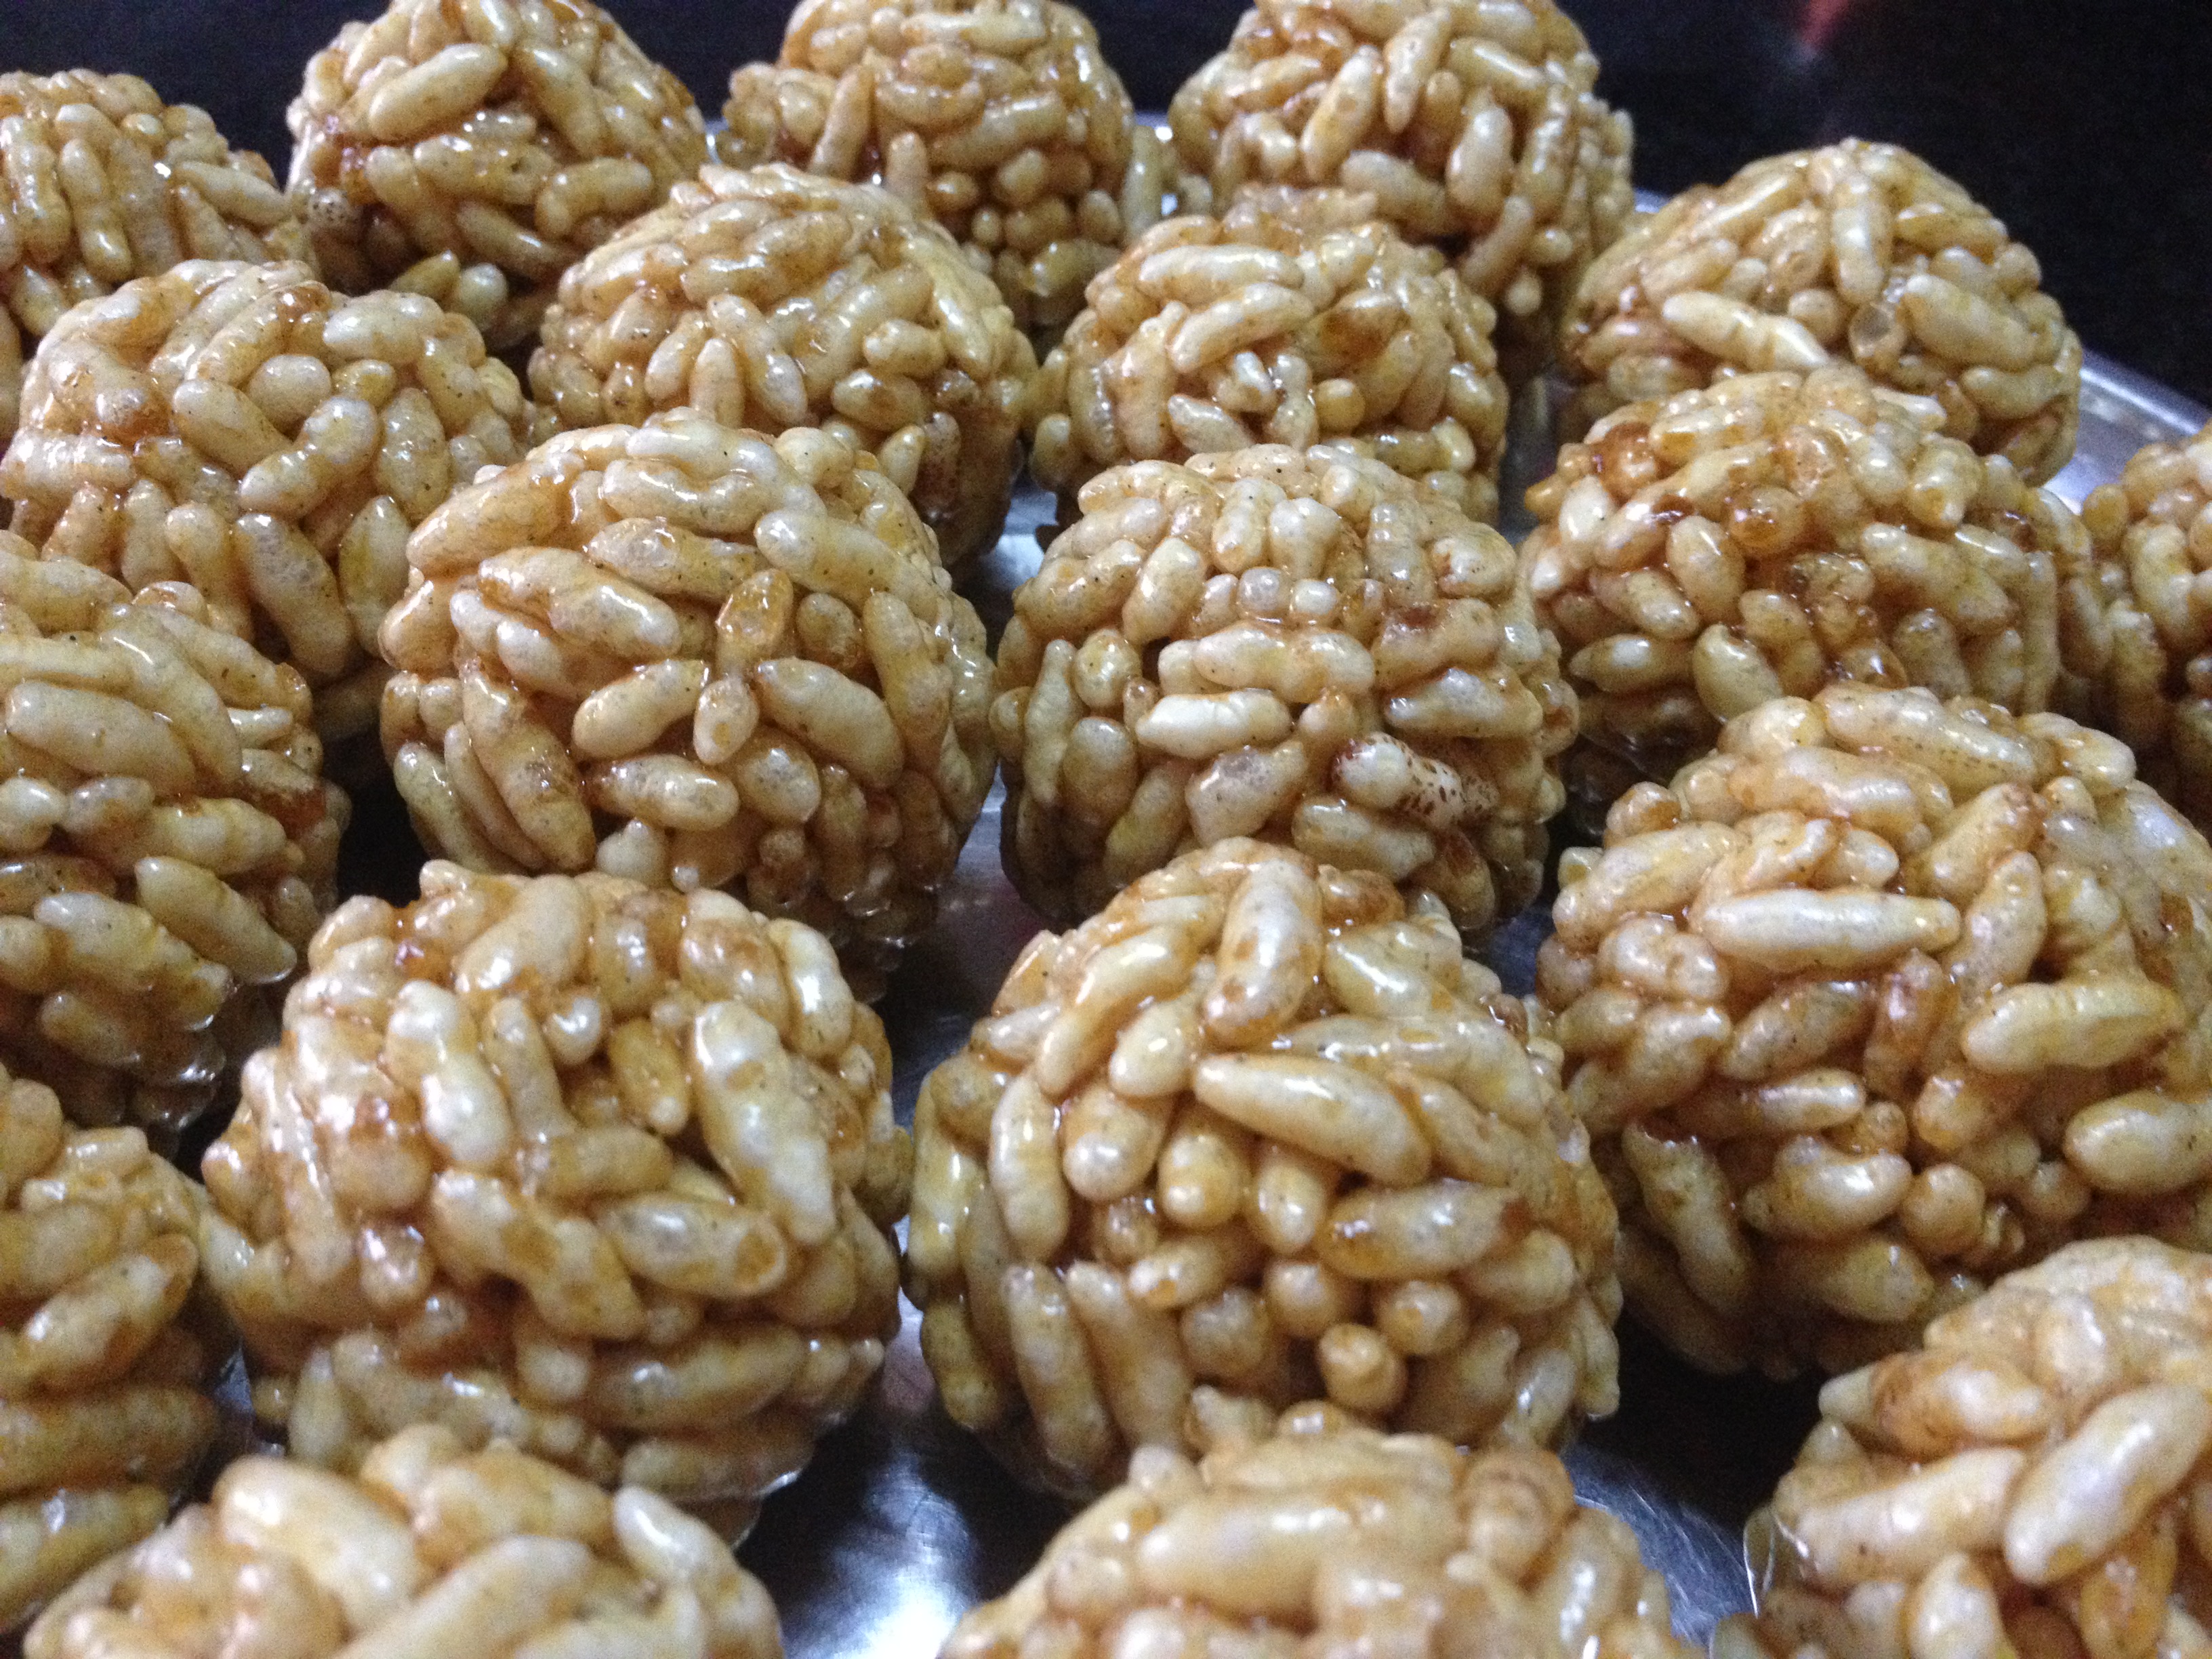
Pori Urundai
Ingredients (makes approximately 30 balls)
- pori/puffed rice – 5 cups
- vellam/jaggery – 1 cup
- thanneer/water – 1/2 cup
- elakkai podi/cardamom powder – 1 tsp
- chukku podi/dry ginger powder – 1 tsp
- nei/ghee – to grease hands
Method of Preparation
- Keep puffed rice in a wide bottomed bowl, enough to mix jaggery syrup
- Take Jaggery in a pan with water and heat till jaggery dissolves
- Strain jaggery to remove mud which is generally present
- Keep the strained jaggery water on stove and add cardamom powder and dry ginger powder
- Boil till it becomes a thick syrup and reaches a consistency where it forms a ball when dropped in water – this is called uruttu padham in tamil

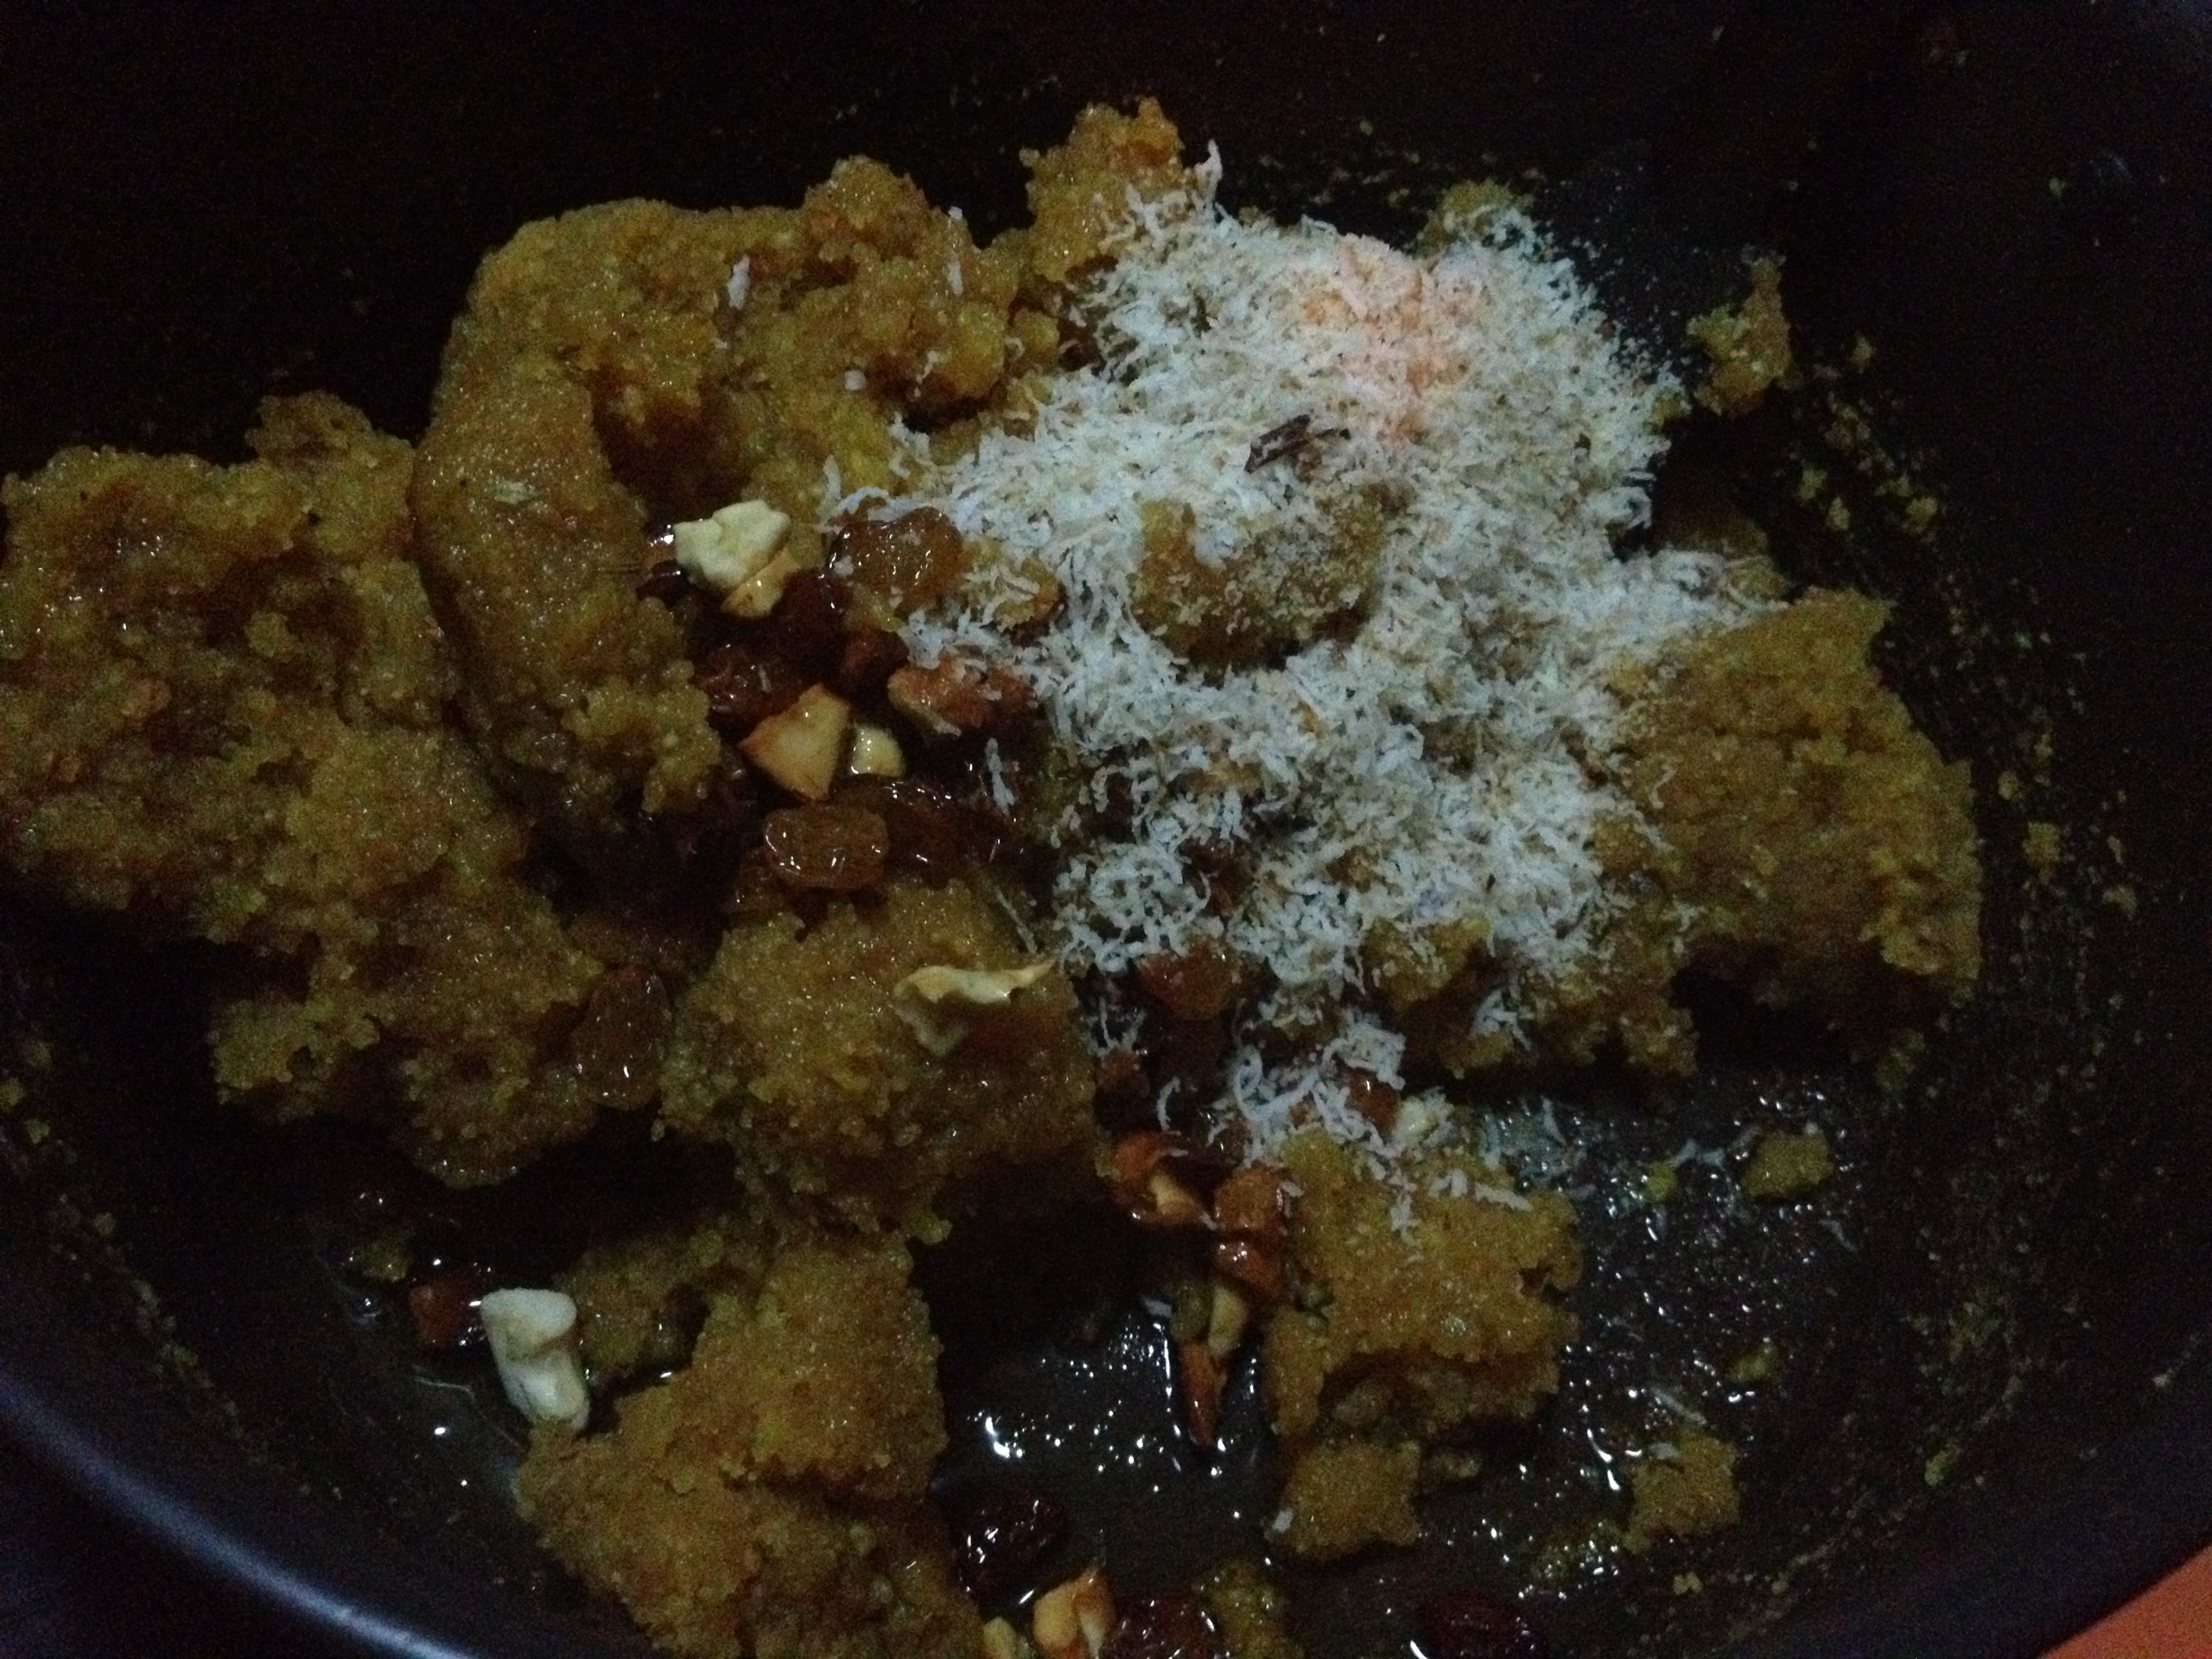
6. When the syrup reaches proper consistency, pour into puffed rice bowl and mix well with a ladle
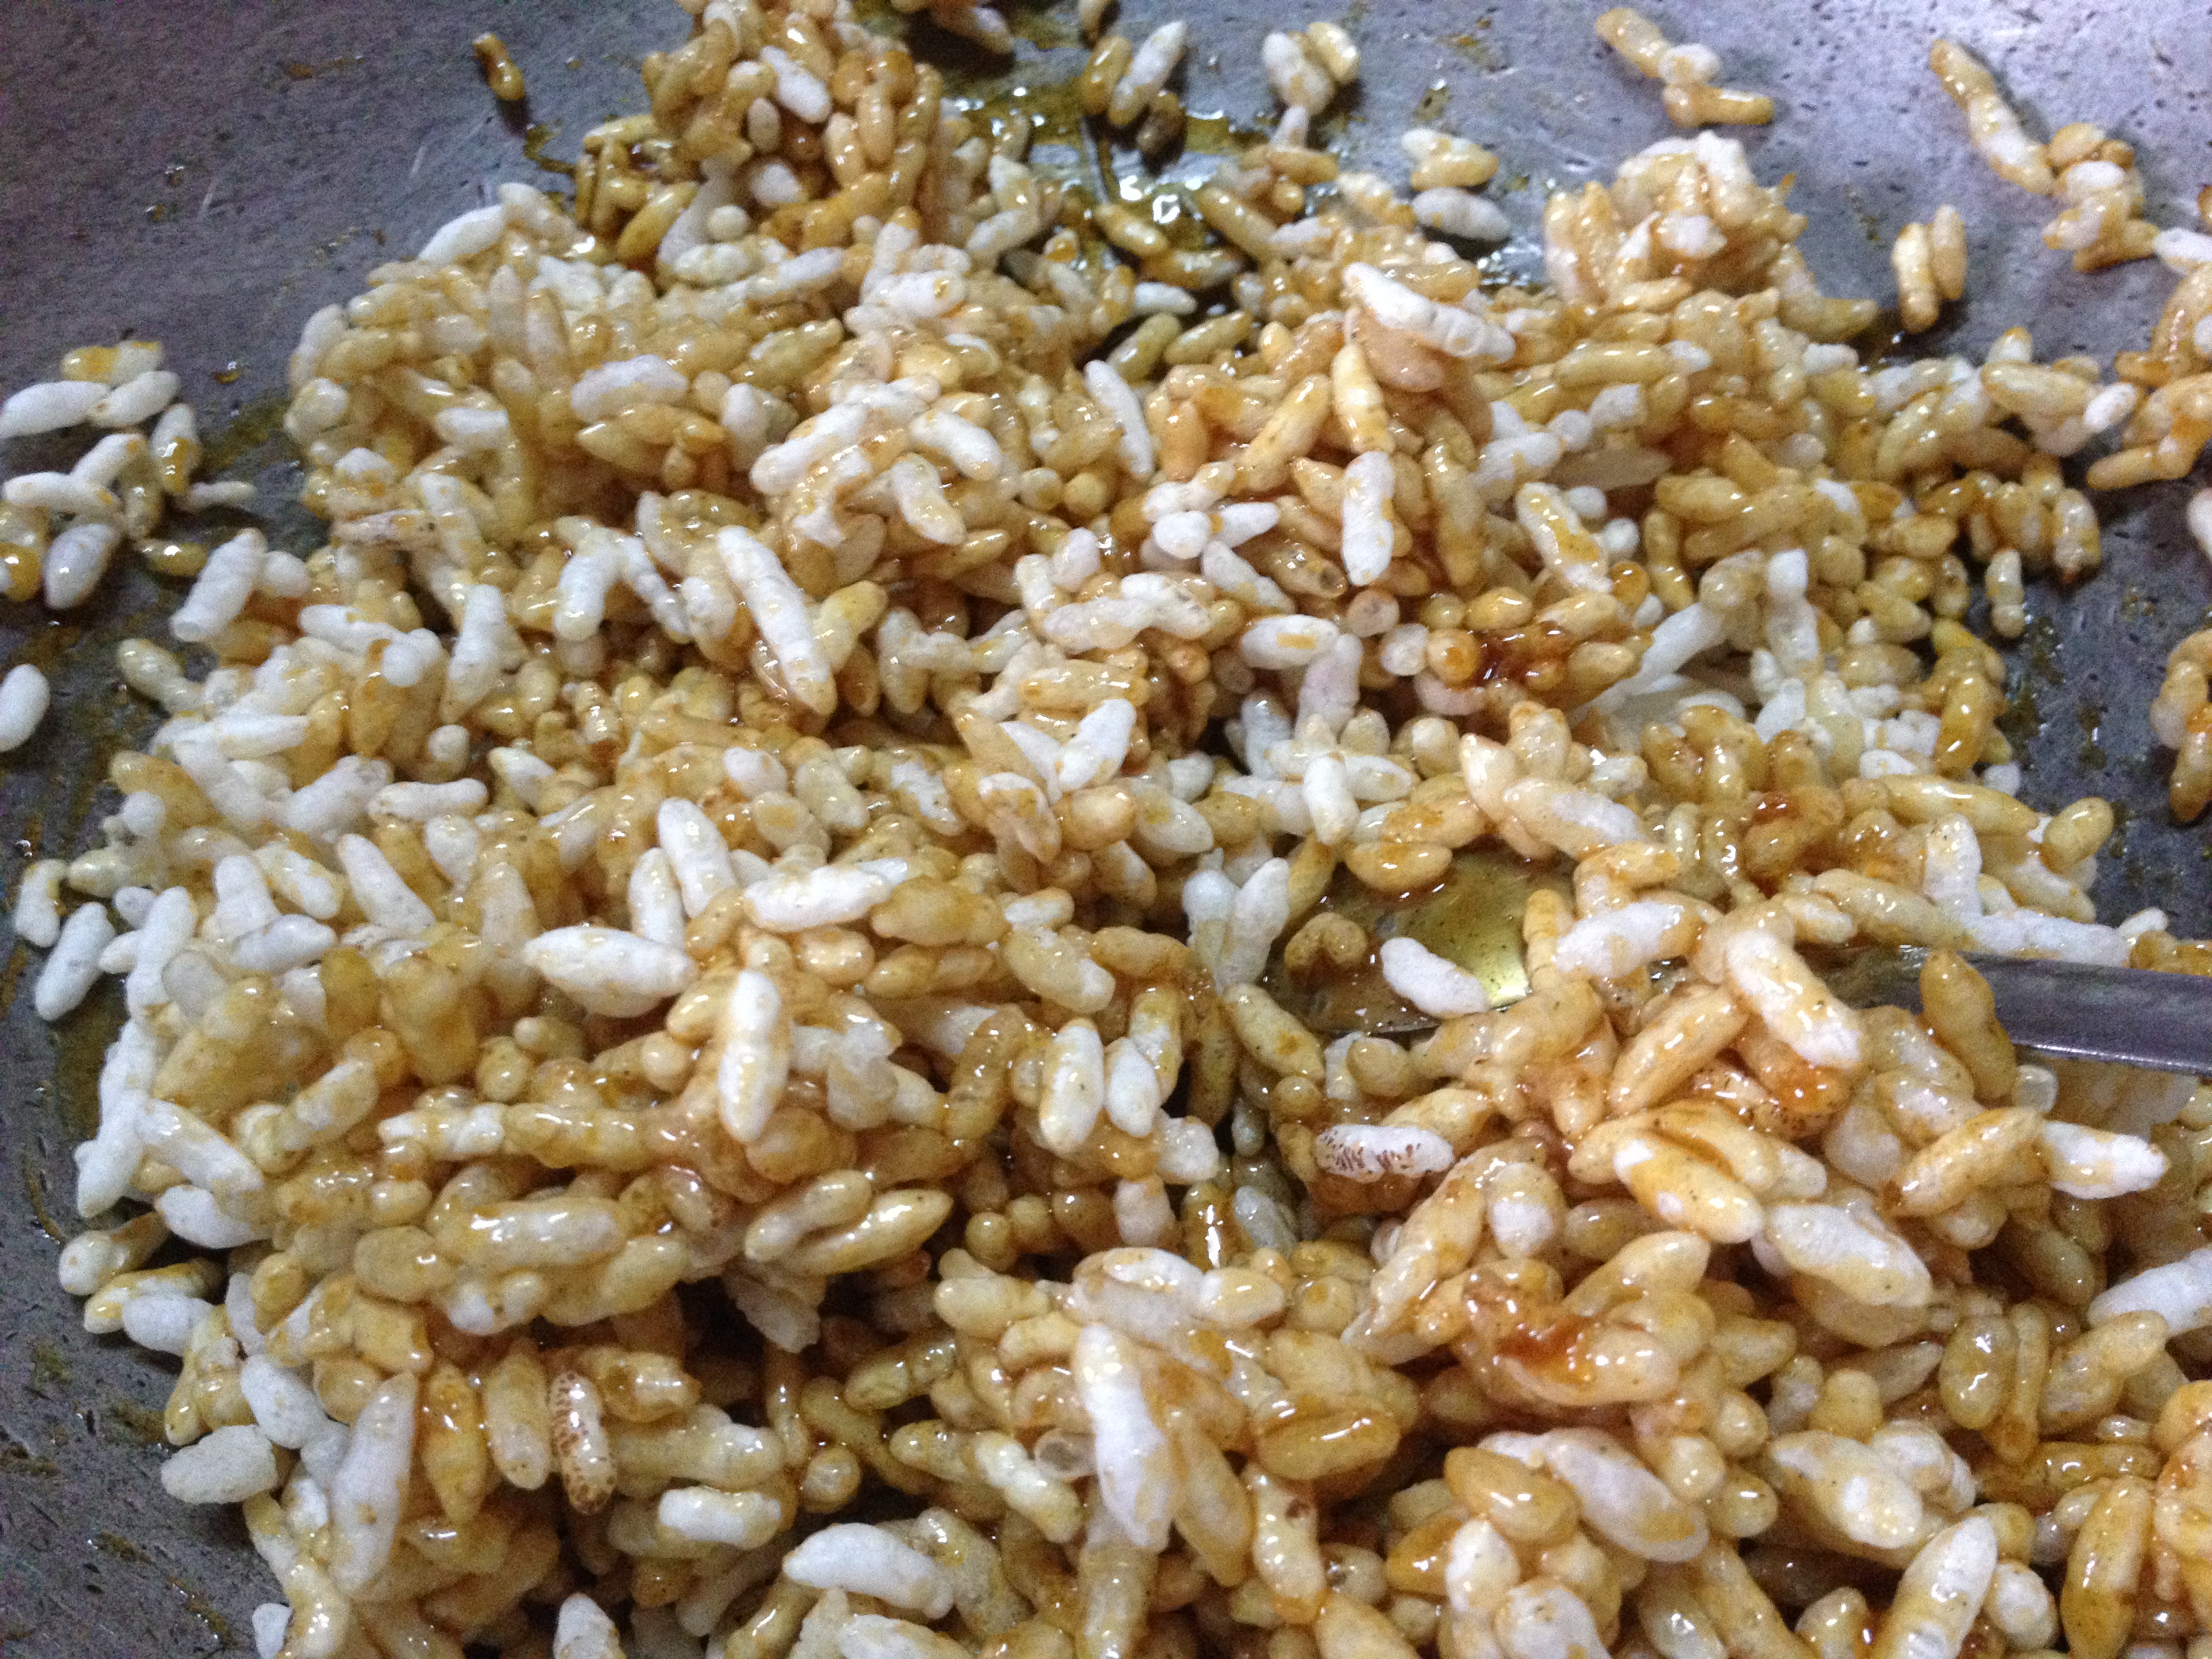
7. Adjust the quantity of puffed rice according to the syrup
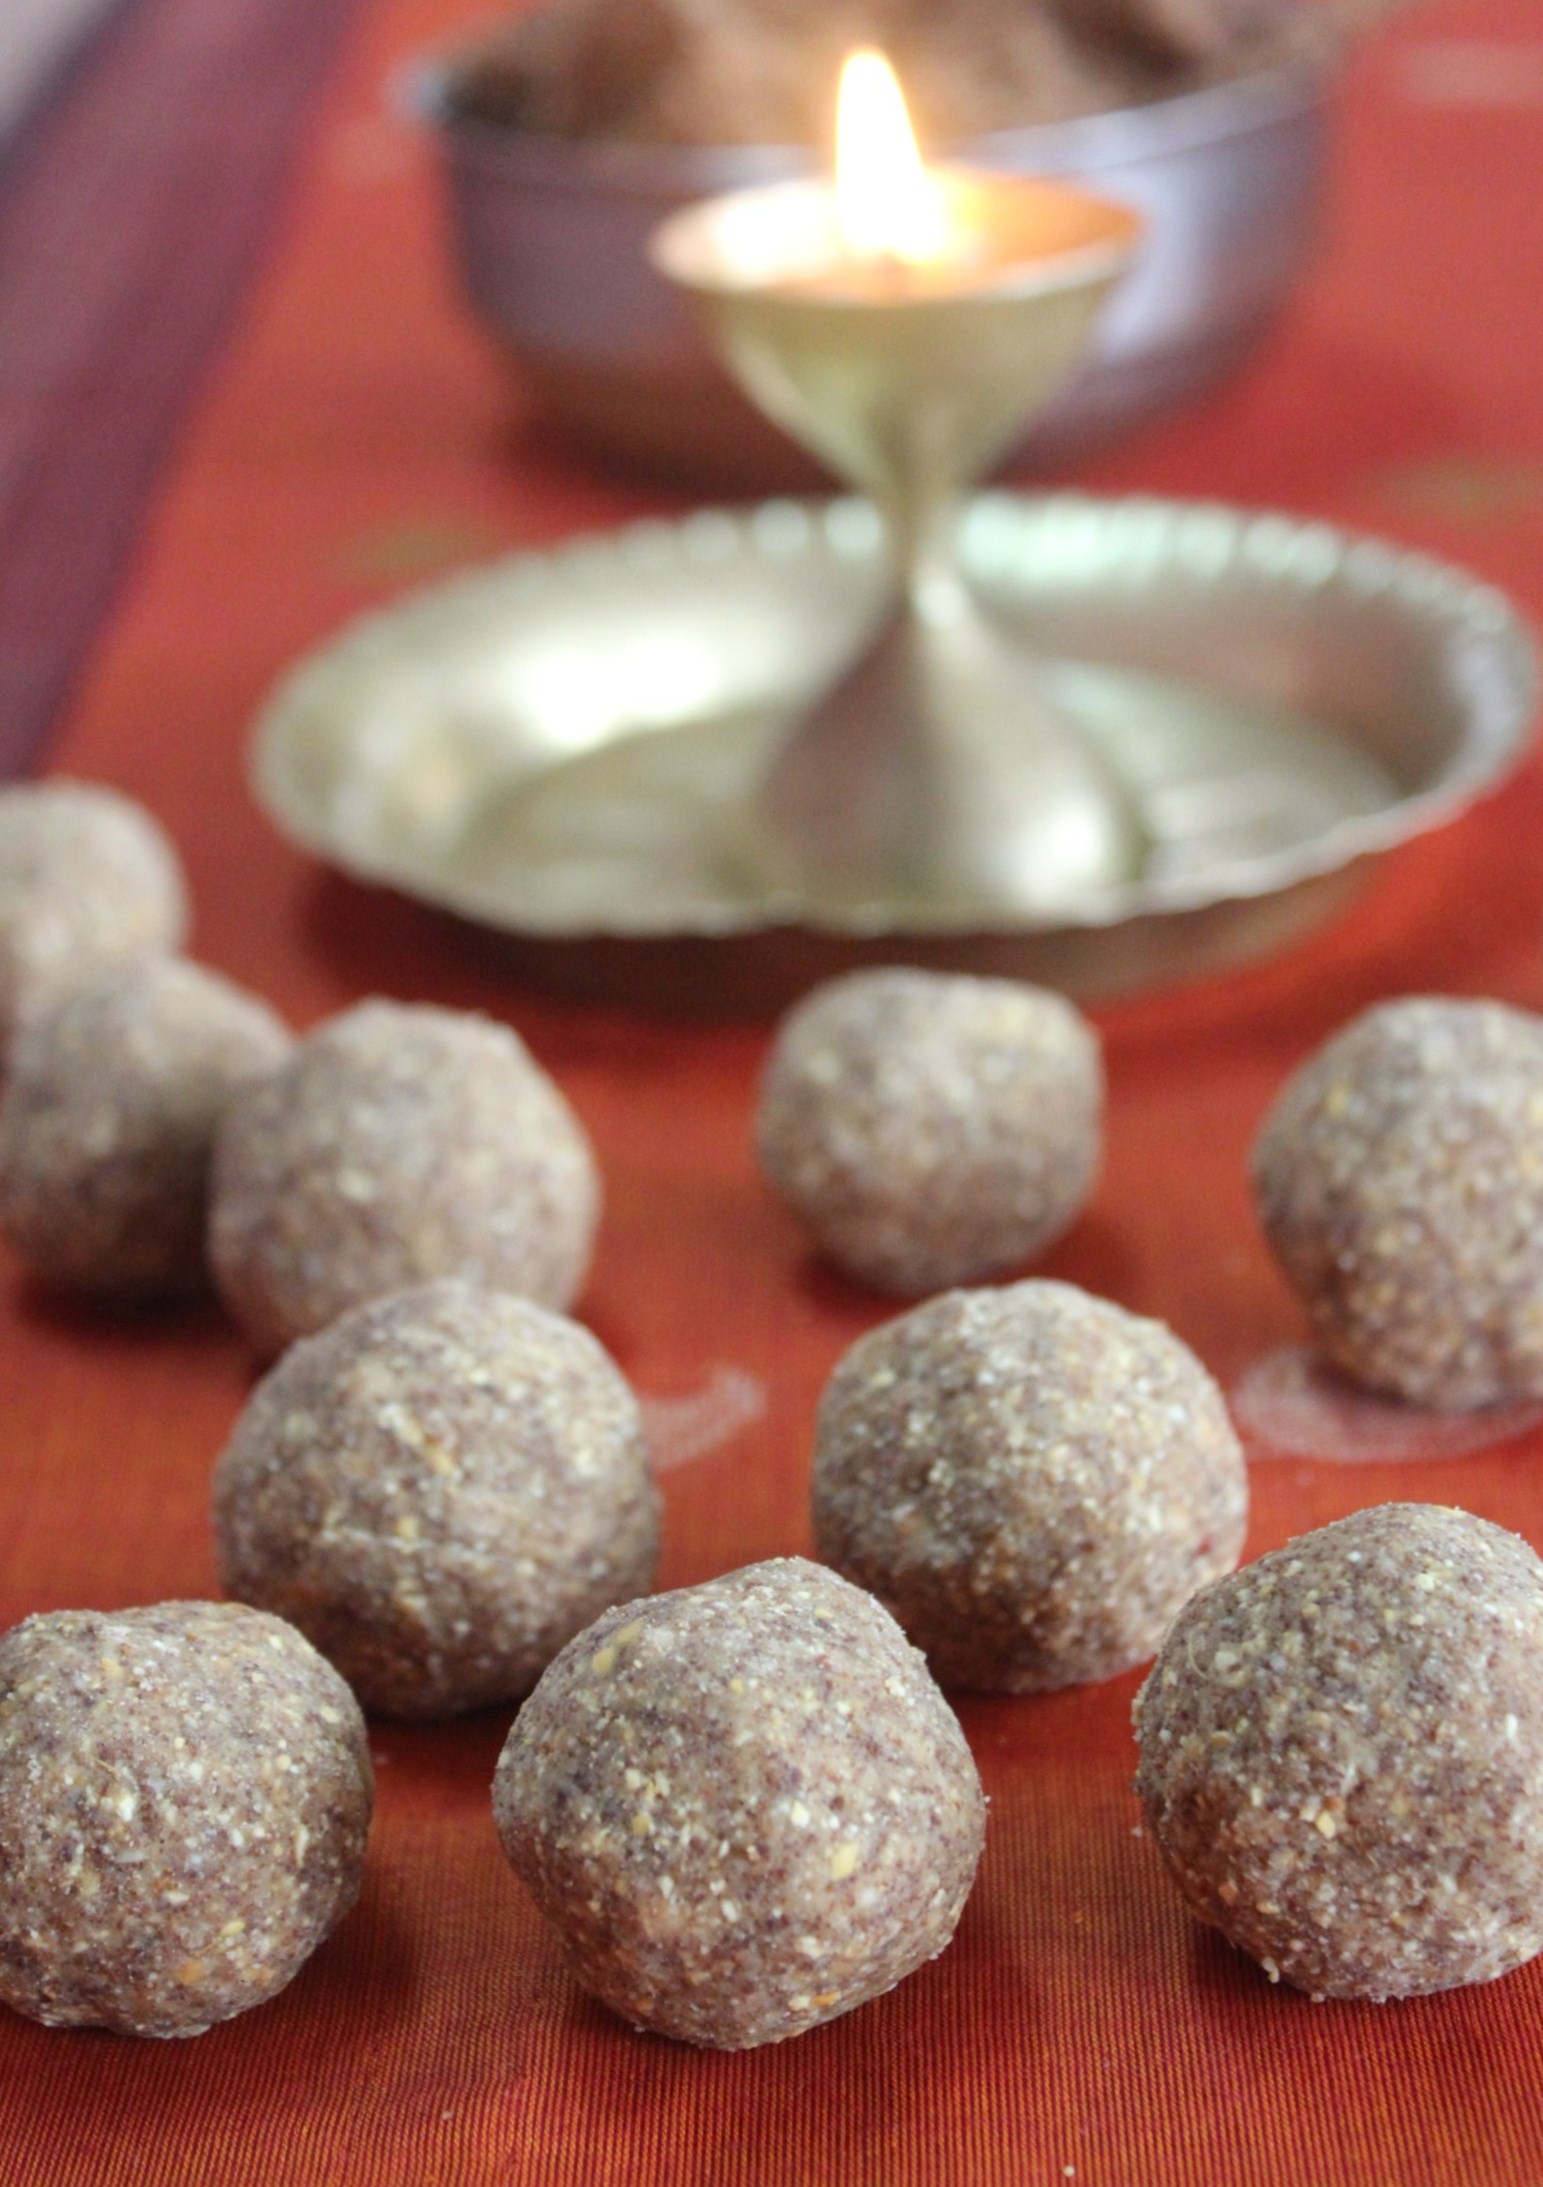
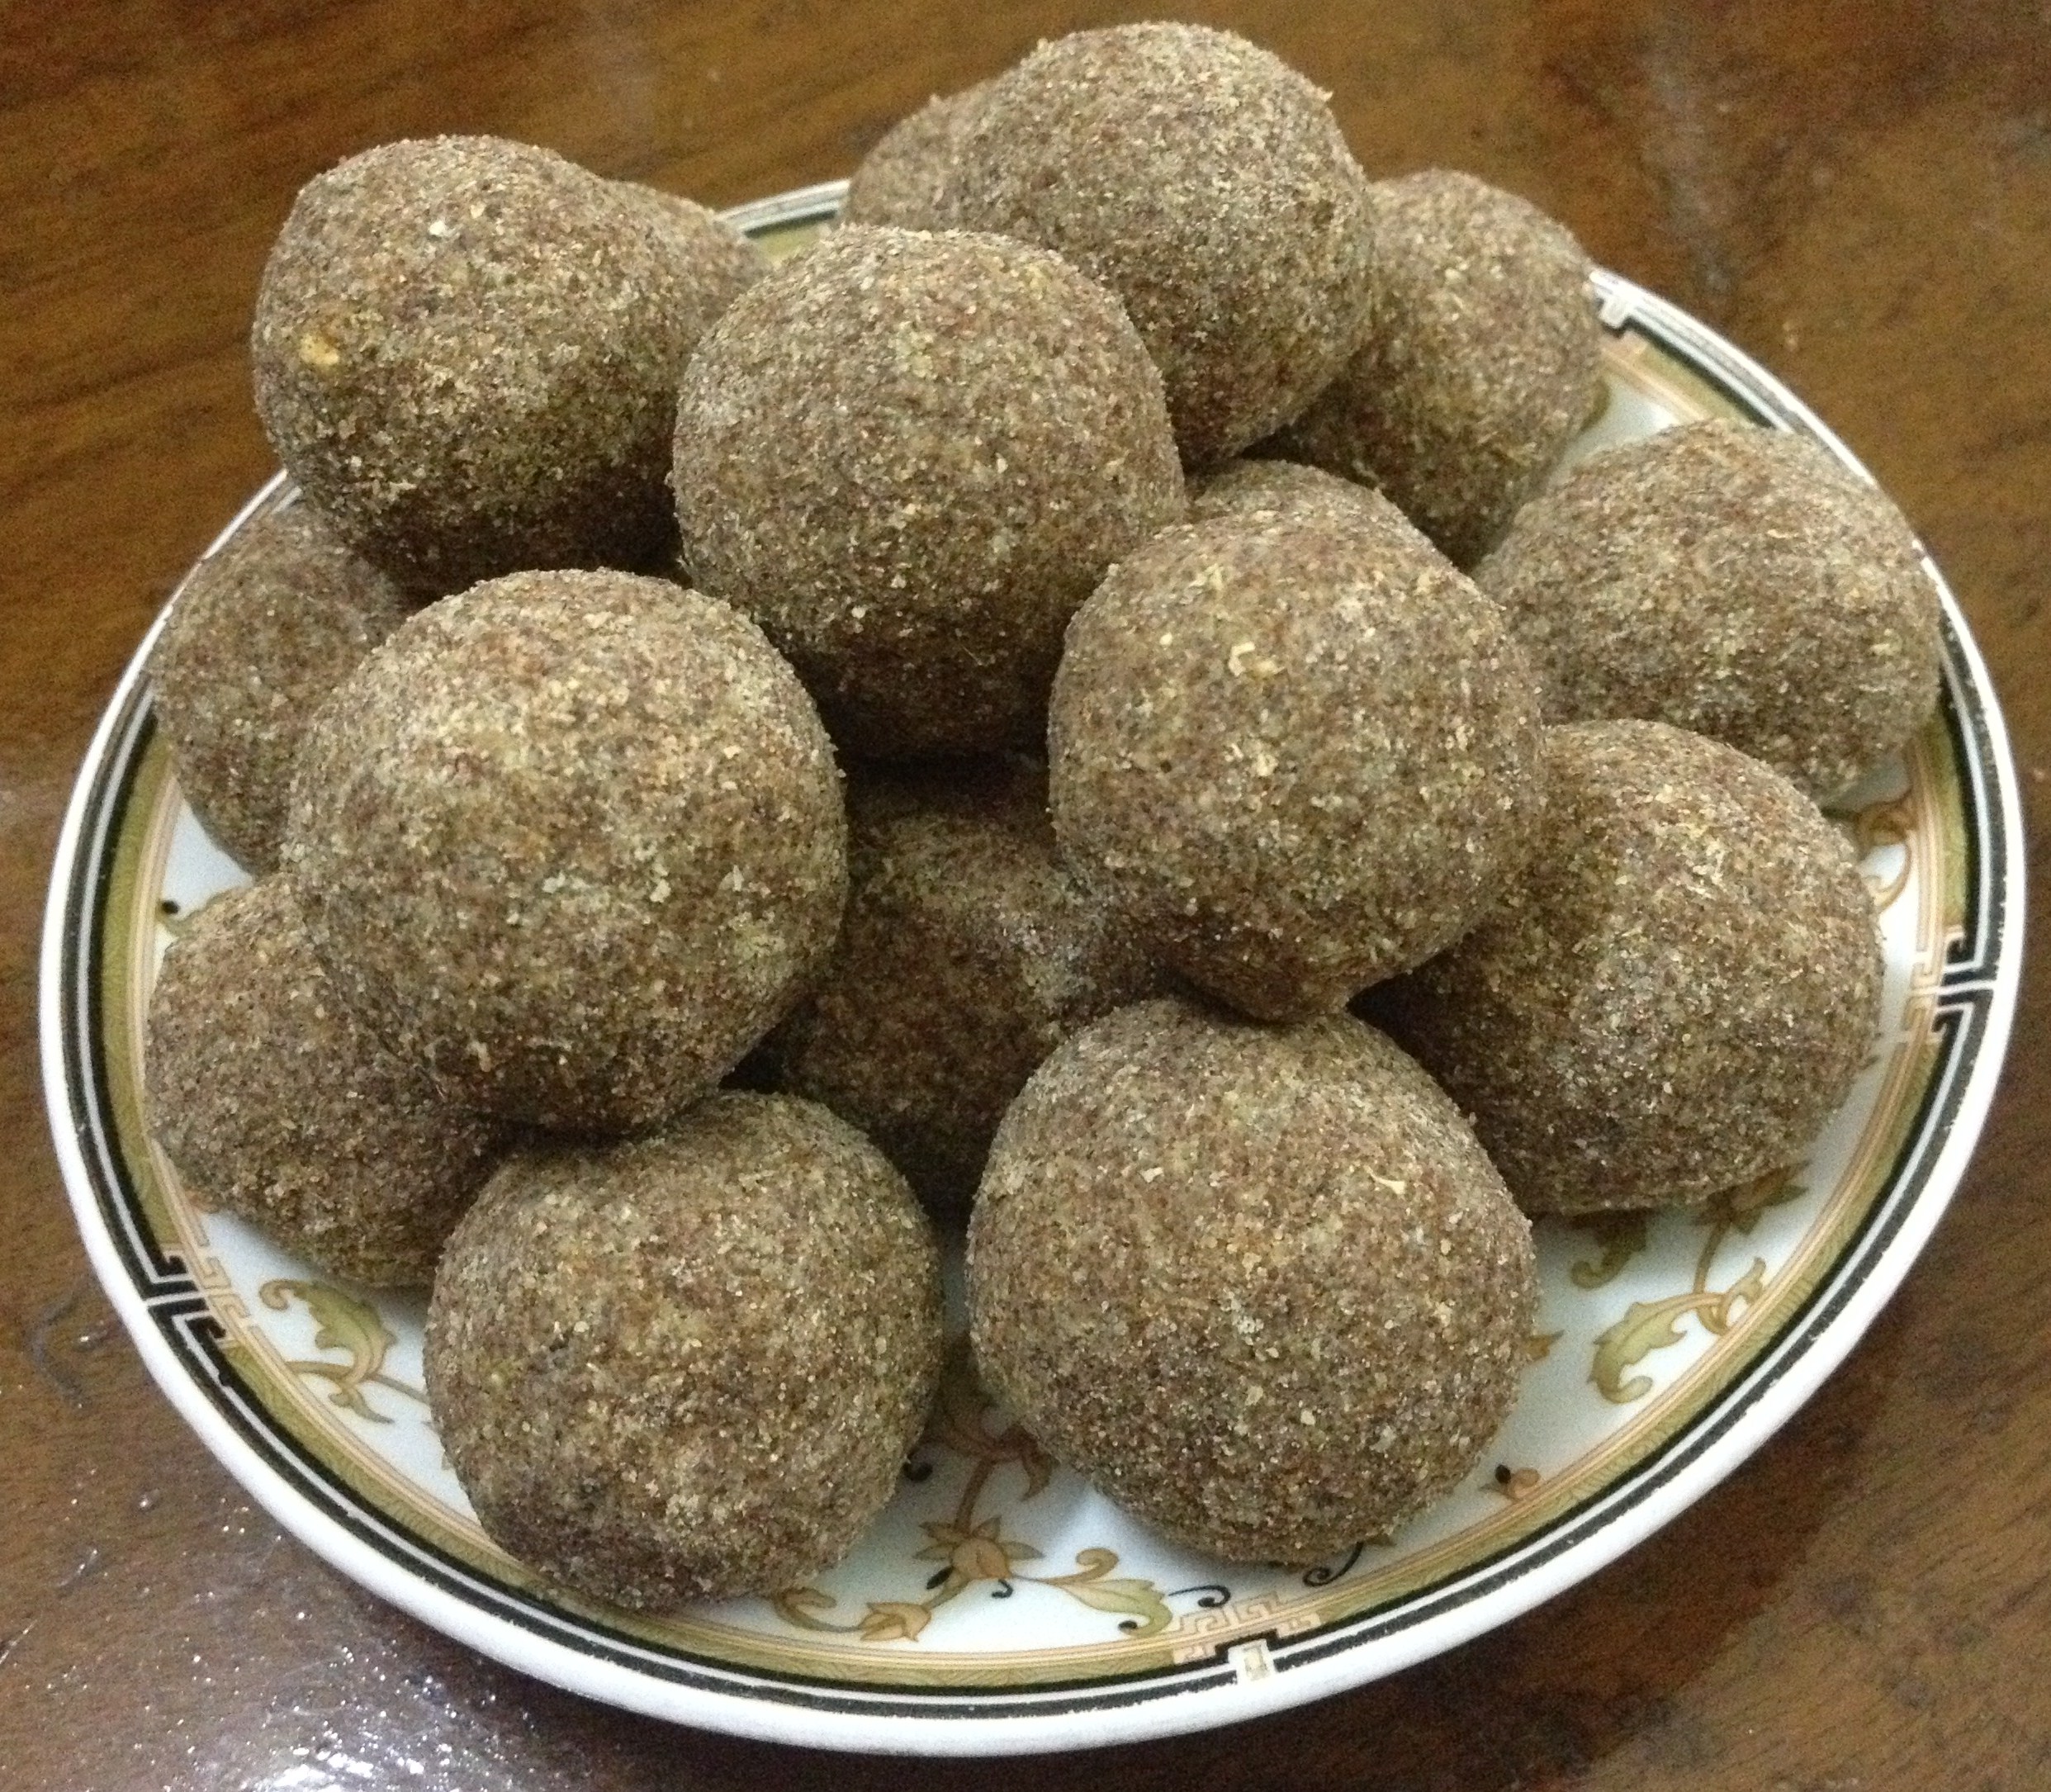
8. Grease both hands with little clarified butter/ghee and make medium sized balls
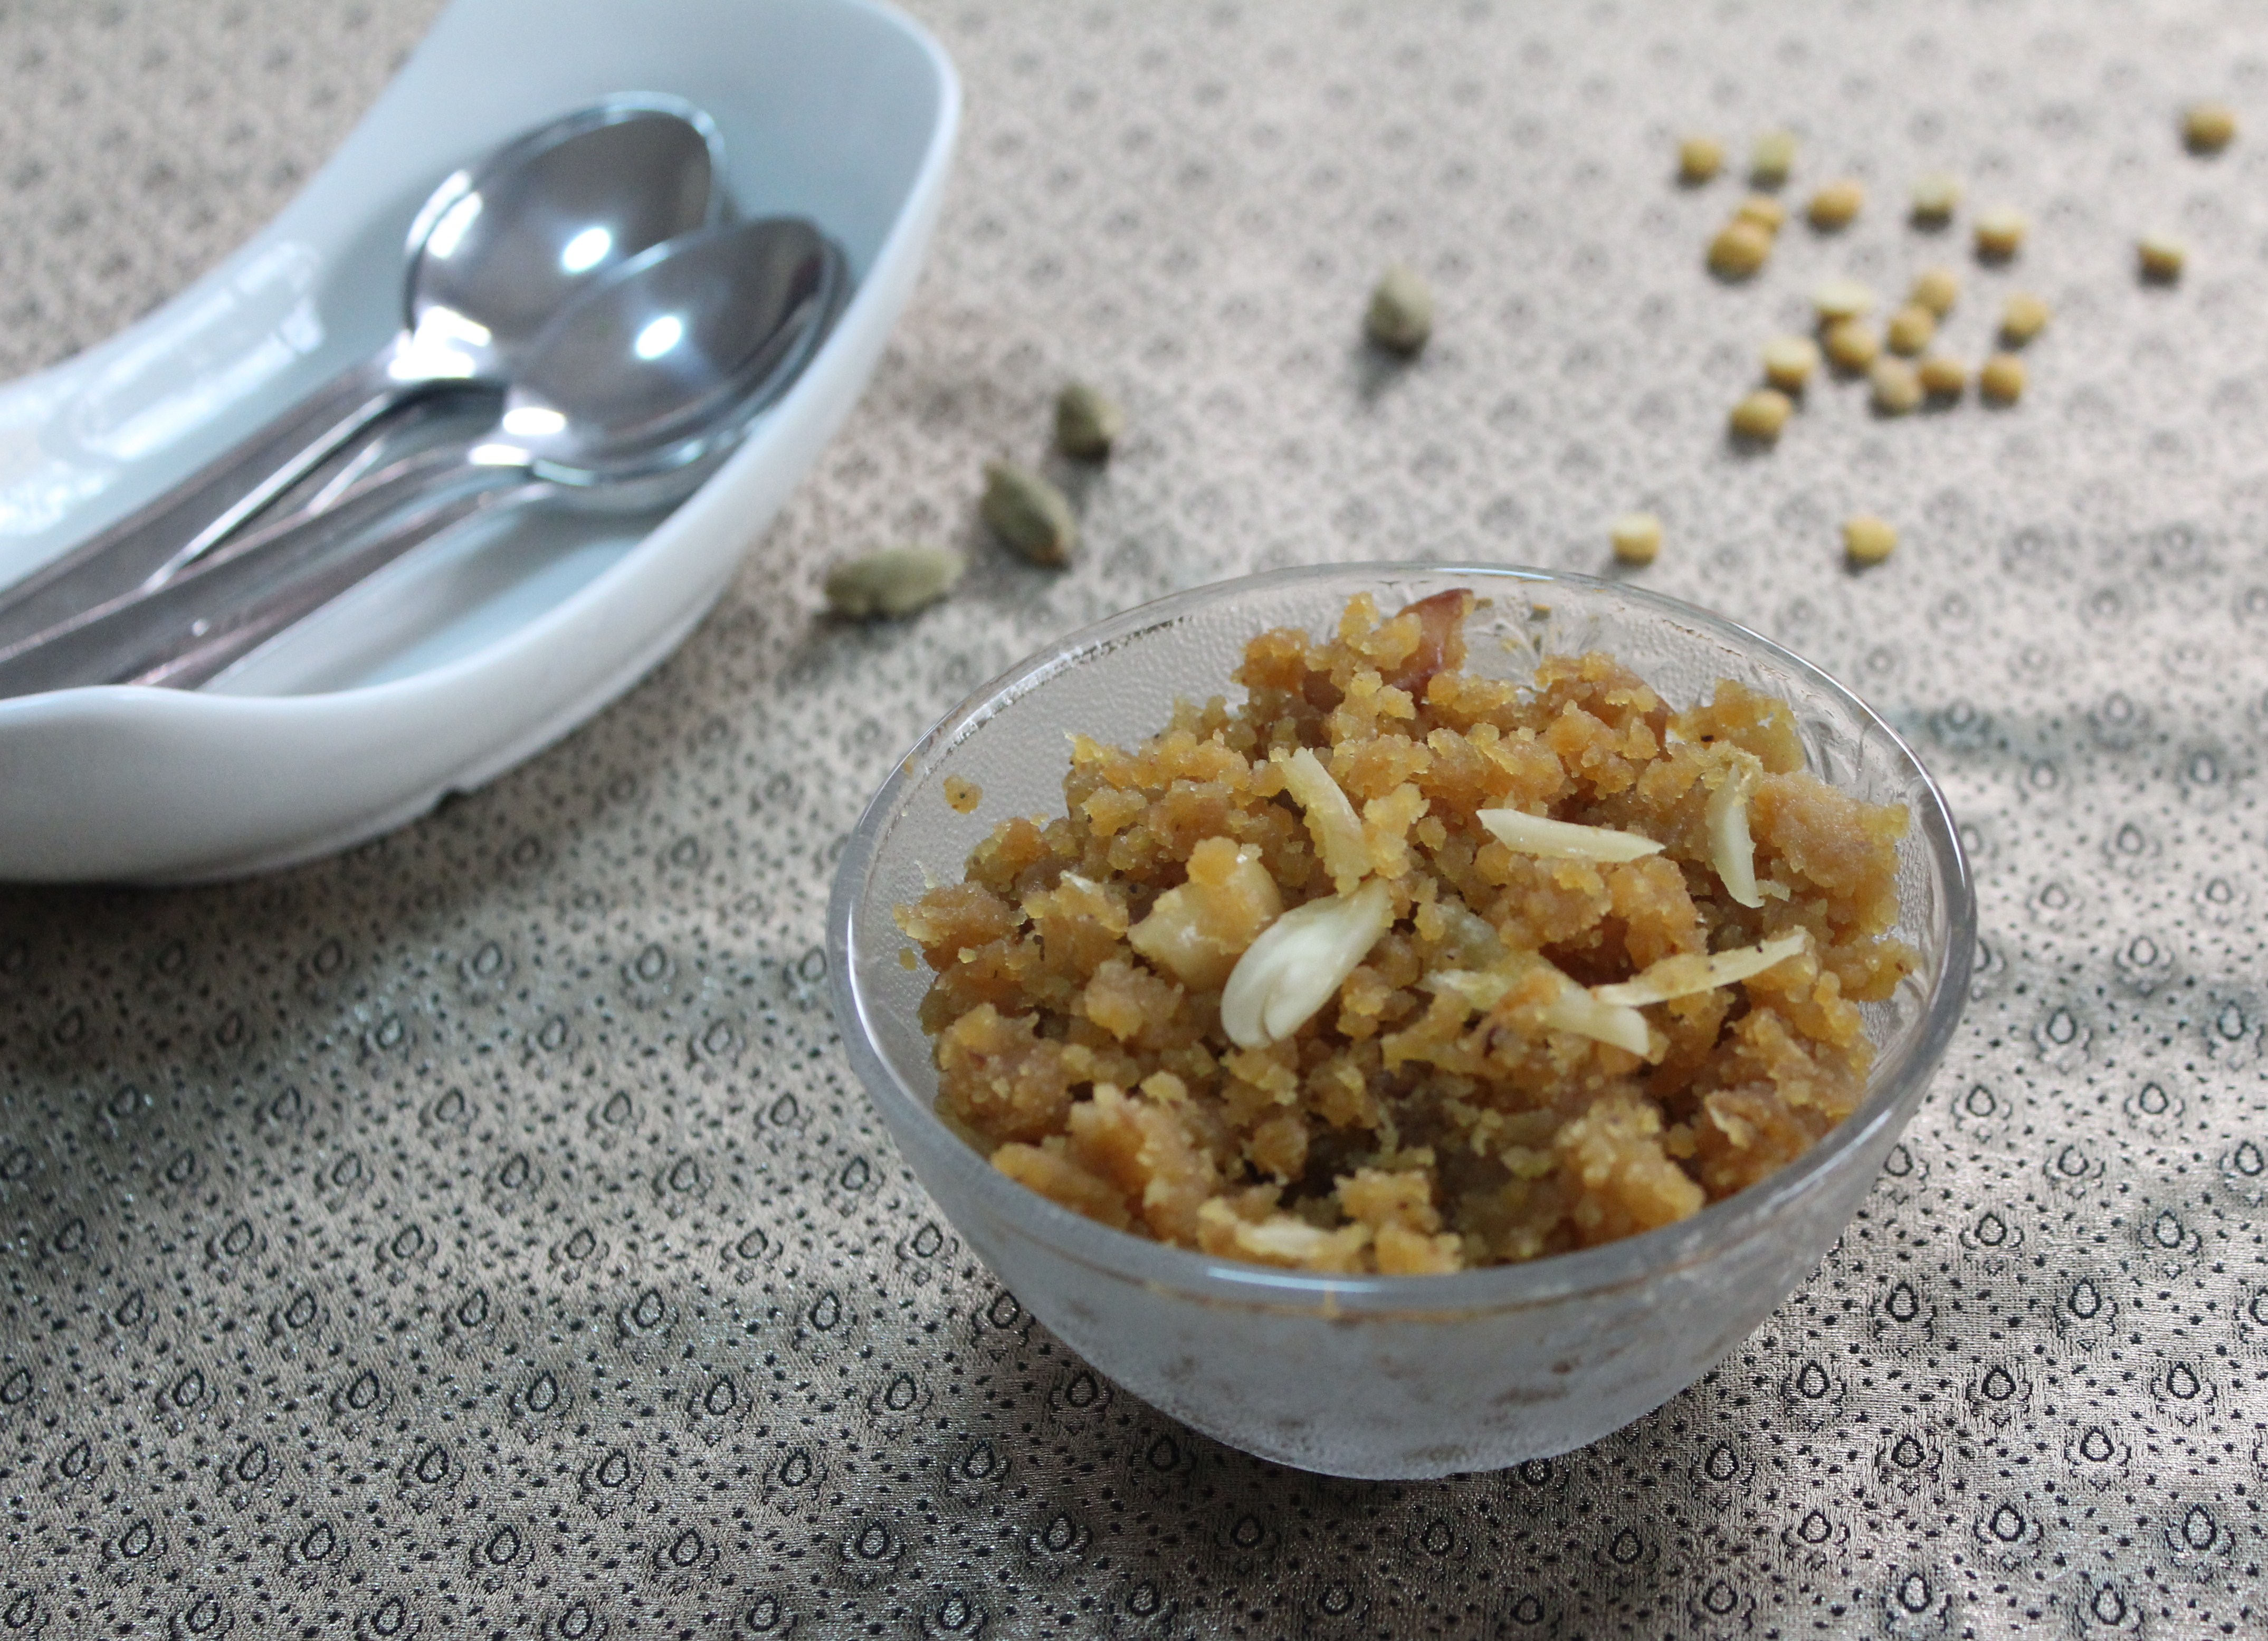
9. Pori Urundai is ready.
Note:
- The puffed rice can be moulded into balls only if the consistency of jaggery syrup is right.
- If the rice mixture turns hard after a while, keep on stove and reheat till it melts a bit and continue making again.
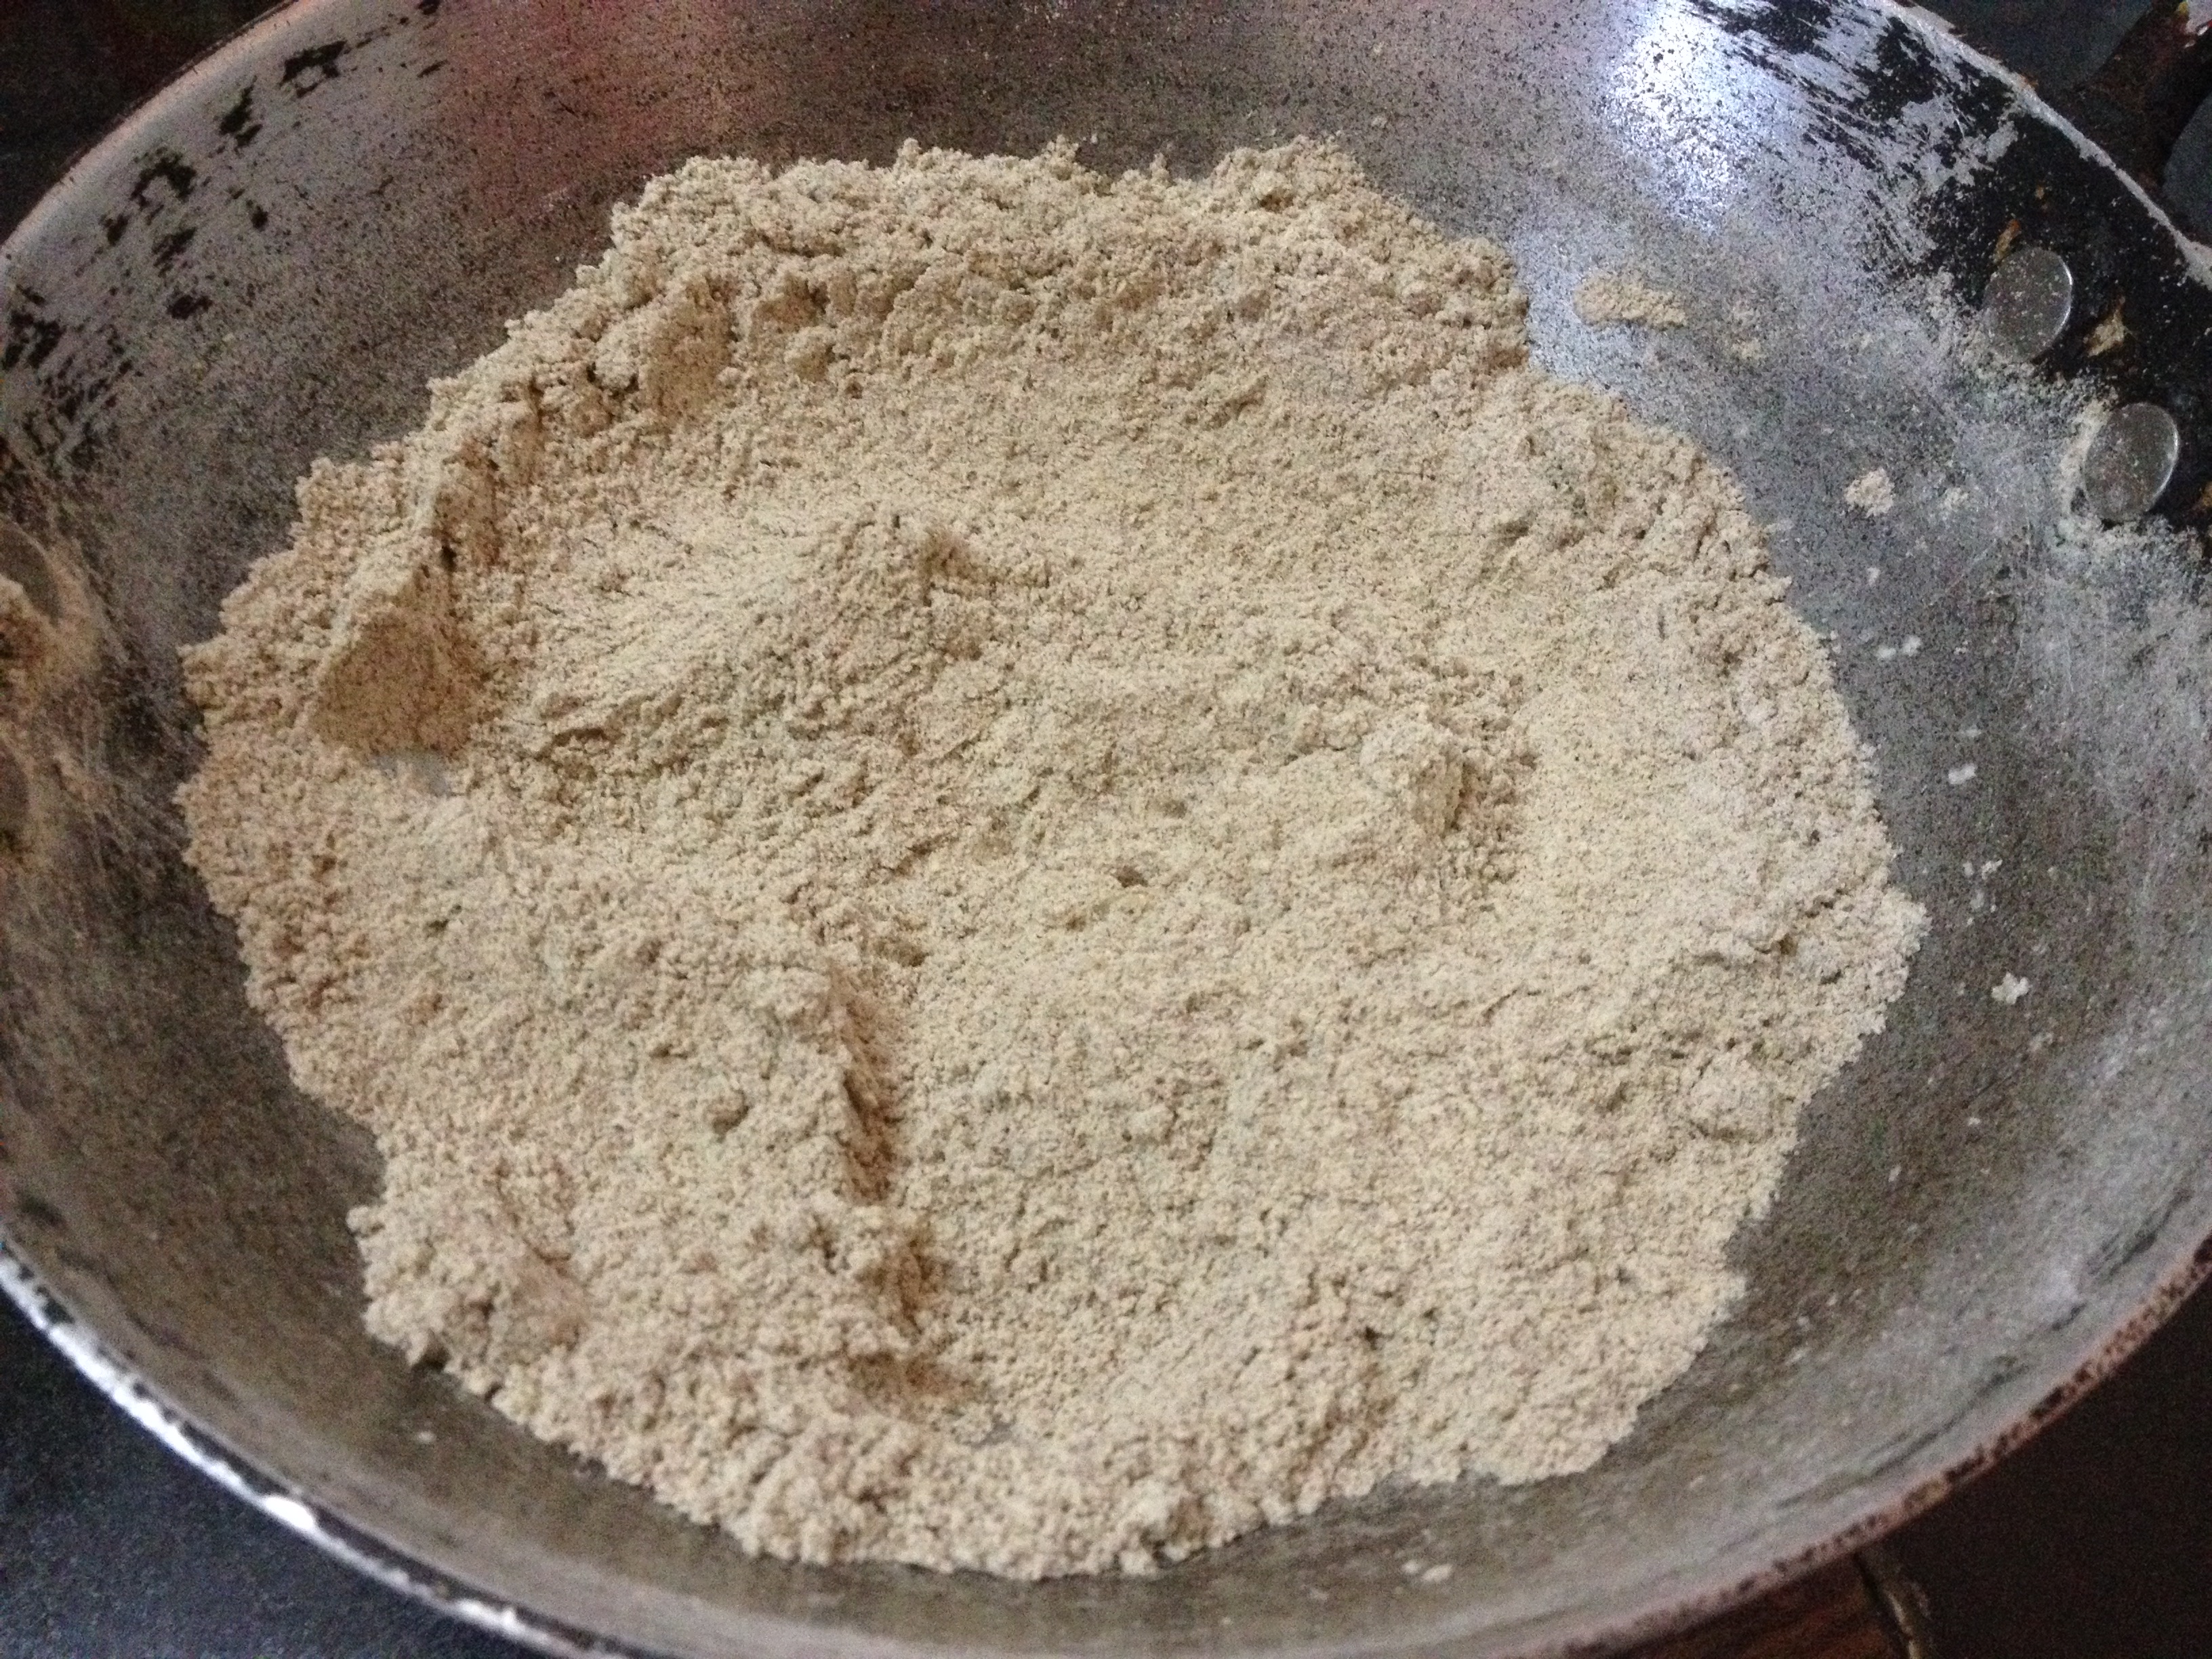
- If the pori has become crispy with syrup and is unable to be moulded, the syrup has crossed the required consistency. In such case, enjoy uthiri pori or fried sweet puffed rice.
- Adjust the quantity of pori as per need while mixing the syrup. I needed to mix at least 1/2 cup more to bring it to right ratio.
- Pori Urundai cannot be made with sugar; Jaggery is the only sweetener. Or one can try palm sugar.
- Dry ginger powder aids in easy digestion and helps especially in case of over-eating.
- If the puffed rice is not crispy and is a bit soft, dry roast before making urundais/sweet balls.