Author Archives: dosaikal

Unknown's avatar

About dosaikal

A simple person who believes strong roots and values build up stronger generations; and good food and good food habits are one of the best gifts that one can give to their off springs.

Aadu/Mutton Urundai Kuzhambu/Meat Balls (lamb) in Spicy Gravy


Mutton Kola urundai kuzhambu, Keema/Kaima urundai kuzhambu, Mutton urundai kuzhambu – all mean the same : a tasty, spicy Meat Ball Curry. I was introduced to this curry long back in a Tamil household, where native food at its best was the norm. Here, food at home was always strictly with the warmth of softest cloth idlies (idlies made in cloth) and the taste of grandmother’s stone ground curries. The efforts put in by the ‘Efficient Mother of the House’ was and is still truly impressive. So much emphasis on perfection for even the simplest of chutnies and precision in making curries used to be a fanfare while visiting their home.

One such amazing cooking experience that I could watch was that of Urundai Kuzhambu with Lamb. Urundai literally translates as ’round’ and is used for all round structures or believed to be round – including the world. Hence, Sweet Balls like Laddus are also known as Urundai and Meat Balls are also denoted by the term Urundai and more so, the Lentil Balls are Paruppu Urundai.

I rekindled the learning experience I got approximately 16 years ago and made Urundai Kuzhambu with Lamb. Whether the recipe is the same is yet to be referred.

I took these recipes as guidelines. Thanks a ton friends!

http://myerecipecorner.blogspot.in/2012/01/kola-urundai-kuzhambu.html
and
https://www.kannammacooks.com/mutton-kola-urundai-recipe/
  
Special thanks to Mrs. G for introducing me to this non-vegetarian extravaganza – due to its elaborate preparation,  especially making it in the traditional way possible (in today’s gadget world) with the stone grinder.

This is how I made it –
  

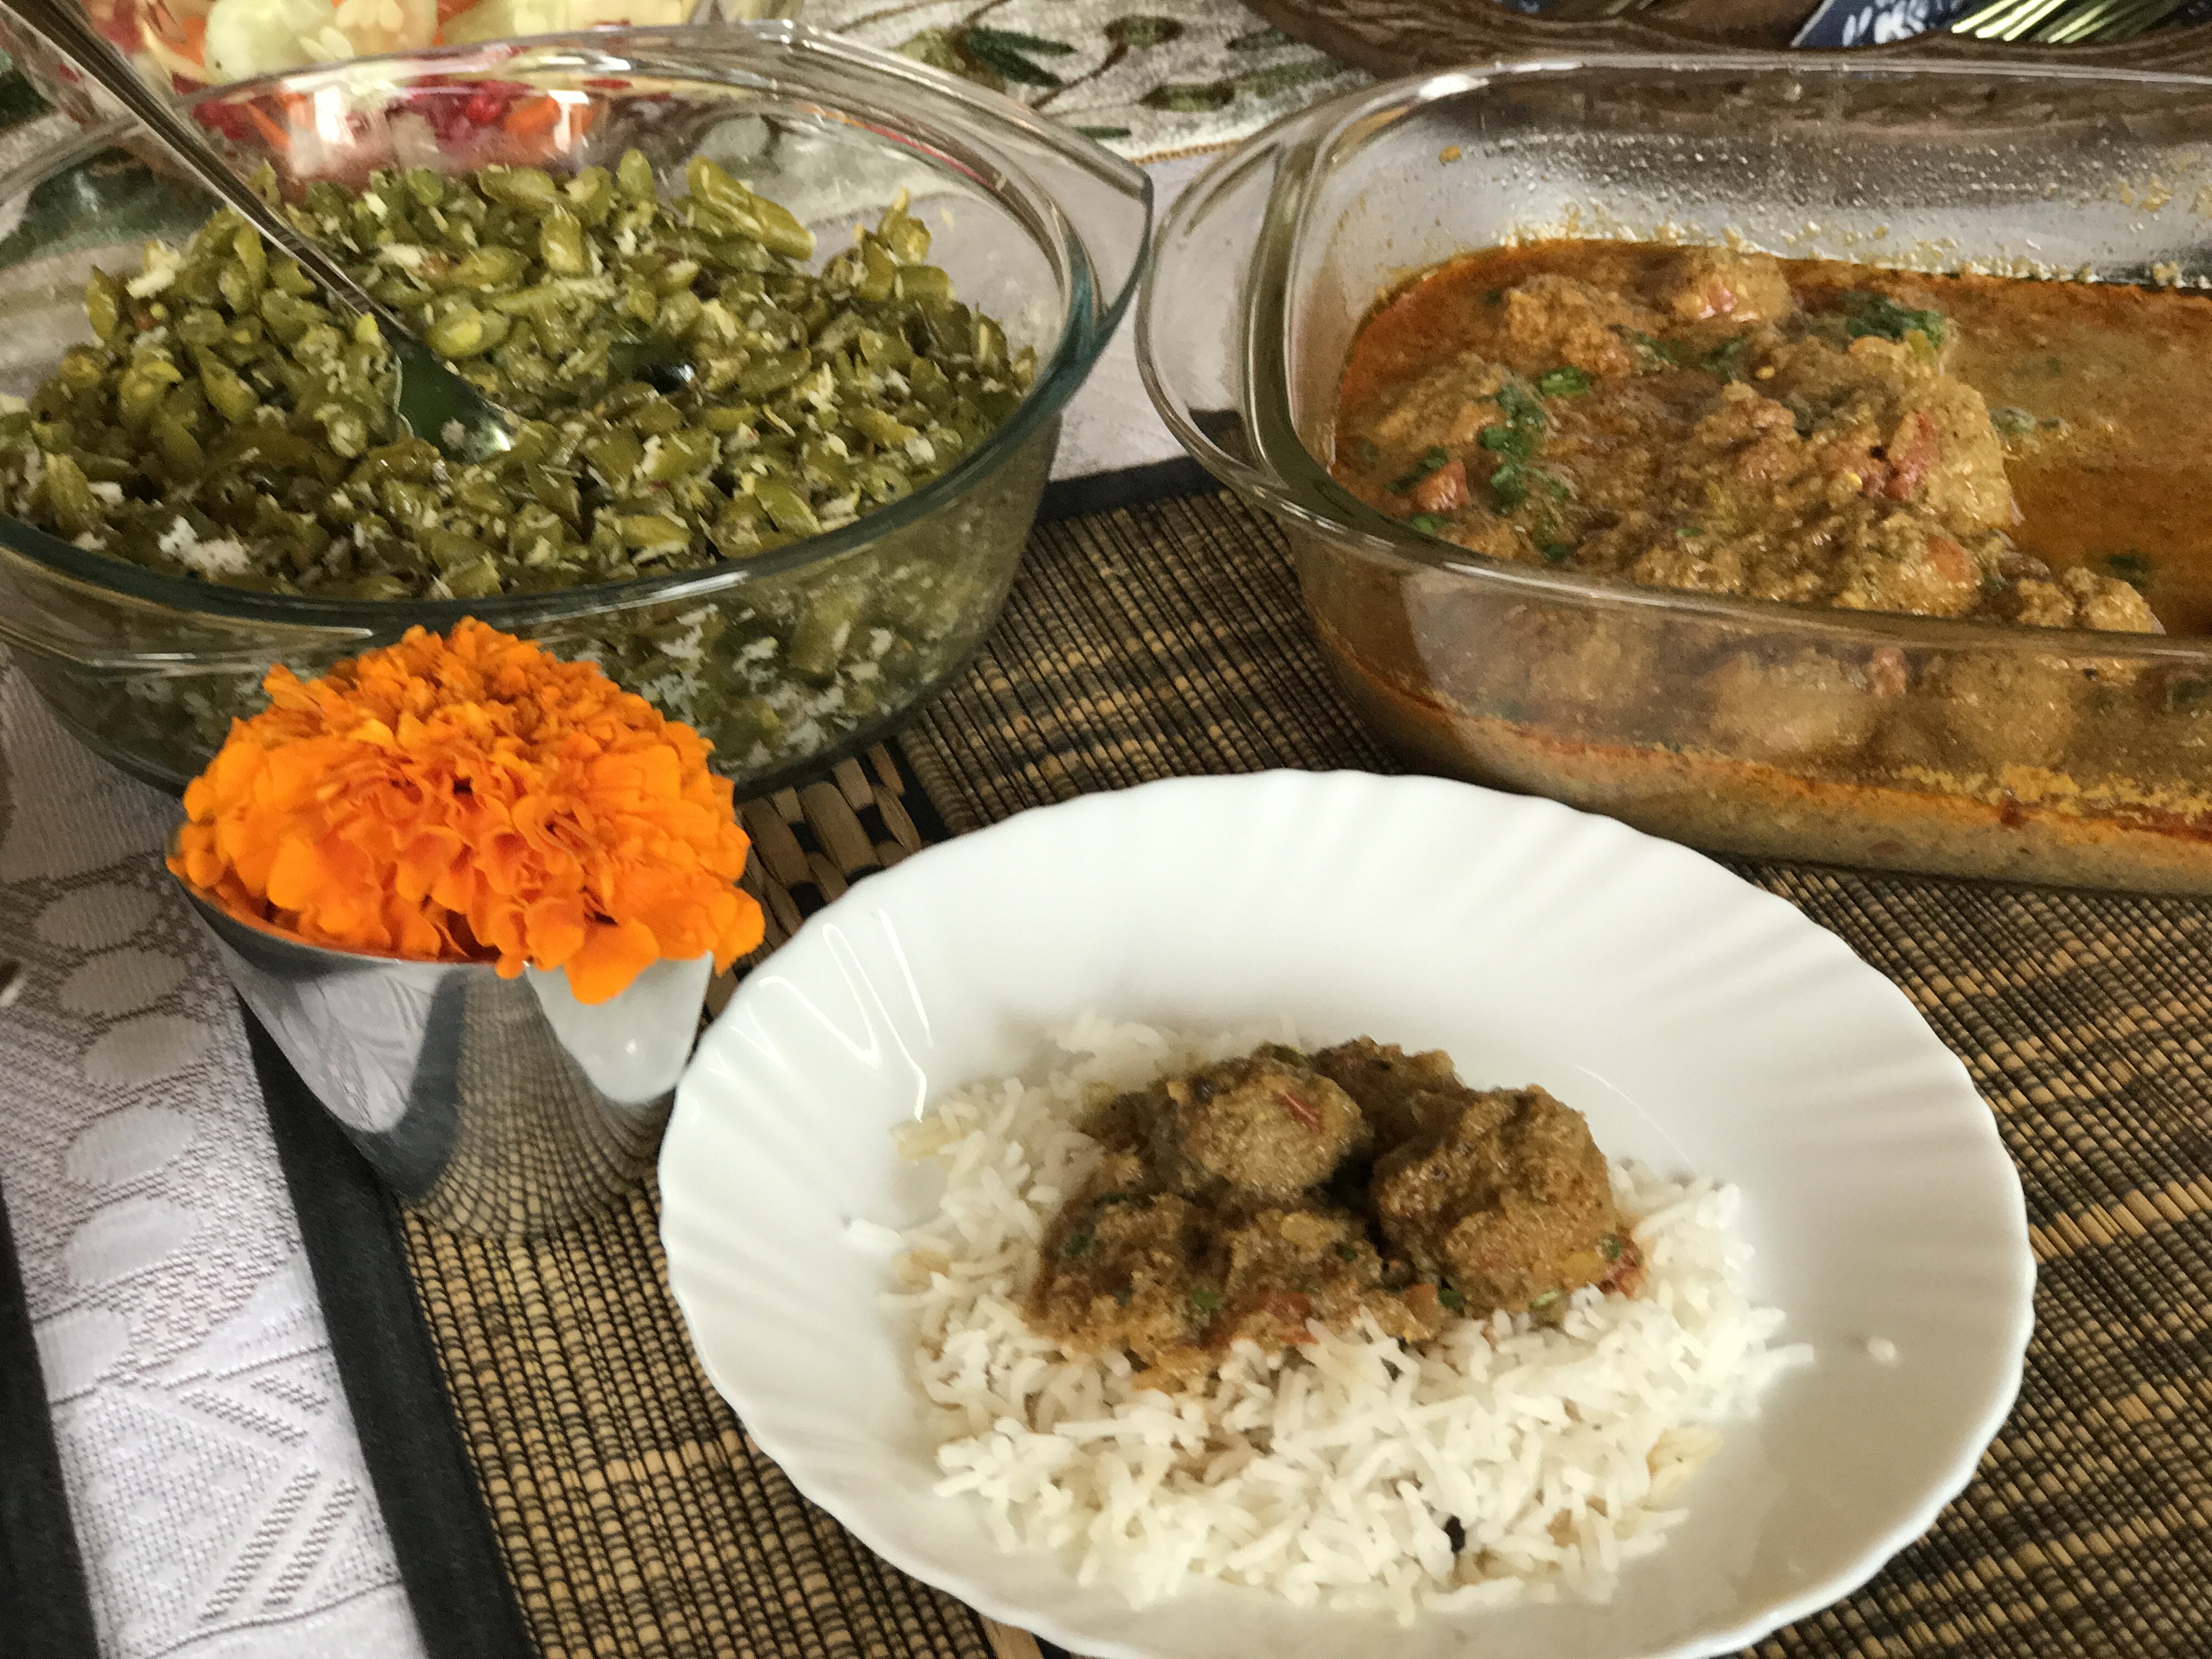
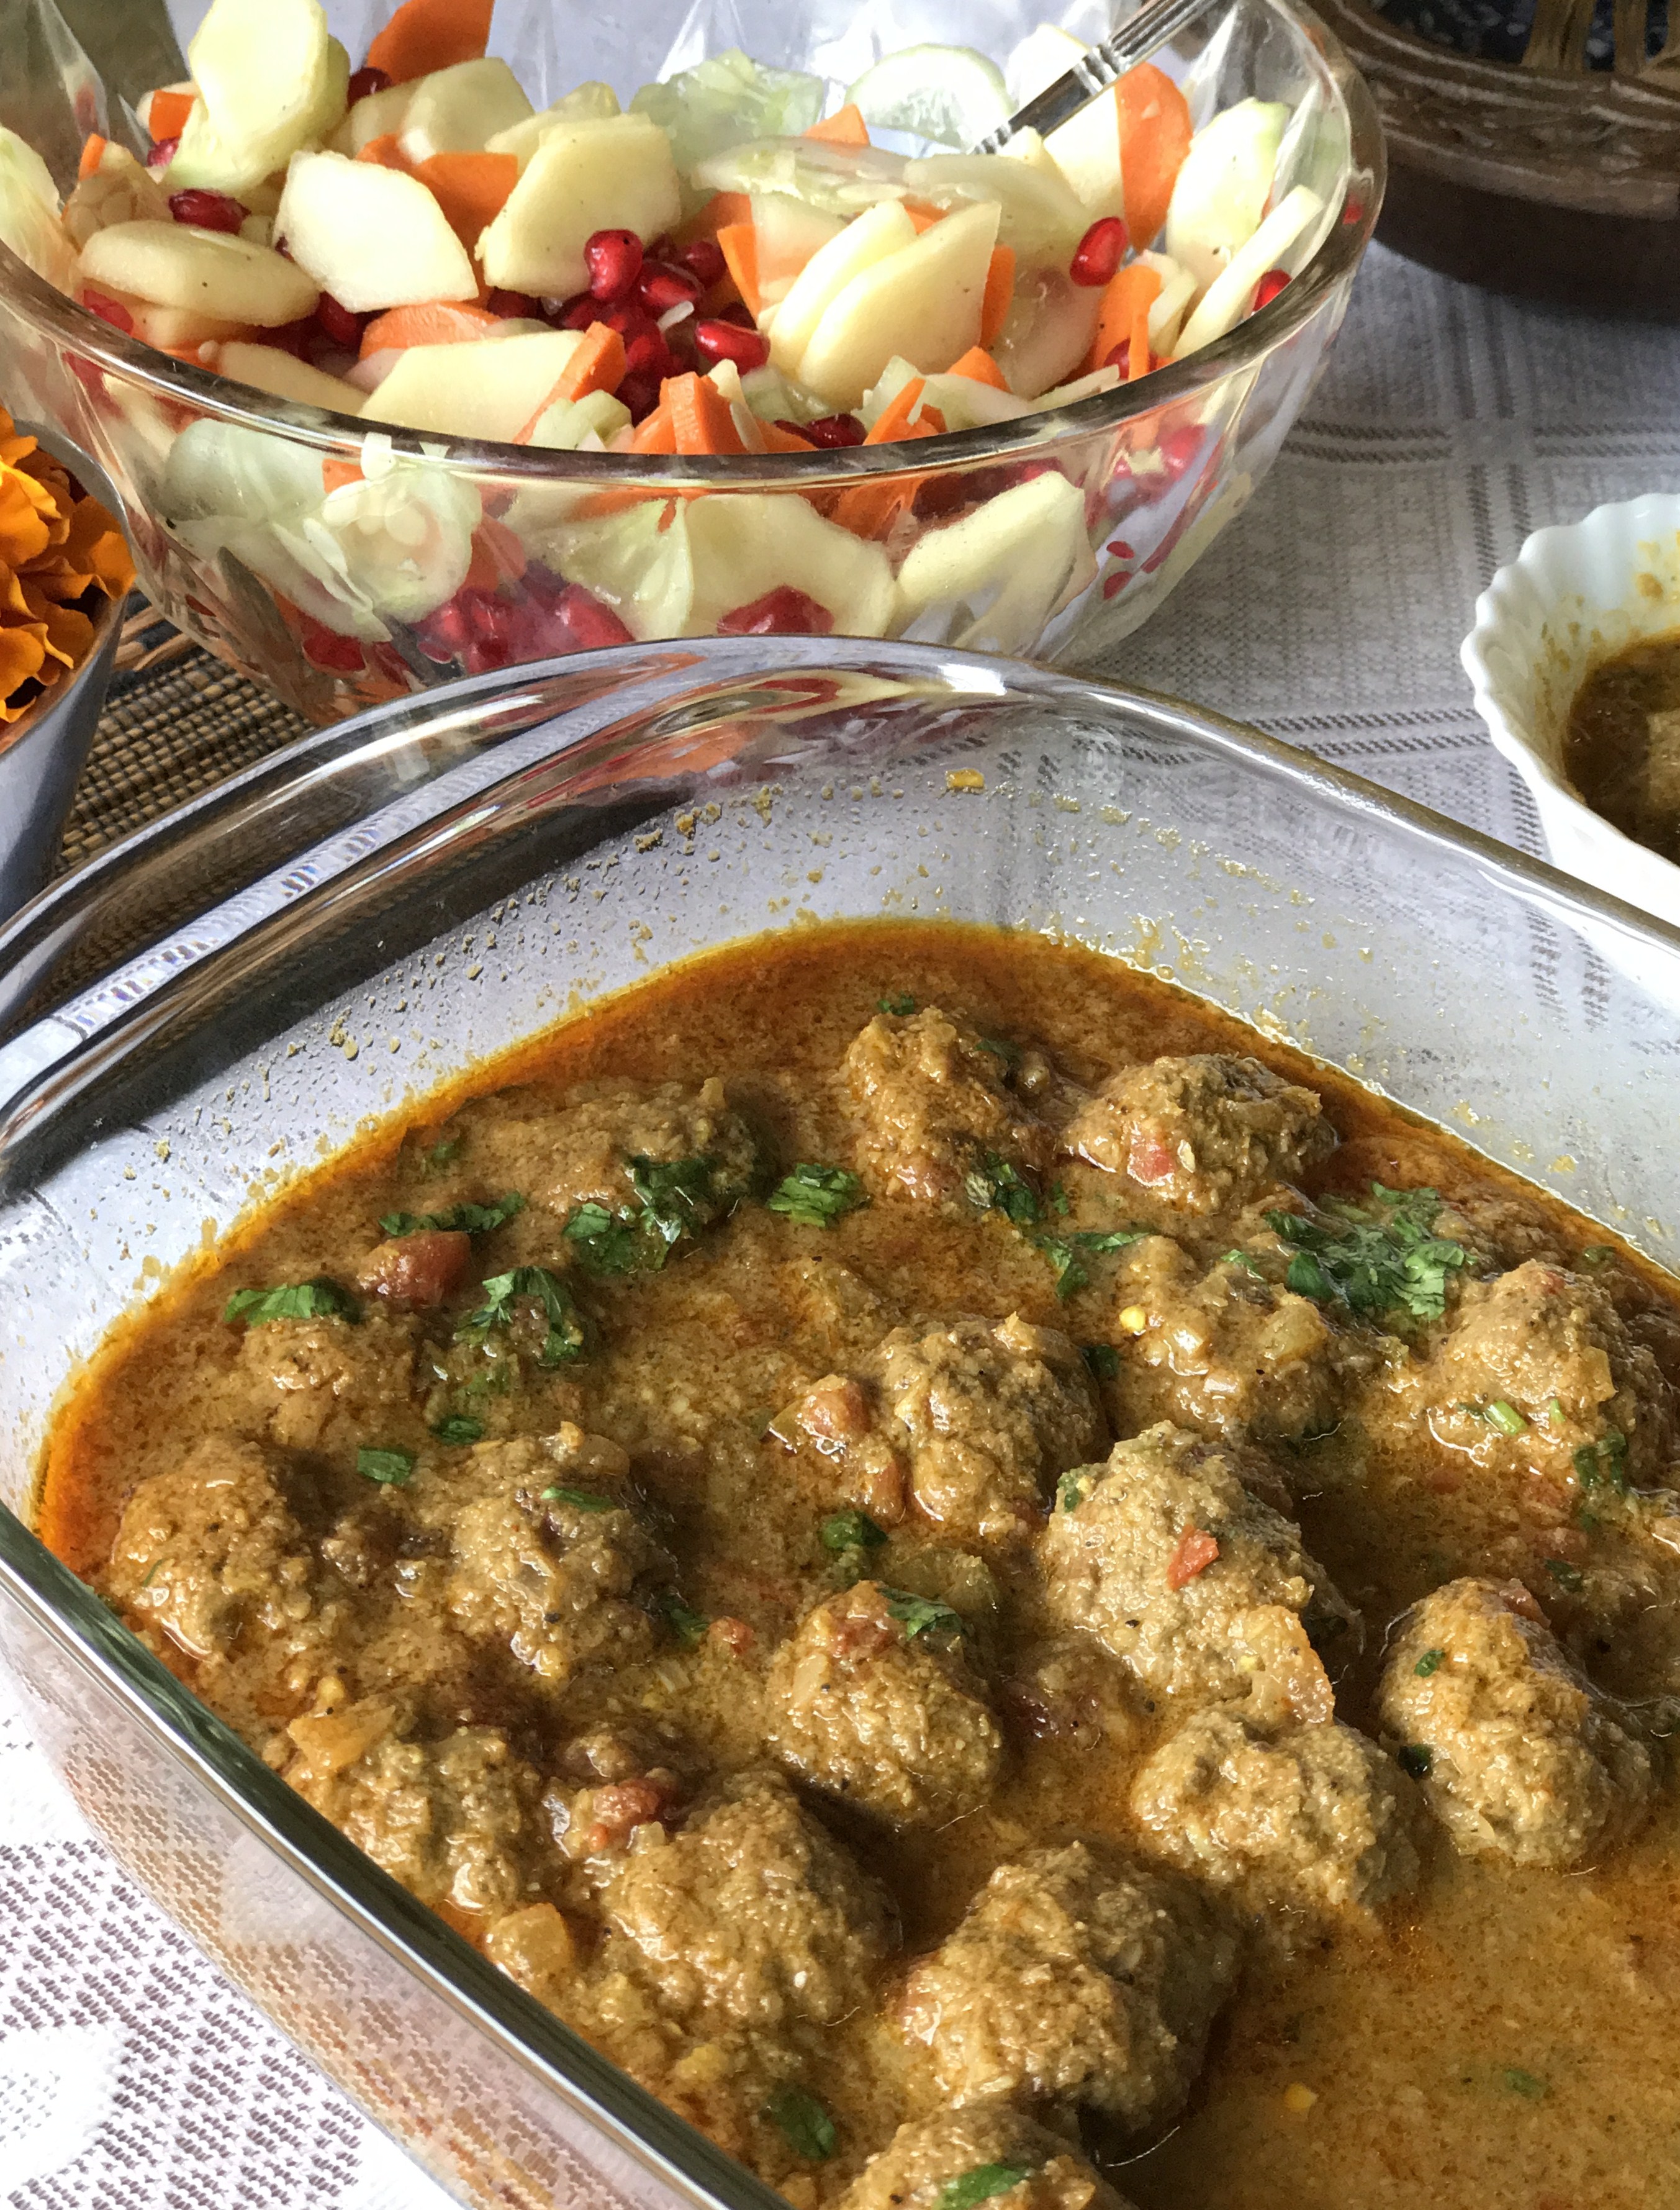
Aadu/Mutton Urundai Kuzhambu/Lamb Meat Balls in Spicy Gravy (serves 10-15 persons) – reduce according to family needs


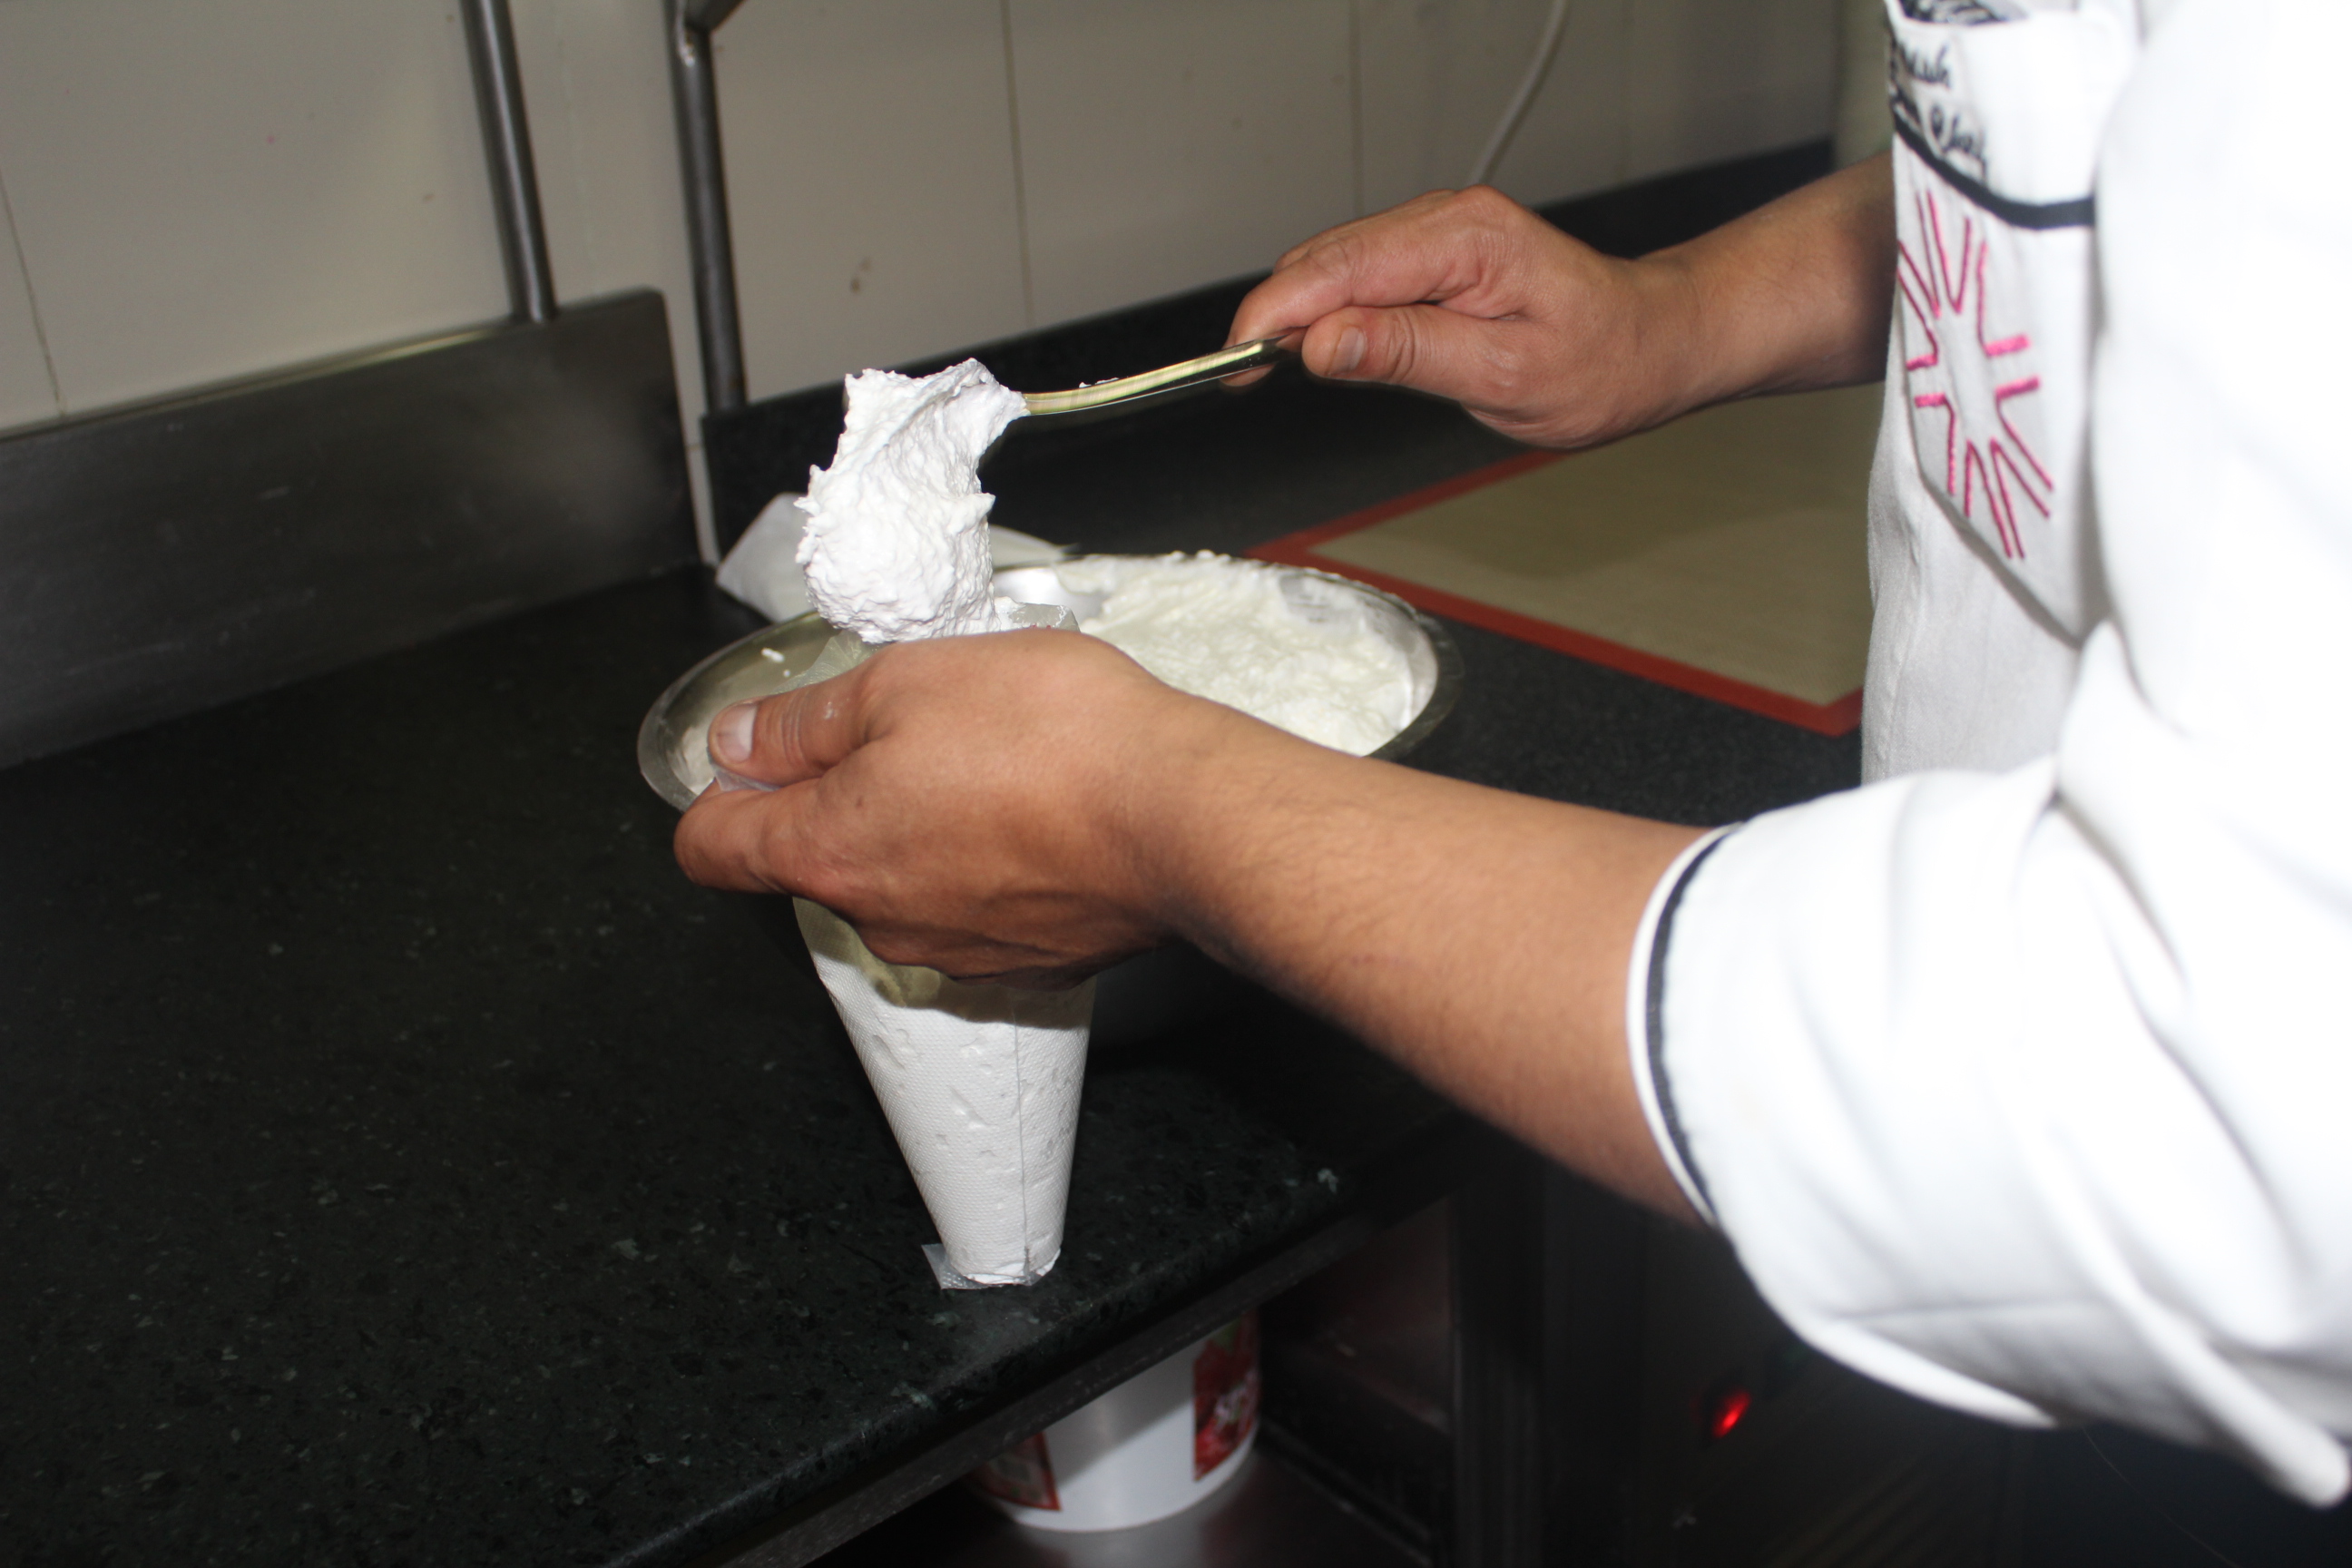
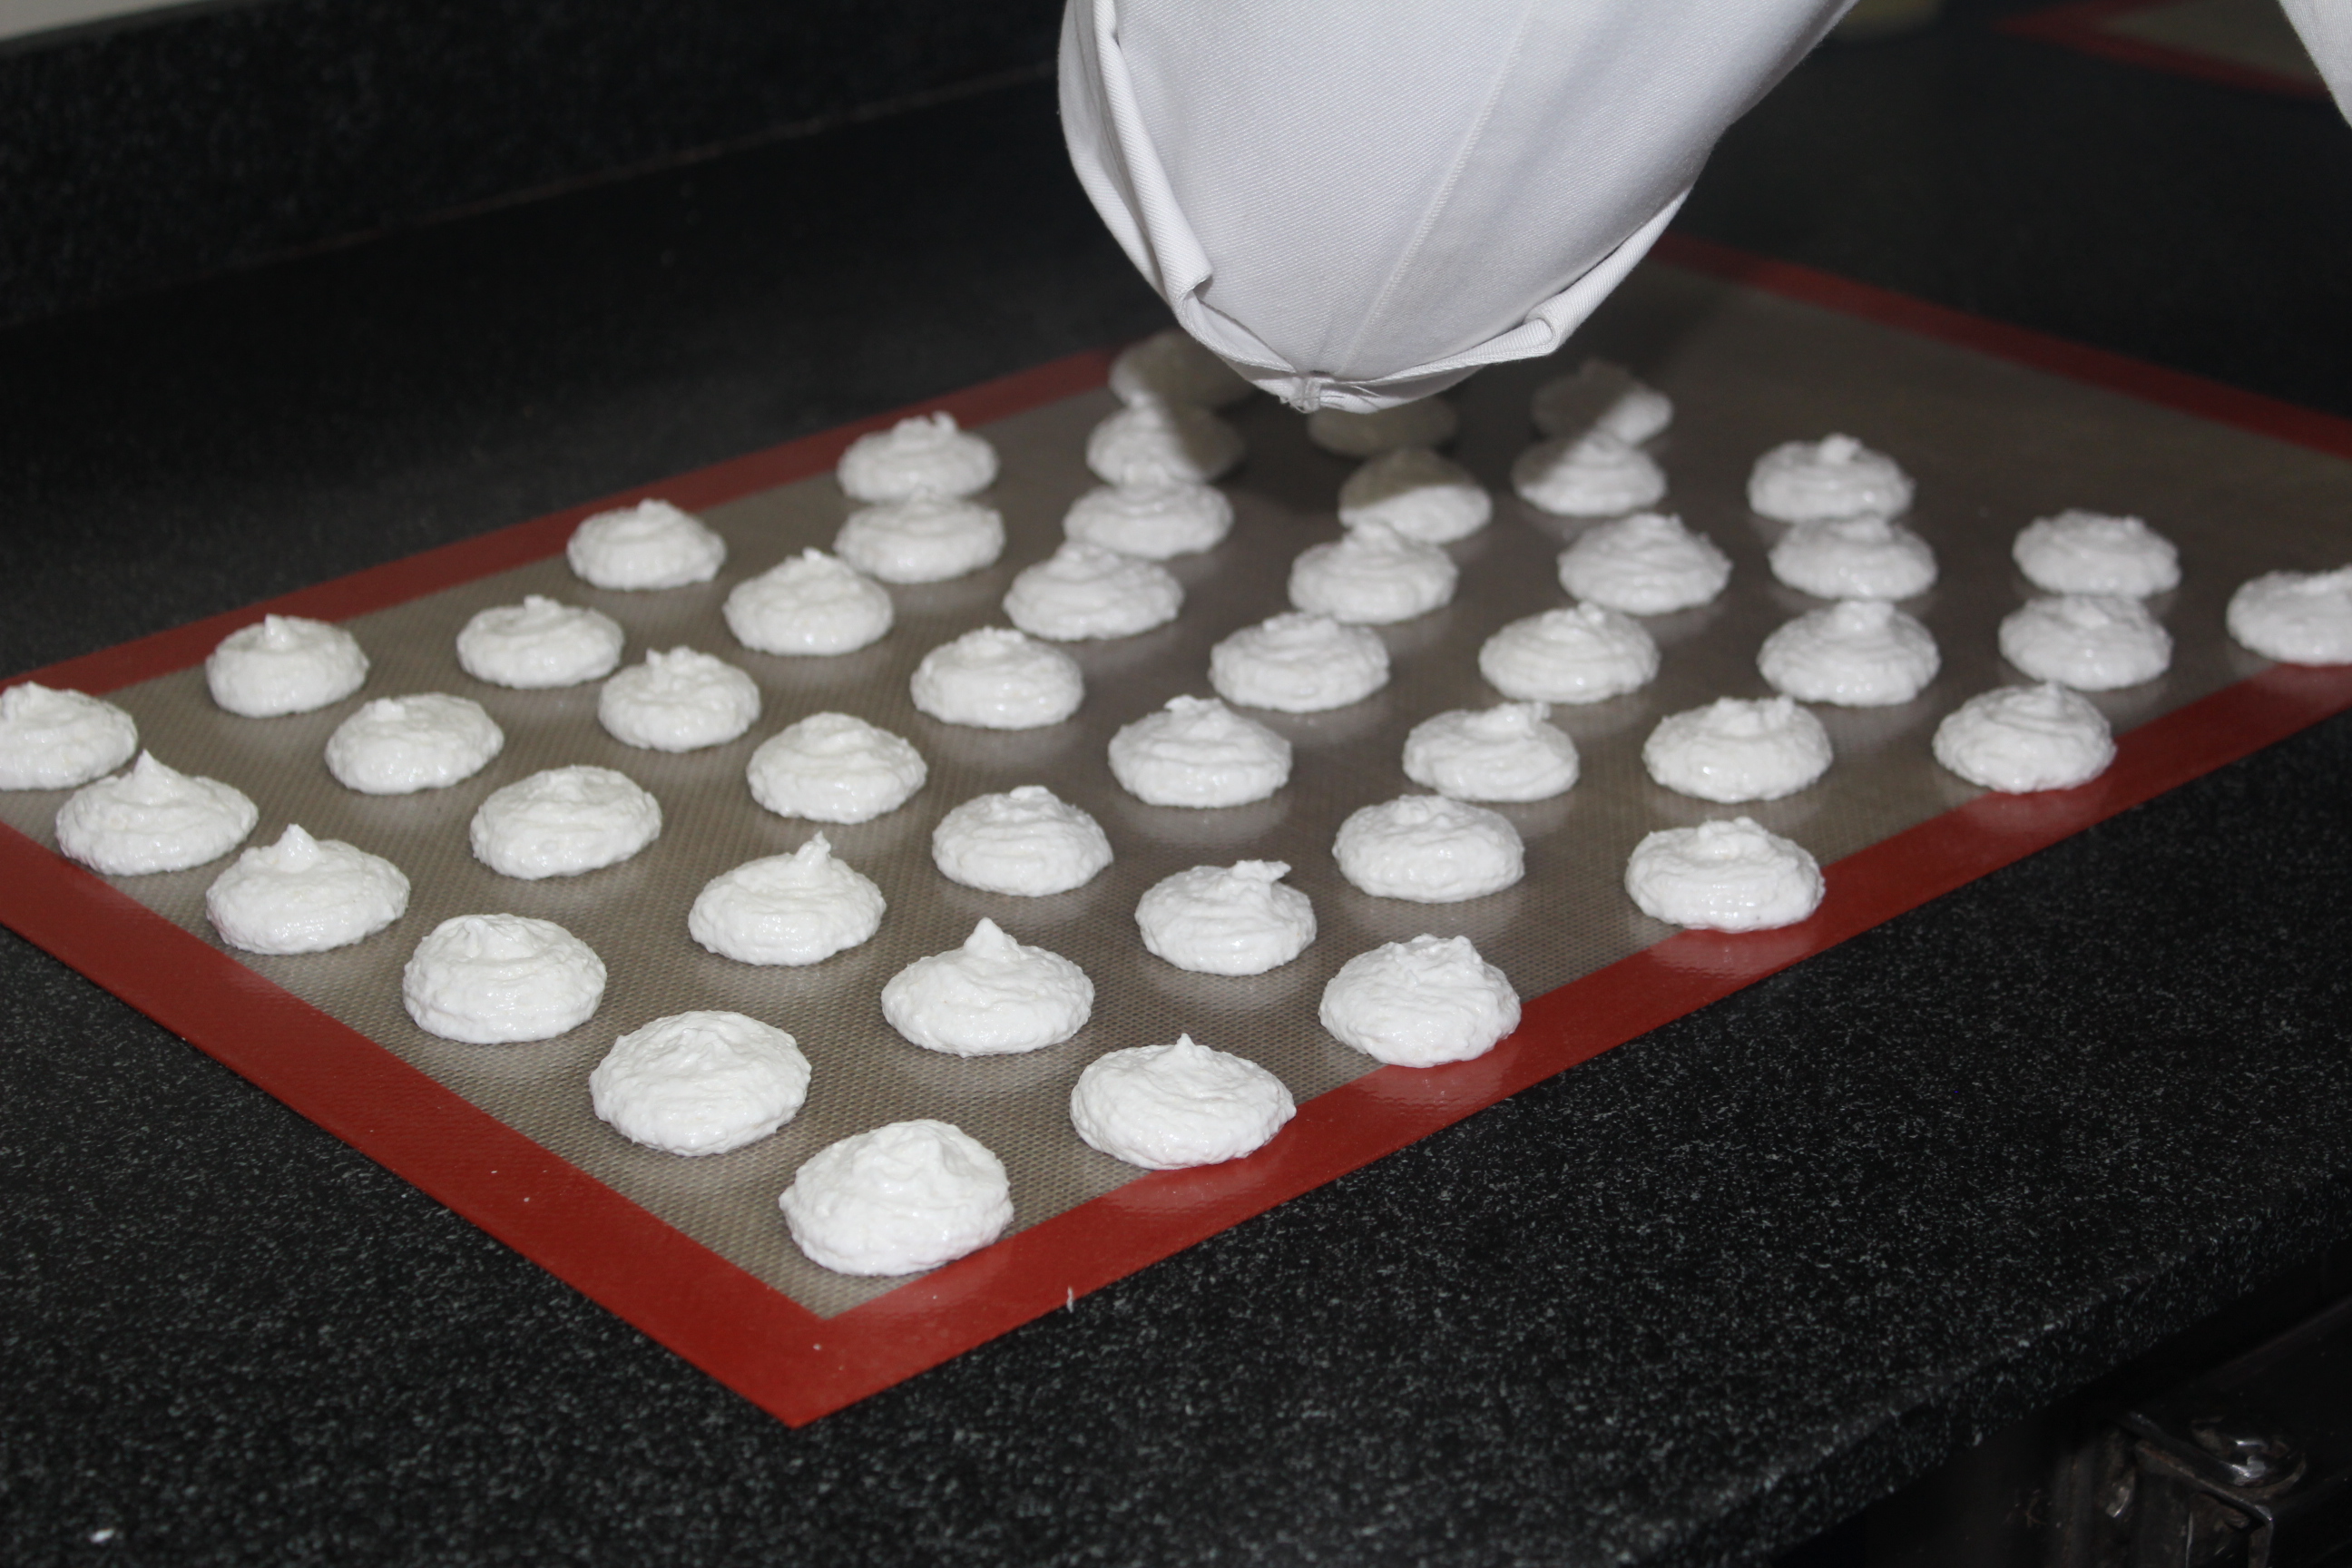
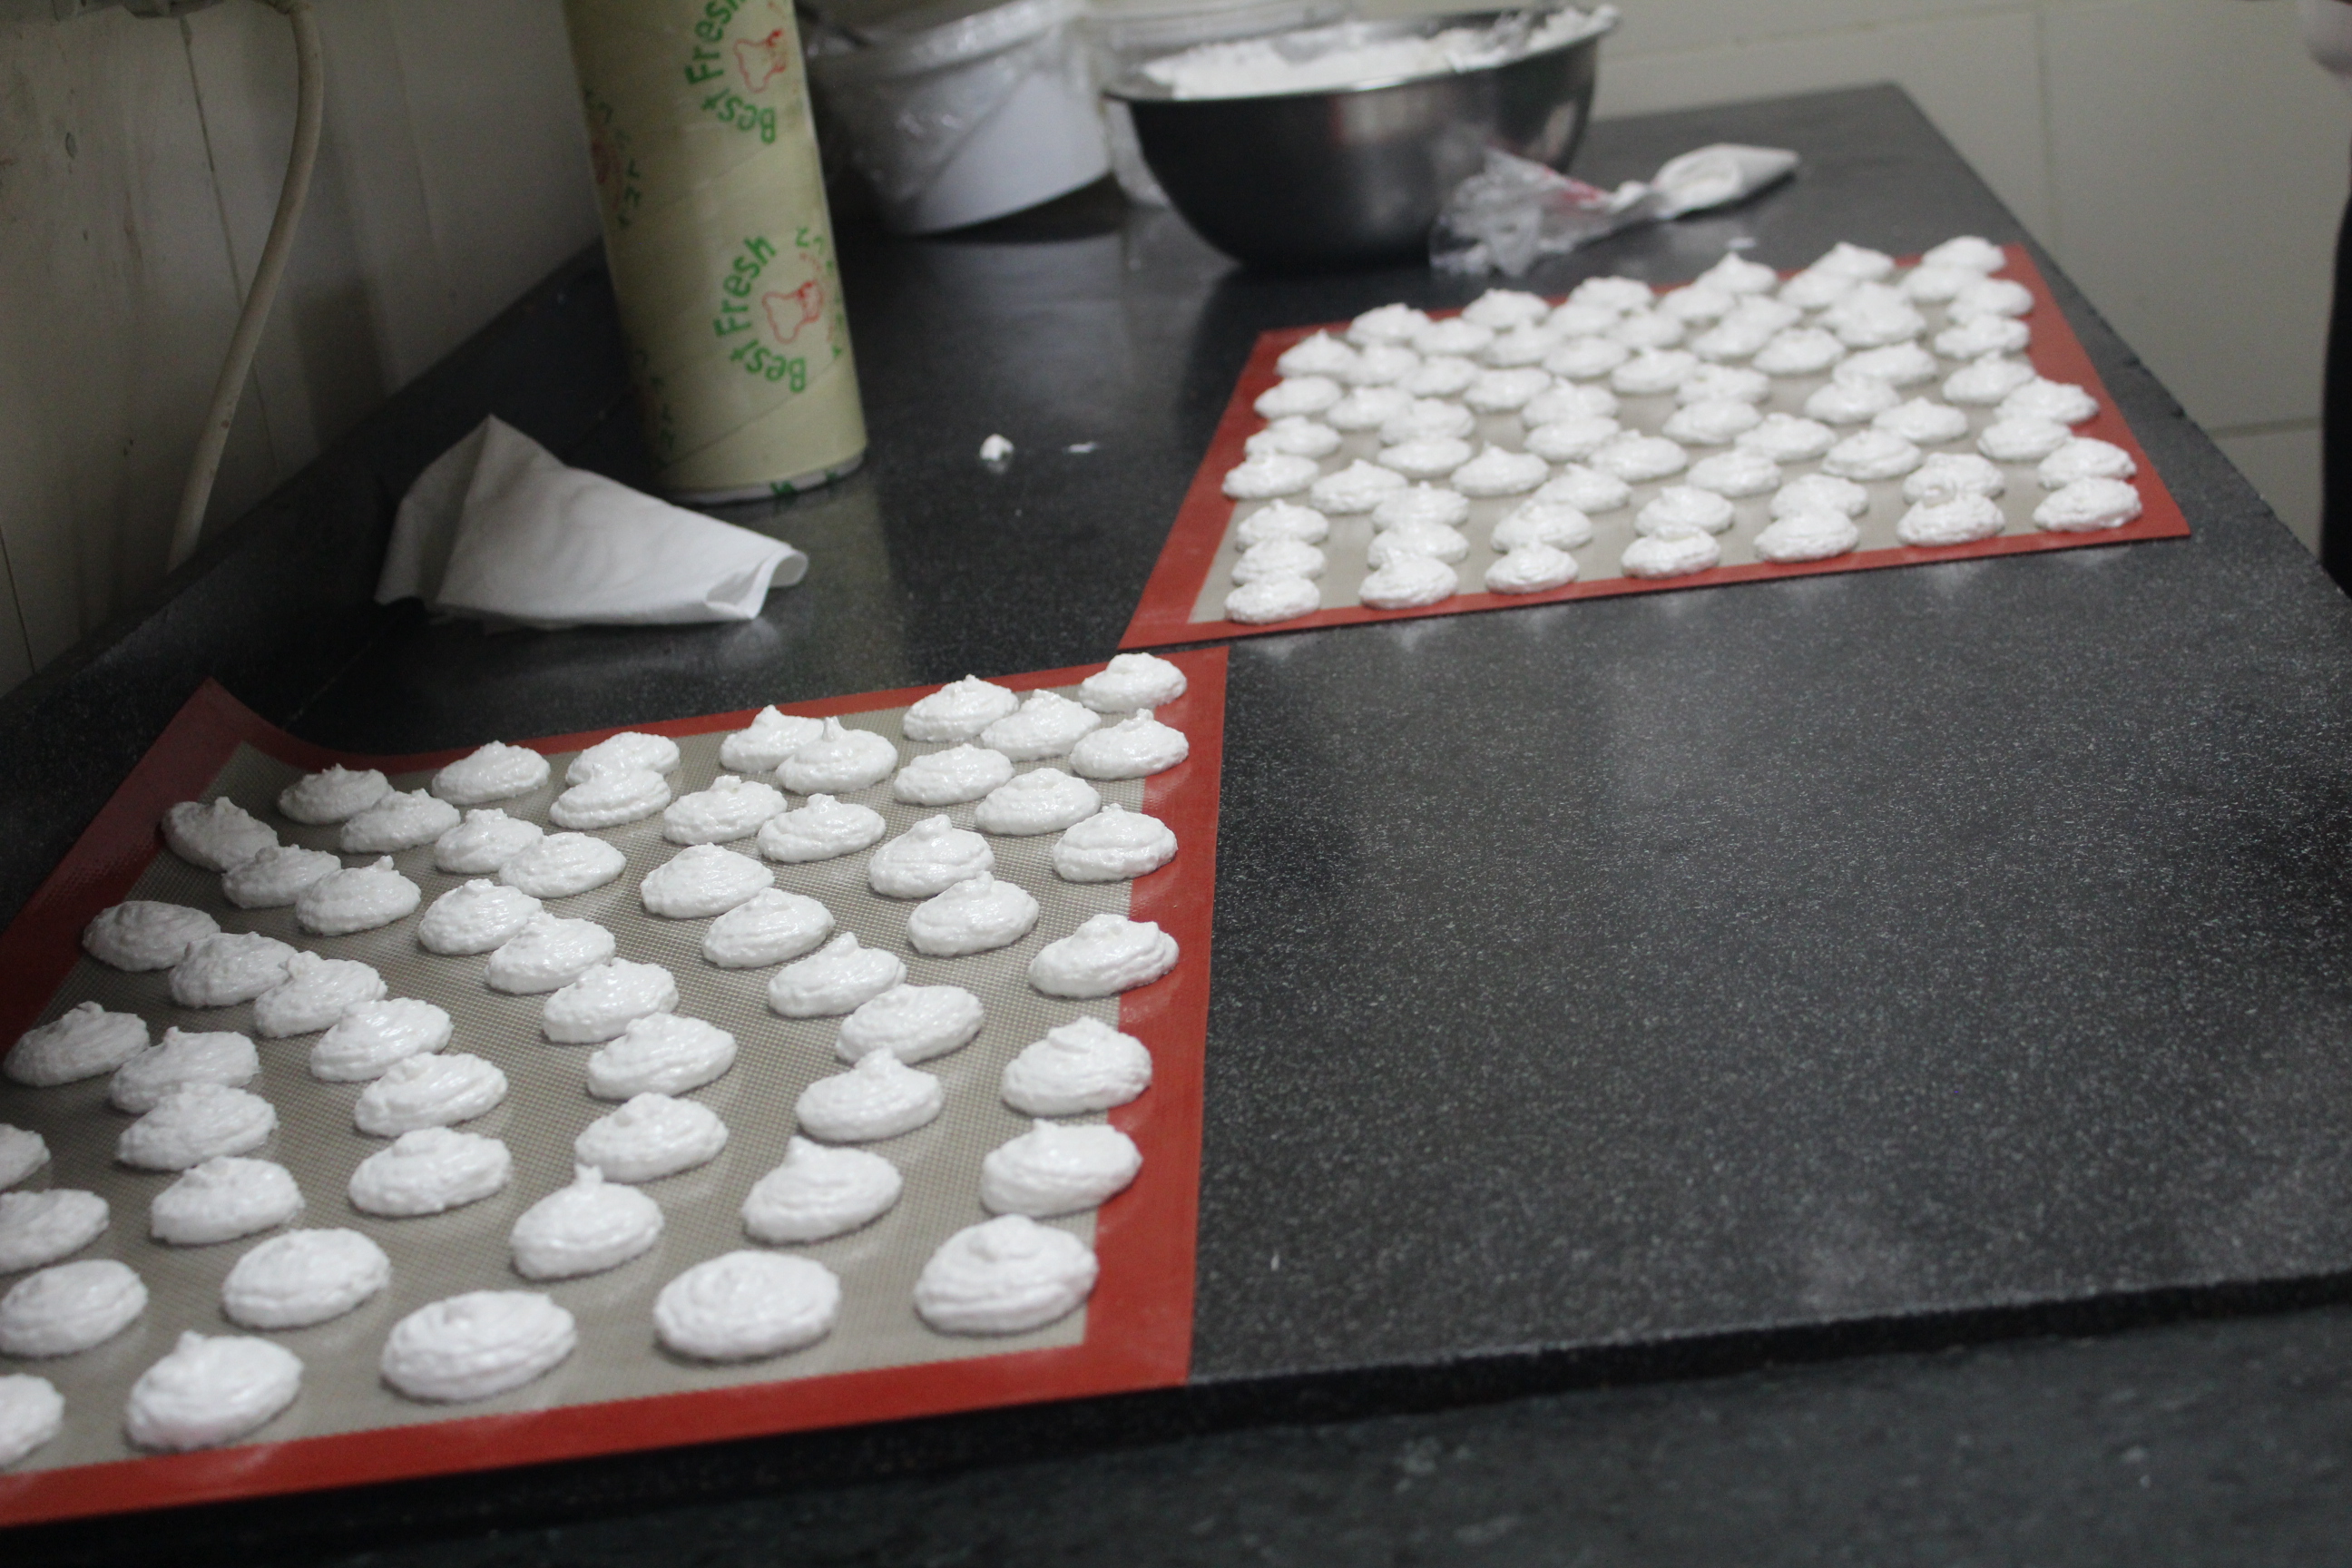
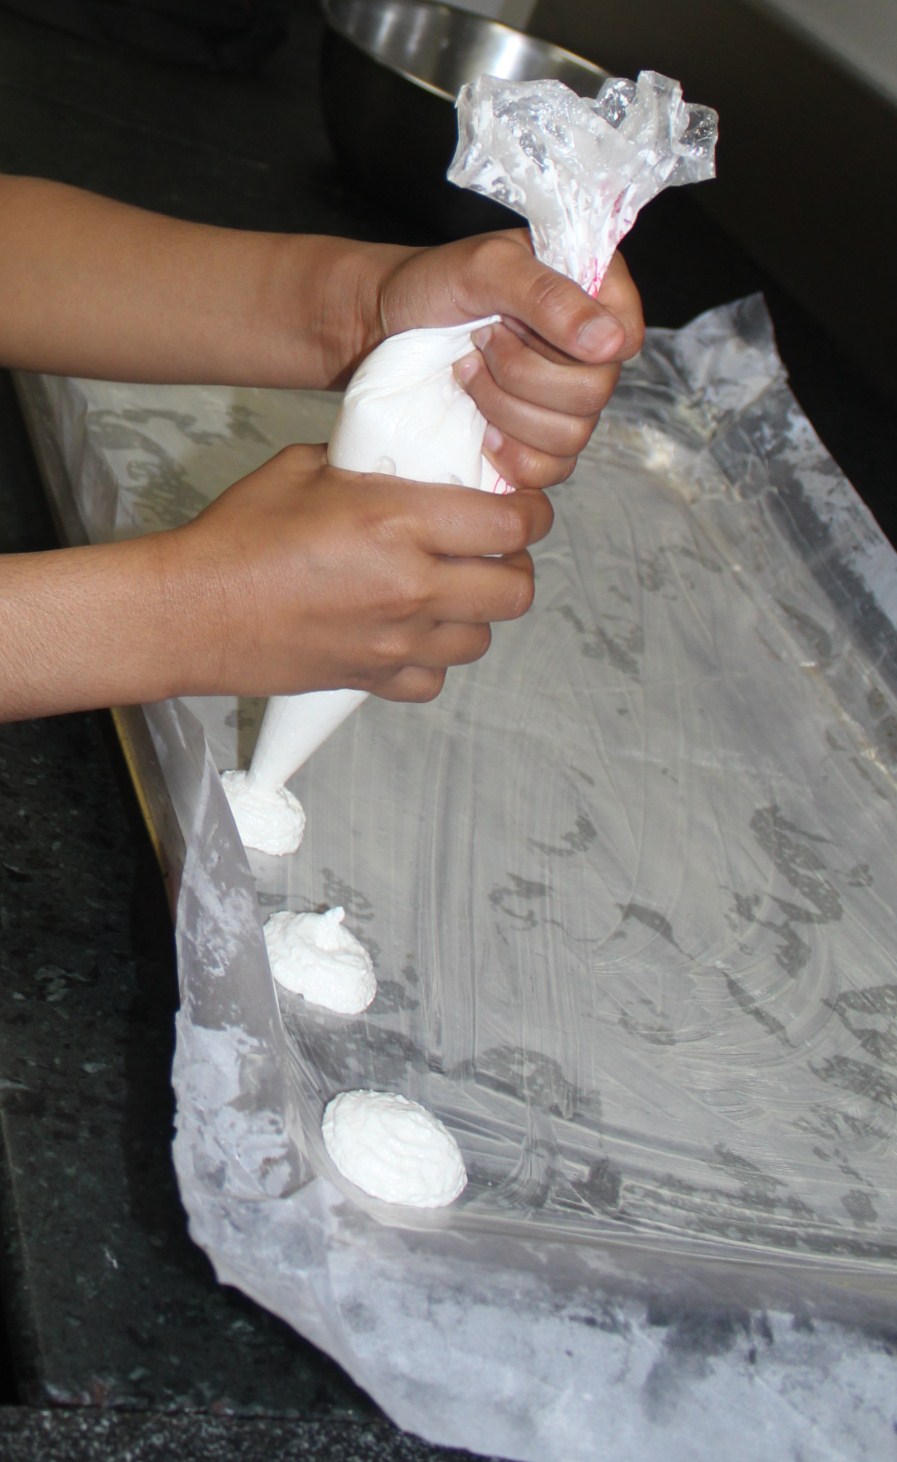
Step I – Making the Meat Balls


Ingredients (makes appr. 35-45 urundai)


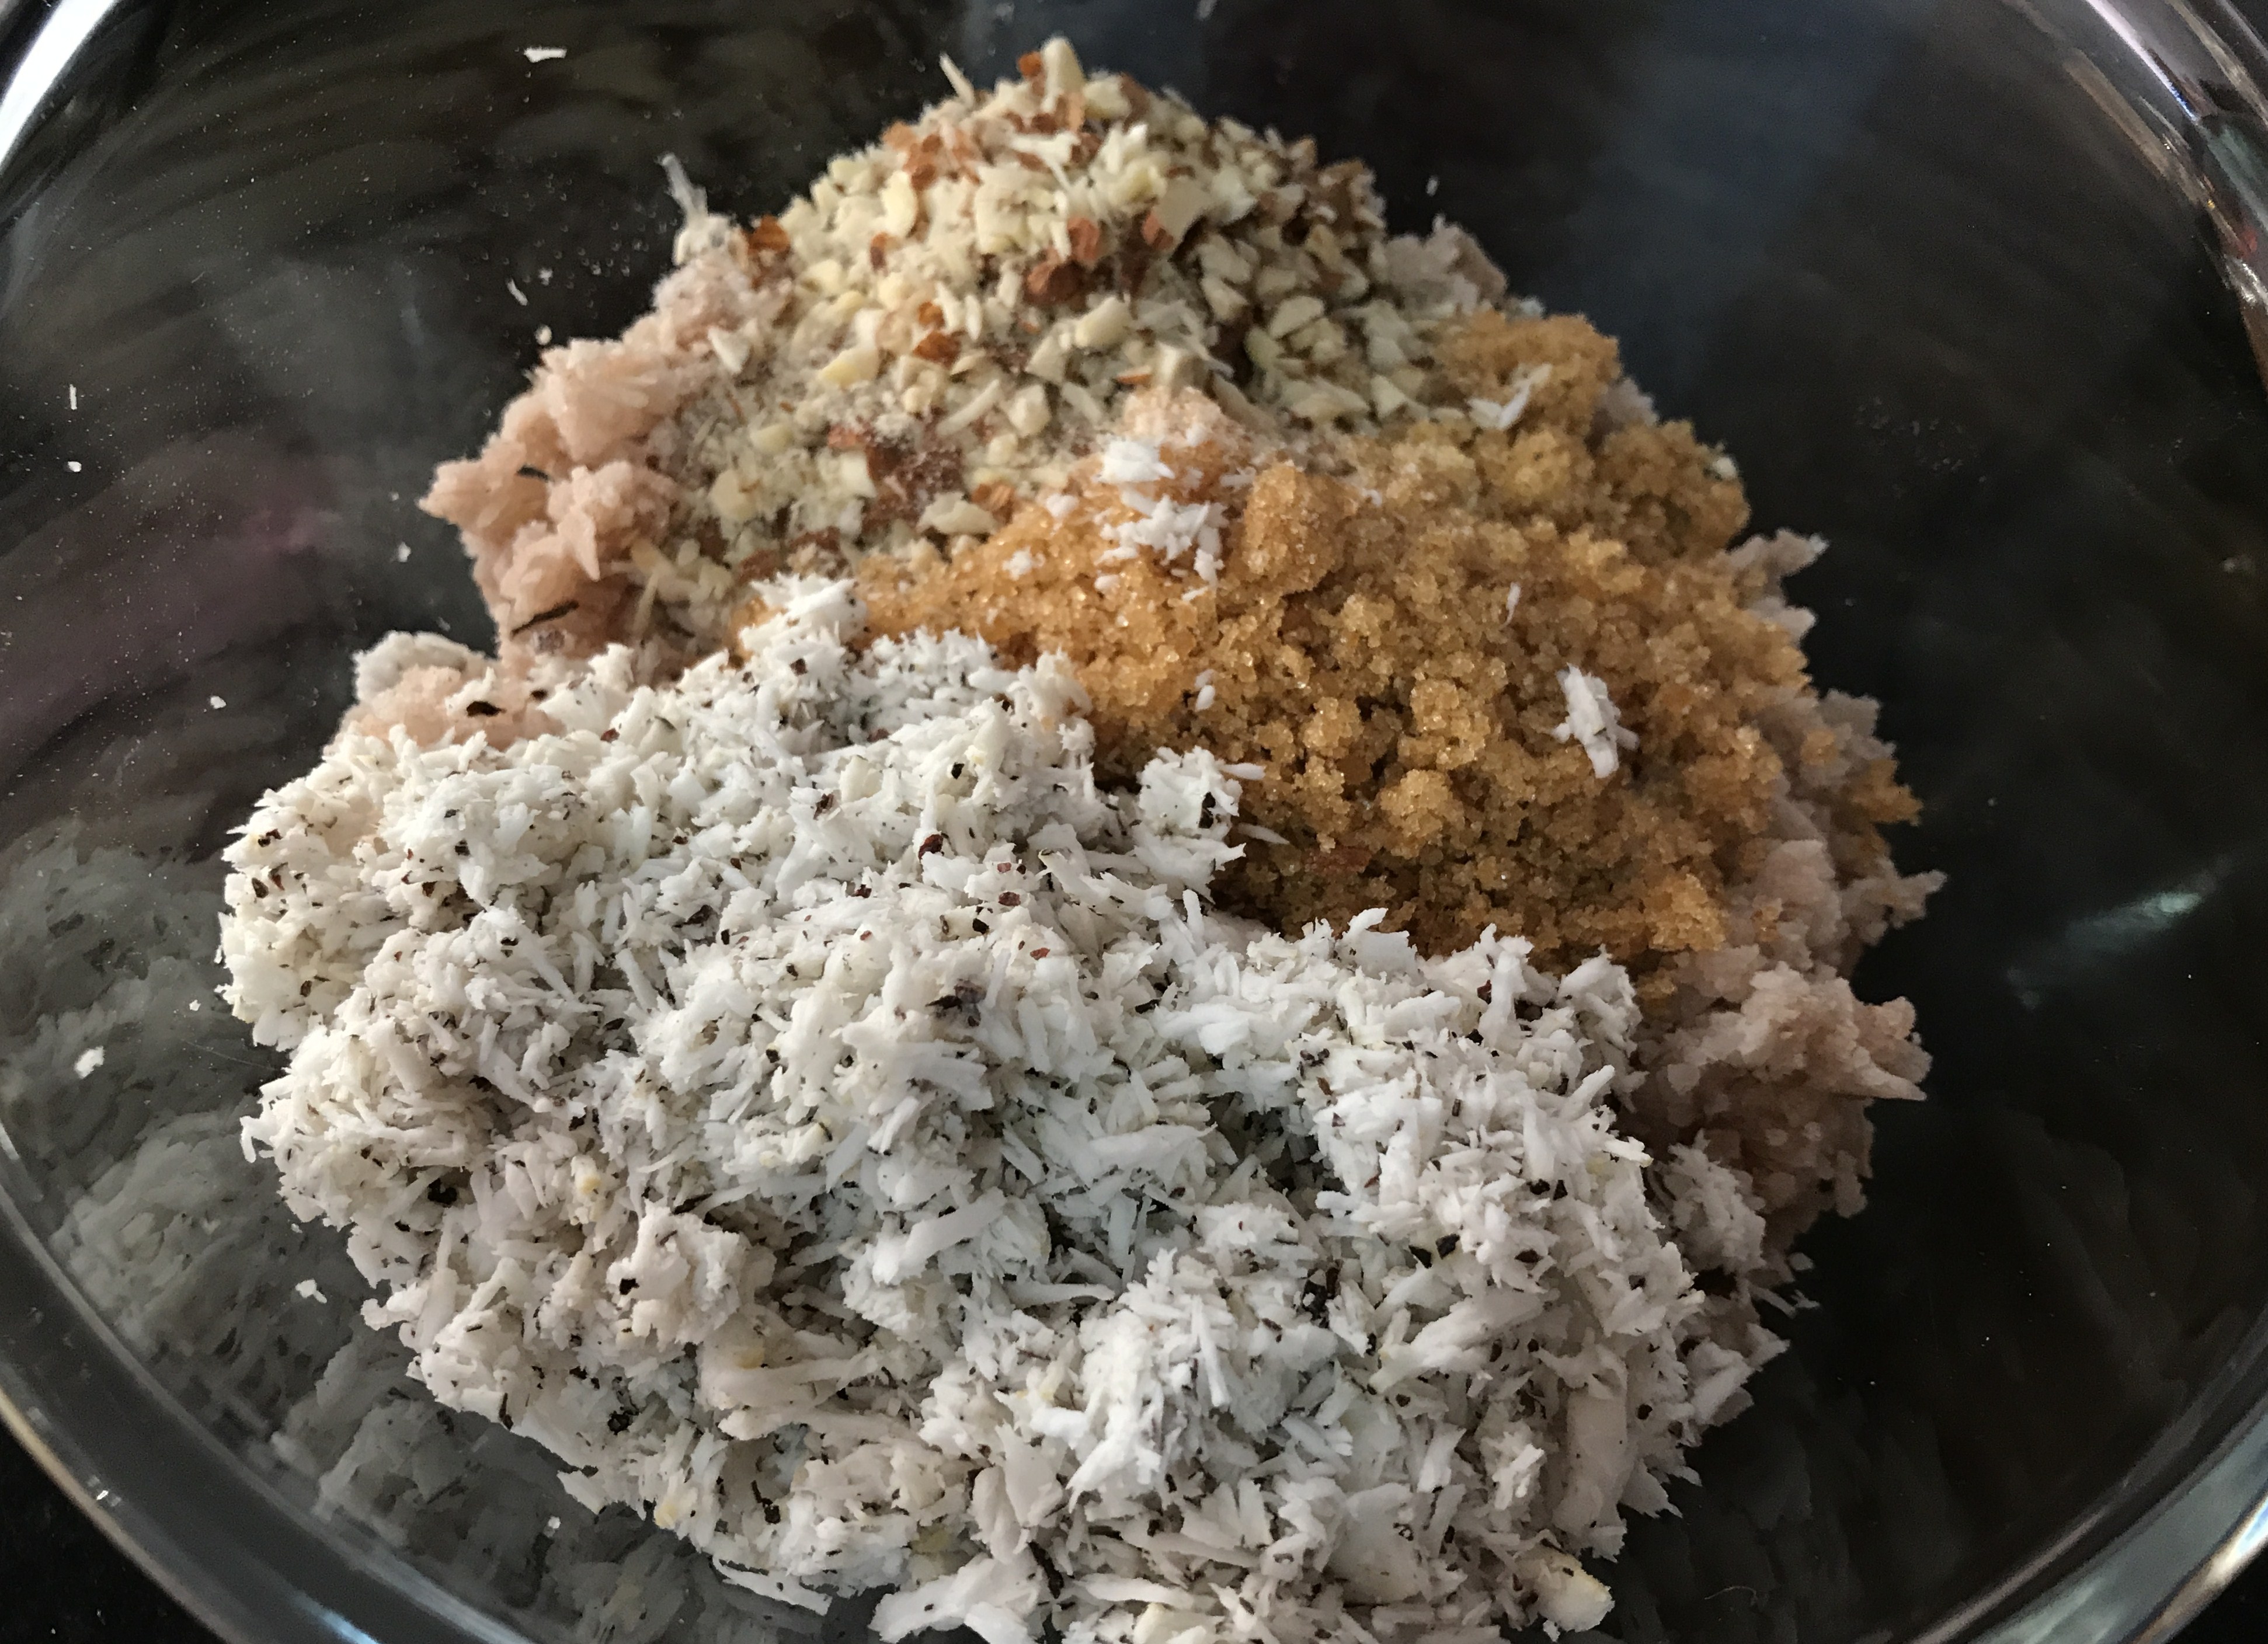
  • minced meat – 1/2 kg
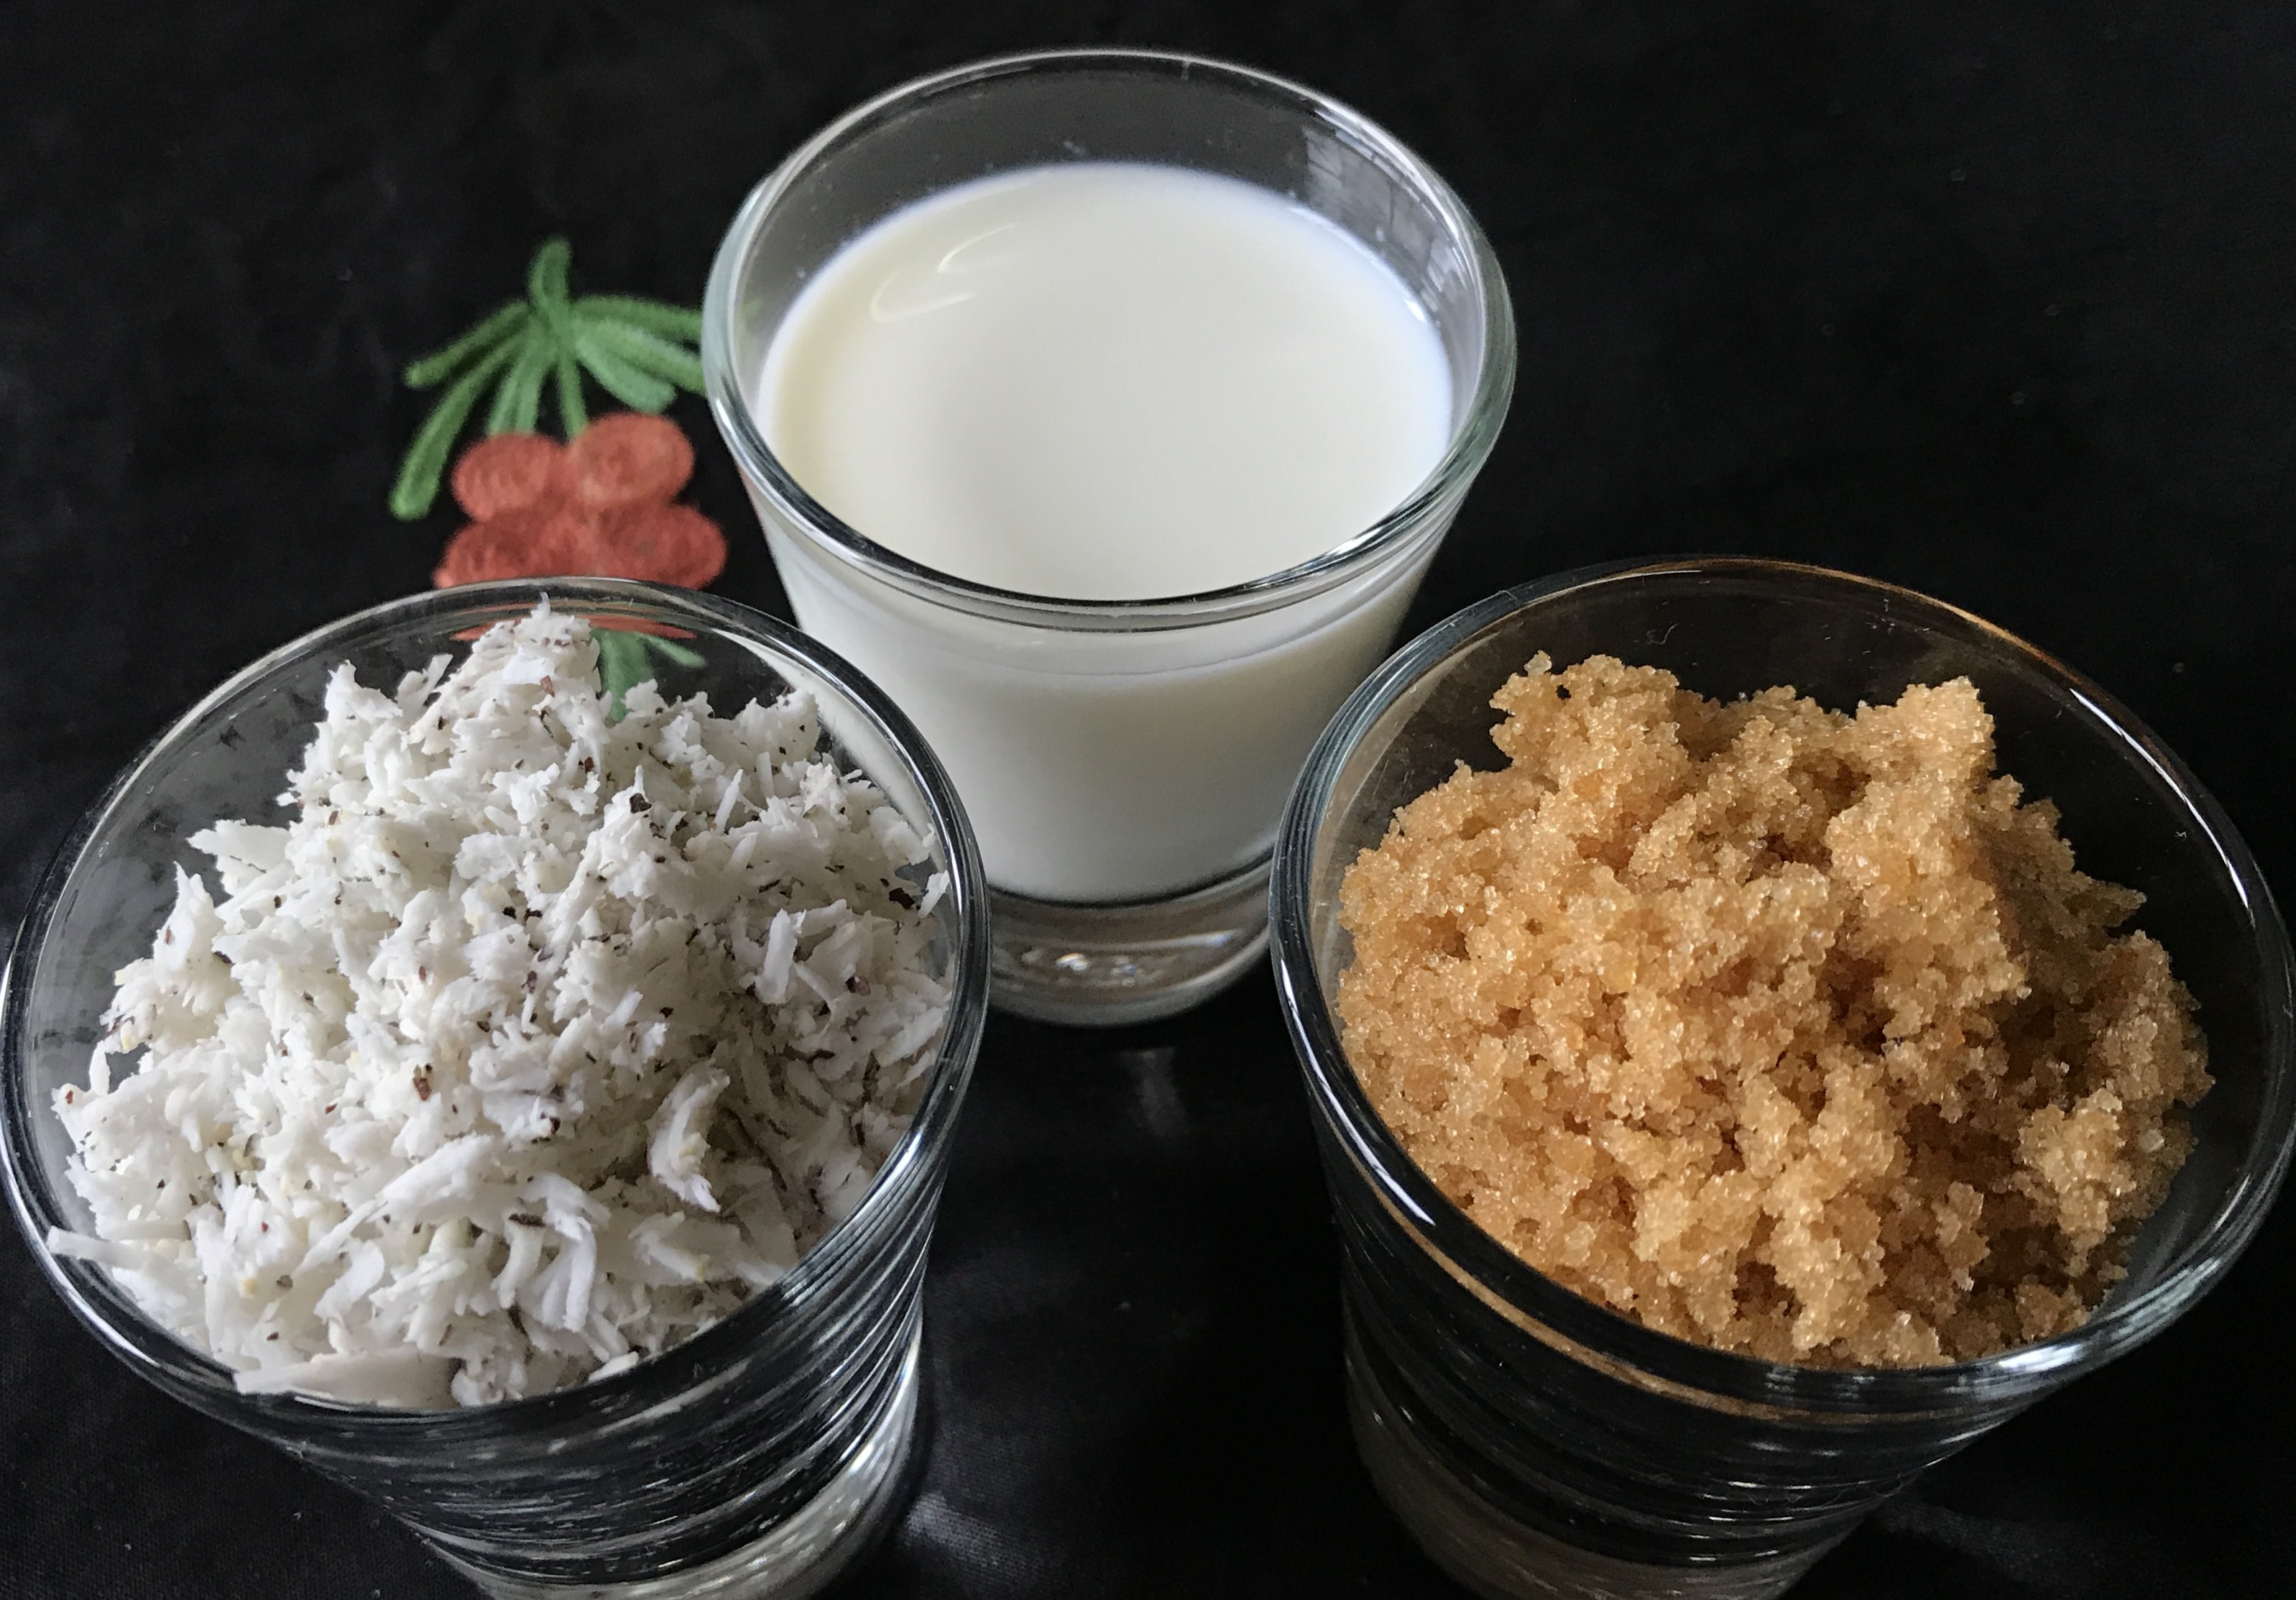
  • grated coconut – 3/4 cup
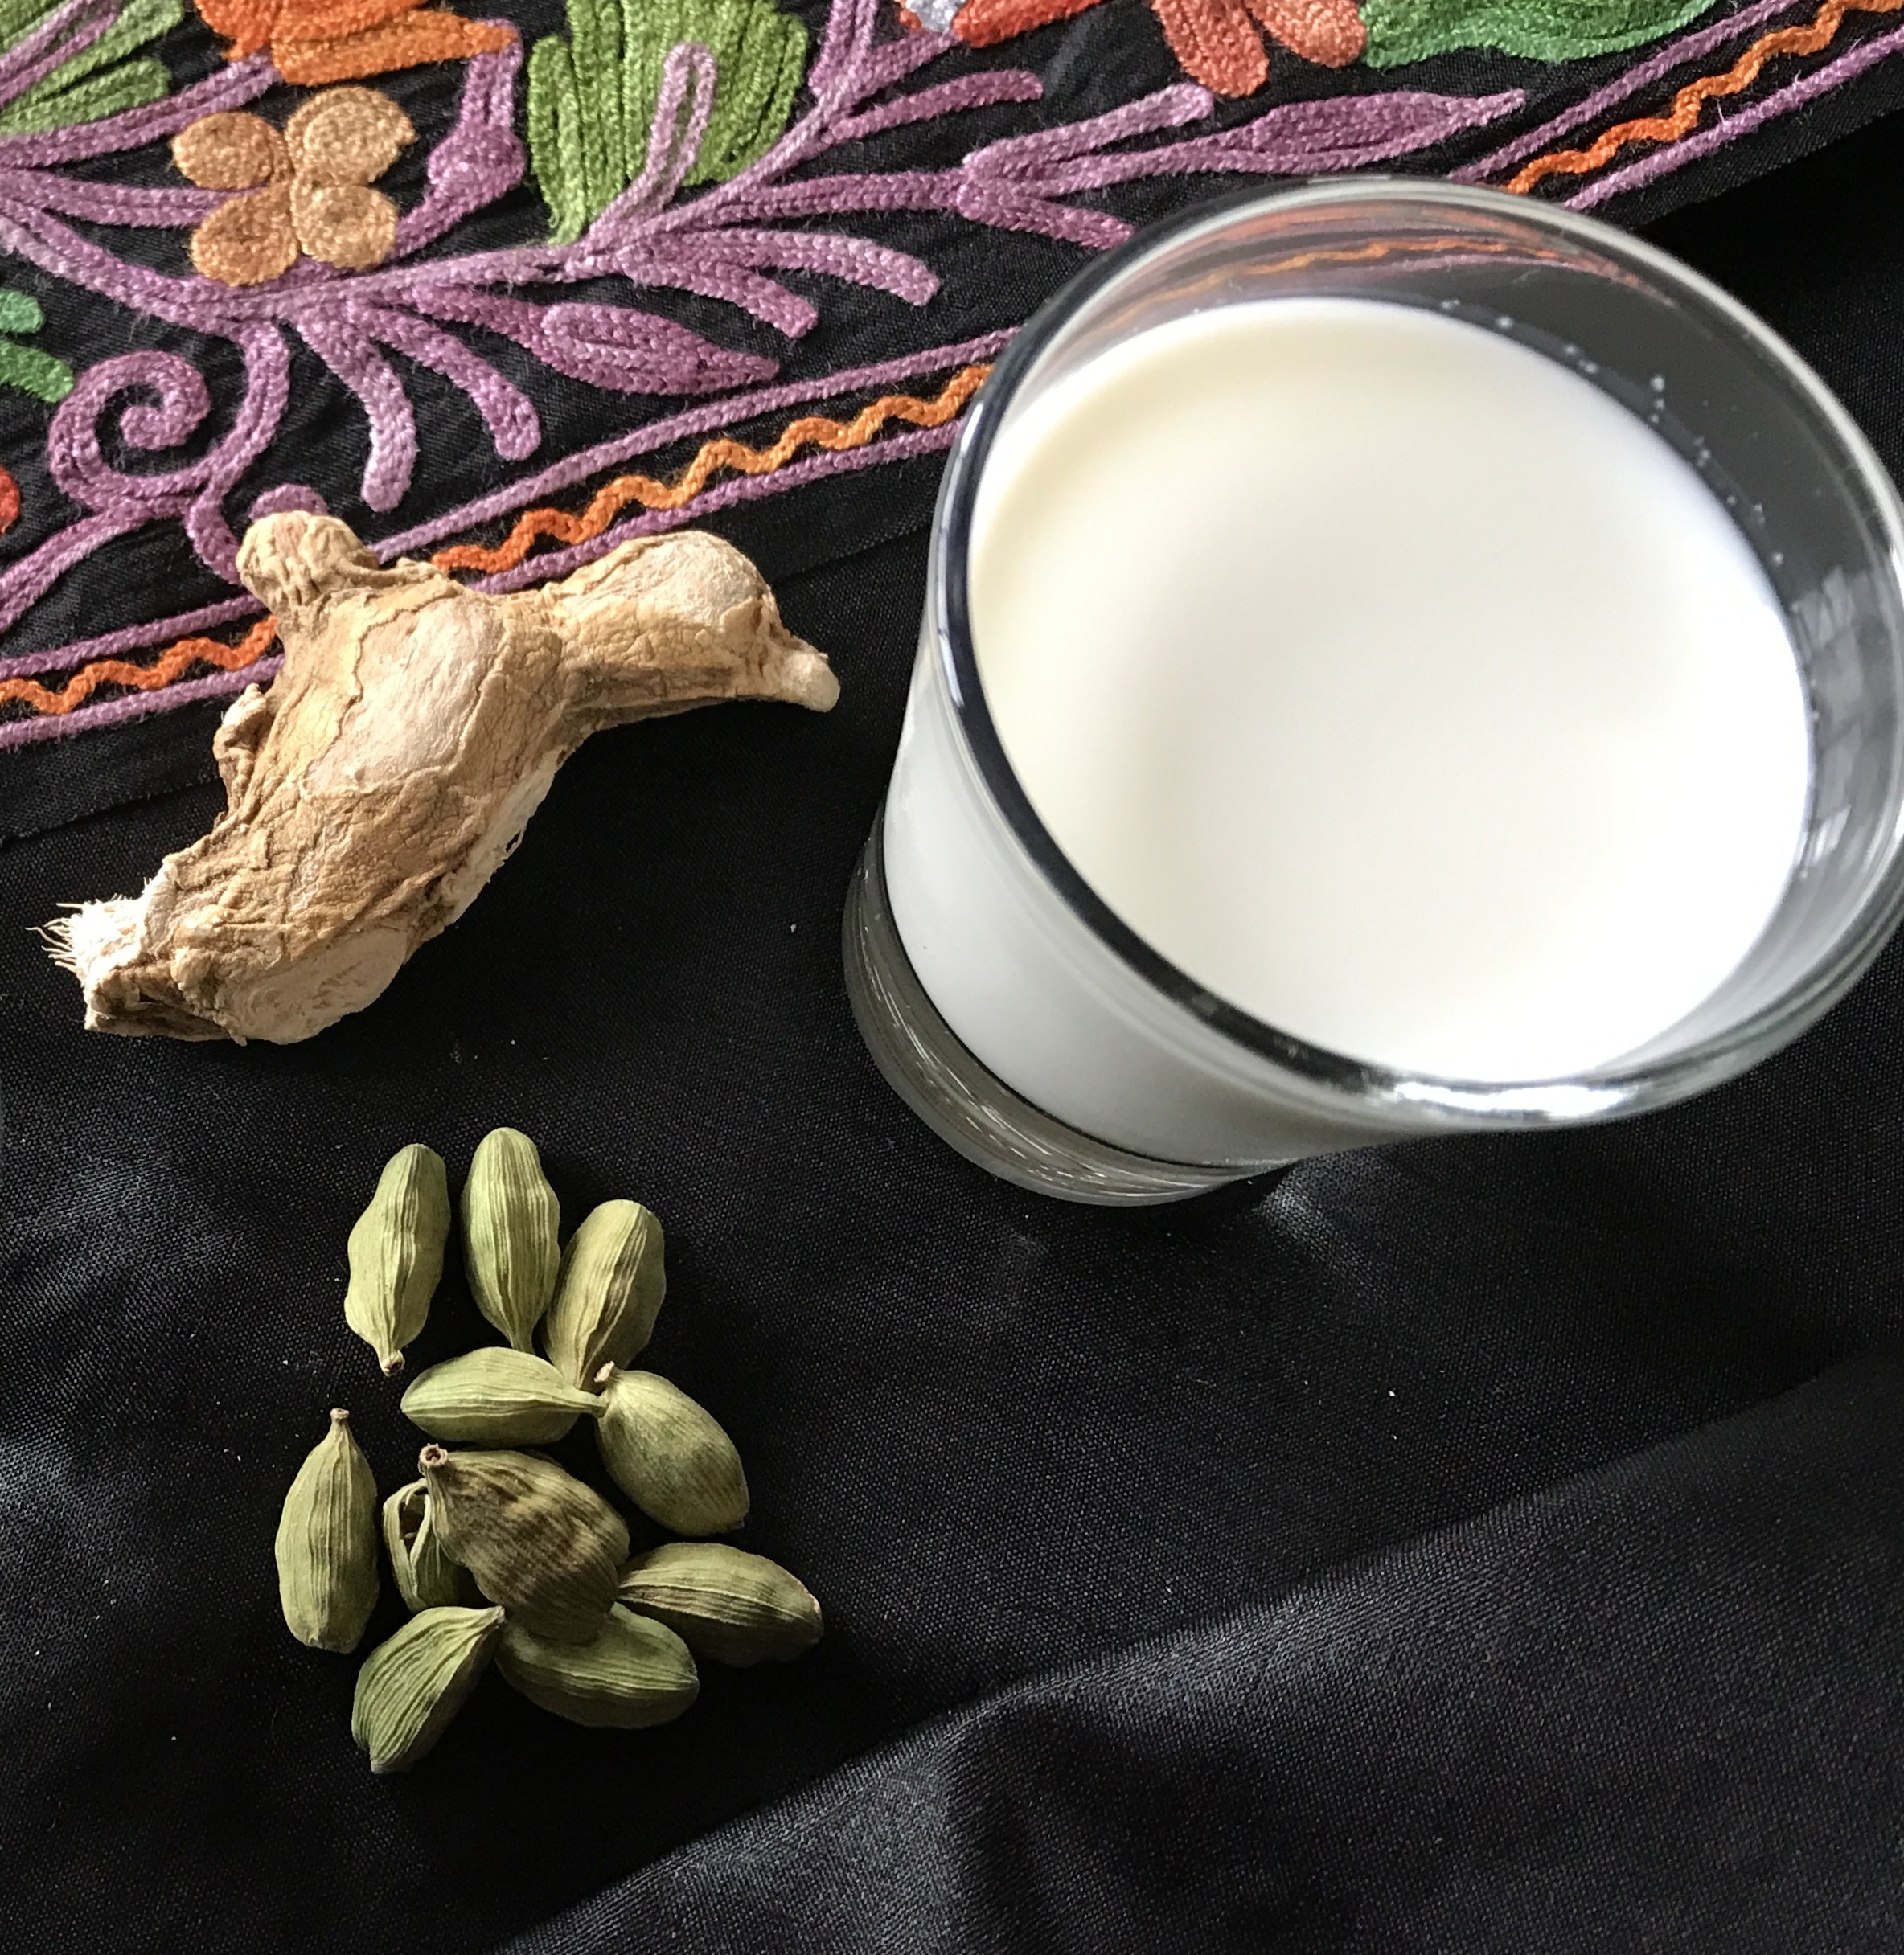
  • cardamom – 4 no.s
  • cloves – 4 no.s
  • garlic – 10 cloves
  • ginger  – 2 inch piece
  • chopped onion – 1/4 cup
  • green chillies – 4 no.s
  • black pepper – 1 tsp
  • turmeric powder – 1/2 tsp
  • salt – as needed

  
Method of Preparation

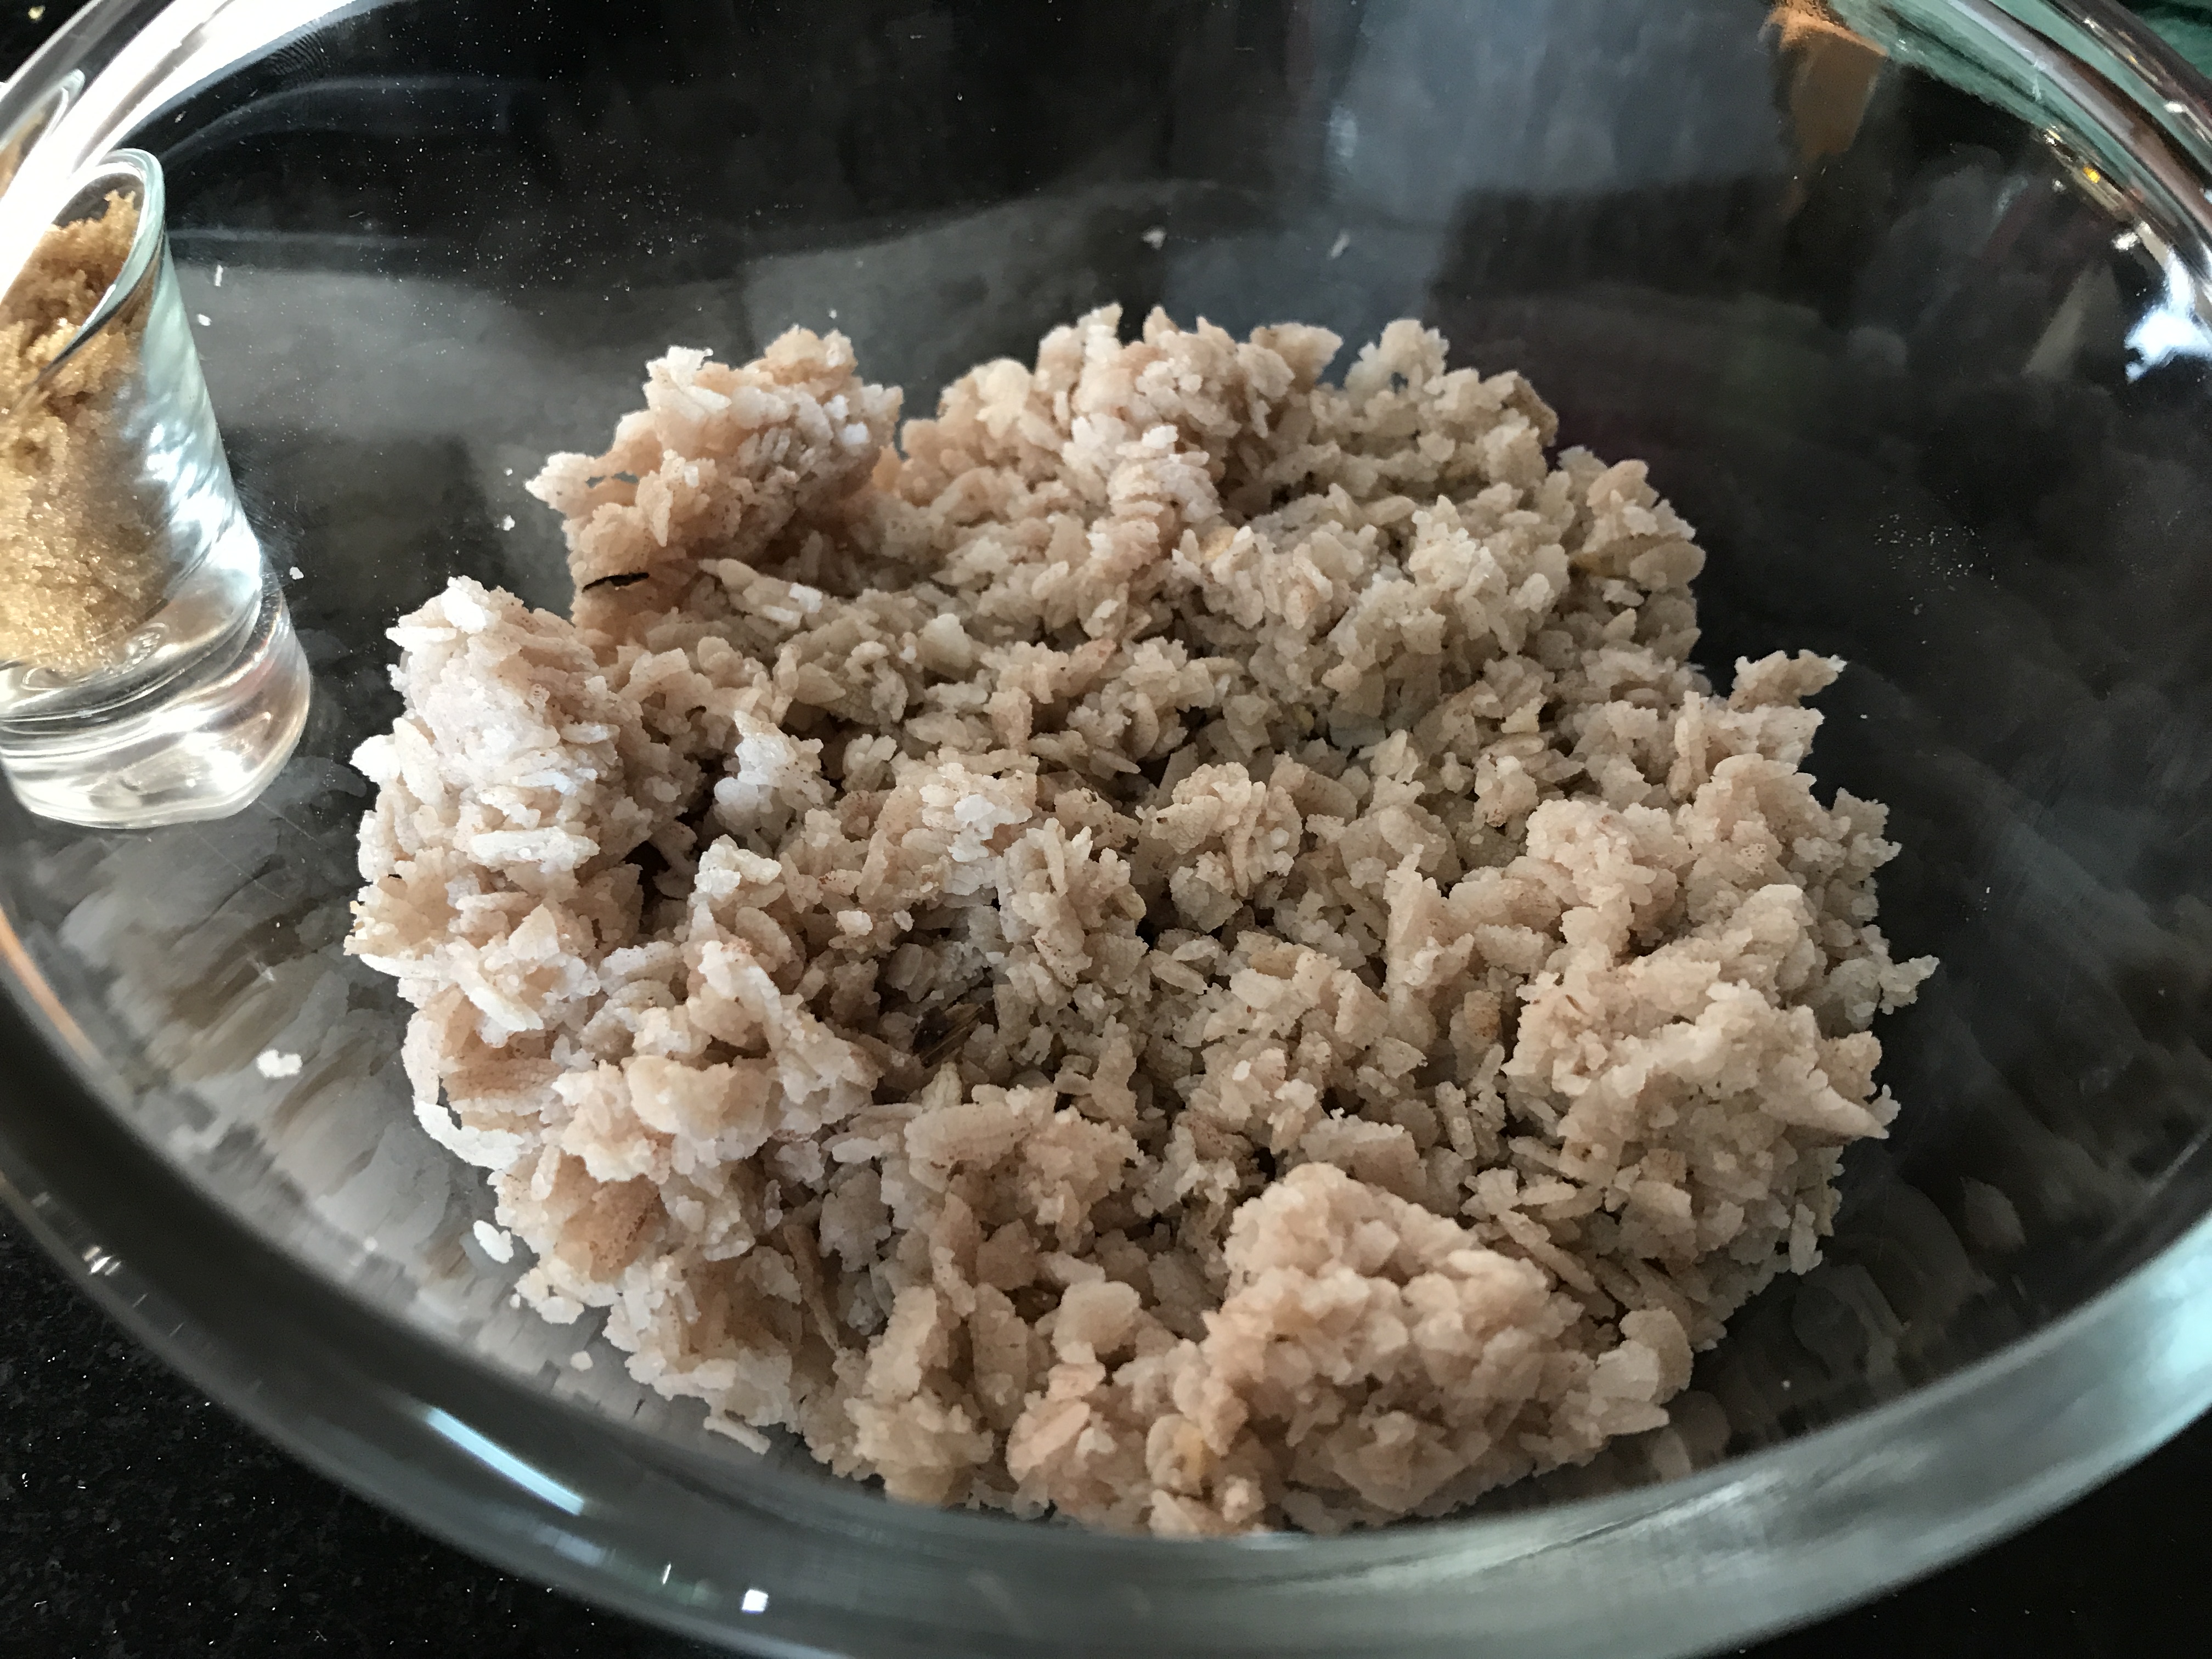
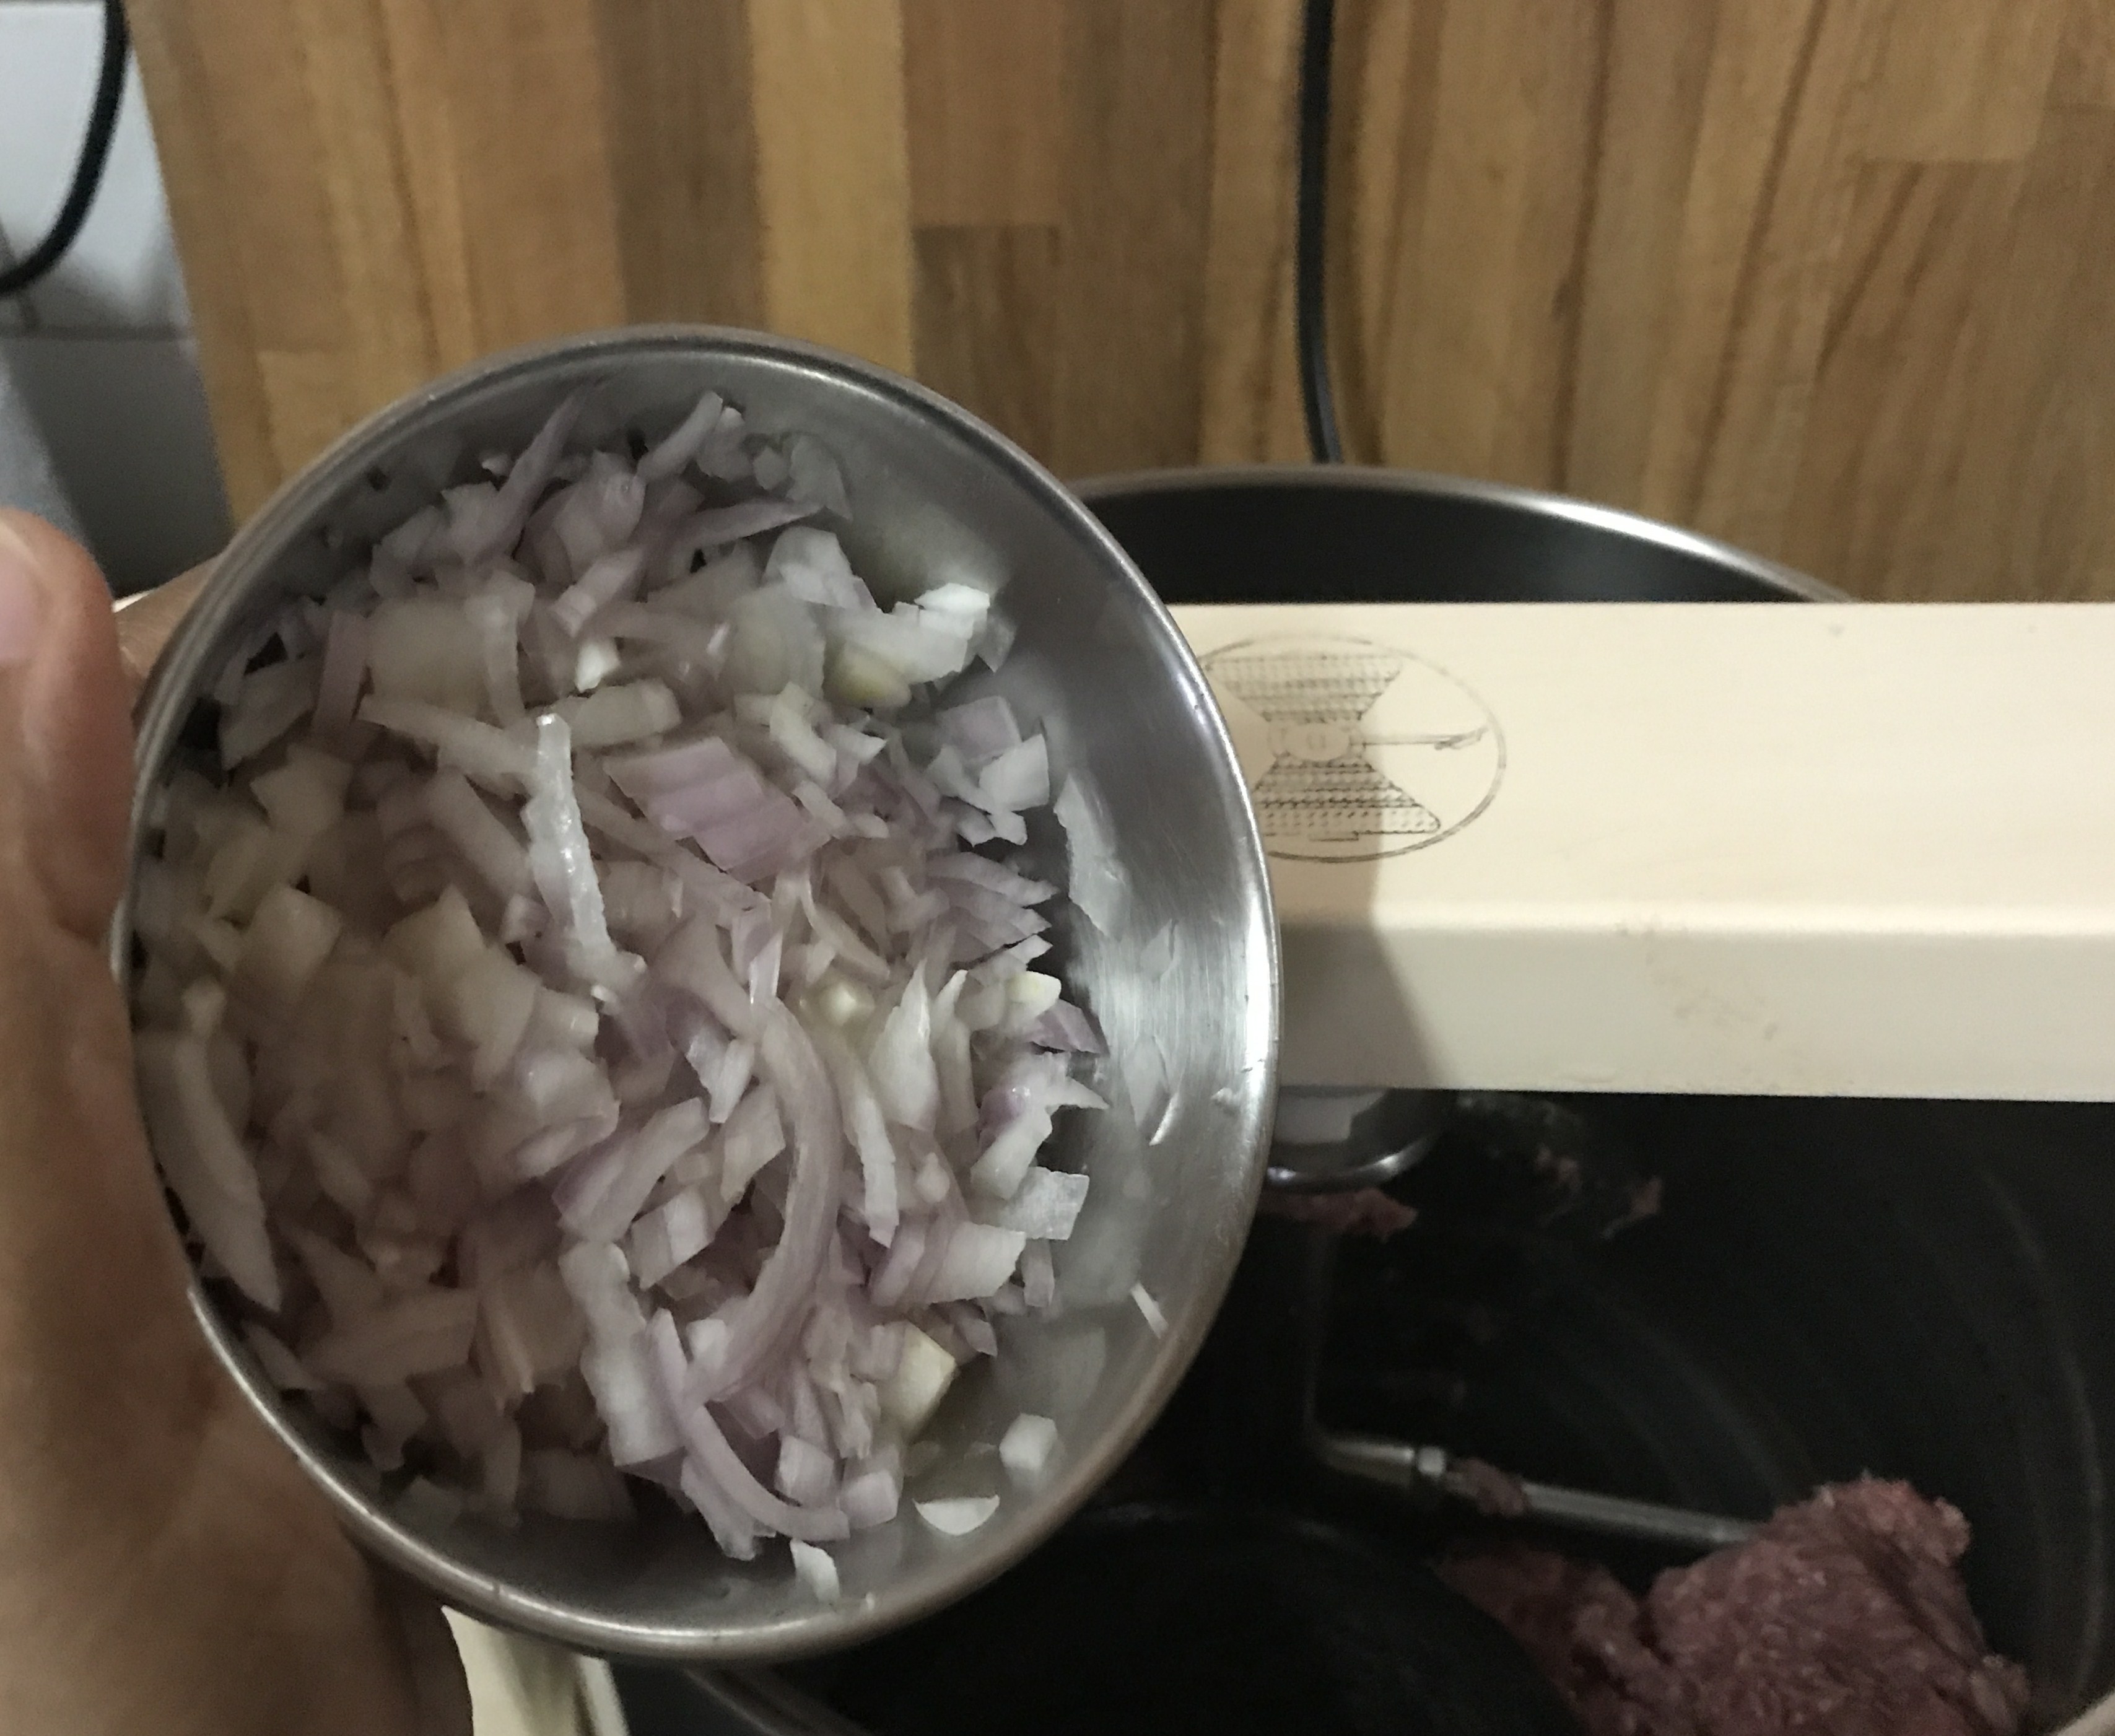
  1. In a stone grinder, first grind the minced meat
  2. Next, add cardamom, cloves, ginger and garlic and let them mash well in the stone
  3. Add grated coconut and grind
  4. Then, add chopped onions and green chillies


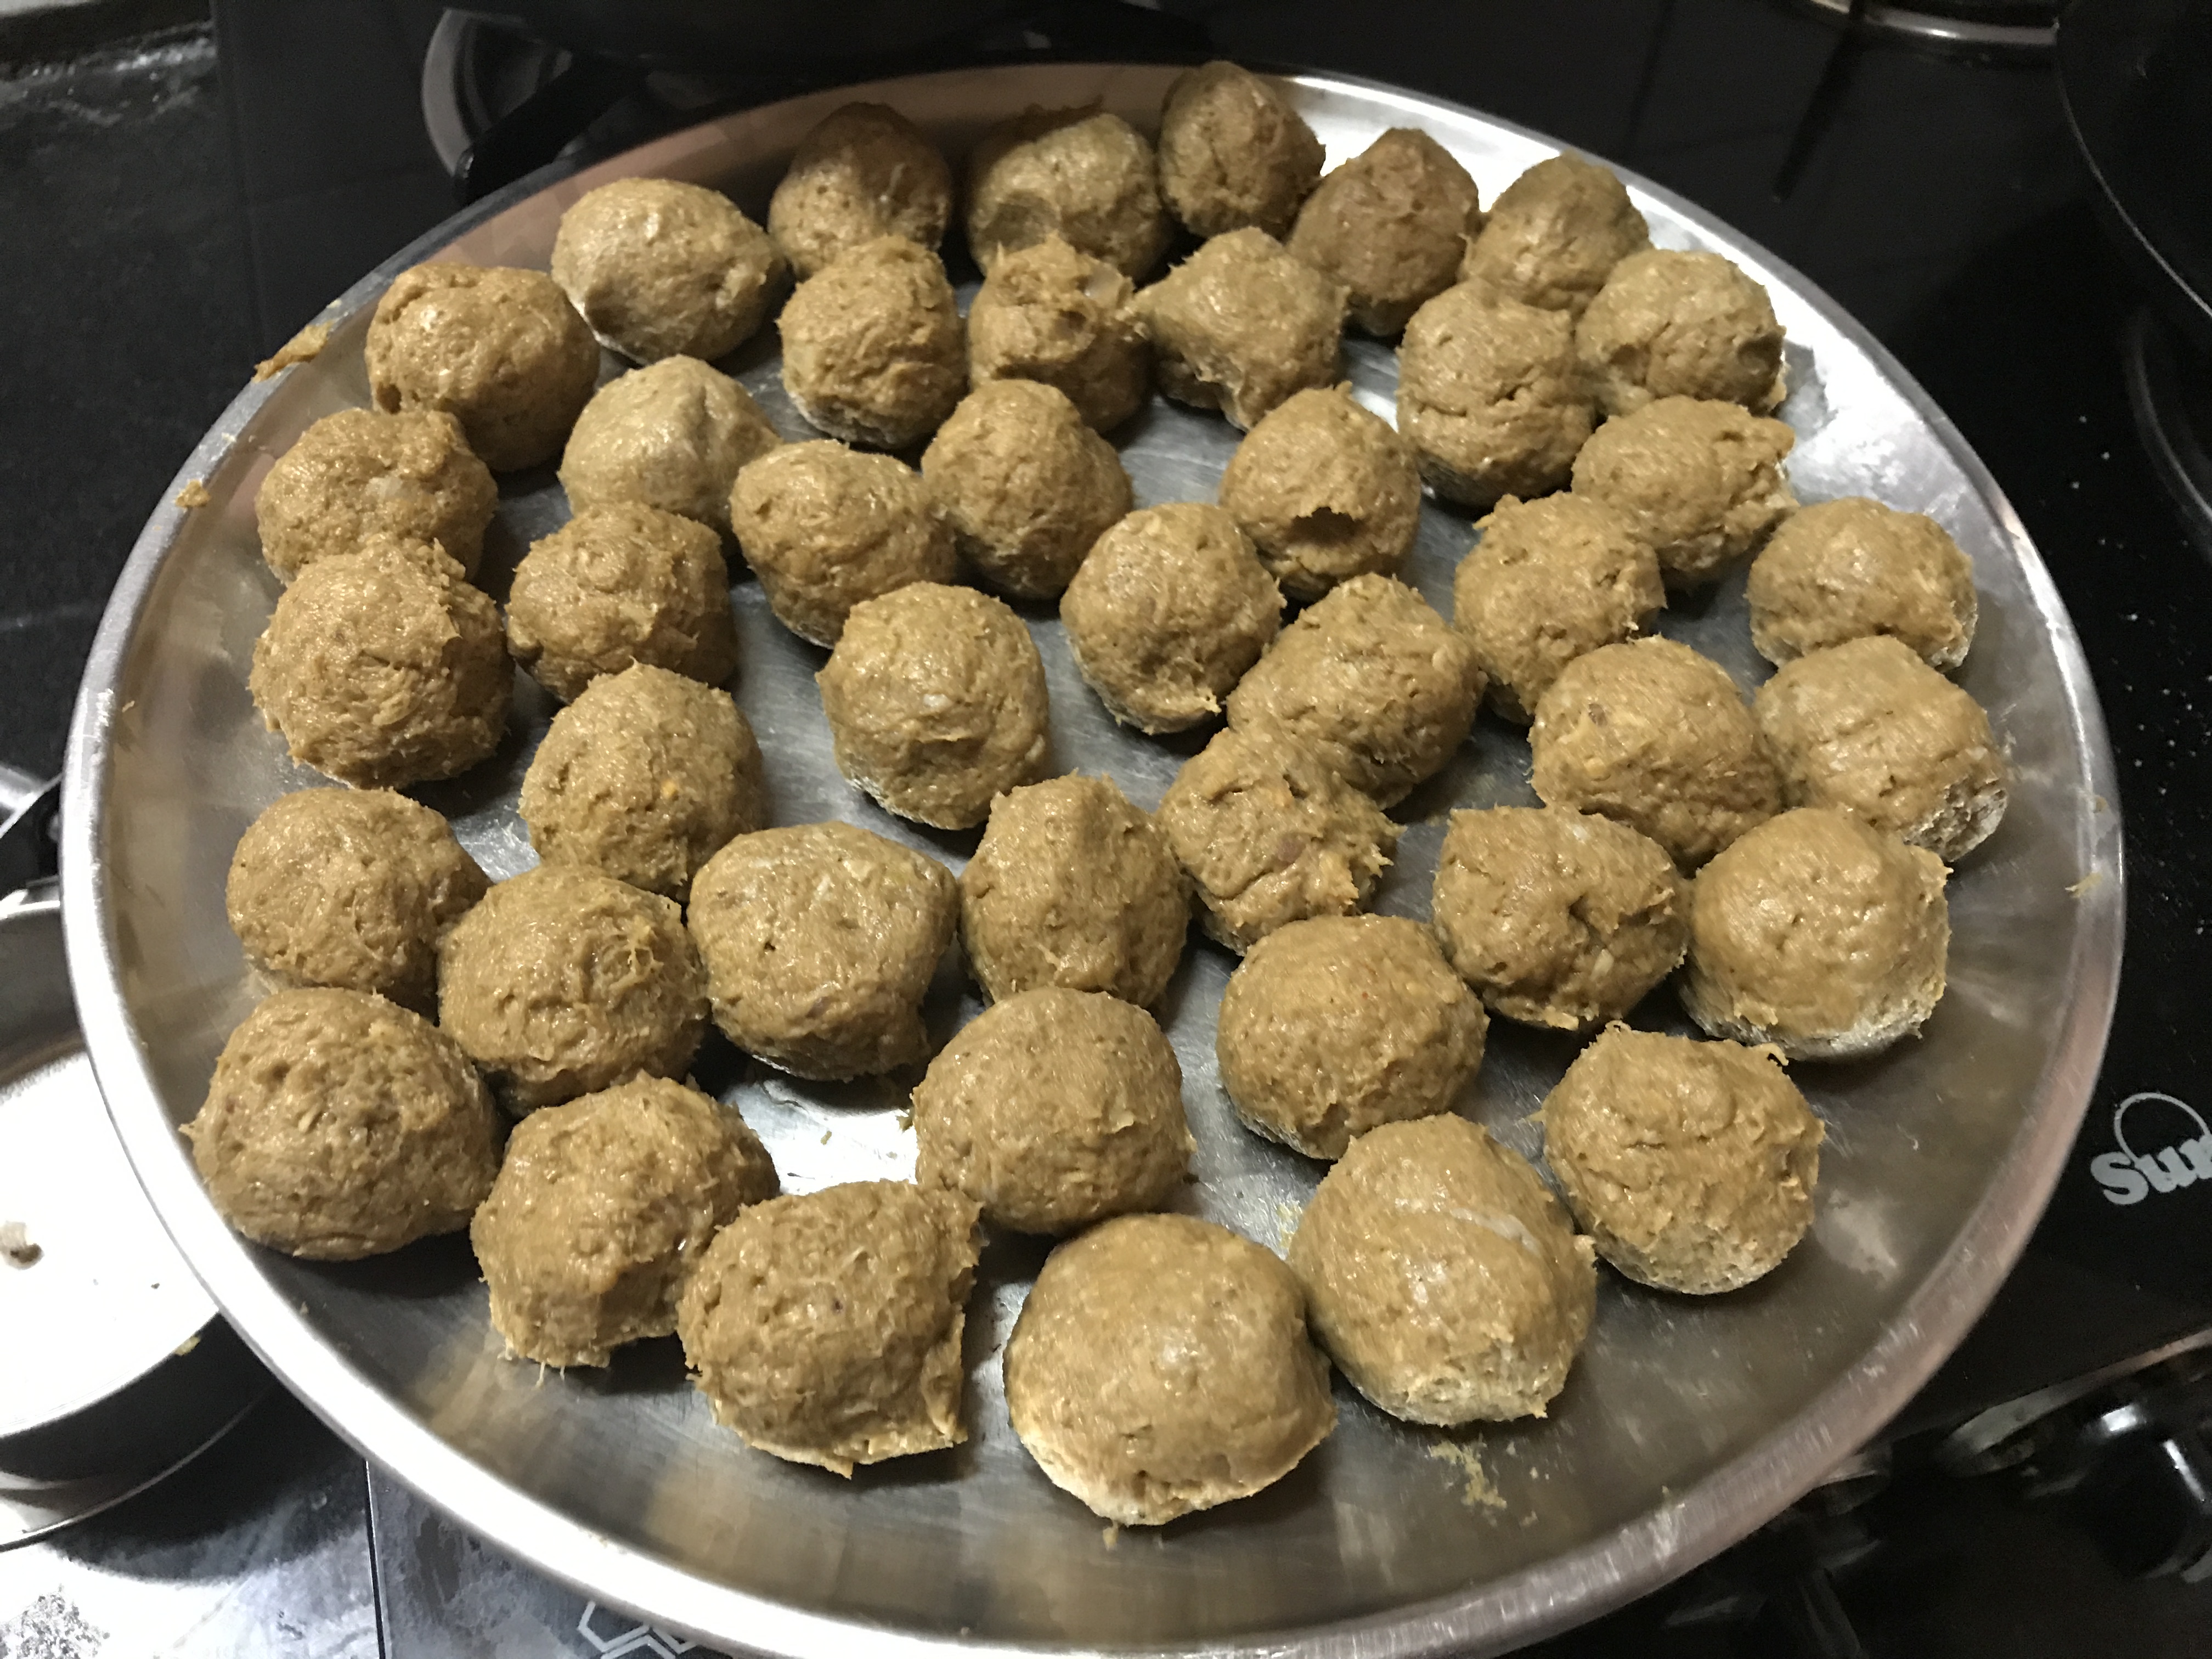
5. Add salt and grind till smooth balls can be rolled out of the blended meat


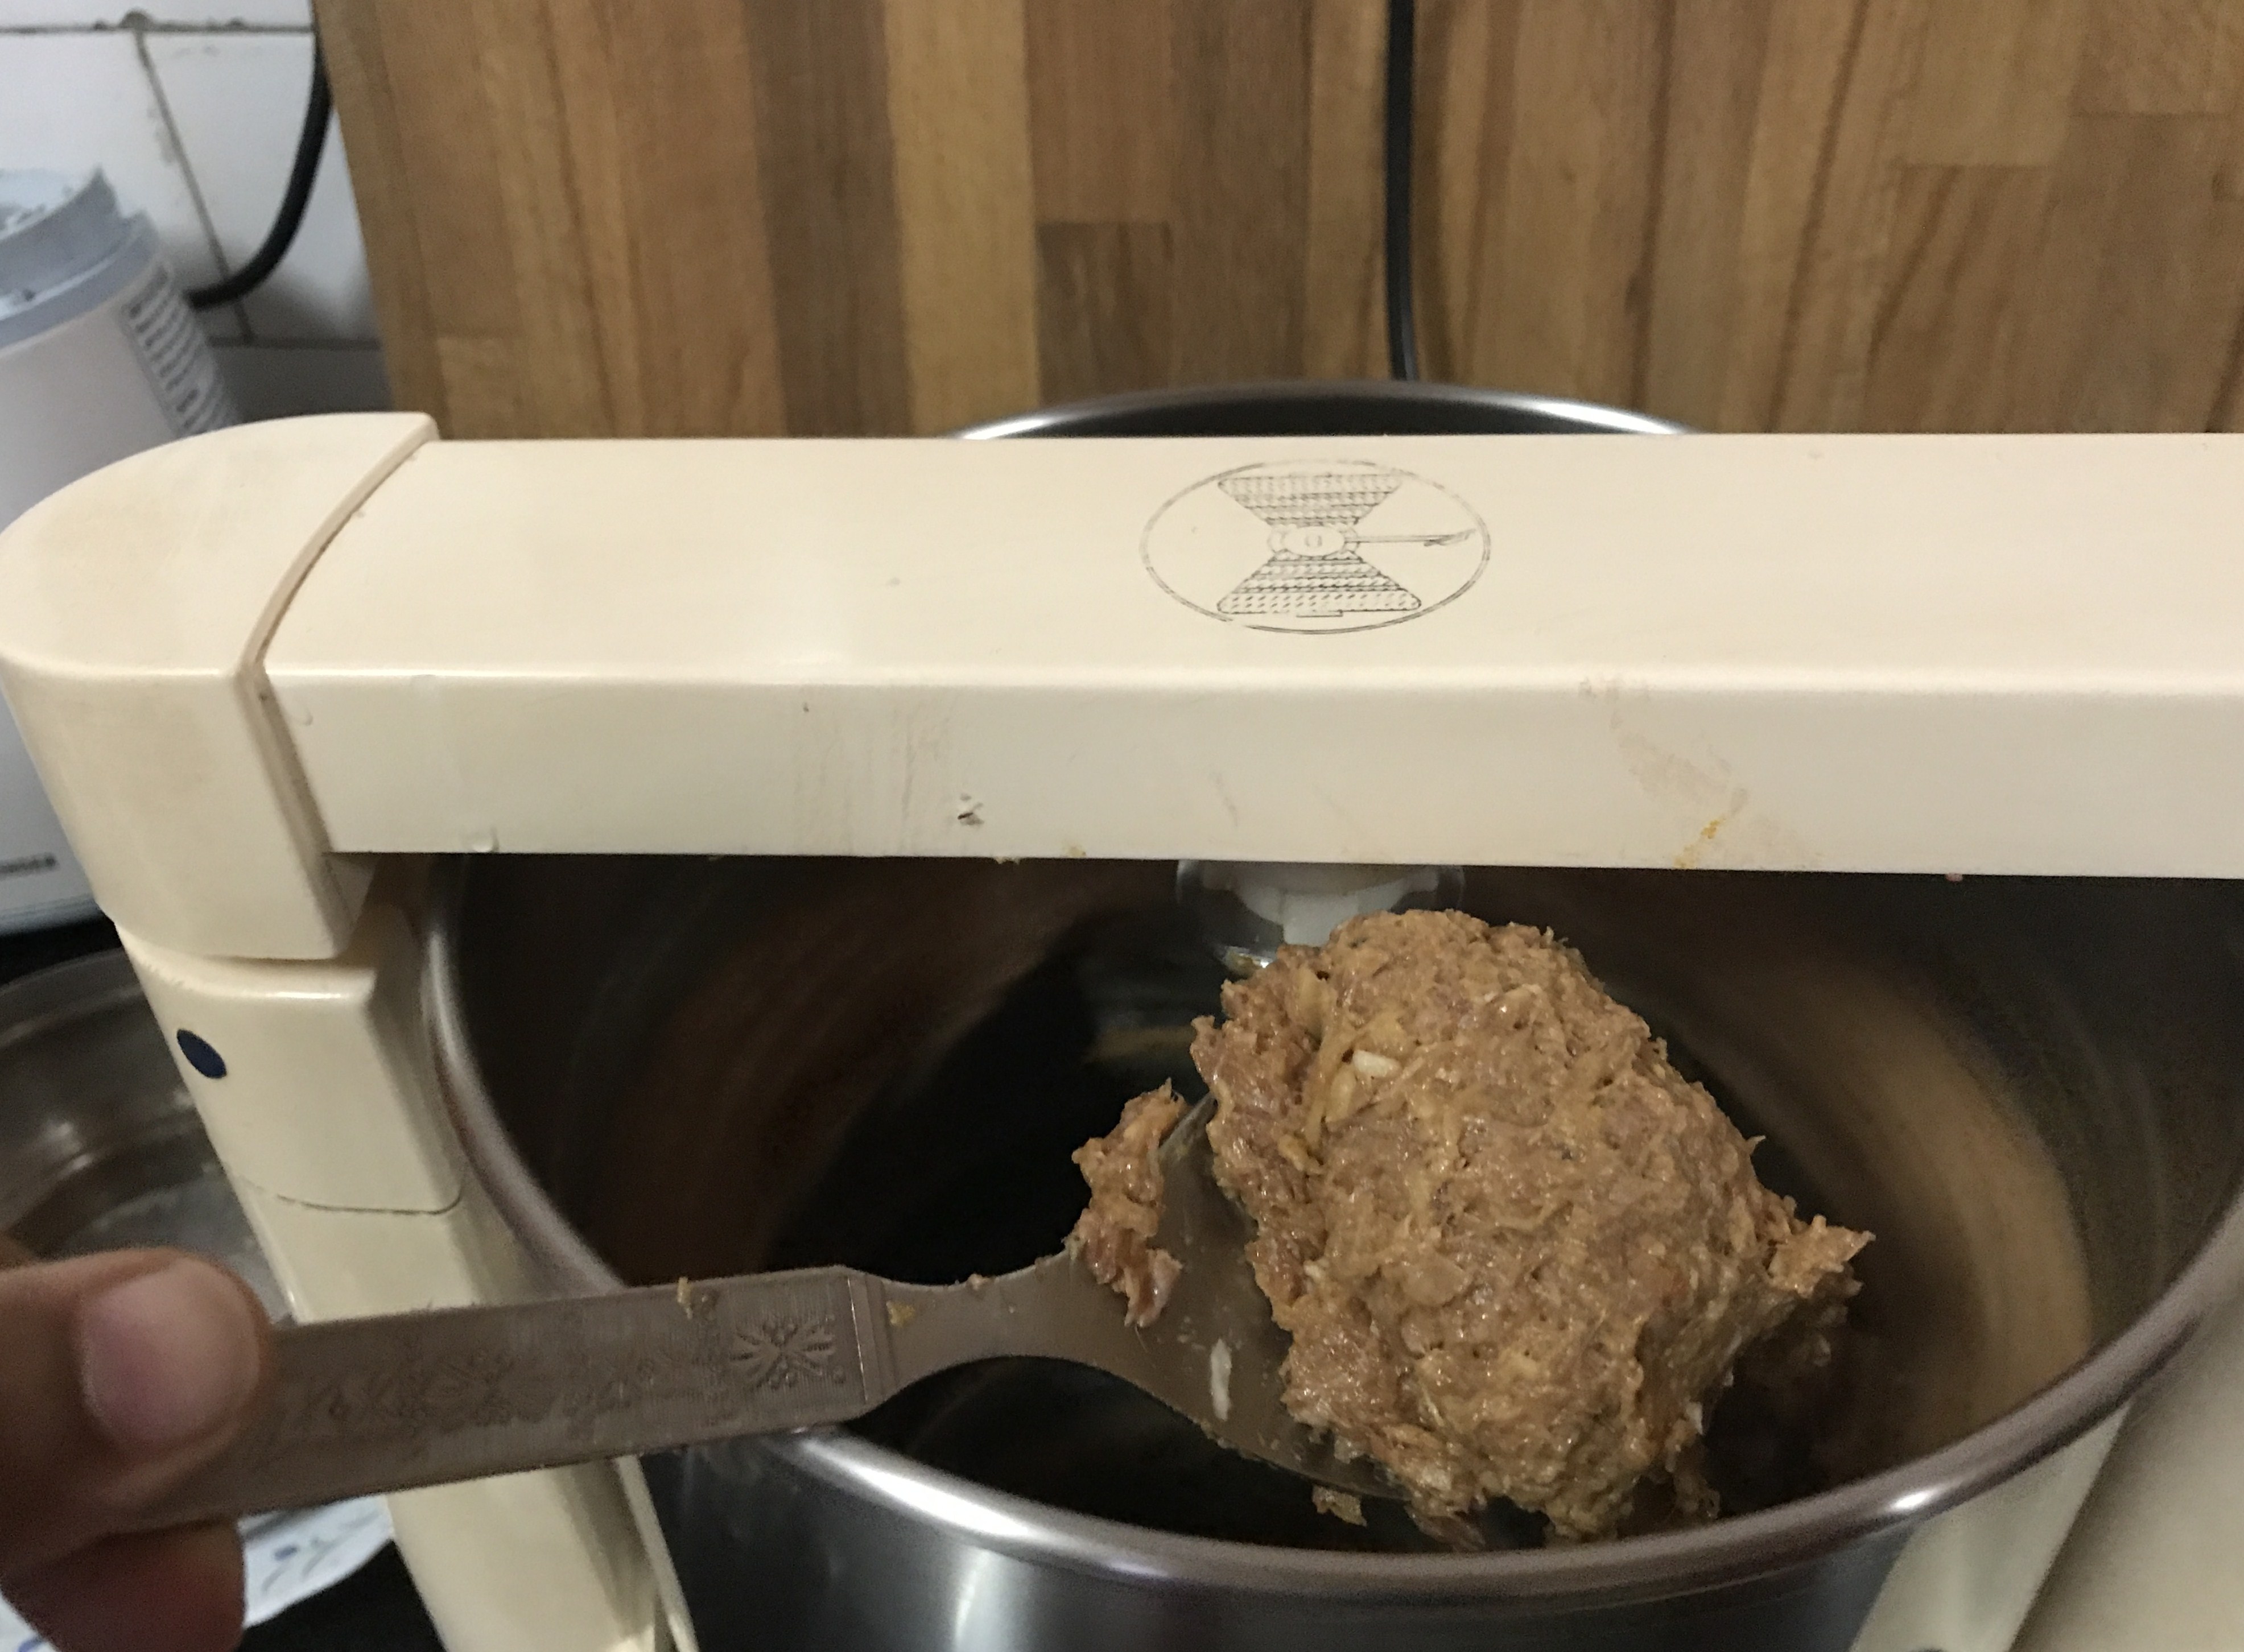
6. Make small urundais and keep aside on plate.


Step II – Making the Kuzhambu/Curry


Ingredients
  
To saute –

  • oil – 2 tbsp
  • cinnamon stick – 1 inch
  • cardamom – 5 pods
  • cloves – 4 no.s
  • bay leaves – 2 -3 no.s
  • curry leaves – 15 leaves
  • chopped onions –  1 cup (2 big onions)
  • chopped tomato – 1/2 cup
  • slit green chillies – 2 no.s

  
Make a paste-


  • grated coconut – 1/2 cup
  • ginger – 2 inch piece
  • garlic – 8 cloves
  • fennel seeds – 2 tsp
  • black pepper – 1 tsp
  • red chilli powder – 2 tsp or more
  • coriander powder – 2 tsp
  • turmeric powder – 1/4 tsp

  
To cook-
  

  • tamarind juice – juice extracted from a lemon sized tamarind  – 1 cup


Making of Urundai Kuzhambu
  

  1. In a large, hard bottomed pan, add oil
  2. Saute bay leaves, cinnamon, cardamom, cloves and curry leaves
  3. Add chopped onions and slit green chillies and fry until golden


4. Add tomatoes and fry until soft

5. Next, add the ground paste of coconut and spices and fry well


6. Add tamarind juice to dilute the thick paste and salt to taste


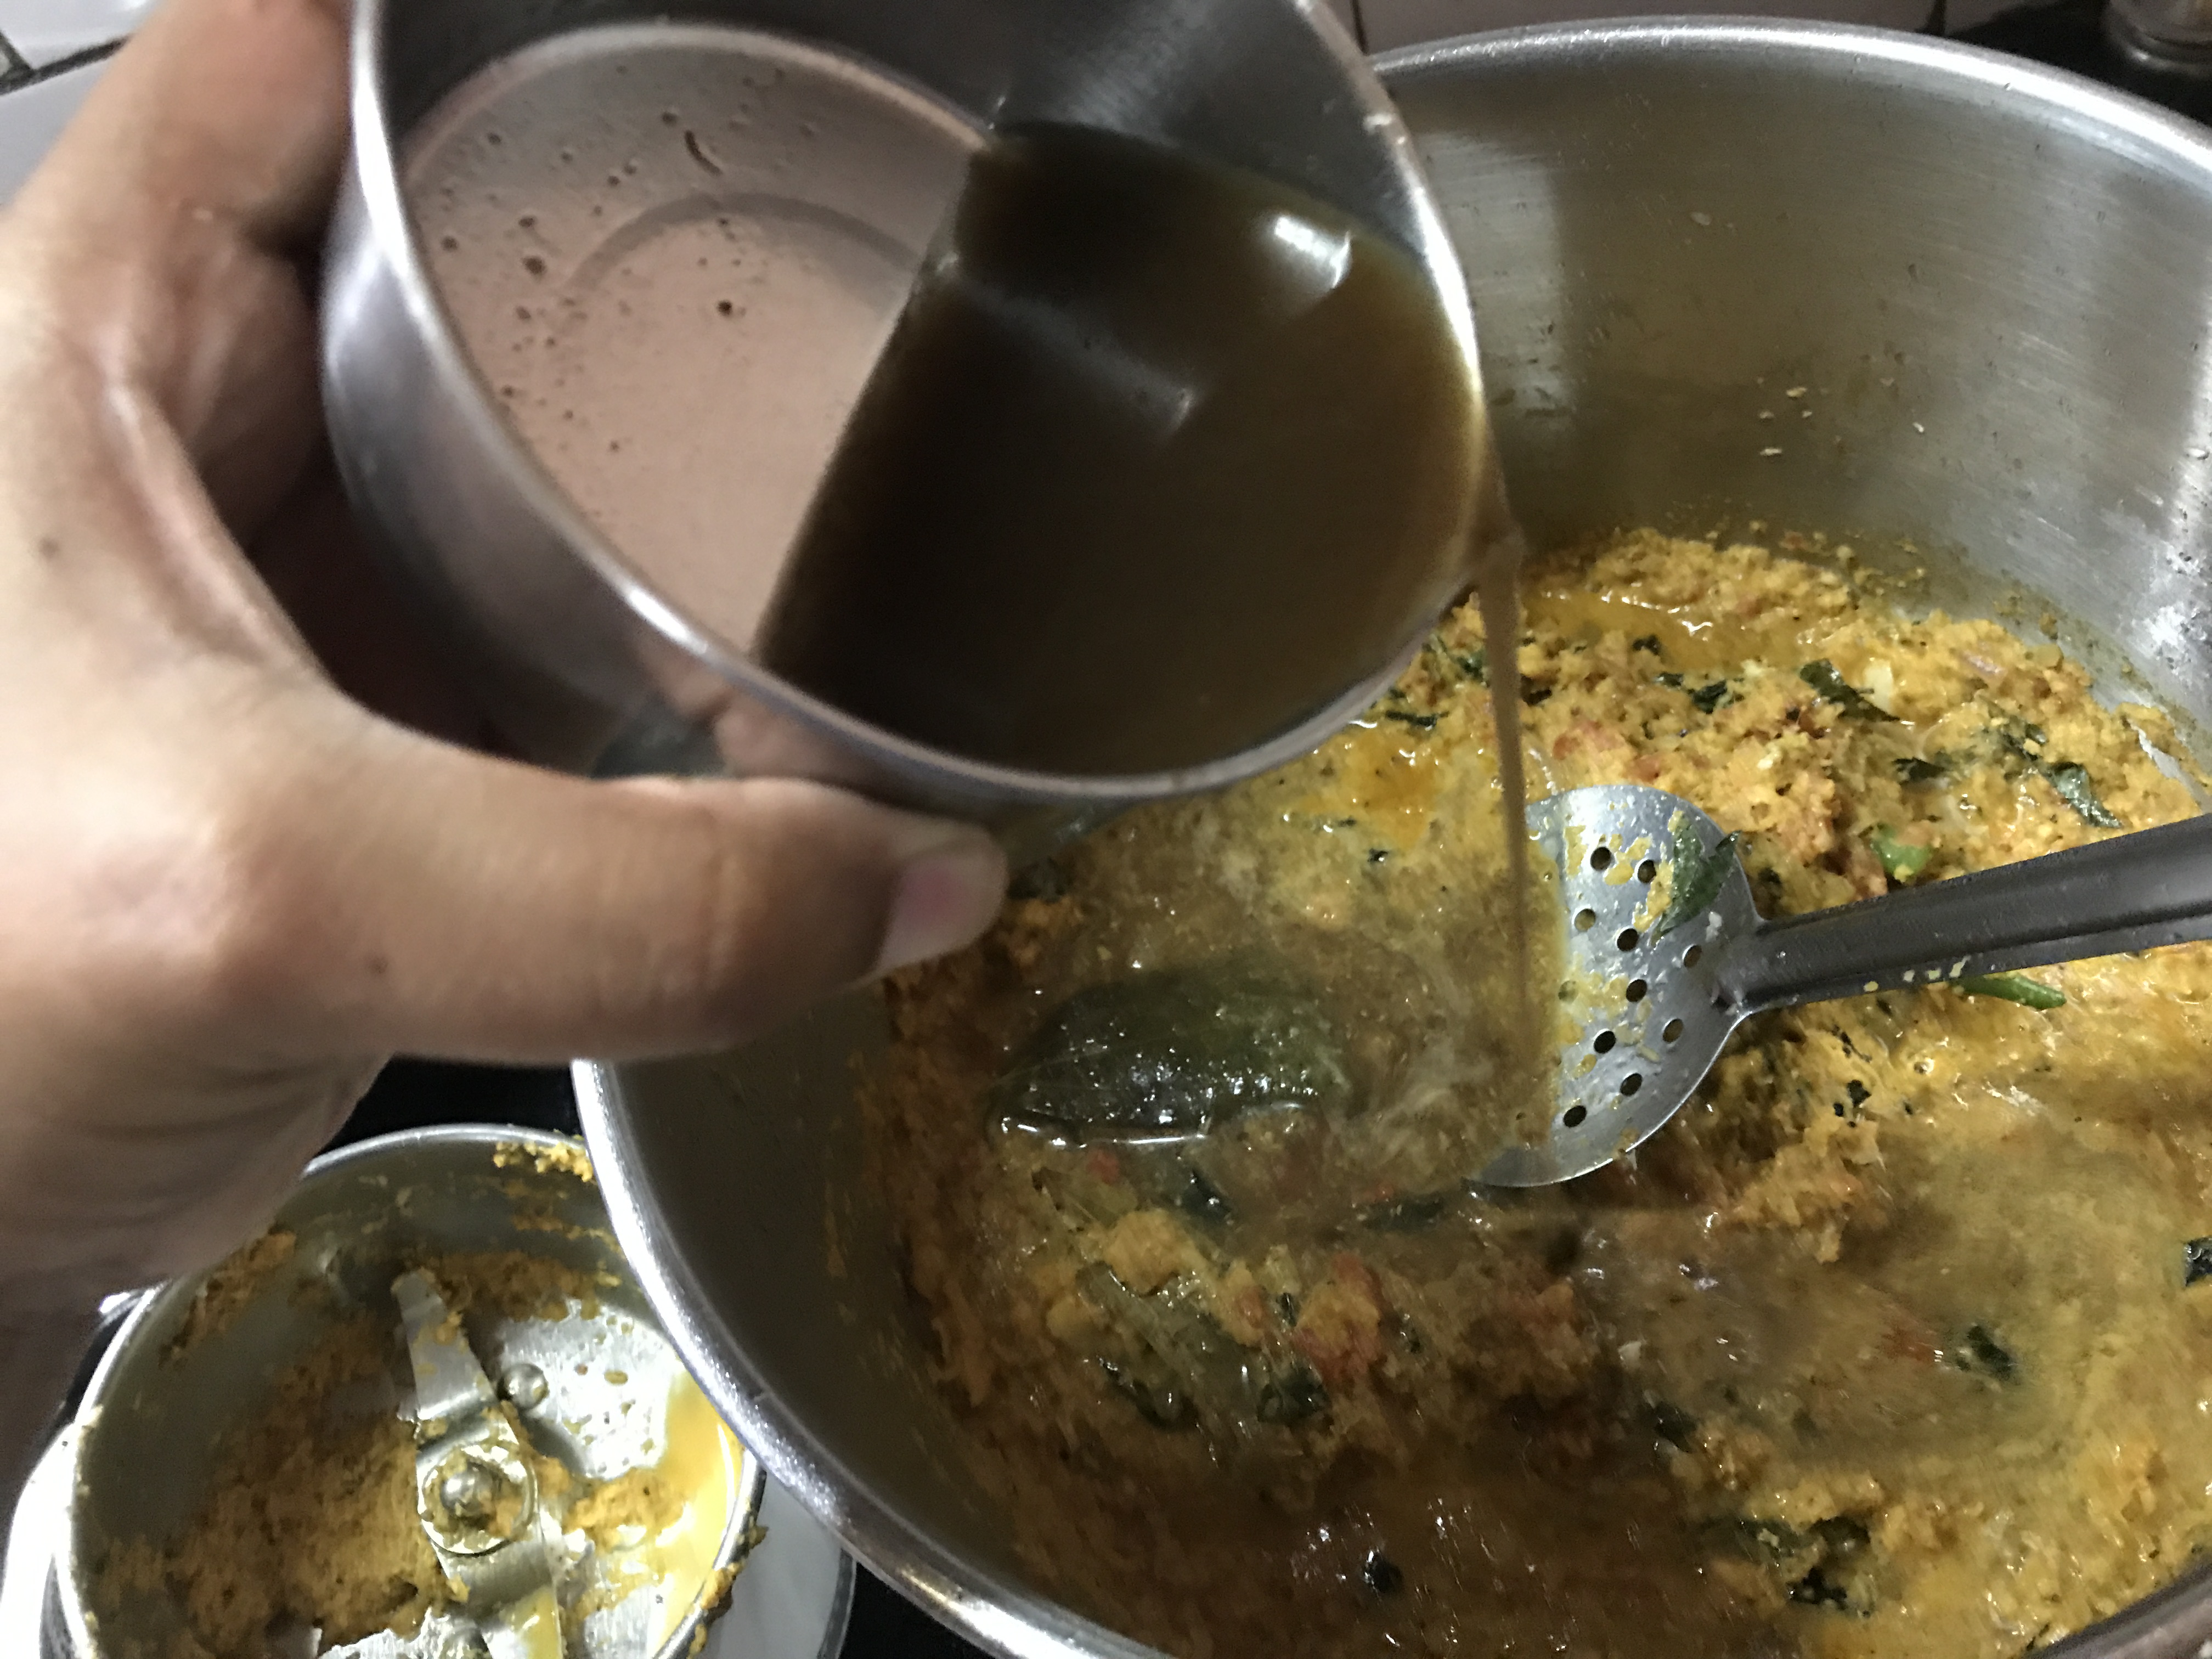
7. Cook till the raw smell of spices and coconut is gone

8. Add more water if needed, as we need to let the meat balls cook and absorb more juices of the curry

9. When the curry is done and is there is enough liquid to soak the balls, gently drop the urundais one by one


10. Do not over crowd the curry – give enough breathing/cooking space


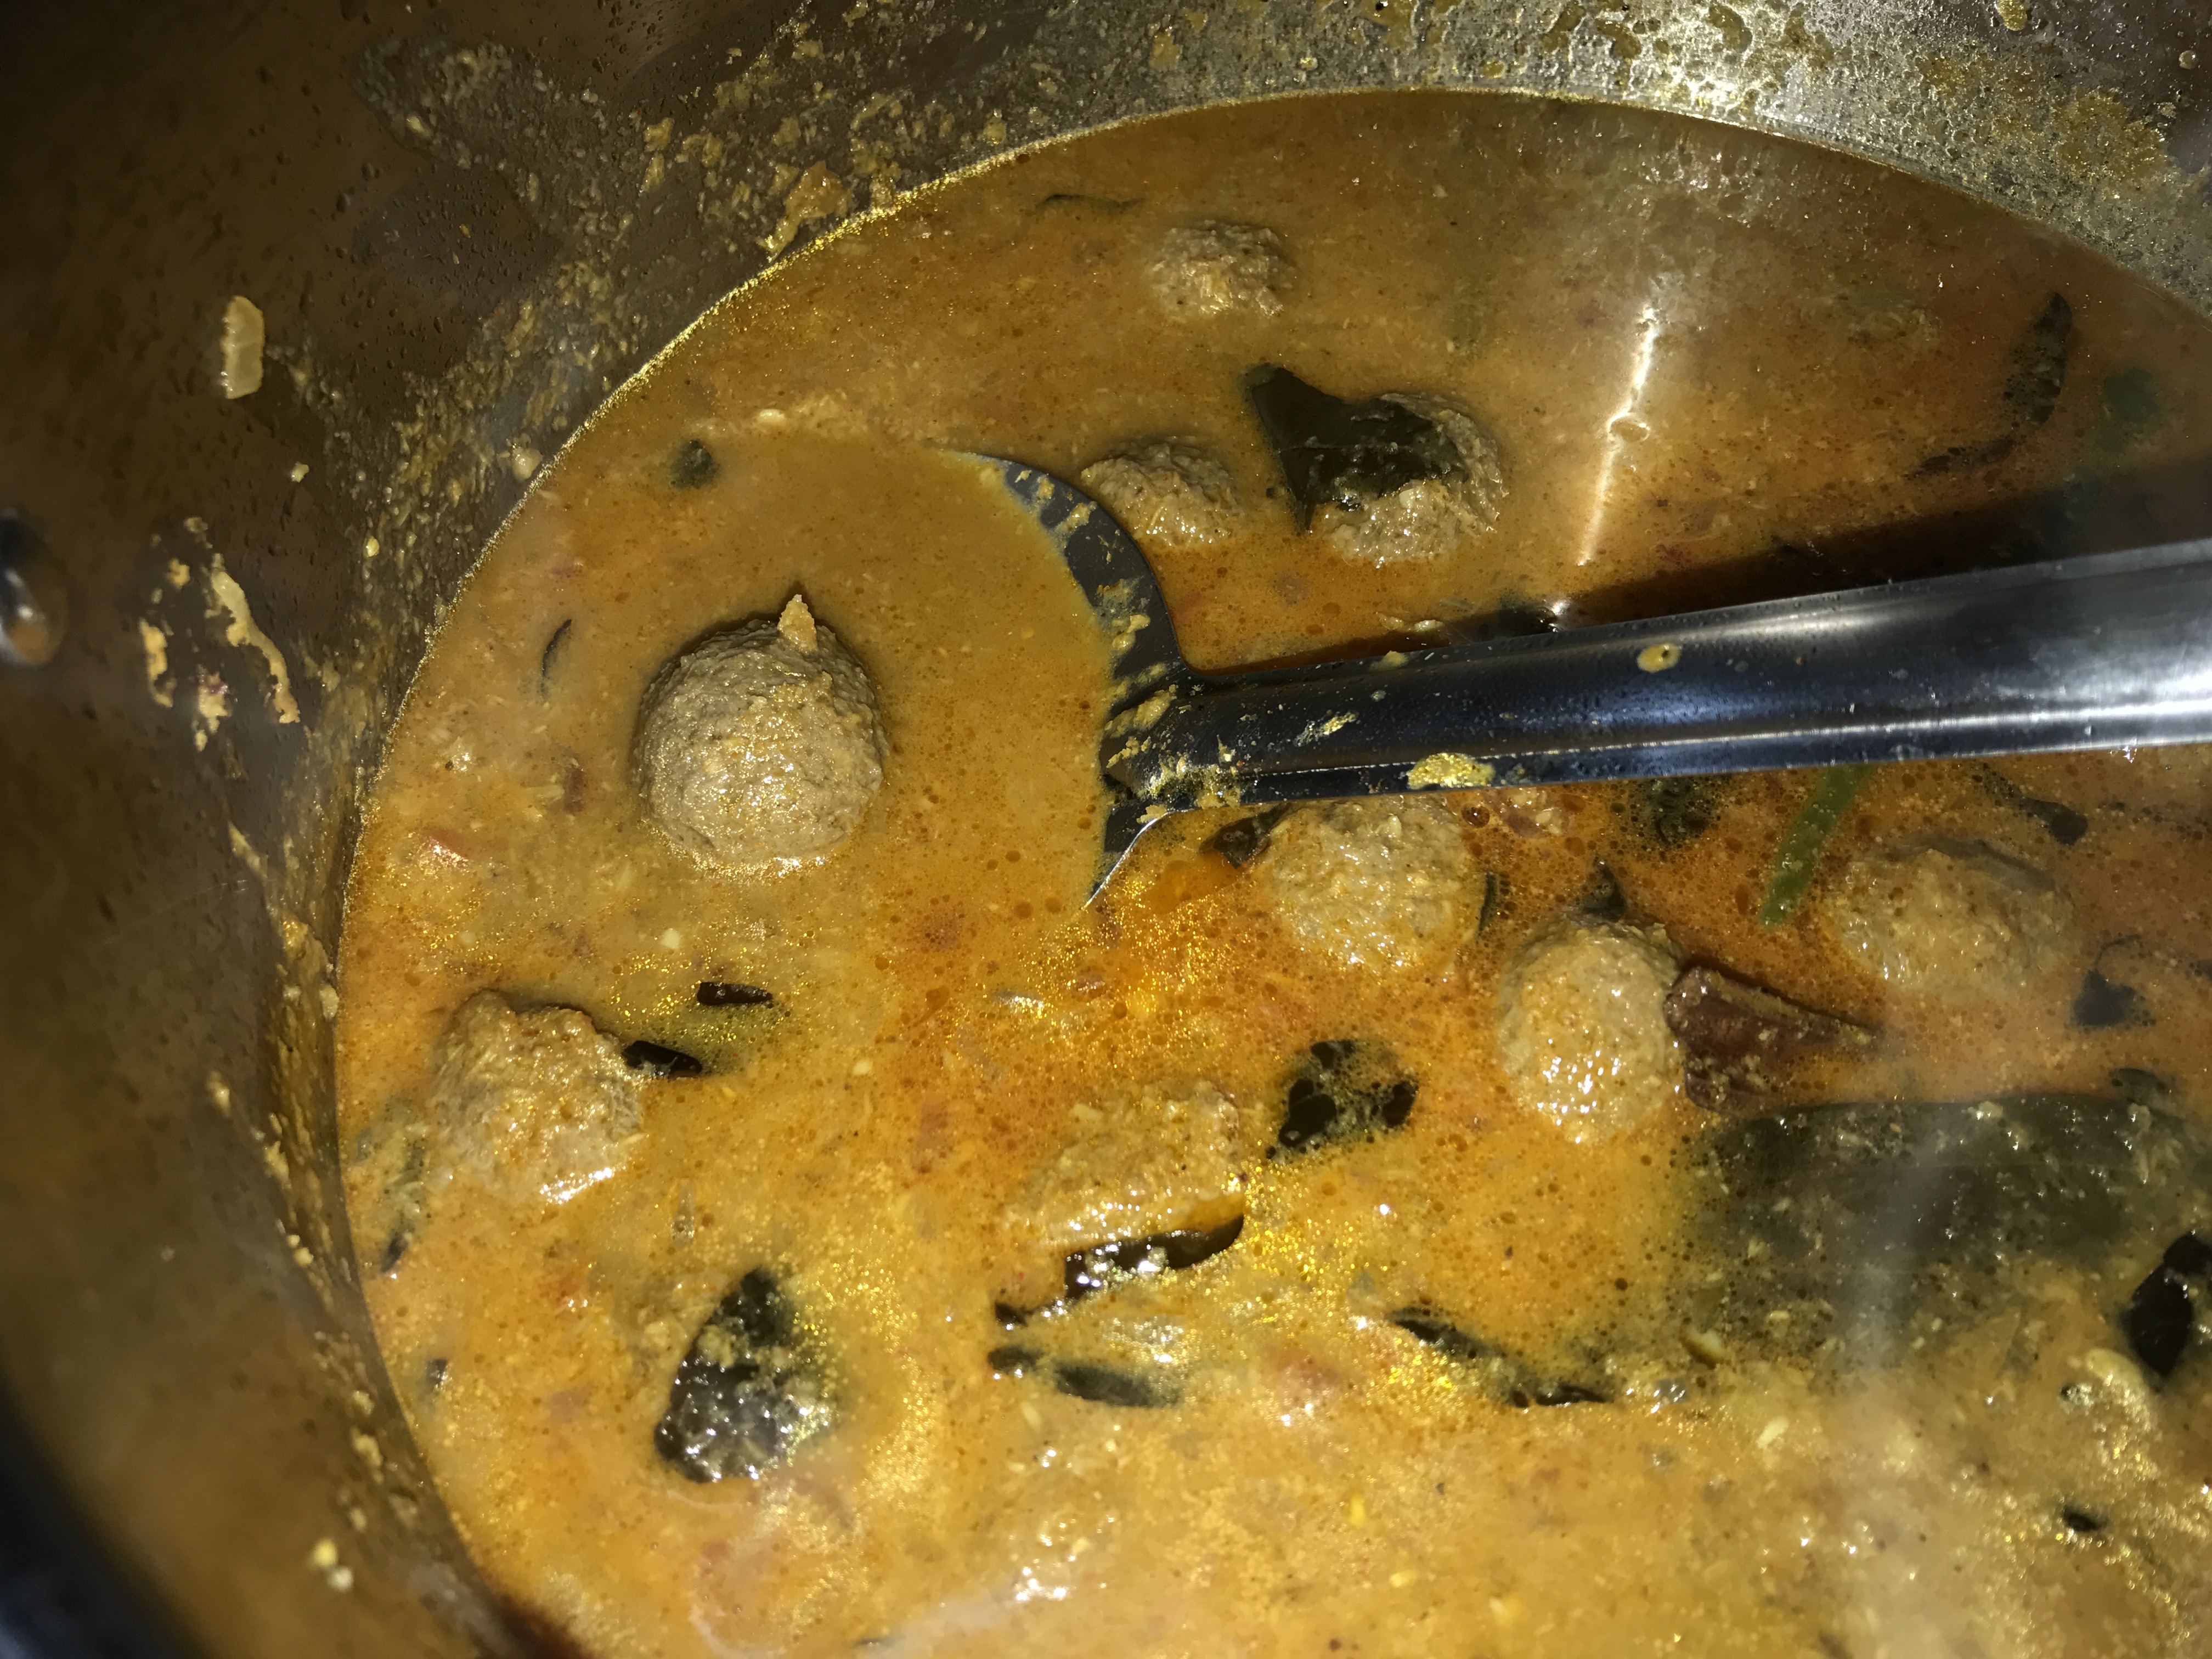
11. Close the lid, simmer the stove and let the meat balls cook in the gravy for at least half an hour

12. Check in between for enough liquid in the pan


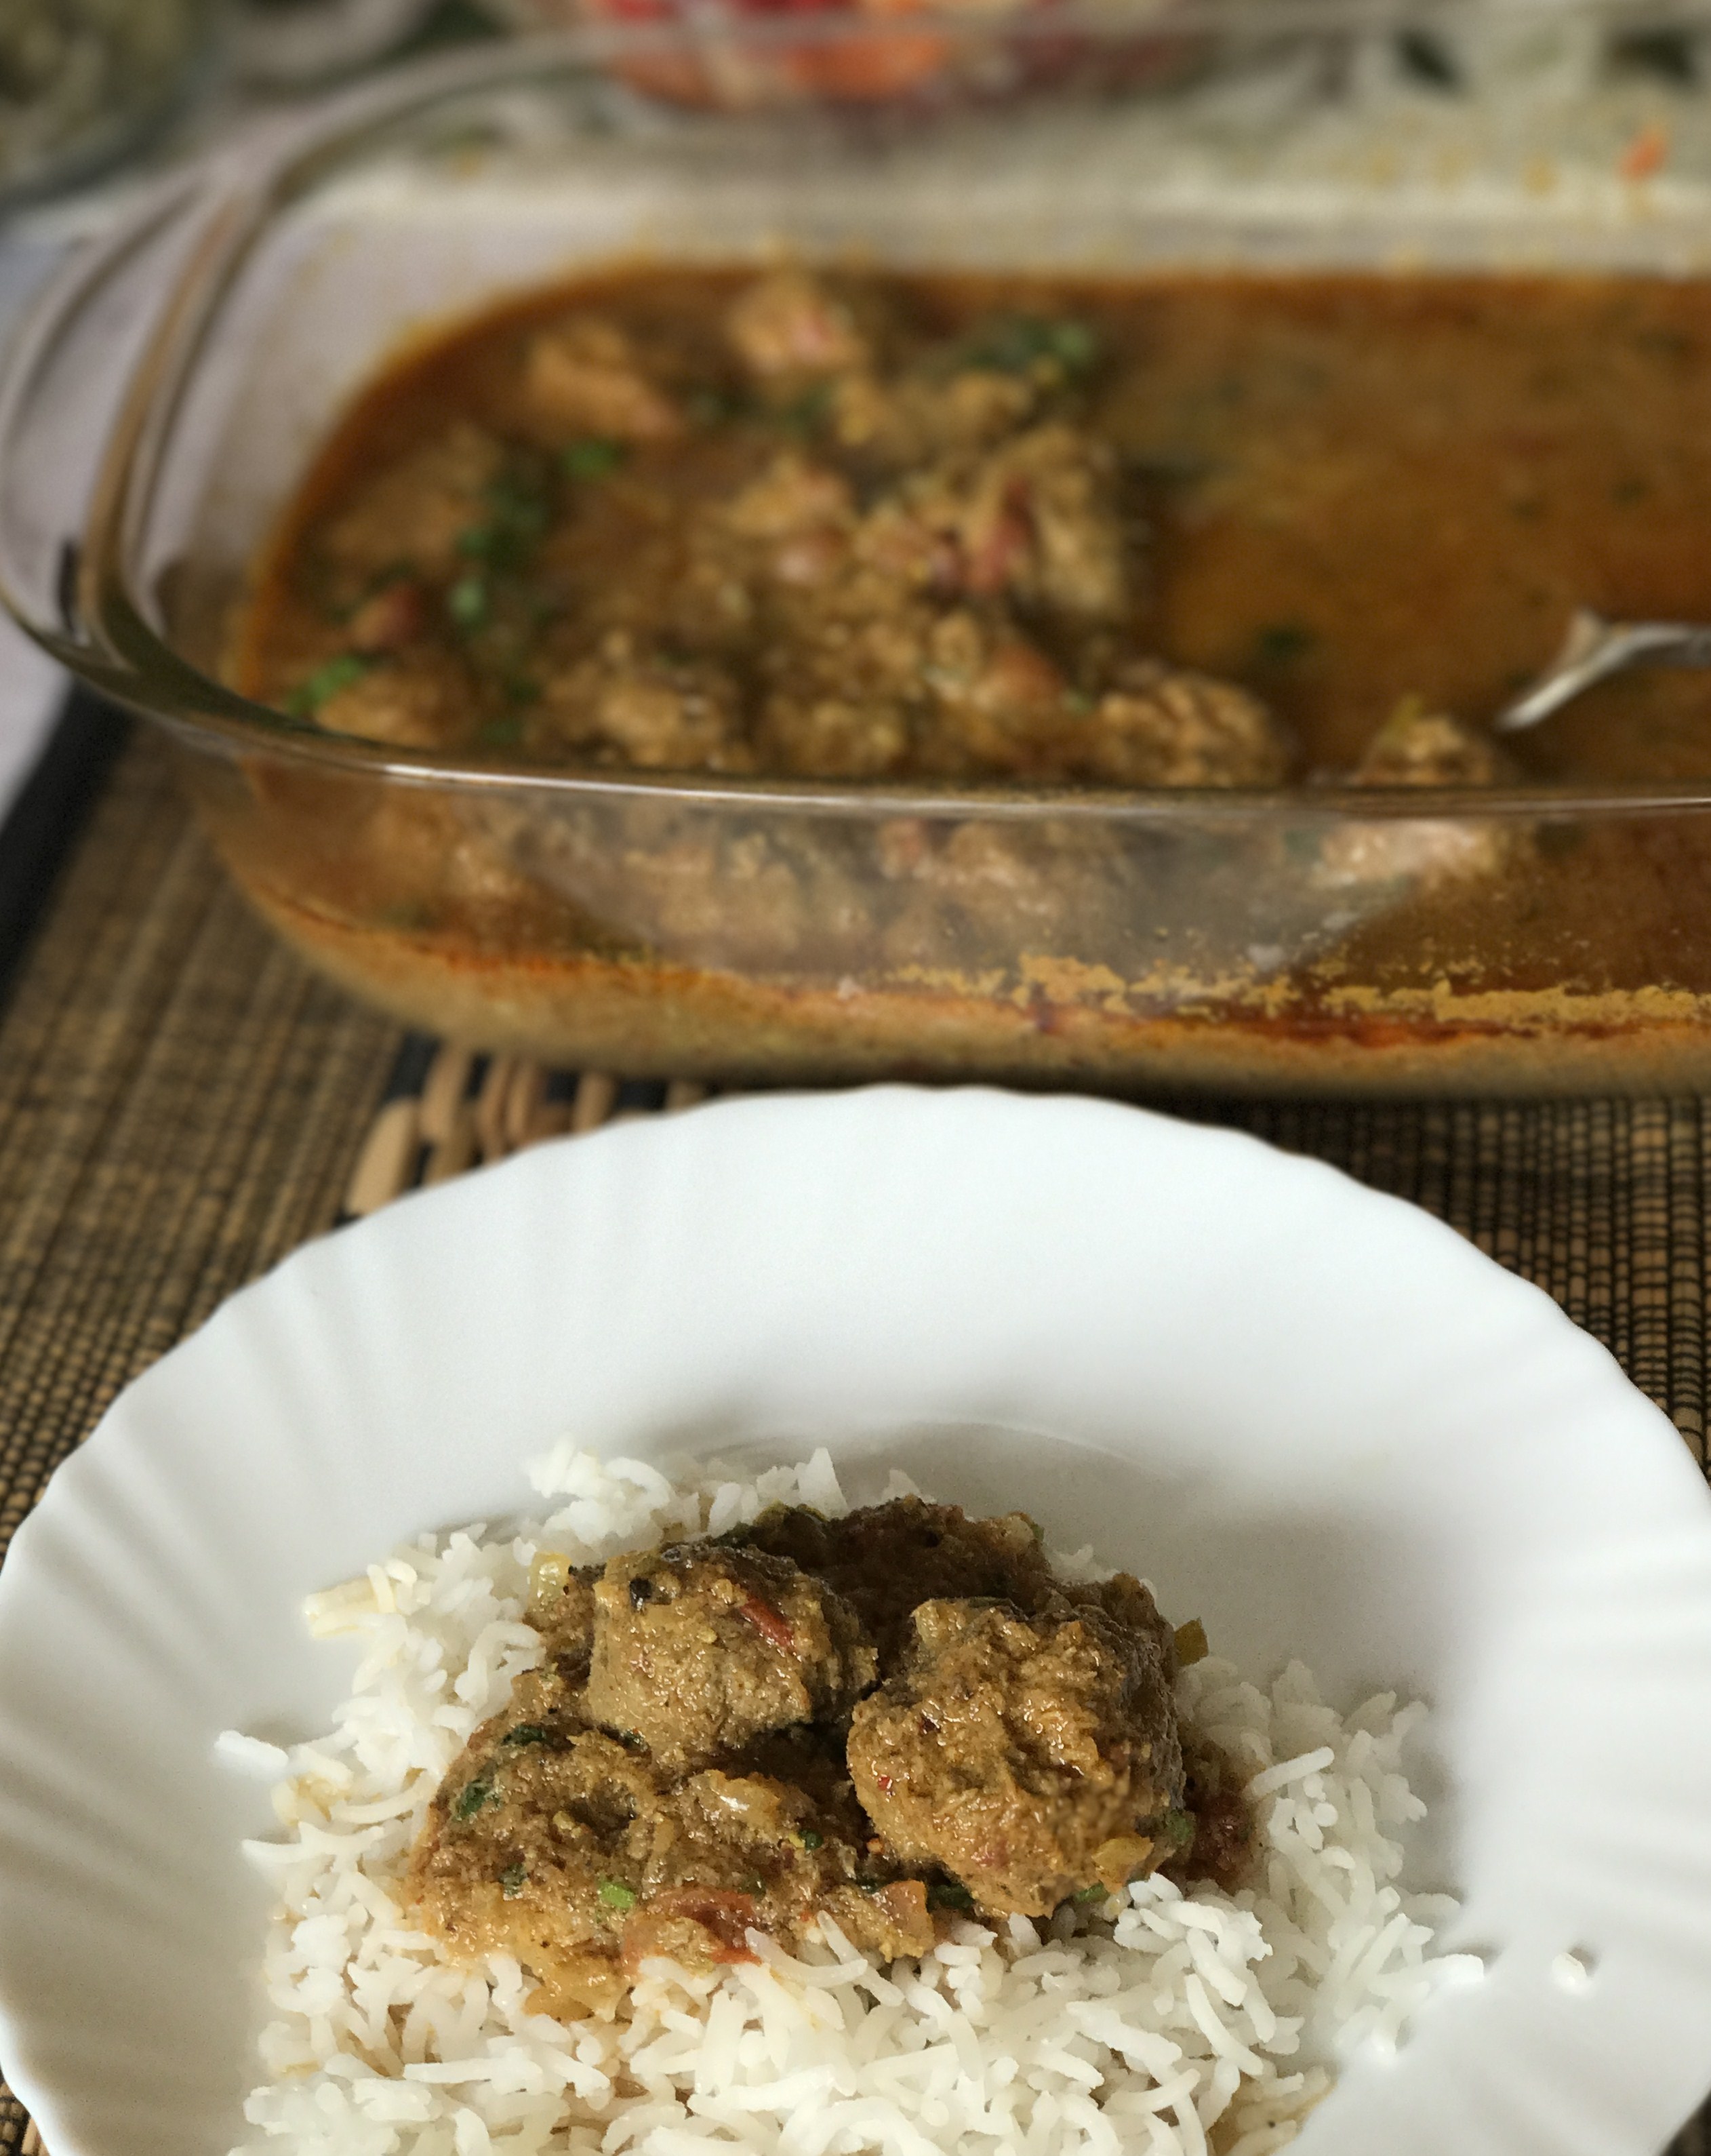
13. Switch off once the meat balls are cooked well. Make this curry at least 4-5 hours ahead of meal time, for juicier urundais. Serve with Idli, Dosai or Rice.


Kullankar Arisi Dosai/Pancakes – Dosai with Native/Traditional Rice Varieties of Tamilnadu – 4

Let’s make dosais/pancakes with Kullankar Arisi – another of the native/indigenous rice varieties of Tamilnadu.

A few health benefits of Kullankar Arisi-

  • High in antioxidants and hence boosts immunity
  • Aids in Insulin Secretion and hence tackles diabetes
  • Helps in weight reduction

Kullankar Arisi Dosai/Pancakes


Ingredients (makes approximately 12-15 dosais)


• Kullankar Arisi/rice – 1 ½ cups
• Karuppu ulundhu/black gram – ½ cup
• Vendhayam/fenugreek seeds – ½ tsp
• Kal Uppu/rock salt – ½ tsp


Method of Preparation


Making batter-

1. Wash well Kullankar Arisi and black gram.
2. Add fenugreek seeds and soak overnight or minimum 6 hours in water
3. Grind well in a grinder or any blender
4. Once ground into a fine batter add rock salt and mix well or grind the rock salt in the end.
5. Leave the batter overnight or until fermented well.
6. Dosai batter is ready for use.

  
Making Dosai-

1. Heat dosaikal or the pancake pan on stove
2. Pour a ladle of batter and spread into perfect round pancakes – preferably thin
3. Pour droplets of gingelly oil on the sides of the Dosai for easy lift of pancake.


4. Turn the Dosai to the other side and let it cook
5. Take out once done- remember it would take just about 30-50 seconds to cook one side of thin Dosai. If one keeps it longer, the texture of pancake would be lost.


6. Make Kullankar Arisi Dosai crisp or soft as preferred.

Easy Ladle Cup Cake – No Eggs/No Butter

ladle cup cake (eggless)


Necessity is the mother of inventions… Any gender bias here?? But that doesn’t matter – as inventions in Indian kitchens can be attributed to mothers – mostly. So, when the urge to create something quick to be consumed quick, without left overs to cling on to the waist or bulging tummy -this ladle cake came up.

It’s certainly not my invention, it’s just a discovery and learning from various other bloggers who have done easy microwave mug cakes and brownies. I’ve followed their expertise with the slightest changes according to my needs and my family’s. As I don’t believe in microwave cooking, I opted for oven baking, to make just 6 quick cup cakes with minimum work load, no eggs and no butter too. As usual all my cakes are whole wheat cakes and this one too is.

Why I call this Ladle Cake is that the measurement used here for the basic ingredients is a ladle. Quick, easy, minimal effort and no left overs is a boon for those days of unsustainable sweet craving.
  

Ladle Cup Cake (whole wheat, eggless, butterless)

the ladle I used


Ingredients (makes 6-7 cup cakes or a small cake))

  • whole wheat flour – 3 ladles
  • Sugar (I used unrefined cane sugar) – 2 ladles
  • Olive oil – 1 1/2 ladles
  • Thick yogurt – 1 1/2 ladles
  • Cocoa powder – 1 ladle
  • Baking powder – 1/4 tsp
  • Baking soda – 1/4 tsp
  • Water – enough to make right consistency of the batter – 3 ladles appr.
  • Choco chip – 2 tsp (optional)

  
Method of Preparation


  1. In a bowl, start by mixing sugar and yoghurt
  2. Mix olive oil to sugar and yoghurt
  3. Mix 2 ladles of wheat flour little by little


4. Add little water to make the batter thinner to accommodate the other ladle of flour
5. To the other one ladle of flour, add baking powder, baking soda and cocoa powder- and mix to the batter
6. Add more water to bring batter to consistency


7. Mix the chocolate chip at the end if using. Choco chips give a moisturous texture to the cake.
8. Pour batter into greased cup cake moulds or non-greased cup cake paper moulds.
9. Bake in preheated oven at 180 degrees centigrade for 15-20 minutes, till a tooth pick comes out clean.
10.Sprinkle powdered sugar and enjoy.


Or enjoy with chocolate ganache.
  

Kaattuyaanam Arisi Dosai/Pancakes – Dosai with Native/Traditional Rice Varieties of Tamilnadu – 3


The next in the traditional/native rice varieties on our list is Kaattuyaanam Arisi. This is a red rice variety.

The name of the rice has an interesting connotation. The name has two parts –

Kaattu is a derivation of KAADU which means forest
Yaanam is a derivation of YAANAI which means elephant

In Tamil Language.

The rice grows quite fast, tall up to 7 to 8 feet that even if a forest elephant enters the rice field, it would be hidden in the tall grass and be unnoticed. Hence, the name denoting both forest and elephant remained with the variety. Additionally, due to the ability of this rice to boost immunity, thereby providing an elephant’s strength to the body, the name has stood for centuries.
  

Health Benefits of Kaatuyaanam Arisi

This rice is blackish red in colour –

  1. provides relief of knee ailments
  2. tackles diabetes
  3. reduces risk of cancer
  4. strengthens heart

  
Now, let’s move on with the making of Dosai/Pancake out of this native rice that makes the body strong and disease free.
  

Kaattuyaanam Arisi Dosai/Pancakes


Ingredients (makes approximately 12-15 dosais)

• Kaattuyaanam Arisi/rice – 1 ½ cups
• Karuppu ulundhu/black gram – ½ cup
• Vendhayam/fenugreek seeds – ½ tsp
• Kal Uppu/rock salt – ½ tsp


Method of Preparation
  

Making batter-

1. Wash well Kaattuyaanam Arisi and black gram.
2. Add fenugreek seeds and soak overnight or minimum 6 hours in water
3. Grind well in a grinder or any blender
4. Once ground into a fine batter add rock salt and mix well or grind the rock salt in the end.
5. Leave the batter overnight or until fermented well.
6. Dosai batter is ready for use.
  

Making Dosai-

1. Heat dosaikal or the pancake pan on stove
2. Pour a ladle of batter and spread into perfect round pancakes – preferably thin
3. Pour droplets of gingelly oil on the sides of the Dosai for easy lift of pancake


4. Turn the Dosai to the other side and let it cook
5. Take out once done- remember it would take just about 30-50 seconds to cook one side of thin Dosai. If one keeps it longer, the texture of pancake would be lost.


6. Make Kaattuyaanam Arisi Dosai crisp or soft as preferred. The Dosai also comes out beautifully crisp that you can shape it yourself.
7. A dollop of new/clarified butter is an extravagant addition to the beautiful Dosai.

8. Enjoy with any kind of thuvayal or chutney. We had with these three-


Peerkangai thuvayal – ridge guard chutney
Thakkali thokku – tomato thokku (fine paste)
Pooti Aachi Vengaya Thuvayal – Great grandmother’s onion chutney
9. Chutney recipes to follow.

Kudavaazhai Arisi Dosai/Pancakes – Dosai with Native/Traditional Rice Varieties of Tamilnadu – 2

In the list of traditional or native rice varieties of Tamilnadu, my attempt in making dosais continues with Kudavaazhai/Kudavaalai Arisi.


In search of health benefits of this rice, I could find the following websites with some information,
  

a. Health benefits of traditional rice varieties in valaitamil.com

http://player.mashpedia.com/player.php?q=DGIPfbtyLhg

b. Parampariya nel vagaigalin maruthuva gunangal (medicinal properties of traditional rice varieties) by Prof. M. Menaka

http://player.mashpedia.com/player.php?ref=mashplayer&q=cdmfZC0nu-4

c. Parampariya nel vagaigal – enathu payanam 2015 (traditional grain varieties – my travel 2015)

http://player.mashpedia.com/player.php?q=zq-Tfr1aeqU

Another research file on native rice varieties shows that –


  • In terms of the Glycemic Index (GI) it is seen that all indigenous varieties have a GI that lower than the modern variety.
  • When the GI of the indigenous variety is compared to the modern variety White Ponni, on a scale when the GI of White Ponni is 100, it was found that the GI of Kullakar, Kovuni, Karungkuruvai and Kalanamak are in the range 50-55 while Mapillai Samba and Kudaivazhai are in the range of 66 – 70.

Click to access ciks_progress_report_kp_with_annexes.pdf


These websites provide insights regarding native rice, along with those activists who have been greatly encouraging the spread of such native rice varieties among common people. These enthusiasts have been influential in introducing the grains to farmers, which has been gaining support and confidence among various groups to give a new boom to indigenous rice varieties.

What we need to know about these native rice varieties is that, these are all unprocessed brown, red or black rice. When we say ‘unprocessed’, it suggests that the nutrient value of the rice is intact and not polished away with the polishing of rice. When the western world subscribes to a particular health ideology – the learned community of the various developing countries give respect to those ideas, not knowing their native food habits have referred to the same, several centuries earlier. If we were smart enough to withstand the introduction of refined ready-made foods like pizza, pasta, burgers, noodles, parathas or the South Indian parottas- which are all made with refined flour – either from restaurants or made at home– we would have been a healthier society with less degenerative and life style related diseases.

The above mentioned fact would easily translate as being stuck to native and traditional food practices, an easy way to healthy life and healthier generations.

The indigenous wheat flour was replaced with white flour – refined flour (maida)
Cane, Palm and Date Jaggery – the unrefined sugars were replaced with processed white sugar
The unpolished black, red and brown rice varieties were replaced with polished white rice – devoid of many essential nutrients.

The list would go on and on … White might be synonymous to flawless cleanliness – but certainly not for healthy living and healthy off springs to extend stronger branches to consecutive generations. This level of survival of our society is due to the strong roots provided by our ancestors. But, healthy survival of our off springs lies in the changes we would adopt towards fighting obesity and junk food habits. We haven’t yet realized that junk is filled in our kitchen cabinets in its purest form – WHITE.

Let’s move on in our journey of healthy native rice based pancakes/dosais – this time – Kudavazhai Arisi Dosai.


The health benefits of this rice being, as per published articles –

  1. Rich in Anti-oxidants
  2. Fights diabetes
  3. Rich in fibre
  4. Fights intestine related ailments
  5. Aids in tackling constipation


Kudavazhai is considered to have been derived from two Tamil words –
Kudal – Intestine and Vazha – revival or to make live
In other words, the rice variety which aids in well-being of intestines and protects against related ailments was named Kudavazhai or Kudavaalai.
  

Dosais with Traditional/Native rice varieties

Kudavazhai Arisi Dosai/ Pancakes with Kudavazhai Arisi


Ingredients (makes approximately 15 dosais)


• Kudavazhai Arisi/rice – 1 ½ cups
• Karuppu ulundhu/black gram – ½ cup
• Vendhayam/fenugreek seeds – ½ tsp
• Kal Uppu/rock salt – ½ tsp
  

Method of Preparation


Making the batter-


1. Wash well Kudavazhai Arisi and black gram.
2. Add fenugreek seeds and soak overnight or minimum 6 hours in water
3. Grind well in a grinder or any blender
4. Once ground into a fine batter add rock salt and mix well or grind the rock salt in the end.
5. Leave the batter overnight or until fermented well.
6. Dosai batter is ready for use.
  

Making Dosai-


1.Heat dosaikal or the pancake pan on stove

2. Pour a ladle of batter and spread into perfect round pancakes – preferably thin

3. Pour droplets of gingelly oil on the sides of the Dosai for easy lift of pancake


4. Turn the Dosai to the other side and let it cook
5. Take out once done- remember it would take just about 30-50 seconds to cook a side of thin Dosai. If one keeps it longer, the texture of pancake would be lost.


6. Make Kudavazhai Arisi Dosai crisp or soft and enjoy with any Thuvayal/chutney. The Dosai comes out beautifully crisp that you can shape it yourself.

My favourite Childhood After School Snack : Paal Aval – Rice flakes soaked in milk and coconut

When my daughter comes back from school with loads of stories in her school bag to share with me, it is a beautiful time that brings in timeless memories. I see myself running back from school to narrate never-ending stories to my all-time best friend – Amma. The special bond between mothers and daughters, especially mothers in the kitchen most of their time, transforms daughters into carriers of tasty treats to the next generations, I suppose. Might differ from person to person, but that’s true in many cases that I see.

Certain comfort foods create such cozy reminiscences. Yes,  Paal Aval or Nanaicha Aval -(Flattened Rice or Rice flakes soaked in milk and coconut) brings in warm memories of coming back from school to recite non-stop happenings at school to Amma.  The  dish has not only left behind impressions of the past,  but the simple taste of the soft rice flakes and the crunchiness of freshly grated coconut makes me thrive for more, even today.

Aval is known as flattened Rice, beaten rice or rice flakes in english. It is commonly called Poha or Chuda in the hindi belt of India.  It is identified as Pawa in many countries outside India.


When we came back from school, hungry and tired, Amma would have kept this ready. After a snack, drinking milk is the norm in the evening. This Nanaicha Aval/flattened rice or Poha has milk, sugar and coconut. It fills your tummy with the requisite milk of the evening… hence, no extra milk after the snack. It is such a comfort food, I can’t explain in words.. you need to taste this humble mix. It is certainly very easy as a ”no cook meal’ and not at all time-consuming, even for busy mothers and caretakers of children.
  

A multi-faceted meal
 

Why I call it a multi-faceted meal –

  1. it can also be an equivalent or substitute to today’s cereal-milk breakfast, so popular in Indian households too
  2. it can be an after school meal – quick to make-quick to eat, quite filling but not heavy on calories
  3. it can be a dessert with fried cashew nuts or soaked almonds, plus no cooking at all, easy isn’t it?
  4. it can be a quick meal apt for lazy weekends, during an emergency hour or a hunger prank during pregnancy too.
  5. It can also be a baby food (toddlers who have already been introduced to various other simple foods) without coconut of course.

  
A versatile dish

it is also a versatile dish to adapt itself to various additions

  1. Add chopped bananas, apples, pears or fruits of your choice – after aval is well soaked, this gives a fruity taste; choose fruits those wouldn’t curdle the hot milk;
  2. Add chopped nuts while mixing hot milk, so that the nuts are softened;
  3. Alter sugar with unrefined cane sugar, palm sugar, cane jaggery, honey;
  4. Use white aval or kaikuthal aval (unprocessed red aval) – whichever is available easily.


palm jaggery, cane jaggery or unrefined cane sugar


Now, this isn’t funny-

  1. among the three ingredients added to aval (milk, sugar and coconut)- Skip the milk, add just sugar and coconut to washed soft aval/flattened rice and that itself is a delicacy – it is called nanaicha aval/aval nanaichathu/ vella aval with jaggery;
  2. Skip the sugar, add coconut and fruits and that’s good for those who wish to avoid sugar in their meal;
  3. Skip coconut, have aval soaked in milk alone with raisins;


choose or skip


True – versatility personified!
  

Simplicity
Additionally, I believe the ‘x’ factor of this dish lies in its simplicity. Wash the flattened rice; boil the milk, grate the coconut- add everything together with sugar. Soak for 20 minutes and you get this simple and tasty treat with literally little or no effort at all. The recipe is done. So easy.
Simple recipe has already been explained in a paragraph. Still being a food blog, let me do the honours, please.


Paal Aval – Rice flakes soaked in sugar,milk and coconut


Ingredients


  • aval/flattened rice/poha (I have used red aval) – 1 ½ cups
  • milk – 4 cups
  • coconut grated – ½ cup (more or less as per preferred)
  • unrefined cane sugar – 6 tsp (more or less as preferred)
  • elakkai podi/cardamom powder – ½ ts
  • chukku podi/dry ginger powder – ½ tsp
  • chopped nuts – ¼ cup (optional)

  
Method of Preparation

1. Wash aval/ beaten rice. Do not overdo it. This is a very soft material to handle, wash it with care just twice carefully not mashing it. Keep in a bigger bowl to soak other ingredients.


2. Keep adding all the dry ingredients – sugar, grated coconut, cardamom powder, dry ginger powder and chopped nuts


3. Bring milk to boil and pour over the aval, sugar, coconut mixture


4. Close with lid and leave for about 20 minutes to soak well and soften. A hotcase can also be used to keep it hot.


Serve paal aval on all occasions that suit you.

The Biscuit Workshop

I love home-made cookies or biscuits. Mine are always with whole wheat flour, as in my cakes. The positive thing being the healthy version and the negative being the countless cookies that one consumes assuming they are harmless. Result – end up in more calories and a stuffed tummy.

With loads of information that state the difference between the both, are these biscuits or cookies??


These are biscuits because they are crisp goodies –
‘crisp cookies are called biscuits. Chewier biscuits are sometimes called cookies’  https://en.wikipedia.org/wiki/Cookie

No.No… These are cookies because – they have nuts –

‘A cookie is a baked or cooked good that is small, flat and sweet. It usually contains flour, sugar and some type of oil or fat. It may include other ingredients such as raisins, oats, chocolate chips, nuts, etc.’
https://en.wikipedia.org/wiki/Cookie

The terminology seems to be far more complicated than making of the cookie itself..sorry. biscuit..sorry.. cookie..or is it biscuit…
Now, let us decide..

Aubergine in the UK is eggplant in the US;
Ladies finger in the UK is okra in the US;
‘How do you do’ in the UK is ‘Howdy’ in the US;

Likewise-

– the word ‘cookie’ is derived from the dutch word ‘koekje’ as used in the US. In the UK- a crisp cookie is called ‘biscuit’.

I choose to comprehend that biscuits are crisp cookies. Hence, this can be termed as a Biscuit workshop. Period.

These biscuits are made with all purpose flour, margarine, sugar, salt, baking powder and a few more preservatives added to the sugar and flour for packaging purposes.. The ingredients used here are for bulk packaging, and henced provide us a basic understanding of baking  biscuits on a larger scale.  But, it is the process of making that made the workshop interesting – the swiftness of those hands in kneading the dough, rolling out evenly on the table,  sprinkling nuts, cutting them into perfect pieces, arranging in huge trays and placing in several racks and the most important of all – baking to perfection.

Whatever be its name- cookie or biscuit – it is hardwork at its best – the outcome being crisp, sweet and golden.
  

Making of the Biscuit

the kneaded dough –


Rolling the dough thin and even –


sprinkling the nuts –


making a pattern –


cut into equal rounds and  arranged beautifully –


ready to be baked –


baked golden and crisp –

Nut Filled Chocolates – Home made


When I bought this beautiful silicon chocolate mould, my urge to make chocolates soared up..justified isn’t it? Though there is a plan to make chocolate from scratch at home, I chose to make the easier version – nut filled chocolates with available dark chocolate. If you are like me – who doesn’t want the chocolate manufacturers to decide the amount of sugar that you would like to have in your chocolate, then choose chocolates with 90% or 80% cocoa content and add your own bit of sugar to sweeten. Else, just choose your favourite chocolate bar.


So,first step – feel free to choose your favorite – milk chocolate, white chocolate, dark chocolate with 50-70% cocoa or the bitter lot – 80%-90% cocoa. I chose to combine 80% and 90% cocoa bars, as my family loves bitter chocolate. Any chocolate you use – follow these simple steps to get your own nutty chocolate. Also, choose your own filling – I filled them with almonds and walnuts. Raisins, dates, dried prunes, dried berries, hazelnuts, pecans, peanuts and many more can be suitable variants. For a beginner like me, I thought nuts or dried fruits might be the better fillings than making cream or caramel centres.
  

Nut filled Chocolates – Home made


Essentials

  1. chocolate mould
  2. two bowls for double-boiling chocolate bar – to melt chocolate on stove
  3. one microwavable bowl – to melt chocolate in microwave


Ingredients

  • Chocolate of your choice – milk, white or dark – approximately 200 gms
  • almonds (toasted) – 15 no.s
  • walnuts (toasted) – 15 no.s


Method of Preparation

a.  Toast the nuts in oven –

  1. Preheat oven at 175 degrees centigrade and place the tray with nuts and toast initially for 5 minutes.
  2. After 5 minutes, take out and give it a shuffle. This will enable even toasting of nuts on both sides.
  3. Toast again for another 5 minutes.. checking after every 2 minutes. If they are crisp enough before 5 minutes, remove them.

  
b.  Melt the chocolate


  1. If using stove, take a pan with half filled water and place another bowl over it. While boiling, water shouldn’t touch the upper bowl.
  2. Place broken pieces of chocolate on the upper bowl and let it melt in the steam of the water in the lower bowl.
  3. If using microwave, place chocolate pieces in a microwavable bowl, and microwave in medium high for 1 minute initially. Take the bowl out, stir and microwave again for 20 seconds.. Repeat the process until chocolate is completely melted.
  4. Be cautious, overdoing might harden the chocolate.


c. Filling the chocolate

1. Pour melted chocolate until half of the silicon mould.


2. Place nuts inside. Either place almonds alone or combine both.. choice is yours.


3. Pour more chocolate to close the mould.


4. Place in refrigerator for 10 minutes or until firm. If you let to cool by itself, it might take at least half an hour to solidify completely, or even more.


5. Remove from moulds once cooled and store in air tight containers in normal temperature or in refrigerator.

The French Macaroon Workshop – Coconut Macaroons

My interest in Macaroons is not only because of my sweet tooth; but my maternal connection to the Pearl City of India – Thoothukudi, which is famous for its cashew-nut macaroon biscuits. The macaroons of Thoothukudi and its relation to macaron and maringue have been discussed in dosaikal previously.  That post was based on a Bakery Visit and learning the process of making macaroons in bulk. Recently, I had this wonderful opportunity to learn the process of making French Macaroons, from a Sous Chef. The Hotel that offers wonderful coconut macaroons to its guests in their Dinner Buffet or Breakfasts/Brunches allowed us to peep into their baking counter. That turned out to be a great workshop on my favourite Macaroons.

What else do I know best, than sharing the episode with my friends through this channel… I chose to do it as a pictoral tour.. come along!
  

The ingredients – as written on the white board for easy reference

  • egg whites – 400 gms
  • breakfast sugar – 1 kg
  • coconut powder – 600 gms
  • icing sugar – 300 gms


in display


the machine


Making Macaroons

1. Beat egg whites


2. Add breakfast sugar – which is supposed to render a sticky texture to the mixture unlike normal granulated sugar. The chef mentioned, the stores sell ‘breakfast sugar‘ which is not the same as normal sugar.


3. When the mixture reaches soft peak consistency,


mix coconut powder and icing sugar


4. Gently fold the coconut powder-icing sugar into the beaten egg whites with hands


5. Remove the mixture into a bowl


6. Drop slowly into piping bags


7. Pipe into beautiful macaroons on a silicon baking sheet


8. Macaroons made by my little chef


9. Bake at 180 degrees centigrade for 15 to 20 minutes


10. Coconut Macaroons are ready. You could serve these as cream filled double macaroons too.


Those macaroons by my little one made my day…truly awesome.

Kollu Dosai/Horsegram Dosai – Pancakes

 
Kollu Dosai/Horsegram Dosai


Horsegram has wonderful health benefits in reduction of cholesterol levels and aids as a relaxant during chilly cold weather and cold related ailments.

Different foods are prepared with Kollu, in different parts of India. In the south of India, Kollu Rasam (spicy soup), Kollu Paruppu (cooked lentil curry) are a few delicacies.

The most favourite and tastiest usage of Kollu might be the Horsegram Pancakes. They have an exclusive flavour and crispness unlike other millet based dosais. There is an important difference though. All other millets are replacements to rice and are hence used instead of rice. Here, Kollu or Horsegram is a lentil and is placed instead of black gram and is combined with Rice.


Horse gram can best be considered a reddish brown legume that is full of numerous health advantages. It can benefit with a number of health issues since it is a grain that contains a good as well as rich quantity of vitamins, proteins, as well as iron. Along with weight loss, it will help in lowering of excess fat through the body. Horse gram is full of B-complex vitamin and proteins. It will help in purifying menstruation as well as cures and helps prevent arthritis. The existence of adequate dietary fiber within the gram will help balance sugar glucose as well as blood pressure levels.Listed here are some health advantages related to horse gram. https://www.healthbenefitstimes.com/health-benefits-of-horse-gram/


The heat that Kollu produces in the body after consumption is something to be taken note of. Since it is a high heat-producing food, it is combined with rice which goes smooth on the system. Additionally, rice aids in easy digestion of Horsegram too. To tackle the heat of the lentil, thuvayal or chutneys made with shallots or tomatoes are a great choice.

Kollu Dosai is preferably a breakfast meal. All millet based/lintel based pancakes are suitably taken for breakfast to aid in easy digestion. One has to keep in mind that, all high fibre, power packed pancakes are low in calories compared to plain rice or wheat based foods, yet they take longer to break up in the digestive tract, which makes them more suitable as breakfast foods.


Kollu Dosai/Horsegram Dosai
  

comes out really crisp


Ingredients


  • idli Arisi/idlis rice – 2 cups
  • kollu Paruppu/Horsegram – 1 cup
  • vendhayam/fenugreek seeds. 1/2 tsp
  • kal Uppu/rock salt – ½ tsp

  
Method of Preparation
  

Making batter-
  

the light foamy paste is proof of light weighted idlies or dosais, exclusive to kollu


  1. Wash well idli rice and kollu/horse gram separately.
  2. Add fenugreek seeds to washed horse gram
  3. Soak both idli rice and horse gram overnight or minimum 6 hours in water in different utensils .
  4. Grind separately like the normal idli batter in a grinder or any blender. The stone grinder brings a beautiful foamy batter out of soaked horsegram.
  5. Once ground into a fine batter add rock salt and mix well or grind the rock salt in the end.
  6. Leave the batter overnight or until fermented well.
  7. Dosai batter is ready for use.

  
Making Dosai-


  1. Heat dosaikal or the pancake pan on stove
  2. Pour a ladle of batter and spread into perfect round pancakes – preferably thin
  3. Pour droplets of gingelly oil on the sides of the Dosai for easy lift of pancake
  4. Turn the Dosai to the other side and let it cook
  5. Take out once done- remember it would take just about 30-50 seconds to cook a side of thin Dosai. If one keeps it longer, the texture of pancake would be lost.
  6. Enjoy Kollu Dosai with any Thuvayal/chutney.
  7. Have a glass of Mor or Buttermilk that cools the system and aids in digestion.


Buttermilk: always to be had with Kollu Dosai

Take 1/4 glass of thick yoghurt, 3/4 glass of water, salt, fenugreek powder, asafoetida and blend well to a smooth liquid. This is the basic buttermilk. Buttermilk can be made flavourful with addition of coriander leaves, curry leaves, green chillies, mint leaves and so on. Feel free to add your own flavourful agents.