A simple person who believes strong roots and values build up stronger generations; and good food and good food habits are one of the best gifts that one can give to their off springs.
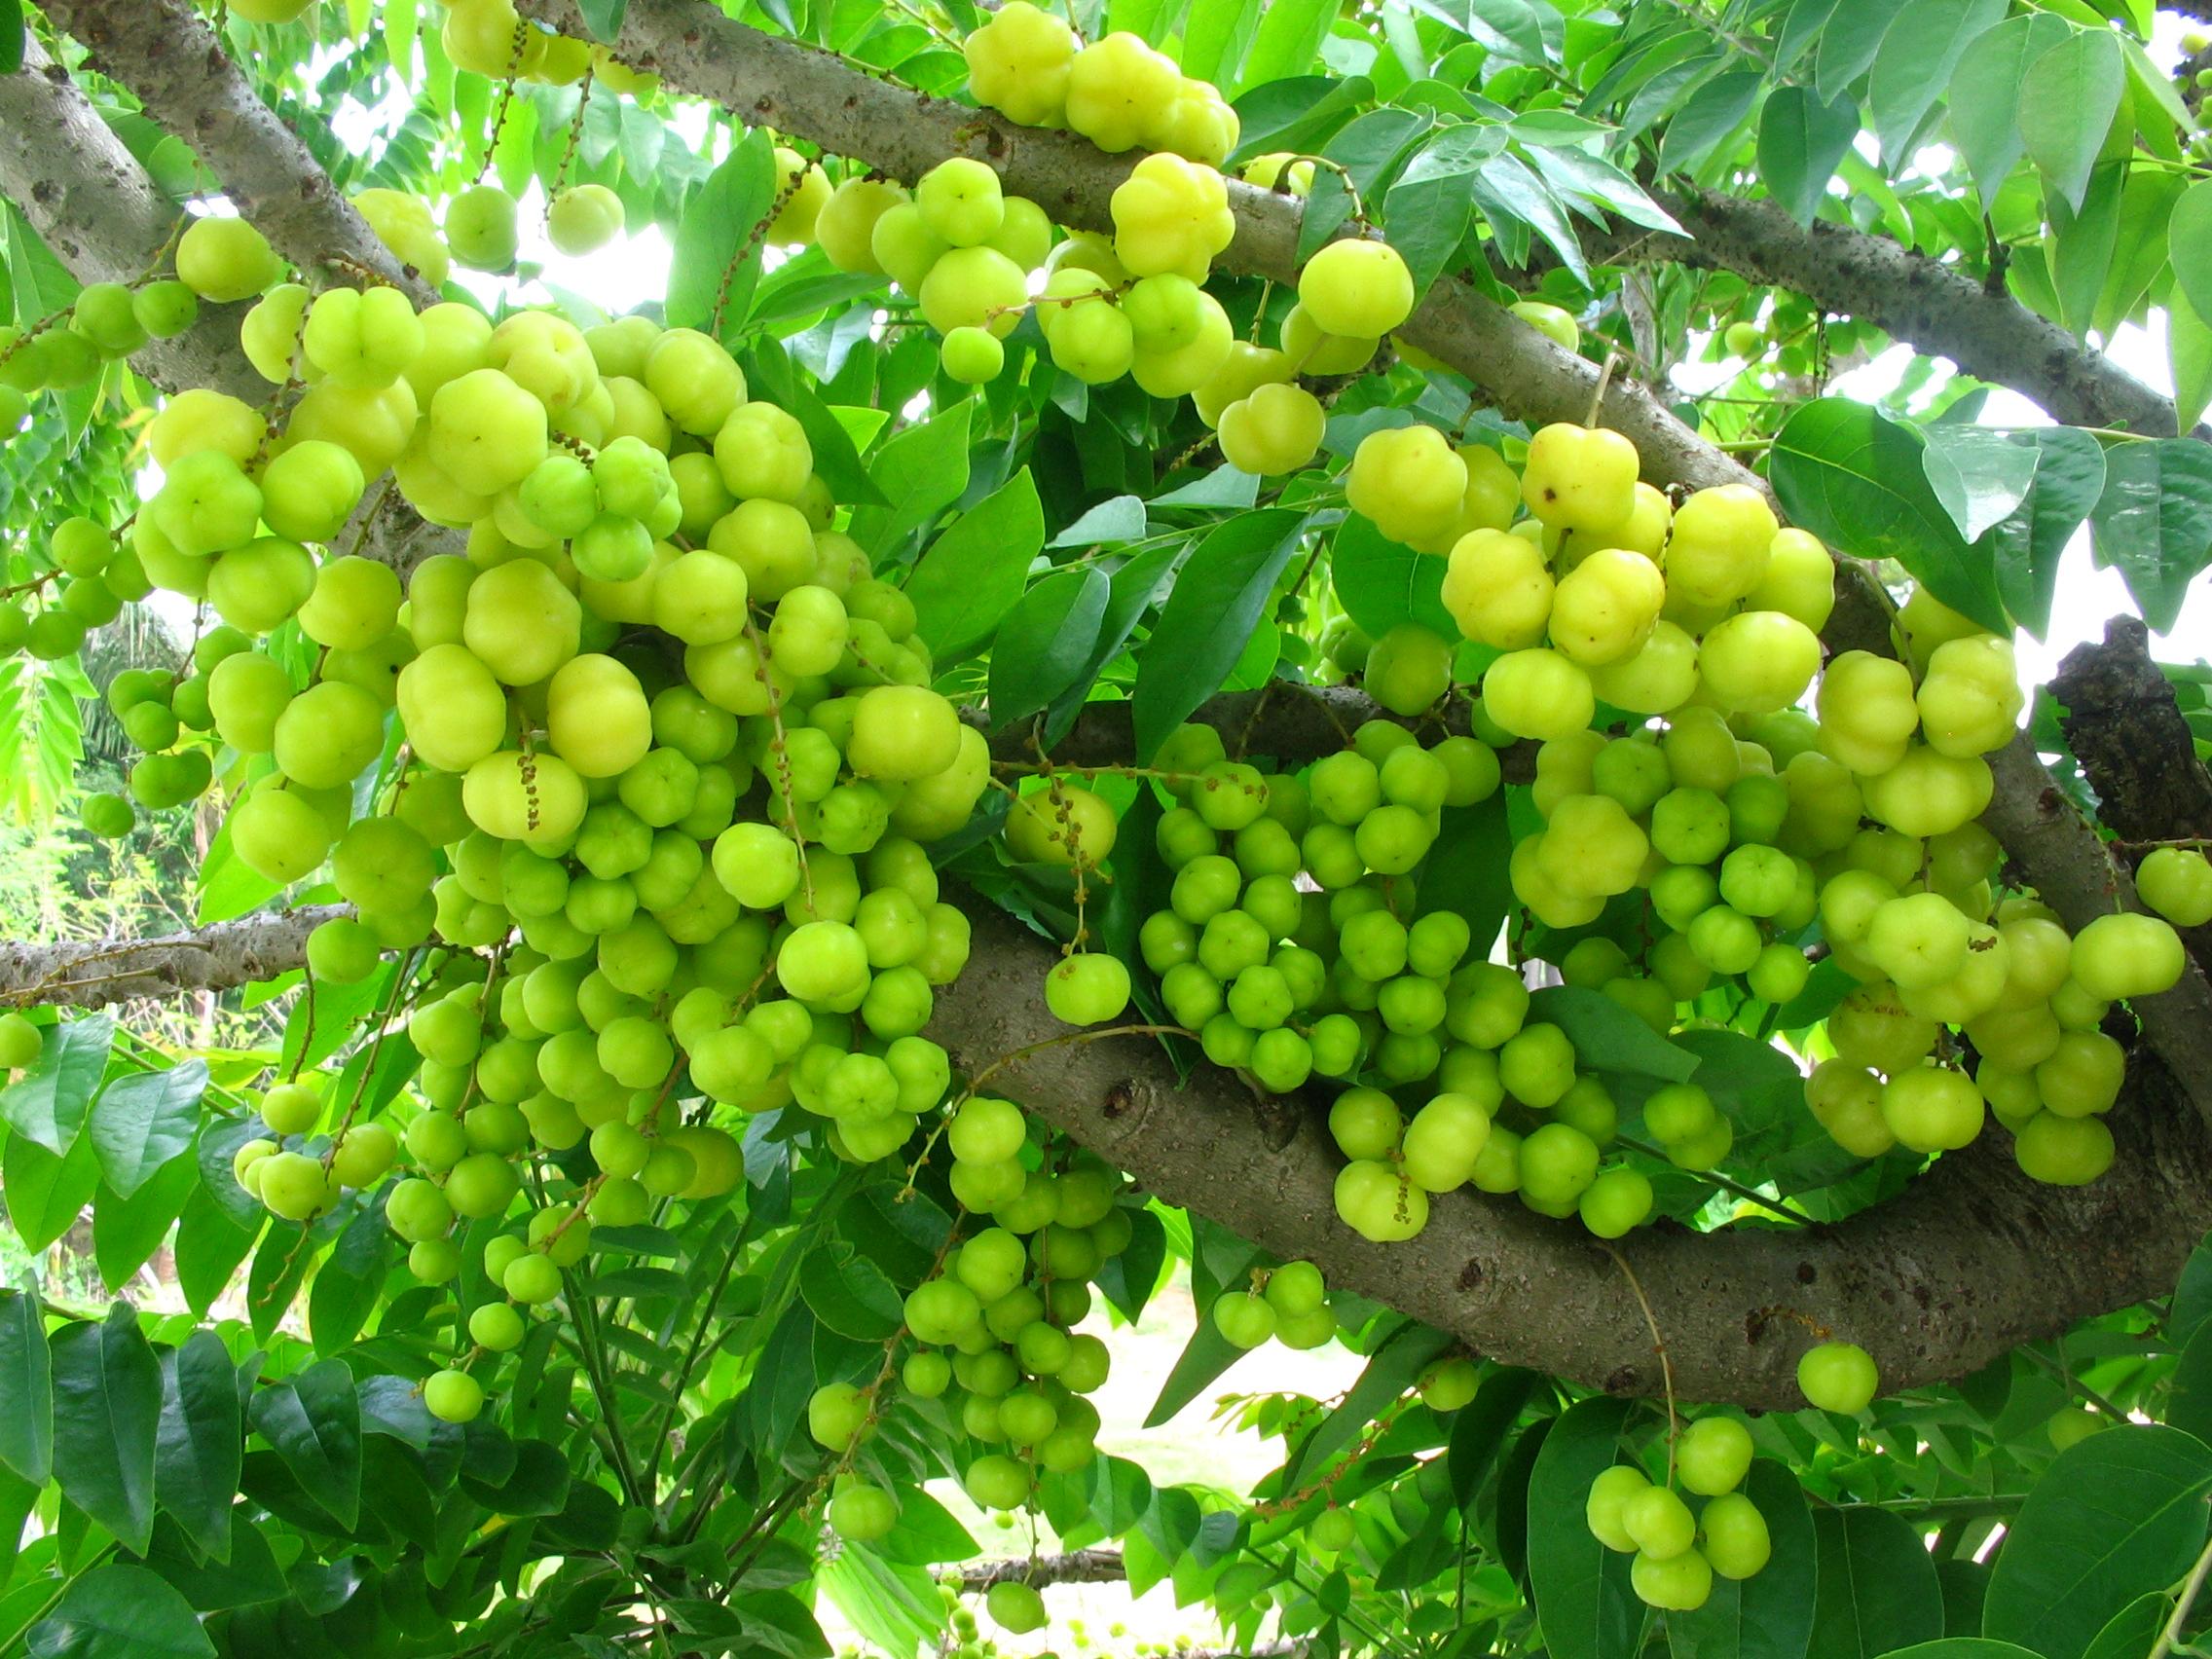
Gooseberry is one of those nutritious fruits that often brings back nostalgic memories. When we used to travel during school vacations to my paternal grandmother’s native place in down south Tamilnadu, the houses that had ‘nelli maram’ or the gooseberry tree was a special place for me. ‘Arunelli’ – the yellow and extremely sour, smaller variety of gooseberry was my favorite. With the beautiful Kutralam Falls nearby and the monsoon setting in, the village would have intermittent pleasant showers and chill air. The fields, farm lands, and the tall trees imparting different shades of green, would present such a soothing atmosphere, that the developed cities should beg for.
Visiting elders and relatives of the close knit family was a routine, common to most households. Also, introducing the third generation to other relatives of the extended family was part of those village visits. That is one of the major tasks of grandfathers and grandmothers, providing essential links through generations.
Coming back to gooseberry, most houses would welcome you with the arunelli maram in the frontyard, with bunches of the delicious fruit. I think the hosts should have been amused seeing my eyes rest on the gooseberries than in their conversation, I would always come back with packs of berries, the fruit and the taste I’ve treasured in my memory till today.
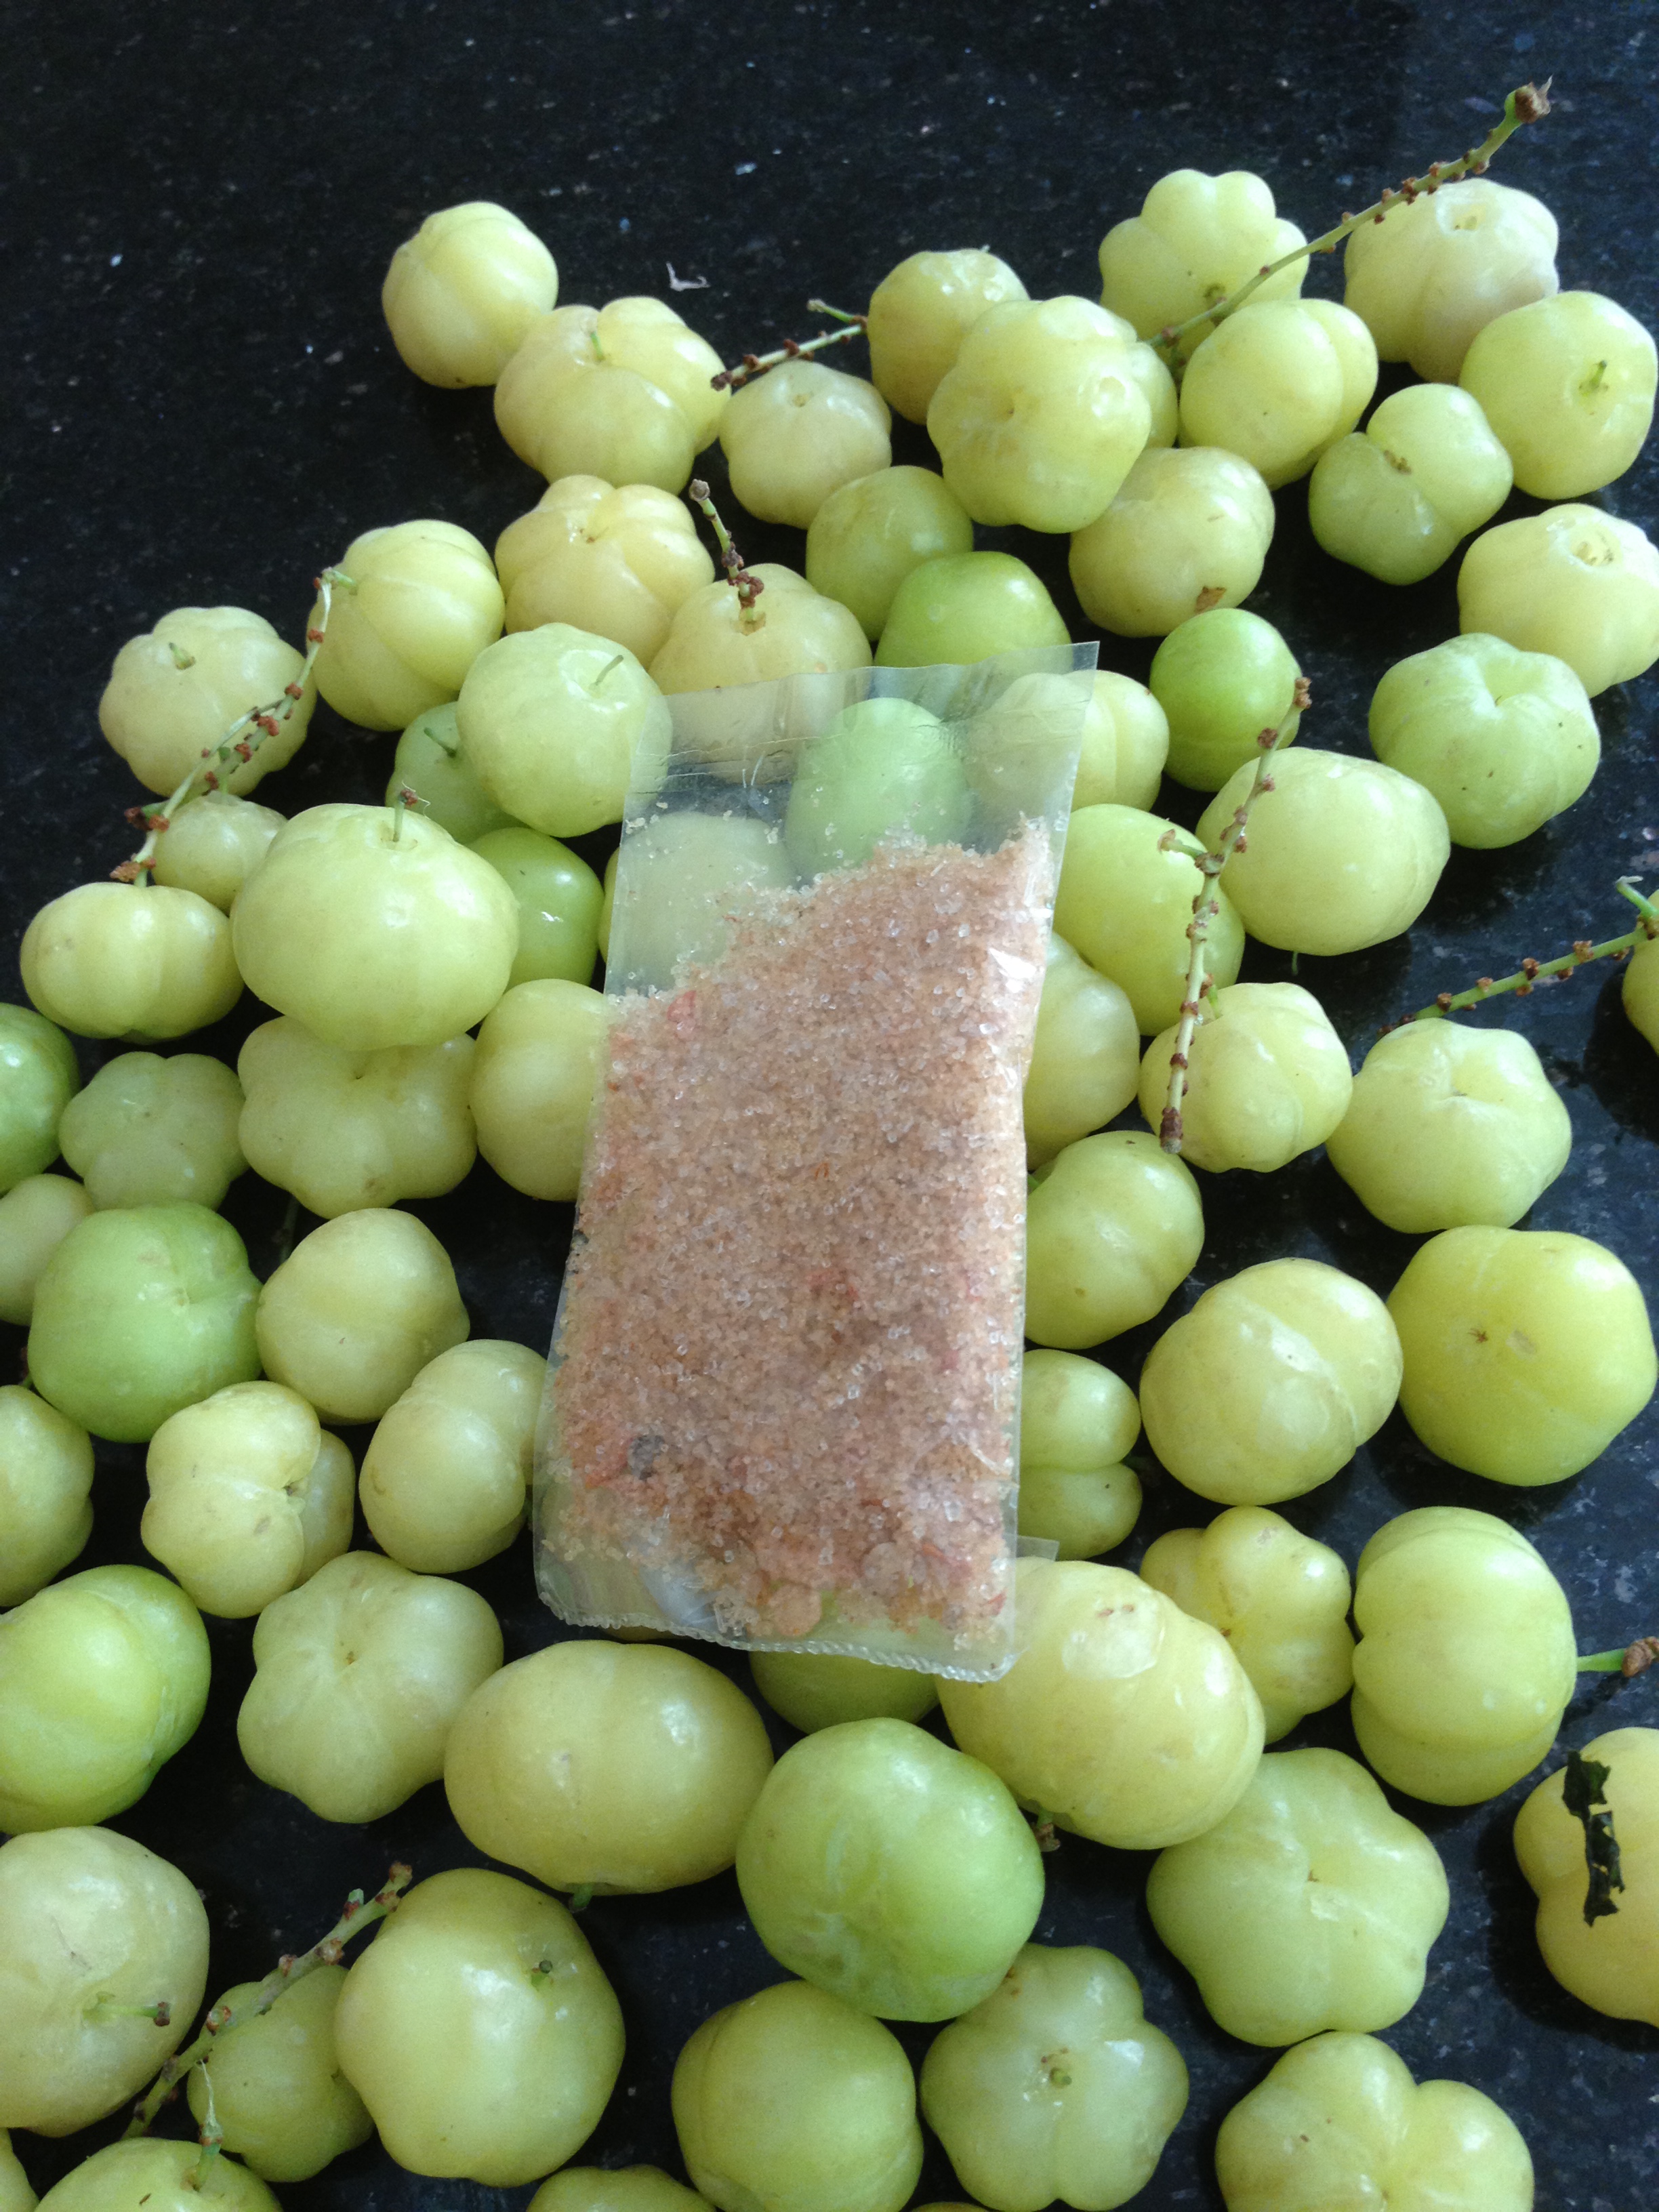
Post vacations, back at home in the city, thankfully those days, there were no branded food outlets in the corner for junk intake. On the way back from school, arunelli/gooseberries sprinkled with salt and chilli powder was a favorite walking partner. This memory glittered back during my Cambodia days, where I could buy arunelli from the street vendor with salt and chilli powder.
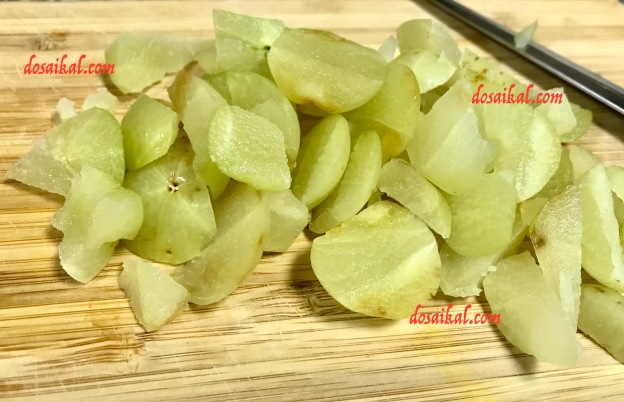
The other gooseberry is the bigger variety. While arunelli is a snack in hand, periya nellikkai is versatile. Eat it raw, make thuvayal/chutney or pickles, make nellikkai saadham/rice, thayir pachchadi/yoghurt raita – the options are endless.
First, enjoy the sourness of nellikkai; then, have a tumbler of water; get amazed by the sweetness that spreads in your mouth.
Setting new nutrition goals during the Covid crisis, I had been trying out different kinds of thuvayal/chutneys with periya nellikkai/big gooseberries. The fruit is at its nutritious best, when consumed raw. Hence, I try to add gooseberries without roasting or stir frying in the dips i make. Also, I have tried to add chinna vengayam/shallots in the fried chutneys, as a replacement for normal onions.
As a thuvayal series, I would like to share a few of those chutneys in the coming posts.
Who wouldn’t relish a flavorful creamy scoop of ice cream? Additionally, when the awesome treats gets swirled in your own kitchen, that could be eternal bliss.
There is a big list of things that petrify me. Like the processed grains, polished flour, polished sugar and many more that I mentioned in the previous post. The long list of ingredients – in a bottle of jam or sauce, in a pack of cookies or chips, in a can of juice or flavor enhanced milk…. the list is never ending. The need for increasing Shelf life of products, in a fast paced world does it all.
The long list of ingredients that bother me in a store bought ice cream tub, not only discouraged me from gobbling up to my heart’s content, but also daunted me even while having a single scoop. I craved for an ice cream I could enjoy, without guilt.
I wanted to make an ice cream with minimal necessary ingredients. But, my motto was to churn a delicacy that would be-
low in fat
less in sugar
creamy, yet less cream involved
flexible flavors with natural ingredients
no food colors involved
Above all, a tasty treat that can be a perfect alternative to the branded dainty.
I tried making ice cream with a blender. Each time I blended and put back the mix in the freezer, the blender ideally reduced the ice crystals. But, a thicker, heavier, creamier mix, rich in fat gave better results while using it.
I needed a perfect churner to churn my low fat ice cream mix. Then, I came across Kenwood Ice Cream Maker IM280.
Less in weight, easy to store and handle, and apt for small quantities to be tested in my R&D Lab – The Kitchen. This is again, a beginner’s perfect Kit.
First, I made the basic vanilla ice cream, with a combination of low fat milk, full cream and corn flour. I used raw sugar, just right for my family’s taste buds and vanilla for flavor. Simple alterations to the same basic ingredients does wonders too.
This short video shows how beautifully the Kenwood Ice Cream Maker churns our favorite dessert. It is pure joy, customising your own recipe to the needs of your loved ones.
In the same recipe, I added good quality 100% dark chocolate powder and my chocolate ice cream was done.
The product discussed above is a separate Ice Cream Maker. Kenwood also has a frozen dessert/ice cream attachment to go with its Kitchen machines.
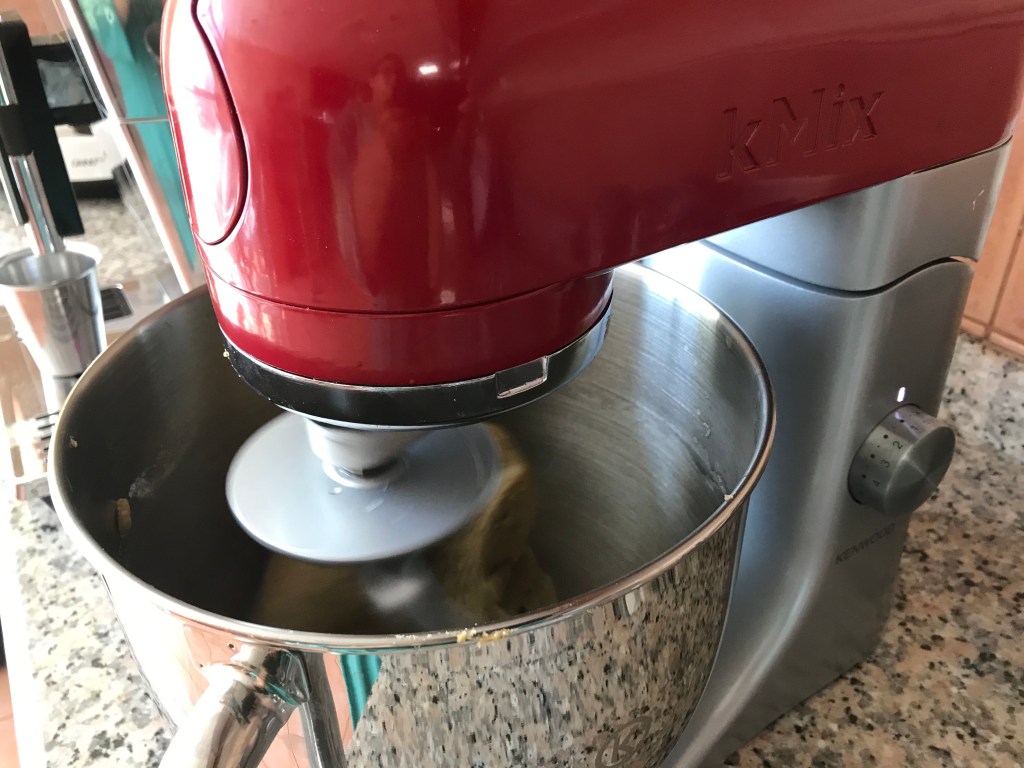
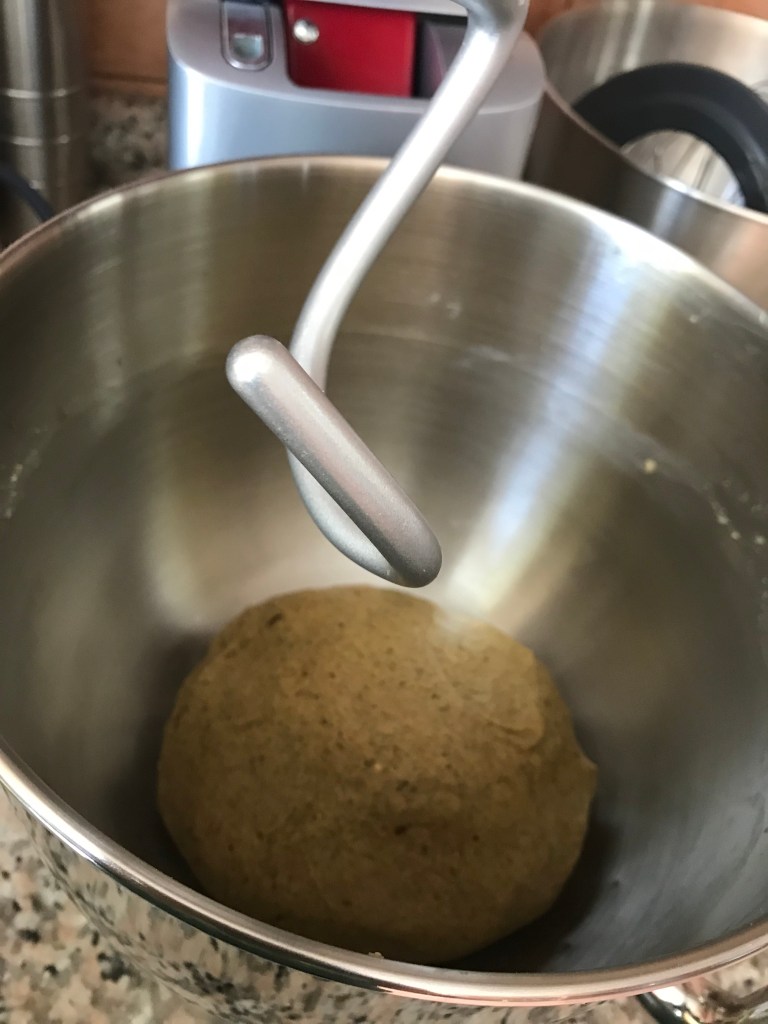
Next Kenwood product to be discussed is the Kitchen machine. I have been using two Kitchen Machines. KENWOOD PROSPERO KITCHEN MACHINE KM241 and KMIX KITCHEN MACHINE KMX51.
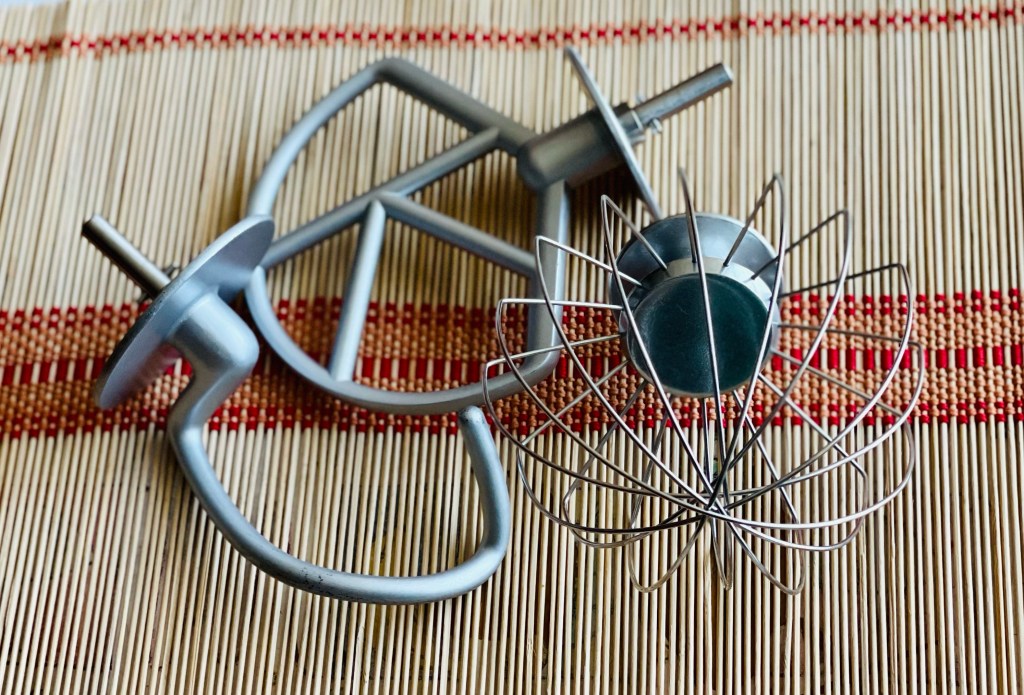
The Mixers come with a dough hook, beater and whisk. For me, the dough hook is the most used.
Initially I started using the KENWOOD PROSPERO KITCHEN MACHINE – KM241
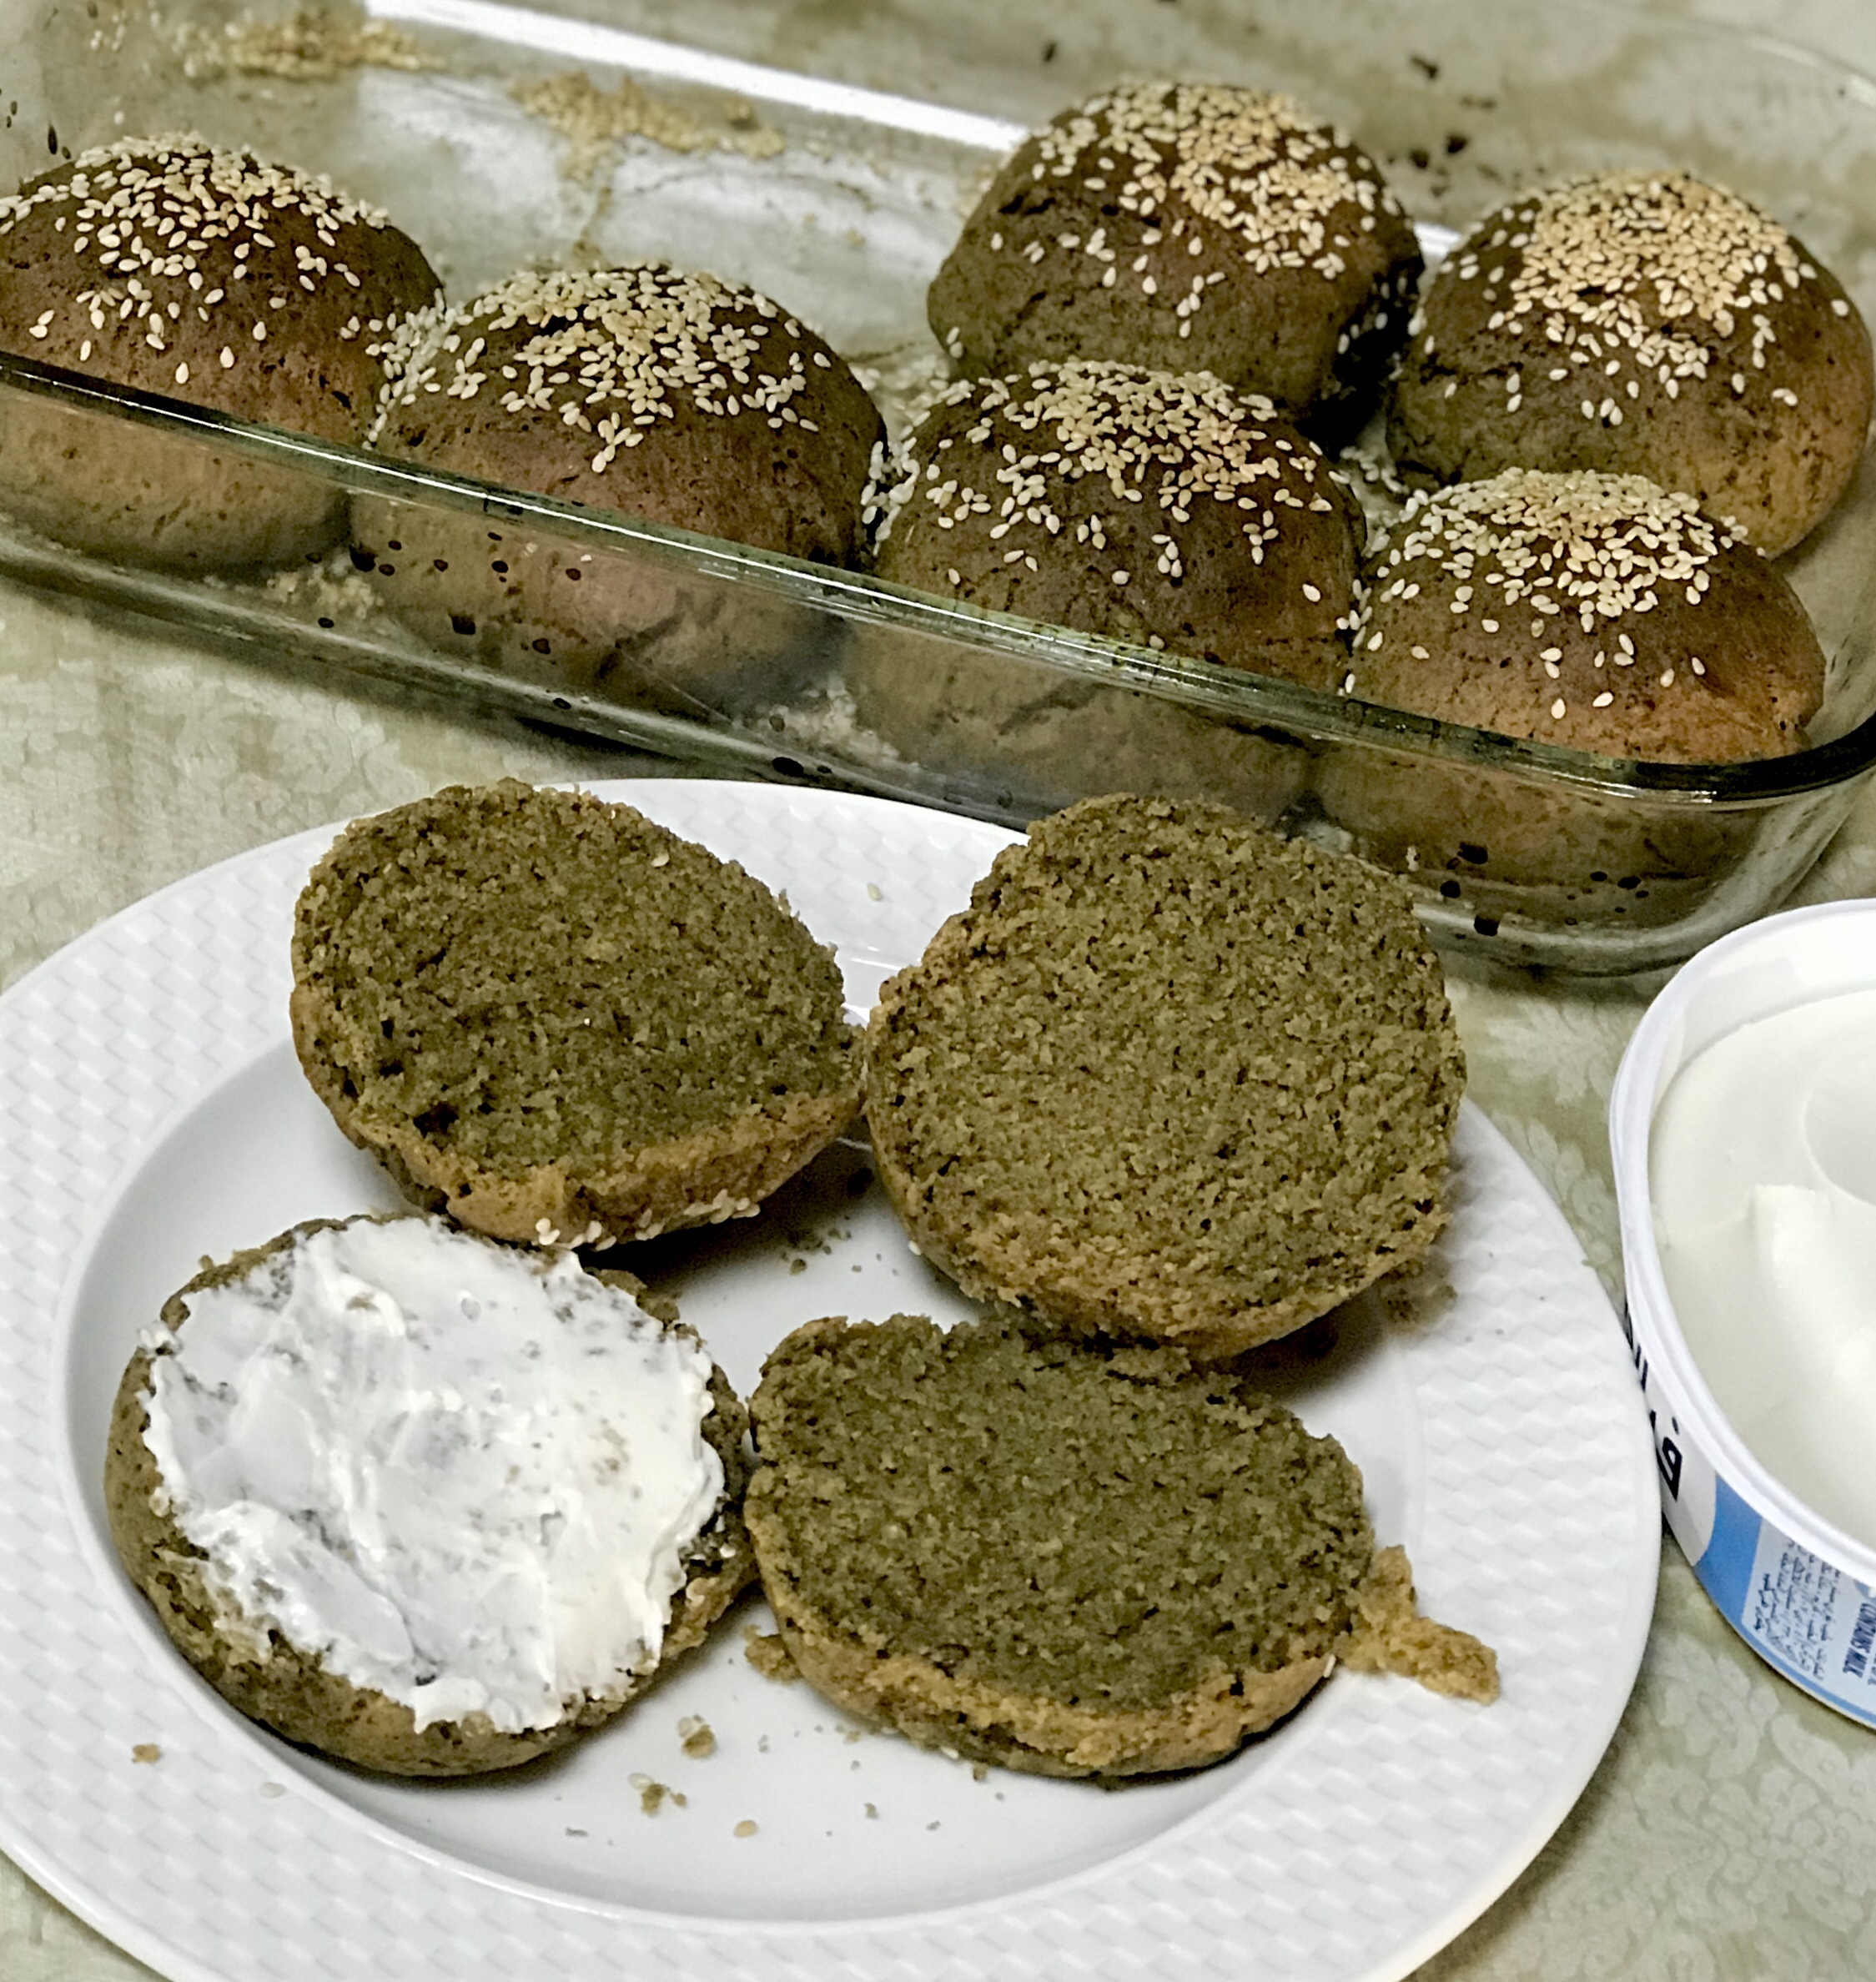
It can be called as a ‘beginner’s delight’. Easy to handle and is light weighted in comparison to other Kenwood kitchen machines. Since it can easily be taken out when needed from the shelves, the stress of placing it as a table top appliance, occupying space in the kitchen slab is reduced. This one is apt for kneading or whisking in small quantities. This machine is handy in kneading- the simple pizza base, chappathi dough to bread and buns.
The self explanatory video below, shows the procedure of kneading buns made easy. This certainly simplifies the inconvenience of kneading by hand.
The fear of all purpose flour, polished white sugar, unwanted enhancers and preservatives added in the store bought products, encouraged me to bake healthier versions of baked goodies. I started baking more and more breads and buns. I started using the sturdier version- Kmix Kitchen Machine. This machine comes with a 5lr. large mixing bowl made of polished stainless steel. This has been my ideal partner in the recent past, in making breads, buns, cakes and pastries.
For the detailed recipe – see post – dosaikal.com.
Next to kneading, I use the beater for blending certain complicated cake batters – like the one below- date and walnut whole wheat batter or even a carrot cake batter which needs quick incorporation of ingredients. And not to miss, the cream cheese frosting that I do with the whisk attachment, with less strain on hands.
Date and walnut cake with cream cheese frosting
Most importantly, one big bowl can serve all purposes, thereby limiting the usage of several utensils in the kitchen. Kenwood Kitchen Machines are truly ‘K’apable, ‘K’omplete and ‘K’ompetent.
When the latest Kenwood sale was on, I visited their showroom in Abu Dhabi. I was fascinated to see the wide variety of kitchen products. As a home-maker, I depend on certain Brands for preparing staple traditional foods. I value them as unavoidable necessities in the kitchen.
When it comes to my role as a Food Blogger, I believed I was more flexible. But, after visiting the Kenwood showroom, I realised I had been unknowingly collecting products of Kenwood, as a result of my ever-increasing cooking aspirations, for more than 10 years. From the basic Kenwood chopper to the latest Meat mincer to an Ice cream maker, I found my Kitchen filled with Kenwood appliances. A silent revelation isn’t it?
It seems like a long story to narrate, with my first Kenwood device purchased about 12 years ago. That was the basic chopper, which is a quintessential thing in the kitchen even today. The blades are as sharp as newly bought ones.
Indian gravy dishes- South Indian or North Indian, normally involve ginger-garlic-onions that have to be finely chopped, as a first step. This chopper finishes off the laborious job of chopping, in a jiffy.
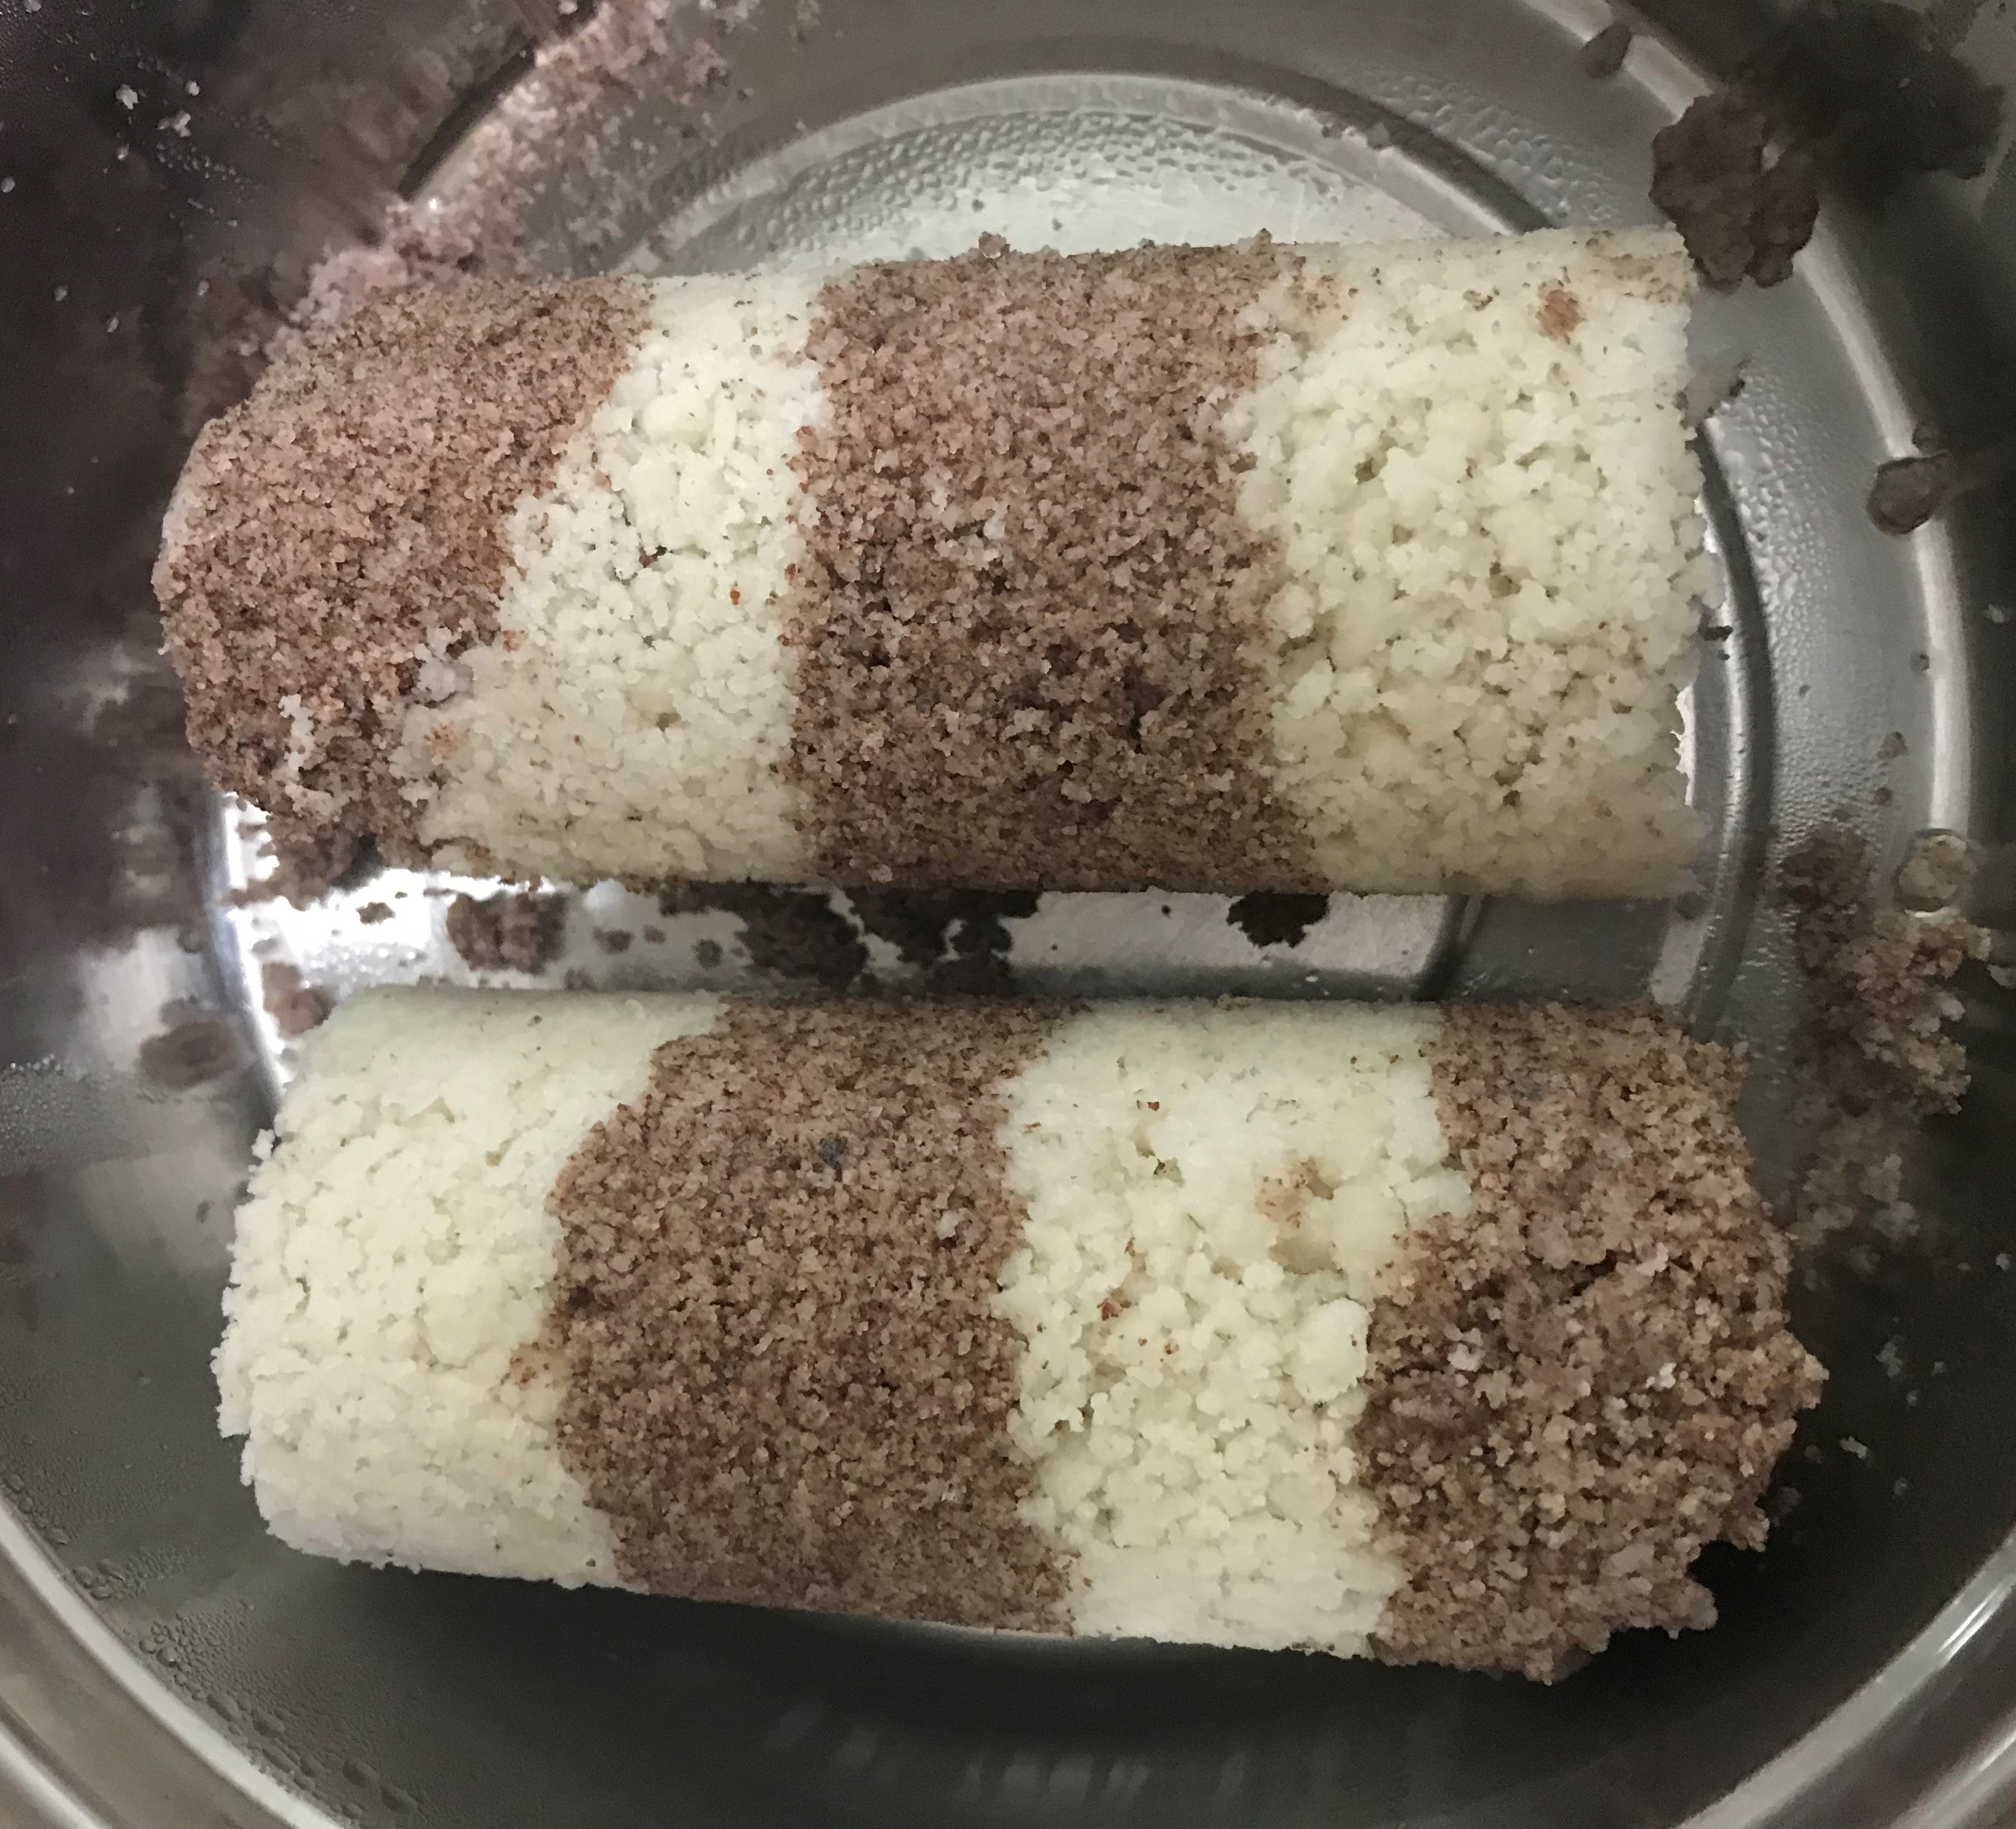
Puttu – Steamed rice flour cylinders
This could be supposedly the best use of a contemporary appliance, put to use in a traditional dish. Puttu is a staple breakfast meal of Kerala. It is a much sort after healthy meal in Tamilnadu, especially during special ceremonies. My favourite childhood breakfast and dinner meal used to be Puttu with Banana, and still remains to be one.
Puttu is a rice or millet cake, steamed in the shape of a cylinder. It is made with powdered white or brown rice; powdered millets like Finger millet or Pearl millet. My latest version of Puttu is made with Bamboo Rice powder. Blending just enough water to make a lump free moist powder is the tricky part in making this delicacy. The Kenwood chopper helps in creating a lump free, yet perfectly moist puttu mix to be steamed. Once water is sprinkled over the rice or millet powder, I add the moist mixture into the chopper and give it a quick grind. The result is a lump free moist powder. This mix brings out the best ever, soft steamed Puttu.
This handy chopper is an easy travel partner too. When you thrive for home cooked meal on a holiday, chopping to tears is the worst thing to happen. This certainly solves half the stress of an annoying job in a hotel kitchenette.
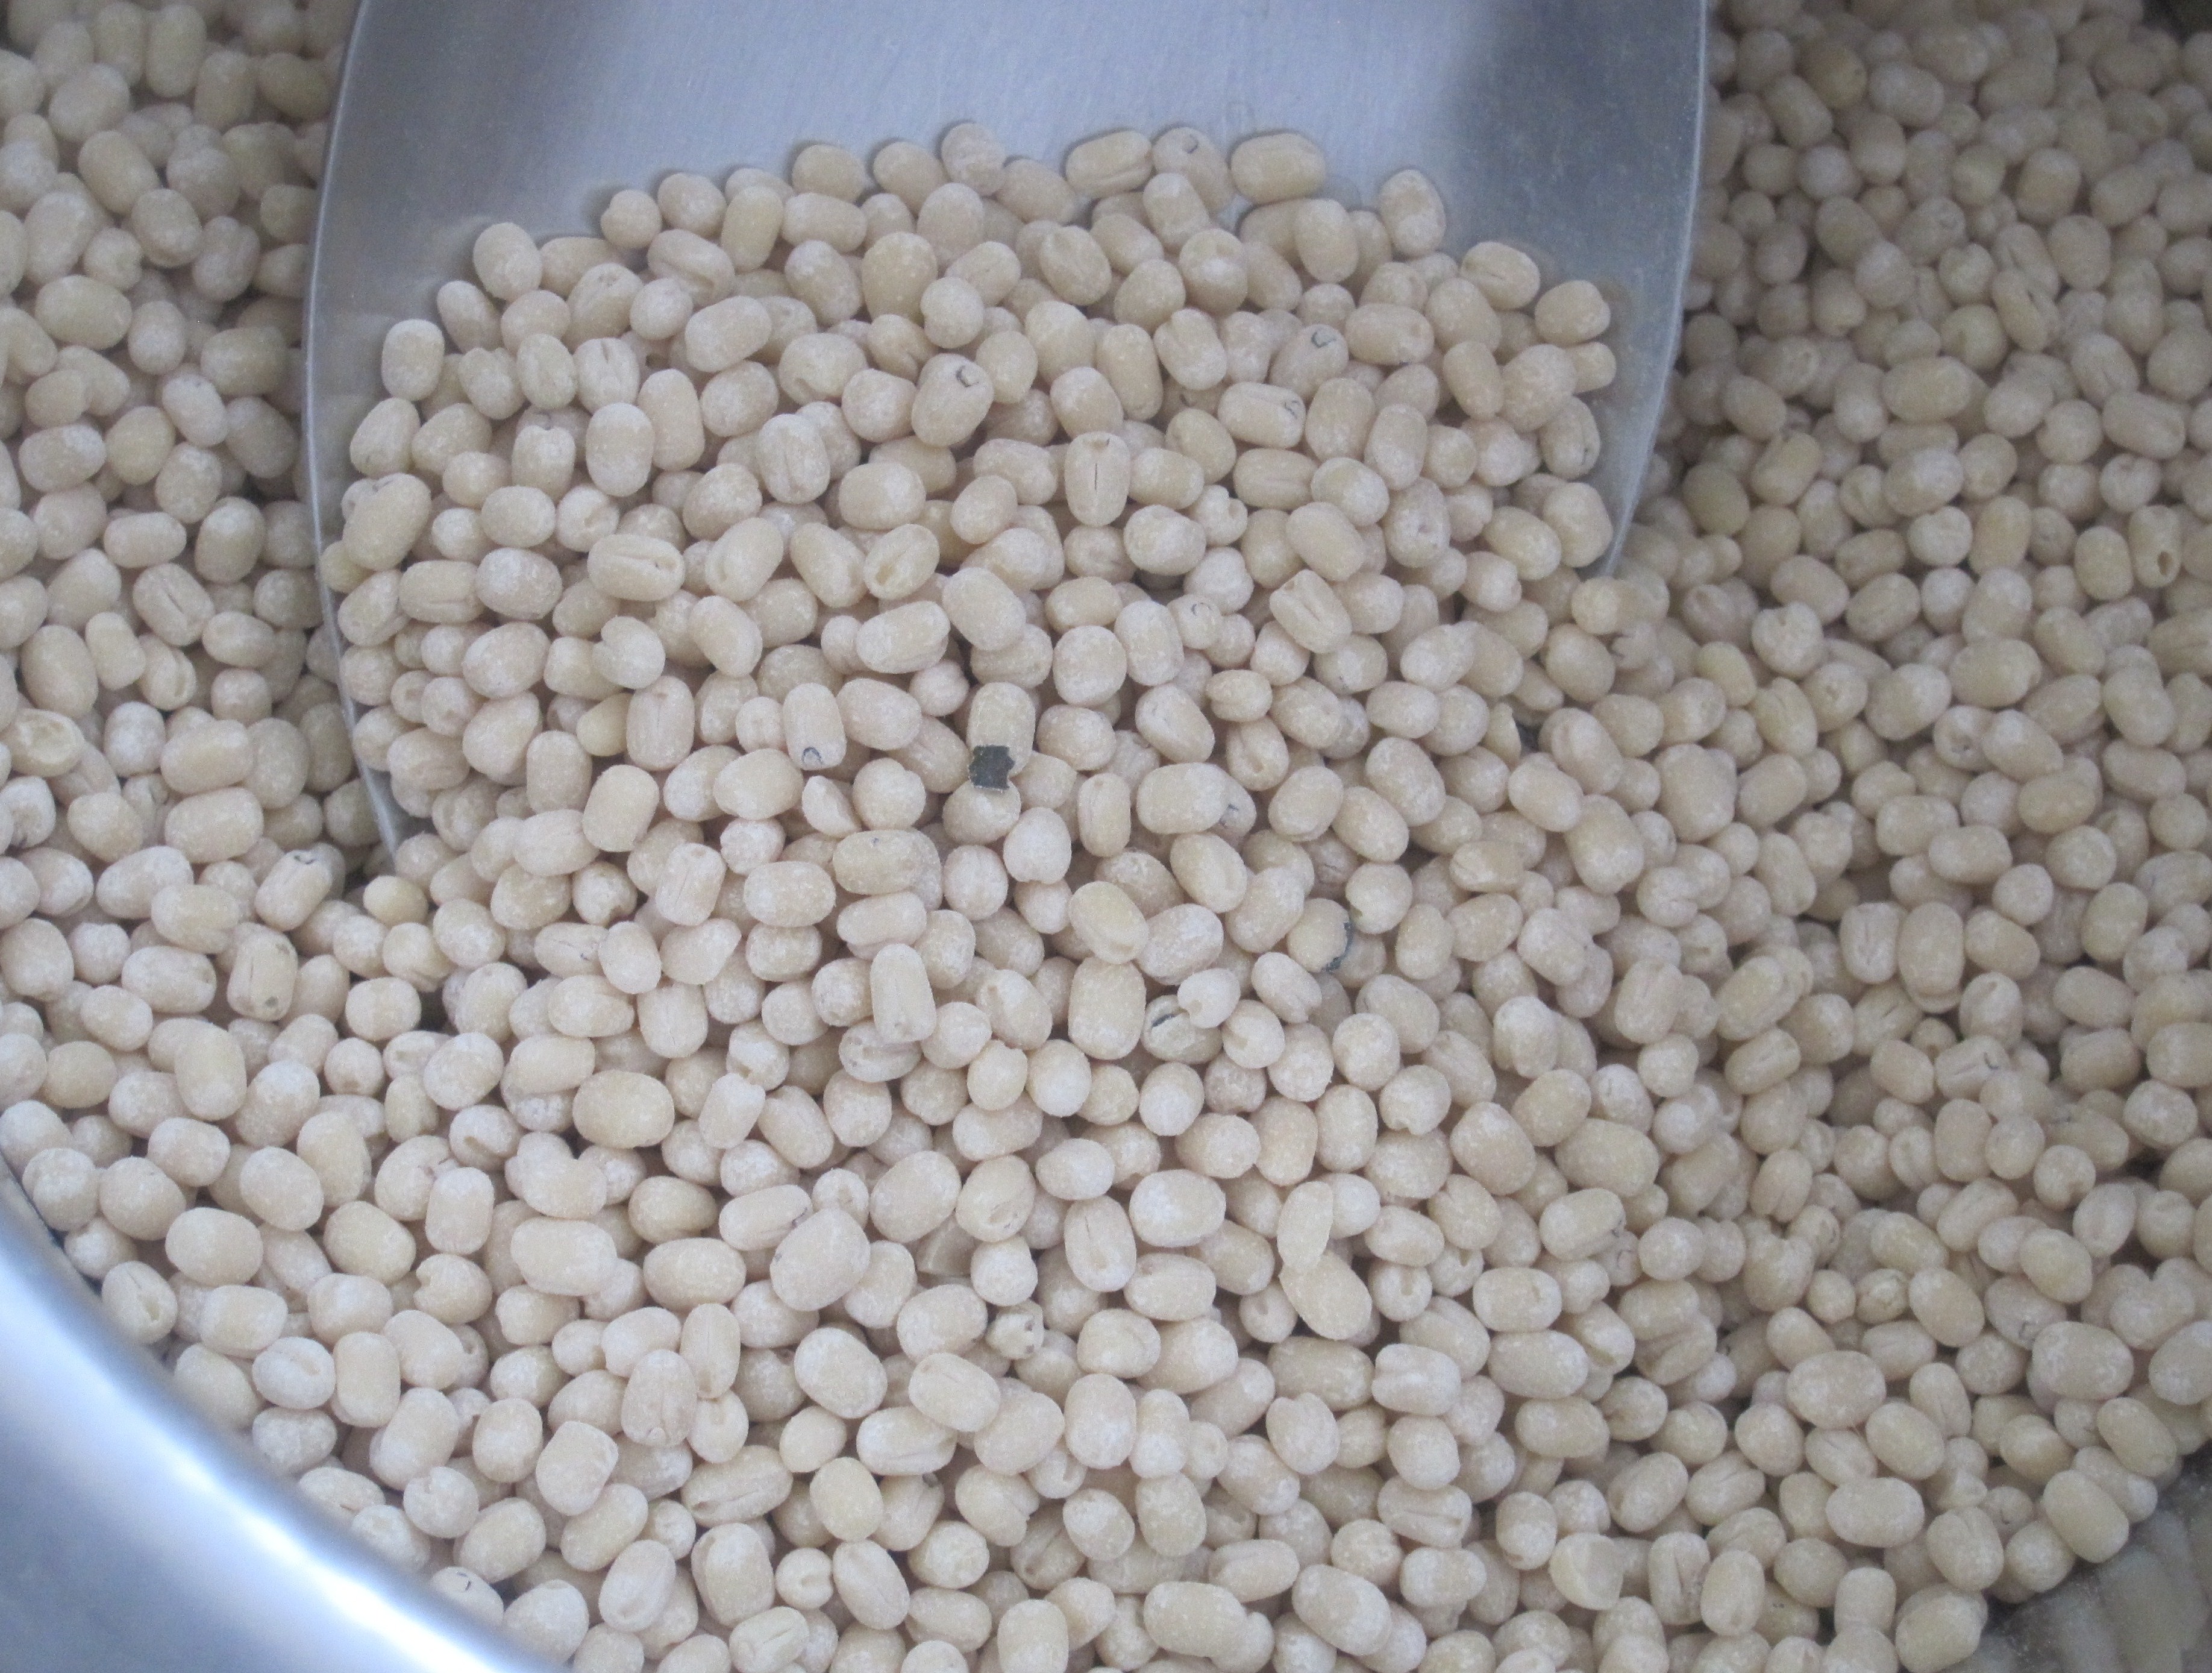
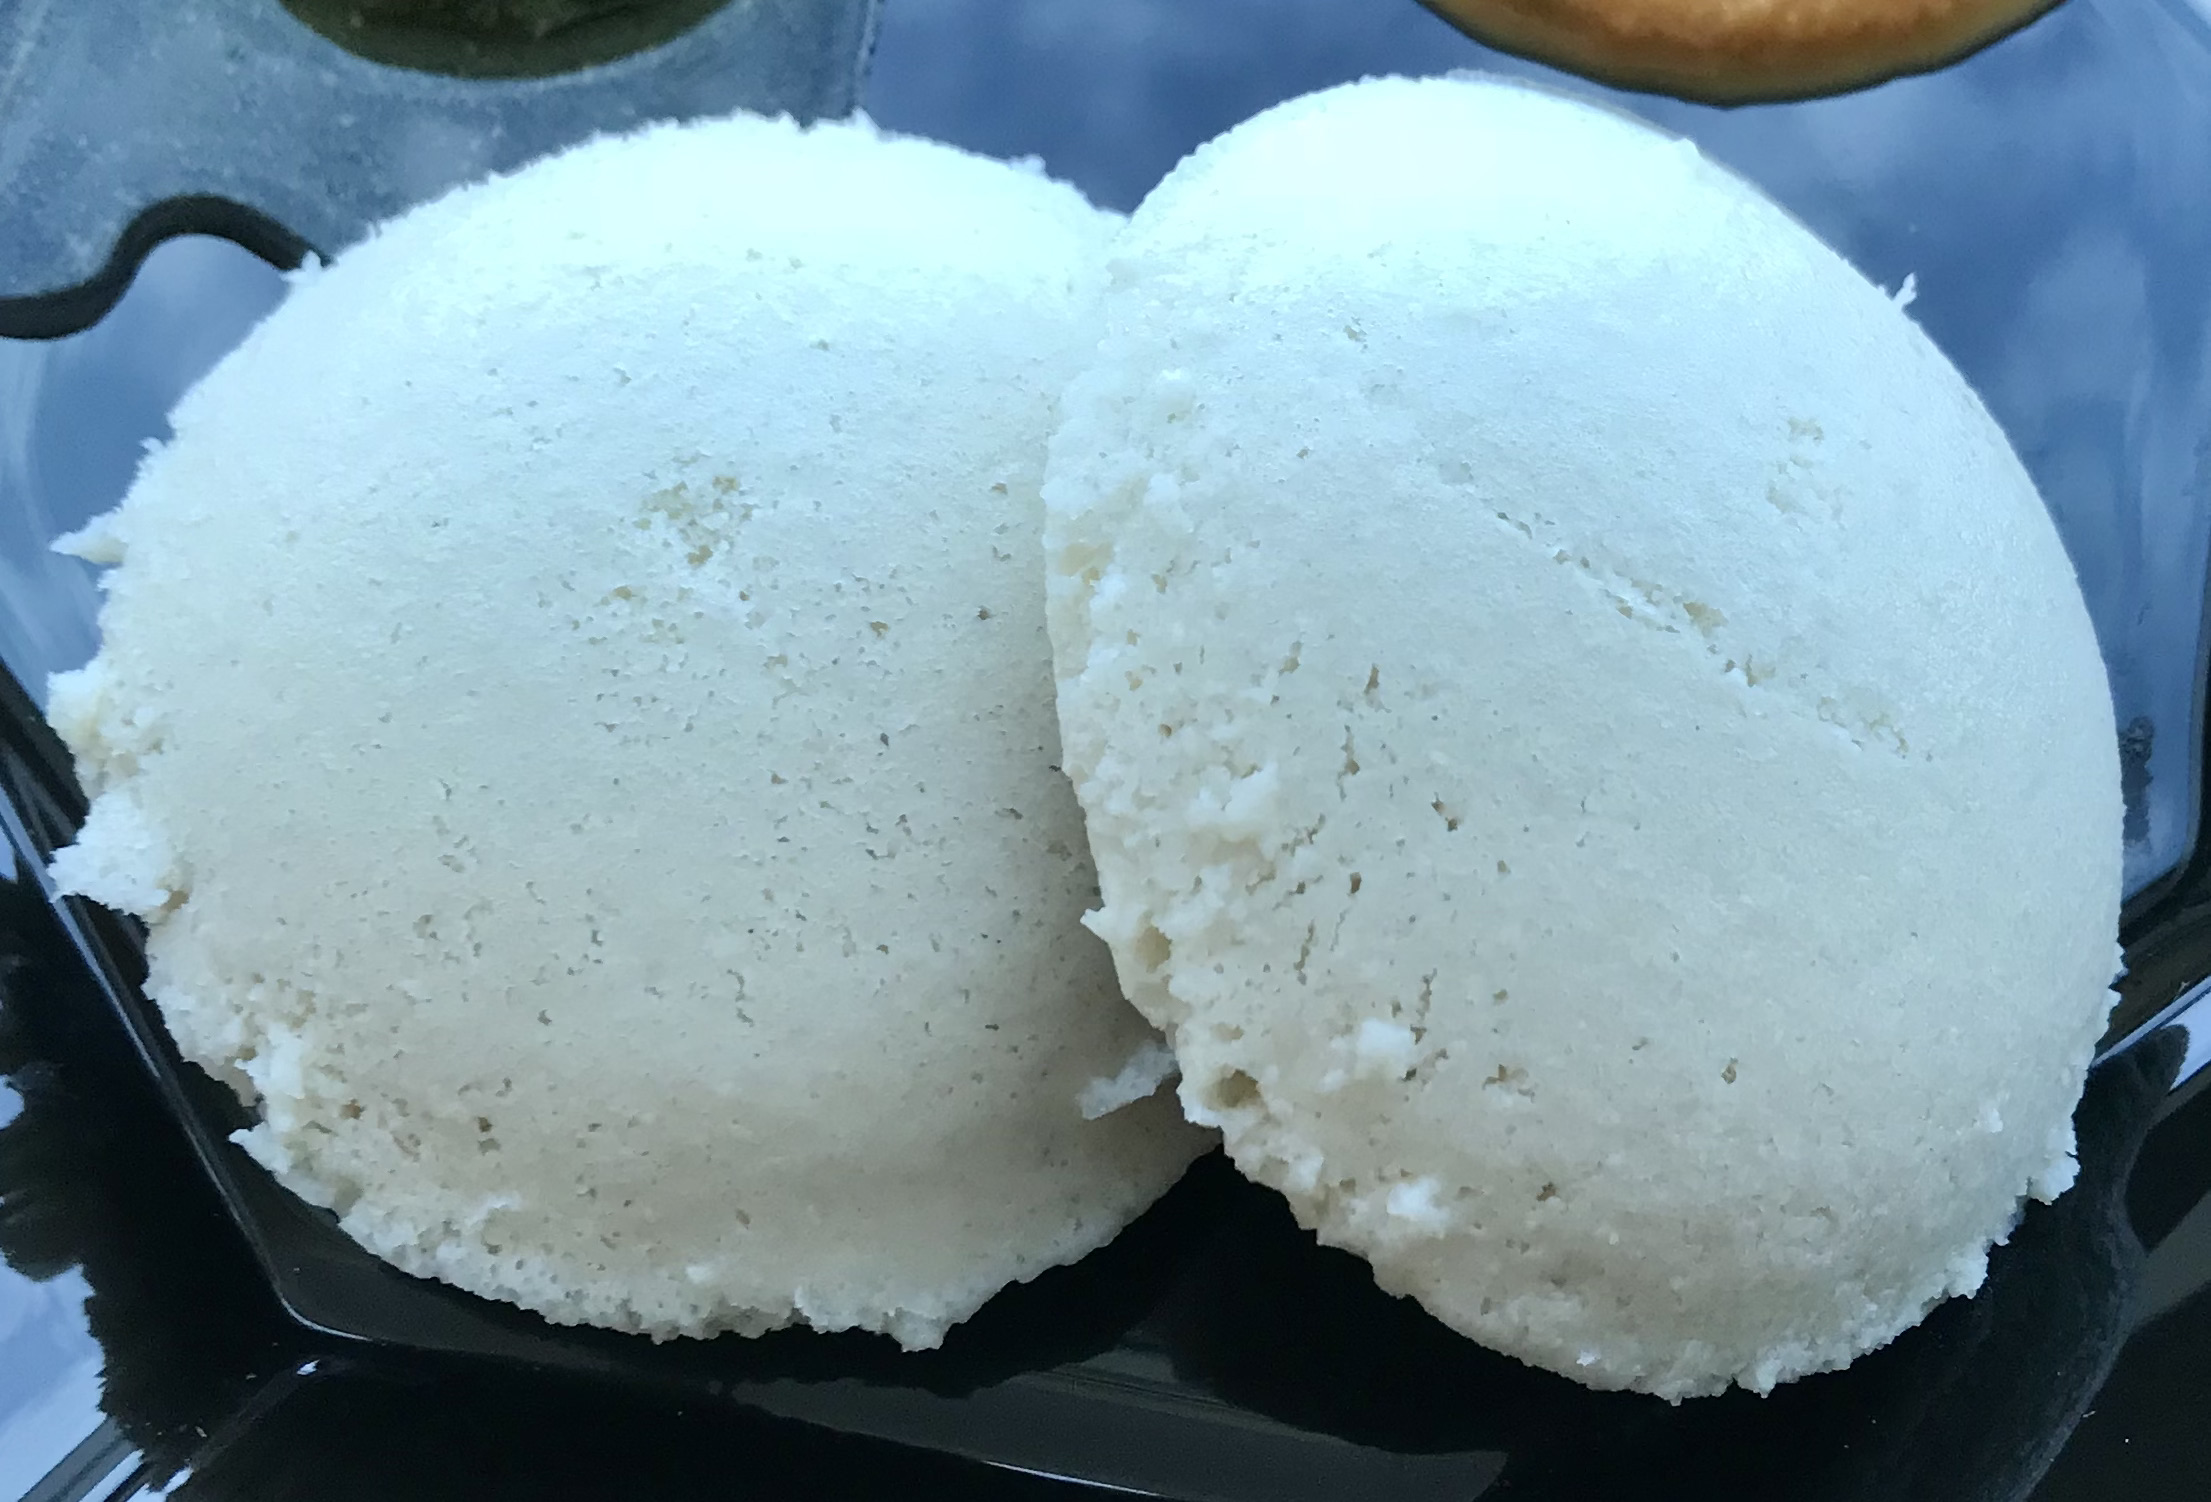
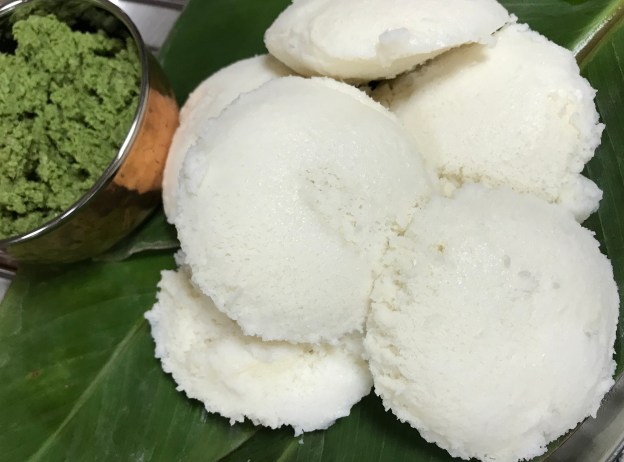
Kollu or Horse Gram can be used to make soft and fluffy steamed cakes. Other millets used previously to make Idlis were grains and Horsegram is a lentil. Hence, the lentil here is combined with rice to make Idli, the staple breakfast/dinner food of Tamilnadu.
Kollu Idli/Steamed Rice Cakes with Horsegram
Ingredients (makes approximately 25-30 idlis)
kollu/horsegram– 1 cup
puzhungal arisi/parboiled rice or idli rice – 2 cups
uppu/salt – as needed approx. 1 tsp
Method of Preparation
Wash and soak horse gram and rice separately in enough water for 6-8 hours
2. It is important to soak both rice and gram separately for idli. To make dosai, soaking and grinding together doesn’t alter the crispness or softness of pancakes
3. First, drain excess water and grind the horse gram into a smooth batter. It would be super foamy
4. Important point to note in Kollu Idli batter is, horse gram should be ground with minimum water needed. If excessive water is used, the final batter cannot be used to make Idli or steamed cake. Only Dosai/Pancake can be made
5. Remove horse gram batter from the blender and grind soaked rice separately to a smooth batter
6. When both batters are ready, add salt and blend well with a ladle or by hand. Do not use blender to mix both as batter will become watery
7. Leave the batter to ferment for 8 hrs or overnight
8. Millet or Gram batters do not need as much time as Rice Idli batter. They turn sour sooner
9. 8 hrs in a warm place is enough; If the climate is too hot, check after 6 hours; In an air conditioned environment, I place it in the oven overnight with the oven light on
10. Once fermented, mix the combined Idli batter well
11. Always keep the batter refrigerated for further use
12. Steam Idlis in the mould and serve them hot with chutney of choice.
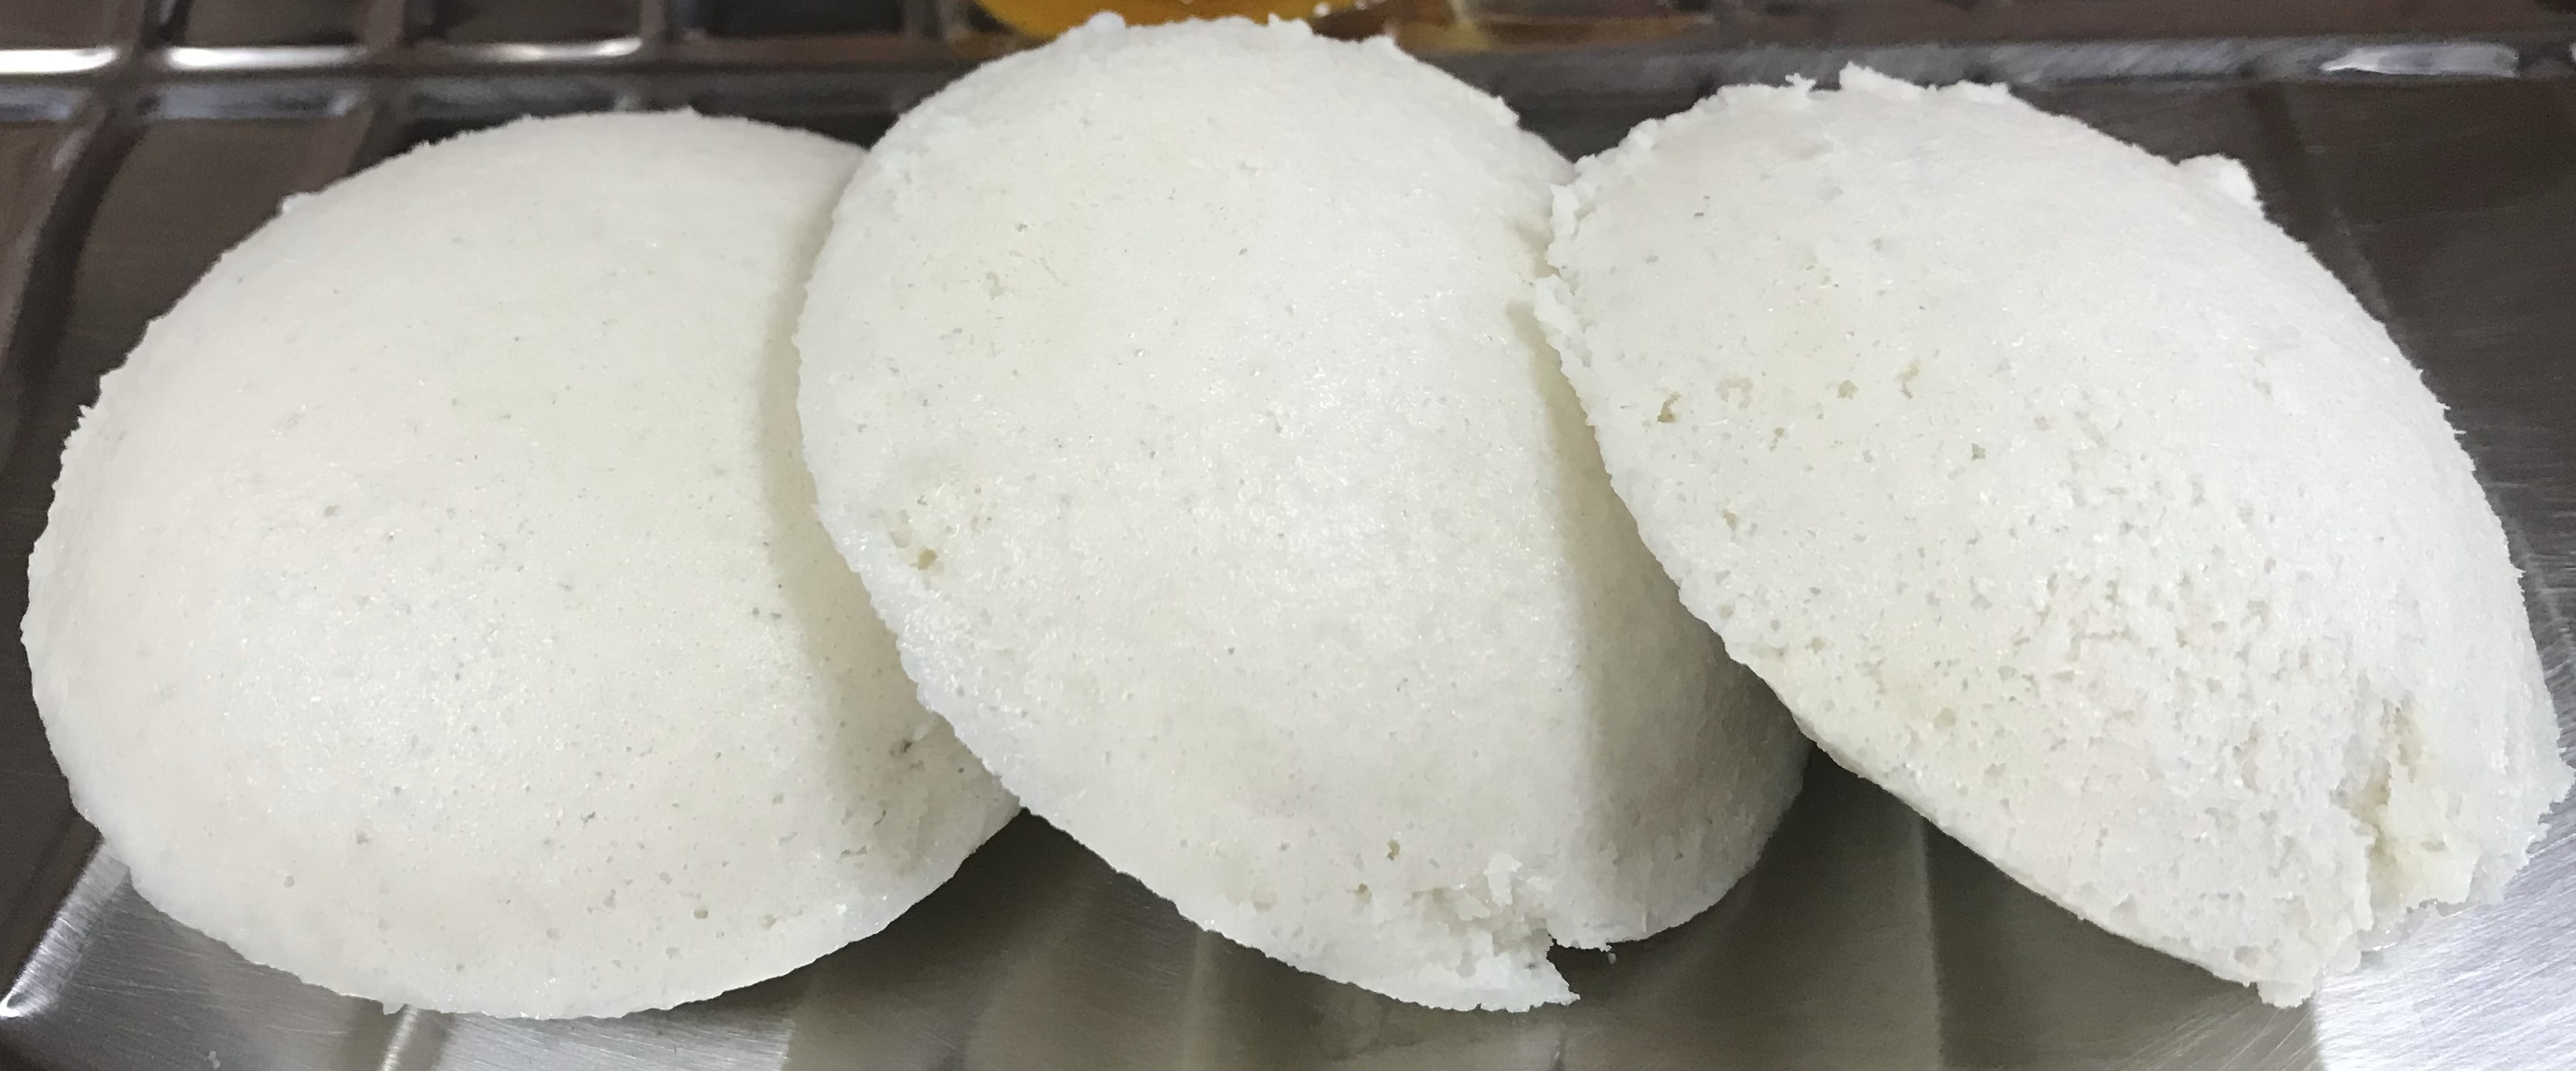
Next in the steamed millet cake series is Thinai/Foxtail Millet. As 200th post of Dosaikal, I had shared two desserts with Foxtail Millet – Thinai Sarkkarai Pongal and Thinai Payasam.
As mentioned previously, all millets can be used in making several staples like idli, dosai, idiyappam, pongal etc. They taste awesome as desserts too.
Try the millet cakes as Podi Idli too. These are stir fried Thinai idlis in spicy gun powder and gingelly oil ….
Thinai Idli/ Foxtail Millet Steamed Cakes
Ingredients (makes approximately 25-30 idlis)
thinai/foxtail millet – 3 cups
ulundham paruppu/deskinned black gram – 1 cup
uppu/salt – as needed approx. 1 tsp
Method of Preparation
Wash and soak millet and black gram together in enough water for 6-8 hours
Drain excess water and grind them into a smooth batter
Once the batter is done in the blender, add salt and blend well
Leave the batter to ferment for 8 hrs or overnight
Millet batters do not need as much time as Rice Idli batter. They turn sour sooner
8 hrs in a warm place is enough; If the climate is too hot, check after 6 hours; In an air conditioned environment, I place it in the oven overnight with the oven light on
Once fermented, mix the batter well
Always keep the batter refrigerated for further use
If left to ferment more than needed, the batter might turn too pungent to make idli or dosai
Steam Idlis in the mould and serve them hot with chutney of choice.
In the Millet Idli Series, next is Varagarisi/ Kodo Millet. It’s going to be simple from now on. The ratio of millet to black gram also being the same, all Millet Idlis have the same method of preparation of batter.
So, let’s move on to Varagu Idli.
Varagarisi Idli/ Kodo Millet Steamed Cakes
Ingredients (makes approximately 25-30 idlis)
varagu/kodo millet – 3 cups
ulundham paruppu/deskinned black gram – 1 cup
uppu/salt – as needed approx. 1 tsp
Method of Preparation
Wash and soak millet and black gram together in enough water for 6-8 hours
Drain excess water and grind them into a smooth batter
Once the batter is done in the blender, add salt and blend well
Leave the batter to ferment for 8 hrs or overnight
Millet batters do not need as much time as Rice Idli batter. They turn sour sooner
8 hrs in a warm place is enough; If the climate is too hot, check after 6 hours; In an air conditioned environment, I place it in the oven overnight with the oven light on
Once fermented, mix the batter well
Always keep the batter refrigerated for further use
If left to ferment more than needed, the batter might turn too pungent to make idli or dosai
Steam Idlis in the mould and serve them hot with chutney of choice.
The health benefits of Millets in general, have been written about extensively in almost all posts in the Power Packed Pancakes Series. Hence, I haven’t rewritten those facts. Additionally, useful details of information are available in the internet in abundance. A blogger’s job, especially that of a food blogger is simplified to crisp menu cards and videos. That gives much more space and time for conveying several other like minded ideas isn’t it??
Millets, like rice, are versatile cereals. Cook them like Rice and have with curries; flavour them with lemon, tamarind, coconut or yoghurt; make desserts with jaggery; or enjoy as spicy Pongal on a rainy day. With pound millet flours available in stores, make Puttu (steamed cylinders) or Kozhukkattai (sweet and savoury dumplings) or Idiyappam (string hoppers) – all staples of Tamilnadu.
Since, this series comes after many years of posting Millet Dosais, there might be repetition of facts. I have tried to take care in avoiding that. Bear with me for any unknown recurrence of thoughts.
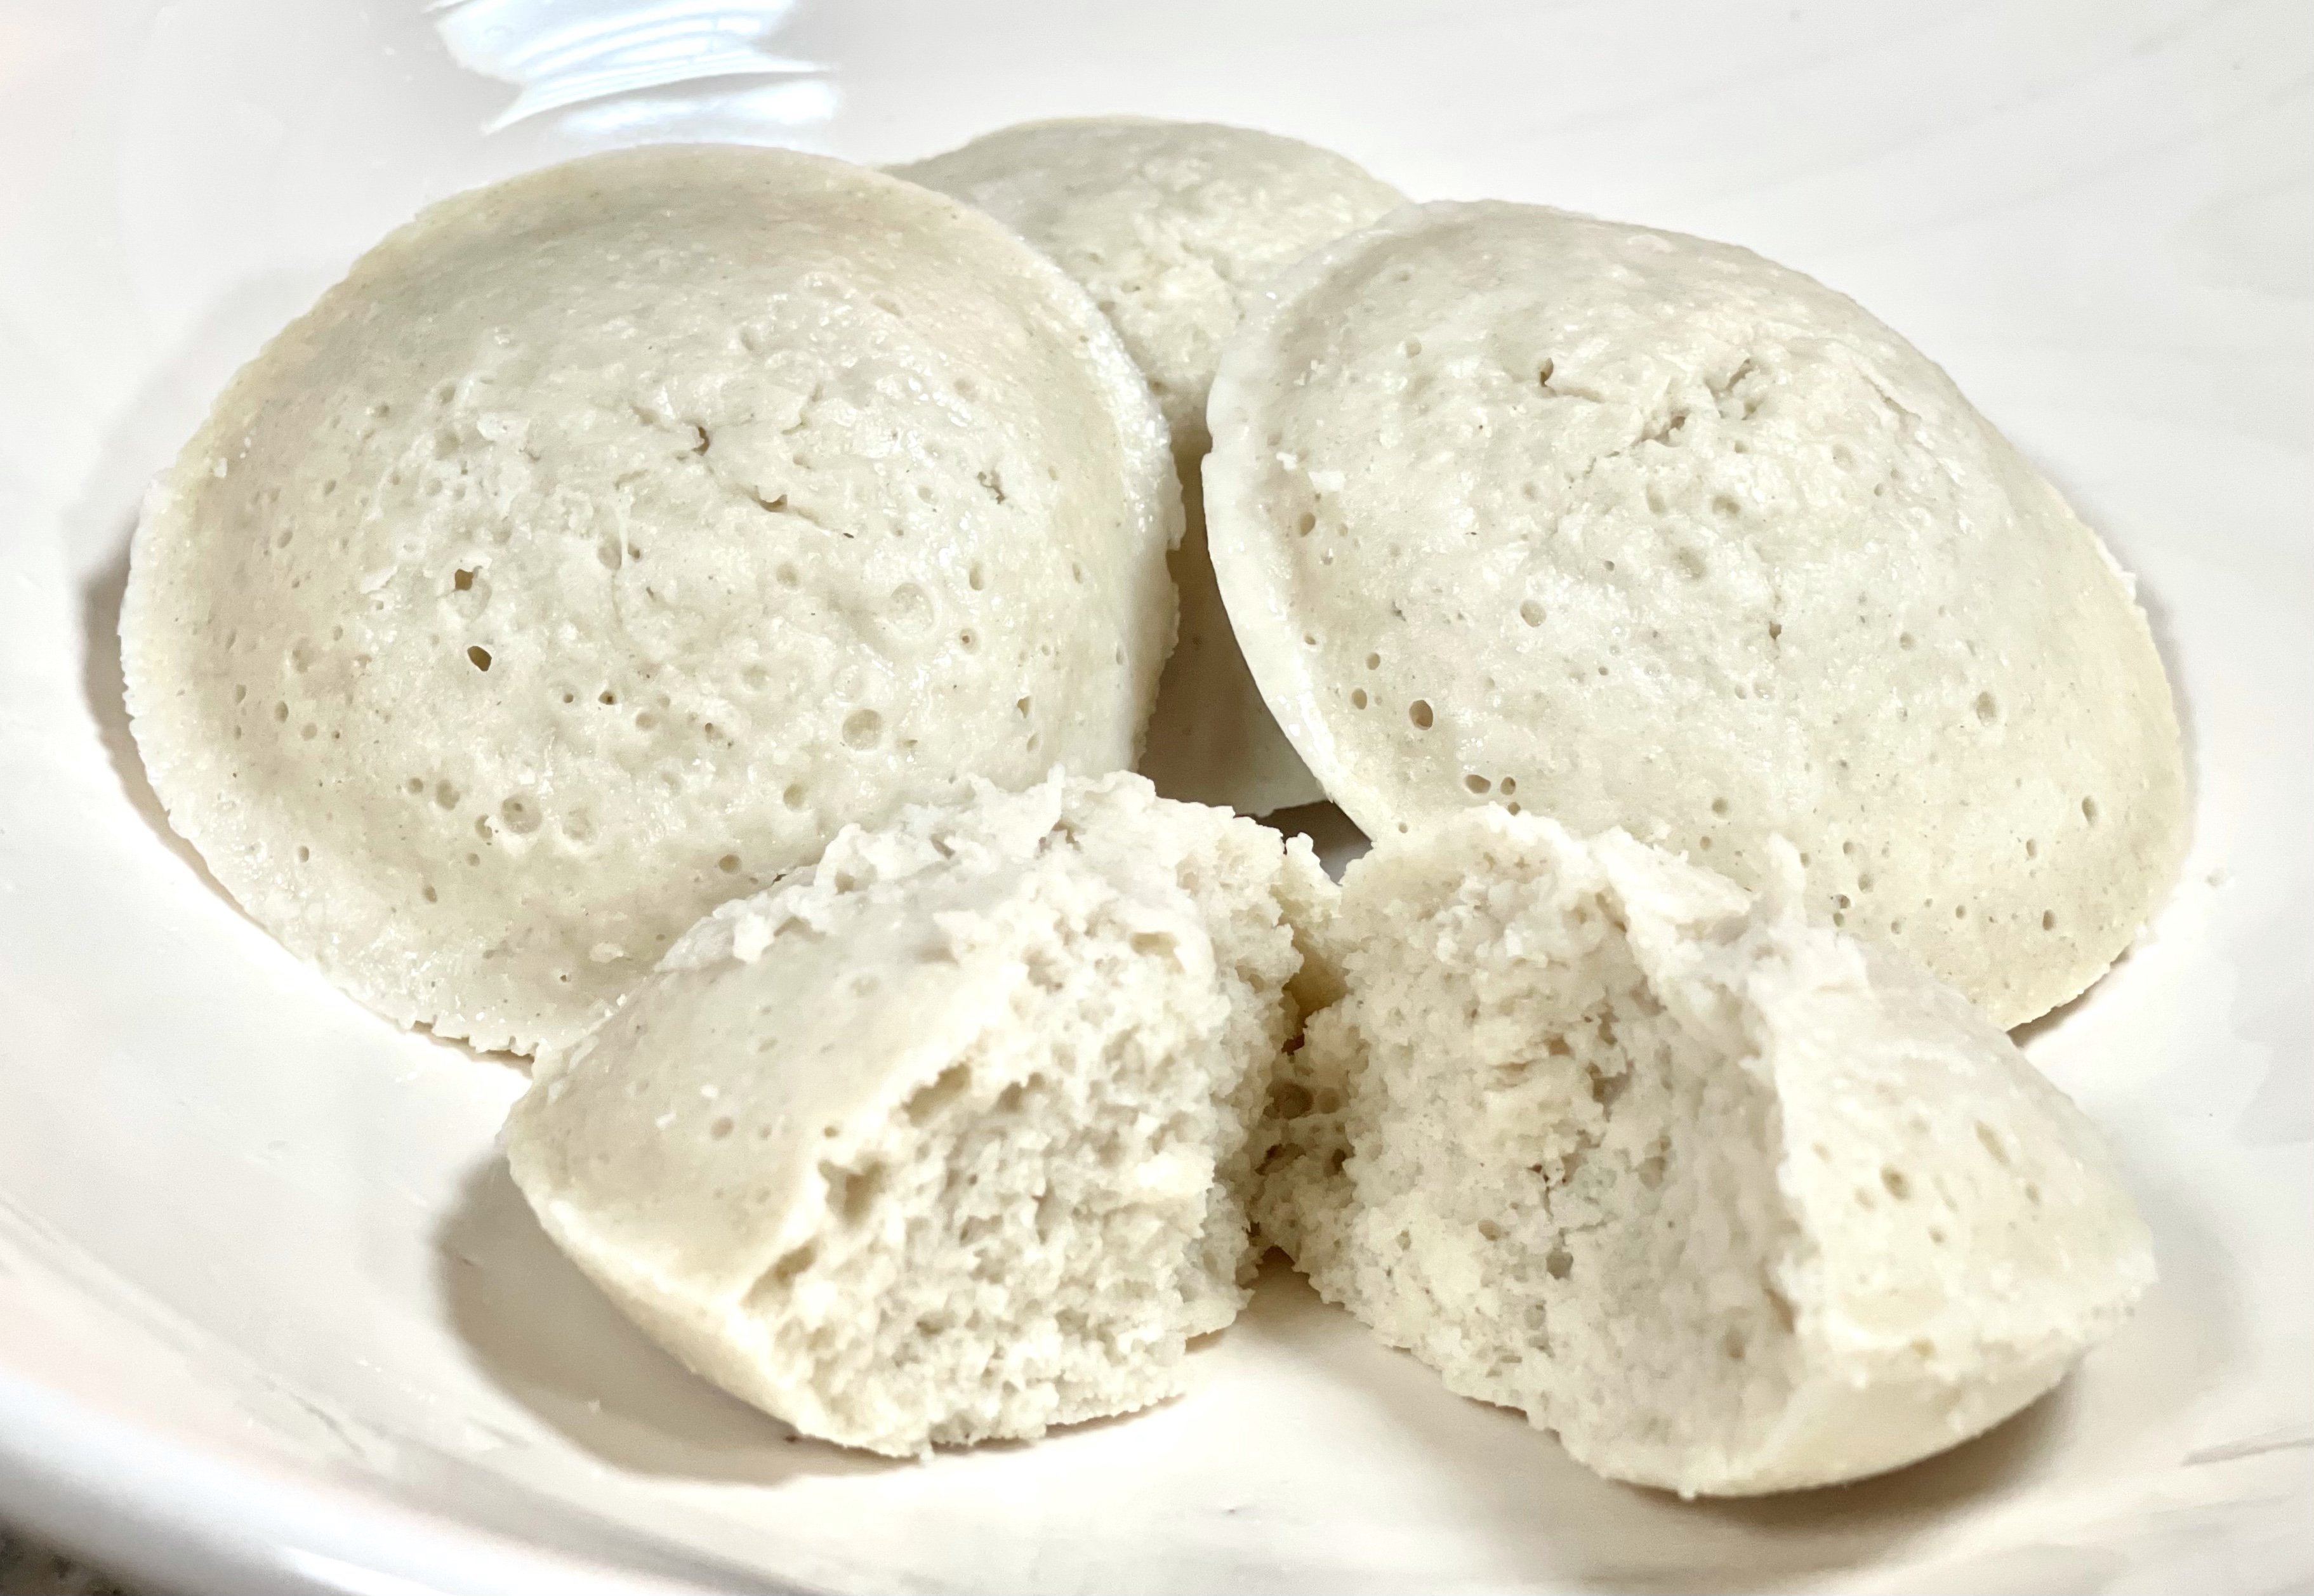
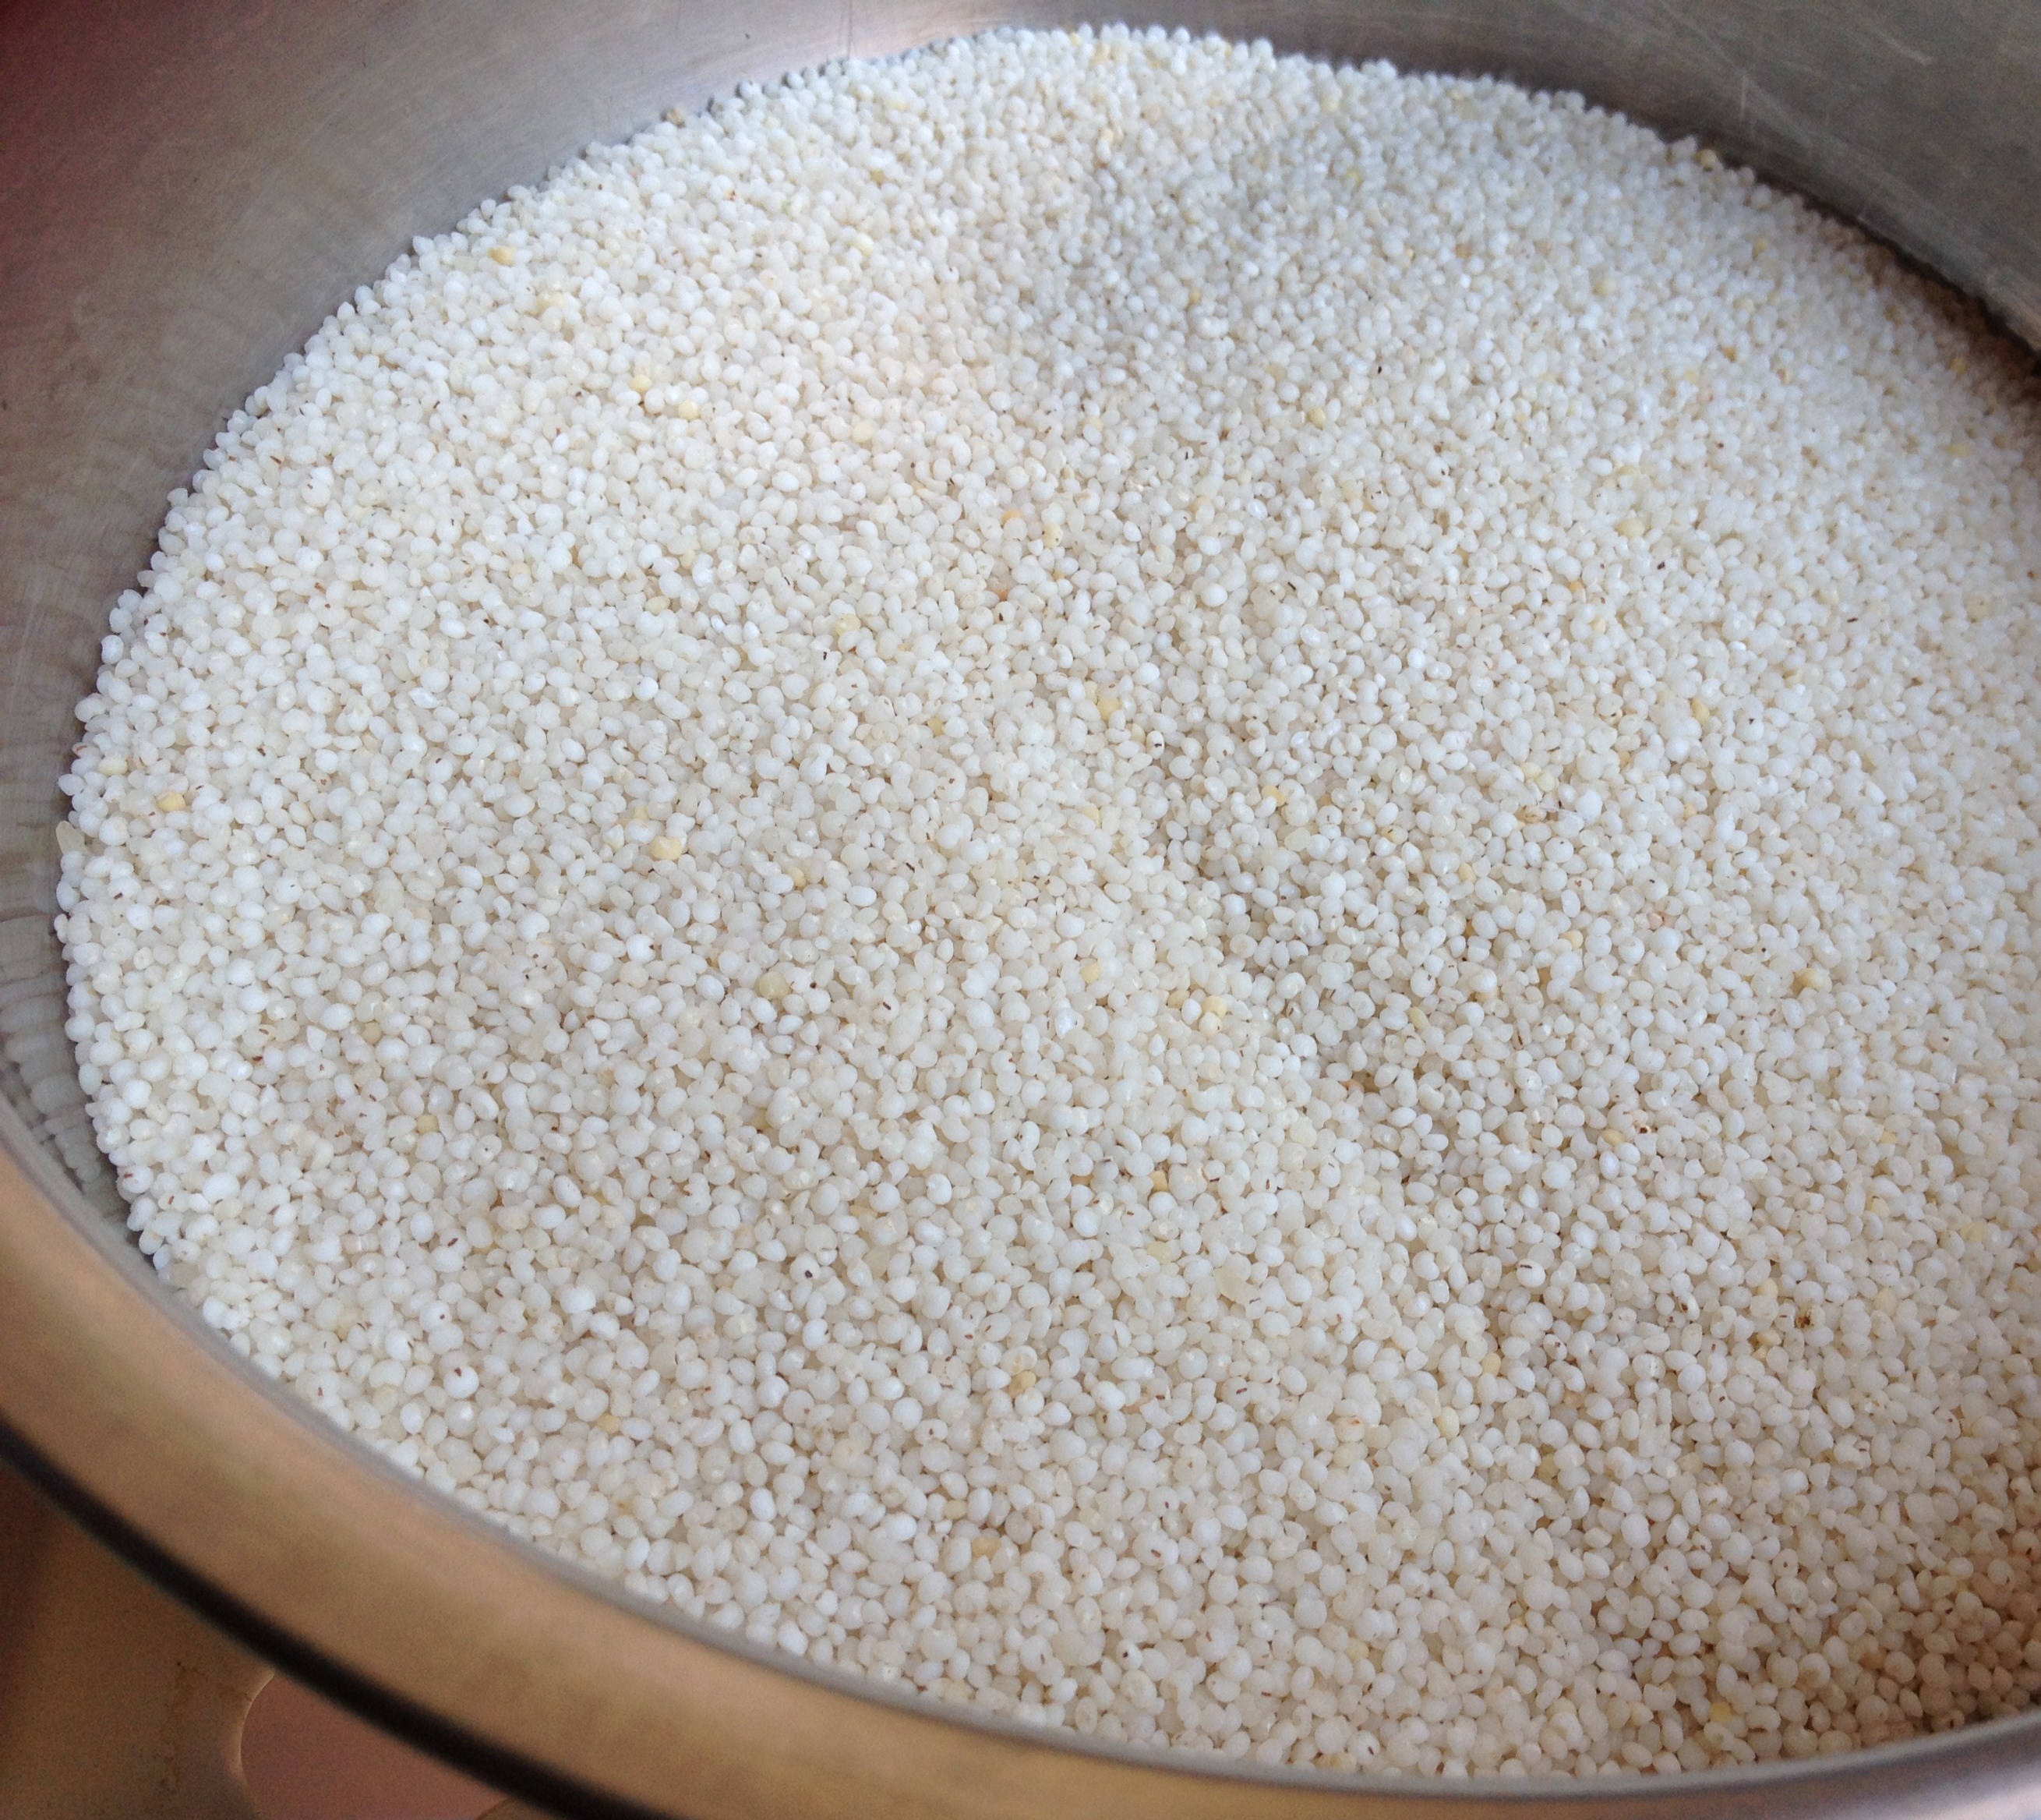
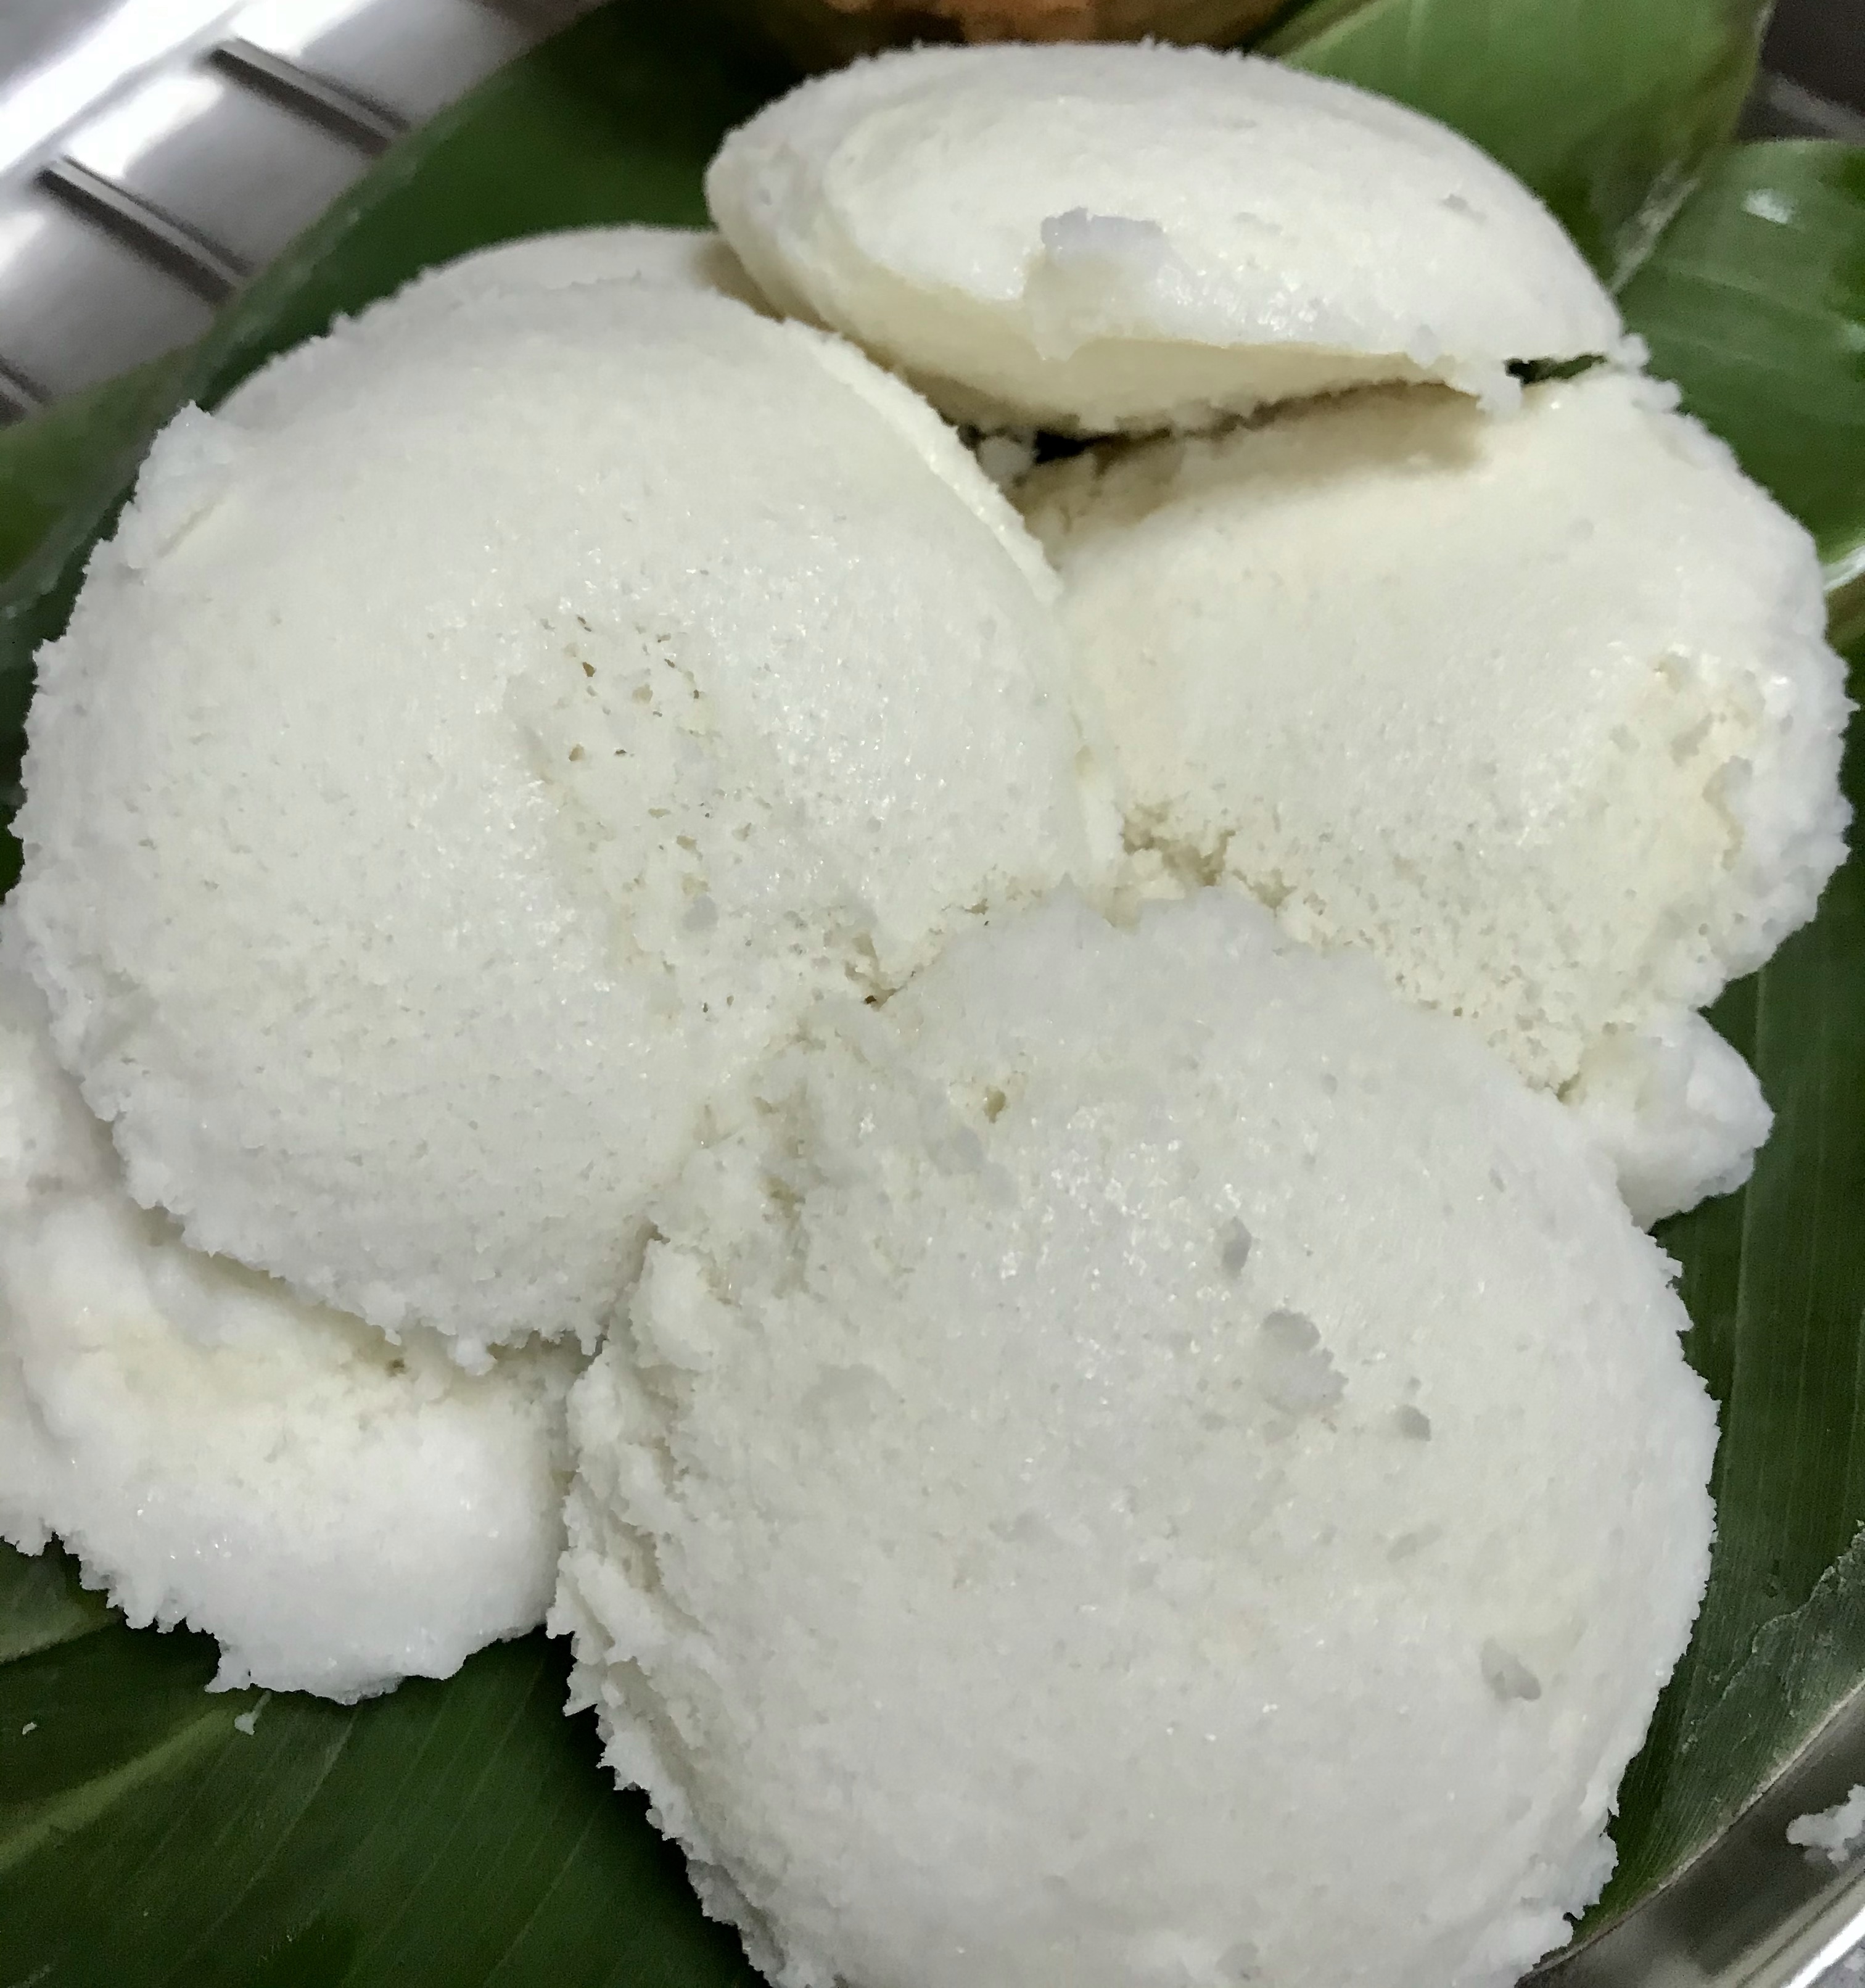
Among the variety of millets, Samai Idli can be an exact replica of White Rice Idlis due to its color. It is sometimes softer than Rice Idli and puffs up better.
Samai Idli/ Idli with Little Millet
Ingredients (makes approximately 25-30 idlis)
samai /little millet – 3 cups
ulundham paruppu/deskinned black gram – 1 cup
uppu/salt – as needed approx. 1 tsp
Method of Preparation
Wash and soak millet and black gram together in enough water for 6-8 hours
Drain excess water and grind them into a smooth batter
Once the batter is done in the blender, add salt and blend well
Leave the batter to ferment for 8 hrs or overnight
Millet batters do not need as much time as Rice Idli batter. They turn sour sooner
8 hrs in a warm place is enough; If the climate is too hot, check after 6 hours; In an air conditioned environment, I place it in the oven overnight with the oven light on
Once fermented, mix the batter well
Always keep the batter refrigerated for further use
If left to ferment more than needed, the batter might turn too pungent to make idli or dosai
Steam Idlis in the mould and serve them hot with chutney of choice.
Way back in April 2014, I had started a series on ‘Power Packed Pancakes’. The introduction post focussed on how having Dosai/Dosa batter at home can be a stress free affair, and the importance of including whole grains and millets for a Healthy Lifestyle.
How far the post was successful with regards to a stress free read …. not for me to decide.
From Power Packed Pancakes, now, its time to move on to Power Packed Idlis or Steamed Cakes. What the Tamils call Idli is generally described in English as Rice Cakes. Specifically, these are Steamed Rice Cakes. This time, the steamed cakes are with Millets and no Rice included. Hence, they are truly Power Packed and Healthy.
I don’t prefer to mix Rice in the Millet Idli batter, especially if the purpose is to cut down the Rice intake. A pack that reads ‘Whole Wheat Bread’ or ‘Brown Bread’ in the shelves of supermarkets, tricks the consumer to believe it is 100% original Whole Wheat bread. The soft and tasty bread is certainly a combination of White flour and Whole Wheat, or many a times 70-80% whiteflour with the inclusion of Wheat Bran.
Rice is a wonderful Grain, in comparison to the empty caloried White Flour. But, I’d like to keep my Millet Dosai or Idli, without the inclusion of Rice.
Hence, I use the best suited Millets for Idlis, as simple as that. Other Millets which don’t turn out soft and fluffy (that’s expected from a Steamed Cake), can be made as Dosai. The batter is rigidly the same, devoid of Rice.
Why are we talking about Rice here?
Well, there a two basic ways of making Idlis with millets. One – making the Idli batter with Millet and Black gram and NO Rice at all; the other is to substitute one portion of rice with millet. Certain Millets like Thinai (Foxtail Millet – one of the oldest millets of the Tamils), Samai (Little Millet), Varagu (Kodo Millet) or Kuthiraivali (Barnyard Millet) are best suited to make fluffy soft Idlis, with NO Rice at all. A few others like Kezhvaragu (Ragi/Finger Millet) or Kambu (Bajra/Pearl Millet) don’t create the best steamed cakes with millets alone, they need the addition of Rice.
But, Horse gram, which is a lentil and not a Millet, should be treated like the black gram in Rice Idlis. That’s why, Rice and Horse gram are blended to make Steamed Cakes.
This series aims at providing an alternative way to incorporate millets in our diet. Having included them in our daily life style for several years now, I strongly feel this has been one of the healthiest changes I’ve adapted. Also, one that makes me stay very close to a few of the countless traditional foods of my soil. Especially, when there is written literary document that proves these were consumed by my ancestors several thousands of years ago.
My 100th Post was Kootanchoru – Typical Home Town One Pot Meal, way back in 2014. Dosaikal, my blog entered into its 10th year in May 2020. In my 10th year, jotting down my 200th post feels ecstatic.
It has been a slow and steady journey for me and a patient journey for my readers. Thanks a ton, for travelling at my pace, encouraging me to do what I’ve been doing.
When I sit back and think, the commitment of not endorsing junk foods and not blogging on unhealthy stuff has never faded. That I wouldn’t post a recipe, which I feel is unhealthy for my family; and wouldn’t cook any junk, that I wouldn’t prescribe to my readers, has been a norm that I set for myself.
In my quest to explore various versions of traditional foods, I felt THINAI / Foxtail Millet would be an apt food to post for my 200th.
Why Thinai?
Thinai is among the oldest millets consumed by Tamils. Sangam Literature, which dates from 300 BCE to 300 ACE, mentions Thinai, alongwith a few other millets and rice varieties, used by the ancient community.
Bamboo rice, Red rice, Foxtail, Kodo, Finger Millets, Black gram, Horse gram are a few rice, millets and lentils mentioned in Tholkappiyam (the most ancient Grammar Text of Tamil Language) and Sangam Literature.
With my quest to cook more, and write more and more on the traditional foods of the Land I belong to, I chose to do a post on one of the ancient millets of Tamilnadu.
It is the outcome of an urge to cling on tightly to my roots (quite strong with at least 2500 year old heritage), and transferring the wealth and knowledge my ancestors passed on to me through generations, to my offspring and others.
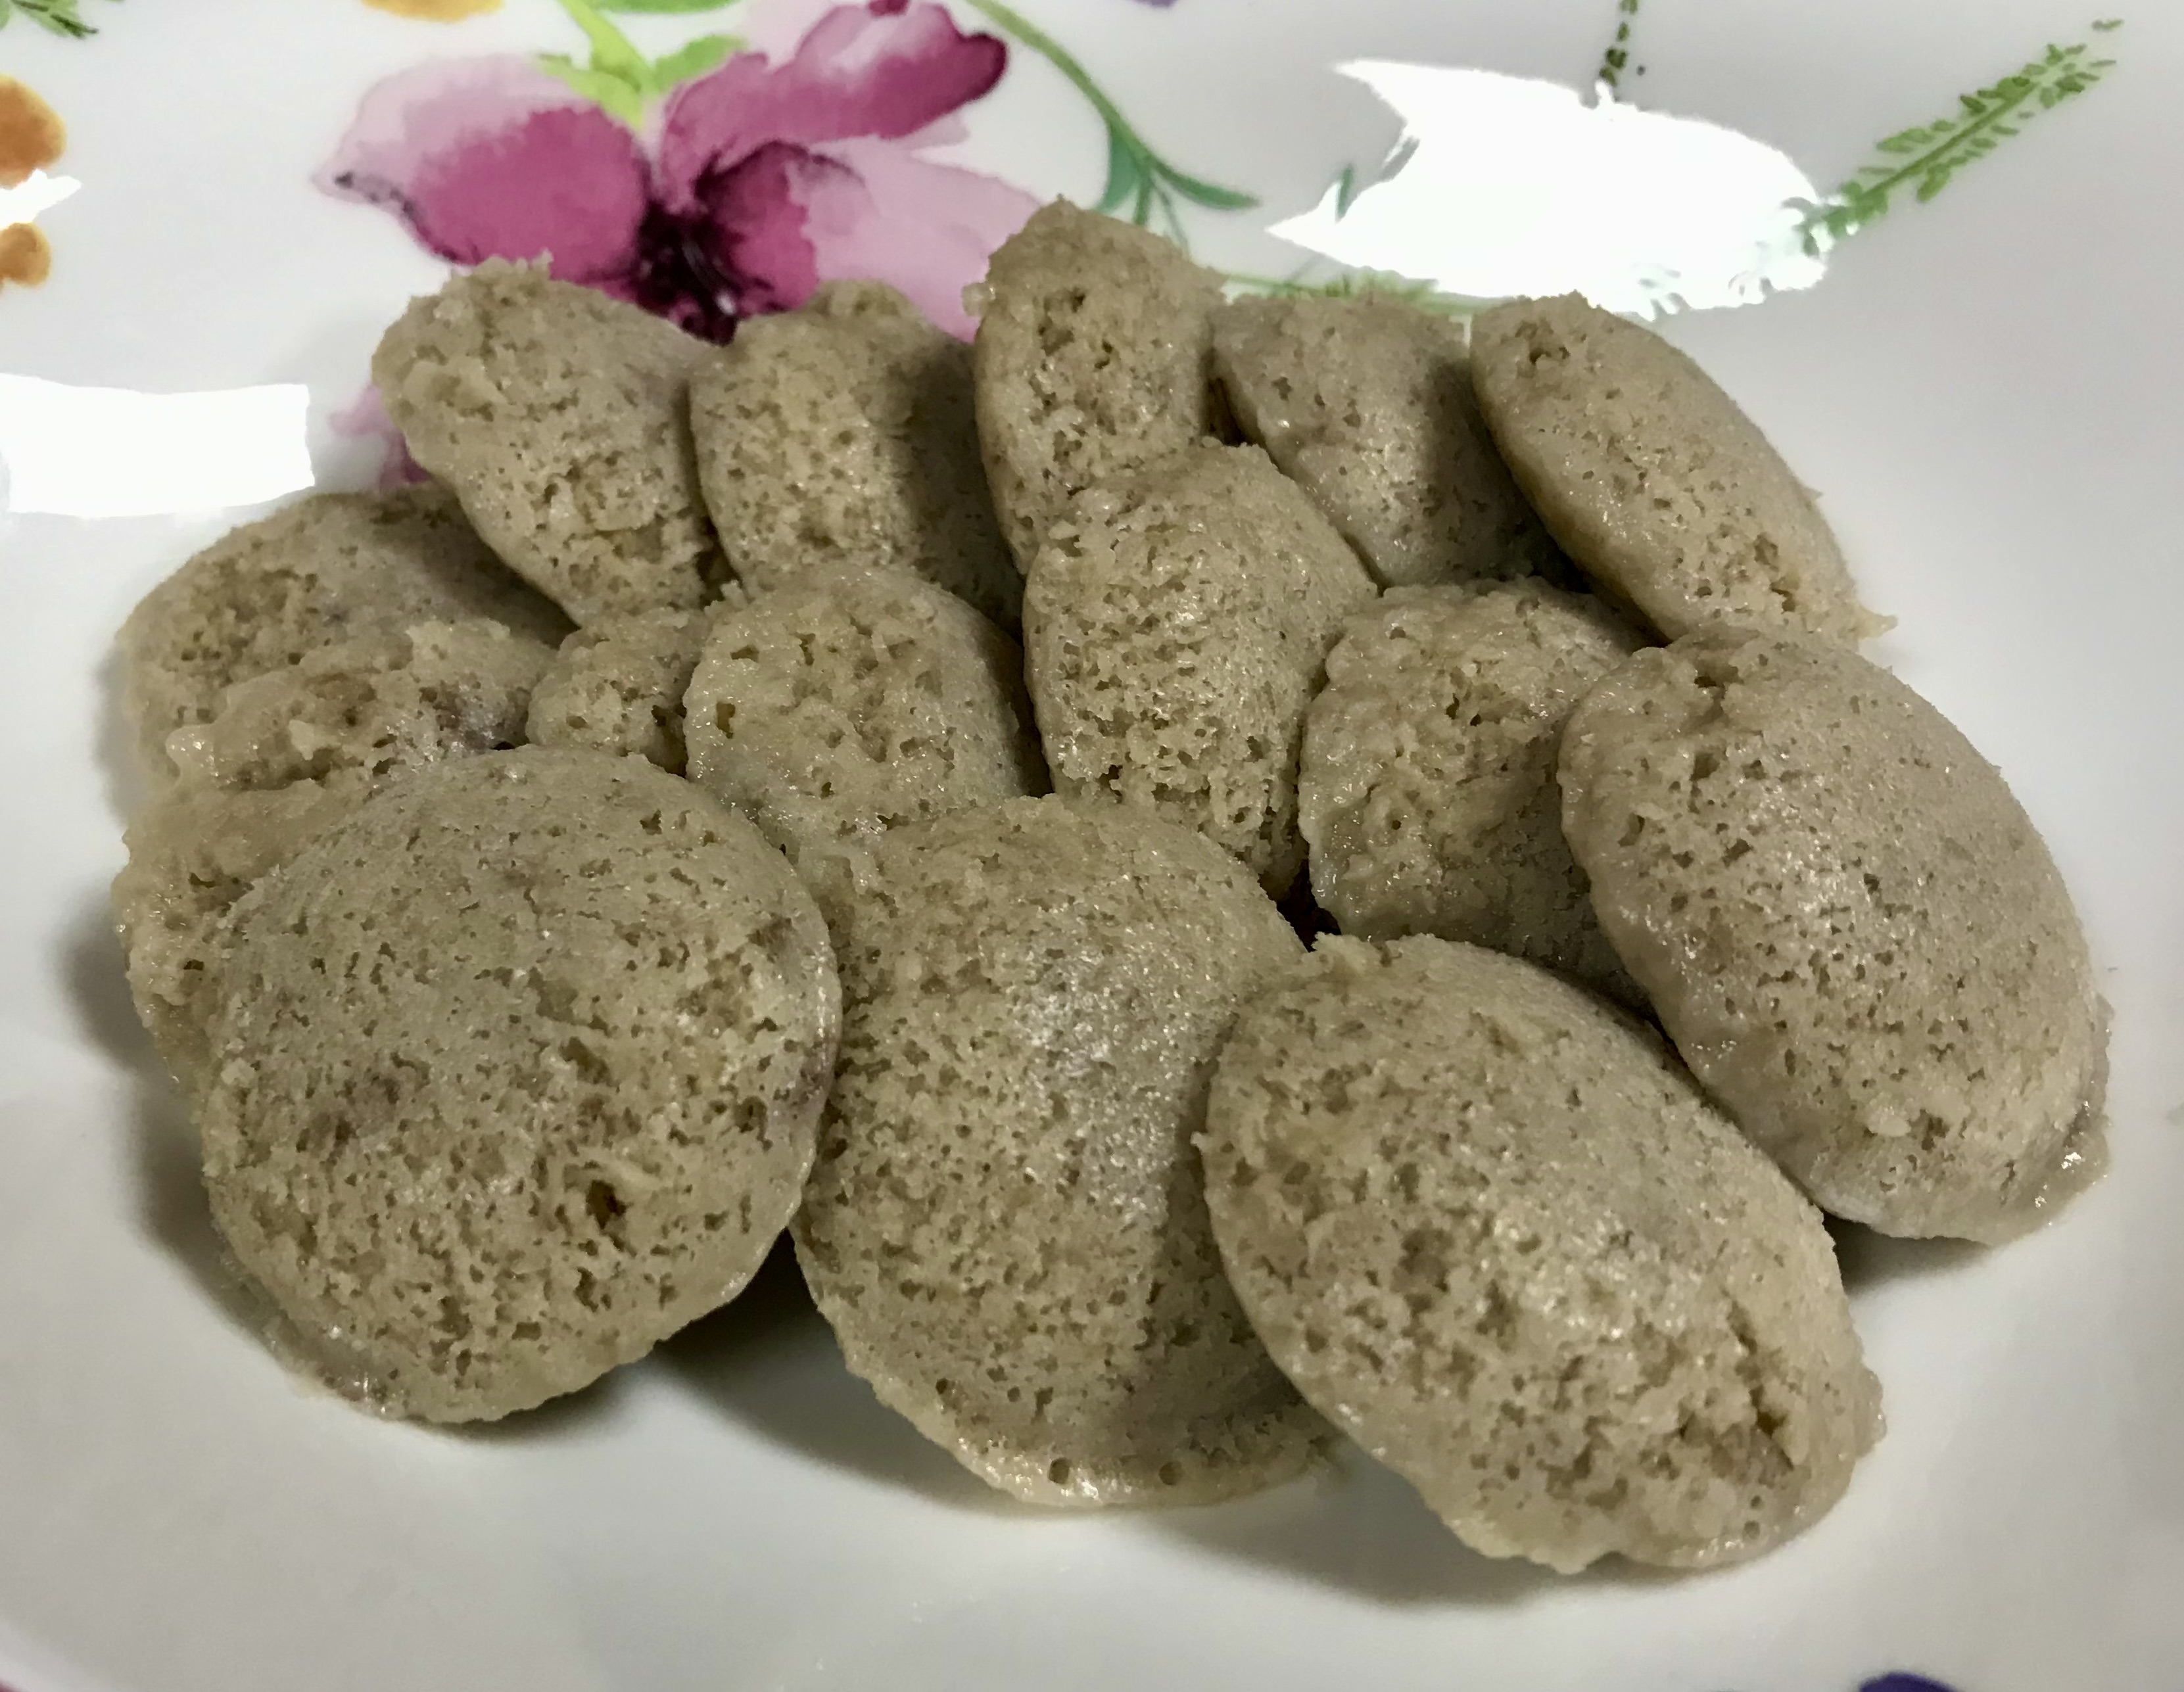
Thinai – Two Ways for the Sweet Tooth
Including Millets in our everyday diet is one of the most recommended health formulas of the 21st century, and hence, the internet overflows with the health benefits of all. Name it and you get it. Benefits of Thinai/ Foxtail Millet can also be found very easily in the net.
Any happy occasion demands a dessert. Why not 2 sweets for 200? That’s why I thought of making a Payasam and Sarkkarai Pongal with Thinai.
The basic ingredients are almost the same – Thinai and Jaggery; Payasam has the inclusion of coconut milk and Pongal doesn’t have the milk to bring it to thinner consistency.
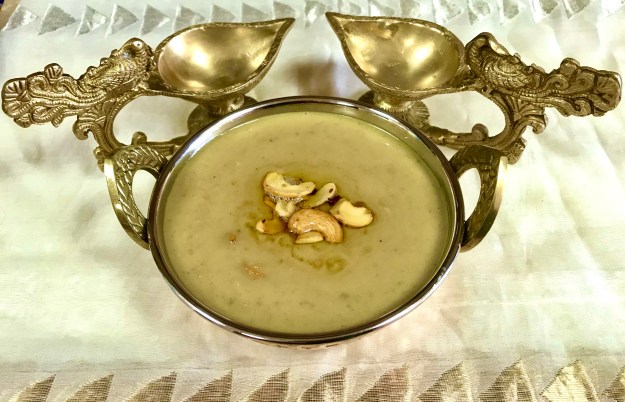
Thinai Payasam and Thinai Pongal
As mentioned above, the Ingredients for Payasam and Pongal are almost the same, with the addition of coconut milk in Payasam.
The basic steps in making Payasam and Pongal are again, almost the same. In simple terms, a thinner mixture and addition of coconut milk makes it Payasam; a thicker version with the glow of more clarified butter, makes it Pongal.
Hence, the procedure below might be repetitive. Yet, for better comprehension, I chose to make different recipe presentations.
THINAI PAYASAM – Ingredients (serves 3-4)
Ingredients (serves 3-4)
thinai/foxtail millet – 1/2 cup
vellam/jaggery – 3/4 cup
chukku podi/ dry ginger powder – 1/2 tsp
elakkai podi/cardamom powder – 1/2 tsp
nei/clarified butter – 2 tbsp
mundhiri paruppu/cashewnut – 10-12 pieces
thengai pal/coconut milk – if freshly squeezed -1/2 cup thin second milk and 1/2 cup thick first milk; if using canned coconut milk – 1 cup thick, add extra water accordingly
Method of Preparation
Wash Thinai and Pressure cook with 1 1/2 cups water.
How I cook – After the first whistle, reduce flame to sim and switch off after 2 whistles
Meantime-
2. Boil jaggery with water to dissolve and remove impurities. Strain and keep aside
3. Squeeze milk from fresh coconut, separate thin second milk and thick first milk
4. Over sim flame, keep the cooked millet in a hard bottomed pan or in the same pressure cooker, in which it was cooked
5. Time to add strained jaggery water- Check if you would need the whole jaggery water. Add 3/4th of it and add more if needed
Extra jaggery water, if retained can be used for various other purposes
Stir well after addition of jaggery water
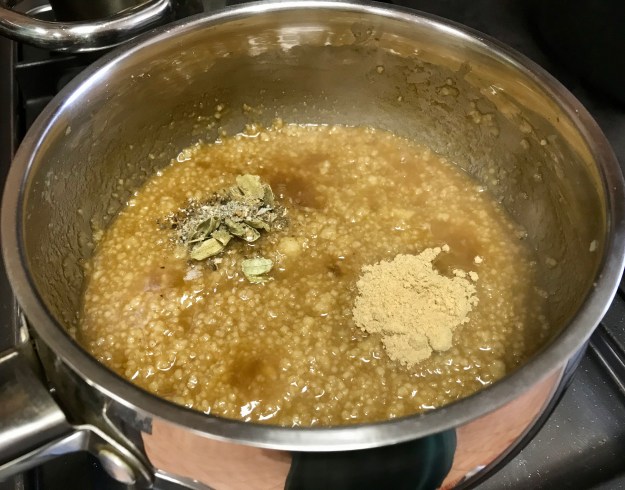
Add dry ginger and cardamom powders
Let the millet cook in jaggery water and the spices, and thicken
Fry cashew nuts in nei/clarified butter till golden; Add to the cooked thinai-jaggery pongal
When the jaggery is well incorporated in thinai, add coconut milk
Be careful not to boil the Payasam too much after adding coconut milk, as it might curdle
Wash Thinai and Pressure cook with 1 1/2 cups water. How I cook – After the first whistle, reduce flame to sim and switch off after 2 whistles
Boil jaggery with water to dissolve and remove impurities. Strain and keep aside
Over sim flame, keep the cooked millet in a hard bottomed pan or in the same pressure cooker, in which it was cooked
Add strained jaggery water- Check if you would need the whole jaggery water. Add 3/4th of it and add more if needed. Store extra syrup.
Let the millet cook in jaggery water again and thicken well
Add dry ginger and cardamom powders
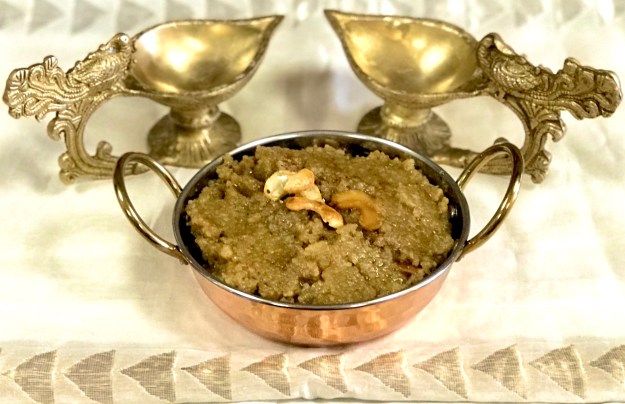
7. Fry cashew nuts in nei/clarified butter till golden; Add to the cooked thinai-jaggery pongal
my favourite step –
Thinai Pongal is ready to be served.
Note:
I have reduced the quantity of jaggery for Pongal, as coconut milk might balance the sweetness of jaggery in Payasam.
I have added 2 more tbsps of nei/clarified butter to Pongal. This gives a beautiful glow and wonderful consistency to the dessert, not to mention the awesome taste.
Feel free to omit, reduce or add more nei.
Also, jaggery and coconut milk can be altered according to family preferences.